Anyone who has been riding bikes for a while can tell you that sooner or later, you’re going to get a flat. Even with tube sealant that prevents flat tires for up to two years, it’s just an unavoidable occurrence. When flats occur, the best thing you can do is be educated and prepared to patch the tube so that you can quickly get back on the road. Let's get started:
Materials NeededConsider these different flat tire scenarios: The at-home repair scenario where you're walking your bike into the garage and notice that the back wheel is sagging a little bit—you have a flat. Or, the on-the-trail repair scenario where 20 miles into a 50 mile ride, you go down hard on a rock and get a nasty pinch flat.
We’re going to walk you through some of the materials you’ll need for either situation, and then how to use them for both. Here’s a list of some things you will need to repair your tube.
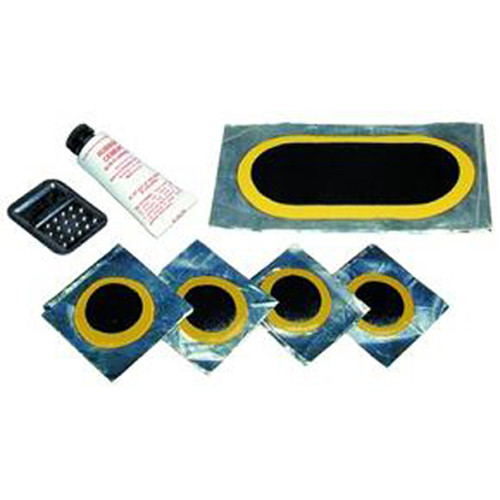
Follow these 4 easy steps to patch your bicycle tube and repair your flat.
Step 1. Remove Your Tire
Take your tire lever and hook it around the outer edge of the tire (the bead) to get it off of the rim. Once you have the tire lever under the tire rubber, hook the other end of your tire lever around one of your spokes to keep the tire elevated. With a second tire lever, work your way around the rim, taking the tire out of the bead until one side has been completely removed from the rim.
Step 2. Find the Leak
If the puncture or gash in your tube is not easily apparent, you’re going to need to fill the tube back up to locate where the air is escaping from. There are a couple of different ways to find the leak. The layman’s way would just be to run your hand along the tube and try to feel it out.
The bucket of water method that we mentioned earlier, however, is a more accurate way.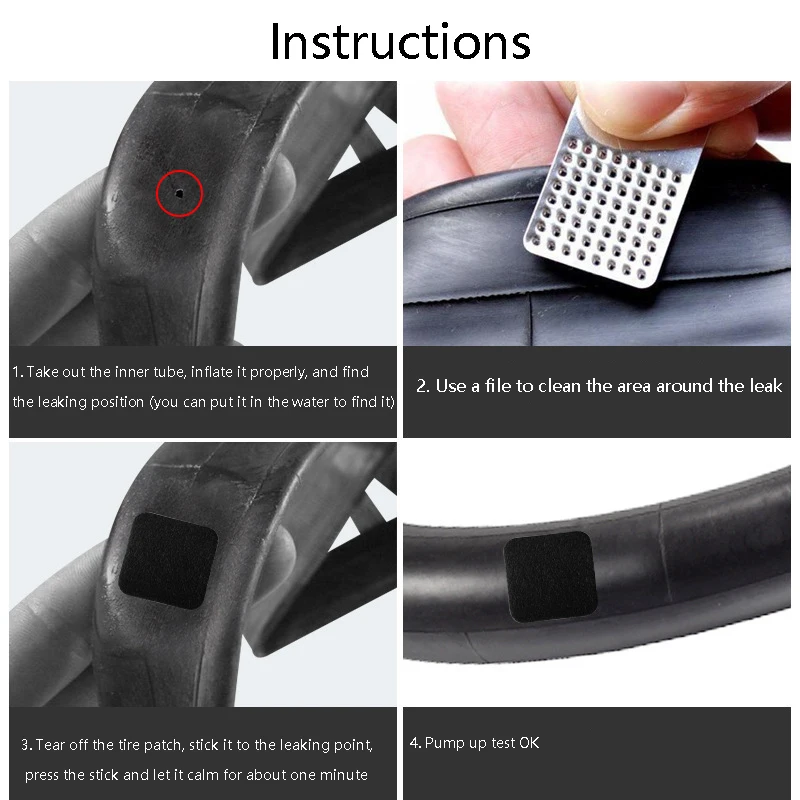 If you’re at home, fill your sink or a large bucket full of water and submerge each end of the tube. Watch for air bubbles escaping from your tire to locate your problem area.
Make sure you submerge each side, as there may be more than one puncture. Be sure to check the inside of the tire to make sure that the puncture-causing object has been removed. Once located, mark that spot with your tire marking chalk.
Step 3. Patch the Hole
When patching the hole in your bicycle tube, make sure that the area around the puncture is clean so that the patch will stick. Using the scuffer from your patch kit (sand paper or emery paper will also do the trick), rough up the area around the puncture so that your adhesives have something to grip.
If your patches don’t require glue, simply press them firmly over the hole. For patches that do need glue, add a layer of glue and spread it evenly around the area. Wait for the glue to get a little tacky, and then press on your patch. If you have the materials available to you at home, some cyclists will sprinkle talcum powder on top of the patch so that that patch/adhesive doesn’t stick to the inside of the tire.
Step 4. Put It All Back Together
Put a little air into your tube and then put it back in the tire, making sure, again, that there are no foreign objects remaining in the tire. Be sure to insert the tube and tire back into the rim using only your hands, as the tire levers may pinch the tube and cause another flat (we certainly don’t want that after all your hard work).
Once you’ve pushed the tire back in and the valve stem is securely inside the tire, inflate your tube back to maximum pressure, being sure to check the tire one more time to make sure that the bead is installed snugly. Ready to ride!
(Image credit: Paul Grele)
The best puncture repair kits will give you a speedy, durable fix to a punctured inner tube that will save you from having to throw it away, maybe letting you get years' more use from it.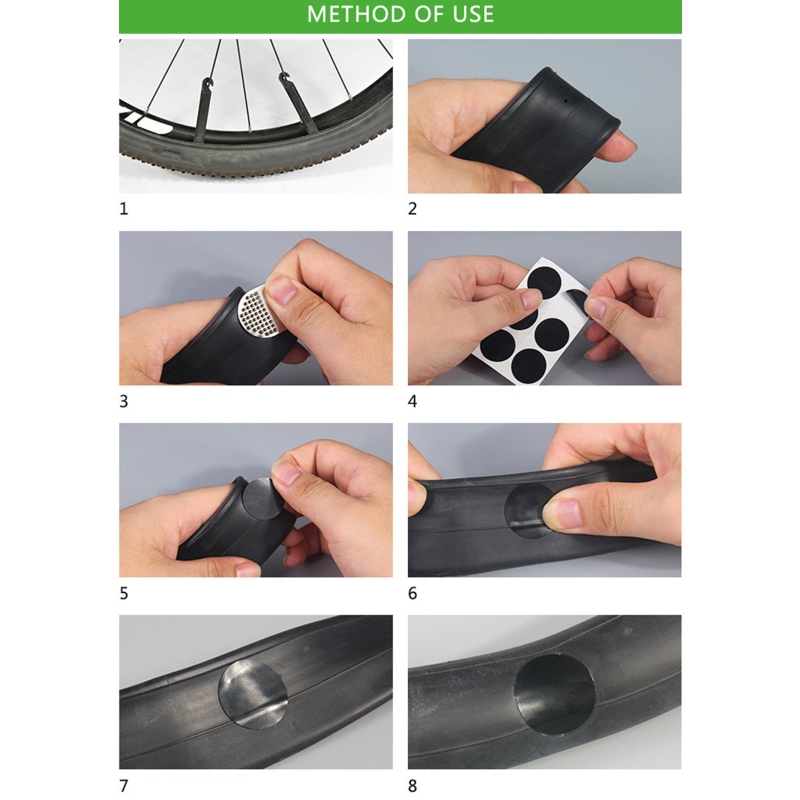 Even if you just fit a new tube while out on the road, you can make a repair when you get home.
With flats being a constant threat to cyclists – although they actually occur relatively infrequently if you've fitted the best road bike tyres, best winter tyres or best puncture-proof tyres to your bike – we've loads of advice on how to keep moving.
If you're not sure how to repair an inner tube, read our piece on how to fix a puncture. We've also got the lowdown on bike inner tubes to make sure you get what you need if you do need to buy a replacement.
Finally don't forget the option to go tubeless if you have a tubeless-ready rim and tyre combo; we've detailed advice on how to set up tubeless tyres properly. Dispensing with your tubes and using the best tubeless sealant will protect you from many flats, but if you do get one; our guide to the best tubeless tyre puncture repair tools will help you to sort it quickly and easily.
Here are our picks of the best puncture repair kits and below that is our buyer's guide to help you choose.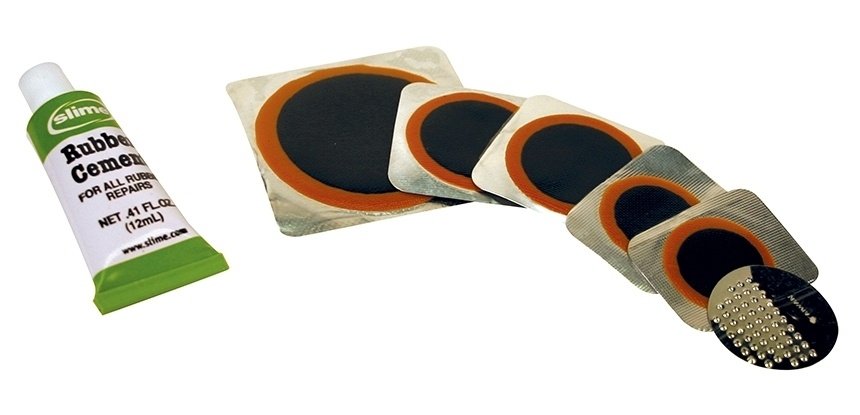
Why you can trust Cycling Weekly Our expert reviewers spend hours testing and comparing products and services so you can choose the best for you. Find out more about how we test.
(Image credit: Paul Grele)
Best glueless solution
Number of patches: 6
Glueless: Yes
Extras: Sandpaper
Today's Best Deals
+
Very compact
+
Stick well at moderate pressures
-
A bit pricey
-
Prone to wrinkle
The Park Tool Super Patch kit is really compact and comes in a neat plastic box, so it's easy to stash away. There are six patches included, along with a sandpaper square to pre-roughen your tyre.
If you get it right, a patch should see you home, although it may not hold at higher pressures. It's also quite easy to get a wrinkle in the thin patches, leaving an instant conduit for the air in the tube to escape to the outside world. They're quite expensive per fix, although with luck you may not have to use many.
(Image credit: Paul Grele)
Best value puncture repair kit
Number of patches: 6
Glueless: No
Extras: Sandpaper, glue
Today's Best Deals
+
Secure glued repair
+
Inexpensive
-
Only four of the smaller round patches
Lifeline offers a classic glued puncture repair kit with two different patch sizes and the usual glue and sandpaper in a handy rectangular plastic box that's easy to stash away and carry with you.
As with all glued kits, you need to look out for the glue drying up, or you could end up stranded.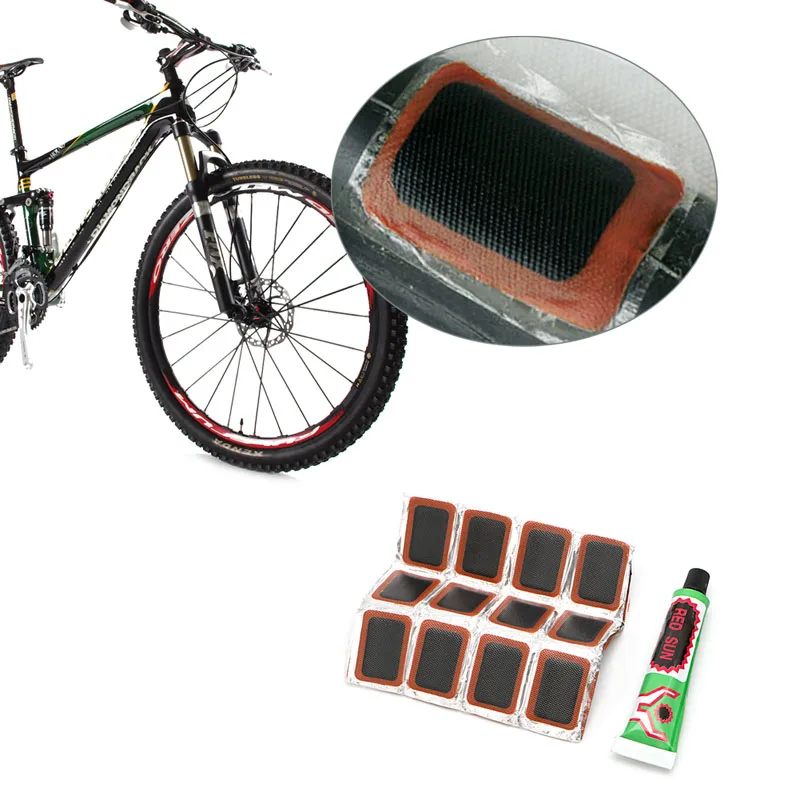 The small number of patches means that you may need to buy extra - fortunately Lifeline will sell you another 10 of the more useful round patches for next-to-nothing.
Lifeline accessories are sold through Chain Reaction Cycles and Wiggle, so it's easy to add this kit to your order to help bulk it up for free carriage.
(Image credit: Paul Grele)
Best traditional puncture repair kit
Number of patches: 6
Glueless: No
Extras: Sandpaper, glue
Today's Best Deals
+
Classic glued kit
-
Six round patches and no oval ones
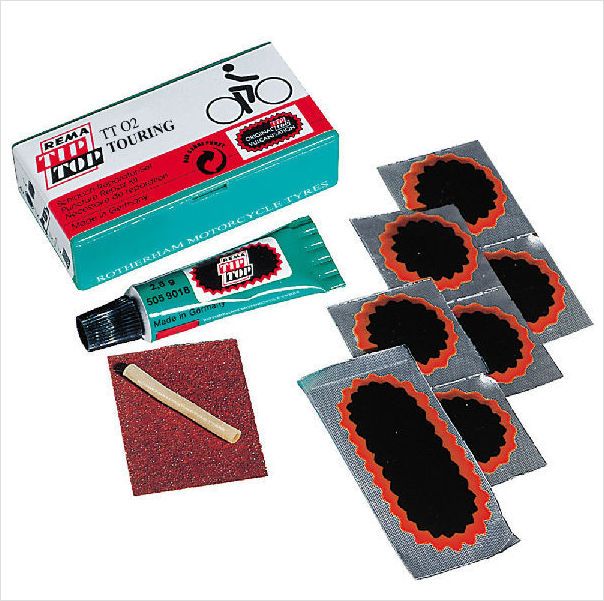
The Rema Tip Top puncture repair kit is a classic with its little green box, and is a feature of many a bike shed. Inside, you get the usual rubber solution plus sandpaper combo to prep your tyre.
Rather than an assortment of different shapes, there are six round patches - certainly the most useful shape.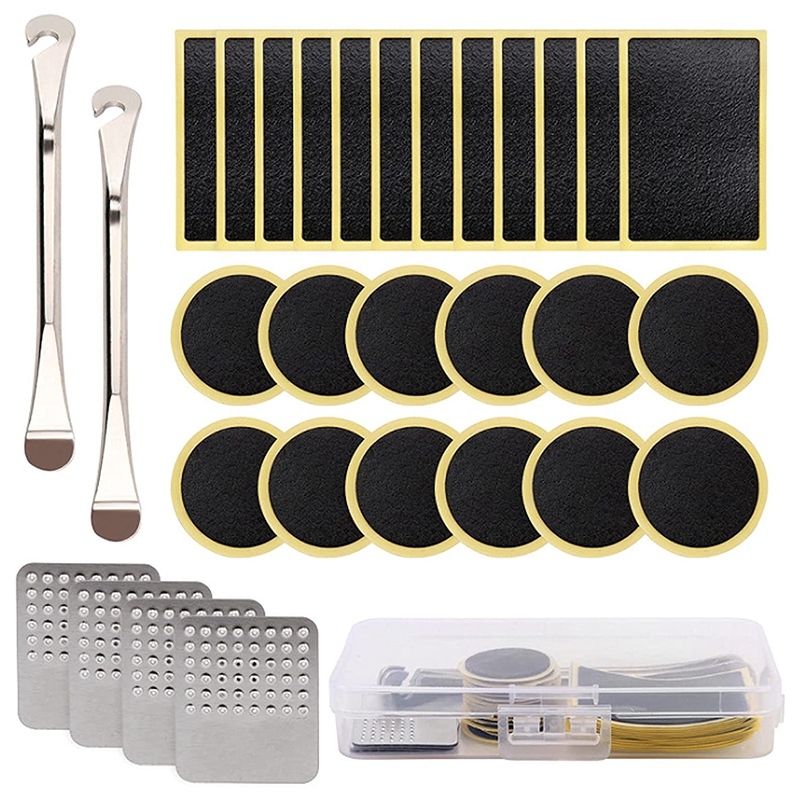 The Rema kit is a bit more expensive than Lifeline's but you get more useful patches and the box is a little more compact.
(Image credit: Paul Grele)
Best compact option
Number of patches: 6
Glueless: Yes
Extras: Scuffer, tyre boot
Today's Best Deals
+
Super-compact
+
Scuffer is more durable than sandpaper
+
Includes a tyre boot
-
Quite small patches
Even more diminutive than the Park Tool kit, the Lezyne Smart puncture repair kit packs six glueless patches into a thin, wallet-like plastic sleeve, making it super-easy to carry with you.
Like the Park Tool patches, the Lezyne ones are quite thin and you need to take care not to get a wrinkle, which is even more important here as the Lezyne patches are smaller.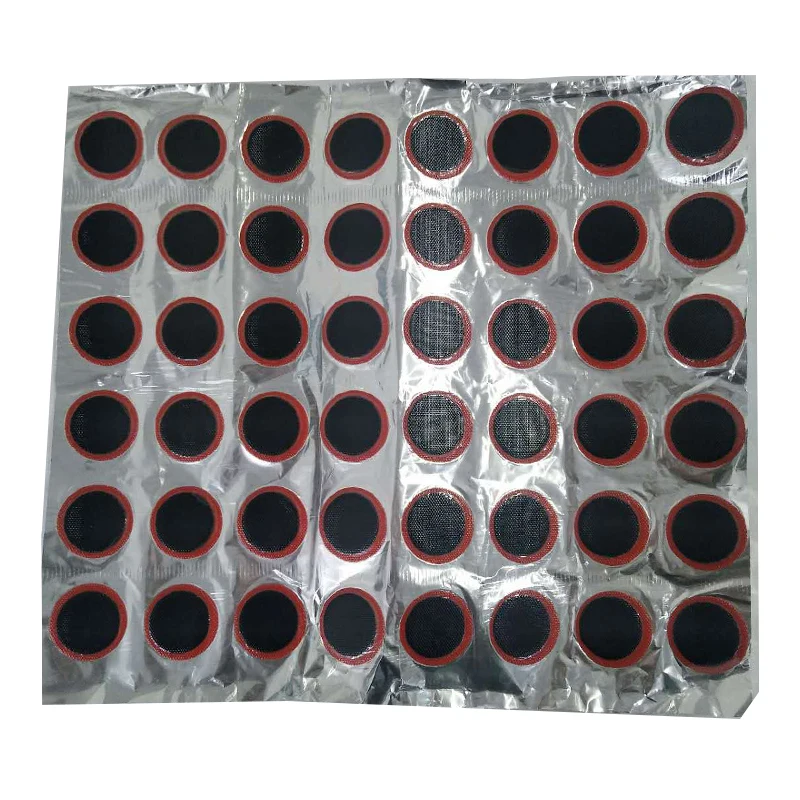 That also makes it even more important to make sure that you've hit the hole centrally so that there's as much patch as possible on all sides.
Rather than sandpaper, the kit comes with a metal scuffer which should prove more durable and less likely to lose its abrasive qualities. There's even a tyre boot included in case your outer tyre suffers significant damage.
(Image credit: Paul Grele)
Best for weatherproofing
Number of patches: 6
Glueless: Yes
Extras: Abrasive sheet, space for a chain link
Today's Best Deals
+
Waterproof
+
Space for a chain link
+
Six colour options
The Topeak Rescue Box provides a compact, waterproof aluminium casing (in six colour options!) that helps keep your puncture repair goodies contamination-free.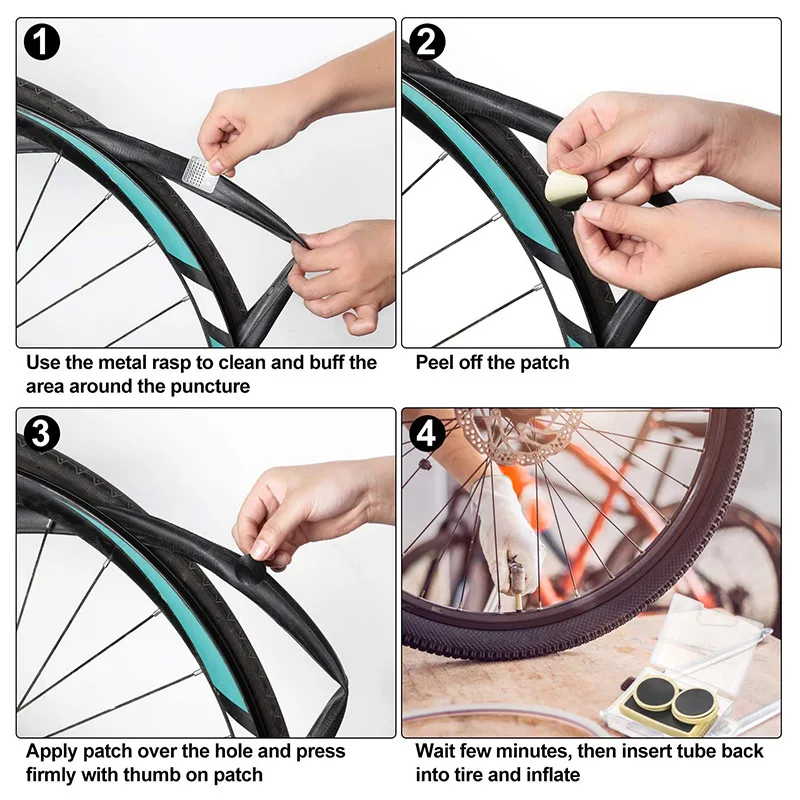
Open it up and there are six glueless patches and a small abrasive sheet. The box also has a divider that gives you space to keep a spare chain link and a couple of chain pins, so you can make running repairs to your chain too if you're carrying one of the best multitools with a chain tool attachment. At 18g it won't weigh you down excessively either.
(Image credit: Paul Grele)
Well lasting repair solution
Number of patches: 6
Glueless: Yes
Extras: Scuffer
Today's Best Deals
+
Very tacky patches
+
Lasted well without wrinkling
Slime Skabs come in a case slightly larger than some of the others, but measuring 52mm x 38mm x 12mm and weighing 10 grams they're still easily pocketable. The patches are really tacky to the touch. The metal scuffer will last the life of the pack too.
The patches measure 25mm in diameter and applied nicely. After testing it was still stuck firmly and hadn't moved or wrinkled. It felt like a pretty permanent repair. One of the best on test but it is still an unpleasant product name!
(Image credit: Paul Grele)
Number of patches: 6
Glueless: Yes
Extras: Abrasive sheet
Today's Best Deals
+
Small & lightweight pack
-
Not as tacky as the name implies
The Rehook Gooeys patches came in a pack that was very similar in size and weight to the Park GP-2's and they were the largest square patches on test (just) measuring 26mmx26mm. This gives more glued area to contact with however, on a narrow 20-28mm width road inner tube, the patch overhung the tube edges. I needed to roll the patch around the tube to get it to stick on fully.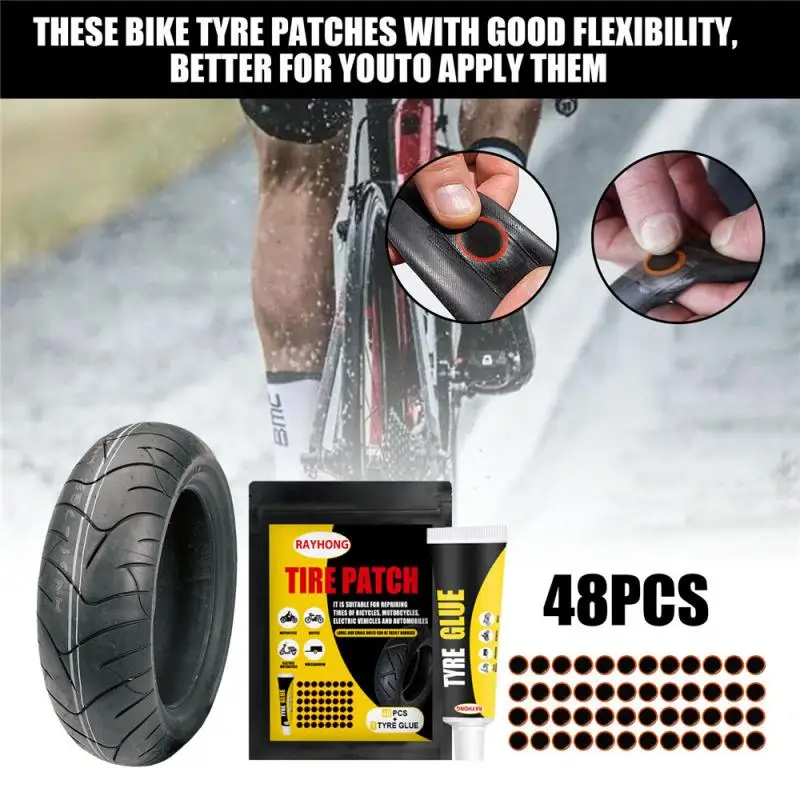
The patch held pressure throughout the test but on checking the inner tube afterwards the edges of the patch hadn't stayed glued. The central section (over the hole) had though. So it did get me home, but would've probably needed another repair to keep reliable.
Sometimes the body of the tyre gets a hole which needs fixing to get you home, and this is where a tyre boot can help out. They are applied inside the tyre between the tyre and inner tube (if used) and can stop that hole or slash from allowing other road debris into the tyre causing further problems.
If you have any tubeless sealant inside the tyre carcass it must be thoroughly cleaned off first as the glue won't stick otherwise. I used a Clean Streak aerosol cleaner which worked well and all 3 patches stayed put during the test.
(Image credit: Paul Grele)
Great tyre repair patch
Number of patches: 3
Glueless: Yes
Extras: None
Today's Best Deals
+
A great 'get you home' tyre repair patch
-
Quite large and may need to be cut down
The Park Tool TB-2 are quite large at 45mm x 75mm but I cut one down to roughly 45mm x 30mm to fit it into a 25c tyre.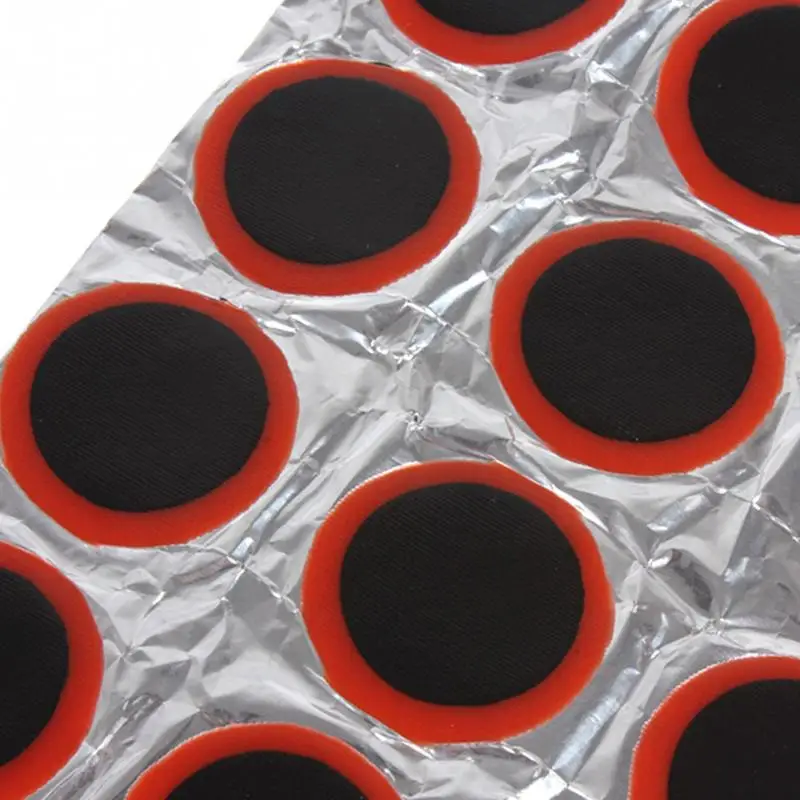 It stuck well (after thoroughly preparing the tyre) and it held well throughout the test.
It would certainly be a useful thing to carry one with your spares while out riding and leave the other two at home. Park Tools say that the "TB-2 is designed for emergency use. A patched tyre should be replaced as soon as possible" which is sensible advice.
(Image credit: Paul Grele)
Best traditional glued tyre repair
Number of patches: 4
Glueless: No
Extras: Scuffer and crayon
Today's Best Deals
+
Patch applied nicely and stayed put
-
Would like some chalk
The Velox Tubeless Repair Kit uses vulcanising glue and patches to repair the tyre. You'll need to ensure that the tyre is well prepared and clean before glueing but the patch went on easily and stayed in place for the ride.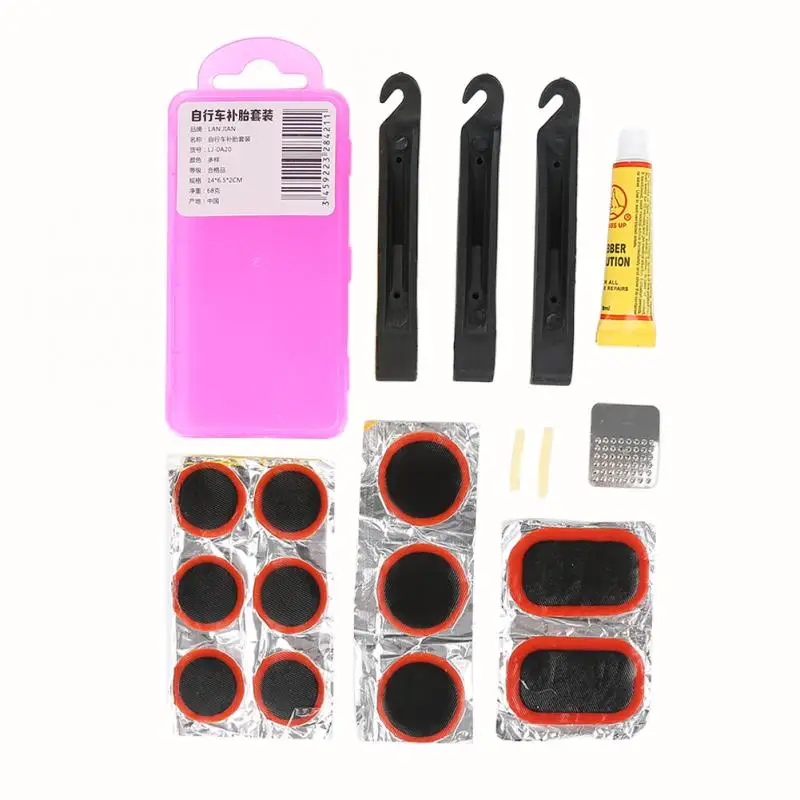 It worked well.
The pack is quite big so it's more of a stay at home repair set I'd say. I would've liked to have had some chalk in the kit as you'll need to dust the repair afterwards to stop an inner tube sticking to the glue/patch.
(Image credit: Paul Grele)
Best pre-glued tyre boot
Number of patches: 1
Glueless: Yes
Extras: None
Today's Best Deals
+
Included in the Lezyne Smart kit
+
Worked well
-
Empty List
The Lezyne Smart kit (inner tube repair mentioned above) also includes a tyre repair patch. It was the only kit on test to do this. The patch measured c. 50mm x 30mm and it applied to the tyre well. It was reassuringly sticky and stayed in place for the ride. As with the others on test you must ensure that the tyre is prepared well and is clean for the best adhesion to occur.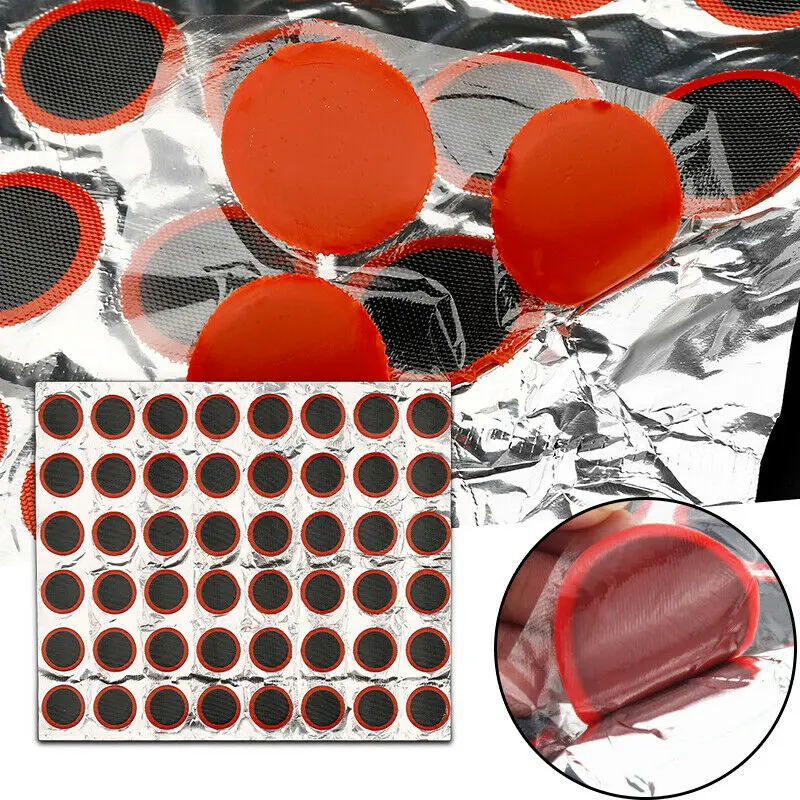
As the Lezyne kit has both a tyre boot and inner tube patches, both of which are the match for anything on test, it comes highly recommended.
The main choice with the best puncture repair kits is whether to go for the traditional patches that need a separate tube of rubber solution or the newer glueless patches.
In our experience, patches which need to be glued on give a more durable repair than glueless patches. But for on-the-road repairs it means more to take with you, while the rubber solution itself is emblazoned with Harmful notices in big letters. It probably won't hurt you much the amount most cyclists will be using it, but it's something to bear in mind.
The other consideration is that the solvent in rubber solution will dry up quickly. A sealed tube has more longevity, but once opened you may find that it's either a viscous liquid or solid by the time you want to use it again. Even a sealed tube can dry out, particularly if you let it get hot.
Most glueless patches, on the other hand, have almost limitless longevity, so they'll be there for you when you do get that puncture. They're also a lot more compact than kits with glue, so they're much easier to carry around.
Most patches are round, but glued kits often contain oval patches too. These tend to be of limited use - almost all punctures are point piercings of your tube, so a round patch will work just fine.
You shouldn't need a large patch either, provided you get a good seal, although glueless patches tend to be less airtight than glued ones, so some extra material around the point of piercing may be helpful. A larger patch will also help if you don't aim well and the actual hole is off-centre from the patch.
One case where a larger, oval patch might be better is a "snakebite" puncture, caused by the tyre bottoming out on the wheel rim. You'll see two parallel cuts a few millimetres apart. Here, a slightly larger patch should work better.
Almost all repair kits contain either sandpaper or a metal scuffer to roughen the tube around the puncture before you try to stick a patch onto it. Use it, as it will remove any contaminants on the surface of the tube and the rough surface will adhere much better to the patch. Just don't abrade so hard that you make another hole in the tube.
Round up of today's best deals
Park Tool Super Patch Kit
£4.49
View
See all prices
LifeLine Puncture Repair Kit
£4.99
View
See all prices
Lezyne Smart Puncture Repair Kit
£3. 99
99
View
See all prices
Topeak Rescue Box
£6.99
View
See all prices
Reduced Price
Slime Skabs
£4
£3.45
View
See all prices
Rehook Gooeys
£7.99
View
See all prices
Park Tool TB-2
£4.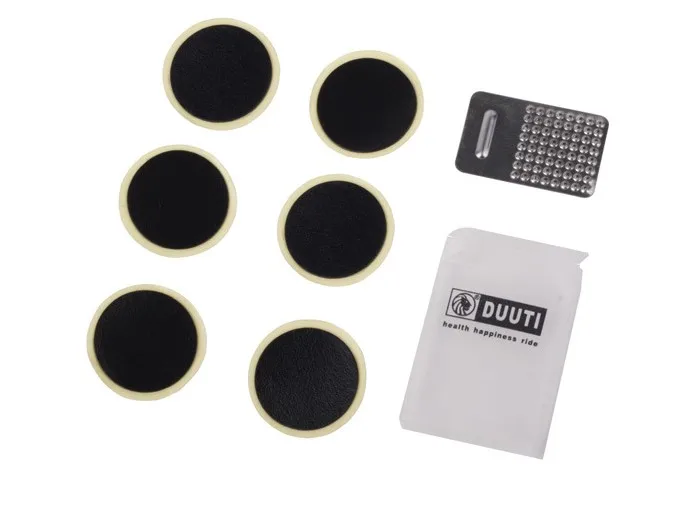 99
99
View
See all prices
Lezyne Smart Patch Kit
£73.82
View
See all prices
powered by
Paul started writing for Cycling Weekly in 2015, covering cycling tech, new bikes and product testing. Since then, he’s reviewed hundreds of bikes and thousands of other pieces of cycling equipment for the magazine and the Cycling Weekly website.
He’s been cycling for a lot longer than that though and his travels by bike have taken him all around Europe and to California. He’s been riding gravel since before gravel bikes existed too, riding a cyclocross bike through the Chilterns and along the South Downs.
Puncture of a bicycle inner tube is a nuisance that has happened to every cyclist at least once. Let's talk about how to seal a bicycle chamber at home, how to choose an adhesive composition, how to accurately find out the puncture site.
If you have a long and long bike ride, it is advisable to take not only a set of tools, but also additional "rubber". In case of accidental violation of the integrity of the cycle chamber, you can quickly replace it and continue the journey. The algorithm for removing a bicycle tire is as follows.
Do not use wooden or metal objects when removing a tire. The former may have burrs. And the metal can damage the coating of the rim, so that the amount of gluing will increase. Do not use sharp objects either, as both the tire and the camera may be damaged.
 Put the remaining tire bead back in place;
 This task is not as simple as it might seem. It is somewhat simplified if we take into account that most of the damage occurs in the lower 2/3 of the total height of the chamber. But there are exceptions: damage to a broken rim tape or metal threads of a bicycle tire cord.
Find damage at home, for subsequent gluing, you can use these methods.
 As in the previous description, it is desirable to pre-increase the pressure inside the rubber; nine0006
 Please note that not all compounds are suitable for sealing punctures in bicycle inner tubes. Consider a few win-win options for home repairs.
Many bicycle companies produce special repair kits. The repair kit includes. nine0003
The composition of the adhesive is matched exactly to the material of the patches included in the kit. Not surprisingly, gluing with other materials can be ineffective. The amount of glue is strictly calculated on the number of gluing.
Despite the prejudice against Chinese products, these bicycle kits have performed quite well.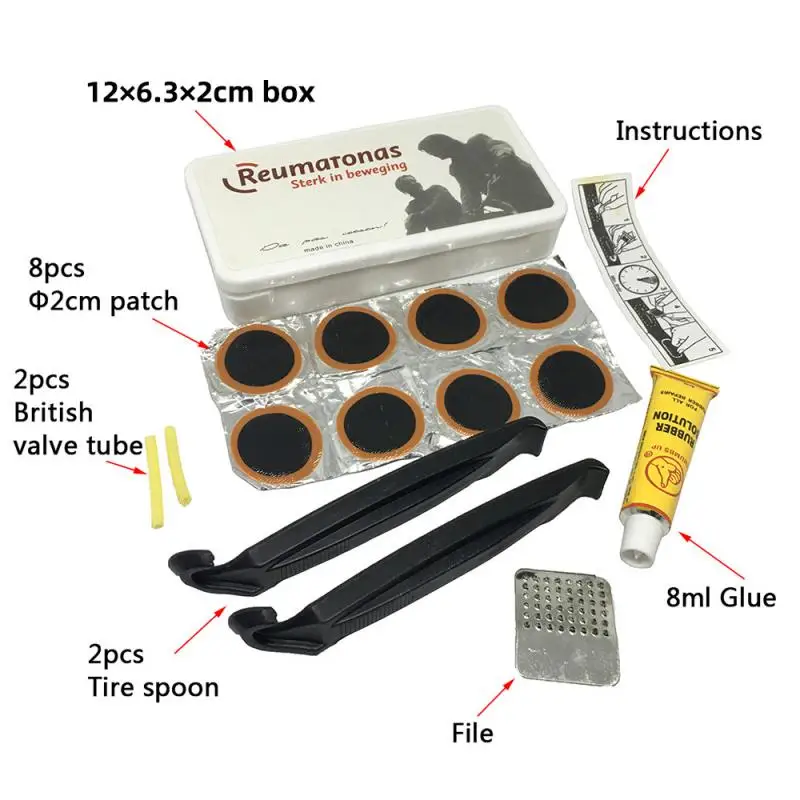 And, in comparison with famous brands, the cost of Chinese bike kits is much lower. But there is also a minus. The gluing kit includes only patches and glue, and the latter is clearly not enough. nine0003
Of all the sealing options, this is the least reliable. As an adhesive, you can use any rubber adhesive. The latter must be selected so that it does not burst on the bends when gluing. As for the reliability of gluing, here it is pure luck. As they say, at your own peril and risk.
This is a good and reliable method, but only if you contact a good bicycle repairman. It is rather difficult to carry out vulcanization at home on your own; out of habit, there is a risk of hopelessly ruining the bike chamber. In the field, this cannot be done at all.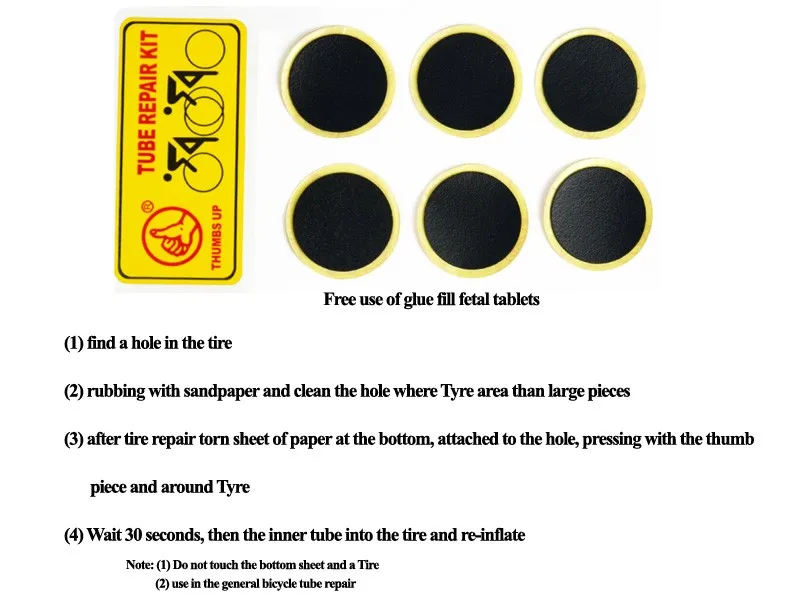 nine0003
So, you have found the place where the bicycle rubber was damaged. Now is the time to start repairing at home and seal the damage. This is the order of gluing.
 Pay attention to the indicators indicated in the instructions: the duration of exposure to air and the period of time required for the complete polymerization of the adhesive;
 Many people say that you can ride a bike immediately after sealing, but it is advisable to wait about half an hour.
So, you did everything right, but the camera still deflates over time, despite the sealing. The reasons may be the following.
 You can detect them by applying a soapy solution to the nipple. If characteristic bubbles are found, tighten the nipple with a key;
 A few words about prevention. To minimize the risk of punctures and frequent sealing, maintain the working pressure in the bike's chambers at the required level and change tires in a timely manner as they wear out.
Most Read Articles
Skip to content
Admin Auto bike
On the road, punctures often occur if you make frequent rides. Therefore, this method of puncture repair can be useful in such an emergency when it is not possible to get to the house or workshop quickly. nine0003
The method of patching the camera shown in the video below is very simple. The repair is done without removing the wheel. You need to turn the bike over, remove one side of the tire from the rim. Next, remove the part of the chamber on which the puncture was found and perform standard actions that do not need to be described in detail. Everyone knows about them.
Clean the area with sandpaper, a knife blade or a piece of glass (whatever is at hand), apply a layer of glue to the camera and the patch, let it dry a little if this is indicated in the instructions and press firmly. nine0003
Items for inventors Link to the store.
What is the peculiarity of the method? If the puncture is in a place that is directed frontally to the road, then when driving, the patch will be pressed against the tire and this will help bonding. If on the side, then you need to wait a while and keep the patch under pressure for this time.
Contents
Every self-respecting cyclist should know how to fix a puncture. No spare chamber, no repair kit, no pump? Don't panic with our 9 step by step guide0003
DIY electronics in Chinese shop.
Cyclist fixing a puncture. Photo: Alamy Punctures are an integral part of cycling, so you need to know how to fix them. It's a lot easier if you carry spare tubes and a puncture repair kit (patches, sandpaper and grout), a pair of tire levers and a pump on every ride.
Contrary to popular belief, you don't need to remove a wheel from your bike - or even a tire completely off the wheel - to fix a puncture. nine0003
First, you need to get a punctured tube from a tire. Turn the bike over, grab your arms and hook the first one over the tire bead. Press down to secure the tire to the edge of the rim. Take the second tire arm and do the same for about 15 cm. This should allow you to slide one of the tire arms around the rim, pushing the rest of the tire edge out. If not, use the third tire lever.
Once you have one side of the tire completely out of the rim, you can pull the tube out, leaving only the area around the valve in place. Check to see where the hole is. The easiest way is to pump air into the tube and then immediately listen and feel where the air is. If you're at home, you can use a bucket of water, submerge sections of tubing, and look for telltale bubbles. nine0003
Don't forget to check the bus and remove whatever caused the flat in the first place. If there is no obvious glass shard, spike, or nail protruding from the tire, then carefully run your finger around the inside of the tire. If you still can't find anything, you can align the inner tube with the tire to get a rough fix on the offending area. You really want to be satisfied that you've taken out the culprit - there's nothing more depressing than getting another puncture five minutes down the road. nine0003
Once you find the hole in the tube, mark it with a pen or chalk if you lose your place. Use a small piece of sandpaper to lightly rub the puncture to provide a better surface for the rubber grout. Apply glue to the tube - just enough to cover the size of the patch. Leave the solution for a minute or two to get tacky - if you add the patch too early, the repair won't work. Pull the silver foil off the back of the patch and be careful not to touch that side as you don't want to get it dirty. Place the patch over the hole and hold it in place for a minute.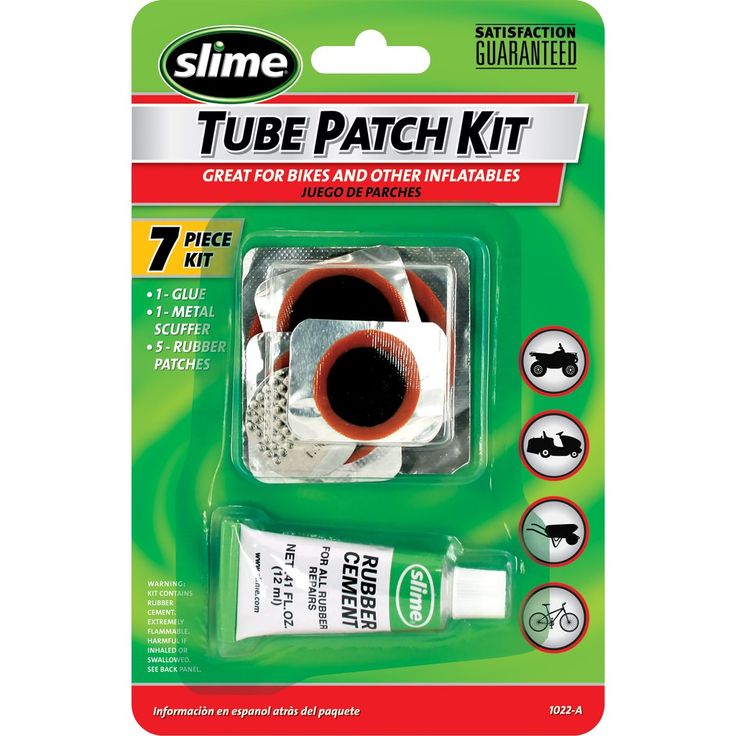 You can leave the paper attached to the side, but if you want to remove it, make sure you let it dry for a few minutes first. nine0003
Pump some air into the tube to check that the repair is holding up and to avoid puncturing the tube between tire and rim. Insert the tube back into the tire and turn the tire back on. If you use tire levers here, be careful not to pinch the tube or you risk another puncture. Fully inflate and you're gone.
It's faster and more reliable - although more expensive and wasteful - to change the camera. Many serious cyclists carry two spare tubes and a mini-repair kit just in case. This time you need to remove the wheel first. Pull out one side of the tire as above and remove the punctured tube. Again, be sure to check the tire for what caused the puncture and remove it. With one side of the tire still on the wheel, inflate the new tube slightly and push it into the tire. You can use the tire levers to get the other side of the tire back around the rim, but again, be careful not to pinch the tube. Put the wheel back on the bike and you're gone. The whole process should last no more than five minutes, once you've done it a few times. You can fix the damaged tube when you get home if you like. nine0003
You can remove most tires without levers. Allow all the air to completely exit the chamber and make its way through the tire with your thumbs, pushing into the center of the rim. Flip the tire over and do the same on the other side.
With your hands at a quarter to three and the rest of the wheel held against your hips, work both hands on the tire in the 12 o'clock direction, pushing the tire in the 12 direction, up and back until the bead catches the edge of the rim. You can use the heel of your hand to push harder if you need to. Once you have the first section, the rest comes easy, but note that some tires are tighter than others and it's generally easier to leverage. nine0003
If you find yourself without a spare inner tube or find yourself running out of patches, you can tie a knot to seal off the hole in the tube.