Advanced Distributors offers a comprehensive distributor rebuilding service for ALL Lucas distributors, as well as most collectors and antique vehicles (no Ford or John Deere!!!) Our rebuilding service is the most comprehensive available, despite our bargain pricing. Besides Lucas, we also rebuild Bosch, Delco, Prestolite, early Auto-Lite, and many other distributors on a regular basis. Other brands are welcome by inquiry!!!
If you don’t see your vehicle listed, don’t despair! Chances are good that we DO work on them, and probably have a performance ignition curve designed to suit your particular engine! Give us a call and we can talk about your options!
Our rebuilds all start with a thorough cleaning of every component. I’m not talking about just running them through a parts washer or degreasing them – they must look new to perform new. Only at this point can accurate measurements be taken to perform all the machine work necessary!
From here all the parts are machined as necessary to eliminate play, slop, wear, whatever you want to call it until a precision assembly is fitted back together. This is NOT your typical rebuild where parts are just cleaned and reassembled. The factory tolerances go out the window. Every distributor built here is a hand-assembled masterpiece specifically assembled for its intended vehicle!!!
The last step of a rebuild is choosing appropriate advance springs, tailoring the amount of advance, and testing the distributor on one of our 13 Sun machines. It will be fitted with its fully rebuilt breaker plate, and points will be installed in most cases for tuning. I do not sell electronic ignition conversions, as there are numerous side-effects that you are better off without.
Recurve!!! This is our true specialty! to “recurve” a distributor is to get the timing exactly correct at every single rpm possible, not just at idle. This allows your engine to rev freely through its RPM range much faster and more efficiently than ever before. This is done in many ways, most frequently by replacing the advance springs with our custom designed springs, and changing the amount of total timing. Here’s a pic of a very small portion of our inventory – some properly prepared 25D weights, DM2 weights, and a few of our most popular advance springs (over 2000 springs in those little containers!) We use the industry standard Sun 400, 404, 504, 680, and MDT distributor machines, and keep a Snap-On Distrib-U-Scope as a backup!
Vacuum Advance Rebuilds!!! We can rebuild your Lucas vacuum advance to new specifications! Starting at just $30, we can install a new fuel resistant diaphragm to bring your advance mechanism back to life. Shown below is our basic service, re-plating as available.
I no longer rebuild other brand vac units.
Cracked Housing Repairs!!! We can repair the common crack found at the clamping ring of many 25D distributors. We machine off the broken portion and press fit a laser cut steel ring in place of it. The steel ring is bonded to the housing, positively engaged with internal tabs to prevent rotation, and absolutely crush proof, no matter how bent your distributor clamp is!!! Shown below is a before/after shot. Please also send in your bent clamp for repair!!!
Distributor finishes: We have a polishing machine that allows us to give a beautiful finish to your distributor housing! Shown below on left, machine and manually polished, middle is our standard finish, right is everyone else’s glass bead finish. There is no issue with media impingement and the finish is more consistent than hand finishing. The pictures don’t to it justice. My photography skills are pretty poor, but you get the idea! All alloy bodies get machine polished like the center photo, the process can be tailored for a small extra charge in most cases.
We’re constantly striving to find new ways to improve your distributor. We have quite a few tricks up our sleeves, and can probably tackle any issues you may encounter!
Setting timing:
One of the most common question I get is how to set timing to a figure that’s not within the timing marks on my engine. The real answer, upgrade to a dial-back timing light. The way they work is by entering your timing setting (such as 14 BTDC) into the timing light via a knob or buttons, then proceed to line up the TDC marks on the pulley. The timing light automatically offsets the light to take advantage of your existing marks. Some engines like the TR4 only have marks for 10 BTDC, so if you want to set your timing to 14, you use the figure of 4 degrees at the light for 10+4=4. Simple timing light, simple math. Most auto parts stores will loan you a premium quality light for free if you don’t want to buy one.
Spark plug wires:
Testing plug wires is as simple as using an Ohm meter. Google the process if you’re unfamiliar or buy a copy of Rick Astley’s electrical book based on the MGB, but it carries over to all British cars. The fundamentals are good with any car. Plug wires operate their best with a resistance value below 5000 Ohms, preferably under 1000 Ohms per wire. Resistance in the carbon brush inside your distributor cap should read zero Ohms. Zero Ohms in the plug wires is good, but having some resistance actually drives up the output from your coil, resulting in a hotter spark at the plug. More is not always better. 1000 Ohms per wire is the sweet spot that gives strong voltage while not stressing your tune-up parts into premature failure.
Ignition coils:
All points type distributors need 3 Ohms of resistance in the coil’s Low Tension (LT) circuit (the 12V circuit as opposed to the HT plug wire circuit at 12000+ Volts.) Think of LT/HT as low volt/high volt. You can run a 3 Ohm coil fed with battery voltage or you can run a 1.5 Ohm coil with a 1.5 Ohm “ballast resistor” (meaning an external resistor) to equal 3 Ohms. They are additive. Some ballast resistors are ceramic and mounted on or near the coil, others are ballast wires hidden in the harness. Every 1.5 Ohms results in approximately a 2V drop at the coil, which you can measure with a volt meter if you are unsure if you have a hidden ballast wire. In the end, your points will be protected and will be reliable if you have 3 Ohms resistance in the LT circuit. Anywhere up to 4 Ohms is ok. You’ll find many 3 Ohm coils actually measure at 3.4, and that numbers rises with temperature. Its ok. Just get in the 3-4 Ohm ballpark and you’ll be good.
Advanced Timing:
Getting your car to run its best will mean experimenting with timing. Don’t believe what you read on the internet regarding timing. 32 degrees is not a magic number. No engine has a magic number. What worked in the 60’s no longer works, as fuel has changed WAY too significantly, even if you use premium non-oxy. It all has additives for EFI high pressure pumps and anti-foaming. Experimentation will result in finding the sweet spot where your engine runs its best. I like to shift timing settings in 3 degree increments and go for a drive. Your butt dyno should be able to tell you if there’s a change of 3-5 hp, if you know your car well. Find the point of most power, without any audible signs of detonation or shift in engine temps (typically up). If you make big changes by adding more timing, you may also need to add more fuel to balance out the fuel mixture. A sign of lean fuel mixture would be rising engine temps and/or popping through the exhaust while maintaining cruise speed with a steady throttle position. Numerically low timing settings result in sluggish off-idle performance as well as warmer than normal coolant temps. High timing settings results in poor drivability displayed in many different ways but usually a general loss of power over the entire rpm band.
Using an Air/Fuel meter:
Adding an oxygen sensor and gauge to your car has become inexpensive and is a great option for tuning your mixture precisely. I recommend a temporary install such as Innovate Motorsport’s tailpipe clamp for $80 in addition to their LM-2 system or many other portable options on the market. All of these systems have some level of skew, so the readings are guidelines – different for every car but there are some generalities. Typically, all testing should be done in a safe place, at WOT (wide open throttle). A good place to be for a non-boosted car is 12-13:1 AFR (air fuel ratio) during WOT use only. Some engine prefer the low side, others the high side, with variations for compression, carbs of choice, air velocity, port efficiency, etc… The trick is to experiment enough to find where your car runs its best and document those settings. This is dyno technology for the street, at a lot less than $100 an hour investment. The tailpipe clamp means you can tune all your cars, friends’ cars, club member cars, etc… Generally speaking, idle will land around 13:1 on a “wet manifold” car, meaning a carb will spray fuel into the air present in your manifold, unlike EFI where most systems leave the manifold dry and fuel is sprayed directly into the cylinder head. Your modern car may show a constant 15:1 AFR, due to the fuel injection placement, much more efficient at utilizing fuel than a carb. I’ve found that your idle mixture is correct when it doesn’t have a stable display – it will bounce from 12.
 5 – 13.5 in a way that allows you to see each exhaust pulse and some reversion between the pulses where fresh air pulls back into the tailpipe between exhaust pulses. A 3/8″ OD extension tube can be slipped into the tailpipe clamp to get readings further up the pipe, somewhat stabilizing the reversion readings at idle.
Installing a distributor in a disturbed (rebuilt) engine:
This may require an extra set of hands or a compression gauge. Turn the engine over from the crank bolt, with either a finger over the #1 spark plug hole, or with a compression gauge in the hole, until you see or feel the compression build in the cylinder. Since its a 4-stroke motor, the exhaust stroke will come up to TDC and build no compression, while the firing stroke comes up to TDC and DOES build compression. When you know you are on the compression stroke, turn the engine CW until you get to your timing setting, such as 15 degrees BTDC, and stop there. Do not back up to get there, turn the engine 2 more full revolutions to get back to that spot, always turning CW as you look at the front of the engine.
At this point, put a spark plug in the #1 plug wire, or use a clamp-style spark tester in the wire, and properly ground it to the engine. Make sure the distributor is properly installed with the rotor pointing roughly to the #1 spark plug wire terminal. Correct as needed. Loosen the distributor clamp enough so you can turn the distributor, and grab some welding gloves. Turn on the ignition key. Turn the distributor housing the opposite direction the shaft rotates, wearing the gloves or you’ll get shocked. You should see a spark at the plug. Turn it back past the starting point, and quickly repeat. You should be able to pinpoint the moment/position when spark happens at the plug. Turn off the ignition, and lock down the distributor clamp. Reinstall your #1 spark plug. If you have fuel present, the engine should start and run at the proper timing setting. Recheck with a timing light to confirm its set as you intended. This will work for points or most electronic ignitions, with the exception of some HEI-type systems that require a faster shaft rpm to develop a signal. This works beautifully on virtually all collector cars built before 1975.
Points or Pertronix?
This is one of the most frequently asked questions I get. My answer is almost always points, for performance and reliability, but it depends. If you have a distributor that is severely worn and the dwell angle refuses to stay stable, an electronic ignition will stabilize your dwell, providing better drivability. EVERY TIME this happens, every time you hear a story of a car running much better from installing electronic ignition, its because of this single factor. It was installed into a distributor that needs to be rebuilt – not cleaned and reassembled. Rebuilt. Most people don’t understand the difference because they don’t know what clearances are required or what advance curve is required to make their car run the way it used to run on leaded fuel of the decade the car was produced. In fact, most people don’t understand much about what the distributor does, and that’s ok. Just know its a critical function like valve timing or compression values, and if its wrong the car can run downright mediocre or worse. If you’re reading this, I know you want better than mediocre.
There are also a few cars that aren’t worth the effort to remove the intake assembly to get to the distributor, or cases where losing 10% power just doesn’t matter, although remember that when you give up this power, you are forcing your engine into a poor state of tune that can have other ramifications, such as fuel in your oil. The Lotus twincam comes to mind as one of those applications where access downright sucks. Then again, its a VERY expensive engine to rebuild, so the extra labor is worth it in many cases.
Here’s the biggest reason electronic ignitions don’t belong inside a distributor. Low voltage electronics do not work consistently when they are installed next to a high voltage source, unless you have plenty of room to install shielding, and even with that possibility, its rarely 100% effective.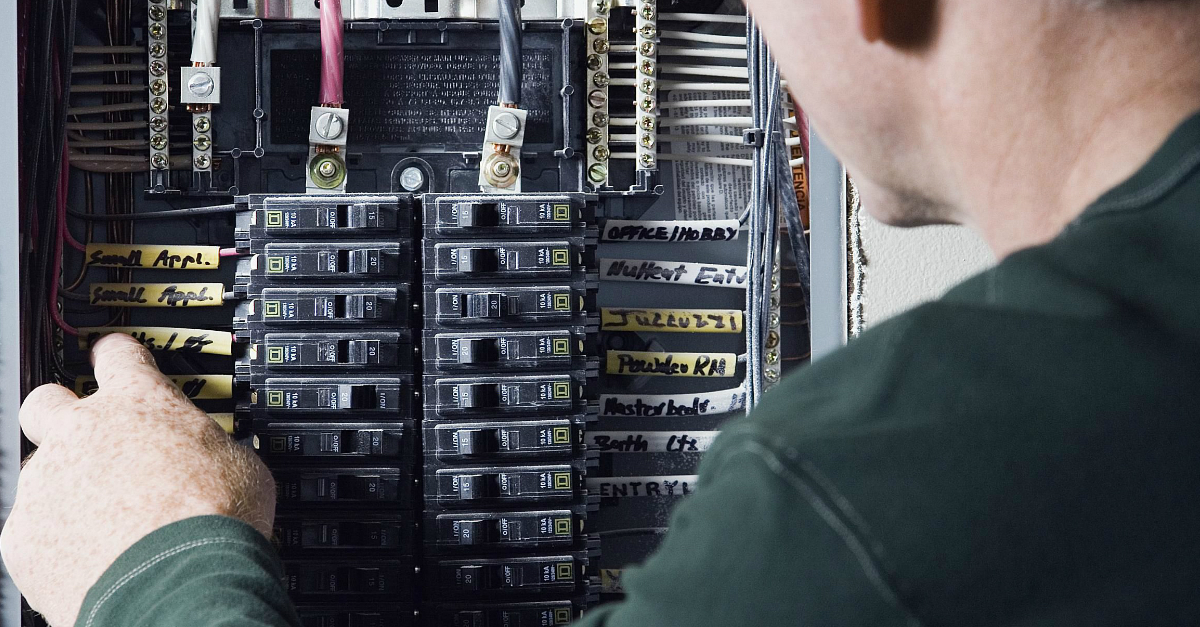 Inside your distributor spins a rotor, which throws an arc to each cap terminal, up to 50 times per second in a street car, 200 arcs per second in a 4 cylinder, 300 in a 6, 400 in an 8. This 15,000 Volt arc jumps within a couple inches of the 12V module that’s looking for a tiny magnetic or optical signal. Many times a second, an extra signal can be generated or one can be skipped. Even if the “misfire” rate is only 1 in 500 (usually its higher than that), you can be down 3, 5, 10 hp. I’ve seen a TR6 lose 39 hp on the dyno from installing an electronic ignition with no other changes. You’ll see this happen more on a chassis dyno than in an engine dyno cell since the alternator or generator, car wiring, and many other factors can turn the engine bay into a Faraday cage amplifying the problem – as if the distributor cap itself doesn’t already make a good Faraday cage. Other types of misfires, high resistance plug wires, improper or mediocre grounding, 5kOhm spark plugs (resistance type), and countless other common “issues” in collector cars can amplify issues when using ANY electronic ignition.
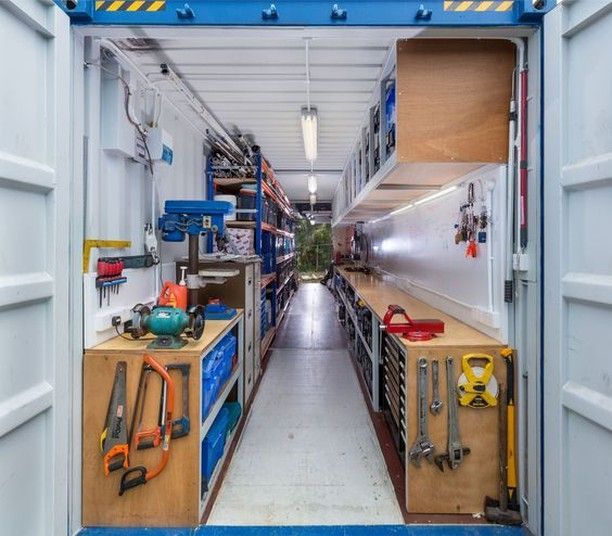 Which one works perfectly? Points. They are a simple on/off grounding switch that rarely have issues. Yes, points need to be adjusted, but the adjustments are easy and only take a few minutes a year if you follow the simple guide below.
Adjusting points: breaking myths:
This used to be a simple monthly maintenance item, but has become a fear invoking, menacing, time consuming issue because people have just forgotten how to do it well. Here are a few simple tips to not only make it easy, but reduce how frequently you need to make adjustments.
If your manual says the point gap should be .014 – .016″, That DOES NOT mean set them to .015″. Never, ever. Points wear out over time. Set them to .016″, let them wear down to .014″, and repeat. In fact, my recommendation is that for many reasons including wear, play, slop, poor tolerances, you can set the point gap to .017″ or even .018″ and go from 3000-7000 mile intervals between adjustments. There will almost always be a break-in interval of 500-1000 miles, requiring an adjustment, similar to how you need to readjust valves or retorque a head gasket 500 miles after an engine rebuild.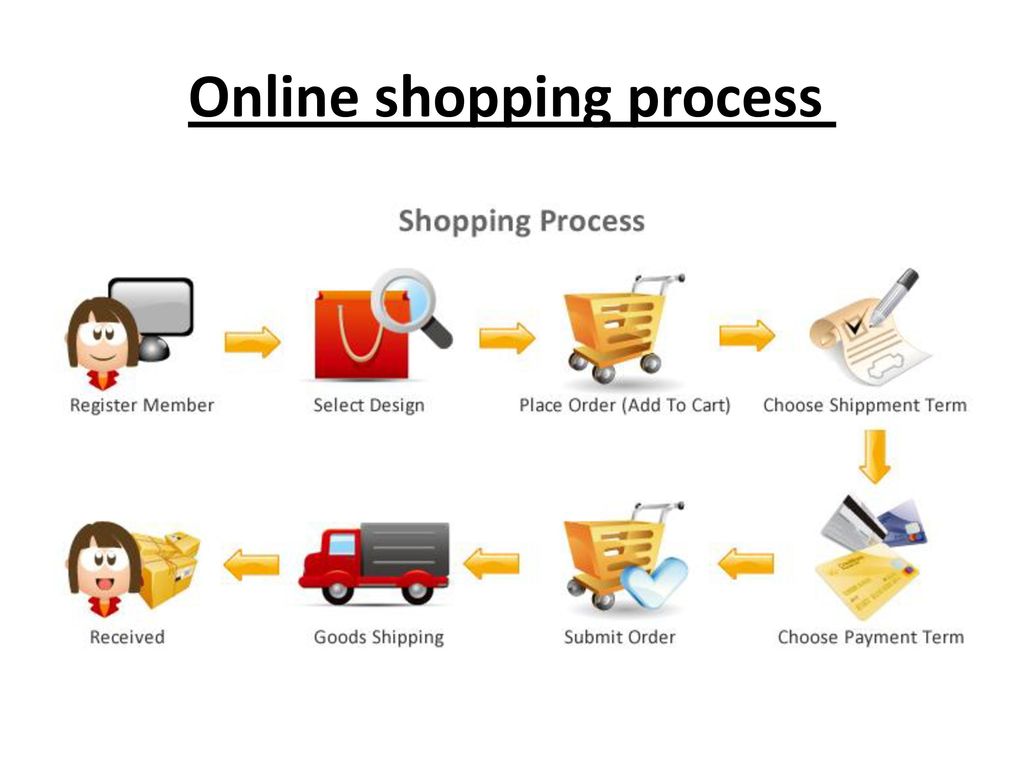 The key is to file and reinstall the same points, not new ones, for as many years as you can. You will get significantly longer adjustment intervals from a broken-in set of points than continually replacing them with new ones. Its not unusual for me to see a 50 year old set of points in an MGTD that outperform new replacements and appear to be good for another 50 years with a peak rpm of 7000+ engine rpm before bouncing becomes an issue.
Filing points can be done with a $2 point file from Harbor Freight or anywhere that has automotive tools. Don’t use sandpaper on points as it can leave behind a layer of silicon and any resistance is not good – from residue or corrosion. An arc will eventually burn through it, but avoidance is easy. Occasionally I use a cut-off wheel to resurface badly pitted points, then file to clean.
As the exclusive representative of Comrade in Russia, we boldly declare that Comrade means quality, reliability and high profitability in the sale of this equipment.
Each model is aimed at a specific market segment, a wide range of accessories is produced, You can always choose an individual configuration for the needs of any client. We constantly carry out market monitoring, we release new models of radio stations and accessories.
We hope that our cooperation will be long-term and fruitful.
As the exclusive distributors of the Comrade brand in Russia, we guarantee low purchase prices for equipment.
Maximum customer coverage, from inexpensive to high-end professional equipment.
From simple behind-the-ear headsets to bone laryngphones. Always available, spare batteries, chargers, including car chargers, as well as replaceable antennas and other accessories.
Comrade guarantees long-term trouble-free operation of radios and provides a 2-year warranty on portable transceivers. Fewer returns means higher customer confidence.
Being the exclusive distributor of Comrade, we provide all customers with free repair of warranty radios in our service center or exchange for new ones. You do not need to deal with repairs, customers contact our service directly.
For any questions on configuration selection, installation, maintenance, etc., our customers and partners can receive qualified technical support by phone and e-mail, contacts are listed on the feedback page.
We constantly maintain sufficiently large volumes of radio equipment in our warehouse. More than 10,000 radios, 5,000 components and accessories are always in stock and ready for shipment.
Compliance with the recommended prices for products by partners is a very important aspect for us in trading, as it allows us to sell to all market participants on the same terms. With high sales, we provide advertising support, and the partner also becomes a member of our bonus program.
Our logistics department is always ready to deliver the order in a short time and at a convenient time for you.
Send a request for cooperation
comrade. fm. All rights reserved. ©
Rita
6 minutes
August 6, 2020
management sales
Before getting on the shelf in the store, the product passes through the chain from the manufacturer to the buyer. Distributor, reseller, dealer, retailer - these words hide intermediaries, whose job is to ensure that the product is ultimately purchased, but they make a profit. In this chain, the distributor is right behind the manufacturer, which makes this business especially attractive. We will talk today about how to become a distributor.
First, let's figure out who is a distributor and what he does . Often people confuse who is who in the world of intermediaries, and attribute to one the duties of the other.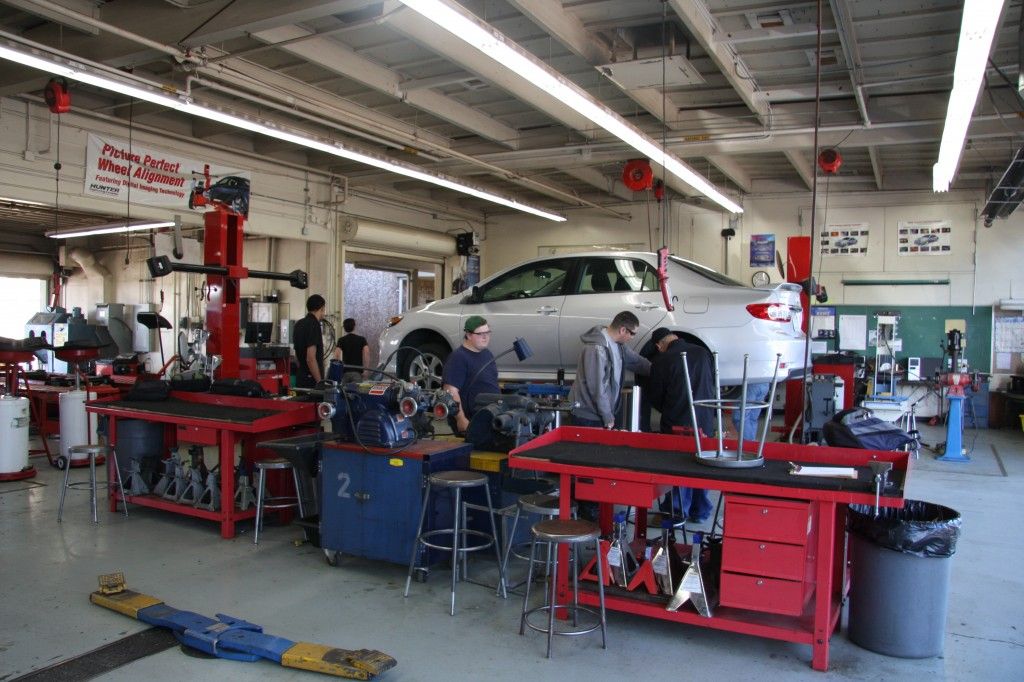 Therefore, a small educational program:
Distributor is the official representative of the manufacturer in a certain region. He contracts directly with the manufacturer and buys goods from him at a special price. This imposes on him certain obligations to meet sales standards, product range, etc.
A Reseller is a retail supplier who purchases goods in bulk from a distributor and then resells them in smaller quantities. Unlike the latter, it does not have such strict obligations to the manufacturer itself, and its implementation standards are lower. However, the distributor itself can act as a reseller.
Dealer is a seller who sells goods at RRP - the recommended retail price from the manufacturer. He also has sales standards, and he reports to the manufacturer on their implementation.
Retailer is also a seller who has more freedom than a dealer and sets his own price.
Both the retailer and the dealer work directly with end users - buyers, but they are optional links in this chain, however, like resellers. But the manufacturer cannot do without a distributor if he wants the product to be distributed and sold. However, some companies prefer to solve this problem on their own and distribute goods through their own regional offices, without involving third-party distributors.
The main task of any distributor is to ensure regular sales of the agreed volume of goods. We have already said that the chain of movement of goods from the manufacturer to the buyer may be different and not include intermediate stages. In other words, a distributor can sell products independently, without dealers and retailers.
At the same time, a distributor can represent several companies, which, of course, adds to his responsibility to each of them.
By the way, this is exactly how network marketing works, where all participants are essentially distributors. Their goal is to build as deep a structure as possible, involving other intermediaries in cooperation. The competition, however, is very high, because all the "colleagues" in network marketing are direct competitors.
The exclusive distributor of is the only official representative of the company in the territory assigned to him - in the region, region, country.
The position of such a representative is more stable: no one will "bite off" a piece of the market from him, there is an incentive to develop the manufacturer's sales network. Another plus is that the exclusive distributor has more freedom in setting the price of products: he is only constrained by the framework in the contract with the manufacturer. Accordingly, he can earn more and it is profitable for him to continue to remain an exclusive distributor.
Most distributor business processes can be easily optimized using RemOnline.
Try for free.
Distributor's profit is the difference between the amount he earned for selling the product to customers and the amount he spent on purchasing the product from the manufacturer.
On average in Ukraine, the distributor's margin is 10-30%, while its change entails a change in the market price of the goods. At the same time, the more popular the product, the more intermediaries are waiting for it on the way to the buyer and the lower the margin.
Another source of income for the distributor is bonuses paid to him by the manufacturer for meeting/overfulfilling the sales plan or for marketing services.
Of course, a distributor's earnings also directly depend on the niche and products he works with. Expensive goods will proportionally bring more profit, but you first need to invest in their purchase, and this is also not 3 UAH. Plus, signing an agreement with a manufacturer and buying products from him is just the beginning. There are other challenges for a distributor who wants to earn more and expand their sales network.
This includes transportation of goods and its safe storage . As we remember, the distributor pays for the goods himself, and therefore ensuring the safety of the products is in his interests. This means that you need to rent a warehouse (or use your own premises) and choose a reliable carrier.
It is also important to properly organize storage, especially when it comes to purchasing large quantities of goods. In RemOnline, you can automate inventory control, easily move items between warehouses and write off goods when sold.
In order to sell successfully, a distributor must not only maintain the existing distribution network, but also expand it, and also promote the product so that as many people as possible know about it.
You can share the costs of promotion and promotion of with the manufacturer . First, ask him for all available materials - brochures, photos, video reviews, etc. Second, discuss the possibility of partial reimbursement of marketing costs in your area. These may include the cost of contextual and banner advertising or participation in specialized exhibitions and conferences. Of course, all this should be spelled out in the contract.
If we are talking about the development of a new market where the company's products have not previously been officially presented, it will be necessary to find and establish our own sales channels , and the more of them, the better.
Depending on market readiness, the distributor has 2 ways:
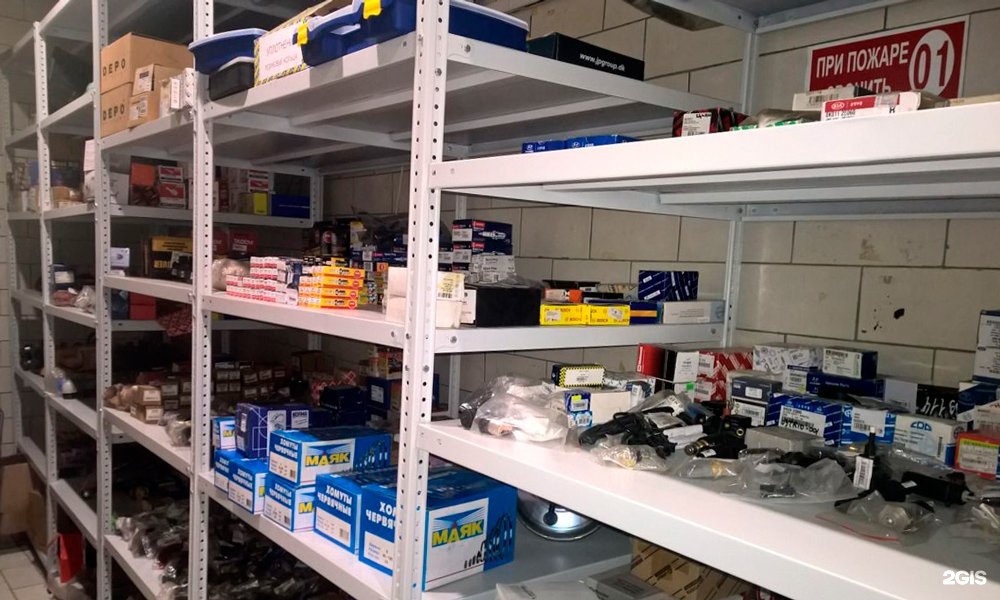
In any case, the distributor and dealer enter into an agreement that specifies the conditions for the sale of goods, supply plans and the price range for the end consumer.
If you decide to become a distributor, then first you need to decide what you are going to sell and whose goods it will be. Do a little research and answer the following questions:
Based on the answers to these questions, you should choose a manufacturer for cooperation. You can find companies that are looking for distributors in the region's business directories.
After choosing a company, send a request to the manufacturer with a proposal for cooperation. Ideally, you need to provide company with business plan . In other words, you need to describe how you are going to develop the sales network.
Further negotiations include discussion of the terms of cooperation. The parties conclude supply agreement and distribution agreement . These documents state the following:
This is just about the distributor's obligations, but the other party has them too.