It sounds like a tough job. How do you remove and replace a car tire on a rim? But, if you own a bicycle, you may be familiar with the process because its just about exactly the same.
The main difference between changing car tires and bike tires that are on rims is how easy the bike tire is to work with. While you can more or less twist the bike tire on and off with minimal tools and effort, removing the tire of a car, in the same way, might seem impossible.
That seeming impossibility disappears quickly when you arm yourself with the right removal tools for the job. And when you do, you can save money by swapping your winter tires for summers, and vice versa. Here are the steps to follow to change an automobile tire on a rim.
 The idea is to get the entire section of the tire between the pry bars over the outside edge of the rim. When you do, it should be easy to pry the remainder of the first edge of the tire over the edge of the rim.Turn the tire and wheel over. The edge of the rim should be outside the edge of the tire. Lift the rim until its bottom edge hits the top edge of the tire. Similar to how what you did on the first edge, get one pry bar into place between tire and rim and use the other to work around the tire.
You may still need to get the wheels balanced at an auto body shop, tire shop or service centre. But at least you won’t be paying for the entire job.
If you enjoyed this post, check out our recent article about how to boost a car.
This entry was posted in DIY, News, Tips. Bookmark the permalink.Over time and with frequent use, even the best tires will wear out. When your tires wear out, it’s best to change them as soon as possible, as worn-out tires reduce the vehicle’s efficiency in braking, increasing the chances of an accident.
Of course, to change a tire, you must remove it from its rim (or wheel). Removing a tire from the wheel is relatively easy and does not require highly specialized skills or equipment. It can be done manually, by hand or with a manual tire changing machine.
Removing a tire from the rim is a relatively straight forward process:
Here’s what you’ll need to remove a tire from a rim:
Place the tire on the ground or any level surface, and locate the air valve—a small rubber or metallic device. The valve has a cap, which you will need to take off (by twisting anti-clockwise) to reveal the valve core inside. The core is a metal cylinder in the valve, by which the tube in tire gets inflated, and removing it releases the air in the tire.
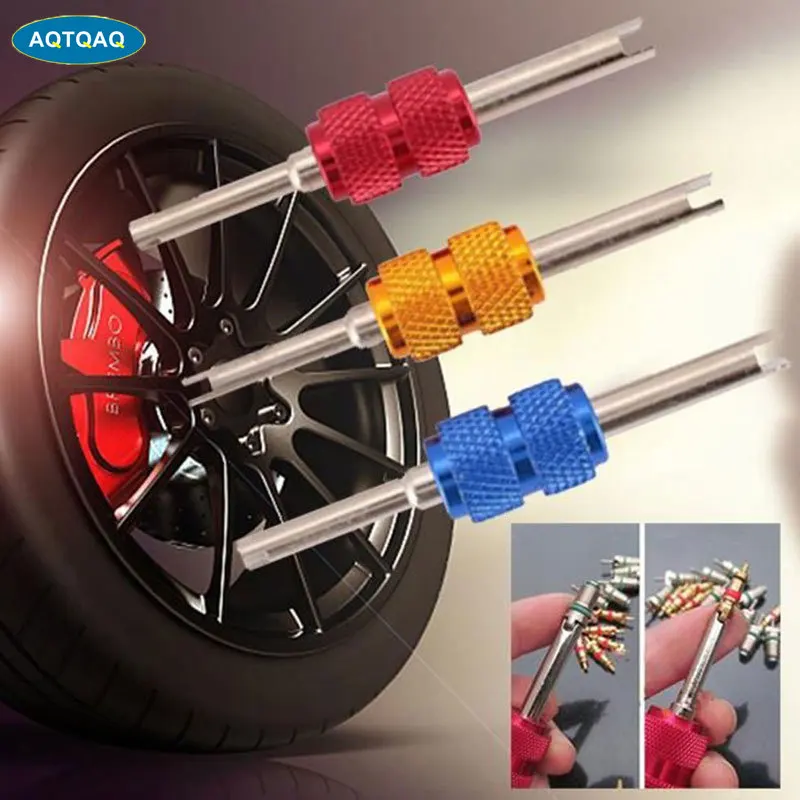
You will need to use a core removal tool to remove the core from the valve.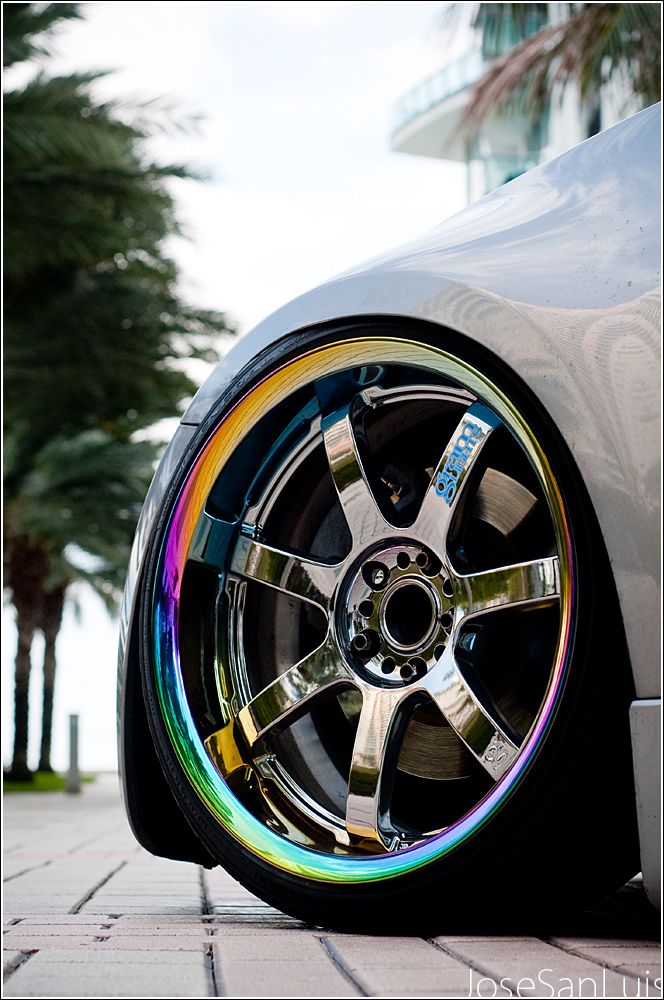 The tool is similar to a small screwdriver; you put the end into the valve and again twist anti-clockwise to let out the air. The tools are inexpensive and are available in auto stores and online.
The bead is the edge of the tire attached to the rim. When the tire’s air pressure is sufficient, it keeps the bead firmly attached to the rim. Therefore, deflating the tire and with the application of force, you can separate the bead from the wheel and remove the tire.
There are several ways to remove the bead after deflating the tire. Some of these methods include:
This method is perhaps one of the simplest ways to disengage the bead from the rim without using any additional tools. Set the tire on the ground and drive over the tire. Doing so forces the edge down and out of the groove.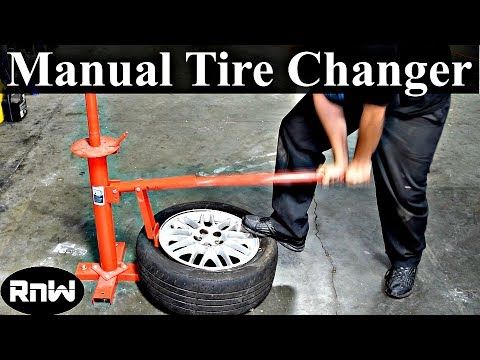
Sometimes you may need to repeat the process a few times before the bead breaks. However, take care to drive only on the rubber and not the metal, which may damage the rim.
Lowering a vehicle over the tire is another relatively simple way to break the bead. It involves raising the car with a jack and then pushing part of the tire under the vehicle. The car gets lowered, resting on the rubber right next to the metal wheel, consequently pushing the edge of the tire out of its groove.
However, do not attempt this method if you do not fully understand how to jack a car, as there are some technicalities involved.
You can also cut through particularly tough beads using a sharp knife. However, cutting through will cause largely irreparable damage to the tire. To cut, lay the tire flat on the ground, and saw along a section nearest to the edge, taking care not to veer toward the metal wheel to avoid damaging it.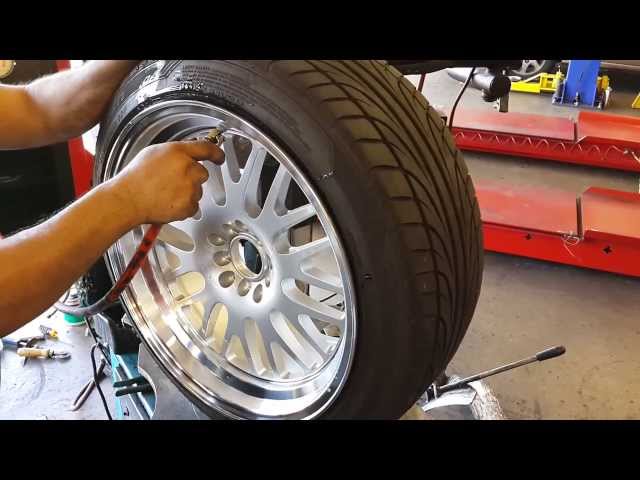
As the name suggests, a tire bead breaker is a tool designed to detach the tire from the wheel. This tool is the easiest way to detach the bead without damaging the rim.
You may use any available lubricant such as oil or dish soap, applying generous amounts around the edges of the rim and tire. Ensure that the lubricant gets under the rim too. The purpose of lubricating is to make it easier to pull out the tire over the rim’s edge.
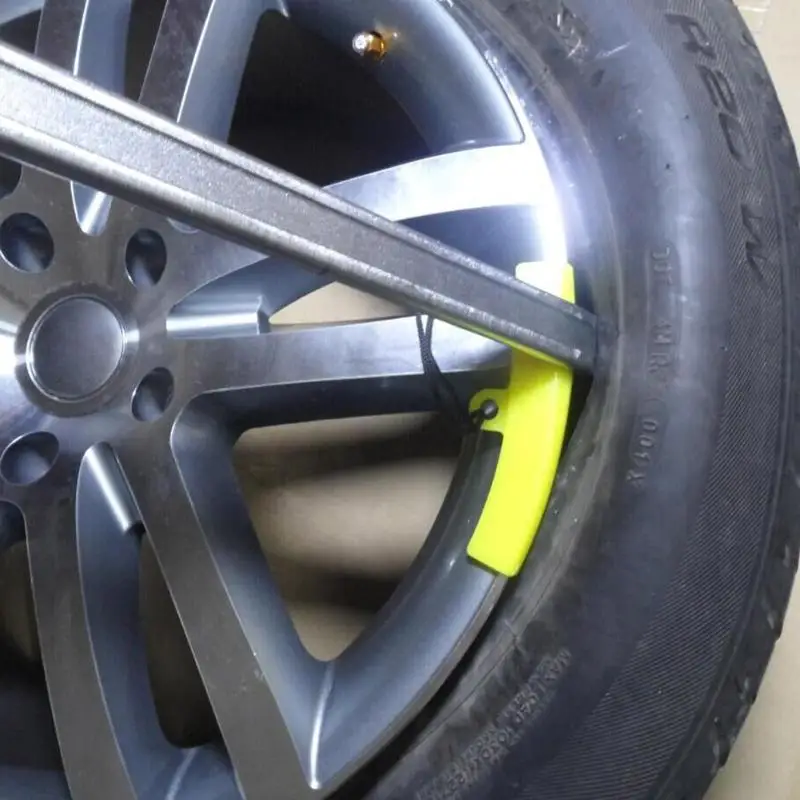
Having lubricated the wheel and tire edge, use your feet to press down on the rubber, creating an opening. Carefully push the pry bar into the newly created opening, and lift the tire up and over the edge of the rim.
Hold the pry bar in place, and insert the flat-head screwdriver next to it, using the screwdriver to pull out the edge over the entire circumference of the wheel. Flatter pry bars and screwdrivers work best for this task.
After successfully extracting the bead, you will need to do the same thing on the other side. Start by applying generous amounts of lubricant to the edge of the rim and bead, again ensuring that the lubricant gets under the rim.
Like before, press down the tire and insert a pry bar into the opening, lifting the tire over the rim’s edge. Again use the screwdriver to pry the tire out on all sections. At this point, the tire should be entirely free of the wheel, and you can easily lift it from the tire.
While removing the tire from a rim by hand is not an overly complex procedure, it is a rather hands-on process, and not everyone prefers this method.
One other way to remove the tire from the rim without going to the mechanic is to use a manual tire changing machine.
This compact machine allows you to skip the greater part of the tedious process of separating the wheel from tire, and is manually operated, unlike those found in a mechanic’s shop. Manual tire changers are cheap and available in stores and online. The machine also comes in handy if you don’t know how to put a tire on a rim by hand.
In addition to the machine, you will need:
Place the machine over the plywood board and use a pencil or pen to trace the outline onto the board, indicating the bolt positions. You may use boards other than plywood, just ensure that it is of sufficient thickness (at least ¾ inches).
Screw the bolts into the wood, at points marked for holes. Using 5 inch long bolts with ½-inch diameter works best for this.
Flip the wood over and position the machine over the bolts, securing each bolt with a nut and washer.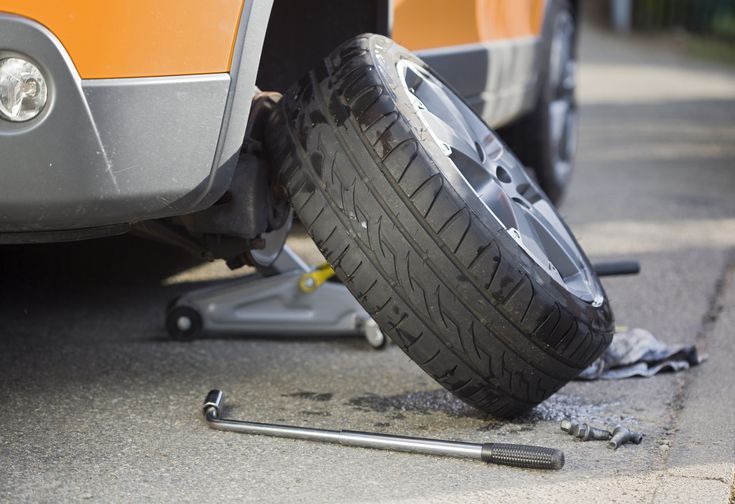
An alternative to wood is to bolt the machine to a concrete floor. This option affords greater stability, but it is more tedious to achieve, as it requires the use of a masonry drill.
Locate the air valve on the side of the tire, removing the cap to expose the core within. Insert the core extraction tool into the valve and twist counterclockwise to deflate the tire.
Set the now deflated tire and rim on tire changing machine. Ensure that you hook the rim to the small triangular-shaped nub at the base, and that the front of the wheel faces upward. Next, drop the machine’s arm onto the rubber at the edge of the rim. The arm resting on the rubber is wedge-like, to fit between the metal wheel and the rubber.
Typical tire changing machines come with a changing rod to help in removing the tire. However, any metallic rod with a pointed end will suffice. Insert the changing rod into the open end of the arm, and slowly apply pressure; this will cause the arm to press down on the rubber and reveal the wheel.
Rotate the tire, pressing down the tire changer arm on all points along the edge of the rim. Afterward, flip the tire and repeat the process to break the bead on the other side.
Set the tire over the machine’s top by sliding it over the central tube connected to the machine arm. Next to the central tube is a smaller spoke that should pass through one of the rim’s lug nut holes.
Place the bracket piece, which is a large ring with four spokes attached. The spokes prevent the tire from tilting or turning when you start to pull the bead over the rim. Finally, place the cap over the bracket piece and twist clockwise to secure the tire firmly.
Before you attempt to remove a tire, apply generous amounts of lubricant to the edge of the wheel and adjoining rubber, ensuring that the lubricant gets under the rim as well.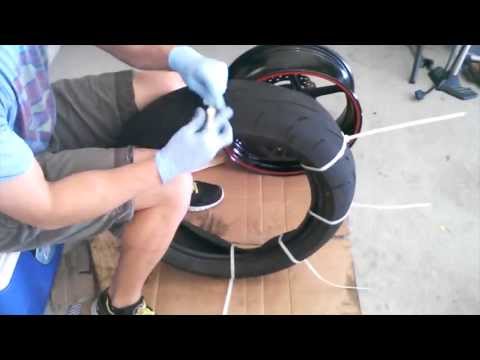
Gently push the pointed end of the changing rod between the rubber and the rim, then lift the bead over the rim’s edge. Slide the rod along the circumference of the rim, using the central tube as leverage.
When all the tire sections are free from the wheel, push the rod down to the bottom of the tire and repeat the process to free the tire on the other face of the wheel.
You can remove a tire from a rim either by hand or using a manual tire changing machine.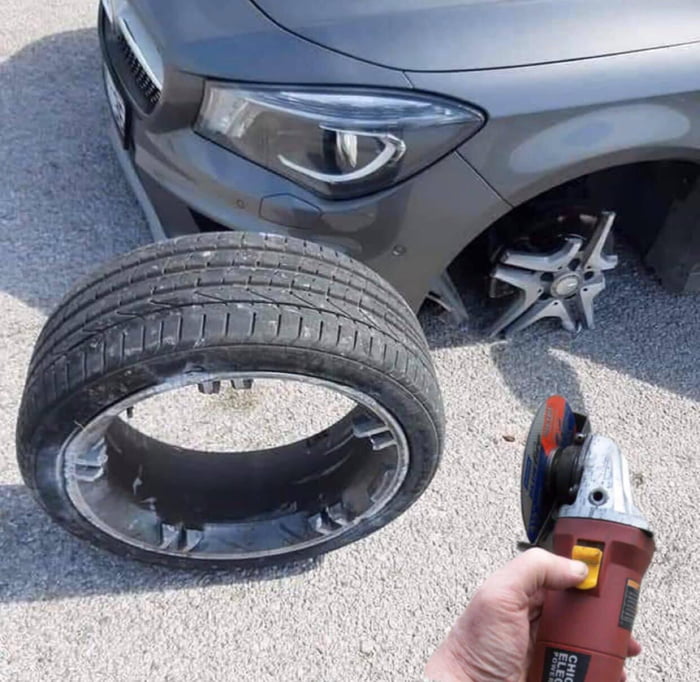 Hand removal can be tedious and requires screwdrivers, pry bars, lubricants and a core removal tool. You will need the same set of tools when using the changing machine for removing the tire.
The manual changing machine also comes in handy if you do not know how to put tire on rim by hand.
Whichever way you choose, the processes of removing a tire from a rim are fairly simple and easy to follow.
For normal operation of the car, it is necessary to periodically replace and install high-quality tires. This is an almost simple process, but not all motorists can handle it, especially for beginners.
Usually replacement is carried out for certain reasons:
To carry out competent work on replacing rubber, it is necessary to follow the recommendations and rules. Otherwise, it can lead to a wheel out on the track and a serious accident.
Contents
sizes and characteristics recommended by the car manufacturer. There may be small differences, but not more than 2%.
General properties and dimensions are specified in the vehicle's instruction manual. If these are not available, use the recommendation of the car dealer.
The next step is to find out the load index of the tire being installed, as well as the speed characteristics.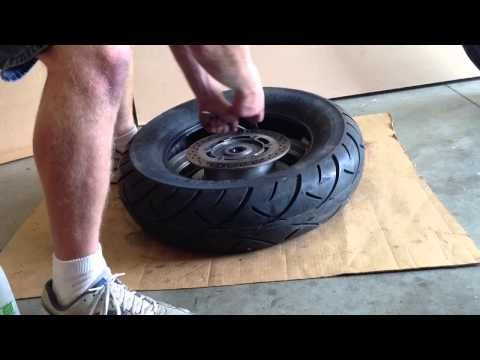 They should not be less than the parameters specified in the instructions from the manufacturer.
Tire changes can be made with higher index values, but not with lower requirements. Typically, indexes are indicated in the operating instructions for the car.
Next, analyze the air pressure characteristics of the tires. The indicators must be completely identical with the factory settings. Otherwise, the wheel may be severely deformed and burst when driving a passenger car.
If the tires are over-inflated or, conversely, have less air, this will negatively affect the stability of the vehicle and its high handling characteristics. Tire pressure indicators are indicated in the operating instructions for the car.
Now let's highlight another important rule that beginners and experienced car owners should use when installing a complete set of tires: when purchasing sets of tires, you need to make sure that the characteristics of the landing and offset of the disk correspond to the factory parameters of the vehicle.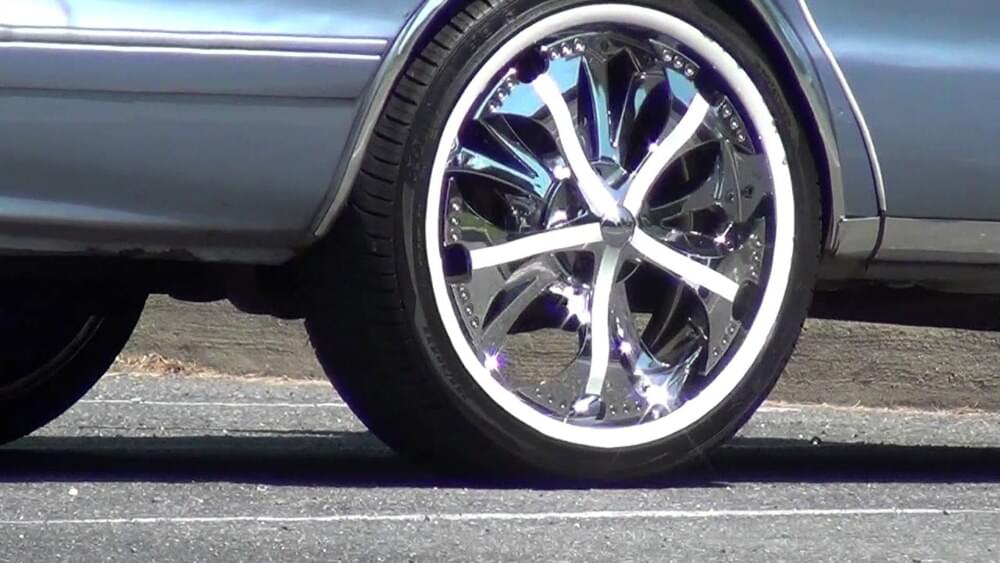
If these properties do not match, then this will negatively affect the handling of the car and quickly lead to deformation of the car suspension. General departure and landing characteristics are specified by the tire manufacturer and the factory where the vehicles are produced.
On any type of passenger car, the front tires are most often deformed, since most passenger vehicles have front drive axles. Accordingly, the rear wheels on them are subject to less wear.
Many owners often try to regularly change the front tires, and leave the rear tires for a few more seasons.
But in this situation, every car enthusiast should know that the absolute indicators of safe and reliable driving will only be achieved by using all 4 tires with the same tread.
Therefore, it is recommended to replace all sets, not just the front wheels. Because the vehicle loses high control, resulting in poor suspension performance.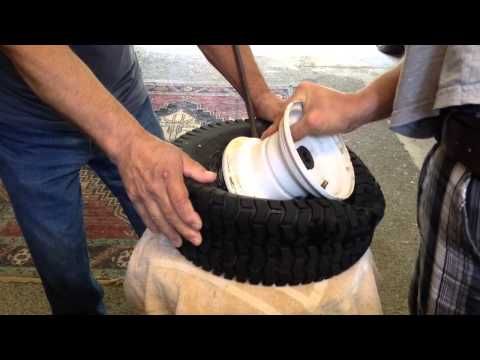
Naturally, tires are expensive products and not everyone can afford to regularly replace products, especially in a complete set.
In such a situation, you can divide the installation of tires into two stages. To begin with, the front tires are replaced and after a certain period of time the rear tires are installed. However, all processes are recommended to be performed only with identical pairs of tires.
It is also not recommended to tighten the process of mounting the rear rubber. Since at the time of driving a car, the level of risk of skidding on the rear axle increases.
If the installation of new tires has to be done urgently due to deformation of the old ones, then you should know a certain rule. Regardless of the model or brand of tires, the thickness of all four treads must be identical to each other.
If only one tire is damaged and cannot be repaired, at least a pair of new ones should be used.
Only one damaged tire can be replaced if the set is brand new and has only been driven a few hundred kilometers.
In this situation, the owner of the vehicle can purchase only one similar tire and install it instead of the damaged one, without fear of losing the quality of control and safety while driving.
When a motorist has traveled more than 1000 km, it is no longer possible to change only one tire. The protectors wear out quickly enough, and balance will probably be lost when installing only one new one.
It is not recommended to allow a situation where the thickness of the tire tread on one of the axles has different indicators, because the balance and high-quality control of the vehicle are lost.
Just before installing a new tire on the rim, a detailed check of its condition is required.
First of all, it is recommended to carefully inspect the tire for possible defects or small microcracks, and also to make sure that its dimensions correspond to a cast or stamped wheel.
The disc is checked for serious defects, warping, and rim and rim wear. It is recommended to remove additional weights balancing the wheel and valve at the time of replacing the old rubber. This procedure is performed only in the situation when the tire does not have a chamber.
When installing a new tire, it is advisable to take into account the marking in the form of colored marks applied to its surface. They indicate the main direction of rotation in the form of an arrow on the side.
Easier and easier mounting of the tire is directly related to the application of individual spots on its beads or the use of soapy liquid. However, do not overdo it with lubrication, as the rubber will begin to slide on the disc rim.
Installation of new rubber on the rim is carried out in the opposite direction to dismantling. First you need to put the tire on one side of the disc rim, and then insert the inner tube. Moreover, the valve should fall into a small hole in the rim. The next step is to install the second sidewall of the rubber.
If the tire has a chamber, then a simple procedure is followed. First, you should inflate the tire with a pump or compressor with a certain pressure level that does not exceed the norm.
Thus, the tire fits well on the rim, after which the air pressure should be reduced to the desired parameters. Here it is important to take into account the fact that the pressure is measured at the moment when the tire is installed on the wheel, subject to the car weight.
For tubeless tyres, this process is a bit more complicated. A simple pump for pumping or a special compressor cannot be used until the rubber beads are completely leaning against the disc rim, since air actively penetrates through the gap between it and the tire.
You can use an alternative method: inflate the vehicle tire to four atmospheres. Then we remove the hose and install one of its ends on the valve of the mounted rubber.
First unscrew the nipple and insert a part of the hose with a special fitting into the inflated tire.
Then, once the nipple is installed, most of the air will enter the tubeless tires and set them in place by stabilizing the pressure. At car service stations, original compressors with large receivers are used to inflate wheels.
However, this task can be done by yourself, if you show a little skill and logic. Also, do not forget that after installing new rubber, the wheel is balanced.
Every owner and experienced motorist knows that the front tires should be changed at the very beginning. Since the car is subject to a lot of skidding when driving on worn rear tires, there is a great risk of deformation and rupture of the front wheels.
In a situation where the tires on the front wheel burst, accidents without serious consequences can no longer be avoided.
The main causes of severe wear of the front tires are associated with maximum axle loads and regular steering turns.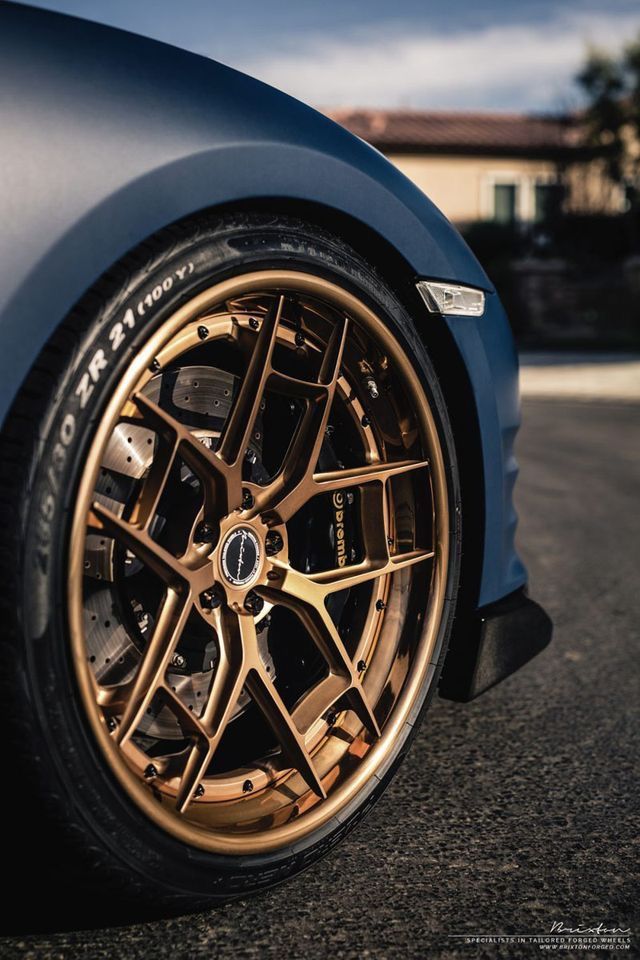
Since the front wheels are regularly subjected to severe impact and subsequently broken, they are subject to higher requirements in terms of increased strength and reliability.
To reduce the risk of punctures and warping, front tires should be replaced in pairs. The level of controllability of the car depends on the competent choice of tires.
If you follow the recommendations, everyone will be able to change both the front and rear tires in order to continue driving safely.
Car wheels and tires. At first glance, it seems that it could be easier? But we would put the question differently: what could be more important? Perhaps it is the tires - these nondescript parts at first approximation - that are the second most important in terms of safety (after the brakes) and the first busiest part that constantly works in the most difficult road conditions and on which the life and health of motorists depends.
That is why the car owner must make special demands on tires in particular and wheels in general and take an extremely responsible approach to their purchase/change/updating or improvement.
Yes, many will say: what is the wisdom to buy tires? After all, this is one of the simplest improvements that any car owner can make, even far from the technical automotive part. But in order to take the right tire, you need to know a number of nuances, and that's exactly what we would like to talk about today. Here's what you need to know before you go shopping for "shoes" for your car.
The most important parts in your car are those four small contact patches that interact with the road. These few square centimeters of rubber (approximately the contact patch is comparable in area to the palm of an adult) determine almost everything. Tires transmit engine power, allow the brakes to do their job, and determine how successful a car will be in corners, whether it’s pulling into a parking lot at low speeds or speeding down the highway at speeds well over 100 km/h.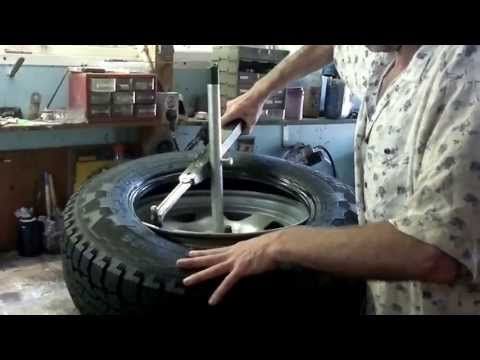
This places a huge load on the tires. This black soft round part is a technological set of rubber of a certain compound (a mixture of rubber and other components that make up tires), polymers, cords (cables that give stiffness), which are all fused together into a highly engineered profile of an almost ideal shape, defined weights and with many calculated, specified properties.
This "donut" is then placed on a wheel, pumped with air (sometimes another inert gas such as nitrogen) to give it shape and rigidity. And only at the recommended tire pressure for your car, normal, safe and trouble-free operation of tires begins. The manufacturers behind your vehicle, tires and wheels have worked together to get the best combination of grip, road feel, ride quality, noise and tire wear.
Alas, when counting on buying new tires, only a small number of car owners think about such complex insinuations. A modern motorist (especially if he is young) in the USA, the most motorized country in the world, and even in Russia, thinks not about quality, but about large diameters and tire widths. These wheels look cooler and can change the perception of a conventional car in the blink of an eye. But what is more is not always better, tuners do not think about it.
For example, Porsche crossovers have been offered for a long time in the factory version, in top versions, to install 22-inch wheels. Is the global sports car manufacturer following the trend?
Rather no than yes. In this case, the use of large rims is justified by the need to install huge brake discs and impressive calipers, but nothing more - accelerating, steering and braking a car with large wheels will be at least the same as a similar car with more compact ones, if for some parameters it does not worse - for example, in handling. Otherwise, in racing series such as the DTM and other touring races, cars would have huge rims with very wide tires, if it were technically justified. However, in reality, alloy wheels are sized to fit heavy-duty brake systems. Usually it's 18-19inches
photo: vestaxray.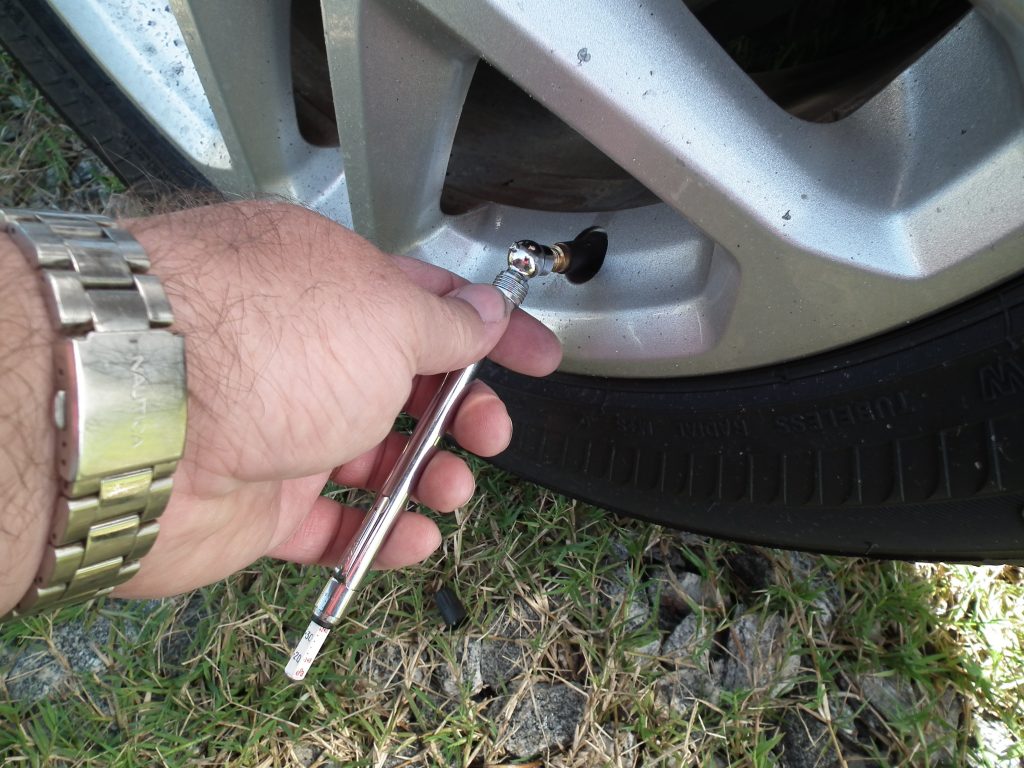 ru
ru
Alloy wheels on Lada WTCC 18-inch with Yokohama tires therefore, it is not worth chasing wide tires, the car will not be seriously more stable and accelerate better from this. When a manufacturer makes sports versions, he approaches changes in a complex way, that is, by installing wider tires, while making changes to the suspension, body kit (to increase downforce), changes the camber parameters, and so on up to installing amplifiers in the body to increase the rigidity of the latter.
All other attempts to improve steering only by installing new wheels will not lead to the desired effect. And to be honest, many car owners put on wide tires just for the sake of a visual change - the appearance of the car becomes more pleasant, that's all the agony of choice.
However, there is another category of motorists. On the contrary, they know how to count expenses and want to take a set of tires that is most suitable for their car in terms of technical parameters, but at a low price. This is also a losing proposition. A tire, as we said above, is a complex engineering design, and cheap analogues are simply unable to compete with expensive originals. In this case, the high price is justified a hundredfold. Your safety depends on it.
So, one of the reasons people choose big, wide wheels and tires is the contact patch. First, as we said above, when changing the tire width, the contact patch does not change significantly. Secondly, its increase is necessary solely for practical purposes (if we discard just a visually more advantageous appearance) in a number of cases, for example, if you increased the engine power of your car. In other cases, the buyer will receive nothing but increased fuel consumption, deterioration in handling and moral satisfaction.
There are two ways to increase the size of a tire's contact patch: make it longer or wider. The longer tread area of the tire means that the overall diameter of the tire will also increase. This approach works best on an all-wheel drive SUV and is worst suited for passenger cars - there is simply not enough space.
Also, since the radius of the wheel has become larger, the effective power transfer on the car becomes higher, but this also deprives it of acceleration. The problem here is that larger diameter wheels take longer to complete one revolution.
What do these numbers on the side of your tire mean? slow down the speed, and hence the dynamics. The gear ratio (for example, 4.10:1) can actually become "higher" - 3.75:1, only due to the increased diameter of the tires. This will slightly increase the maximum speed.
In addition, incorrect data may begin to be transmitted by sensors of an anti-lock brake system that is not calibrated to handle the increased angular momentum from an additional rotating mass concentrated near the rim.
And don't forget about matching the tires with the power and speed of your car. To do this, you should read this plate:
This is primarily due to weight. Bigger wheels and tires will increase the "unsprung weight" of the car. The technical term "unsprung weight" refers to all components related to wheels and suspension that are not supported by the latter.
The more unsprung weight, the more disadvantages. The controllability of the car worsens, it starts to accelerate worse, the reliability of suspension parts deteriorates. Brakes are also considered to be part of the unsprung weight if they are installed inside the wheel, which, in fact, refers to the automotive layout.
Another disadvantage is cost, as larger wheels and tires will cost more than their smaller equivalents.
And one more important point. Since low-profile tires are doubly prone to road imperfections, punctures and other damage, including after which they will be unsuitable for restoration, it is worth considering "re-shoeing" the car if you live in an area with not the best roads.
Your vehicle's suspension geometry has been tuned by the automaker for a specific wheel and tire size combination. If you install wheels of other sizes, you risk affecting the handling of your car. Also, if the overall diameter of the wheel and tire combination is different from the standard version, the speedometer and odometer will show erroneous readings.
In addition, in the event of extreme changes in wheel and tire size, the suspension bushings may receive additional unnecessary stress. The steering system and power steering can also take a hit as they have to work with bigger and heavier wheels. Remember unsprung weight? The systems of the car will still have to fight with it. The brake system has more difficult work to do, the wear of pads and discs will accelerate.
There are also reasons to be careful when choosing wheel and tire sizes, especially with less powerful vehicles.
Wide tires have more rolling resistance than their narrower counterparts and this can negatively affect fuel economy in the first place.
The increased weight from heavier wheels can also have negative consequences.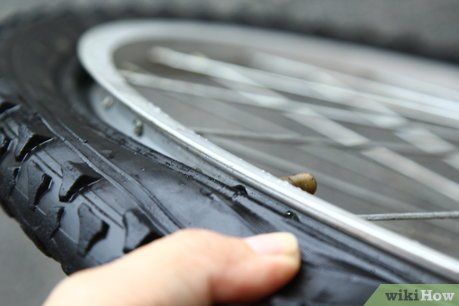 As already noted, due to the increase in unsprung mass, inertia increases, which can lead to incorrect reading of safety data such as indicators from ABS sensors .
Extra weight requires more power to accelerate and keep going, not only ruins fuel economy, but will also slow down acceleration.
The extra unsprung weight of the new wheels can also overload the springs and dampers, causing them to wear faster.
Another important point. Low profile tires are more susceptible to road imperfections, punctures and other damage, including after which they will be unsuitable for restoration.
One of the positive qualities of low-profile rubber is that with a decrease in the ratio of the sidewall of the tire (profile height), the tire becomes more or less subject to lateral and longitudinal loads. In other words, the tire flexes less, which improves traction, steering and handling in general.
An example of how the tire profile changes with increasing rim diameter0002 In theory, a car that has 17-inch wheels from the factory can also be equipped with 19-inch wheels. But it is important to remember that the overall diameter of the wheel should not increase so that the wheel does not touch the fender liner. The depth of the wheel arch is also important. If you put a suitable but very wide tire there, for example, on the front wheels, then when turning, the edges of the tires will touch the fender liner, and this is already very dangerous!
From the additional disadvantages of wide wheels. Suddenly, but this is an enlarged contact patch (in some cases this is more harmful than useful). It is the increased width that makes the tire more prone to hydroplaning on wet roads. Even at moderate speeds, there is a higher chance of sliding on the surface of the water. The tread will not push through the water column to the asphalt, and the car will float.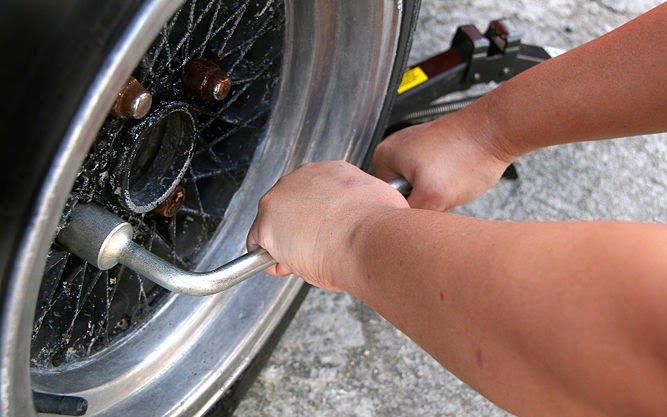
Almost always this is due to the disproportionate ratio of vehicle weight and tire width. The first one is just too small.
Also, do not forget about rutting. Those who drove cars with very wide tires noticed unusual behavior of the car - it began to scour. The tire simply does not fit in the rut pierced by standard wheels, and it seems to be squeezed out of the dented tracks. In this case, the car can skid or even turn around!
The wide ground has a large contact area with the road, but only if the wheel remains perpendicular (or nearly perpendicular) to the ground. As the suspension becomes tighter and the slightly increased traction of the wide tires causes the body to roll more in corners, tread separation from the pavement can occur in some situations. To offset this effect, you must either:
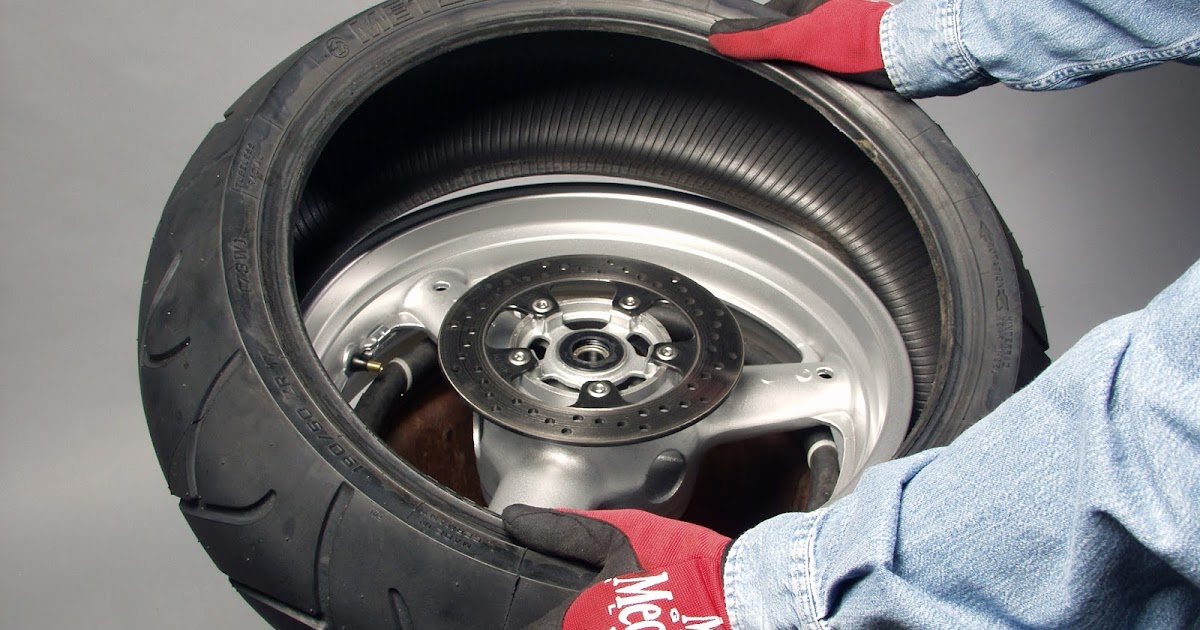
photo: popularmechanics.com
There is another important nuance that must be taken into account when buying new wheels and tires: do the rims fit the car's hub?
Here the most important parameters are:
But the mating part of the disk can also throw problems (when installing it on the hub). The fact is that almost all cars use a special protrusion, the so-called centering hub, which centers the rim on the hub. The protruding part must mate evenly with the corresponding recessed part of the rim, centering the two parts before tightening the bolts.
The diameter of the central hole can be equal or slightly larger. For such cases, it is necessary to install special spacer rings that compensate for the difference in diameter in order to eventually center the disc as expected. However, in cases where the difference is too large, you will have to refuse to buy a new disk and look for an analogue with the necessary characteristics.
In addition, the disc must have the correct overhang. Wheel offset is the distance between the plane of symmetry of the rim and the surface adjacent to the vehicle hub. The offset can be positive (the most common option), zero and negative (when the central part of the disc is recessed into the rim).
photo: tire-life.ru
A rim with a modified offset is an extremely undesirable type of tuning! It doesn’t matter which way to change the offset, closer to the hub or further from it, this maneuver will do only one thing - accelerated failure of the wheel bearings and suspension. The handling of the car will change for the worse.
One can talk about the difficulties of selecting disks and seating parameters for a long time, for example, to clarify that different manufacturers even have different threads that are not interchangeable.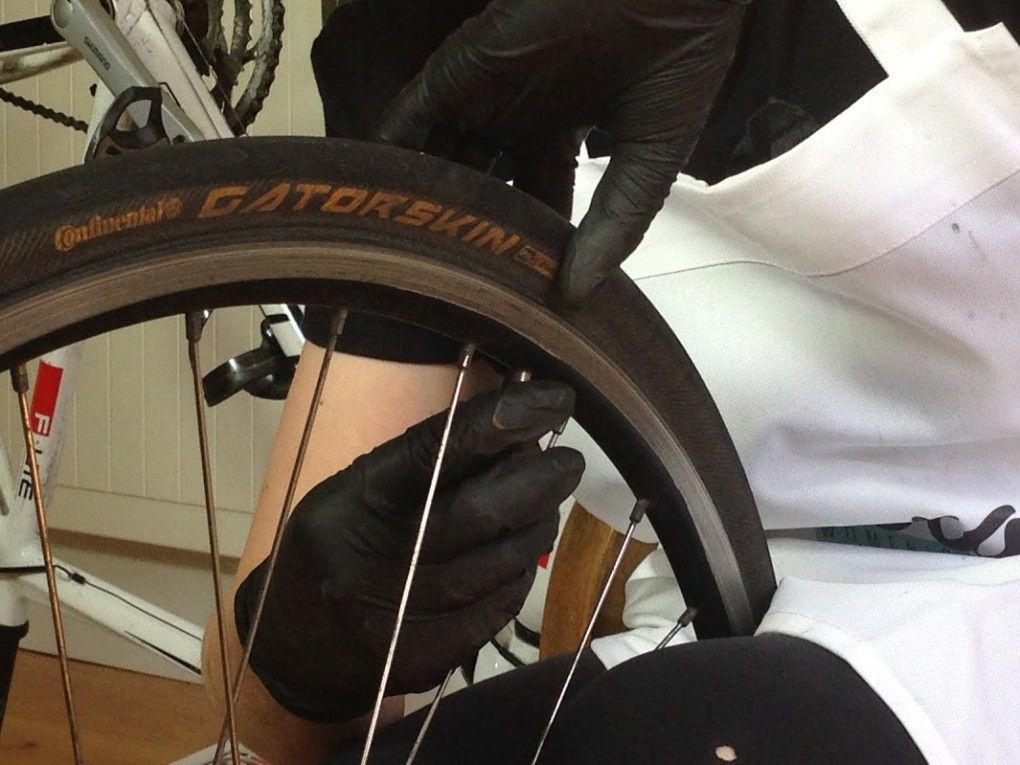 But it is easier and in some cases more reliable to select a disc through special calculators for selecting wheels. One of them is on the Za Rulem website
photo: tyres.zr.ru
bumps. But worse than that, a change in geometric dimensions can disrupt the steering geometry and place an additional load on the wheel bearings.
See also
Wheels and tires, why not buy wide tires and big wheels
Our advice for those who still have doubts about a new purchase and do not want to waste time working with calculators, reading forums and studying the experience of other car owners: buy a proven combination of wheels and tires, specially designed for your car, or call a car dealer your brand. With the help of proprietary software, car dealership employees will be able to quickly select the ideal option for new wheels and tires for you.