If you’ve got an older bike that’s a pain to start, or won’t tick over evenly, or stutters when you give it some gas (or indeed all of the above) then you might have a carburettor problem – they’re almost as common as electrical faults. But the good news is carbs are relatively easy to clean so the task should be near the top of your ‘jobs to do’ list if your bike is playing up.
Problems generally arise because carbs rely on fuel going through very small holes, which can be easily blocked by gunk. This is particularly common after a bike has been left standing – it only takes a bit of rust from the tank, or a tiny fragment of seal that’s been eaten away to clog part of the carb, which then restricts fuel getting into the combustion chamber, which makes the engine splutter like a politician on Newsnight. So here’s how to clean your carbs…
If you have a Guzzi or BMW twin, carb cleaning is a doddle because they hang out in the breeze.
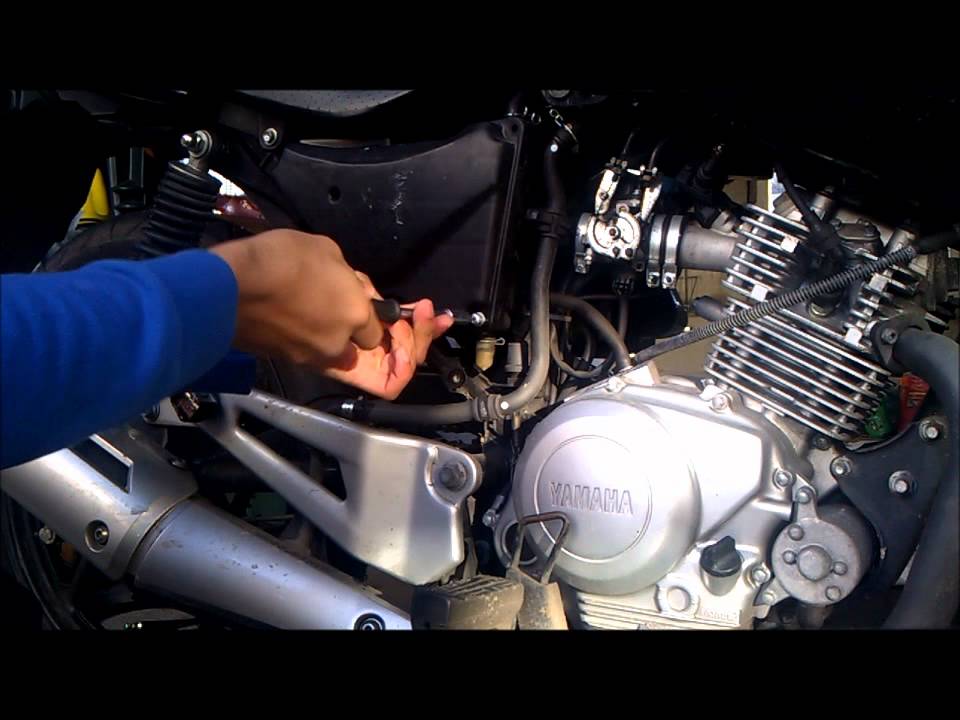
Getting carbs off a bike is usually far more of a hassle than actually cleaning them because the intake rubbers are sometimes a pig to get off and re-fit, and you have to remove the throttle cable which can be fiddly too. So, stage one is to try and get rid of the gunk with the carbs in place, though the feasibility of this depends on how much space you’ve got below them. Small single or twin cylinder bikes are usually a far easier proposition than across the frame fours. BMW twins and Guzzis are easiest of all because their carbs hang in the breeze. With the carbs in place, you can’t do a thorough clean, but it’s definitely worth a go.
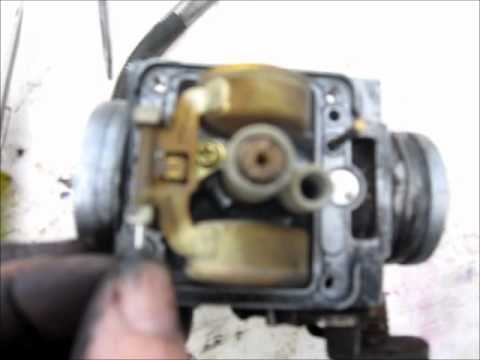
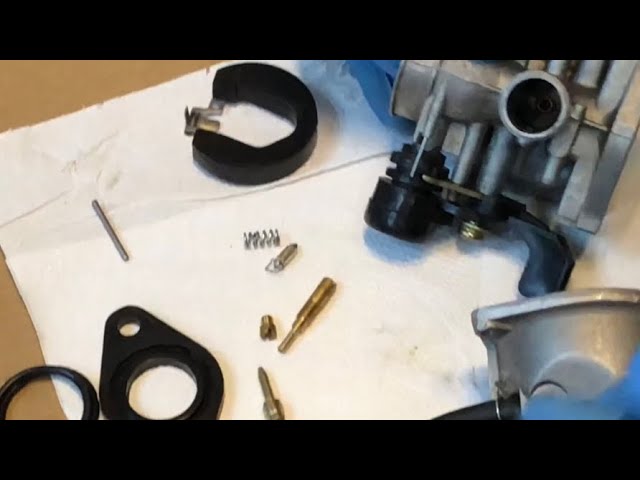
A simple carb on a single cylinder bike (this is from an SR125) is a good place to practice your carb cleaning. You can see how the float bowl on the bottom is attached by a screw at each corner.

 As the float comes out, look out for a little valve that the float pushes on to stop the fuel flow when it’s at the right level. This will come out with the float. Give it a clean.
To remove the carb you need to take off the throttle cable. In the close confines of an across the frame four-cylinder bike, this can be a royal pain in the arse.
If a quick and dirty clean hasn’t worked, it’s time for phase two:
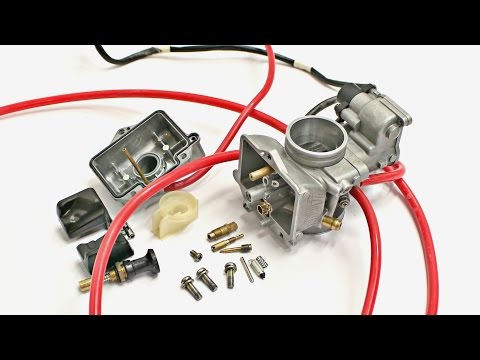
 We’ll talk about cleaning below, but if you’re going to the bother of removing the carbs, you might as well replace all the jets, gaskets, seals etc while you’ve got it apart. They’re not too pricey and save you fiddling about trying to clean the jets.
  If that doesn’t clear the blockage, pluck out the bristle of a wire brush and poke it through. Be gentle though – the jets are brass, so are easily scratched. If that doesn’t work, leave the jets to soak in carb cleaner and repeat until you’ve cleared it.
If you’re taking the carbs off, buying a carb service kit is a good idea.
Now you’ve cleaned your carbs, here’s how you can balance - or sync motorcycle carburettors.
Contents
Soaking your Carburetor In Pine-Sol is a cheap alternative to Chem-dip.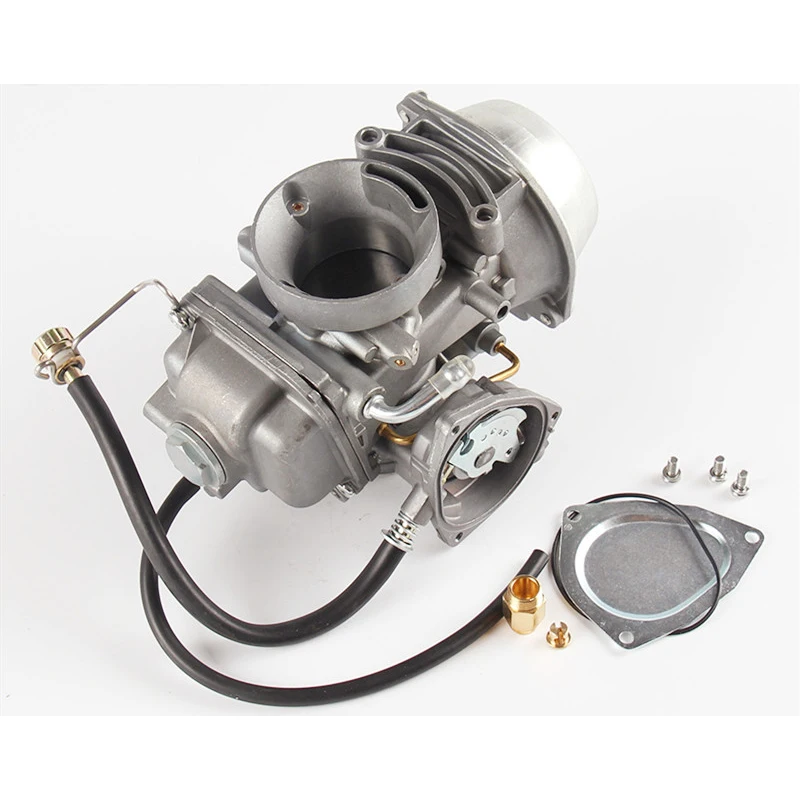 We know Berrymans Chem-Dip works for heavy cleaning jobs, but it also costs around $30 gallon, and if all you are doing is cleaning the varnish out your carburetor, it’s extreme overkill.
Right off the top, there are two things to know when cleaning your carb with pine-sol.
1. Soaking takes at least a day, and up to two if your carb is really gummed up, so plan accordingly.
2. Soak your carb is a sealed container away from your workspace. As you’ll see in this video, I am using open containers to show what’s happening to the carbs. My shop is filled with a thick lemon scent, and my eyes are burning. LEARN FROM ME!
Carburetor Prep
I am cleaning three carburetors with different degrees of blockage.
The first carb is off my KTM 300 XC-W 2-stroke that I recently swapped for a Lectron self-adjusting carburetor. This carb will not be going back on that bike, but I do have plans for it.
The second carb is another 2-stroke off my 1997 Honda CR250. As you can see, it has a bit of varnish build-up on the idle circuit intake. If you can see varnish on the outside, you can bet it’s gummed up on the inside. This varnish is a typical result of letting fuel sit in the carb for a few months.
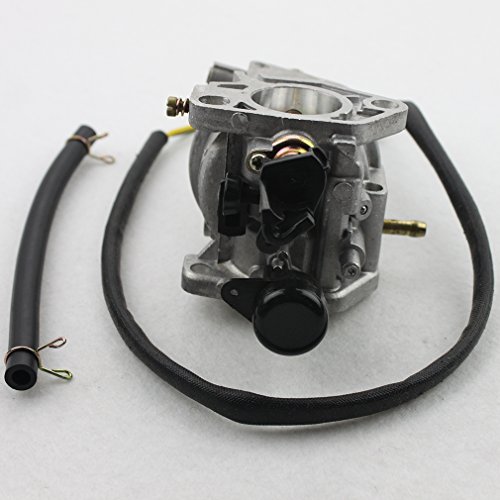
The third carb is an extreme case. This carburetor came off a drowned ATV that the previous owner never bothered fixing.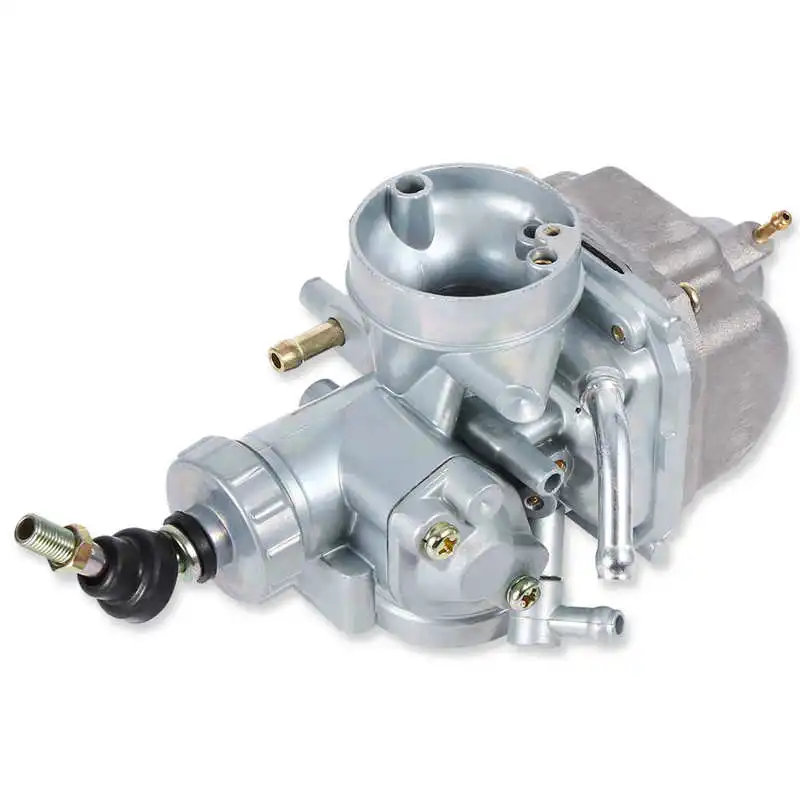 I don’t know how long ago exactly, but long enough to get this.
This ATV carb is extremely corroded, and I wanted to see just how far pine sol would go, but I wasn’t expecting much. Surprisingly, I was able to disassemble everything except the slow jet and float valve.
Honda CR250 CarburetorDrowned ATV CarburetorRelated: Does fuel with high alcohol content make more power?
Soak Your Carburetor In Pine-SolYou will need a soak bucket, a rinse bucket, compressed air, and WD40. Soak you carb for 24 to 48 hours. Every 12 hours or so, pull your carb, let it drain, and replace it in a different position.
Why Does Pine-Sol Work?You’re probably wondering why a household cleaner works for cleaning carbs.
Well, it isn’t as harmless as it seems. If you look at the Materials Safety Datasheet for both Pine-Sol and Chem-Dip, you will find both products use similar active ingredients, but in different concentrations.
Rinse And InspectPull your carburetor and rinse thoroughly in water.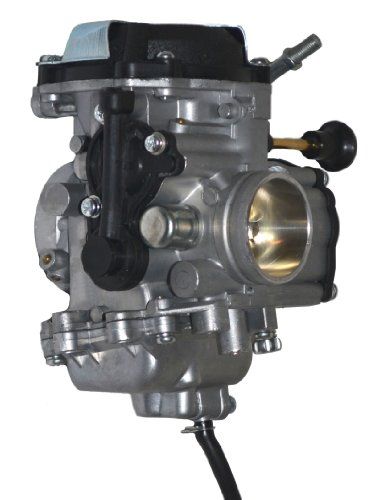 Aggressively agitate your carb in every direction to clear as much pine-sol as you can.
Now, you never want to use water to clean your carb, but this is an exception. With your carb rinsed, blow compressed air through every hole you can see from both directions. Once your carb is dry, hit the internals with WD40 to make sure the circuits are entirely voided of water.
Related: How to install your innertube with red rubber grease.
Soaking ResultsYou can get a good idea of how well the soak worked, or at least how dirty your carb was, by looking at the used Pine-Sol.
Easy To See How Well The Pine-Sol Cleaned.The left container had my KTM carb, and the right had my CR250 carb. You can see the CR250 carb was pretty dirty, and the pine-sol did its job.
As for the ATV carb, well, that’s a lost cause.
Judging by the weight, this is a cast metal carb, so the white corrosion was white rust, which is what happens when zinc is exposed to hydrogen and oxygen.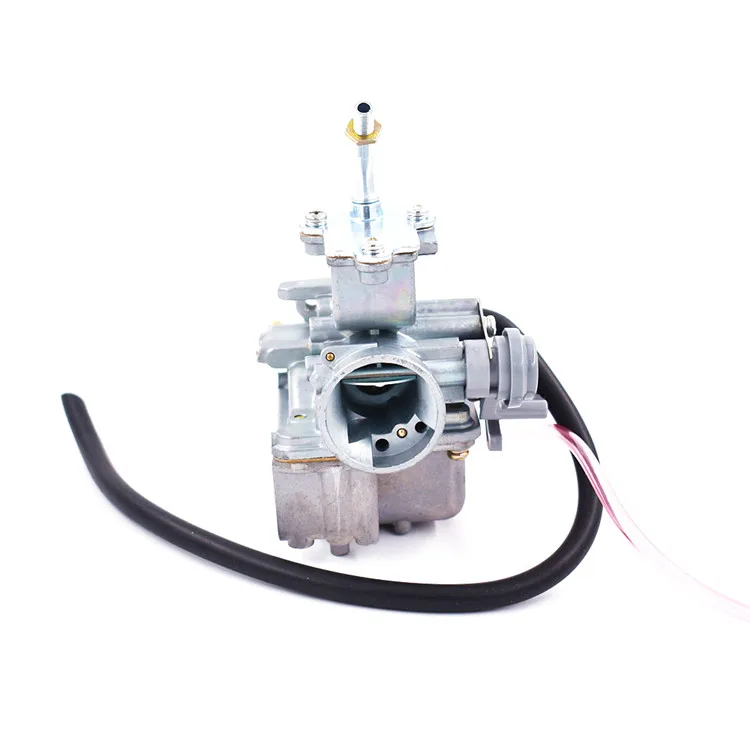 The exposure to h3O creates zinc oxide, which eats away at the metal as it forms. So the pine-sol didn’t do much to remove it.
I still might try to resurrect this carb as a challenge, but I’d need to do some serious work.
In order for the ATV to work like a clock, the rider needs to regularly carry out a complete maintenance of the equipment. And a key element of maintenance is ATV carburetor adjustment. Over time, the system starts to work incorrectly, which increases fuel consumption, worsens dynamics and other problems appear. So how do you adjust an ATV carburetor?
The operation and life of the engine directly depends on the quality of the fuel mixture.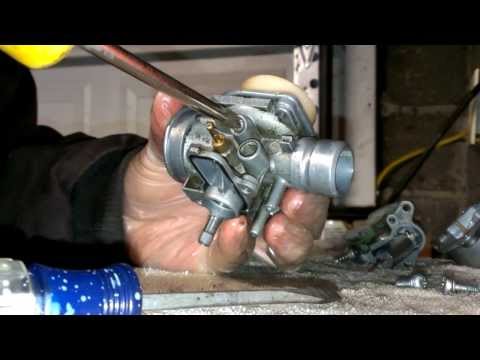 The carburetor is responsible for the preparation of the composition, but after prolonged use of the equipment, the settings “go astray”. This results in:

Many riders who decide to buy an inexpensive ATV simply do not spare the technique and ignore this procedure. But even if you plan to change your device in 1.5-2 years, adjustment is needed. The reason for this is increased fuel consumption. A quad with an untuned carburetor "eats" 30-40% more gasoline, and these are tangible costs.
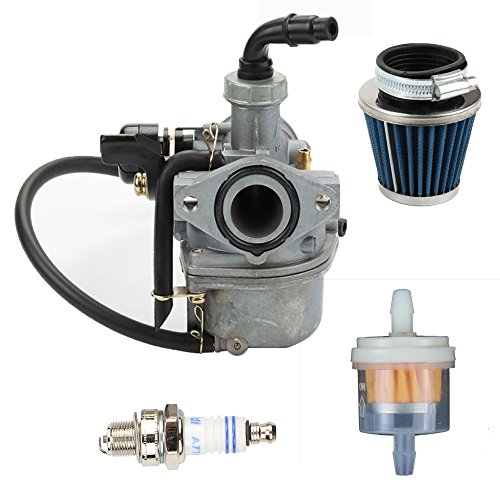
So how do you adjust the carburetor on a Chinese ATV? For this you need:
However, it is important to remember that all adjustments are made only with a "clean" carburettor. This means that the rider needs to remove all the dirt from the node and flush the system to remove condensation and sediment from it.
Note: Just before adjusting, the engine must be warmed up to operating temperature.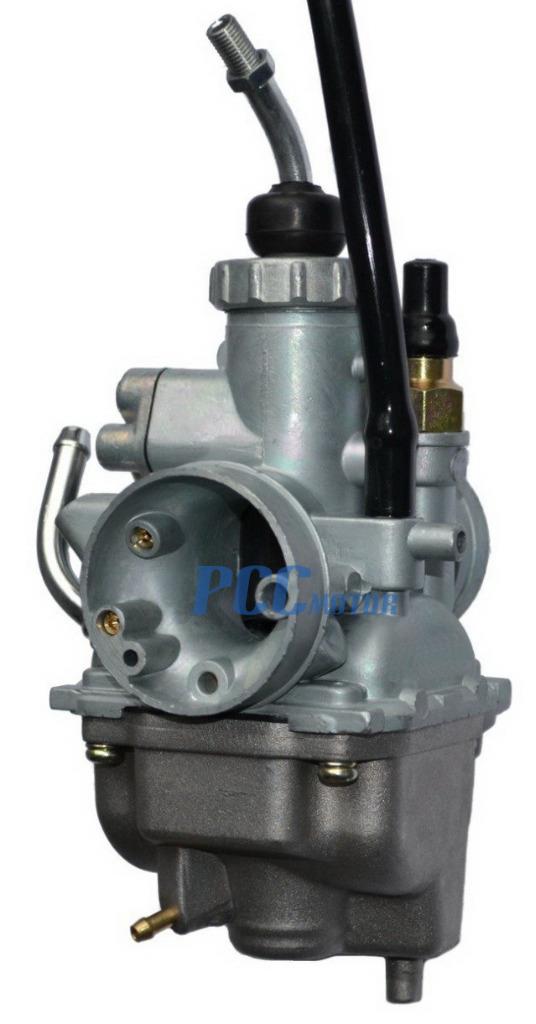
To set the carburetor idle speed, the float chamber must first be cleared of fuel. To do this, start the ATV, close the fuel cock and wait until the machine stalls (5-10 minutes). To speed up the process, you can take a little ride on the quadric. Of course, gasoline can be drained, but in any case you will have to warm up the device, so the first method of "removing" gasoline is more effective.
Then:
Read the manual before adjusting the carburetor on a 125cc ATV to be sure. Remember that the location of the bolts is different in different devices, so read the documentation in advance.
To evaluate the quality of the fuel composition, make a test run. After that, unscrew the candle, and evaluate its condition. If it is:
Also look out for these “symptoms”: damaged tip (electrode failure), oil deposits (damage to rings and caps), chips and inclusions (sign of motor failure).
To adjust the mixture you need to twist the needle cover and pull it out. To get the needle, pull out the cable. After that, move the ring in the required direction (lower - more air, but less fuel and vice versa). Then start the engine and make sure it doesn't stall.
The last step in adjusting the 125cc ATV carburetor is adjusting the petrol level. To do this, you need:
Note: Adjust as carefully as possible as system components are very fragile. Ideally, carburetor tuning should be done by a specialist.
06/16/2020 20562
It often seems like an insurmountable task for beginners to tune and adjust the carburetor of an ATV, but in fact, it is far from being the case. Using our instructions, you can easily set up a carburetor with your own hands.
Due to improper carburetor settings, problems such as: failures during acceleration, jerks while driving, uncertain start of the engine, poor acceleration dynamics, overheating, loss of power, increased fuel consumption, formation of deposits in the combustion chamber.
So what exactly are we going to tune?
Attention! The adjustment is carried out under the condition of a warm engine and a clean carburetor.
First, make sure there is no condensation in the carburetor. First, you need to drain the gasoline from the float chamber, for this you need to close the fuel cock and partially unscrew the screw No. 1, after the gasoline has drained from the float chamber, tighten the screw No. 1.
Let's look at photos of candles with various deposits and defects.
A 100% indicator of a correctly adjusted combustible mixture is carbon deposits on a candle.
Consider the location of the screws for adjusting the quality of the mixture and idle speed of carburetors of different models.
#1 Float chamber plug; No. 2 Mixture quality screw;
#3 Idle adjustment screw.
1 - quality adjustment screw at idle; 2 - fuel inlet fitting; 3 - fitting through which you can sleep fuel from the float chamber; 4 - screw-plug of the float chamber.
1 - ventilation tube; 2 - idle speed adjustment screw; 3 - screw for adjusting the composition of the air-fuel mixture.
ATV carburetor speed and mixture adjustment.
1. Start and warm up the engine until it reaches operating temperature.
2. Adjust the idle screw to set the idle speed to normal. Completely, until it stops, tighten the fuel mixture screw, the engine should stall. If this does not happen, check the tightness of the air supply system from the air filter.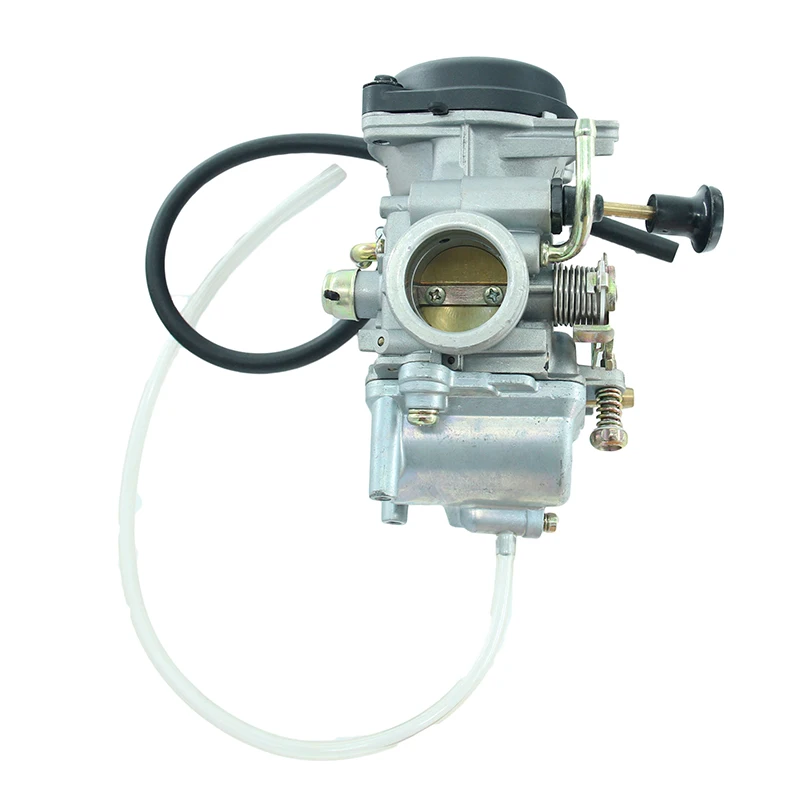
3. Loosen the fuel mixture screw 1 turn. (Turning the screw clockwise, we enrich the mixture, unscrewing it counterclockwise, we lean).
4. Start the engine and, by adjusting the idle screw, set the speed slightly higher than usual
5. Slowly unscrew the fuel mixture screw until the engine reaches maximum speed (we unscrew the screw no more than 2 turns, but depending range may fluctuate due to engine wear and other faults).
6. Re-adjust the idle screw to set the idle speed to normal.
7. Press the throttle trigger several times, check if the idle speed is stable.
Mixture quality adjustment with a needle.
Probably you have heard more than once about adjusting the quality of the mixture on the carburetor by manipulating the needle. I note that these are extreme measures, for the initial adjustment, use the mixture quality screw, and only if you do not get the desired result, unscrew the mount and remove the needle. What does she represent? This is the main element that regulates the amount of gasoline supplied to the combustion chamber. Connected directly to the throttle handle through a cable. When you turn the knob, the needle rises higher, opening up a channel for fuel, thereby delivering more mixture, which increases power, which translates into speed.
You will see 5 grooves on the needle at the attachment point. Initially, the retaining ring fixes it in the central position, this is the best option. But sometimes it is not possible to achieve the required quality of the mixture. Then we will need the remaining grooves, 2 on top and 2 on the bottom, this suggests that we can adjust the dose gradually.
Lifting the retaining ring up and locking it in this position lowers the needle, which, in turn, blocks the channel more than usual. Gasoline enters less than air, and the mixture becomes leaner. Lowering the ring down, we raise the needle, and everything happens exactly the opposite.