It can be pretty frustrating when your quad won’t start and all you want to do is hit the trails. There are some pretty simple checks you can do to see where your problem is. A lot of times there’s something simple you can do to fix it and get back out riding. Other times, there’s some bigger issues keeping your engine from starting up.
The first things to check is if you’re getting gas and spark to your engine. Most of the problems with an ATV not starting have to do with either not enough fuel getting to the engine, or the engine is not getting enough spark.
The easiest fix for an electrical problem is changing out the battery, so lets make sure the battery is good before we go any further. You’ll need a multi-meter set to voltage to check your battery.
Place the leads of the multi-meter on the positive and negative terminals of the battery. You should see a reading above 12v on the multi-meter, if you’re getting less than that, you should try charging the battery. Check out How To Charge An ATV Battery, for a more in depth guide on how to do that.
If you’re battery doesn’t hold above 12v after a nice long charge, you may need to replace the battery. If you’re battery isn’t the problem, maybe something else in the electrical system is preventing the quad from starting. Time to check for spark.
If your engine’s not getting any spark, or getting weak spark, it won’t start at all. The engine will turn over, but will never be able to ignite the fuel and get running. Don’t worry, there’s a quick and easy way to check for spark.
Just take the spark plug out of the engine and plug it back into the spark plug wire. Put the spark plug on the cylinder or something that will ground it. Make sure the spark plug electrodes will be close enough to something grounded. Try starting the engine, if everything’s working right, you should see some spark coming out of the spark plug, jumping to whatever grounded part it’s touching.
The first thing you should try, is replacing the spark plug. They’re cheap and usually the cause of getting no spark. Make sure you get the right spark plug for your engine and that it’s gapped correctly.
If you’re still not getting any spark, you have a bigger problem. If it’s not you’re only problem, it’s still one that needs to be fixed before you can get the quad running. Check out this How To Check For Spark On An ATV, Reasons For No Spark article to get more in depth steps on what to check within your electrical system for why you’re not getting spark. I also explain what you’ll need to do to fix the problem.
There could be a number of reasons the engine isn’t getting enough fuel to start and stay running. The most common reasons have to do with the fuel pump or the carburetor. If you have a fuel injected motor, you may just need to clean the injectors to get it running smoothly again.
To quickly check for gas flow, remove the fuel line from the carb or injectors and place over some sort of container to catch the gas. The gas should flow freely, if it does not, try blowing out the fuel lines and inspect the fuel pump and filter. If gas does flow freely, your problem is further down in the carb or injectors.
If you have a fuel pump issue, it will most likely be the diaphragms inside the fuel pump or the filter is too clogged to allow fuel to flow freely to the engine. If you have a carburetor, the most common fix is replacing the needle valve and seat.
If you notice your spark plug is dry after trying to start the engine, that is a good indicator that you’re not getting fuel to the engine. Start by spraying some carb cleaner or ether into the carb or injectors and then try to start up the engine. This could help you start to narrow down the issue.
For a more in depth, step by step guide on how to troubleshoot fuel issues on your ATV, check out my ATV Not Getting Fuel: Common Reasons And How To Fix
article. In that article I go through the most common reasons your engine may not be getting fuel and how to fix the problem.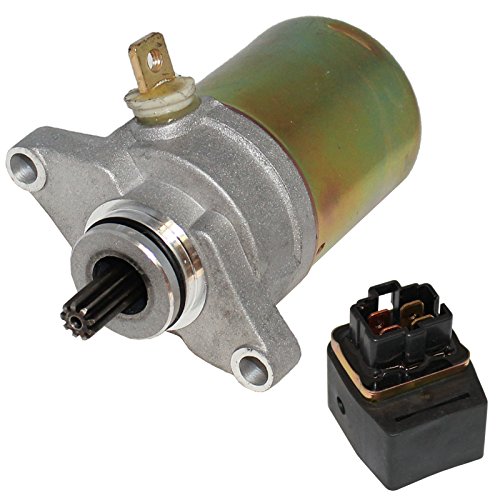
This one’s real simple to check, but also one of the most important. If your engine isn’t getting enough air to mix with the fuel in the combustion chamber, it won’t run properly and might not even start up.
Make sure the air filter is cleaned out, and there are no obstructions blocking the air box intake. You may need to replace the air filter all together, it’s a good idea to do that once in a while anyways. But if the filter isn’t that old, you might get away with just cleaning it out real good.
For a more in depth look on how to clean your air filter, check out my How To Clean The Air Filter On An ATV article. In that article I go through step by step on how to clean your air filter to make sure your engine is getting the right air flow it needs to stay running.
Aside from checking the air intake, also check the exhaust. Your ATV needs good airflow into the engine, as well as out. This is pretty rare that your exhaust will get blocked up, but it can happen.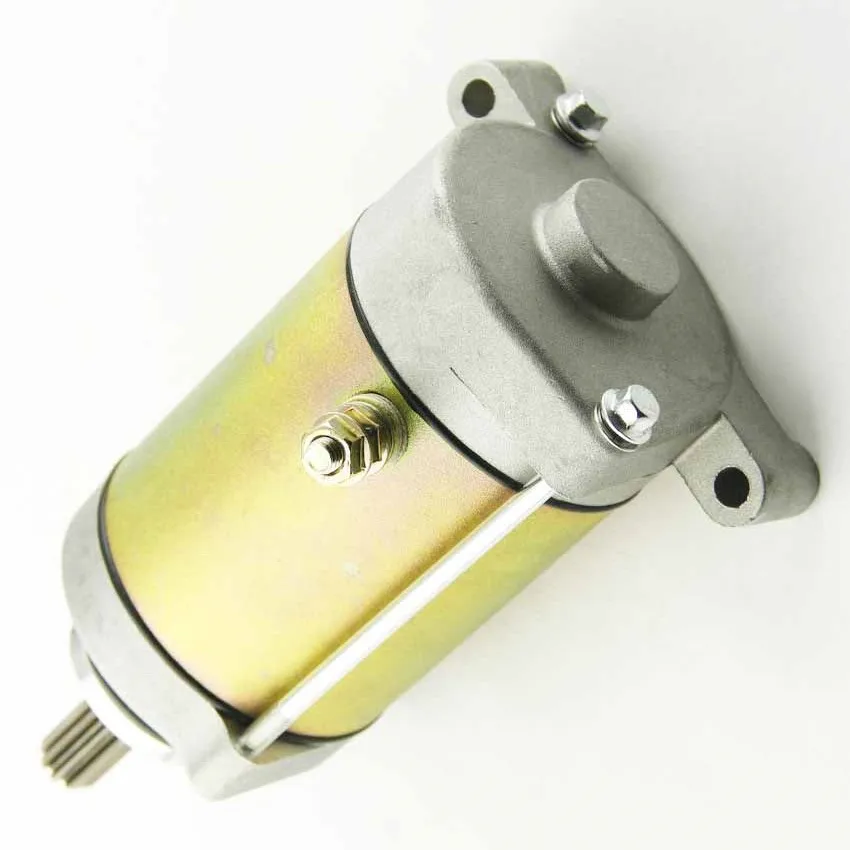 I’ve seen an exhaust get clogged up with mud and the engine wouldn’t start because of it.
If your engine isn’t getting enough compression, it won’t be able to pull fuel into the cylinder and stay running. The inside of your engine has some moving parts that need to be sealed up tight in order to work properly.
The most common reasons you’re not getting enough compression is a worn out or leaking head gasket or a blown piston ring. Sometimes, if dirt has been getting into the engine through the air intake, you could have scarring on the inside of the cylinder walls. I hope that’s not your case, but it will cause a loss of compression.
To check for compression, you’ll want to perform what is called a leak down test. This process involves a special compression tester kit. You remove the spark plug and hook the compression tester kit in its place.
It’s not a very difficult test to run but there are some steps you must do to get it done right.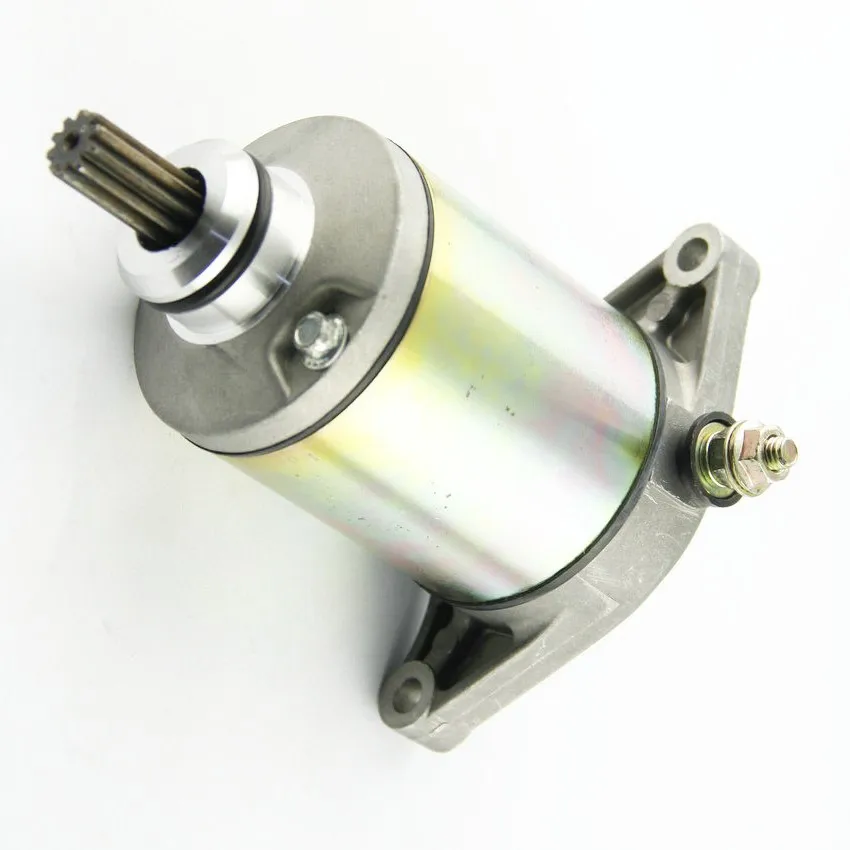 If you want to perform the test, I suggest you visit my Top 7 Reasons An ATV Will Smell Like Burning Oil article and scroll down to the leak down test section. If you did have a blown piston ring, the compression test will tell you, and it will cause oil to leak into the combustion chamber causing a burning oil smell.
Having gas just as old as 6 months or so can start to cause corrosion in your fuel system. Make sure if you’re going to let the quad sit for a while that you drain the gas out and start with new gas next time you start it up.
If you think it won’t start because you’ve had old gas sitting in the tank for a while, it’s a good idea to also change the fuel filter. Get some good fresh gas in the tank and use an additive to help the clean the fuel system. I use this Gumout Complete Fuel System Cleaner from Amazon every year before I start riding in the spring.
Sharing is caring!
 com
comClick! Click! Click! Don’t let it spoil your day. I’ll bet we can have her up and humming in no time at all.
The most common cause of a repeating click sound when attempting to start an ATV is a flat battery. However, a single click sound suggests a faulty starter solenoid. A complete list of common causes include:
In this post, you’ll learn about all the most likely causes of your ATV click sound. You’ll learn how to diagnose it and what you’ll need to do to fix it.
Page Contents
Loose battery connections cause high resistance, which prevents battery voltage from getting to the starter motor.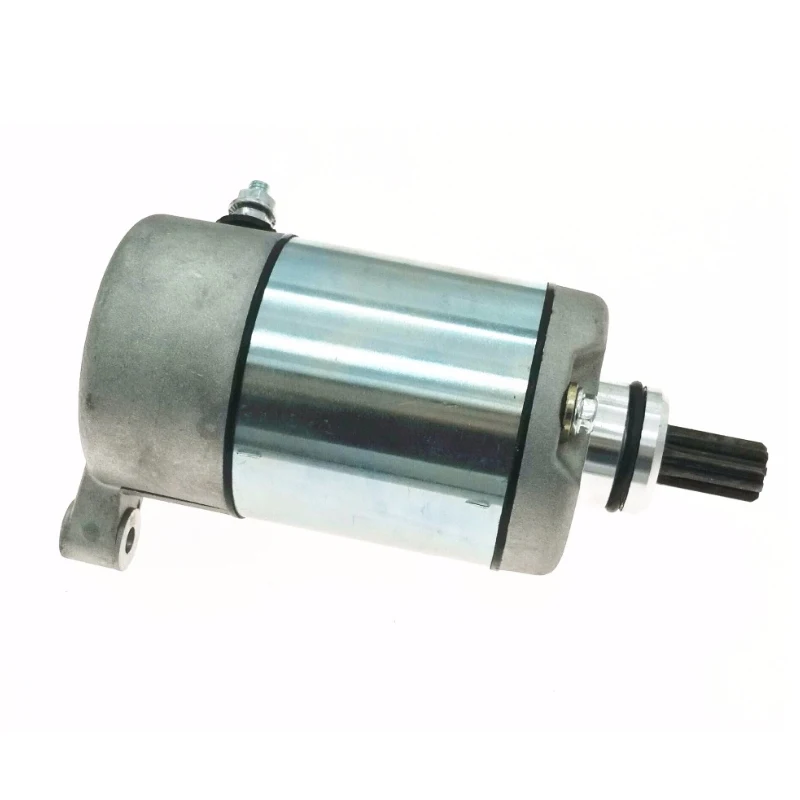 It also prevents your battery from receiving a proper charge. A common symptom of an ATV battery issue is a repeated clicking sound when you hit the start button.
Loose connections will mimic the sound of a flat battery. You can still start your ATV if your engine is fitted with a pull starter.
It’s a common fault and a really simple fix. A battery is pretty heavy, and if a battery isn’t secured firmly with a bracket, the cables tend to work loose as the battery is moving about.
To check, give the battery cables a little wiggle and see if they’re loose. Tightening will solve the problem, and you’ll need to secure the battery if it’s loose.
After checking for loose connections, go ahead and check that they’re clean. Rusty battery wires or white acid corrosion on the battery posts will cause high resistance.
You’ll need to remove them to clean them thoroughly. The acid will burn the skin, so gloves and eye protection is advised.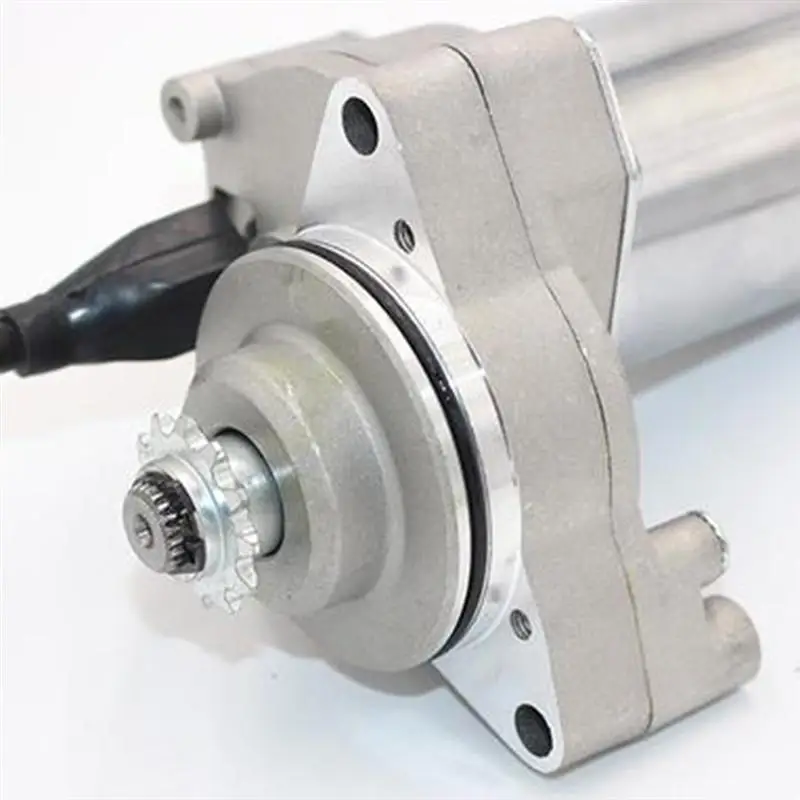
To easily remove the white crusty corrosion, sprinkle some baking soda on the terminals and add a small amount of water. This will neutralize the acid and remove the corrosion.
Use a wire brush to clean the surface. Now remove the terminals and clean around the poles and the terminals. Apply a coat of petroleum jelly to help protect against corrosion.
This is the most likely cause of the clicking sound as you hit the key. A flat battery is sooo common, especially in ATVs that lay up for a time. Batteries usually give the most trouble in the colder months of the year.
To test a battery we’ll need to run two tests, a volt test and a crank test. We’ll need a DVOM (Digital Volt Ohm Meter). But if you don’t have one, just go ahead and turn the lights on (if fitted) if they’re dim. You can bet you found your problem – a flat battery.
If you have a DVOM, then go ahead and connect it up, set the meter to 20v DC – Red test cable to positive (+) pole of the battery and the black test cable to the negative pole (-) of the battery.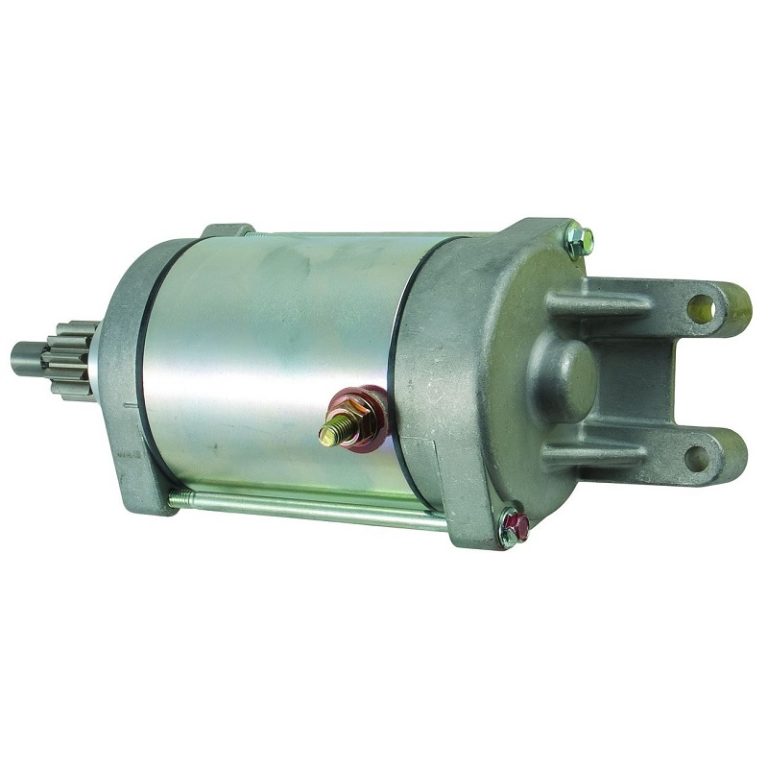
Your ATV is likely has a 12-volt system, even though your battery actually measures 12.65 volts when full. But you can confirm the battery size by checking the label on the battery casing.
Hold the test leads firmly on the battery and record the reading.
A reading below 12.4 volts and your ATV may struggle to crank the engine.
If your battery is low, you can attempt to jump-start from another vehicle or charge your battery with a battery charger, see jump-starting below.
The second battery test is the crank test, this test loads up the battery and measures battery strength. The reason we run this second test is because the battery may show a full 12.65 volts when tested unloaded, however, it may actually fail when loaded.
The crank test is covered below in “Checking ATV Battery Health” However, to run this test the battery must show at least 12.5 volts, if that’s not the case, see battery charging below.
All batteries need to be charged and discharged.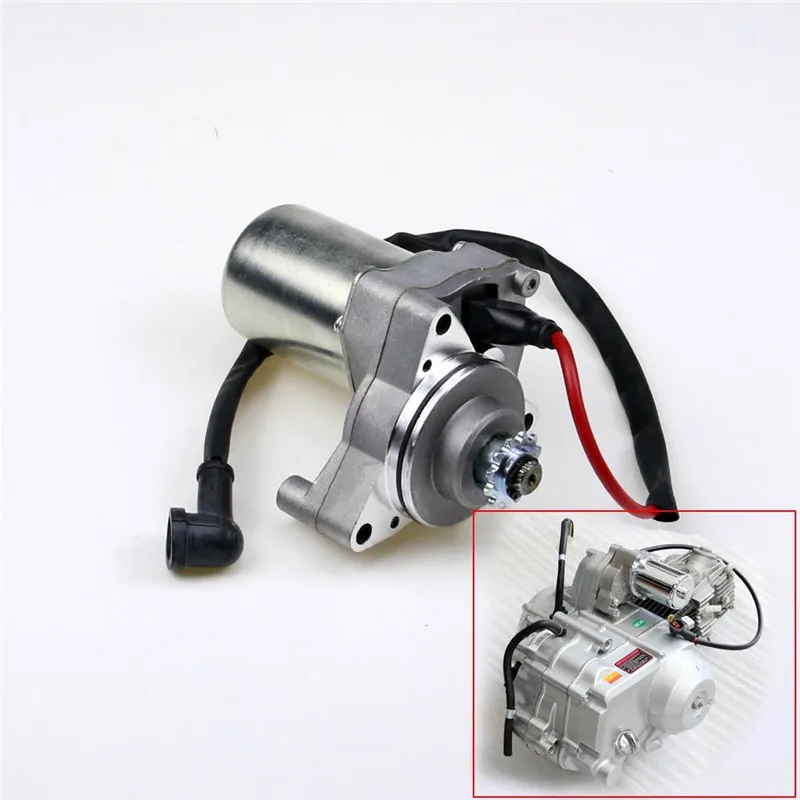 It’s what keeps them healthy and alive. Batteries hate the cold, and they hate being left to discharge. It’s not uncommon for a battery to prematurely die because it wasn’t used regularly.
If you have a battery charger, they’re easy to attach. Ideally, you’d disconnect the negative terminal, but it won’t hurt if you don’t. Just don’t attempt to start the engine with the charger attached.
Connect the charger Black to the negative battery pole and Red to the positive pole before plugging the charger in. Your battery may take 2-3 hours to charge fully, depending on the amp rating of the charger and how low the battery is.
If you don’t have a battery charger, consider buying a smart charger. It will charge your battery and is designed to be connected to your ATV when not in use.
The smart charger charges your battery only when needed without risk of overcharging, and you’ll avoid that disappointing click click click!
If your battery is totally discharged, your charger may not turn on. This is a safety feature of the battery charger and will need to be overridden. Here’s the hack –
Your ATV is a 12-volt system, as is your car, truck, and riding mower. All can be safely used to boost start your ATV. You’ll need a good set of jumper cables and obviously a donor vehicle.
Position the vehicle so that the cables reach your ATV’s battery posts comfortably. Connect your jumpers in the following sequence:
Battery failure is common these days. Batteries seem to only last 3 to 4 years, but when I was a lad…..
Checking the voltage is only part of checking your battery health. Your battery will need to be at least 75% charged for this test. So if it’s soft, you’ll need to charge it.
Cranking Battery Test – It is possible for a faulty battery to show a full 12.65 volts. For this test, we’ll connect a DVOM to the ATV and have a helper crank it over. If the battery voltage on the DVOM reads below 9.6 volts while cranking for 3-4 seconds, you’ll need to make a trip to the auto store.
Use Min/Max DVOM setting to catch the min voltage on crank.
ATV starter solenoids give tons of trouble, and it doesn’t surprise me. The places they bolt these things, honestly, I find it hard to understand. Some of them double as a mud flap.
A common symptom of a faulty starter solenoid is a single click sound when you hit the start button, if this sounds like your problem, then suspect your solenoid is faulty. There are however other faults that produce this same symptom and so we’ll run a couple of tests below to confirm our suspicion.
To locate your starter solenoid, follow the positive wire from the battery, and you’ll eventually reach the starter solenoid.
Corrosion on the connectors is common, as is broken or corroded wiring on older bikes. The wiring might not be noticeably damaged, but internally the copper wiring corrodes. You can try the wiggle test as you hit the start button to see if it makes a difference.
Testing is straightforward. Make sure your bike is in neutral with the brake applied. We’re going to attempt to crank over the engine by hot wiring.
Your engine won’t start unless you want it to. If you do want it to start, turn the ignition switch on, but for this test, you can leave it off. We’ll use two jumper wires with the power jumper wire fused.
Two results are likely:
1 The engine cranks over as normal – this suggests high resistance in the control wiring, such as loose, damaged, corroded connectors. Run a volt drop test to isolate the problem.
2 The engine just clicks, same as before – this suggests a faulty solenoid, replacing will most likely fix the problem. However, there are still a couple of other possible causes and to eliminate them follow this quick test.
Caution – If your solenoid is located close to the battery as per the picture below, do not cross the solenoid. Batteries vent combustible vapors and crossing the solenoid causes arcing, which poses a risk.
Two results are likely:
1 The engine cranked over without issue – go ahead and replace the solenoid.
2 The engine still won’t crank over – if you are sure that your battery is OK, then see the list of possible causes below.
However, if you are not sure you checked the battery correctly, you can eliminate it as a possible cause by connecting to a known good battery and repeating the test. See jump starting above.
If the engine still doesn’t crank, you may have one of the following problems:
Hydro-locked engine – cylinder full of water or gas, commonly caused by a leaking carburetor needle seal. Remove the spark plug to check and release the fluid.
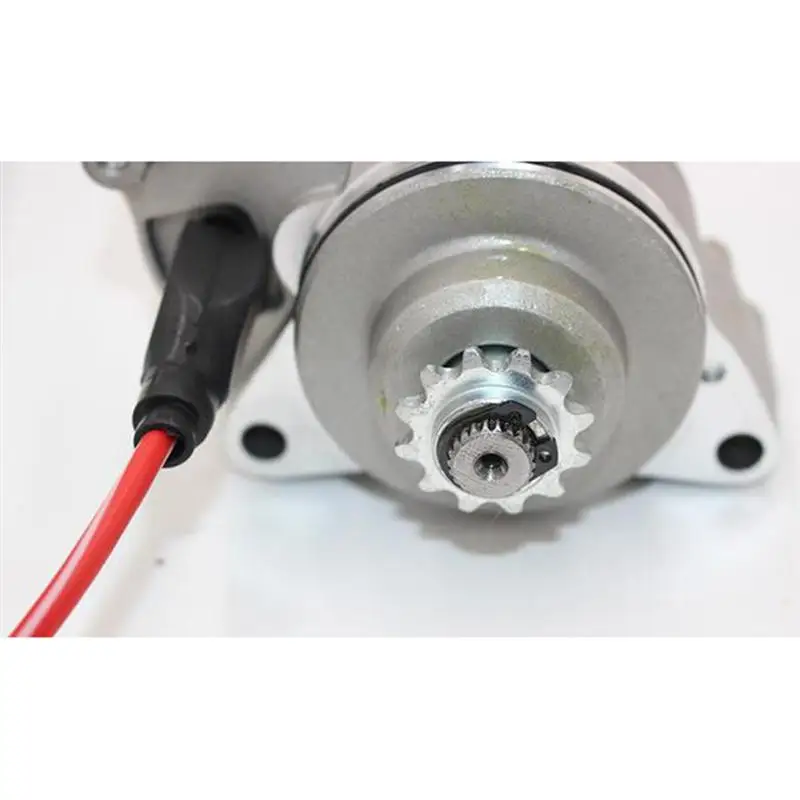
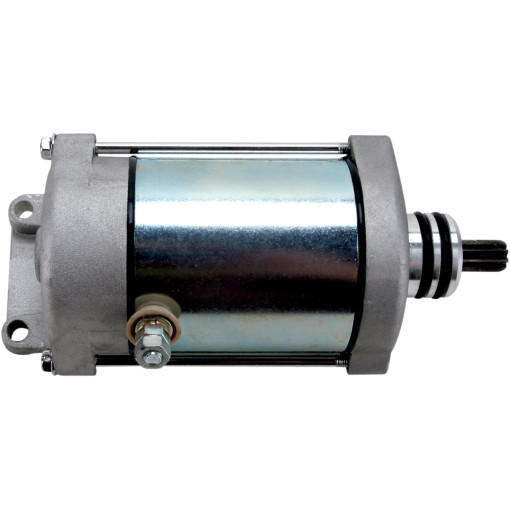
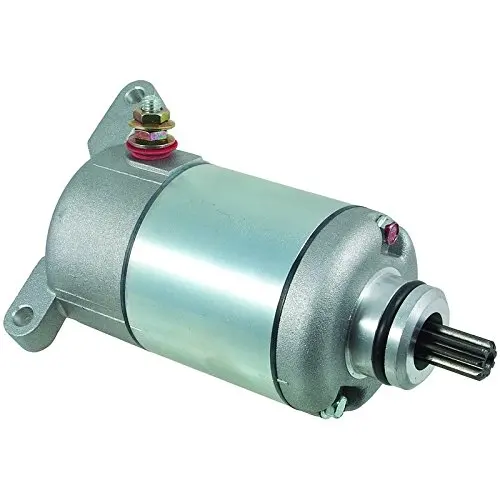
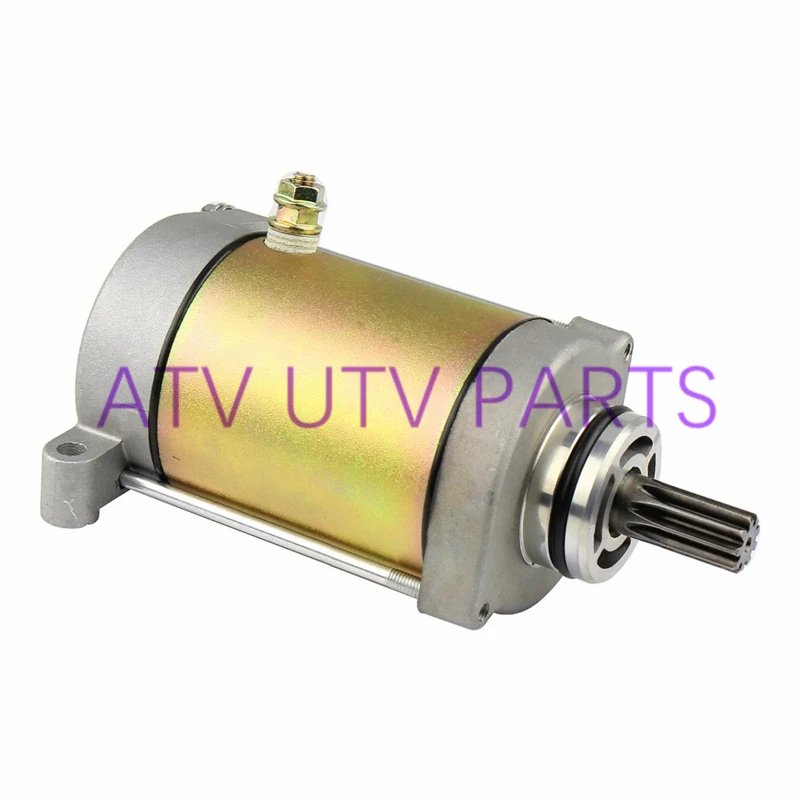
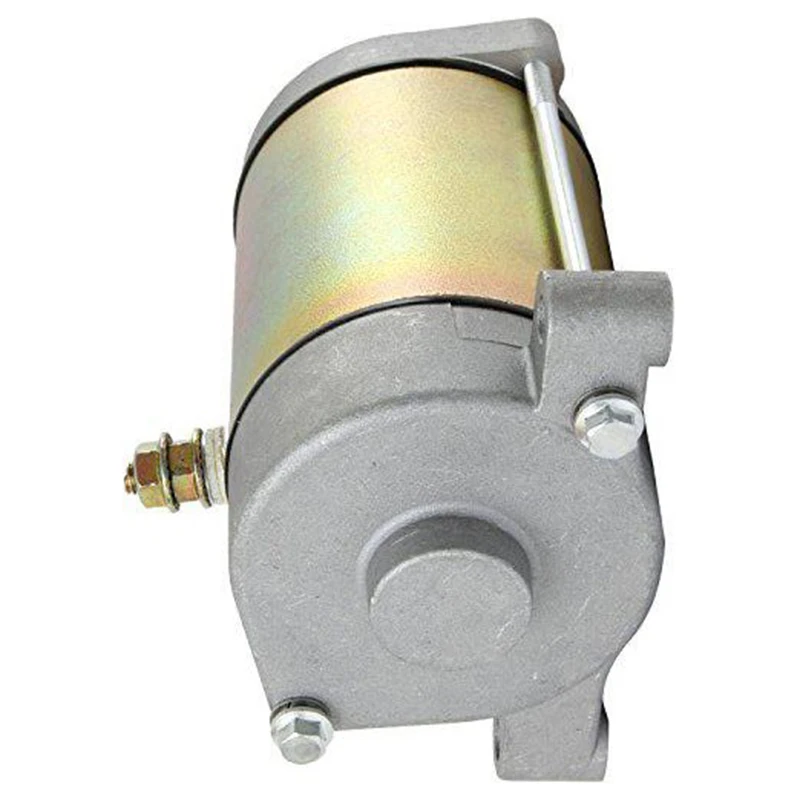
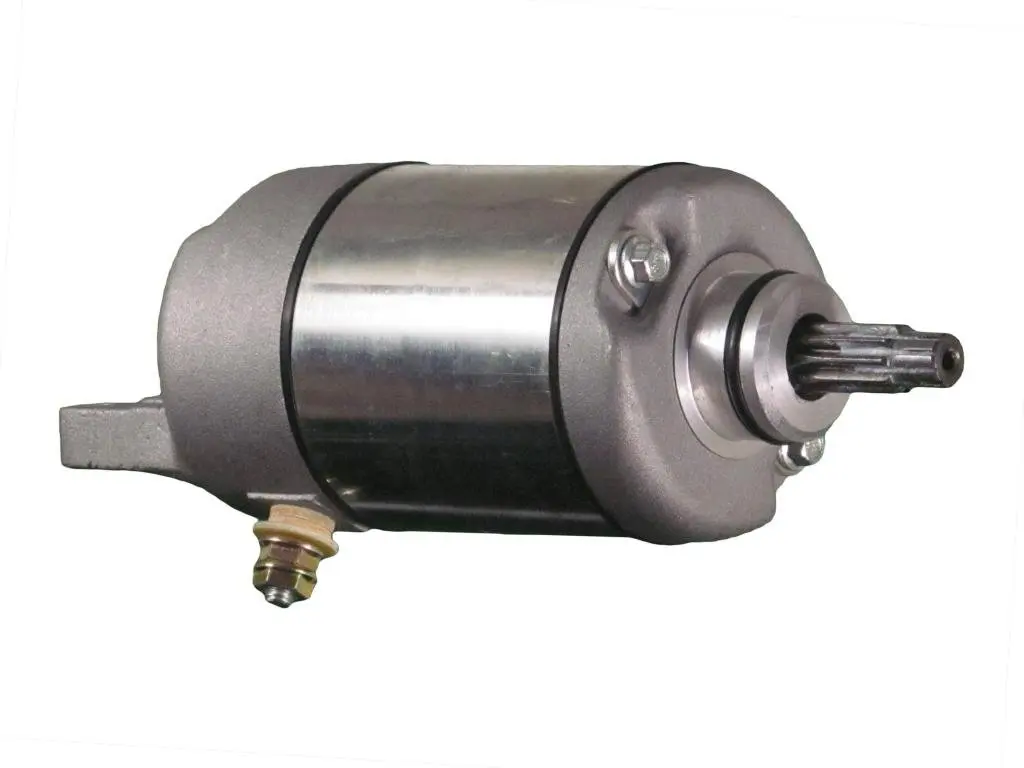
Jammed starter motor – starter motor caught in the ring gear, remove the starter, test, repair, and refit. See below.
Jumped timing could cause the engine to lock, check the engine turns over, use a wrench or go ahead and check the timing marks. See “How to tell ATV jumped time?”
Starter motors wear out like any motor. They have a pretty tough job. Symptoms vary from intermittent starts to no sound when you hit the button, and starter motors can seize..jpg?x-oss-process=image/auto-orient,1/quality,q_70/resize,m_mfit,w_350,h_350)
Remove the spark plug, and if you have a pull start on your engine, try to turn it over and check the starter again by crossing the solenoid. If it still won’t crank, remove the starter for bench testing.
The starters are easy to remove but be mindful of the O-ring seal when removing. With the starter on the bench, try turning it with your hand. It should be free to turn.
If it’s not, you found your problem, have the starter reconditioned or replace it.
If your starter does turn freely by hand, get a set of jumpers and a battery.
This isn’t a hugely common complaint, but I’ve had a few that have tested my patience. The start button is, as you know, right out there when it comes to catching the weather, as are most others don’t get me wet electrical kit.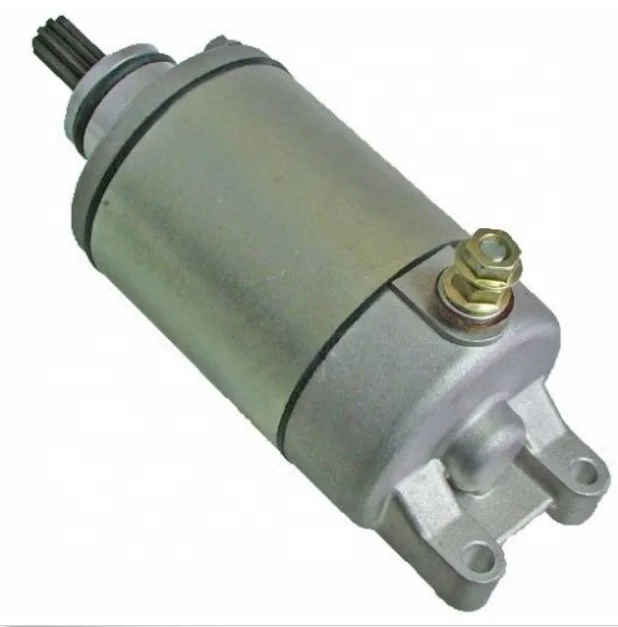
Moisture and wiring don’t work well together. A loose, corroded, or almost broken wire/terminal or dirty fuse, or bad grounds will all cause high resistance. This means when you load the circuit, it fails.
Troubleshooting these kinds of problems isn’t hugely complex, but it can be tedious as you trace wiring and strip components to check and verify. A DVOM and volt drop testing will locate the issue.
A wiring diagram for your model will make life a lot easier, but it isn’t essential.
Try the wiggle test before investing a lot of time. Often wiggling the wiring loom around the ignition switch, start button, steering loom, solenoid, and relays will reveal the problem.
Are ATV batteries 12 volts? Most ATV batteries are known as 12 volt systems. The battery voltage actually measures 12.65 volts when fully charged. Your ATV can be safely jump-started from a car or truck, as they too run 12 volt systems.
You may find the following posts useful:
How do kill switches work?
Will bike start without a kill switch?
How to adjust the carburetor on an ATV? What to pay attention to? What are the signs of misuse of the device? About this today in our article. Using the proposed instructions, you will be able to set up the carburetor step by step without the help of specialists.
For stable operation of the ATV, it is necessary that the engine receives the optimal amount of combustible mixture corresponding to its rev range. Otherwise, the following problems may occur:
What needs to be applied in this case:

Important! Carry out tuning only when the carburetor is cleaned outside and inside, as well as when the engine is warmed up to operating temperature.
Note. The location of the bolts on each carburetor model may vary, so read the instructions that came with your machine.
1. Start the ATV and test ride. Wait until the engine has completely cooled down.
2. Check the condition of the spark plug. To do this, unscrew the cap and inspect the candle.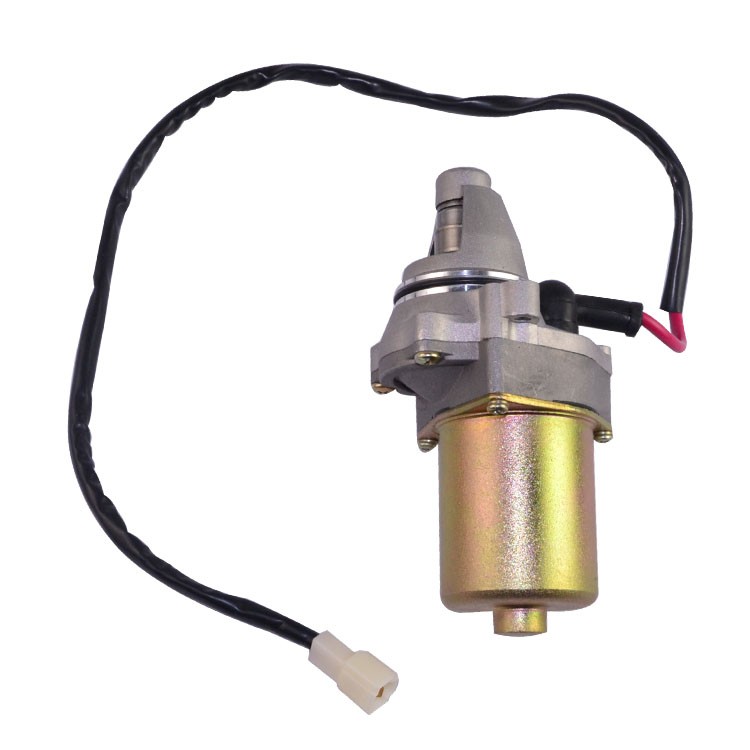
What to look for:
3. Unscrew the needle cover at the top of the carburetor. Pull the needle. This is the main element that regulates the supply of fuel to the combustion chamber, since the needle is connected to the gas trigger. When the trigger is pressed, the needle rises, slightly opening the hole for supplying the fuel mixture. This directly affects the growth of power and speed of the ATV.
4. Remove the cable, then press the needle to pull it out. The needle has 5 grooves and a retaining ring. By default, it is set to medium. The lower the retaining ring is located, the higher the needle is raised, which means that a lot of gasoline and little air is supplied. Accordingly, the higher the ring - the less gasoline and more air.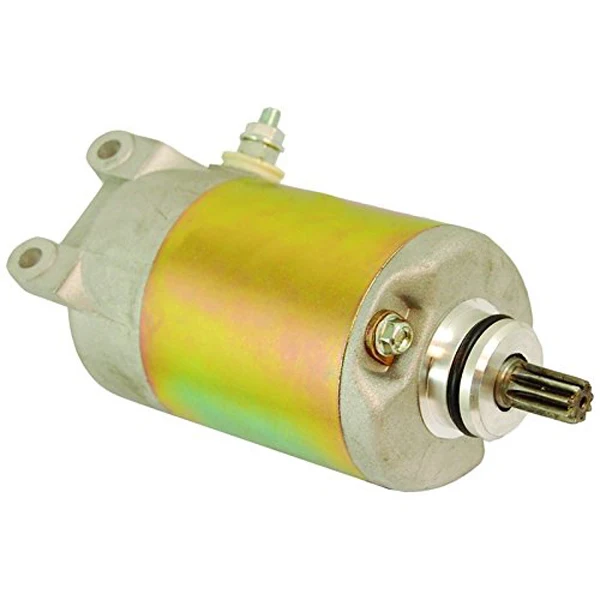
5. Reposition the circlip in the desired direction to optimize carburetor performance. Insert the needle into place.
6. Start the engine and press the throttle trigger. With proper adjustment, the engine should not stall from a sharp pressure.
And remember, you should resort to adjusting the needle only as a last resort, when adjusting the quality and quantity screw does not bring results.
The performance of a four-wheeler depends on the correct level of gasoline in the carburetor. An excessive amount will flood the candles, spill onto the ground and lead to unnecessary expenses. If there is too little fuel, the engine simply will not start.
How to optimize the fuel supply
The ATV is constantly subjected to significant loads, due to which the components of the vehicles wear out. This leads to a deterioration in the operation of the equipment or its breakdown. Therefore, let's figure out what to do if the children's ATV does not start. In this article, we will look at the main problems and ways to "resuscitate" the ATV.
ATV problems are usually caused by improper use of the ATV, high loads and irregular maintenance. The main reasons why the ATV won't start are:
To determine why a child's ATV is not working, you need to start with the simplest - technical fluids. Quite often, the problem arises due to the banal lack of gasoline. In this case, the quadric will not start or will start to stall. Therefore, before each ride, the rider needs to check the fuel level in the tank.
The ATV may also not perform well due to poor engine oil. If problems occur after changing the fluid, drain the lubricant, flush the system and fill in new oil. This is especially true for devices with a four-stroke engine, which must be "bathed" in grease.
Most riders store their ATVs for the winter. And if the procedure was performed incorrectly, it will be difficult to start the quadric after a long period of inactivity. Let's start with a simple battery failure. After a long stay in the cold, the battery can “leak” and completely fail. Do not forget that the battery could simply be discharged.
Also, in case of improper preservation, rust appears in the ATV fuel system, the spark plug and wiring fail.
To determine the exact cause of the malfunction, you need to:
But if a children's ATV does not work on a battery, it would be best to contact a specialized service. Technicians will need to check the ATV's engine, wiring, and batteries.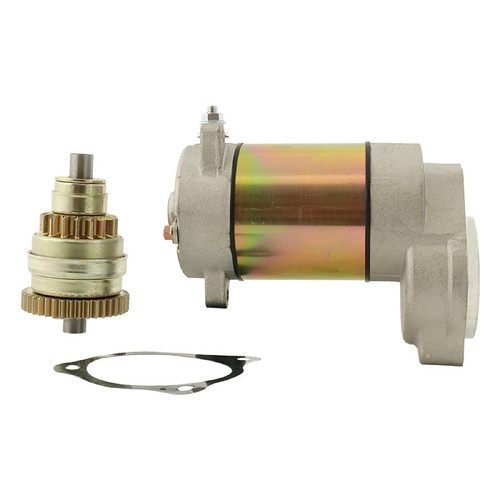
Quite often, problems with starting the quadric engine appear due to a starter malfunction or damaged contacts. To make sure that this is the cause of the malfunction, you need:
But what if you are far from home and the starter does not work on the children's ATV? In this case, you need to close the relay contacts. This way you can start the ATV engine.
Such a trifle as a spark plug can also prevent the quadric from starting. Therefore, it is important to inspect the part, and if it is damaged, it should be replaced. But if the electrode is intact, you should:
In addition, the rider should check for spark. To do this, you need to unscrew the candle, place it in the cap and touch the metal surface (without paintwork). A blue spark should jump on a serviceable element.
There are many reasons why a child's ATV won't start or stall. And in order to "reanimate" the ATV, you should: