Disclosure: We may get commissions for purchases made through links in this post.
Whether you’re an off-road enthusiast or someone with a hobby, an ATV is a reliable vehicle that will help get the job done – whether it’s surviving rough terrain or hauling equipment. ATVs are a long-term investment that you expect to use for many years. They certainly don’t come cheap, and you’ve probably done quite a bit of research before finally choosing the right one for you. It’s important to store an ATV in a safe place to keep it well-maintained.
While ATVs are best stored in a garage where it’s dry, indoor storage is not always possible. If your only option is to store your ATV outside, a proper cover is a must. Exposure to sun, wind, rain, and other elements may cause damage, so a cover is essential to ensure that your quad is protected.
You probably won’t use your ATV regularly, unless you need it for everyday work. But if you only use it occasionally, like during summer months, you must prepare it for long-term storage, mainly if you’re storing it outside. Here are some maintenance tips for outdoor storage.
If you’re preparing your ATV for long-term storage outside, consider these top maintenance tips to effectively preserve your four-wheeler so you can enjoy it for many years to come:
As previously mentioned, an ATV cover will shield your four-wheeler from the outside elements that may cause damage. These elements include not only weather-related factors, but also rodents, insects, dust, and pollen. While you can use a plastic sheet or a tarp as a cover, it’s still best to buy something that’s specifically designed for ATVs. A high-quality ATV cover is more heavy-duty and will do a better job. Synthetic fabric is ideal such as nylon or polyester, since other simple covers may promote rust.
An ATV cover will protect your quad from rain, sun, wind, and other flying debris. Weather can be unpredictable, and your ATV can deteriorate faster in harsh elements. Rust and moisture will be kept at bay, too.
The seats, cables, tires, and exposed metal parts will have an extra layer of protection when you cover it with a durable, waterproof ATV cover. This industrial grade, waterproof cover (view on Amazon), offers secure protection from all elements. It’s also night reflective and comes with securing straps for your trailer when hauling.
Leaving your ATV uncovered for extended periods may also cause excessive condensation in your gas tank. Thus, it’s not only the ATV exterior that suffers but the interior machinery as well.
Purchase a good, reliable ATV cover, so your four-wheeler is secured, safe, and ready for use whenever the need arises.
An ATV is a cool rig; it would obviously be eye-candy, especially if you store it outside. For added safety, chain your ATV to a post or any stable structure of some sort to prevent it from being stolen.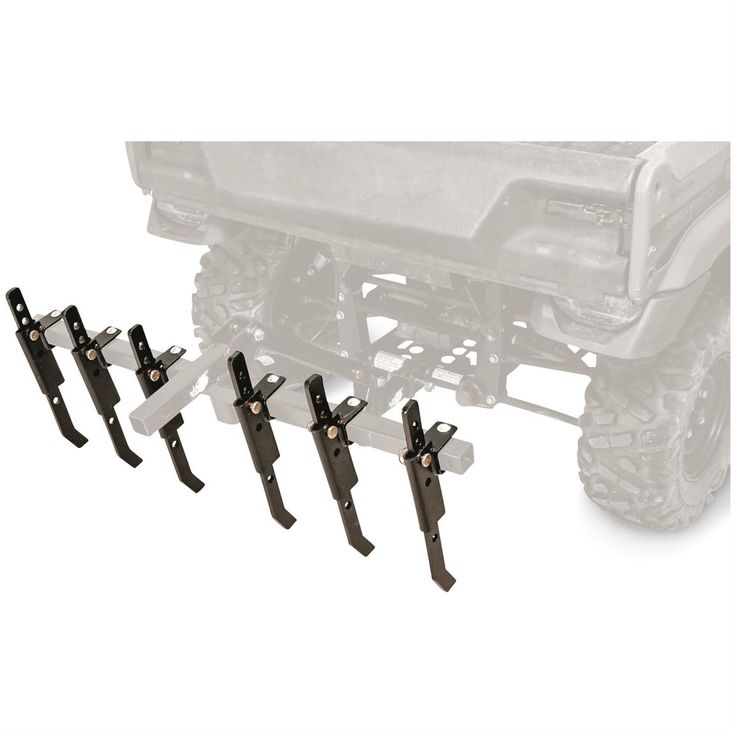 If you can, set up some surveillance cameras in the area where you store your ATV so thieves wouldn’t be as tempted.
Outside storage doesn’t necessarily mean you have to let your ATV sit underneath the open sky, suffering from the heat of the baking sun. If you can’t store it in a garage, but you have some space in your backyard, consider buying or building a shed. It’s an excellent solution for outdoor ATV storage if you want more reliable protection. A good, high-quality shed is a sturdy and durable alternative to a garage.
A shed will be particularly useful during the winter months, as cold weather may cause extreme damage to the exterior and fuel system of your four-wheeler. Ice buildup and a frozen engine are things you definitely don’t want to happen if you intend to keep using your ATV for a long time.
Metal sheds and wood sheds are good options, but resin sheds are ideal for your ATV because they don’t rust or rot. Resin sheds will ensure that outside elements won’t creep in and damage your investment.
It’s an investment, but it’s also a wise decision to delay corrosion and deterioration. After all, you’re protecting something that may be worth a couple of thousand dollars. Spending a few more bucks to preserve it will benefit you in the long run.
Placing your ATV beside a building or some tall structure lessens its exposure to the elements. You’d essentially be shielding it from wind or any flying debris in a more effective way, rather than purely relying on your ATV cover.
Keeping it clean goes without saying. Your ATV is a tough vehicle; it will probably go through mud, dirt, rocks, and challenging terrain. It can get pretty filthy if you’ve had a rough ride. Before storing your ATV, you must thoroughly clean it to make sure that dirt and rocks won’t settle in.
Soap it down, rinse it properly, and lubricate it generously. For heavy-duty cleaning, use a pressure washer instead of a regular hose. Pressure washers (view on Amazon) like this one are super useful in removing mud, rocks, leaves, grime, stubborn stains, and even rust. It makes the task much more manageable. Just remember to be careful when using it and aim only at the areas you’re cleaning.
While you’re doing this, keep an eye for any debris that might have gotten stuck in unlikely places. Cleaning your ATV before storing it allows you to have a closer look if there’s any damage so you can act on it right away. After your ATV has dried, wipe metal surfaces and the exhaust pipe with WD-40 to prevent rusting.
Leaving your battery unused for long periods will significantly reduce its lifespan. In some cases, you return to your vehicle and discover that your battery is dead. If you’re storing your ATV for quite a while, use a battery tender to keep your batteries charged.
Unlike trickle chargers, battery tenders equip microprocessor technology that allows them to provide continuous voltage without damaging the battery. This technology prevents battery damage by controlling charging functions, such as avoiding charging a defective battery or overcharging. Battery tenders are essential when preparing your ATV for hibernation.
Regular oil change should be a part of every vehicle owner’s routine maintenance. It keeps the engine healthy and promotes a longer life for your rig. Letting used oil sit in your tank for a long time, especially in the winter season, may cause dirt and debris to settle in. Thus, it’s essential to change your oil to keep your gears and bearings well-lubricated.
Before doing an oil change, make sure to clean first the refill location as well as the area around the external oil filter and the dipstick. Doing so will ensure that no dirt and grime will get into the engine. Keep in mind that you should also use the proper oil, and avoid going for the cheap ones that may cause more harm than good.
Furthermore, remove your air filter if your ATV is going on hibernation. Air filters are attractive homes and food storage for rodents, especially if you plan on storing it outside. Use an airbox cover for the meantime.
There can be some confusion about whether to fill up or empty your gas tank before long-term storage. Here’s what to do:
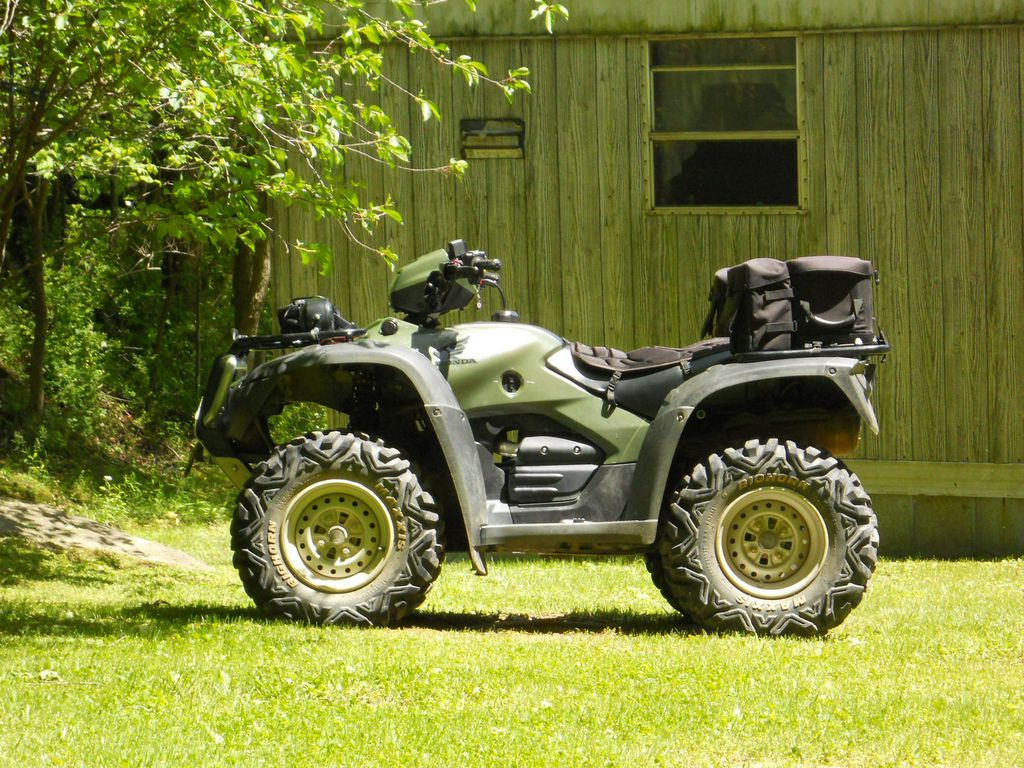
Even when your ATV is not in use, its tires can deflate in just a couple of months. Thus, you have to make sure that they’re adequately inflated before outdoor storage so the tires will be in good condition once you’re ready to use your off-road vehicle. Monitor the tires every few weeks or so, as allowing them to become fully flat can cause damage, which may result in buying new and expensive tires.
Storing an ATV outside can pose more challenges than keeping it sheltered in a garage. Therefore, you must take extra precautions to keep your ATV in optimum condition. By following the advice and maintenance tips listed above, you’re sure to keep your quad safe, secured, and preserved in tip-top shape until you’re ready to use it again.
We all know how quickly garage space seems to disappear. If you’re the owner of an ATV, you may find it difficult to create enough space in an already-packed garage to keep it safe and secure for the winter months.
The good news is you’ve got some options available if you’d rather store it outside. This will save you some precious space in your garage, and plus, when you feel the need to take it out for a spin during the winter months, you’ll have easier access to it without having to play Tetris in your garage to get it in and out.
So if you’re thinking outdoor storage is the best option for you and your ATV, here are a few tips to help you get properly set up for it.
This is one of the best long-term investments you can make for storing your ATV and protecting it from the elements. It’s understandable that this may or may not be feasible depending on how much space you have available or the layout of your property, but a small shed doesn’t take up quite as much space as you might expect and will be an extremely valuable storage area for the ATV.
A good ATV cover is another extremely important investment to make as an ATV owner, especially if you’re going to be storing it outdoors. You’re probably going to be tempted to just use a plastic tarp, but it’s better for the vehicle if you use a more breathable fabric specifically designed for covering your ATV. This will prevent moisture from getting trapped underneath, which could otherwise lead to rust or mildew.
If you don’t plan on using your ATV much during the winter, you should perform some simple season-ending maintenance before storing it. First, completely clean the vehicle, including a good rinse and lubrication of the drive chain and anything else that needs greasing. Use some plastic protectant, and spray WD-40 on to the exhaust pipe and cover up the opening. Wipe off any raw or polished metal with WD-40 as well to prevent any issues over the winter.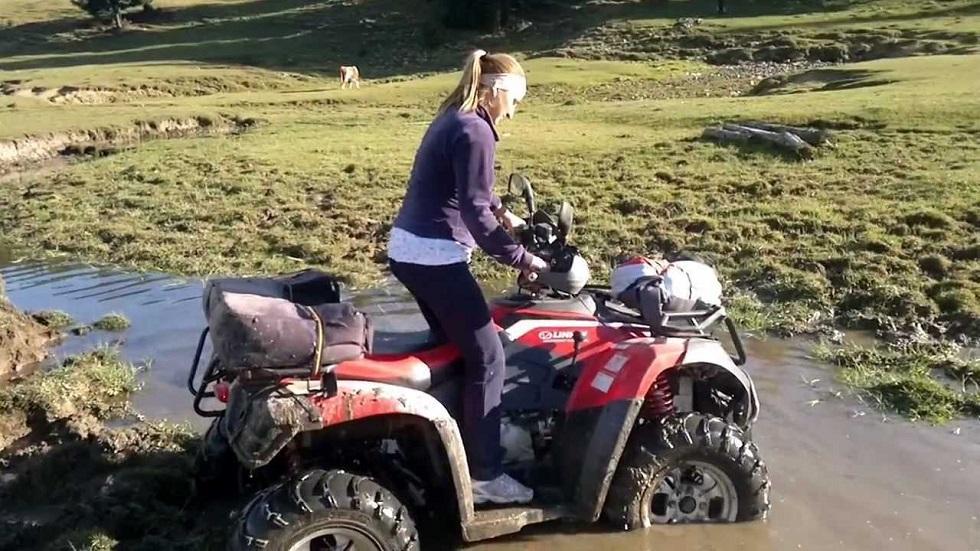
If you have a plastic gas tank, you should drain all of the fluids in the tank, fuel lines and carburetor. If you have a metal fuel tank, completely fill up the tank, add a stabilizer and allow the ATV to run for a few minutes so the stabilizer gets absorbed into the fuel and flows through the systems, which will provide some rust and freezing protection throughout the winter.
The changing of the season is a great time to change your oil and filter, even if you don’t intend to get a whole lot of use out of the ATV during the winter. You might just wish to remove the filter entirely, as otherwise it could make for an attractive spot for rodents to make their homes, or it could simply dry out during winter weather. Let the engine turn over once or twice a month during the winter without starting it to make sure you keep all the components properly lubricated.
Battery Tender will keep your battery strong during the WinterWhile your ATV is in storage, you should use a battery tender to keep your battery in good condition. If you go a long time without using your battery, there’s a good chance it will die. Battery tenders don’t require a lot of power, and will help the battery maintain its charge through the winter so you don’t have an unfortunate surprise when you bring it out for use in the spring.
When you store your ATV outdoors, your tires become even more susceptible to problems due to the changing air temperatures. Make sure you inflate them to their maximum capacity before you store the vehicle for the winter. Your tires will likely slowly deflate over time, and this will help them stay at a reasonable level without having to regularly inflate them throughout the winter. We also strongly recommend lifts or blocks, rather than keeping the tires directly on the frozen ground or concrete so you can take some of the strain off those tires.
Follow these steps, and you’ll find it a whole lot easier to keep your ATV in great shape all through the winter!
How to adjust the carburetor on an ATV? What to pay attention to? What are the signs of misuse of the device? About this today in our article. Using the proposed instructions, you will be able to set up the carburetor step by step without the help of specialists.
For stable operation of the ATV, it is necessary that the engine receives the optimal amount of combustible mixture corresponding to its rev range. Otherwise, the following problems may occur:
What needs to be applied in this case:

Important! Carry out tuning only when the carburetor is cleaned outside and inside, as well as when the engine is warmed up to operating temperature.
Note. The location of the bolts on each carburetor model may vary, so read the instructions that came with your machine.
1. Start the ATV and test ride. Wait until the engine has completely cooled down.
2. Check the condition of the spark plug. To do this, unscrew the cap and inspect the candle.
What to look for:
3. Unscrew the needle cover at the top of the carburetor. Pull the needle. This is the main element that regulates the supply of fuel to the combustion chamber, since the needle is connected to the gas trigger. When the trigger is pressed, the needle rises, slightly opening the hole for supplying the fuel mixture. This directly affects the growth of power and speed of the ATV.
4. Remove the cable, then press the needle to pull it out. The needle has 5 grooves and a retaining ring. By default, it is set to medium. The lower the retaining ring is located, the higher the needle is raised, which means that a lot of gasoline and little air is supplied. Accordingly, the higher the ring - the less gasoline and more air.
5. Reposition the circlip in the desired direction to optimize carburetor performance. Insert the needle into place.
6. Start the engine and press the throttle trigger. With proper adjustment, the engine should not stall from a sharp pressure.
And remember, you should resort to adjusting the needle only as a last resort, when adjusting the quality and quantity screw does not bring results.
The performance of a four-wheeler depends on the correct level of gasoline in the carburetor. An excessive amount will flood the candles, spill onto the ground and lead to unnecessary expenses. If there is too little fuel, the engine simply will not start.
How to optimize the fuel supply

ATV Club
December 27, 2013
It turns out that not so much is needed to radically increase the cross-country ability of an ATV ... The main ways to increase cross-country ability are associated with an increase in the capabilities of movers. The easiest thing is to install large wheels.
The limiters here are the parameters of the transmission and suspension and the center of gravity rising higher and higher. Another way to create a "tank" is to use tracks. But this is also not a panacea: it’s difficult, and you won’t get far on them. But there is another option that allows you to easily and simply turn the "standard" into a "super all-terrain vehicle." It is enough to supplement its wheels with J-Wheelz expanders. According to their manufacturer, the ATV will not only ride through the swamps without falling through, but will also learn to swim. The device so far has no analogues - at least, they are unknown to us. So it was necessary to check its merits without comparison with competitors.
The products turned out to be very similar to plastic buckets. Through special transitional studs, they are attached to the wheels. Then foam inserts are inserted into them and fixed with rubber bands. The expander is smaller in diameter than the wheel, so it does not work when driving on asphalt and hard ground. But as soon as you find yourself in a swamp or just fall into a rut, he immediately comes to the rescue. The quadric really does not fail! Moreover, the blades outside the expanders cling to the soil and row. However, we were most interested in the "waterfowl" abilities of the J-Wheelz.
Thanks to the paddles on the extensions you can move even on very soft ground
For a risky test, we took a large utility ATV, equipped with heavy protections (including the entire bottom), winch and headlights. It took several minutes to screw on the expanders, and we headed to the lake ... It's amazing, but the quadric floated, swaying on the waves along with a rather big pilot. Here are the buckets for you!
All-terrain vehicle. J-Wheelz increase quad stability to incredible limits
Bonus. The "buckets" have another significant advantage - they do not allow you to fall into a rut
Our ATV was not equipped with a snorkel, so the rider had to soon leave the "captain's bridge" so that the engine would not take a sip of water. And so it would be possible to swim and swim, rowing "oars". But even in this configuration, you can easily transport the equipment by swimming across the ford or drag it across the pond on a cable. And when driving on a dry coast, the expanders do not really interfere. If you do not climb frankly narrow forest paths, then you can ride without removing them. The material from which they are made is very durable. I personally hit with a sledgehammer - I simulated shock loads at the declared minus 30 degrees: at least where it cracked!
Each extension only weighs approx. 3 kg. A set of four J-Wheelz gives approximately 140 kg of additional buoyancy. Fits any 24-27" tire with standard 4-wheel bolt pattern. The flexible rubberized blades are available in two sizes and are easily replaced or removed when the expander is removed from the machine. For the front wheels, less stiff paddles are supplied as standard to keep the steering stable without hitting the mudguards. The rear wheels use stiffer paddles for maximum traction.
Mount. Wheel extensions can be installed on any ATV or UTV
Inserts inside. The foam adds buoyancy and keeps water out. All construction is wear and puncture resistant
Like a steamboat. Wheel widener blades are available in two different sizes and can be easily replaced
Produced by Rennesport Imports,
www.j-wheelz.ru, and tested with the assistance of Kvadropark, kvadropark.ru
