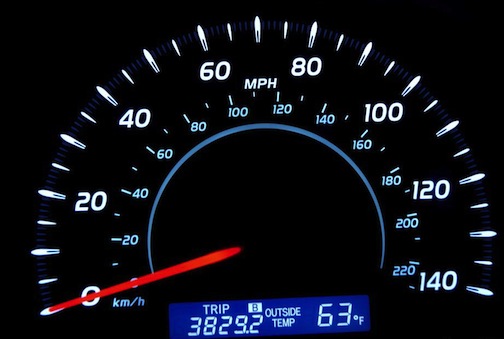
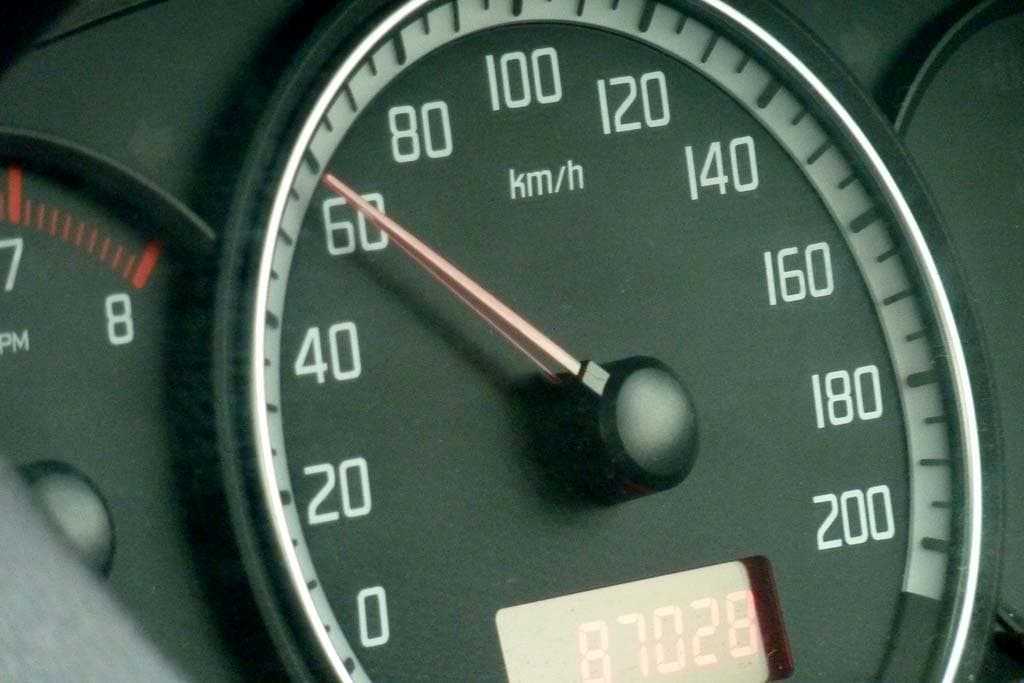
Replacing your vehicle’s tires with bigger ones is not bad. It improves handling, cornering, decreases cornering distance, and increases acceleration. But it is essential to know that using bigger tires would alter your speedometer calibration, and you may need to recalibrate it to get an accurate reading of your vehicle’s speed.
A speedometer will read a speed slower than the vehicle’s actual speed when you replace your standard tires with larger ones.
You may need to calibrate your vehicle’s speedometer after replacing your tires with new ones, especially if the new tires are of different sizes.
There are two types of speedometers, mechanical speedometers and electronic speedometers. Each is calibrated using a different method. The following is a guide on how to calibrate the two types of speedometers.
To adjust your analog speedometer gauge for bigger tires, first, count the number of teeth on the drive gear. Then, calculate the tire’s number of revolutions per mile, then replace the old driven gear with the right one.
Calibrating a mechanical speedometer is a complex process. One may need the help of a technician since it involves replacing some parts.
You start by locating your transmission. Transmission can be pin-pointed by opening the hood or lifting your vehicle and searching for it from the bottom. The speedometer cable is normally bolted on the transmission’s tail shaft. Unbolt the speedometer cable from the tail shaft.
Remove the gear housing cover by unbolting the screw holding it in place. Using an adjustable spanner would be quicker than any other spanner. You will see two gear. The speedometer cable is attached to the driven gear, while the drive gear is attached to the transmission.
Count the number of teeth on the drive gear and note down.
Determine the diameter of your wheel by measuring from the top to the center of the wheel. Then multiply this value by two to get the diameter. To get the tire’s revolutions per mile, divide 20,168 by the diameter of the tire.
Multiply the tire’s number of revolutions per mile by the value of the number of teeth on the drive gear. Then multiply the value you get with the axle’s ratio. The axle’s ratio is normally found on the vehicle’s manual or inside the vehicle’s glovebox. Divide what you get with 1,001.
The value you get is the number of teeth of the driven gear needed so that your speedo gives accurate vehicle speeds. Provide your local dealership with the number of teeth of the driven gear, the make of your vehicle, model and model year of your car to ensure they deliver the right gear.
Replace the old gear with the right one and attach the speedometer cable at the right place. Return everything to its position.
Identify the speedometer calibration button and press-hold, crank your vehicle and then release the button. Push the button and drive the distance recommended by the manufacturer. After driving, press the button again, and the speedometer will automatically calibrate itself.
Electronic speedometers are easy to calibrate. Manufacturers always provide the distance of the test drive needed for speedometer calibration. This information is normally available in the owner’s manual.
Improved Grip and Traction
Larger tires have a larger surface area in contact with the track.
This enhances grip and traction and improves the vehicles handling. Bigger and thinner tires offer more traction on snow.
Enhances Cornering
Bigger wheels with wide threads and stiffer walls offer more road contact enhancing cornering at high speeds. This is the main reason racing cars have more massive and wider wheels.
Improved Breaking
Big tires will offer more surface contact with the track. This enhances braking and reduces braking distance.
Better Appearance
Vehicles with bigger and wider tires look better than those with smaller tires.
Hard Steering
A larger tire has more contact with the surface making it very hard to steer. A larger tire also means more weight to be turned by the steering system.
Increased Fuel Consumption
Installing bigger tires would increase the weight to be turned by the engine, leading to more fuel consumption. But this weight increase would not have any effect on vehicles with powerful engines.
Increased Tire Wear
Larger tires wear out faster due to lower sidewalls, wheel scraping, and stiff steering.
Inaccurate Speedometer Reading
Installing a larger wheel without calibrating your vehicle’s speedometer would result in inaccurate readings. Calibration may require the replacement of driven gear, which may be more expensive.
Safety System Warning
Various safety warnings would appear on the dash due to the wrong tire size. Since the wheel speed sensors work together with the engine control unit, traction control, and the ABS, you may get an ABS or traction control warning light.
Many people get confused about what the letters and numbers on the side of their tire wall stand for. We will use a case study to explain what these letters and numbers stand for and how to determine the size of your wheels. Let’s assume your wheel is numbered P215/65R/15 95H.
Tire Type
The first letter “P” refers to the standard to which the tire is made. The tire is a P-metric tire, the standard used in the United States. This standard shows that this tire is designed for passenger vehicles. If the tire starts or ends with the letter “LT,” this means the tire is designed for light trucks. Always refer to your owner’s manual to know which type of tire is suitable for your vehicle.
32′ x 9.50″ BFGoodrich KO2 All-Terrain Tire on my 1993 Jeep YJ SaharaTire Width
Tire width is the distance between the two sidewalls. The first three digits represent the tire width in millimeters. In our case, the tire width is 215 millimeters.
Aspect Ratio
The Aspect ratio is the ratio of the height of the tire cross-section to its width. The two-digit number after the backlash mark represents the tire’s aspect ratio. The larger the ratio, the bigger the aspect ratio.
Construction
They are various types of tire construction. It may be radial, basic, ply, etc. “R” stands for radial, which means the tire is layered radially.
Wheel Diameter
The two-digit number after the letter “R” is the diameter of the wheel in inches. In our example, the wheel is 15 inches in diameter.
Speed Ratings
The last letter on your tire label represents a certain speed on the speed chart. This shows the stopping power of the wheel.
Tires with high-speed ratings have better stopping power and less durable threads.
In this case, the last letter is H, meaning the speed rating is 210 km/h.
Tire Width
Tires with a broader profile offer more grip than those with a narrow profile.
Tire Profile
Tires with high profile offer a comfortable ride and provide more protection. Tires with a low profile are prone to the same. They give a rough ride but are better looking and enhance steering performance.
Manufacturer’s Warranty
Different manufacturers offer different warranty terms. There is often a list of damages that a warranty can cover. Some manufactures offer a very narrow list of damage that their guarantee can cover, while others cover more. Always check the terms of a warranty before buying.
Tread Pattern
There are three types of treads; symmetrical, directional, and asymmetrical. Symmetrical tires offer quiet performance but offer substandard grip on rainy weather. Asymmetrical tires perform well in rains as they disperse the water well but are more expensive. Directional threads function best in rains but produce so much noise.
Installing bigger tires improves acceleration, handling and makes your vehicle look good, but it is essential to recalibrate your speedometer to get correct vehicle speed readings.
Thank you for reading this article. Please feel free to comment and share.
by Alexander Poirier
speedometer image by Larry from Fotolia.com
A vehicle's speedometer gives the driver an accurate estimation of the vehicle's speed. The speedometers on stock vehicles are calibrated for use with the vehicle's stock parts. Changing the stock parts, including the vehicle's tires, can throw off the speedometer calibration; larger tires cause the speedometer to read a speed slower than the vehicle's actual speed while smaller tires cause the speedometer to read a speed faster than the vehicle's actual speed. You may recalibrate a speedometer in a few simple steps.
Open the vehicle's hood and locate the transmission. Unscrew the speedometer cable from the transmission's tail shaft and use a crescent wrench to unscrew the bolt holding the gear housing cover in place. Remove the plate to expose the two gears: the drive gear mounted inside of the transmission and the driven gear attached to the speedometer cable. Count the number of teeth on the drive gear and note the number.
Measure from the top of one of the vehicle's wheels to the center of the wheel. Multiply this number by two to determine the diameter of the tire. Divide 20,168 by the tire's diameter to determine the tire's revolutions per mile.
Multiply the vehicle's revolutions per mile by the amount of drive gear teeth determined in Step 1. Multiply this value by the vehicle's axle ratio. Look for the vehicle's axle ratio in the supporting documents that came with your vehicle. It may also be found inside the vehicle's glove box. Divide the solution by 1,001. The resulting number is the number of driven gear teeth needed.
Contact the vehicle's manufacturer or a local speedometer service location and purchase the necessary driven gear for your vehicle. You must provide the make, model and year of your vehicle to ensure you receive the right gear.
Remove the old driven gear from the end of the speedometer cable by pulling it out of the clips that hold it in place. Clip the new driven gear into place on the speedometer cable. Replace the gear housing cover and secure it in place with the bolt you removed in Step 1. Secure the speedometer cable back into position.
Determine the distance of the test drive needed to recalibrate your speedometer. This information may be in your owner's manual or other supporting documentation, but it is also available from the vehicle's manufacturer.
Press and hold the calibration button on the speedometer, start the vehicle and release the button.
Press the button again and drive the distance prescribed by the speedometer manufacturer.
Press the button a third time after you have driven the designated distance. After pressing the button the third and final time, the speedometer will recalibrate itself to fit the new tire size.
Things You'll Need
Writer Bio
Alexander Poirier began writing professionally in 2005. He worked as the editor-in-chief of the literary magazine "Calliope," garnering the magazine two APEX Awards for excellence in publication. Poirer graduated from the University of the Pacific with a Bachelor of Arts in English.
Contents
⏰Reading time: 4 min.
Greetings, Friends! Today, using a real example, we will understand why the speedometer does not work or why the speedometer needle on the car twitches and jumps.
In general, one person contacted me with complaints about the operation of the speedometer. The bottom line is that the speedometer needle periodically began to live its own life. That is, it started jumping for no reason, and sometimes it just went to zero when the car was moving.
Chevrolet Lacetti sedan 1.6. But the essence of the search for the cause is suitable for the vast majority of modern cars with an engine management system (popularly - injection).
There are several reasons for this phenomenon:
1. The speed sensor is out of order.
2. The speed sensor drive is worn out. Occurs less frequently than other causes, but still occurs
4. Faulty instrument panel
5. Faulty wiring.
As you can see, there are many reasons. Moreover, the first three points are in one place (checkpoint), and the instrument panel is completely different. And all this is connected by meters of wiring and several connectors (connectors).
Where to start and where to dig? Climb into the panel or into the checkpoint?
In our case, the situation was aggravated by the fact that the speedometer needle jumped not constantly and by the fact that the problem had to be solved quickly, since the person was from another, not quite close, city.
In this situation, the diagnostic adapter will once again help us. It costs a penny, but with a competent approach, it helps out very often.
Here's about the adapter and where to buy it
Here's a step-by-step guide on how to set up and use
How can the adapter help us?
The bottom line is that on vehicles with an engine management system, the signal from the speed sensor is fed in parallel to the instrument panel and to the engine control unit (ECU). And in some cases, on the computer, and from the computer to the instrument panel.
Here I drew in red for clarity
And as I always say, when the adapter is connected to the diagnostic connector, we begin to see everything through the “eyes of the computer”.
Therefore, it is no longer difficult to guess how to determine the direction of the search for the cause of the jumping arrow of the speedometer.
A person is driving and watching the speedometer. I sit nearby and watch the speed readings in the diagnostic program.
If the speedometer needle jumps, and the speed graph in the program is flat, then the problem is in the direction of the instrument panel.
And if the arrow is twitching, and the graph is also with “dips”, then the problem is in the direction of the speed sensor and its drive.
This is exactly what happened in our case. These dips mean an unstable signal from the speed sensor.
So it makes no sense to climb into the instrument panel. It is necessary to move towards the speed sensor.
It didn't take long to find the cause. After dismantling the speed sensor, everything became obvious
As you can see, severe corrosion caused the third contact to rot completely. This was caused by a previous incorrect repair. Apparently, there was an unreliable contact in the connector. And instead of replacing the connector or repairing it, a piece of copper wire
was inserted into it. This did not allow the connector to be tightly connected and moisture quickly did its job. Here is the third contact extracted from the connector
In general, everything was decided by replacing the speed sensor and processing the connector with contact agent
Well, the process of replacing the sensor is a completely different story, which you can read about here.
Peace and smooth roads to all!
A car is a very convenient and comfortable means of transportation. It allows you to move freely on the roads and be in the right place at the right time. However, very often small troubles occur - breakdowns. For example, the speedometer stopped working. An experienced driver will be able to determine the approximate speed by eye, but it is very difficult for a beginner to do this. Therefore, it is necessary to eliminate the malfunction as soon as possible in order to avoid emergency situations.
Read the owner's manual for your vehicle. In it you can find several procedures that can fix the problem. Usually, a speedometer failure is that the arrow either constantly jumps or freezes in one position and does not move. Try enabling test mode. On most vehicles, it is activated by pressing a button under the speedometer itself.
Drive the car into the garage. Apply the parking brake. Open the hood and remove the negative terminal from the battery so that the on-board network does not close. You need to get to the mechanism that ensures the rotation of the instrument panel arrows. To do this, you first need to remove the torpedo. Remove all linings. Unscrew the steering wheel. Remove the steering column switches. Find and unscrew all the screws that hold the torpedo. Grasping the edges with your hands, pull it out a little towards you. Disconnect all wires, having previously marked them. Now pull out the torpedo through the right passenger door. Turn it over. The instrument panel is bolted on. Unscrew them.
Place the instrument panel carefully and inspect it. It is necessary to remove the glass, which is attached with a sealant. To do this, heat a little the junction of plastic and glass with a building hair dryer.