“A tire only loses air if it’s punctured.” This is a common misconception that we have all had or heard and yet the reality is quite different. Indeed, a tire can lose air even without a puncture, as for example in the case of a crack in the valve that is used to inflate your tires. A punctured valve is difficult to detect, and not taking care of it in time can have real consequences for your tire, but also (and above all!) for your safety. Blackcircles Canada, your online tire specialist, offers below a complete guide to the causes and consequences of a punctured valve, and how to repair a leaking valve stem.
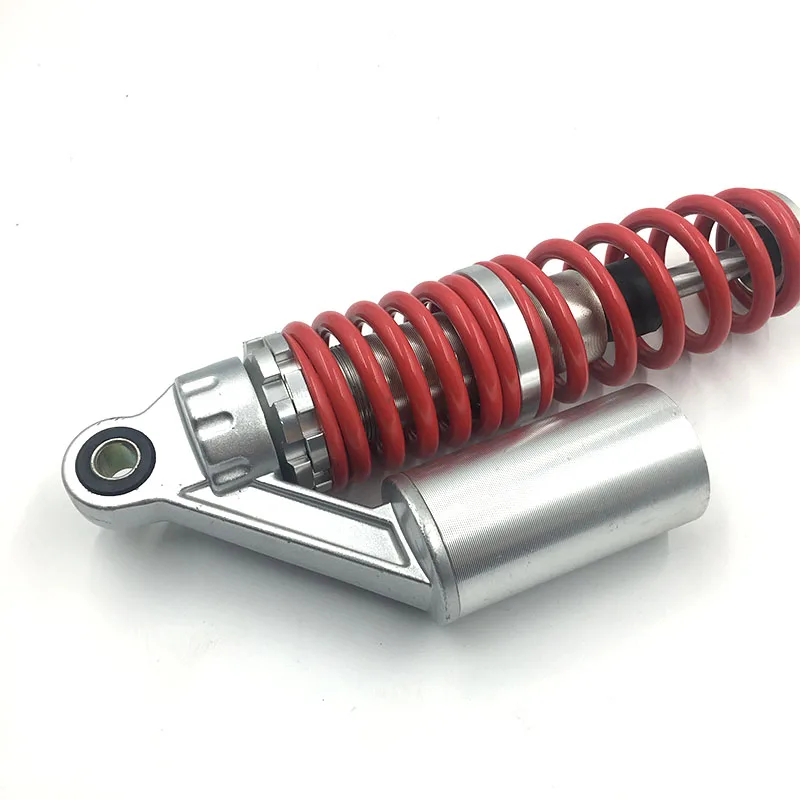
A valve is a pin located on the outside of the tire, through which the tire can be inflated/deflated. It has a mechanism consisting of a spring-mounted valve that closes tightly with the air pressure inside the tire. Over time, the stem valve may become brittle and cracked, which may increase the risk of air leaking through it.
When the stem valve leaks, the affected tire is no longer able to retain air. Depending on the extent of the damage, the air will leak out slowly or more quickly. In both cases, the valve must be replaced.
If the air leakage is slow, you will be subject to the problems encountered by drivers driving with underinflated tires. Internal damage that can shorten the service life of the tire by up to a quarter, increased fuel consumption due to higher rolling resistance: the tire will damage faster, and your energy-efficiency will be significantly lower. The tire will also have poorer traction and the stability of your car will be reduced when cornering, not to mention the more pronounced deformation of the tire that increases its internal temperature, which can cause it to burst. Finally, an under-inflated tire increases the risk of hydroplaning. Tire pressure is thus very important!
 Here’s how to do it!
Step 1: Make sure it’s your valve stem that’s leaking.
Here’s how to do it!
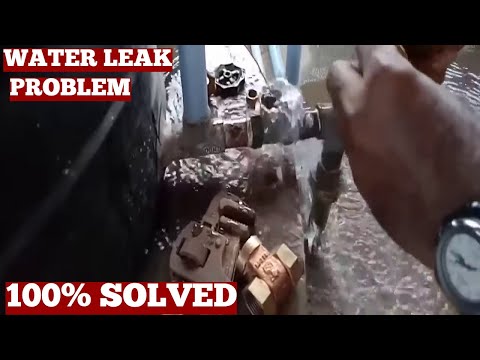
Step 1: Make sure it’s your valve stem that’s leaking.First of all, make sure it is the tire valve stem that is leaking. To do so, there’s a very simple trick! Apply a mixture of water and dishwashing soap to the valve with the cap removed. If bubbles start to appear, your valve is leaking. If this is not the case, and there is a definite air leak, it will be located elsewhere on the tire.
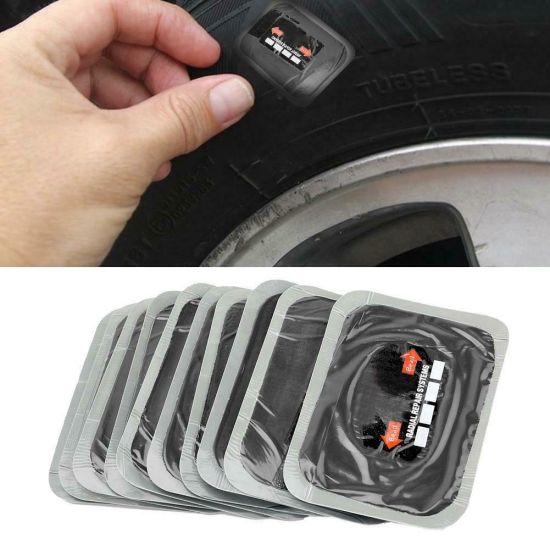
Step 2: Gather the right tools before you start!Before you begin, make sure you have all the necessary equipment to complete the replacement of the faulty valve stem.
For this, you will need the following:
You are now ready to start the process!
Step 3: Loosen the nuts on the wheel you are going to work on.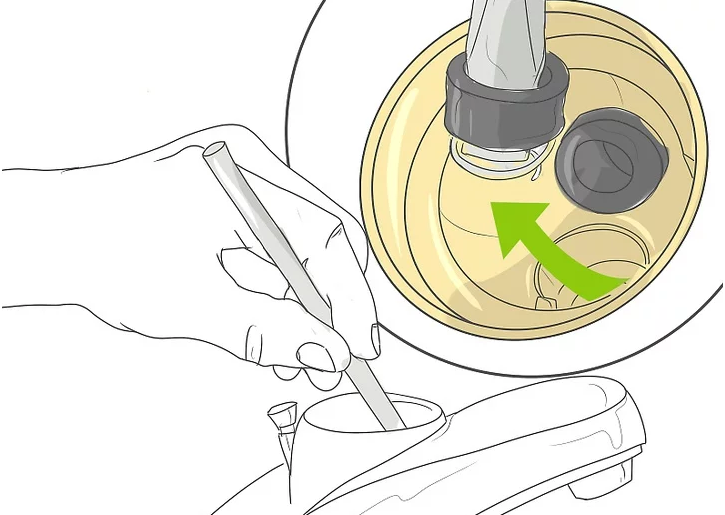
To do so, use the wrench mentioned in the previous step to loosen each of the lug nuts holding your wheel in place. Do this while the car is still on the ground.
However, for certain models of vehicles, it is possible that the wheel nuts have an anti-theft ring. If this is the case, you’ll have to use the appropriate special key to remove the locking nut(s).
Step 4: Raise your vehicle with the jack and then remove the wheel.First and foremost, make sure the handbrake is applied so that your vehicle is completely immobilized. Then, use your jack to lift your car. Be sure to position it on the right part of the chassis so that the car is properly supported. This will prevent any damage to the car and any bodily injury. Once your car is lifted, secure it on jack stands. Unscrew the wheel bolts completely, then remove the wheel. Finally, place the wheel on the ground flat, with the outside of the wheel facing up.
Step 5: Remove the valve stem core with the removal tool and let the tire deflate.
If you have not already done so, remove the valve cap. Then remove the valve stem core using the valve stem removal tool to release the air from the wheel, which should normally deflate completely on its own.
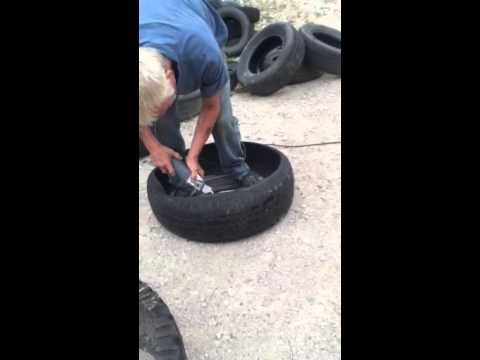
Step 6: Separate the tire’s bead from the wheel.For this step, use the sledgehammer in the following way: hit the tire sidewall with the sledgehammer in the same spot until you hear a crack or popping sound, and see the inside lip of the tire visibly break loose from the rim. This means that the tire has been successfully detached from the lip of the wheel.
Once the tire bead has been broken, continue hitting with the sledgehammer around the tire to detach the sidewall around the entire circumference of the wheel.
Step 7: Remove the tire from the rim.Once the sidewall of the tire is separated from the outer edge of the rim around the entire circumference of the wheel, insert your tire iron between the edge of the rim and the inside lip of the tire, and then pry upward to pull the lip of the tire over the edge of the wheel.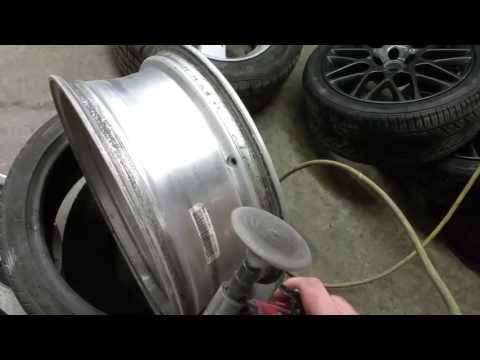 Once you have pulled the lip of the tire over the edge of the wheel, work the tire iron around the rim until the entire lip of the tire is off the rim.
Once the sidewall of the tire is completely above the wheel, grab it by its removed lip and pull it upward so that the opposite lip that was at the bottom of the wheel is now touching the top edge of the rim. Use your tire iron again by inserting it between the tire’s lip and the edge of the wheel and pry upwards to pull the lip over the edge of the rim. As before, work the tire iron around the edge of the wheel until the tire is removed from the wheel.
Step 8: Remove the defective valve stem and replace it with the new one.Once the tire is separated from the rim, it is time to remove the valve stem. To do this, first pull out the valve stem free from the wheel using the needle-nose pliers. Once this has been done, install the replacement valve stem from the inside of the wheel. Once it is in position, use the needle-nose pliers again to pull it through into its right place on the wheel.
Once the stem is in place, it is time to put the tire back on its rim. To do this, start by pressing the tire down over the rim until the bottom bead clears the edge of the rim. The aim here is to return the lower sidewall of the tire to its original position on the wheel.
Then press the upper sidewall of the tire down underneath the edge of the wheel. Then tuck your tire iron between the tire sidewall and the rim edge and use it to make the opposite movement to the one you used to pull the tire sidewall out of the rim. Once the bead clears the lip of the wheel, use the tire iron to work your way round the entire wheel until the tire is completely installed on the wheel. Then inflate it to the correct pressure using the air compressor.
Step 10: Make sure there are no other leaks, and mount your wheel back on!Once the tire is inflated to the correct pressure, check for other leaks.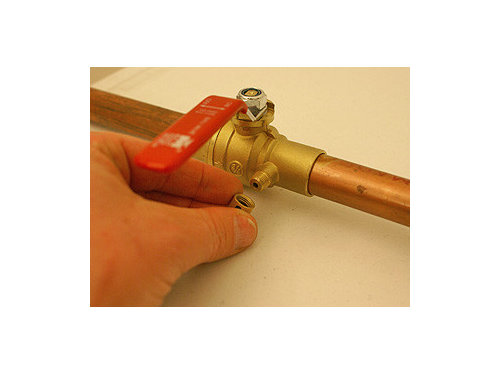 If all is well, mount the wheel on your vehicle and bring it down by lowering the level of the jack stands until the repaired wheel touches the ground and you can safely remove them.
Ultimately, it is very important to make sure your tires are free of air leaks to maintain proper air pressure at all times. In the case of a slow air leak, the consequences can be dramatic. If the air leak is due to a faulty tire valve, you will definitely need to replace it. You can either follow the above procedure on how to repair a leaking tire valve or take it directly to a specialist. If, on the other hand, you need to change the entire tire, consult our selection of tires adapted for your car directly online on our website!
Tire Installation 101: When and how to change your tires?
I just filled up my tires and, two days later, my right tire is losing pressure. I’ve checked the tire for leaks and don’t think the tire itself needs replacing, so my next guess is the tire valve stem is leaking. How do I fix a tire valve stem leak?
Rachel Juillerat · Answered on Feb 18, 2022
Reviewed by Shannon Martin, Licensed Insurance Agent.
Fortunately for you, fixing a tire valve stem leak is both easy and cheap. You just need to purchase a replacement tire valve stem and a valve core tool. A pack containing both of these items is on Amazon for less than $5!
To replace the leaking tire valve stem, do the following:
Note: If you notice corrosion on the old stem, be sure to clean the interior threads of the tire stem on the tire.
While this is an easy and cheap fix, there are some car fixes you may need assistance with, so it’s always a good idea to invest in a solid car insurance policy.
Jerry makes finding the right policy for you easy. Jerry compares personalized rates from more than 50 top providers and delivers the best deals to your phone in minutes for free. The average Jerry driver saves $887 a year on car insurance.
MORE: Will insurance cover a flat tire?
Car RepairCar Tires
View full answer
WHY YOU CAN TRUST JERRY
Jerry partners with more than 50 insurance companies, but our content is independently researched, written, and fact-checked by our team of editors and agents. We aren’t paid for reviews or other content.
Browse More Content
What To Do If Your Parking Brake Won’t Engage
Oxygen Sensor Replacement Cost
Reverse Lightbulb Replacement
What To Do If Your Steering Wheel Is Creaking
What To Do If You Hear A Squealing Noise When Steering Wheel Is Turned
Chevrolet Impala Super Sport Insurance Cost
Infiniti Qx60 Insurance Cost
Bmw M6 Insurance Cost
Ford F350 Super Duty Insurance Cost
Buick Cascada Premium Insurance Cost
Branchland Car Insurance
Box Elder Car Insurance
Lumber Bridge Car Insurance
Fairview Car Insurance
Rochester Car Insurance
I’ve loved Lamborghinis since I was a kid.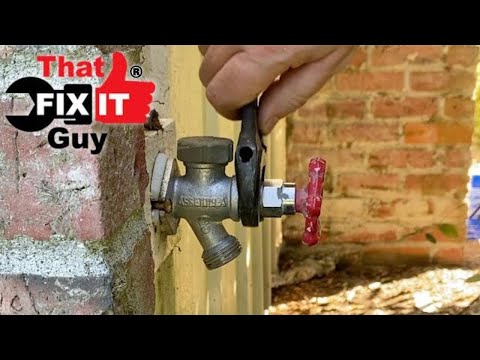 They’re sleek, they’re fast—they’re my dream car! I’m already saving up to buy one someday. How much does car insurance for a Lamborghini cost?
Melanie Johnson
Feb 18, 2022
I got a ticket yesterday and I’m so bummed. I’ve never gotten a ticket before—I was just zoned out and didn't realize I was going 10 over. Can I ask the judge to reduce my ticket?
Melanie Johnson
Feb 18, 2022
I’ve been sitting on my old car that no longer works and I’m ready to move on and clean out. Where can I sell it?
Pat Roache
Feb 18, 2022
Browse All Questions
Some cars are cheaper in Mexico, but it depends on the vehicle and consumer demand.
Matt Nightingale
Apr 19, 2022
If you have a vehicle from 1995 or newer, you’ll need to make sure you have an EPA-approved catalytic converter. Follow our tips to keep it safe from theft!
Matt Nightingale
Jun 22, 2022
Speeding
driving record
Car Body Repair
Car Reviews
FS-1 Form
Collision Coverage
Car Loans
No Fault State
Emergency Insurance
State Farm
Young Drivers
Cheap Auto Insurance
Full Coverage Insurance
Car Prices
driving record
Travelers
Natural Disasters
Save Money
Title Transfers
Donating a Car
Fleet Sales
Identity Theft
Chrysler
Mitsubishi
No long forms
No spam or unwanted phone calls
Quotes from top insurance companies
Find insurance savings — it's 100% free
Toyota
Hyundai
Mercedes-Benz
Subaru
Chevrolet
Mitsubishi
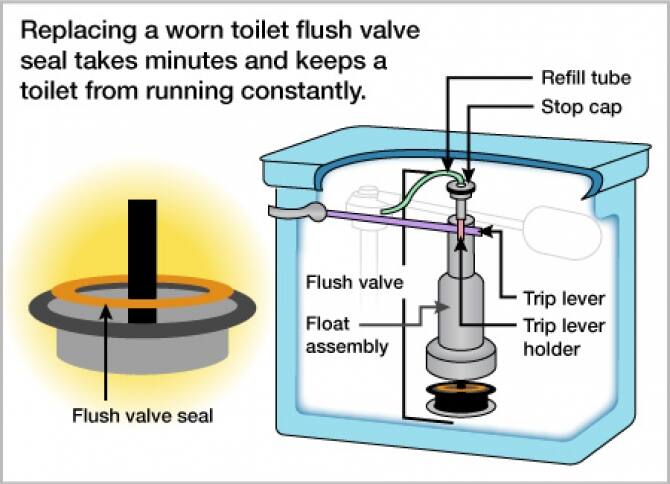
Perhaps everyone who uses plumbing with a faucet has at least once come across the question of why the faucet is flowing? In the vast majority of cases, leakage occurs at the joints of the mixer parts.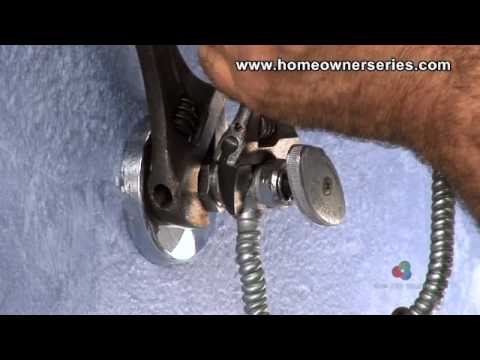 Below we will dwell on the options for solving this problem and the causes of the leak.
0009, the rubber seal is thinned, connecting the faucet spout to the body.
Leakage can be eliminated by replacing the worn rubber band with a new one . To do this, you need:
If water drips from one or both wash valves, then, with a high probability, the leak can be removed by replacing the faucet box . This is a block part located directly under the valve handwheel. Crane boxes of two-valve mixers are of two types: ceramic and worm.
How to disassemble the faucet mixer and remove the faucet box is shown in the photo below.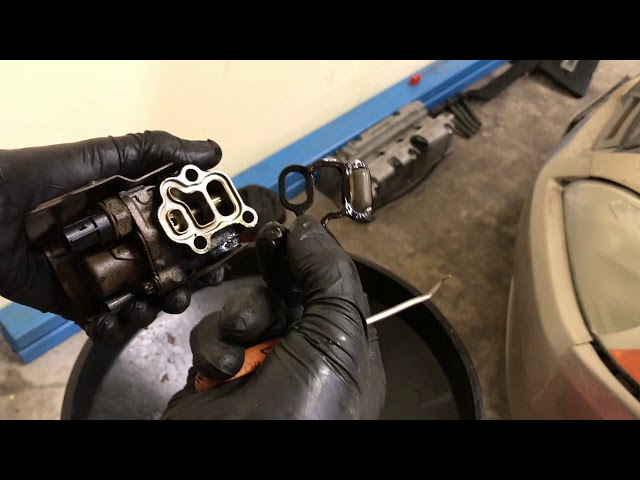
In order not to drip from the ceramic faucet box, , a complete replacement of element is needed. To remove the old bushing, you need to:
Of course, the water must first be turned off.
Repair of a crane with a worm-drive crane box is easier: not the entire element needs to be changed, but only the seal under it .
The procedure is the same as for the ceramic bushing, the only difference is that you need to replace the gasket under the bushing with a new one and screw it back.
0010 .
The repair of a two-valve mixer is described above. How to fix a leak in a single-lever model is described in the next subsection.
0009 change cartridge . As in the case of crane boxes, the cartridge must be bought new , completely similar to the old one.
To repair such a faucet, follow this procedure:
Detailed instructions for replacing the cartridge in the mixer with your own hands at the link.
In this case, the problem is solved by replacing the gaskets.
Required:
We have been producing faucets since 2006. We are pleased to offer you all models of Russian kitchen faucets. For any wholesale buyer, the range of equipment sold is important, so it would be the right decision to expand it with various types of equipment.
We supply equipment to the regions. Delivery in Moscow within the Moscow Ring Road is free. For other cities, check with managers. We realize mixers only wholesale. master plumber will tell you how to fix a valve leak without replacing it.
Water valve repair
Water valves are characterized by a very simple design, so failures are quite rare.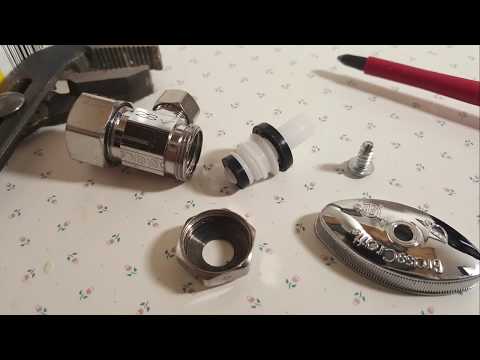 The biggest problem is thread stripping due to careless handling.
As a rule, valve repair for an unprepared person causes certain difficulties, which are not associated with the laboriousness of the repair, but with ignorance of its design and device features. The figure shows a drawing of the valve itself with an internal device:
To replace or repair the valve, we need an adjustable wrench, pliers, open-end wrenches 17-19,22-24, linen or linen FUM , a piece of rubber and stuffing box packing.
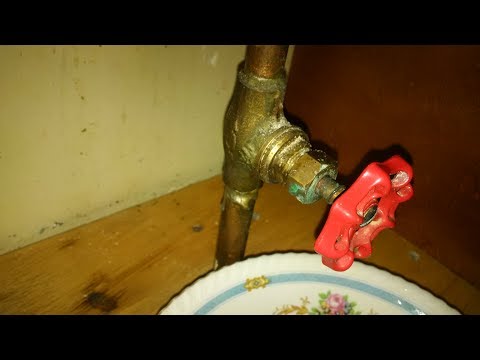
Often the problem with a valve valve leak is solved by tightening the nut holding its stem. This can be done without blocking the pipe, directly under pressure. The nut is tightened with an adjustable wrench in a clockwise direction. But it is important not to overdo it with a stretch, so as not to strip the thread and break the tap.
If the valve does not turn off the water, then it is necessary to turn off the taps on the riser.