1
What do I need to know how to do?
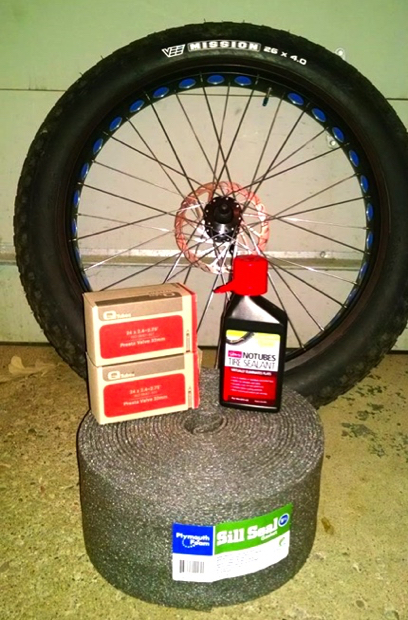
What Tools do I need?
First, verify that your components are tubeless compatible. See Tubeless Tire Compatibility for more information on tubeless tire standards.
3
There are two main methods for adding sealant to the tire:
This method requires a measuring cup. An air compressor is highly recommended.
This method requires a valve with a removable valve core, a syringe, and an air compressor.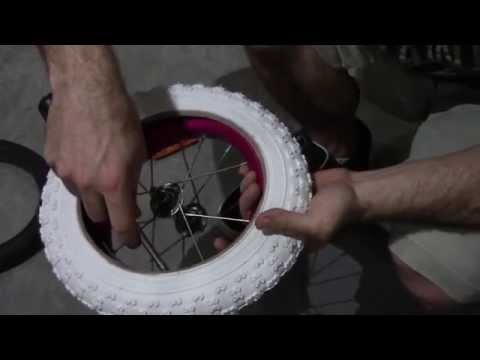

Sealant seeping through the tire bead
The rim strip on this wheel was not adequately sealed. Sealant may, in time, create a seal
4
In general, punctures in tubeless tires cannot be repaired. Punctures in UST tubeless tires, and other tubeless tires with a butyl inner lining, can potentially be repaired using a vulcanizing patch kit such as the VP-1. It is not recommended that you attempt to use other types of patches, or attempt to repair other types of tubeless tires.
See Inner Tube Repair for instructions on using a vulcanizing patch kit.
Jim’s Tech Talk
By Jim Langley
In several recent columns like this one. I’ve offered tool tips and ideas for a common and extremely frustrating issue with some tubeless tire and tubeless-ready rim combinations.
The issue is that, when the tires are installed, the tire beads become locked onto the rim. There are shelves on each side of the rim designed to lock and hold the tire beads in place. The problem is that they hold too well and when it comes time to remove a tubeless tire locked on like this, it can be monumentally difficult to remove.
If you carry a tubeless plug patch kit, such as the ones by Dynaplug (see my recent review) you may never have to remove a tubeless tire to fix a flat on a ride.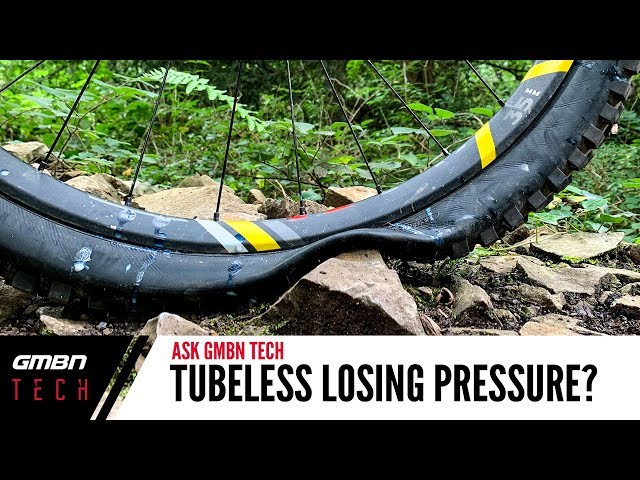 But you’ll still run into the issue when it comes time to replace the tire, if you work on your own bike and have tubeless road tires and rims with locking beads.
Even if you have tire levers that work well on other tires, they usually won’t work for removing the locked on tubeless tires you can run into. The problem with standard tire levers is their tips are too thick to fit between the tire bead and the rim. You can try to jam it in-between but the mechanical advantage of the bead lock designed to not let go no matter what, prevents getting anything too thick between the rim and tire. There isn’t enough space, either.
If you’re lucky, instead of using a tire lever, you can push on the sides of the tire with your hands to try to shove the bead at one spot off the rim shelf there. If you try spots every few inches around both sides of the rim, you might find one spot that releases. And if so, that one free spot will create the slack needed to get the tire off all the way around on that one side. Then you just have to repeat the process on the other side to unlock that bead and remove the tire.
As I wrote in previous Tech Talks about stubborn locked on tubeless tires, I’ve been trying to invent a tool that both fits in-between the tubeless bead and the rim and also has a pinching action to push the bead off the rim. I have not had much success – lots of ideas, but nothing I thought would work with all tires and rim types I would like to use it on (for road and mountain tubeless tires – MTB tires can be much worse than road).
Finally, the other day while fighting to remove a locked on tubeless tire, I had a eureka moment. This tire was even worse than a typical locked on tubeless because I had put a new tube in to fix a flat. The sealant in the tire stuck to the tube gluing it inside the tire and this made it even more difficult to push the tire beads off the rim.
Realizing I couldn’t force this tire off with my hands – or any of the regular bicycle tire tools in my shop – and I have about everything ever made, it dawned on me that I might have a much more basic tool to do the trick.
The tool that worked the magic was a good old fashioned putty knife. Here are some photos so you can see the type. With its oversize handle you have a great grip for forcing the tool in between the tire and rim. You have to work at it a bit with the goal of getting the entire width of the blade resting on the rim.
Once the tool’s blade is fully down in between the tire and rim, you can use the tool as a lever and also twist it to get its stiff wide blade to push the tire bead off the rim shelf. You use the tool carefully so as not to jab any sharp edges into the tire or rim. You’re just trying to get the tire bead to move toward the center of the rim.
It took a few tries to free the tire, but the putty knife worked well. I had to be sure to keep it down against the rim and focus on moving the tire not in any way scratching or poking the rim or tire.
If you try this with a new putty knife, you want one that has a blade stiff enough not to bend.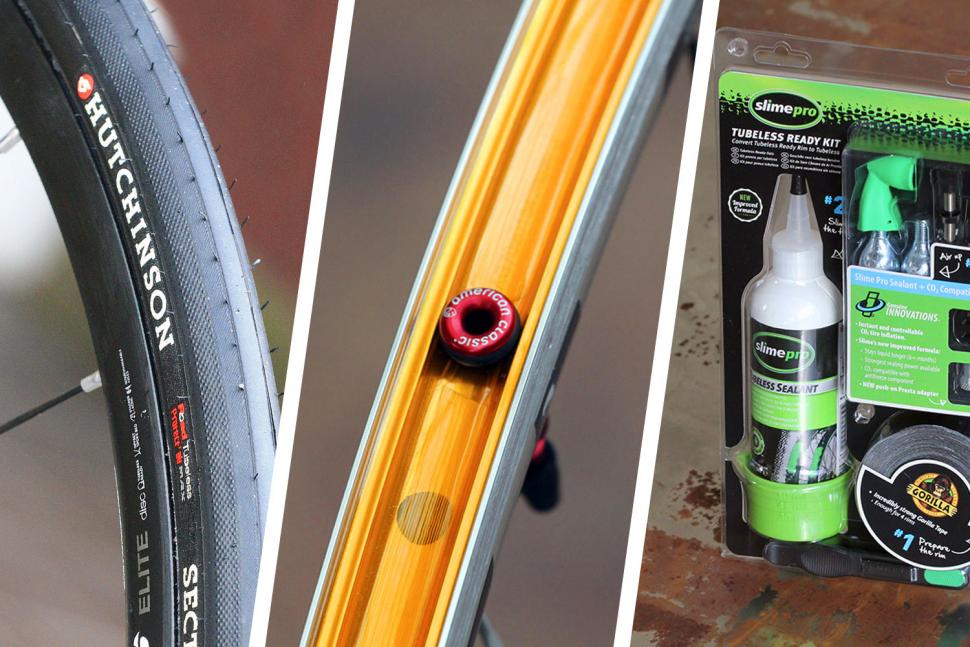 That way using it as a lever or twisting it to push the tire the blade will be strong enough to have the desired effect. If the new blade has any sharp edges, be sure to dull them with a file or piece of sandpaper, etc.
I hope this tool tip helps you with locked on tubeless tires. If you give it a try, please comment and let everyone know how it worked. And, please comment with your favorite tools for removing locked on tubeless tires.
Jim Langley is RBR’s Technical Editor. He has been a pro mechanic and cycling writer for more than 40 years. He’s the author of Your Home Bicycle Workshop in the RBR eBookstore. Check out his “cycling aficionado” website at http://www.jimlangley.net, his Q&A blog and updates at Twitter. Jim’s cycling streak ended in February 2022 with a total of 10,269 consecutive daily rides (28 years, 1 month and 11 days of never missing a ride). Click to read Jim’s full bio.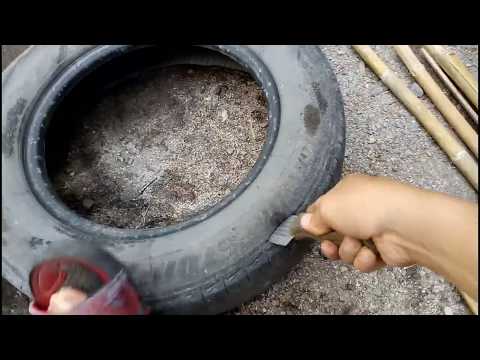
Contents
https://www.youtube.com/watch?v=_XG04qEVuBIVideo can't be loaded because JavaScript is disabled )
Situations when you have to change the tire yourself are rare. As a rule, these are:
The disassembly process is the removal of rubber from the disk. Each driver should know how this is done at home in order to quickly solve the problem without resorting to the services of qualified specialists.
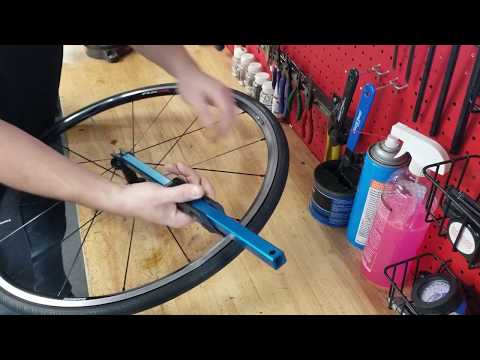
If you are interested in how to disassemble the wheel yourself, remember that you will not need special professional equipment, but not every tool at hand will do. For example, using a hammer and pry bar can damage the tire and rim.
A simple set for disassembling wheelsTo remove a tubeless tire, you need to prepare:
After removing the tire, it is important to wipe the rim dry so that it does not interfere with the beading process.

An important rule that must be taken into account: the removal of the tire from the disk should begin from the place that is located opposite the spool, and then move along the rim. Using this method, you can remove the tire from the disk within half an hour.
To separate these elements from each other, it is better to use a prepared steel angle. The rounded edge will avoid tire and rim damage. It should be driven in so that there is a space between the tire and the wheel. After mounting blades, disassembly is performed.
This allows for precise operation without damaging the camera. It is removed only after the tire is completely removed on one side. At the end of the process, the driver will need to place a new tire and repeat all the steps in reverse order.
Due to the lack of a chamber in the wheel, the tire hermetically sits on the rim and is filled with air. In fact, she turns into a camera. The advantage of such tires is the slow process of pressure loss, which is characteristic of accidental punctures.
There are a lot of these wheels on the market today. This design allows you to fully control the car in this situation, without losing control, and provides an opportunity to get to the nearest tire shop or home.
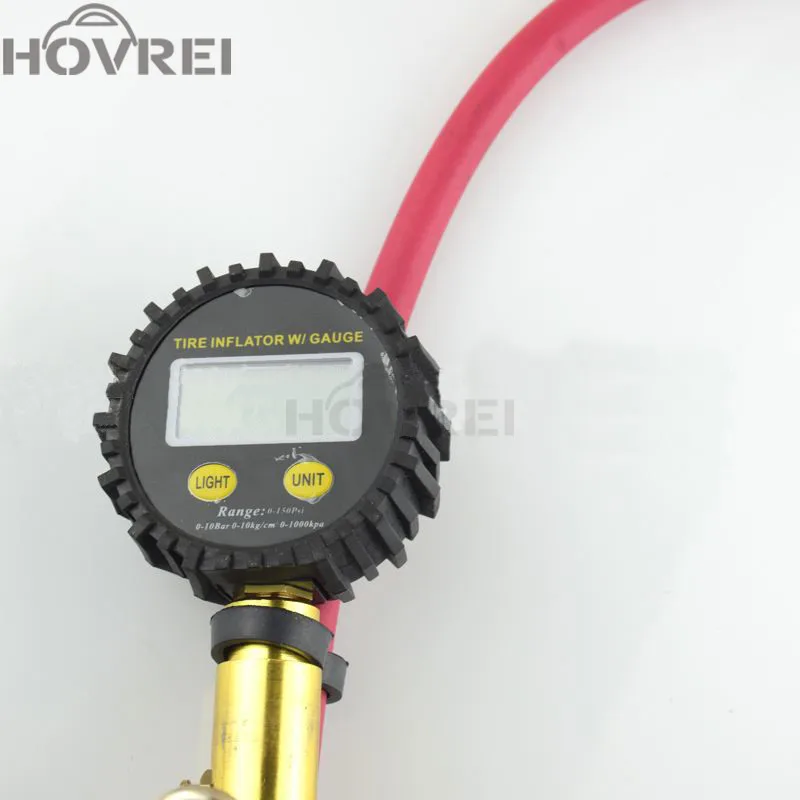
Skill is required to disassemble the wheel on the machine and not tear the rubber. All you need is a desire and a minimal set of tools at hand. The most difficult part of the process is pumping the wheel with air. This procedure is required. The tire needs to be in place. This requires a large volume of air, which is unlikely to be able to provide a mechanical pump or a car compressor.[totalpoll id=”6725″]
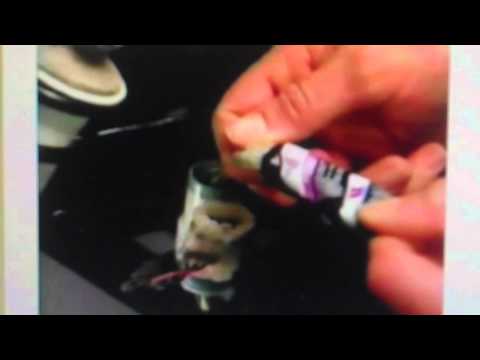
The easiest way is to use ether and 10–20 g of gasoline.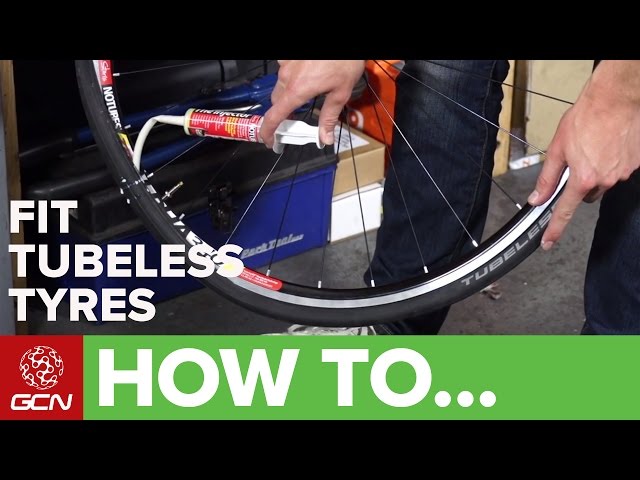 It is important to use a moderate amount of fuel for the process to be safe. When igniting ether and gasoline, the tire automatically jumps onto the hump wheel.
Important! The wheel must be inflated in parallel with the indicated process so that the tire does not come off.
With a tire changer, it is much easier to carry out all the necessary actions. In this case, a minimum number of tools is required.
Installing a tire on a hump wheelIf the beading is incorrect, the machine can tear the rubber or damage the rim. This must be taken into account when taking any action.
Using the tire changer, it is much easier not only to assemble the wheel, but also to inflate the tubeless tyre. A large volume of compressed air supplied at a fast pace will allow you to easily install the tire on the hump. This method is more correct when beading wheels, as it minimizes the risk of tire and rim damage, and also allows balancing after completion of work. It is from this stage that the comfort of using the car will depend.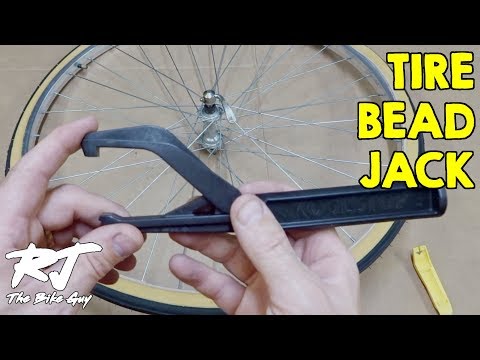
Before dismantling a car wheel correctly, you need to prepare the appropriate tools and materials. The process itself is simple if you follow all the steps step by step:
Since the problem can catch any driver on the road, it is important to carry with you the minimum improvised kit necessary for the described manipulations. On the road, there may simply not be a tire fitting and specialists nearby who could help.
https://www.youtube.com/watch?v=AhGW_I4xSCUVideo can't be loaded because JavaScript is disabled: Self Tire Service (https://www.youtube.com/watch?v=AhGW_I4xSCU) Have you ever had to bead the wheels yourself?
How do you like the article?
Sergey
Maybe we know the answer
Ask a question
A tire puncture or a broken tire, as well as other defects, may lead to the need to disassemble the wheel right on the road. Also, disassembly is required if do-it-yourself tire fitting is performed, tires are repaired and / or replaced in a conventional garage, etc.
At the same time, not every car owner knows how to disassemble the wheel on their own without a special machine or tool. In general, wheel beading involves working with two types of tires:
The first type is used much less frequently today, but can also be found on some vehicles. In any case, it is necessary to take into account individual subtleties and nuances, as well as to have a minimum set of tools. Read more in our article.
Let's start with wheels that have a tire and a tube.
A tubeless tire, unlike tires with a tube, does not have a separation into a tube and a tire. This means that the inner cavity of the wheel is filled with air. To maintain tightness, the tire fits tightly on the disc. At the same time, this design assumes that there are additionally special convex areas along the edges (hampas).
When the wheel is inflated with air, the tire joint seals as the pressure increases. Taking into account such features, disassembly of tubeless tires is more labor-intensive. To disassemble a tubeless wheel, you need to literally tear the tire off the seat.
Please note, if this type of tire punctured on the road, it is better to use a tubeless tire repair kit or try to insert a tube inside and get to the tire shop on your own.
It is also important to consider that even if the tubeless tire can be removed, the air must be supplied quickly and at high pressure during subsequent inflation. This is necessary in order for the board to be able to jump over the hump. In artisanal conditions without a powerful compressor (compact automobiles will not work), this is almost impossible.
The only way out is to put the tire on the rim with a small explosion (popularly, this method is called pumping the wheels with gasoline). To solve the problem, you need to take about 20 grams of gasoline or ether.
We also recommend reading the article about which tires are better, studded or non-studded. In this article, you will learn about the advantages and disadvantages of different types of winter tires for a car, as well as what you need to consider before buying.
The following is done:
In fact, this is the only way to board a "tubeless" in artisanal conditions without a powerful compressor.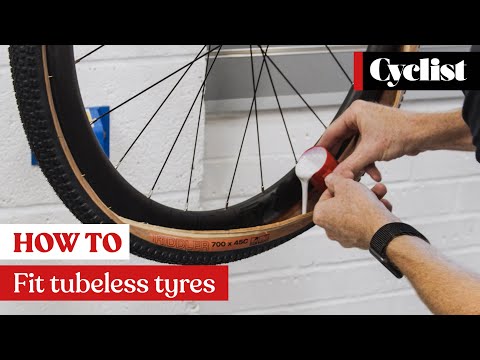 It is quite obvious that wheel beading in this way is associated with certain risks and cannot be recommended, especially for novice drivers.
When replacing one tire, it is necessary to install exactly the same tire as on the other wheels (summer or winter tires with the same pattern from one set). If a different tire is installed, be aware that driving and braking stability, as well as vehicle handling, will change.
We also recommend reading an article on how to choose wheels for a car. In this article, you will learn how to choose the right rims for your car, as well as what features you need to pay attention to when choosing rims.