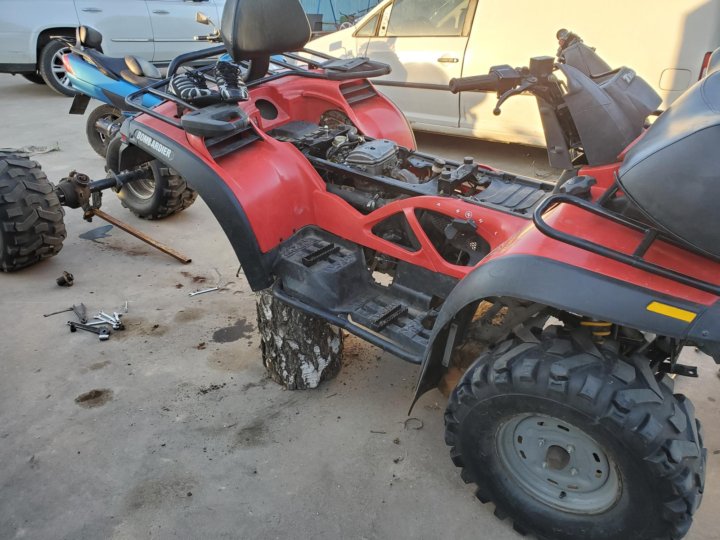
As an ATV owner, it’s a good idea to learn a few basic mechanical skills, such as being able to bleed the brakes when needed.
This job is relatively easy to do and can save you quite a few bucks on mechanical expenses. Follow this guide, and you have a great chance at succeeding with just about every brake bleeding job.
Hydraulic brake systems use special brake fluid to transfer the energy from your hand or foot and down to the brake caliper. The fluid is essential for proper brake function.
Inside the caliper, a piston is being activated by the brake fluid when pressure is being applied. The piston will then press the brake pad against the brake disc, creating friction to stop the bike.
Bleeding the brakes means letting out some of the brake fluid to remove trapped air or to replace the brake fluid altogether.
You can bleed the brakes with the wheels still attached, but it is best to remove them before starting the bleeding job for better access.There are two leading causes for having to bleed the brakes on your ATV:
Brake fluid cannot be compressed, but air can. If even the smallest bubble of air enters the system, the brakes will not function as they should but rather feel soft and squishy. To get all of the air out of the system, we need to “bleed” the brakes.
Air may enter the system if you replace or disassemble one or more components connected with the brake line, such as removing the brake caliper for a service. Or you may have a brake line come loose, allowing air to enter the system.
Please note that air should not get into the system under the regular operation of the ATV. Therefore you have to locate and address the cause of the leak before bleeding the brakes.
Another common situation where knowing how to bleed the brakes comes in handy is when it is time to replace the old brake fluid with new.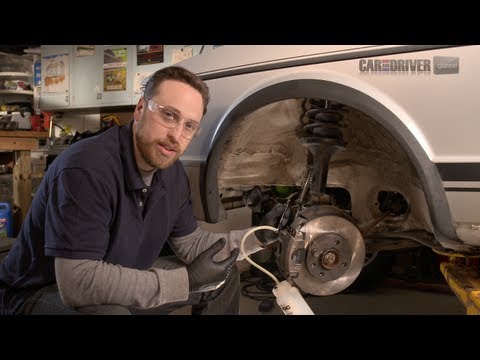 So-called flushing the brakes.
Brake fluid is hygroscopic, which means it absorbs water over time. Also, it breaks down when being exposed to heat. The fluid closest to the brake calipers is the most affected because of the heat produced when breaking.
Healthy brake fluid should look clear or with just a slight amber color. If it looks like cola, it is well overdue for being replaced.
Bad brake fluid will negatively affect your brakes’ performance, so make sure you replace it in time. Luckily this job is both cheap and usually relatively easy to do.
It’s a good idea to completely replace the brake fluid on your bike every time you change your brake pads or at intervals according to your ATV service manual.
Most ATV’s have one master cylinder for the front brakes on the handlebars and another one for the rear brakes in a separate location. The reservoir for the foot pedal is often located a bit away from the actual cylinder unit.
The setup will vary from model to model. Some bar-mounted master cylinders will operate both the front and rear brakes as well.
The method for bleeding them, however, is pretty much identical.
To locate the master cylinder(s) on your bike, trace the brake lines from the brake caliper. You need to address each brake fluid reservoir connected with the brake you are having problems with.
Here you can see the hose running from the rear brake master cylinder and up to the brake fluid reservoir.If you are not sure where your problem is, you might as well bleed the brakes on all four wheels. Then start with the caliper the furthest from the master cylinder and move against it.
Let us begin with the standard method for bleeding any hydraulic brake system. It requires almost no tools or previous mechanical experience. Just follow the steps below:
Optional (but recommended):
 Use it to collect old brake fluid for proper disposal. Not only will the environment thank you, but you will keep your shop and ATV clean as well.
1. Jack up the ATV.
Start by jacking up the ATV and remove the wheels where you are bleeding the brakes. It is possible to bleed the brakes without removing the wheels, but you will get much better access to the bleed nipple with the wheel out of the way. If this is your first time bleeding the brakes, I always recommend removing the wheels.
2. Remove the brake fluid reservoir cap.
You will need to add new brake fluid as the old goes out. The lid on the reservoir up on the handlebar is held in place with two hex screws. Be careful as the threads strip quite easily.
You find the brake fluid reservoir up on the handlebar.Depending on the bike’s age and the time since the screws were removed, they may be grown in there pretty good. This is where the small impact drivers come in handy. Find the correct bit and use the driver by giving a light tap.
This will knock loose any corrosion and open the screw slightly at the same time. One knock is usually sufficient. The reservoir for the foot pedal usually has a twist cap that unscrews by hand.
3. Clean the cap and rubber diaphragm thoroughly.
You do not want to contaminate the system with debris, dirt, or water when reassembling it later.
Clean the area surrounding the brake fluid reservoir before opening the lid carefully.4. Top of the brake fluid up to the maximum level mark.
Pay close attention so that the brake fluid level in the brake fluid reservoir never drops below minimum while bleeding the brakes. You may need to top off the reservoir several times before you are finished.
It’s recommended that you reinstall the lid before moving to step 5. While it is possible to pump the brakes with the cover off, you run a significant risk of quirting brake fluid all over your bike if you pump the brakes too hard or too fast.
5. Pump the brake lever or foot pedal 3-4 times, depending on which brake system you are bleeding.
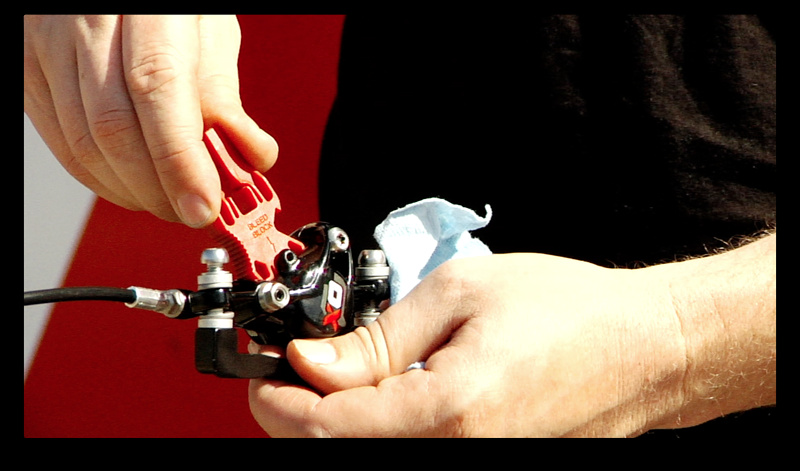
Remember to pump carefully if you do this with the lid open! Then keep the lever-activated by hand or by putting on a spring-loaded clamp to keep it under tension.
A spring-loaded clamp or even a bungee cord may be of good help if there is no one around to assist you.6. Open the bleeder valve.
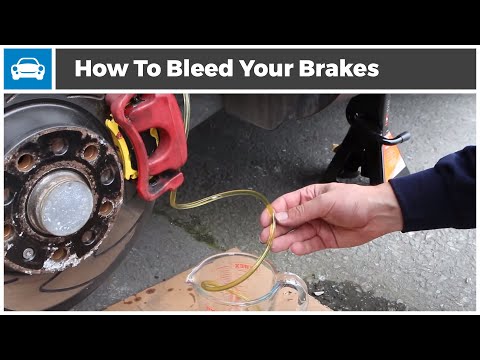
Start with the valve that is the furthest from the brake fluid reservoir. It is located on top of each brake caliper and is opened by turning it anti-clockwise about half a turn. You should see brake fluid squirt out of the bleeder.
Let the brake fluid flow into a container to keep your ATV and garage clean.7. Close the bleeder valve when the brake lever or foot pedal reaches about 80% of its overall travel length.
Do NOT overtighten the bleeder. The threads in the aluminum brake calipers strip easily!
8. Repeat until the brake fluid that comes out of the bleeder is completely free of air bubbles.
This may take a while, depending on how much air there is in the brake lines.
9. Follow the same procedure on all four wheels.
Some bikes have just one combined brake caliper for the rear wheels.
10. Top off the brake fluid reservoir up to the maximum mark.
The mark may be a line found inside the reservoir or an inspection gauge on the side. Other reservoirs have a gauge on top of the reservoir cover that is white when brake fluid levels are low but turns black when the correct level is reached.
This is how it should look like when you have enough brake fluid in the reservoir.11. Replace the lid and rubber diaphragm.
Make sure it is seated properly. Do not over-tighten the bolts. You are now done and can reinstall the wheels.
The manual method works fine most times, but not always. It comes with a few annoying downsides as-well:
The master cylinder on an ATV and the piston inside it are relatively small compared to those you find on cars on any other larger vehicles. Because of its small size, it can only pump a relatively small amount of brake fluid with each pump.
This makes the standard method of bleeding brakes work less efficiently on smaller brake-systems found on ATVs, UTVs, dirt bikes, motorcycles, or snowmobiles.
The amount of fluid being pumped may not be enough to move the bubbles of air out before you bottom out and have to start a new pumping cycle.
It will take about 10-15 minutes to completely flush the brake system on an ATV using the standard method. It will take even longer if you do it on your own.
If you’re having problems removing all of the air, you may be looking at several hours of struggle before you eventually succeed or give up.
When you pump the brakes, you force the air downwards against the bleeding valve.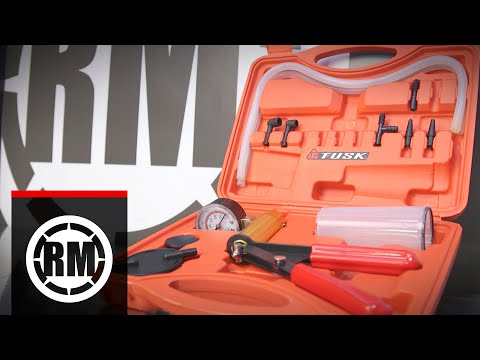 Air is lighter than brake fluid and will always want to go upstream, away from the bleed valve.
Combined with a small pump, you may not be able to get all of the air down to the bleed valve.
So then what? Luckily there is another cheap and easy method for bleeding the brakes that work very well.
Vacuum bleeding is another cheap and easy way you can use to bleed the brakes properly.
In addition to the five first bullet points listed for the standard method, you will also need a hydraulic brake bleeder tool.
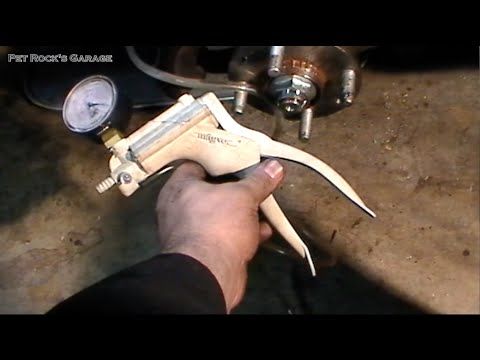
These come in various shapes, but they all work by the same principle: they suck the brake fluid down and out through the bleed valve using a vacuum.
Some models use a hand pump to create the vacuum. They will also have a one-way check valve that allows brake fluid to flow out of the brake caliper without letting air back into the system when you release the pump.
Other models connect to an air compressor to create the suction effect.
Now you should be ready to tackle almost any brake bleeding jobs. But from time to time, even the vacuum pump won’t be sufficient to bleed all of the air out of the system.
Before taking the bike to your dealer, it’s worth reading through this post on what to do when you’re not having success bleeding the brakes using the methods described above.
Alternatively, you can try to reverse bleeding the brakes on your ATV.
Bleeding brakes is one of those tasks that is really simple, but can be a real pain if you don't do it correctly. There are ways to be a little more efficient by using a vacuum pump, but since most of us don't have an $80 vacuum lying around, we're going to talk about how to bleed brakes manually. Before we get started, there are a few things to note. First, there are only two reasons you should bleed your brakes. If you have a loose brake line (which is why we are bleeding ours) or if you just replaced a component that directly affects your brake line. If you just have a spongy feeling brake, you more than likely have air in the system and will need to address that issue before attempting to bleed your brakes. Second, you will want someone nearby who can assist. (Don't worry, they only need to squeeze the brakes.) The very first thing you need to do is fill the brake fluid reservoir.
Make sure you add as much brake fluid as you can since it will be going down during the bleeding process. While DOT 4 is a very common type of brake fluid, there are always exceptions. This is another instance where you will want to check your owner's manual to make sure you are using the recommended brake fluid. After filling the reservoir, I went to one of the front calipers and loosened the bleeder screw then snugged it back.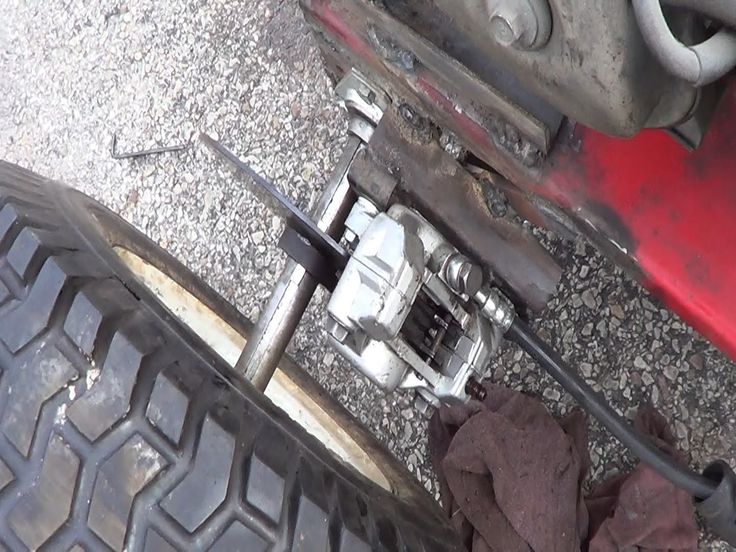
I do this on both sides to make sure that they are not so tight that I have issues getting them loose. It also helps to verify that I have the right size wrench. [alert-announce] A note on the wrench: When bleeding the brakes you will need to use a boxed end wrench or a flare nut wrench. Using an open end wrench makes it too easy to round the hex part. Using a ratchet makes it difficult to see if there is air coming out of the system. [/alert-announce] After I know that I can break the bleeder screw loose, I pump the brake handle. Since our brakes were completely dry, there was very little pressure on the brake handle. In the photo below, you can see it was pretty easy to squeeze the brake handle in all the way with very little resistance.
Now here's where your helper will come in handy. I had Beth hold the brake handle down while I broke the bleeder screw loose. Once you've opened and closed the bleeder, your helper can let go of the brake. This will push air to the caliper and hold it there. When you open the screw, the air is released and brake fluid starts getting sucked down the line. You will need to repeat this several times. Usually, I will go through this process three or four times on one side and then three or four times on the other side to get most of the air out of the line so the master cylinder will start to get pressure against it.
Eventually, you will start to see brake fluid coming out of the out of the bleeder screw. While you are working through this process, make sure you are keeping an eye on the brake fluid level. You will know that all of the air is removed and you are done bleeding the brakes when there are no air bubbles coming from the bleeder and when the squeeze on your brake handle has tightened.
Before you finish up, make sure that you check the brake fluid one last time. On the first test drive you'll want to take it easy and be sure that your brakes aren't loosing any fluid. The brake handle should remain stiff and braking should feel smooth. It is possible to just need to bleed the brake on one side, but this is only if you only have removed the line or a component below the split in the line that comes from the master cylinder. Otherwise, you will need to bleed both sides. I usually bleed both sides regardless. It only takes a few extra minutes and gives me the piece of mind that they were both done correctly. Have you ever had brakes that gave out when riding? What was your worst experience with bad brakes? Do you have a better way of bleeding the brakes?
Filed in: Maintenance and Repairs, Yamaha Grizzly 600
Share: Previous article Anatomy of an ATV: Struts Next article Anatomy of an ATV: ShocksODES UTVS best sellers See more
Original price $ 7.99 - Original price $ 7.99
Original price
$ 7.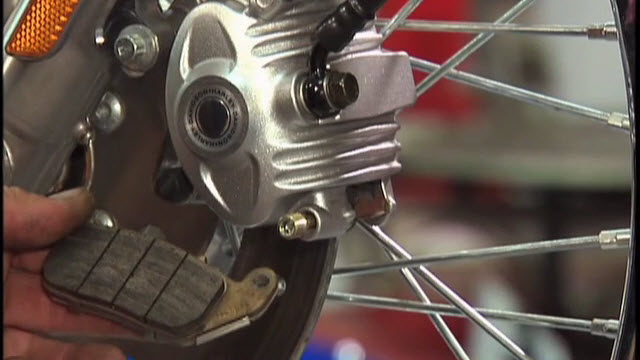 99
99
$ 7.99 - $ 7.99
Current price $ 7.99
| /
Original price $ 38.49 - Original price $ 55.99
Original price
$ 38.49 - $ 55.99
$ 38.49 - $ 55.99
Current price $ 38.49
| /
Original price $ 49.99 - Original price $ 52.99
Original price
$ 49.99 - $ 52.99
$ 49.99 - $ 52.99
Current price $ 49.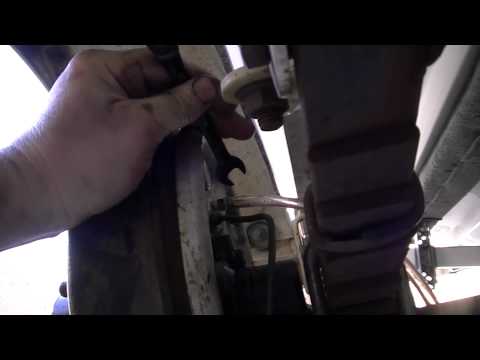 99
99
| /
Original price $ 29.99 - Original price $ 29.99
Original price
$ 29.99
$ 29.99 - $ 29.99
Current price $ 29.99
| /
Original price $ 18.99 - Original price $ 18.99
Original price
$ 18.99
$ 18.99 - $ 18.99
Current price $ 18.99
| /
Sold out
Original price $ 159.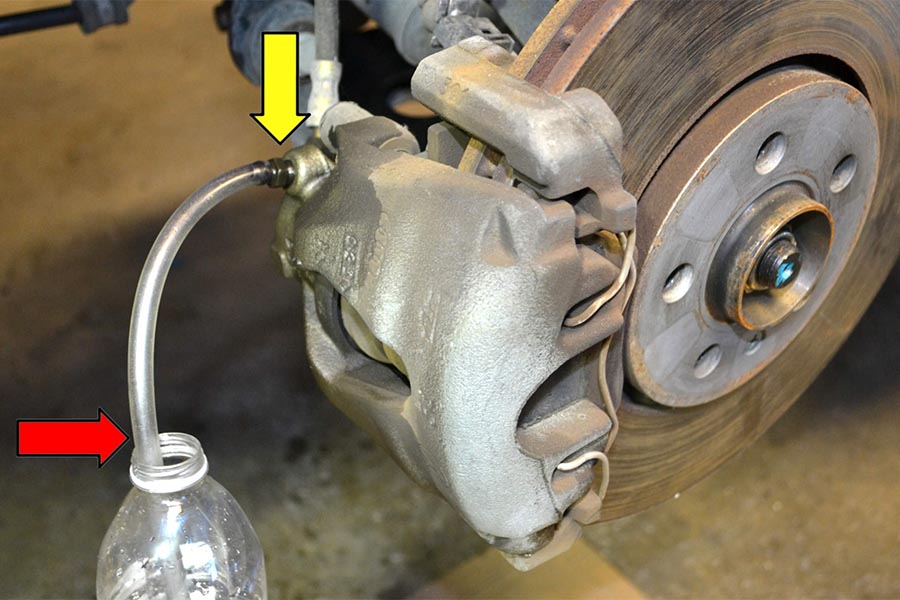 99 - Original price $ 159.99
Original price
$ 159.99
$ 159.99 - $ 159.99
Current price $ 159.99
| /
Original price $ 159.99 - Original price $ 159.99
Original price
$ 159.99
$ 159.99 - $ 159.99
Current price $ 159.99
| /
Sold out
October 8, 2022
Read nowSeptember 16, 2022
Read nowAugust 30, 2022
Read now ATV brakes are a basic safety system and should work perfectly.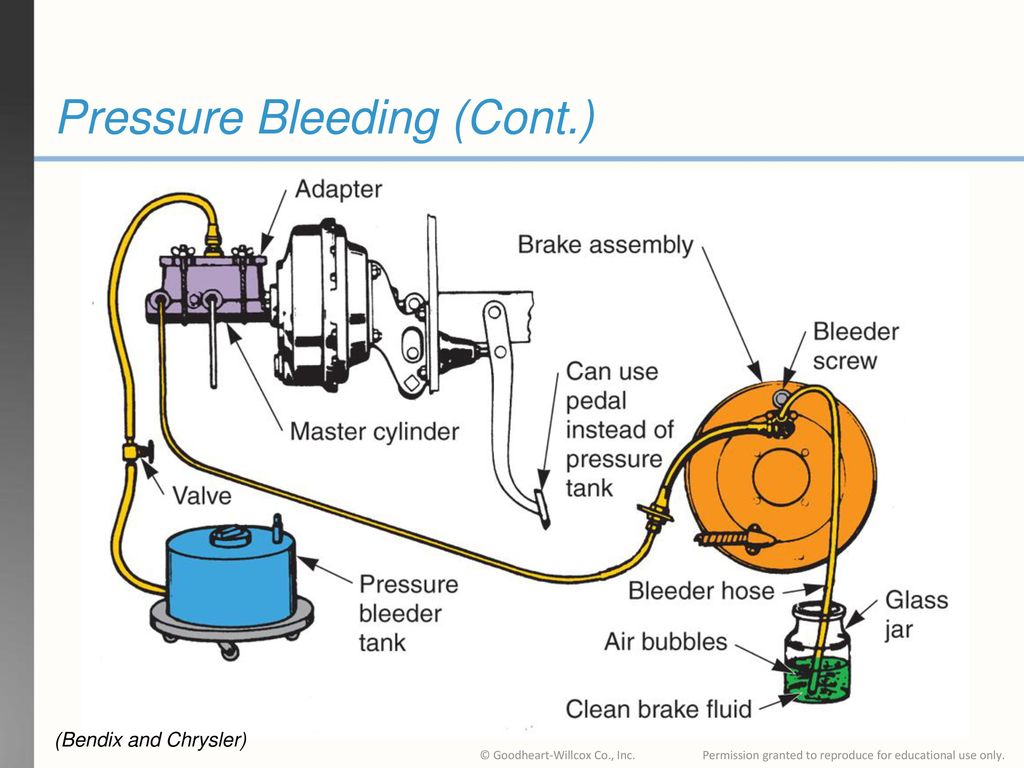 And if you notice the slightest slippage or decrease in the efficiency of the nodes, the system needs to be checked. Therefore, let's figure out how to pump the brakes on an ATV and diagnose all the components.
The first fluid change is recommended as soon as the rider has purchased the ATV. The fact is that many manufacturers fill in the cheapest composition, which does not have a high operational resource.
After buying a used ATV, you also need to service the brake system: change the fluid, check the hoses and pads. Remember that during the operation of equipment, moisture and air enter the composition. This leads to the formation of corrosion and even freezing of the liquid in winter. For example, if the composition contains only 3% water, its operating temperature drops from 230 to 165 degrees.
You need to figure out how to pump the front and rear brakes of an ATV even in case of their “failures”.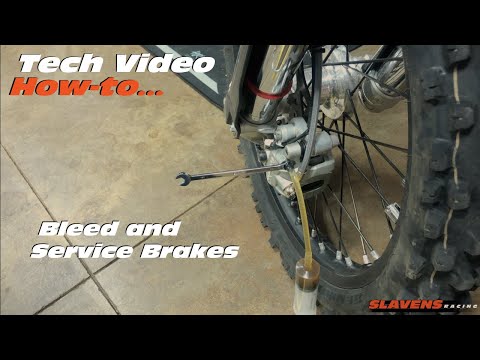 If the lever has lost its elasticity, then air or moisture has accumulated in the system, which has affected the characteristics of the fluid.
Before you adjust the brakes on your ATV, have the necessary tools ready. To bleed the system you will need:
It is worth noting that in order to pump the ATV, you need a partner who will clamp the brake lever.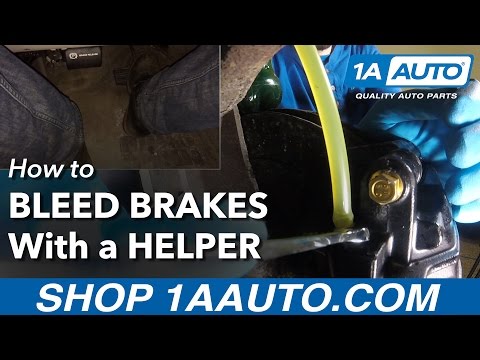 If there is no assistant, you can fix the position of the brake lever with a belt.
Bleeding the brakes scares many motorists. However, the procedure itself is very simple, so even a novice ATV rider can handle it. The rider only needs:
 The procedure is performed until the liquid stops leaving.
 This procedure is carried out for all calipers (front and rear). But if the brakes on the ATV do not pump, then you need to find places in the system where air accumulates and eliminate them.
Experienced motorists recommend using only high-quality brakes that are suitable for specific temperatures. This means that for summer and winter you need to choose different compositions.
Riders also advise:
Also buy a spare brake. If the documentation indicates that 0.5 liters of fluid is needed to bleed the system, buy 1 liter of the composition. The fact is that the recommended volume is indicated based on the experience of specialists. A novice ATV rider can spend more brakes.
19.02.2021 3730
Published Updated ATVs0
As with any vehicle, the brakes on an ATV must work properly, as the safety of the driver depends on it. Chinese spare parts, from which almost every ATV is assembled, are not of high quality. Some ATV models require service immediately after purchase. Therefore, the question of how to pump the brakes on an ATV is very relevant.
Contents
Bleeding the brakes on the ATV is required if it becomes noticeable that the efficiency of the discs has begun to decrease significantly. In this case, it is necessary to immediately check the integrity of all elements of the system, check the condition of the pads, discs, hoses, etc. If all components are in good condition, in this case it will be necessary to bleed the brakes of the ATV.
This procedure is quite simple, even an inexperienced driver who has recently purchased an ATV can handle it. However, in the process of work, you will need to show care, patience and some professionalism.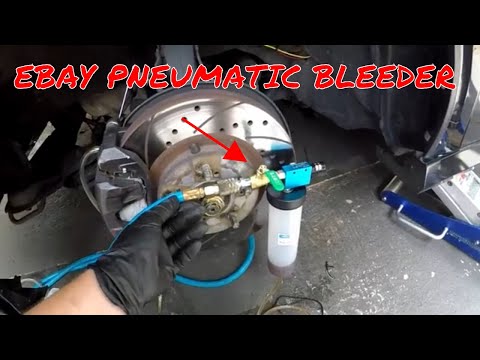 It is recommended to bleed the brakes with a partner.
This work must be treated responsibly. The safety of the driver of the ATV, as well as his passengers (if any) depends on the correctness and sequence of all actions.
If you are interested in how to bleed the brakes on the ZF Moto 500, Stels leopard 500, Stealth 500 GT or other models, it is enough to consider the general principles of modification. The process is identical for most ATV models. Bleeding the front and rear brakes is not much different.
Note that the brake circuits on ATVs are separate. The system has two brake reservoirs that are not connected to each other. They are responsible for stopping the rear or front wheels, respectively. On some models, the brake reservoir is responsible for all four wheels of the ATV.
If there are two tanks, the first one is on the steering wheel. He is responsible for the front wheels. The second brake reservoir is located on the frame. He, accordingly, stops the rear wheels.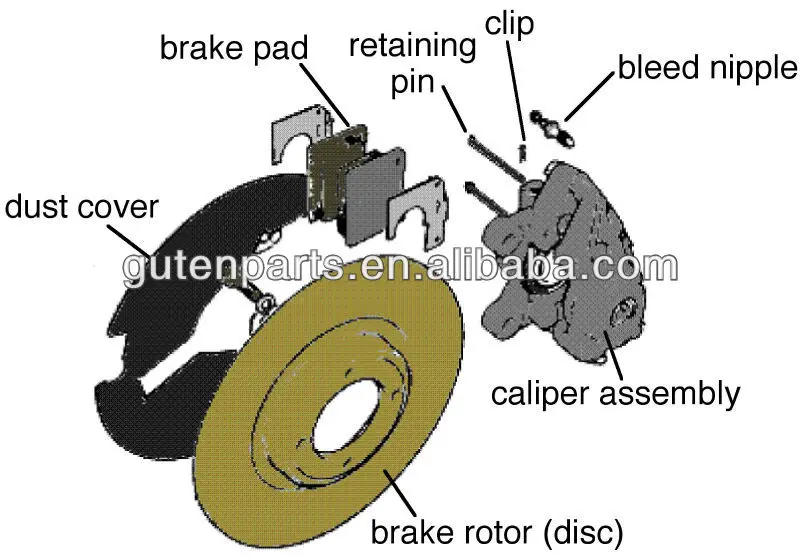
To bleed the brake system, you will need to prepare the necessary tools. Required for work:
To bleed the brakes, you must first unscrew the cap that closes the brake reservoir. Next, you need to evaluate how much brake fluid is inside. Most often, it needs to be topped up. Pour brake fluid into the reservoir up to its very edges.
There must be no air bubbles inside the system. Therefore, periodically you need to control the liquid in the tank. If necessary, the composition is added.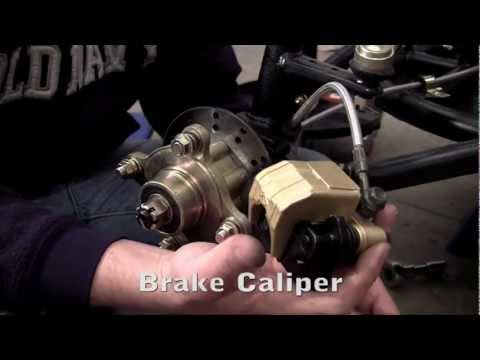
Fit the prepared drain tube onto the fitting. The second end is lowered into a previously prepared container. Next, you need to ask your partner to squeeze the brake lever. It is not recommended to release it until the work is completed. Some models of ATVs will require you to depress the pedal. The fitting must be unscrewed 1/8 turn (sometimes more, depending on the model), and the key must be prepared in advance by 8.
Next, the brake lever is pressed, and at this moment the fitting is twisted. The handle is released, and then the procedure is carried out again. In this case, the amount of liquid inside the tank is constantly monitored. If necessary, a new composition is added to the system.
After some time, the partner will say that the handle (or pedal) has completely failed in its seat. However, at this moment, you can not let her go. After the information received from the partner, you will need to tighten the drain fitting.
The procedure is performed several times.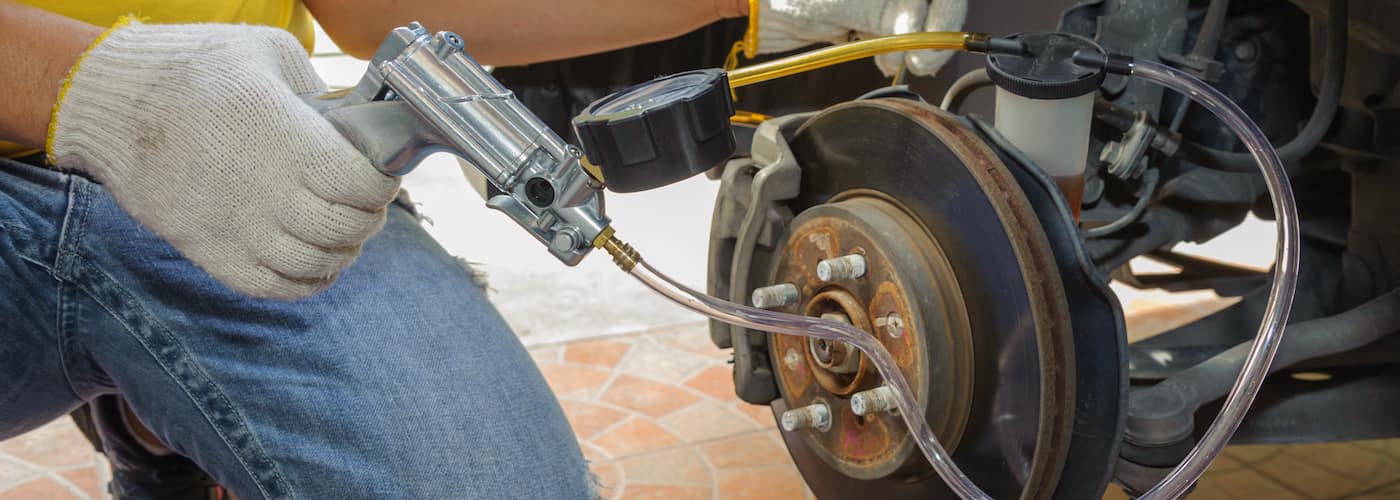 This must be done until clean (new) brake fluid is poured into the prepared container. It should not contain air bubbles. If they are, the new composition was not filled to the very top of the tank. This must be taken into account when changing the brake fluid in the system.
If the brake fluid needs to be replaced, it will be enough to purchase 0.5 liters of the product, which is enough for both circuits. However, it is worth noting that such an amount of brake fluid allows you to replace the composition with “jewelry” accuracy.
More often than not, the volume of the product is not enough, so it is better to purchase brake fluid with a margin. 1 liter is enough. If air bubbles need to be removed from the brake system, a liter is the minimum amount. Sometimes, to carry out such work, you need even more funds. Two liters of liquid may not be enough to find and drive out all the bubbles.
When the brake fluid is drained from the system, it will be necessary to bleed each of the existing calipers.