If you leave your ATV to hibernate over the winter or to languish unused for months on end, you might have some issues getting your ATV to rouse from its long slumber. In this guide, we'll learn why this happens and what to do to restore your ATV battery.
Image from www.boostatv.com
ATV batteries that are left to discharge completely often won’t take a charge, and even if they do, they’ll not have as long a lifespan as they used to have. Extreme heat and cold are also hazardous to your battery’s well-being.
The way to avoid your battery’s slow death is through the use of a smart charger or trickle charger. Both of these types of charger can be set to monitor your ATV battery and keep it at full charge while you’re not using it for an extended period. This keeps the battery from discharging and maintains its health.
But what if your ATV battery dies completely? Is it possible to restore dead ATV batteries that have been completely discharged? In most cases, yes, you can use a multi-mode smart charger to bring your ATV battery back from the dead.
ATV are the core piece of riding gear for off-road riders
Find out the best look for you
Image from www.atv.com
Let’s say you own a battery charger that you’ve used to charge your ATV battery in the past but this time it isn’t working. This is often because the ATV battery has been completely discharged so the charger doesn’t recognize the battery is connected at all.
It is possible to trick the charger into starting its charging process on your dead battery. Your charger should be capable of outputting amps as low as 1-3, depending on your ATV battery’s specifications. Using a charger that can only output at 10A like a dedicated car charger can cause an ATV battery to overheat.
For this trick, you’ll need another charged battery and a set of jumper cables.
1. Connect up the two batteries with a jumper cable, bridging their positive terminals.
2. Connect another jumper cable to the negative terminal of the good battery and attach the other end to ground or the dead battery’s negative terminal.
3. Start up the charger.
4. Once the charging process has begun, disconnect the cable from the good battery’s positive terminal.
5. Disconnect the cable from the dead battery’s negative terminal.
6. Disconnect the cable from the good battery’s negative terminal.
7. Wait for your dead battery to fully charge and test it out.
Many smart chargers will detect when the voltage is too low to perform a standard charge. A secondary Soft-Start mode will be used in an attempt to recover the battery.
If the Soft-Start mode is successful, the smart charger will switch to a Constant Current mode and begin charging the ATV battery as normal. If the Soft-Start mode isn’t successful, an error message will show and you’ll need to replace the battery.
ATV are the core piece of riding gear for off-road riders
Find out the best look for you
Image from www. thedrive.com
A chief cause of the early failure of ATV batteries is sulfation. Sulfation is a build-up of lead sulfate crystals that happens over a battery’s lifetime. Every time you charge or discharge a battery, sulfate forms. Overcharge, undercharge, or leave your battery to discharge for several days, and sulfate will form much more quickly.
Smart battery chargers with a desulfating feature work to break down these crystals in the battery plates. They do this by sending a range of high-frequency electronic pulses through the battery that dissolves sulfate quickly.
Desulfating battery chargers either have a specific desulfation mode to recondition a battery or simply perform desulfation during every stage of the charging process. Smart battery charger manufacturers delineate the various stages of the charging process in different ways, but you can typically expect:
1. An Initialization Mode, where the smart charger diagnoses the state the battery is in,
2. A Bulk Charge Mode, where battery voltage is applied at a constant rate until it reaches a predetermined level,
3. An Absorption Charge Mode, where the battery voltage is kept constant while the charge current amplitude drops,
4. And a Maintenance Charge Mode, where the battery is kept at a voltage slightly higher than if the battery were fully charged.
Having charged the desulfated battery completely, the battery will offer better performance and lifetime now that the desulfation has been reduced.
SPORTSMAN Black
36 EUR
32.40 EUR
HIT
ENDURO LIGHT Graphite
the most durable
458 EUR
HIT
ENDURO Camogrey
the most durable
657 EUR
ENDURO Graphite
the most durable
279 EUR
HIT
ENDURO Graphite
the most durable
657 EUR
-28%
AQUAMASTER-ZIP LIGHT Camogrey
with central zipper
598 EUR
430. 40 EUR
HIT
ENDURO LIGHT Camogrey
the most durable
458 EUR
-12%
AQUAMASTER LIGHT Red
reliability & comfort
438 EUR
386.20 EUR
NEODRY Black
17 EUR
11.90 EUR
ENDURO Camogrey
the most durable
279 EUR
AQUAMASTER Blue
reliability & comfort
647 EUR
-20%
HIT
AQUAMASTER Red
reliability & comfort
259 EUR
207.20 EUR
-40%
HIT
AQUAMASTER Orange
reliability & comfort
259 EUR
155.40 EUR
AQUAMASTER Red
reliability & comfort
677 EUR
BELT
9 EUR
ENDURO BF Camogrey
bootfoot waders
528 EUR
ALL SEASON Black
62 EUR
ENDURO BF Camogrey
bootfoot waders
329 EUR
MUDWAY Graphite
179 EUR
MUDWAY Camogrey
179 EUR
Explore all
Charging Instructions for Motorcycle Battery How do I jump-start my vehicle? 3 Ways To Revive A Dead ATV Battery
← Charging
Having your ATV battery not turn over can be a really terrible time.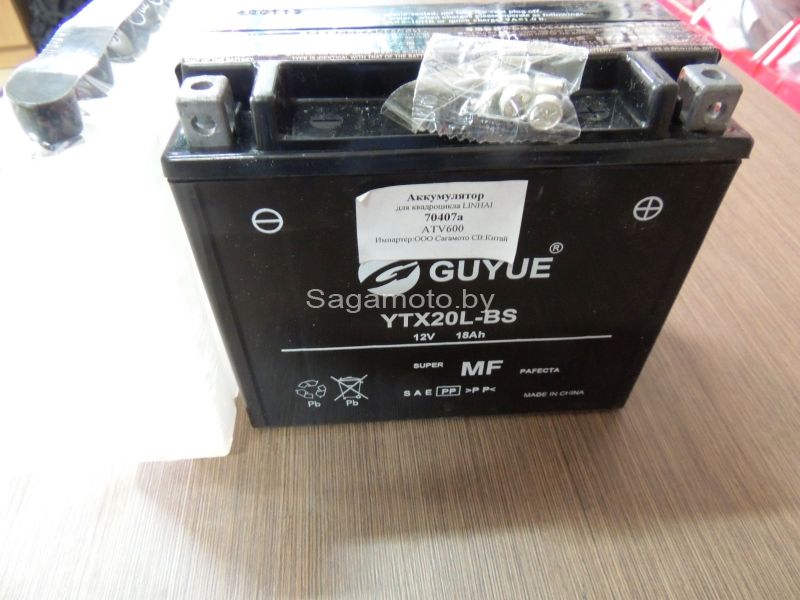 At home, you can charge it using your battery charger, but if you are out on a trail or at a campsite, it can be scary when it won't start. But all is not lost. There are a few ways you can get your ATV battery going again.
The Compression Start is where you basically trick the ATV into starting. What happens is you get the wheels moving, and that can trick the engine into rolling over. Once it is on, it will charge the Battery as you drive.
Turn on the key or switch and put your ATV into first gear. Sometimes, if you cannot get it rolling fast enough, you may need to put it into second gear. Pull the clutch up and get the ATV rolling to 10 MPH. Then let out the clutch and add gas as your hear the engine try to turn. This should make the engine fire. Make sure to pull in the clutch once it's started to make sure you don't crash
This is a really useful way to jump start your ATV as you will usually be cruising with at least one other ATV. This is a fairly simple way to get your ATV running, it's merely jumping it like when you jump a car.
Connect the cables to the good battery first, then connect the bad Battery. When you connect the black wire, or the ground Wire, it is usually better to just attach it to the frame as there is not a lot of room on the battery. Just make sure it is grounded. Start the good battery first and let it idle for a few minutes. Then try starting the bad battery. Once it starts, remove the red wire first, then the black from the newly started ATV, repeat for the other. Let this ATV idle for a while before you turn it off.
You can actually use a car to jump start an ATV. This can be really useful if you just drove for miles and miles to a location and then found out your ATV isn't turning over.
Connect the wires like you would with any other ATV/ATV or car/car set up. Then, do NOT turn on the car. The car battery is much stronger than the ATV battery, and if you turned it on you could cause problems to the ATV Battery.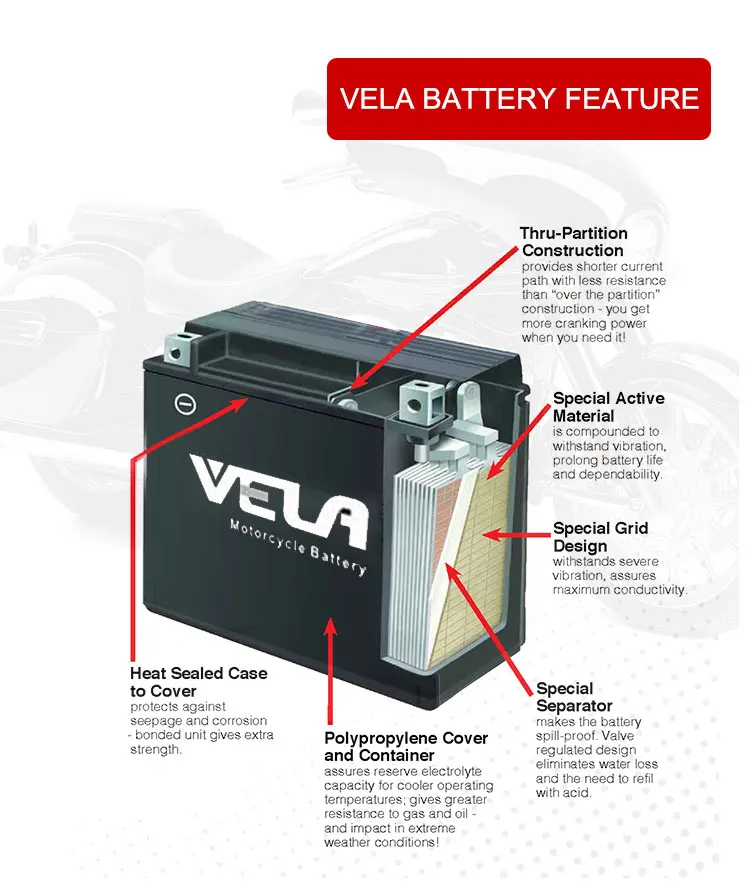 Instead, just try to turn on the ATV. If it was the battery preventing it from starting, then it should turn over.
These three ways to get your ATV battery going can be really useful when you find yourself stranded. Knowing the power of your machine, what it can do, and how to get it going is very important for this. But try to take good care of your battery at all times, and check to make sure it is in working condition before you leave.
ATV's battery is one of the most important elements in its electrical system. Given the amount of additional equipment installed on the ATV (winches, additional lights, alarms, heating, etc.), the battery often does not charge to the end. And the owners do not pay due attention to this, which is why they change the battery every season. Believe me, with proper care, the battery can last 3 or more seasons. Let's pay attention to the rules for charging your ATV battery, consider errors and answer questions that arise when servicing the battery.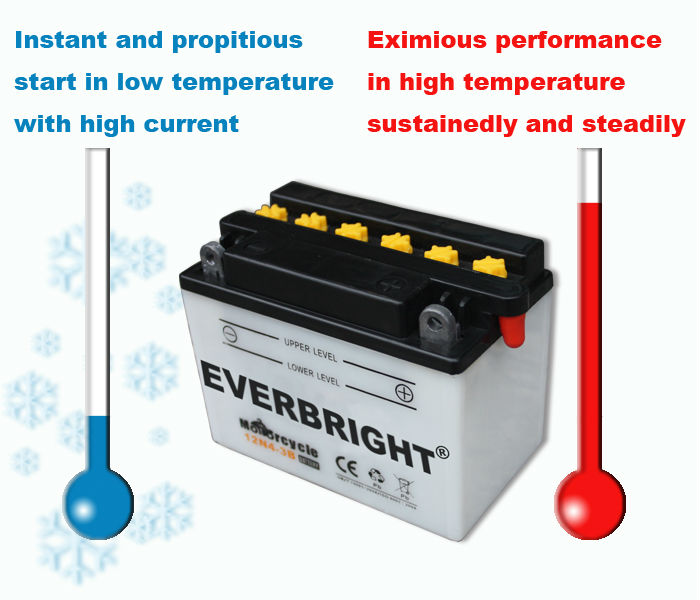 nine0003
Warning. The conversation for the most part will be about serviced batteries. Maintenance free ones have no plugs (at the top of the battery) and only need a timely and full charge, and their owners may skip some of the points described below.
Can I use a car charger to charge my ATV battery?
It is possible, in the case when the charger has a charge current adjustment and it is possible to set the minimum current from 0.5 to 0.7.A. There is a simple rule: one tenth of the battery capacity will be considered the normal current for charging (calculation should be made in Amperes). Of course, it is much easier and more correct to use special devices designed for low charging current. Complete with the charger always comes instructions for use, which contains the basic requirements and rules, do not neglect to read it. nine0003
Is charging noise and boiling normal?
Moderate boiling is normal. This is explained by the reaction in which the electrolyte enters with lead plates, in which the acid releases a certain amount of gas.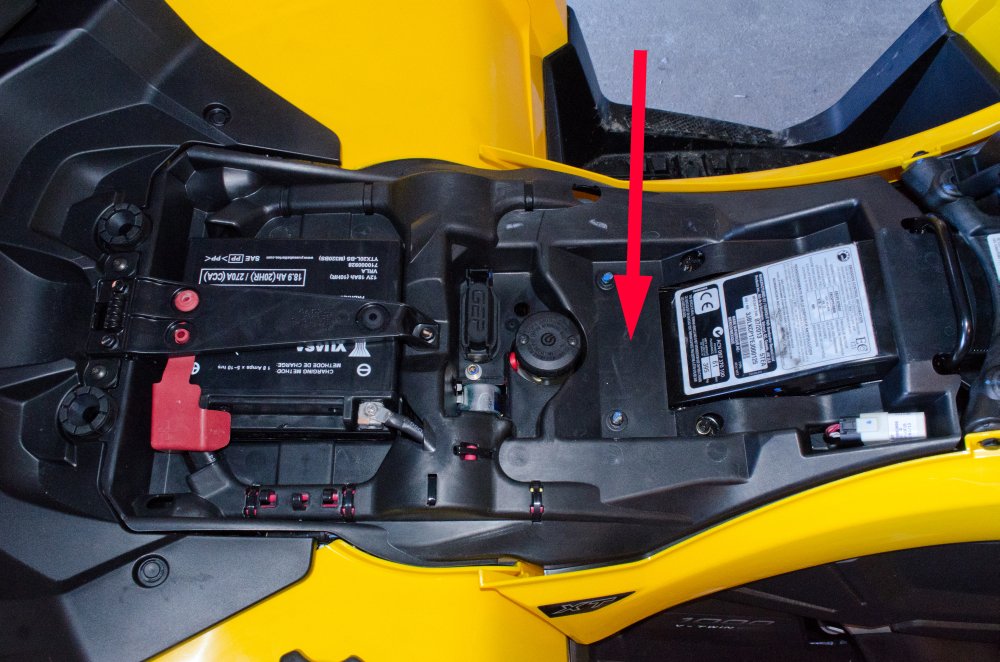 It is worth worrying if the boiling is excessively strong - this indicates that the charge current has been exceeded.
Why does a new battery drain quickly?
What is sulfation?
Sulfation is the formation of lead sulfate (white matter) on the battery plates. nine0041 All old and failed batteries are subject to this phenomenon.
What affects the sulfation process?
 5 V.), especially at low temperatures; nine0026
 How to avoid sulfation?
Monitor the condition of the ATV's electrical system at all times. The battery loses its charge significantly during engine start, and the charge must be replenished when driving, so monitor the health of the regulator and generator relays. When the ATV is not used for a long time, remove the battery and charge it with the charger at least once every 2 months. When the first signs of sulfation appear, charge the battery with low current for a long time (up to 2 or more days). nine0003
Amps / hours - what is the characteristic?
This is the unit in which the battery capacity is measured. For example, a fully charged battery with a capacity of 1 Ah should theoretically provide a current of 1 ampere for an hour.
How and why to monitor the electrolyte level?
The electrolyte is sulfuric acid diluted with water in the right proportion. During operation, water evaporates, and the proportion of sulfuric acid increases, which, in turn, adversely affects the health of the battery. nine0082
If the electrolyte level drops (each battery has a normal level mark), add distilled water (available from auto parts stores) to the mark.
How can I tell if the battery is charged?
A charged battery produces 12.8V. If your multimeter measures 12.5V or less, the battery needs to be charged.
Which terminal should be connected first when installing the battery on the ATV? nine0008
Always connect the positive terminal first. When connecting the wire to the terminal, a spark may occur, so all flammable liquids must be removed in advance. Always tighten the bolts on the terminals firmly to avoid short circuits. The terminals can be treated with a lubricant to prevent oxidation.
What happens if the polarity is reversed?
Always respect the polarity - wrong polarity can lead to a blown fuse at best and an exploding battery at worst. nine0003
How to store the battery in winter?
If you do not use the ATV in winter, the battery must be removed and stored in a cool place, and charged several times during the winter with a small current.
As you can see, there are no difficulties in maintaining the battery, following simple rules will significantly extend battery life and save your finances.
And how to properly charge the battery, we will learn by watching the video. nine0008
Contents
Non-gel gas batteries - helium, in them the electrolyte is bound by a solid material and thickened, that is, it is in a gel state. Therefore, without fear of depressurization, a maintenance-free battery can be opened if it cannot be charged and the voltage on it has dropped below 10 V.
Although gel batteries are also called dry batteries, they always contain an electrolyte based on water. And water in gel, and especially in acid, batteries is a consumable material, since, when the lead sulfate deposits on the plates are restored by electrolysis, it breaks down into a hydroxyl group and hydrogen. The latter leaves any battery in the surrounding air. In gel batteries, hydrogen escapes through rubber valve caps located under an external plastic cover, on which manufacturers often write “ Do not open ". Therefore, in a very dry gel battery that has lost capacity, must be topped up with distilled water .
To service the "maintenance free" battery, you will need to tear off the glued top cover, and remove all valve caps. Water needs to be added a little - not to the edges of the filler necks on the banks. The filled water will be absorbed into the filter paper, so after half an hour look (by shining a flashlight) - how much water is left in each section of the battery.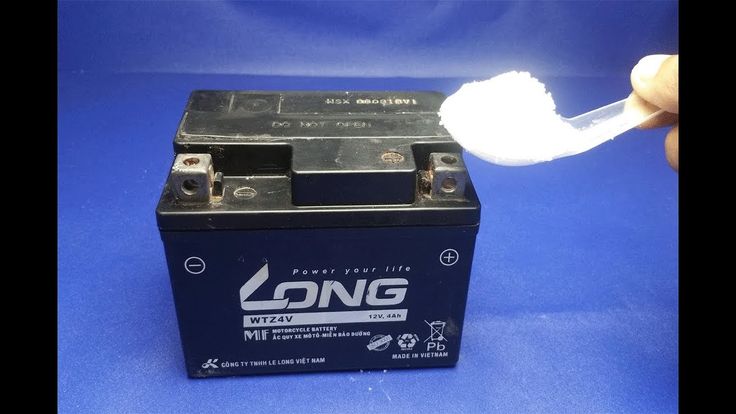 The water level should slightly cover the surface of the battery plates, so excess liquid will have to be removed with a syringe or rubber bulb. nine0003
After wetting the dried electrolyte, close all battery cells on the valve caps. And also don't forget to cover them with the outer battery cover, and press it down with a load (glue it later). You need to press the cover so that it holds the rubber caps. When loading through the caps, the excess pressure created by the released hydrogen will be released, and the cap will be a stop for them.
Now it's time to connect the affected gel battery to charger . Learn how to charge maintenance free battery . Having lost capacity due to the drying of the associated electrolyte, the battery will not draw current from the charger, so you do not need to focus on the ammeter first. The voltage during charging must be selected at least 15 V.
It will take a long time to charge - until the hungry battery starts to draw current. But if more than 15 hours have passed and the battery does not consume current, then do not expect a miracle, but increase the voltage to 20 V. Now do not leave the battery charging with high voltage unattended. After all, if the bound electrolyte is restored, then an abnormally high current will flow through the battery, which will be 4 to 6 times higher than it should be. Even 4 times more current than the maximum allowable 0.1 of the capacity will heat the battery, then smoke will come out of it, and then ...
At the moment when the battery begins to receive current, the voltage on it will begin to drop rapidly.
Well “rocks” a battery that does not want to be charged a method in which the battery is first allowed to charge, and then it is discharged - and so alternately, in short periods. The first charging cycles, specifically of a gel battery, should take place at a high voltage of about 30 V, and in subsequent cycles, the charging voltage should be stepped down to 14 V.