An ATV that has a clutch is considered a manual transmission ATV, unlike an automatic transmission ATV that does all the shifting for you. Driving a manual ATV is actually pretty easy once you get the hang of it. After a while it becomes second nature and you will be able to ride without even thinking about it too much. You will need to be able to coordinate between your hands and your feet to shift. I will go over step by step exactly how to start, get into gear, and shift with a manual ATV.
First, lets go over the components you will need to know to drive an ATV with a clutch.
It’s best practice to start the quad when it’s in the neutral gear. It is possible to start the ATV in any gear as long as you hold in the clutch lever. Remember, when you pull in on the clutch lever, you’re essentially putting the quad in neutral, as long as you’re holding in the clutch.
If you start your quad in gear, you need to pull in on the clutch and start the engine.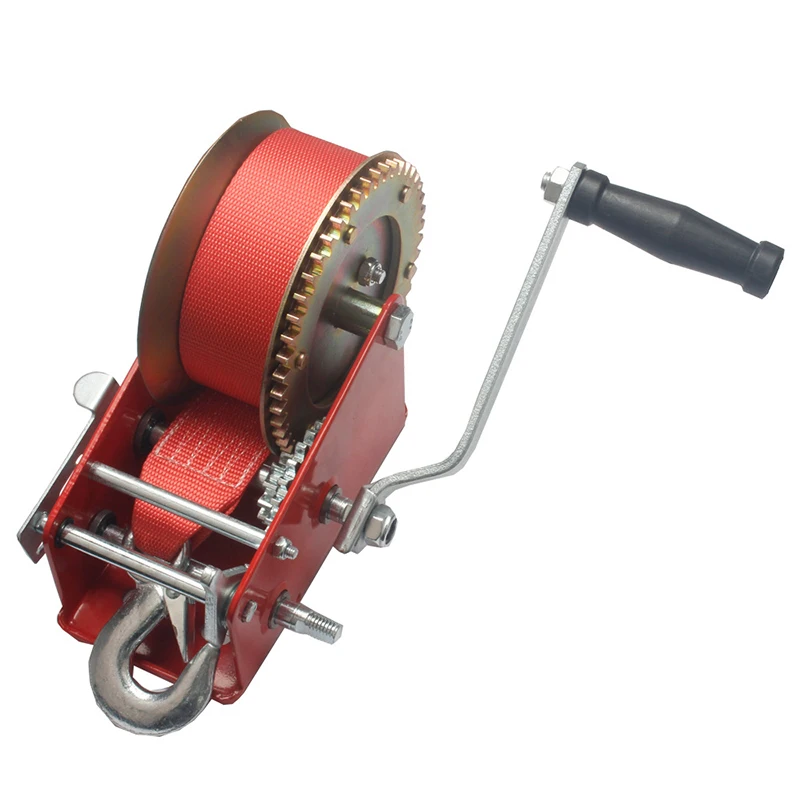 Be careful though, if you let go of the clutch with the engine running and the transmission in gear, you will stall and could do damage to your transmission. I only start mine in neutral so that way I can let off the clutch and the quad will idle, and I suggest you do the same.
To get into neutral before starting the quad, you need to pull in on the clutch lever and use your left foot shifter to find neutral. Neutral is usually located between 1st and 2nd gear. You typically won’t be able to get into neutral from 2nd gear though. You should shift to 1st gear by clicking down on the foot shifter, all the way down to 1st gear. Then lightly shift a half click up into neutral. A full click up from 1st gear will put you into 2nd gear, a half click up will put you into neutral.
This is the part that everyone gets hung up on, I know I did when I first learned. It’s really not that hard once you get the hang of it though, it takes some practice. Don’t let yourself get discouraged too easily and you’ll be just fine.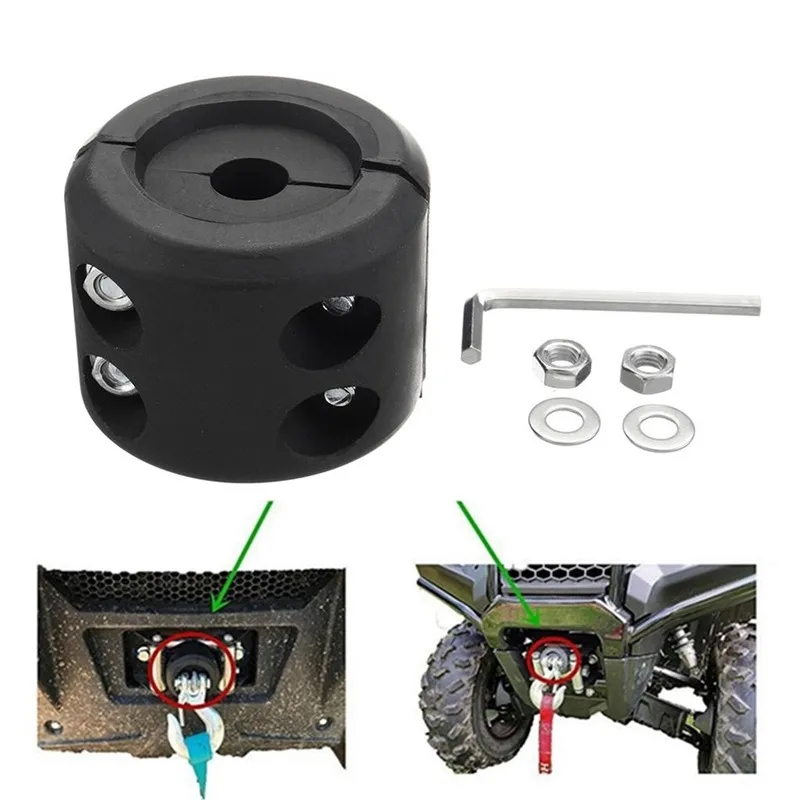
Start off by being in neutral with the engine running. Pull in the clutch lever and hold it in. Now shift into 1st gear by pressing down on the shifter with your foot. To start accelerating, you need to give it some gas with the throttle while you slowly let out the clutch. You have to do these at the same time, that’s what usually gets people.
When you feel the clutch engage, the quad will start to move forward and you can let go of the clutch all together. You’re now in 1st gear moving forward. Be careful though, if you come to a stop without pulling the clutch back in, or getting back into neutral, the ATV will stall.
It may help to just practice getting the quad moving in 1st gear using the clutch and throttle for a bit. Every quad is a little different so it’s hard to say how much throttle to give, and how far to let the clutch out before it grabs. A good starting point though is to try about half throttle, and let the clutch out slowly until you get a good feel for it.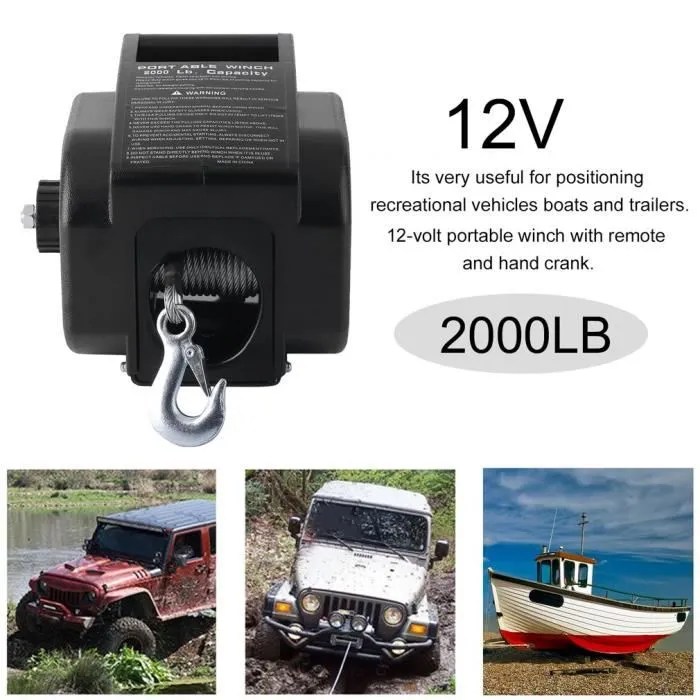
If you keep stalling your engine, you’re either not giving enough gas or you’re letting the clutch out too quickly. If the front end lifts up on you, you’re probably giving it too much throttle when you let the clutch out. It may take patience to get the hang of, but just take it easy and practice.
Once you’ve got the ‘start driving’ part down you’ll want to go faster. Luckily this isn’t as hard as getting the quad moving in the first place. To shift up a gear you want to be about 75% or more of the rpm range for your engine. You typically want to shift up in the higher rpm ranges or you will just bog down the engine. For example, being in 4th gear but only going 5mph will give you no power, and you might even stall.
To shift up, you have to let off the throttle and pull in the clutch lever all the way. With your left foot, pull up on the shift lever into the next higher gear then let the clutch out and give it throttle.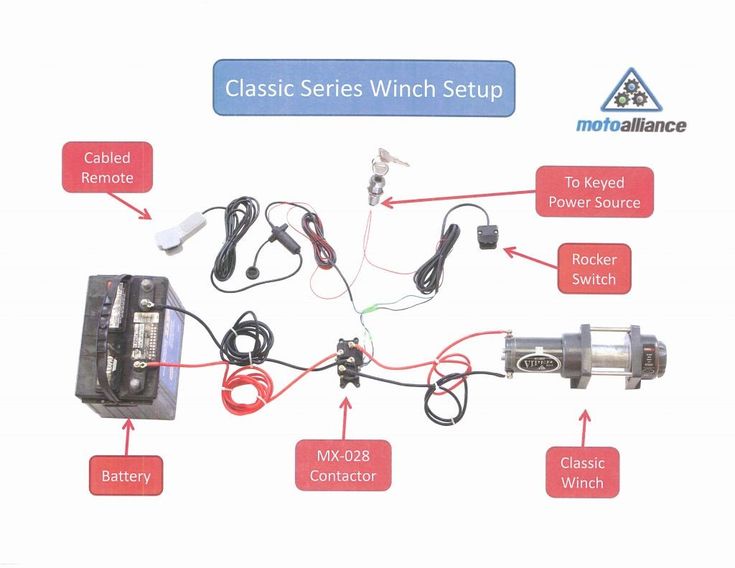 Keep in mind when switching from 1st to 2nd you need to do a full click up to shift, a half click will put you in neutral.
If you feel more comfortable slowly letting the clutch out and giving gas at the same time like you did to start in 1st, that’s fine. It is not necessary though. That’s why I think shifting between gears is easier than starting out in 1st. Because you can just let off the gas, pull in the clutch, shift, let go of clutch all together, and give it gas again. You’ll be able to do this faster with time, and it becomes second nature after a while.
To downshift you do the same steps except press down on the shifter with your left foot. Keep in mind that if you down shift at a high speed you will red line your engine and could cause damage. Downshifting is only really needed when you’re slowing down. What I do is just hold the clutch in whenever I’m slowing down, and once I’ve slowed to the speed I want, I shift down into the gear best suited for that speed, and let the clutch out.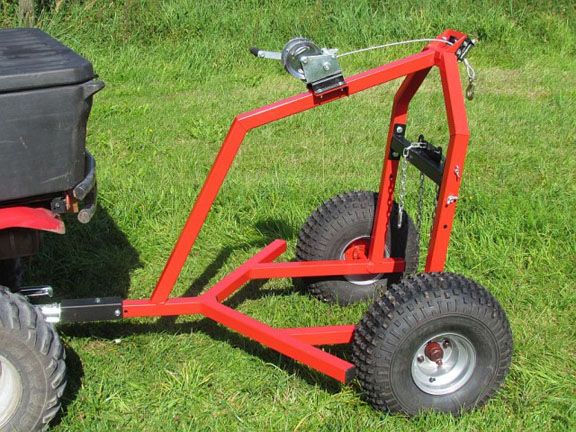
You really do need to know what gear is best for the speed you’re going. Unlike shifting up through gears, you can shift down through multiple gears at a time depending on how much you slowed down. If your ATV doesn’t have a speedometer, the best you can do is just get a feel for what speed you’re going and what gear you should be in.
This is the easiest part, but the most important, you should definitely know how to stop before you even try riding an ATV with a clutch. To come to a complete stop simply let off the throttle, hold in the clutch, and apply the front and rear brakes until you’ve stopped moving. You can down shift while you’re slowing down or wait until you’ve stopped to down shift all the way to 1st gear. Either way, it’s important that you hold the clutch in this entire time. Once you’re into 1st gear, do a half click shift up into neutral. Now you can let off the clutch and the engine will idle.
The front brake is applied by using the front brake lever on the right side of the handle bars. The front brake is typically about 3/4 of your stopping power. Some people never even touch their rear brakes at all, which is fine. To use your rear brakes apply the foot brake by your right foot. The rear brake becomes more useful when you start to learn more advanced braking and cornering, or if you just like to skid to a stop.
That’s it! now it’s time to practice, a lot. You’ll get the hang of it and you’ll want to start trying more advanced maneuvers in no time. As always, remember to wear proper safety gear. At the very least, make sure you wear a helmet, goggles, and a decent pair of boots. If you want to check out some gear I’ve tried, tested, and recommend myself, check out the Recommended Gear section of this site.
Sharing is caring!
Mount the winch on the vehicle using the M8 x 30 bolts and spring washers provided.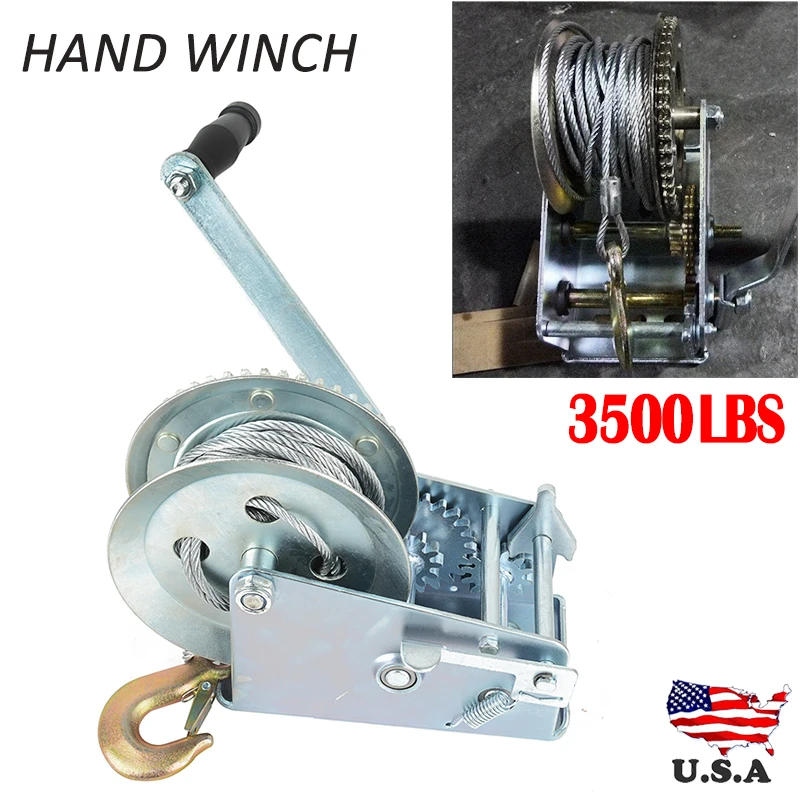 The winch must be mounted in position with the rope/cable spooling off the bottom of the reel not the top. Improper mounting could damage your winch and void the Trailmaxx warranty.
All moving parts in the winch are permanently lubricated with high temperature lithium grease at time of assembly. Lubricate. Inspect rope/cable for broken strands regularly and replace if necessary. If the rope/cable becomes worn or damaged it must be replaced. Do not replace rope/cable with a rope/cable which is rated lower than the original.
For normal self recovery work, your existing electrical system is adequate. A fully charged battery and proper connections are essential. Run the vehicle engine during winching operations to keep the battery fully charged.
| ➊ | Connect the red motor terminal to the red motor connection terminal on the control box using a red cable. |
| ➋ | Connect the black or white motor terminal to the black motor connection terminal on the control box using a black cable. |
| ➌ | Connect the red power cord terminal on the control box to the positive (+) terminal on the battery using a red cable. |
| ➍ | Connect the black power cord terminal on the control box to the negative (-) terminal on the battery using a black cable. |
| ➎ | Check the direction of drum rotation. Turn the clutch knob to the “OFF” position and free spool some rope/cable off the drum. Turn the clutch knob to the “IN” position and push the “IN” button on the controller, if the rope/cable respools this is correct, if not swap the battery leads over and recheck. |
Your Trailmaxx winch is installed with a wireless control unit housed in the control box. This unit should have an operating range of at least 10 meters. If problems are experienced with the wireless control it may be ofbenefit to open the control box, locate the wireless control unit attached to the inside of the case, locate the aerial (green wire attached only at one end) and feed it out through the bottom of the control box into a more exposed position. To further extend the performance of the wireless control a Trailmaxx booster aerial can also be fitted.
The best way to get acquainted with how your winch operates is to make a few test runs before you actually need to use it. Plan your test in advance. Remember you can hear your winch as well as you can see it operate. Get to recognize the sound of a light steady pull, a heavy pull, and sounds caused by the load jerking or shifting. Soon you will gain confidence in operating your winch and its use will become second nature to you.
For normal self recovery work, your existing electrical system is adequate. A fully charged battery and proper connections are essential. Run the vehicle engine during winching operations to keep the battery fully charged.
| ➊ | Ensure the vehicle is secure by applying the park brake or chocking the wheels. |
| ➋ | Pull out the winch rope/cable to the desired length and connect to the anchor point.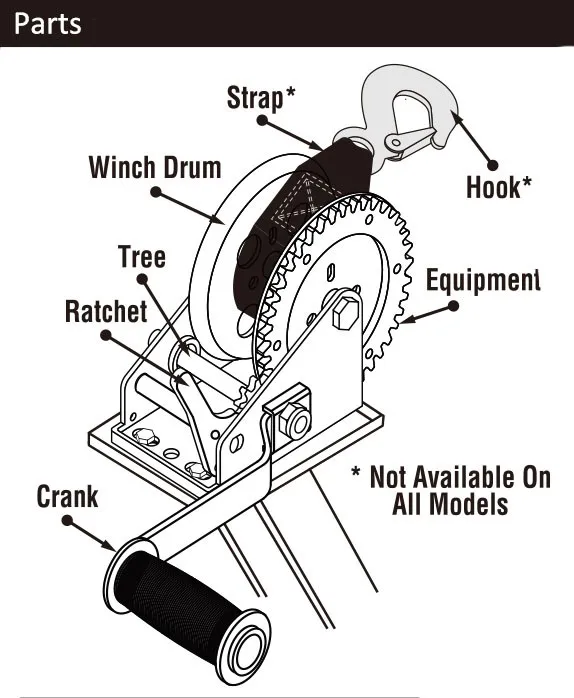 The winch clutch allows rapid uncoiling of the rope/cable for hooking onto the load or the anchor point. The shifter tab located on the gear housing of the winch operates the clutch as follows: The winch clutch allows rapid uncoiling of the rope/cable for hooking onto the load or the anchor point. The shifter tab located on the gear housing of the winch operates the clutch as follows: |
|
|
| ➌ | Recheck all rope/cable rigging before proceeding. |
| ➍ | Plug in the winch hand control. It is recommended that the winching operation takes place from the driver’s position to ensure safe operation. |
| ➎ | To commence winching operation, start the vehicle engine, select neutral in the transmission, and maintain engine speed at idle. |
| ➏ | Operate the remote control switch in or out until the vehicle or load has been retrieved.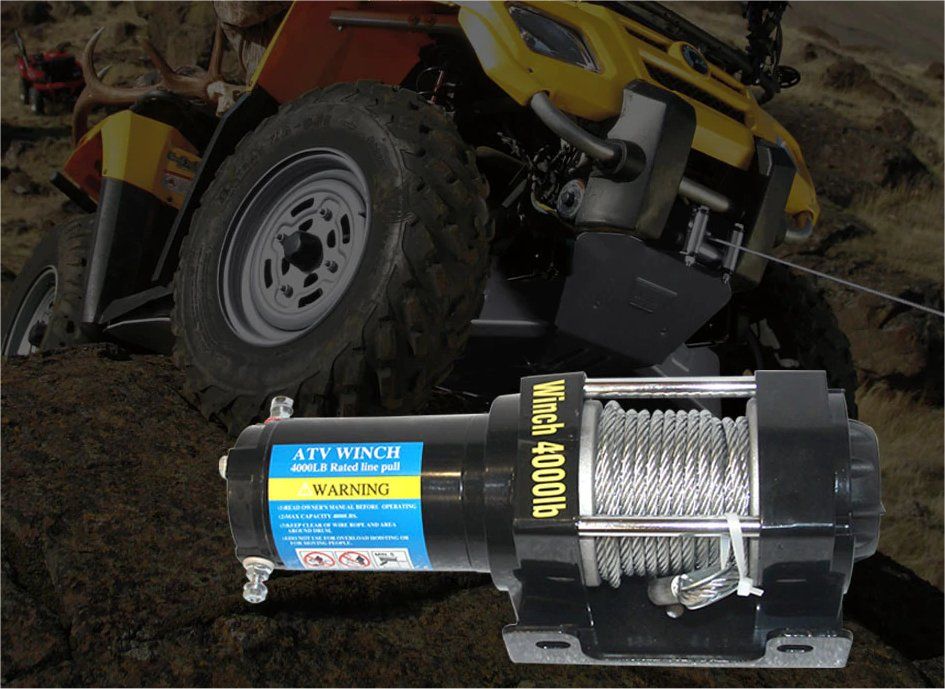 Regularly check the winch to ensure rope/cable is winding onto the drum evenly. Regularly check the winch to ensure rope/cable is winding onto the drum evenly. |
It is highly recommended that the winch be used regularly (at least once a month).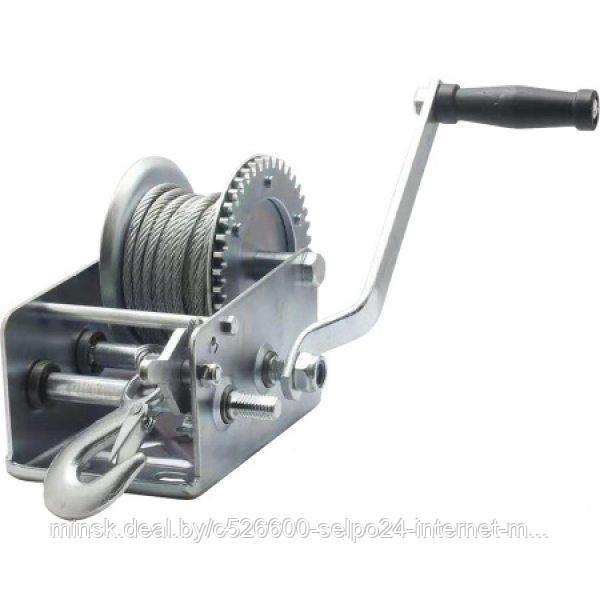 Simply power out the rope/cable 15m, free spool 5m and then power back in. This will keep all components in good working condition so that the winch can be relied on when needed. Contact your authorised Trailparts outlet for technical assistance and repairs.
The safety precautions and instructions discussed in this manual cannot cover all possible conditions and situations that may occur. It must be understood by the operator that common sense and caution are features which cannot be built into this product, and must be supplied by the operator. Trailparts™ accepts no liability for any consequences of using this product if not used in accord with this manual.
Observe safety precautions for personal safety and the safety of others. Improper equipment operation may cause personal injury and equipment damage. Read the following carefully before attempting to operate your winch and keep the instructions for future reference.
 Hold the rope/cable with one hand and the remote control switch with the other. Start as far back and in the centre as you can. Walk up, keeping load on the rope/wire as the winch is powered in.
Read the following carefully before attempting to operate your Trailmaxx winch and keep the instructions for future reference.
 After the job is done you can unspool and rewind for a neat lay of rope/wire.
 When double loading during stationery winching, the winch tow hook should be attached to the chassis of thevehicle.
 The loctite will prevent loosening of the screw in arduous conditions. Loctite 7471 primer and 222 thread locker are recommended..
| Symptom | Possible Cause | Suggestion Remedy |
|---|---|---|
| Motor does not turn on | Safety switch is off | Turn safety switch to the ON position. |
| Switch assembly is not connected correctly | Insert safety switch assembly firmly into the connector. | |
| Loose battery cable | Tighten nuts on cable connectors. | |
| Solenoid malfunctioning | Tap solenoid to free contact, applying 12/24 volts to coil terminal directly. Make an audible clicking when activating. | |
| Defective switch assembly | Replace switch assembly. | |
| Defective motor | Check for voltage at armature port with switch pressed. If voltage is present, replace motor. | |
| Water has entered motor | Drain and dry. Run in short bursts without load until completely dry. | |
| Motor runs too hot | Long period of operation | Let winch cool down periodically. |
| Motor runs slowly or without normal power | Low or flat battery | Recharge battery by running vehicle. |
| Insufficient current or voltage | Clean, tighten or replace the connector. | |
| Motor runs but rope/cable drum does not turn | Clutch not engaged | Turn the selector lever to the IN position, if that does not work, take to a qualified Trailmaxx technician to check and repair. |
| Motor runs in one direction only | Defective or stuck solenoid | Tap solenoid to free contacts. Repair or replace solenoid. |
| Defective switch assembly | Replace switch assembly. |
Articles
02 Dec
Any wheeled vehicle - from a bicycle to a multi-ton truck - has a transmission in its device: a system that transmits rotation from the engine to the wheels.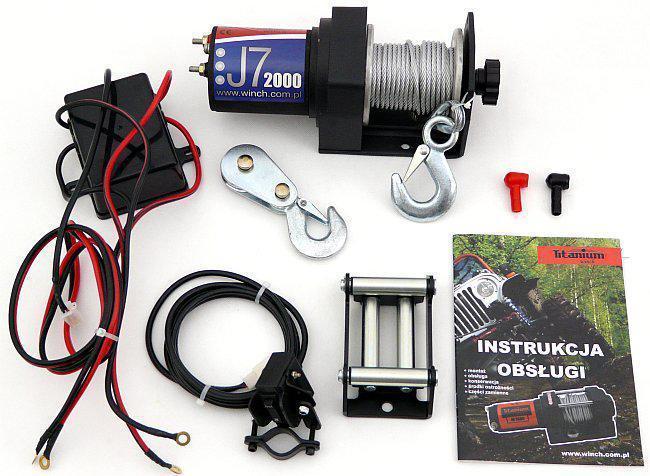 The operation of the transmission - and therefore the speed of driving - can be controlled by shifting gears.
Gear shifting is organized differently in each mode of transport. In the article below, we will tell you exactly how to shift gears on ATVs, and what gearboxes are found on such equipment.
Gearboxes for ATVs can be of two types:

Rare and mostly found in older models, but other variations can be found. For example - "automatic" with the ability to manually shift gears.
Manual ATVs are a little more difficult to drive (at least at first, until you get used to it), but you can more accurately select the appropriate mode. And vice versa: CVT "boxes" are much easier to operate, they are easy to master for a beginner who gets behind the wheel of an ATV for the first time. But on the other hand, with active driving along a route with variable difficulty, riding a CVT will be a little less convenient.
For example: you are driving on a flat packed dirt road on H and you see a large stretch of muddy road ahead with deep mud (or a steep hill, or bumps, or stones). You will have to come to a complete stop and shift to L, drive through mud, and when you get back on a dry road, come to a complete stop again and shift back to H. , like motorcycles, and a manual clutch lever on the handlebar on the left.
The foot lever device can be of two types:
The shift itself is carried out in the same way as on motorcycles:
 If you have experience driving any vehicle with a manual transmission, you will quickly get used to an ATV with such a gearbox.
 When exactly to switch speeds up and down is determined by the tachometer, speed, road complexity, weight of the load taken and the characteristics of the ATV itself (power, weight).
CVT gearboxes are much more common on ATVs. The clutch in them does not need to be squeezed out, and the “mode” of driving forward is selected from two (most often) options: in high (suitable for driving on an easy route) or in low (for difficult sections, steep climbs and towing) gears.
An important difference from driving in a manual transmission: switching between L and H is carried out only when the ATV is completely stopped, with the brake applied. To select a mode, move the knob to the desired position. Switching between L and H on the go is impossible.
The rest of the gears - park, neutral and reverse - of course, are also included when the ATV is standing still.
Contents
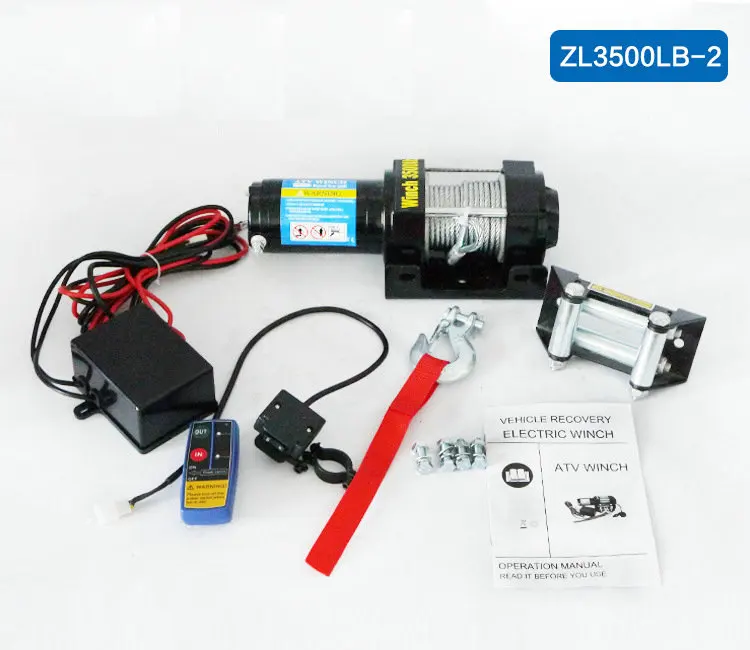
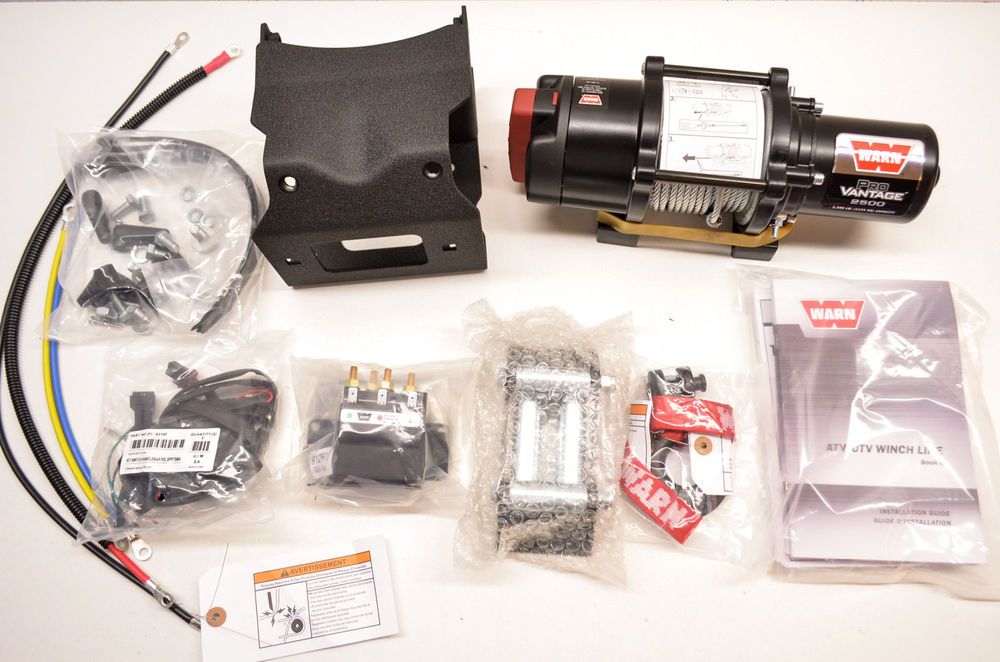
The ATV was originally used as an essential agricultural vehicle. Modern models are designed for active and extreme recreation. But this transport is still valued for its versatility. You can expand the functions of this unit by using various accessories. A winch is an important and useful accessory for an ATV, as it can help out both during chores and during off-road trips.
ATVs are mainly used for driving on difficult surfaces, in mud, through pits and swamps, which means that they can get stuck so that it will be very difficult to get out on their own. And with the help of traction, you can get out of the trap in a matter of time. Therefore, a winch for an ATV is especially important for tourists involved in extreme sports.
Many people use this winch for agricultural work. When carrying out work, an ATV winch, which includes a synthetic cable (or other type of cable), will help you find a way out of a difficult situation, for example, move a heavy load.
Winches are very versatile and can be useful in all types of ATV use. Some models of ATVs do not have a winch included in the basic package. In this case, it makes sense to purchase a synthetic or Kevlar cable. It is suitable for any model, and the installation process does not take much time.
The principle of operation of the winch is to increase the traction power through torque. The Kevlar cable is attached to the object to be moved and then wound onto the drum. Its length decreases, increasing the tension, and the technique is removed from the trap. Such a cable is able to easily withstand a load of up to three tons without damaging the vehicle.
[ads-pc-1]
Metal cable
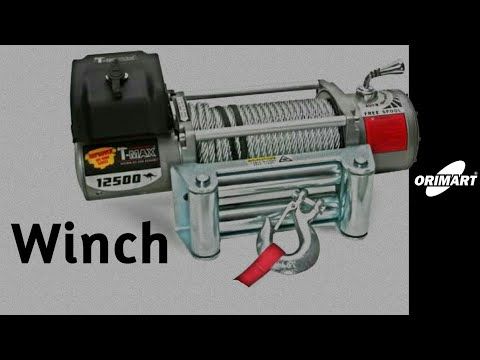
The requirements for choosing quality equipment for extracting equipment from hard-to-reach areas are simple. Winches should be light, reliable, compact, easy to operate and have high traction.
An important parameter when choosing such a device is the weight, power and engine size of all-terrain vehicles. The pulling force of the winch must exceed the weight of the ATV. So, if the ATV weighs 500 kilograms, the pulling force must be at least 1200 kilograms. ATV winches differ in the type of cable and control method. The control process can be carried out using a remote radio control or control buttons on the steering wheel. The first option is considered the safest, especially if the cable breaks. Should pay attention to the type of cable? Kevlar or steel.
ATV brand winches have proved their worth. There are two types of such winches - stationary and portable. Stationary winches are a manual mechanism that is used to move loads with an inclination of 60 degrees. To start working with this device, you need to install it on the surface and fix it with bolts. Installing a winch of this type does not take much time, but it is better to do it in a specialized service, where they will do the whole range of work for you, including the installation of a power body kit and strengthening the front suspension.
Portable products are characterized by a high degree of mobility. The mechanism of operation of a portable winch is the same as that of a stationary one - the traction force is transmitted from the drive drum through the cable. This ATV cable does not need to be fixed to the platform and can be taken with you on trips.
Synthetic rope
When driving off-road, you need to be fully equipped. The design of the winch includes a Kevlar, synthetic or metal cable. The choice of cable is related to the specific use and the expected maximum load. Also, the most important characteristic of these devices is the service life.