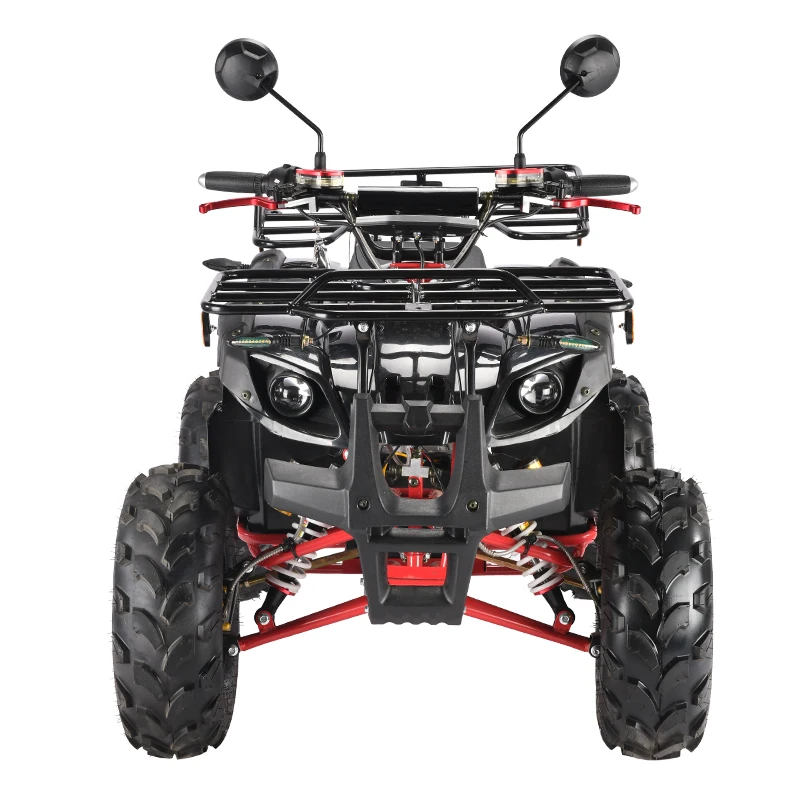
|
You are finally going to start getting serious about four wheeling and need to learn everything you need to know? There’s a lot more to it than you might think! You have to get the right ATV and gear, learn how to operate the quad, learn proper riding technique and figure out how to properly care for your new four wheeler (If you are buying a used ATV, you must review this guide). There is a lot there, but we are going to walk you through all you need to know and point you at some great resources you should review. Happy riding!
Luckily, you don’t need a whole lot to get started. Really, you need the ATV and you might be able to get going, but there are some other things that are going to keep you safe and make the experience a lot more enjoyable.
Get the right ATVThis is the most important step to getting started. You have to get yourself a four wheeler. While it is tempting to just jump on the first good deal you find, you want to take the time to figure out what machine is going to be best for you and the riding you want to do.
There are two types of ATVs – sport quads and utility quads. Sport quads are typically not best for new riders. They are fast, can handle some jumps, are usually two wheel drive, have manual transmissions (you have to operate the clutch and shift), and are much lighter than the utility quads.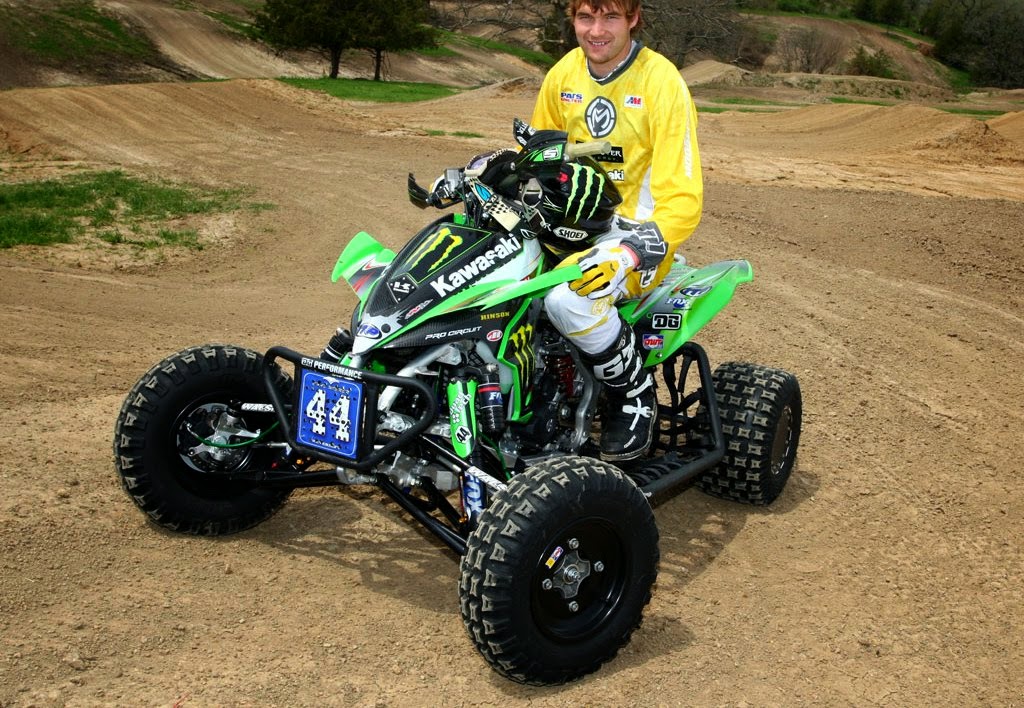
The utility ATVs usually have automatic transmissions (just like an automatic car, you don’t have a clutch and don’t shift), are heavier, come in both two-wheel drive and four-wheel drive, have more storage space, a more comfortable seat, and are more compatible attachments such as winches, snowplows, rack boxes, chainsaw holders, gun racks, and so forth. You also may want to consider if a UTV (side by side) is a better fit for you. These are typically better for hauling cargo or people, but there are some awesome sport options available too. See more about whether an ATV or UTV is right for you with this guide.
Once you figure out whether you want sport or utility quad, you have to figure out what size ATV you should get. This is going to depend on a lot of different factors. First of course is your size, but you also have to look at where you are going to ride, how you are going to ride and whether you are going to let others ride your ATV. We go into a ton of details in this guide to picking the right sized ATV, but a summary is below.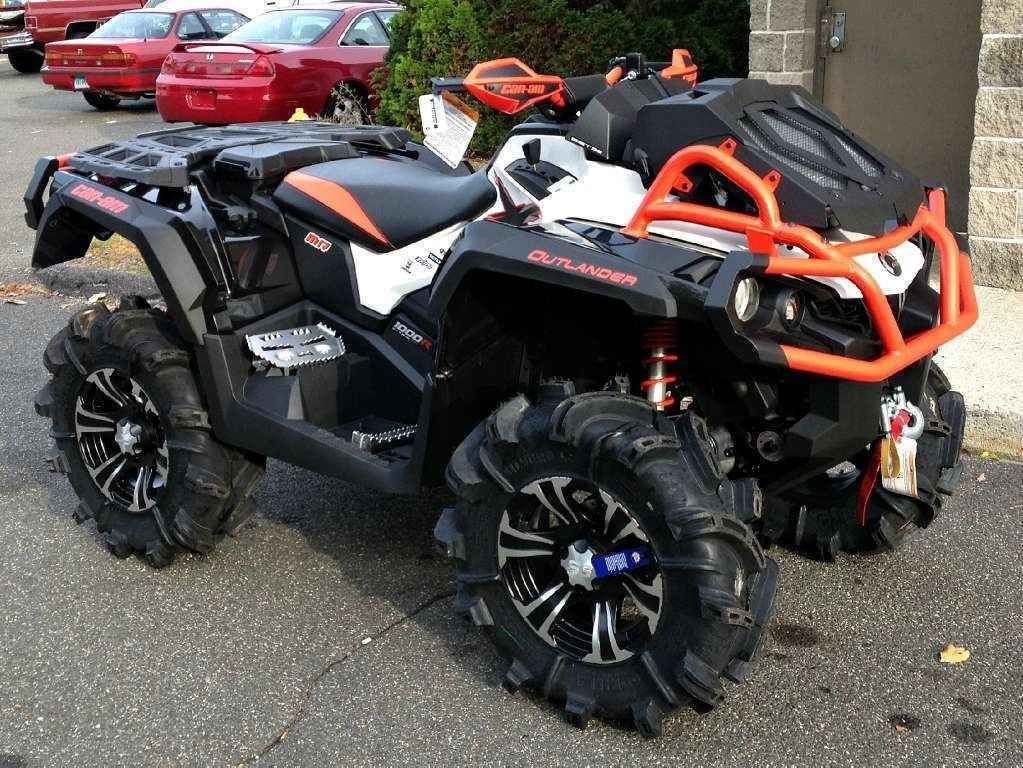
50-70cc-young children under 12 that are learning to ride.
90-125cc-children under 16 that are still learning to ride.
200-300cc-bigger teens that know how to ride, smaller adults that are learning, wont be riding for long periods of time
400-500cc – price point shoppers, ranchers, acreage owners, farmers, new riders, light trail riding, most females
550-700cc- – aggressive trail riding, hauling, taller people,
700-1000cc – aggressive trail riding, mud play riding, average male rider, hunters, hill climbers, speed demons, stream crossers
There are going to be some other key considerations you need to look into when picking out an ATV. You will want to read this article to help you make a decision on all the other features, but a few of the most important considerations are the following:

Once you pick out the right ATV, you are ready to get riding; however, you should get some of the essential safety gear to keep yourself safe and make your ride more enjoyable. For starters, get yourself a good helmet, goggles, boots, and gloves. Though expensive, you’ll be happy you got them if you wipe out. Of course, the best place to pick out the gear you need is our Recommended Gear page!
Pick out the accessories for your needsYou shouldn’t get to bogged down with buying a lot of accessories or modifications when you are first starting, but there are just a couple we think are worth considering.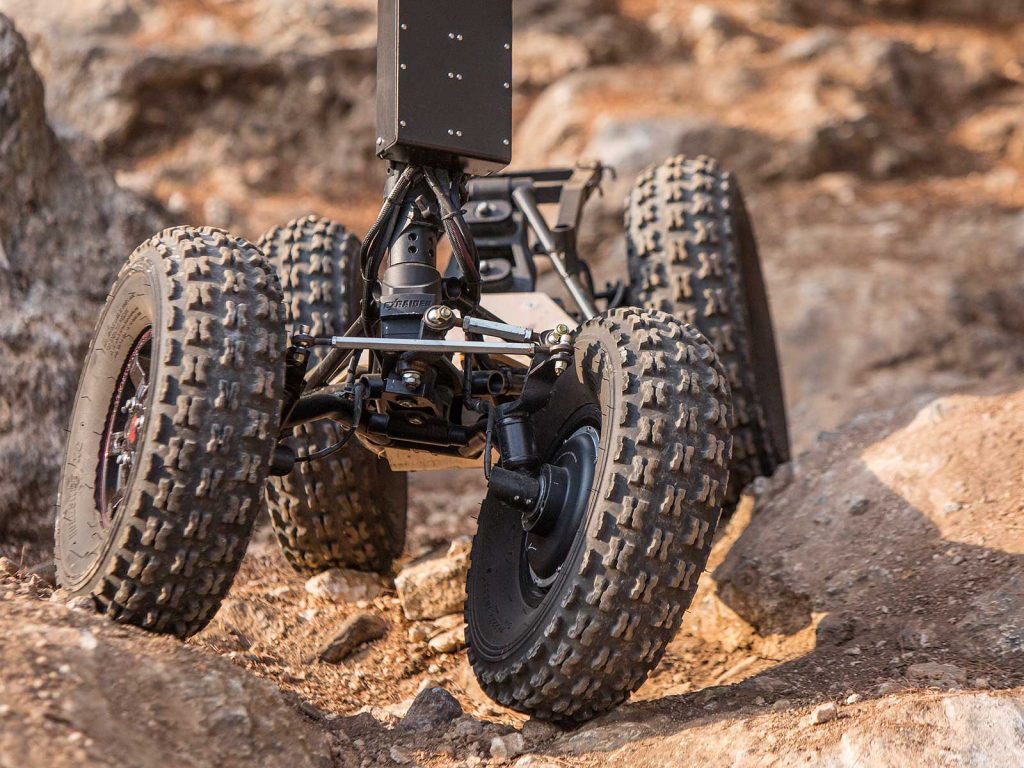
First, a winch is a relatively cheap investment that can be especially helpful for a new rider on rough terrain. If you slide off a trail or get yourself stuck in the mud, the winch can pull you out of the tough spot. To learn more about picking out a winch and see a great one we recommend for most riders that is under $200, check out our recommendations.
The other accessory that could be good for a new rider are nerf bars. As a new rider, you’ll have enough to think about without worrying about what to do with your feet. With Nerf bars and heel guards, you’ll get the stability you need so you can ride more comfortably. Nerf bars are like giant foot pegs that help you to easily keep your feet in place during your ride. Heel guards to the same thing on the other side of your foot, namely keeping your feet where you want them to give you more control while riding.
PreparationBefore you jump on your ATV and start riding, there is some preparation you should undertake, especially if you have never ridden an ATV before.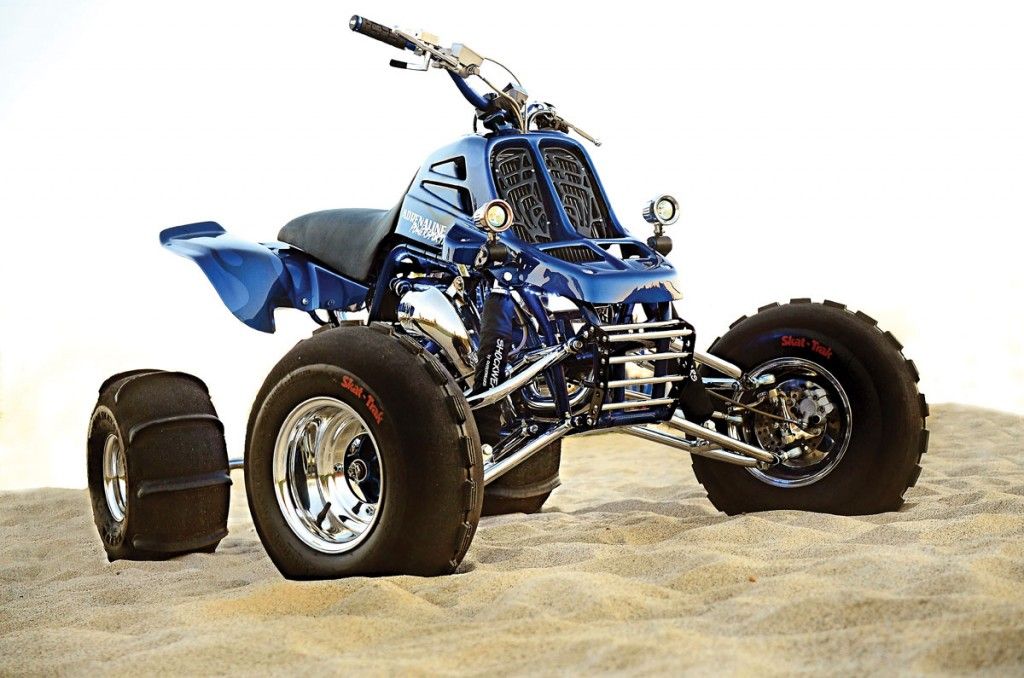
Depending where you are at, you should be able to find an ATV safety course. These courses will teach you how to safely ride an ATV. One of the best options for every new rider is to enroll in an ATV Safety Institute (ASI) ATV RiderCourse. It’s not expensive, and if you’re buying a new quad, you may get a certificate to take the course for free. Courses are usually broken up into three or four weeks, with them lasting two and a half hours a night once a week.
Read the Owner’s ManualI know that owner’s manuals are typically the most boring thing you could possibly read, but it is so important. The owner’s manual on your new quad should provide operating tips, riding tips and directions on what you should and shouldn’t do with the ATV, especially before your first ride. Some manufacturers require certain steps be taken before starting the engine for the first time. The owner’s manual is also your go-to for maintenance schedules and buying the right replacement parts.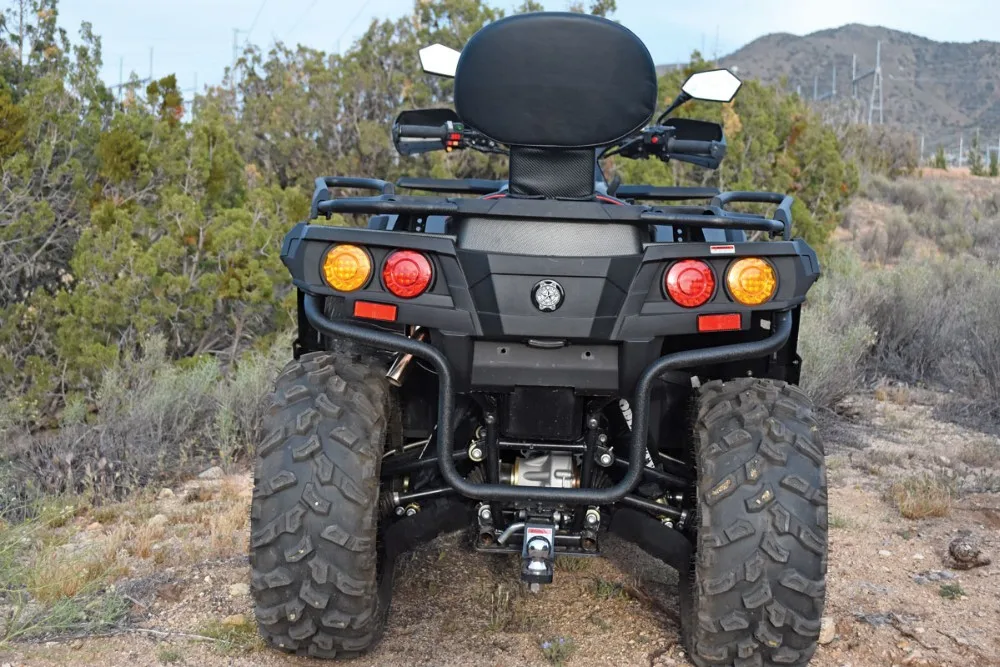
As you read the manual, sit on the ATV and get a good feel for where all the controls are. Most quads have a thumb throttle, not a twist throttle like dirt bikes. The throttle is typically located on the right side of the handlebars. The left handlebar of the ATV will probably have the electric start, headlight controller, a kill switch, and the front brake.
The rear brake is usually a foot pedal on the right side floorboard. The gear shift lever is also usually on the right side (except for Yamaha, which has theirs on the left) that has high, low, neutral, and reverse.
You also want to make sure your ATV is going to be comfortable for you once you learn where everything is and how it works. It’s unlikely you’ll sit on your ATV and be perfectly comfortable with the location of the handlebars and controls. Following your owner’s manual, adjust the levers, clutch and handlebars to your liking.
ATV Registration and Land Use PermitsNot all states require registration or licensing, but some do. Some other states require a land-use permit or another type of land pass if you want to ride on public lands.
Other state rules and regulations regarding ATV safety may include guidelines for the required safety equipment (like helmets, gloves and riding boots), age restrictions, licensing, sound levels and safety training.
It is a pain to try and figure out what exactly is required since every state is different, but we did all the painful work for you. Check out our guide to the ATV laws for every state.
Besides state requirements, you also need to learn the requirements to operate an ATV on public land and roads. In addition to the state laws we linked to above, we published a guide for riding on federal lands.
Perform pre-ride maintenanceDepending on the condition of your four wheeler, there is going to be a different level of maintenance you need to handle, but even with a brand new machine, there are a few basic things you should do before your start riding.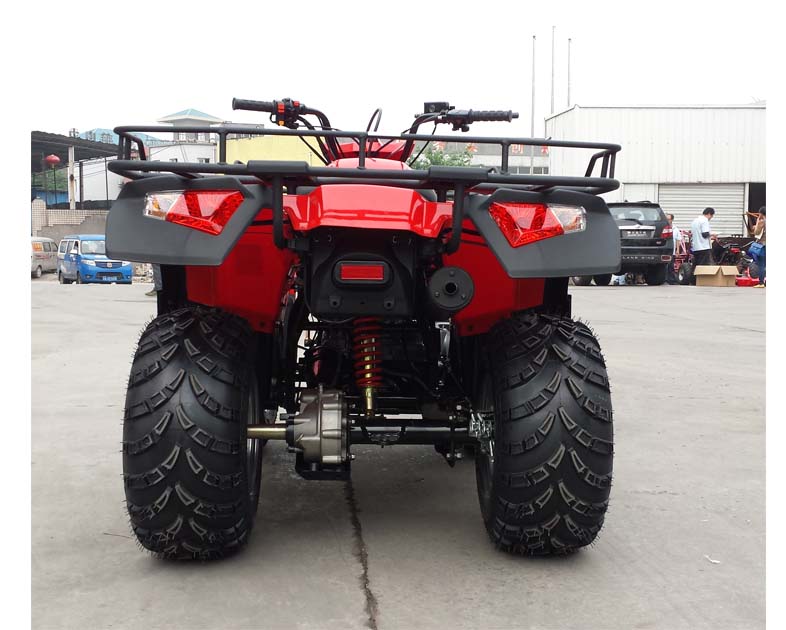 To work on your ATV and check everything, you should get a few needed tools as well.
You should always check the oil, fuel, and coolant levels to make sure they are adequate, and you should also look for any leaks in the various systems.
Check your air filterYou want to make sure your air filter is both clean and oiled. Even if your ATV is brand new, the air filter will be clean, but it might not be oiled. If you’re brand new to ATV riding, then oiling your air filter may be unfamiliar, but it is essential. If your air filter is dry, use some air filter oil on it before putting it back in the airbox. If the air filter is really dirty, swap it out for a new one.
Check your tire pressureChecking your tire pressure should be one of your regular checks before every ride. Especially before your first ride on an ATV, there is a good chance you will need to add quite a bit of air before that first ride.But don’t add too much.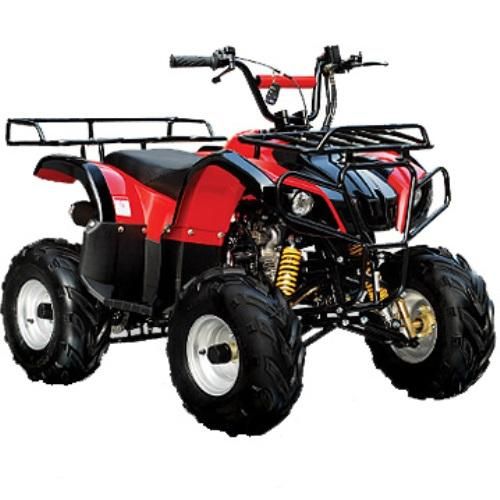 Over-inflated tires are more likely to pop or get damaged and under-inflated tires can ruin the rims. You’ll need a low-pressure tire gauge to get the job done.
If you are like me, you excitedly ride your ATV until it runs low on gas for the first time, then think for the first time about whether you can put regular gasoline in your ATV. The answer is mostly simple luckily. For most four-stroke ATVs, you can use regular gasoline, grade 87 or above, from your local gas station. If you don’t know the recommendation for your ATV, opt for 89 grade unless the 87 grade is ethanol free. For oil, simply use 10w40 and change it a couple times a year. If you have a two-stroke ATV, the answer is a little more complicated. On a two-stroke ATV, you will need to mix gasoline with oil specifically designed for two-stroke engines and then use that gasoline-oil blend in your ATV. While the answer seems mostly simple, there are a lot more considerations with putting gasoline into an ATV than with filling up your average car, but you are in luck because we have answered all the questions you could have about gas and oil already.
While you are checking the tire pressure, check the wheel nuts and axle nuts to make sure they aren’t loose or broken. Even new ATVs frequently arrive with loose lug nuts, so it is always smart to tighten and properly torque (you’ll want our favorite torque wrench) each lug nut on all four wheels Then, grab the tires and rock them back and forth to try and detect worn-out bearings. Next, check all the levers like the brake levers, throttle, and foot
Loading and TransportingNow that you have an ATV, you have to get your ATV to the riding location. Unless you are just going to be riding around your own property, you need to get a handle on how you are going to load and transport your quad.
One of the easiest solutions is to load the ATV in a truck bed, assuming you have a truck. Unless you have a short bed, you are going to mostly be okay. We have a guide for basically every truck and every bed combination out there and what size ATV you can fit in the bed.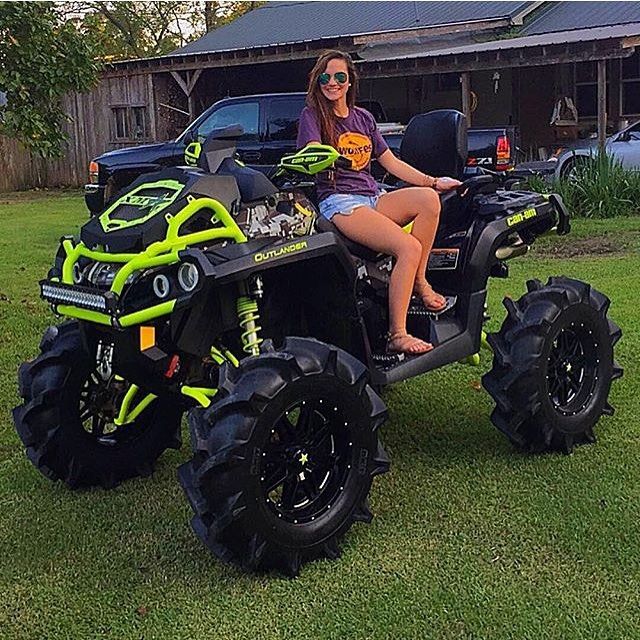
A couple things to keep in mind when loading an ATV in a truck bed-you don’t want to let the ATV sit on your tailgate if it is too heavy, you shouldn’t load the quad by yourself, and you shouldn’t ride the ATV onto the truck. You also want to make sure you get a decent set of ramps. We have some guidelines you should follow in our recommendations.
If a truck bed isn’t going to work for you, you need to figure out what size trailer you need. We have all kinds of guidelines you should review when you are buying a trailer, but the short answer is that you can fit many single ATVs in a 4 x 6 foot trailer, although a 5 x 8 foot trailer will fit any single ATV much more comfortably.
For two ATVs, you will need at least a 6 X 12 trailer loading nose to tail or 6 X 10 foot if you can load side by side. You can also get away with a 6 X 10 trailer for most ATVs by loading one of them sideways and one normally. If you are getting into larger ATVs, bigger than 550cc I would say, you need to look at the dimensions to see if you are going to need something even bigger like a 7 X 12.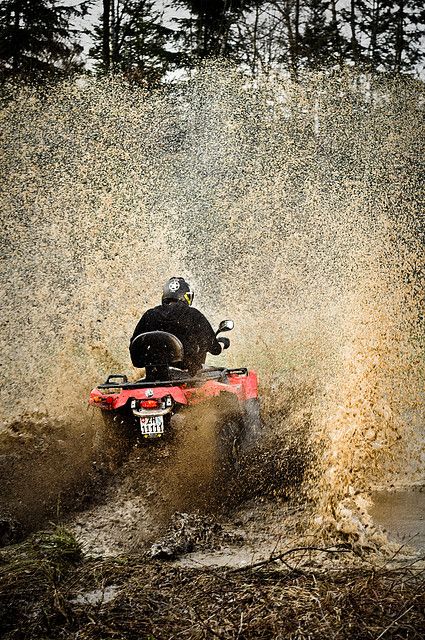 For three or more ATVs, You are going to want to run your measurements, but will likely need at least something 16 feet long
Starting your ATV
How to start your ATV is going to depend on what type of quad you have. Luckily, If you have read your owner’s manual, you should already know how to start your quad and get it running.
Typically, an ATV starts either by a pull cord or by turning a key and pushing the starter button. If you are just starting off, hopefully you bought an ATV with an automatic transmission. If that is the case, you simply need to put the ATV in gear, usually by moving a lever forward. Then, slowly press the throttle to get going, which is usually done by pushing a thumb lever forward or twisting the right hand grip.
RidingBefore you do anything aggressive or head out on a trail, you are going to want to practice a little bit to get familiar to your quad and how it handles. We recommend finding a large, flat, open area to practice that is free of obstacles and hazards.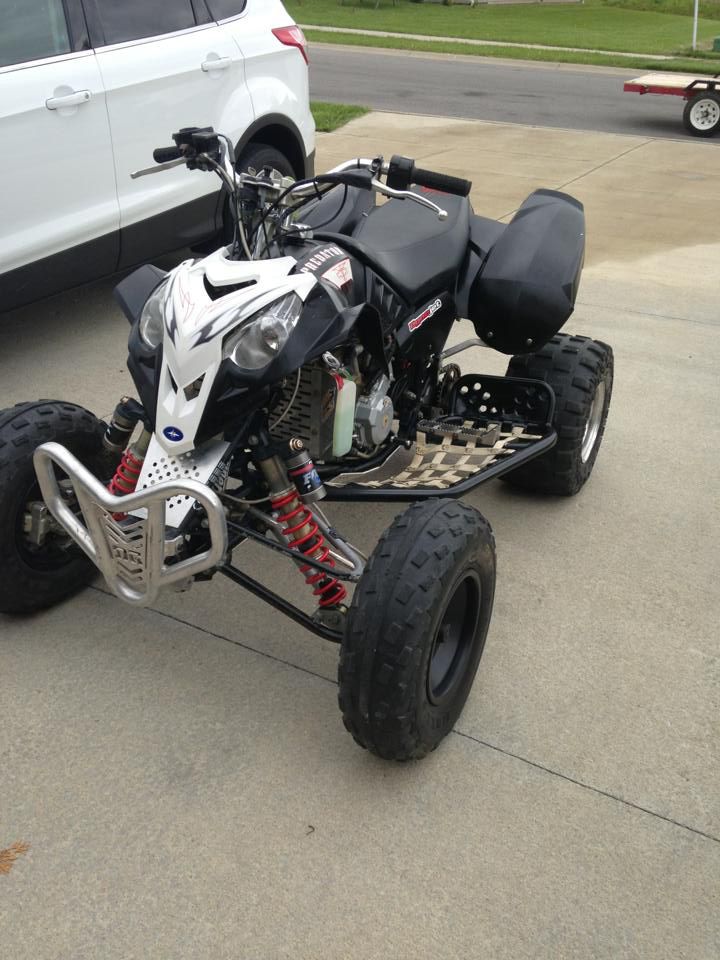 In addition, practicing on a hard dirt surface will make it easier for you to learn the basic maneuvers. Do not practice on public roads or paved surfaces as accidents are much more common on paved roads since ATVs are designed for off-road use only.
If you are teaching a child to ride, there are a lot more considerations you should review in our key tips for teaching children to ride ATVs.
As you practice, work on getting a feel for the acceleration and braking, then move on to turning. After you’ve gotten completely familiar with the ATV, including where the controls are, how to operate everything naturally (without thinking about what does what), and how to turn comfortably using your body-weight, then you can start opening up a little bit at a time.
Once you are comfortable in an open area, start with some simple trails before slowly advancing to more complicated terrain.
As a new rider, you need to stay completely focused on what you’re doing and where you’re going. Don’t drive so fast that you outpace your line of sight or your brakes. Practice starting, stopping and turning over and over until it just comes naturally. There’s nothing that will increase your riding ability like lots of practice.
Having the correct riding posture will help you to easily operate the controls and help you react more quickly when shifting your body weight. You should practice with the proper posture from the very beginning to ensure you don’t learn bad habits. Proper riding posture, when you are traveling straight, includes:

Standing up on an ATV may seem a little wild for a beginner, but it is actually safer in most situations. If you’re in for just a casual stroll down a trail, then your are more than okay to take a seat for your ride.
On the other hand, if you’re wanting to ride at some higher-speeds and take some sharper turns, you need to stand-up. It’s makes it easier to control your quad, reduces fatigue and makes for a better ride. When you stand on an ATV, you want to hover just above the seat, keeping your elbows out and your knees bent.
TurningTurning in an ATV is an art form. As you get more advanced, you can get more aggressive with your cornering and have a lot of fun. When you are just starting, you should stick to the basic turning techniques appropriate for ATVs being ridden at low to moderate speeds:
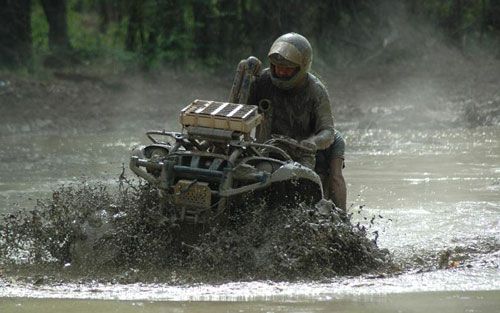
Most ATVs have a reverse gear. Every ATV I am aware of comes with a rev-limiter that is activated when the ATV is in reverse to limit the speed you can drive in reverse. While that may seem annoying, it is actually super helpful because it is really difficult to handle an ATV in reverse and you will quickly lose control if you are going to fast in reverse. If you really want to go faster in reverse, many ATVs come with the option to reverse the rev-limit via an override button. This can be helpful if you a stuck in a tough situation like a mud bog or snow bank. Unless you are in one of these tricky situations, just leave the rev-limiter in place and rever slowly and carefully, especially while you are still getting accustomed to riding ATVs.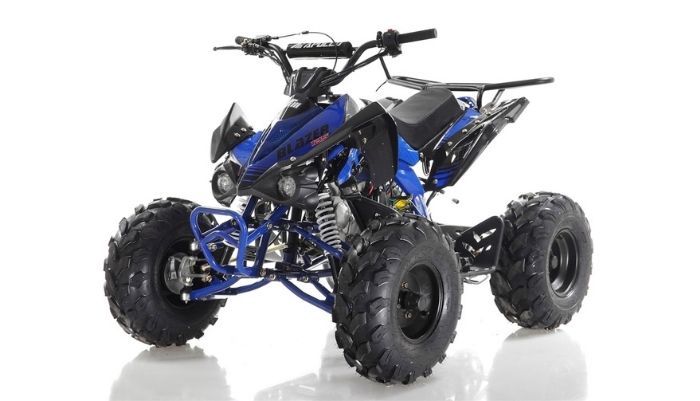
One of the big choices we discussed above is whether you want four-wheel or two-wheel drive. If you opted for a 4WD ATV, the first thing you will need to figure out is when you should use the four-wheel drive. Four-wheel drive is going to be beneficial when you are on rough terrain or tackling obstacles such as hillclimbs, logs, ledges, snow, ice, mud bogs or rock fields.
You don’t want your ATV in 4WD all the time though. You will definitely feel the difference. When your quad is in 4WD, the steering is going to be rougher and your engine works harder, impacting your gas mileage.
Hill climbingIf you are going to do any kind of trail riding, you will have to learn how to climb hills. Climbing hills improperly could cause loss of control or cause the ATV to roll over on you. While climbing hills seems pretty easy, there are some key things you will need to learn and follow.:
 Some hills are just too steep for your abilities or the capabilities of your ATV. Use your common sense and let your fear caution you. If the hill you are approaching looks too steep for you, just don’t try it.
The best technique for approaching an uphill climb is to:
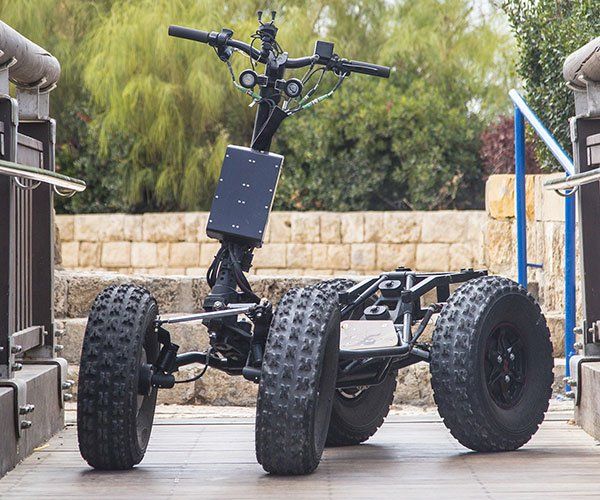
If you are cruising up the hill and then realize you do not have enough power to reach the top of the hill, you need to know how to handle the situation. Ideally, you will come to this realization while you still have forward momentum and enough room to turn around and head back down the hill. To execute a safe U-turn:
If you are in the unfortunate position where you are riding uphill and don’t realize you won’t make it until you lose all forward momentum, follow these steps:
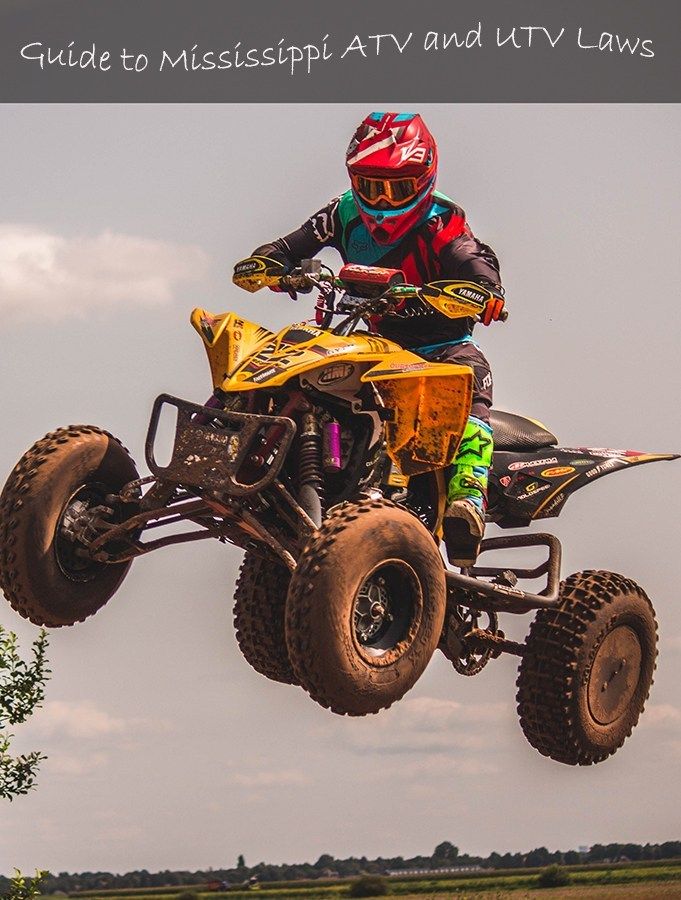 You don’t want to be downhill from your quad where it could roll down on top of you.
Always check the terrain carefully before you start down any hill. Choose a downhill path that is as straight as possible, with a minimum of obstacles and the least steep as possible. Shift your weight to the rear of the machine and use a low gear. On steeper downward slopes, straighten, but do not lock, your knees and elbows. You should use both brakes to gradually slow down, but whatever you do, always apply the rear brake. If you only apply the front break, you are going to flip right over your handlebars, likely getting crushed by your quad
Most of the time when you are going up or down a hill, you will want to go across the slope rather than directly up or down the hill. This is called traversing and requires different techniques.. Before getting in the technique, you should never traverse slopes with excessively slippery, rough, or loose surfaces.
If you have found a safe slope for traversing, here’s the technique you should follow:
 .
.Unless you are on a well maintained trail, you are likely going to run into some obstacles out on the trails. Whether it’s a rut, boulder, or log, there’s a way to get over it safely. Unless it is too big of course. Generally, you shouldn’t try to get over anything thicker than 2 feet (think telephone pole) unless you have a big quad and lots of experience. If the obstacle isn’t too big, just follow these guides for getting over small obstacles blocking your path:

While having four-wheel drive is absolutely beneficial for getting through mud, it is not essential in most situations. Without 4WD, you basically have two options to get through a mud puddle.
First, the most fun and most dangerous, and least recommended, way is to fly through it at top speeds, enjoy the wave of water hitting you, and pray you don’t hit something buried under the water or mud.
Second, the safer method is to find ruts hopefully made by a previous rider. Go through the mud puddle with your tires on top of the ruts, one in the middle of the two ruts, and one on the outside. As you are working through the mud, don’t give it to much gas or you will spin your tires. This is going to get you all muddy and cause you to slip into the rut or to form your own new rut.
If you do start to get into a rut, you want to get out as soon as possible before you get stuck. In this situation, you are going to have to give it some gas, let the tires spin, and rock your quad back and forth until the tires catch something solid and shoot you forward.
Ending your rideAs you are ending your ride, you will want to put the ATV in neutral when you come to a stop. This will prevent you from accidentally accelerating as you dismount. Once you have come to a complete stop, set the parking brake as directed in your owner’s manual.
Once you are done riding for the day, your last thought should be toward keeping your ATV safe from thieves. Unfortunately, ATV theft is way too common, and you should absolutely take the threat seriously. We even published 21 tips you should be following. For example, you should always remove the key, lock the ATV to something solid and keep it close your house or camp just for starters.
ATVs today are a very fashionable, versatile and functional mode of transport. Despite the fact that the ATV is traditionally considered a male transport, it is quite popular among different segments of the population. The technology market is so diverse that you can choose a square for every taste and color. In this regard, today it is not uncommon for a girl or a three-year-old child to ride an ATV.
In addition, the quad is also the technique that is suitable for active family holidays, for extreme sports enthusiasts who are eager to get another dose of adrenaline, and for quiet trips and even as an assistant at their summer cottage. Given such a functional variety of an ATV, in common people it is called an all-terrain vehicle, and its correct name sounds like an All Terrain Vehicle (ATV), i. e. vehicle for all surfaces.
Quad bikes have a lot in common with motorcycles. However, unlike motorcycles, ATVs can and even need to be operated in the winter season, which is a huge advantage of this technique. However, many do not think about it, and for some people, a winter ATV is a mothballed ATV until the thaw.
But there are also people who firmly believe that a quad bike in winter can be used not only for fun, overcoming snow drifts, but also for good. For example, with the right approach, a quad can serve as an excellent helper when clearing snow on a site.
Therefore, given the fact that the ATV is designed to drive on absolutely any surface, then just snowdrifts are not a hindrance to it, but if you take care of the equipment incorrectly in the frosty season, you can cause significant damage to it. Therefore, before you cut through the snow on an ATV, you need to make sure that the ATV is ready for this.
There are quite a few simple rules to keep your vehicle ready for the winter. It is worth saying that one cannot wait for the last moment, and if there are plans for the winter operation of the ATV, then its preparation should begin in the fall.
Otherwise, a cold snap can take you by surprise and cause a lot of inconvenience.
 Otherwise, it can be guaranteed that at negative temperatures it will fail;
 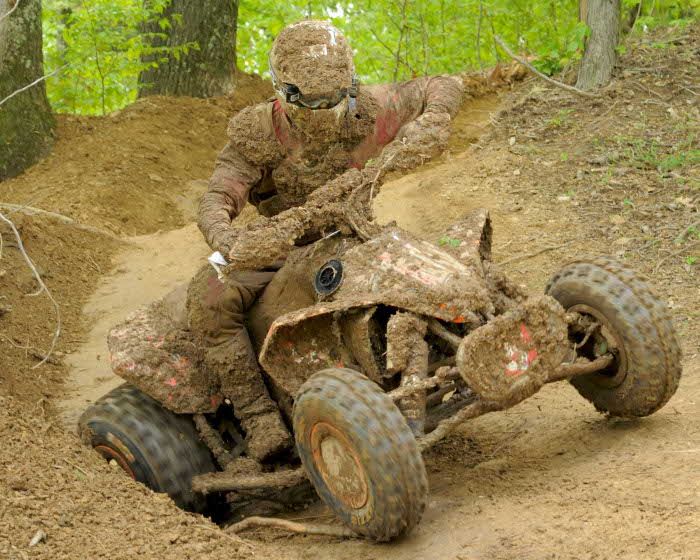 This will allow the technique to feel more stable on a slippery surface. In some cases, you can get studded or more toothy tires, as well as chains for ATV wheels;
 After following all the above recommendations, you can safely operate the ATV in the winter and enjoy the winter weekend. However, here are a few more recommendations in case the equipment was prepared properly, but still refuses to start with the onset of cold weather. If this situation occurs, then you should:
 If it is low, then it is recommended to charge it in a warm room;
 Thus, it is worth noting that the ATV is able to perfectly cope with the tasks assigned to it, regardless of the season, but for this you need to properly care for it.
Electrical glitches are a fairly common problem for all used ATVs without exception. And it’s good if at some point the headlight or brake light just stops working. It is much worse when a so-called leak appears, due to which the battery drops to zero in a few hours. And contact problems provoke ignition of the electrical wiring, as a result of which other ATVs burn to the ground. In order not to become a victim of the "red rooster", you should properly and timely take care of the electrician of your four-wheeled friend. How exactly, the portal "AvtoVzglyad" explains.
ATV electrical service is extremely rare. Well, in fact, how can you take care of electrical wiring as part of a scheduled maintenance? However, when one of the circuits fails, it turns out that even ATV wiring requires maintenance. Or rather, contacts. After all, ATVs, unlike cars, are operated in difficult conditions, when water and dirt do not just fall on components and assemblies, but often almost the entire quadric goes under water.
Despite the fact that the all-terrain vehicle wiring harnesses are maximally adapted for water procedures - moisture-proof connections with rubber seals are used - water, as practice shows, finds a hole. Well, then the contacts inside the "chips" begin to oxidize, a good contact disappears, as a result of which the wires with a bad connection to each other heat up, and sometimes even ignite. If the oxidized contact is not heavily loaded, then, of course, a fire will not happen. However, over time, the contact will simply rot and the circuit will open.
In other words, a variant is possible when, far from people and civilization, the ATV suddenly stalls, and finding a malfunction in the field will be an almost impossible task. In order to avoid such troubles, the “chips” of the ATV, despite their moisture resistance, must be regularly looked after.
If the ATV has not yet seen much life, then as a care product, you can use the Electronic-Spray wiring spray from the German Liqui Moly. An aerosol with a high content of synthetic oil has a high dielectric constant, and the additional components that make up the spray displace moisture, clean the pins from oxide and sulfide deposits (this is how the contacts inside the connectors are correctly called). At the same time, the product is safe for plastics, rubber and varnish coatings, that is, it absolutely does not harm the body and sealing elements of the contact group. Thanks to the treatment of ATV chips with Liqui Moly Electronic-Spray, moisture and oxides are removed from them, contact resistance is reduced, and, in general, the trouble-free service life of ATV electrical circuits is extended.
However, if the owner of the quadric scored, as they say, on the maintenance of electricians, and over the years the so-called “beard” (green-white salt deposits) has grown on the contacts, then a slightly different remedy will be required to restore normal electrical conductivity . For example, the contact cleaner Liqui Moly Kontaktreiniger is a combined action aerosol composition that removes metal oxides and grease in a single process. A special chemical formula almost instantly loosens and eliminates oxide salts, restores electrical conductivity, and also blocks leakage currents (this is when the battery is magically discharged with the ignition off and de-energized consumers).
Speaking of batteries. Battery terminals are most quickly overgrown with oxides, especially if electrolyte gets on them when filling the battery. The growths on the terminals prevent good contact, from which the battery is undercharged when the engine is running. This eventually leads to failure of both the “battery” itself and the voltage regulator relay, which converts the alternating current coming from the generator into direct 12 volts.
In addition, such growths prevent the engine from starting normally. Surely, many have seen how the owners of ATVs are trying to start the engine, but their battery seems to die in the blink of an eye. Then they hit the seat of the quadric with their fist with all their foolishness and - oh, a miracle! - the starter comes to life again. The secret is that most quads have the battery under the seat, and hitting that area with your fist brings the contact to life for a while.
Agree, from the outside this spectacle looks rather strange.