QBYC162PCQBEH69TOV0
Description Specification Questions and Answers Reviews
16" Tire Bead Breaker
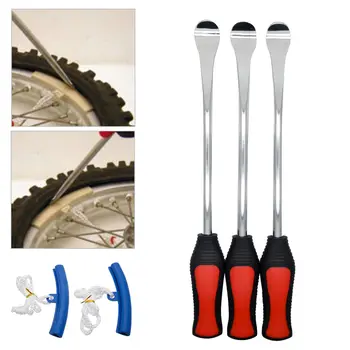
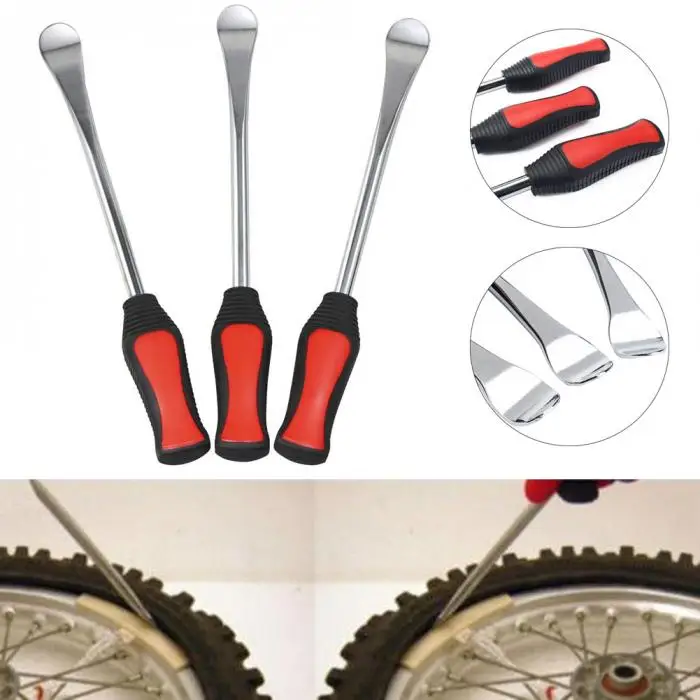
The dirt bike tire changing tools are made from premium steel then heat-treated for strength and durability. Its perfect size, 16 inches long, provides easy carriage and storage for you, and rounded edges help avoid tube pinching and tire damage. In addition, one end of each tire spoon is flat for better griping.
Tough Equipment & Tools, Pay Less
VEVOR is a leading brand that specializes in equipment and tools. Along with thousands of motivated employees, VEVOR is dedicated to providing our customers with tough equipment & tools at incredibly low prices. Today, VEVOR has occupied markets of more than 200 countries with 10 million plus global members.
Why Choose VEVOR?
Simple Demounting
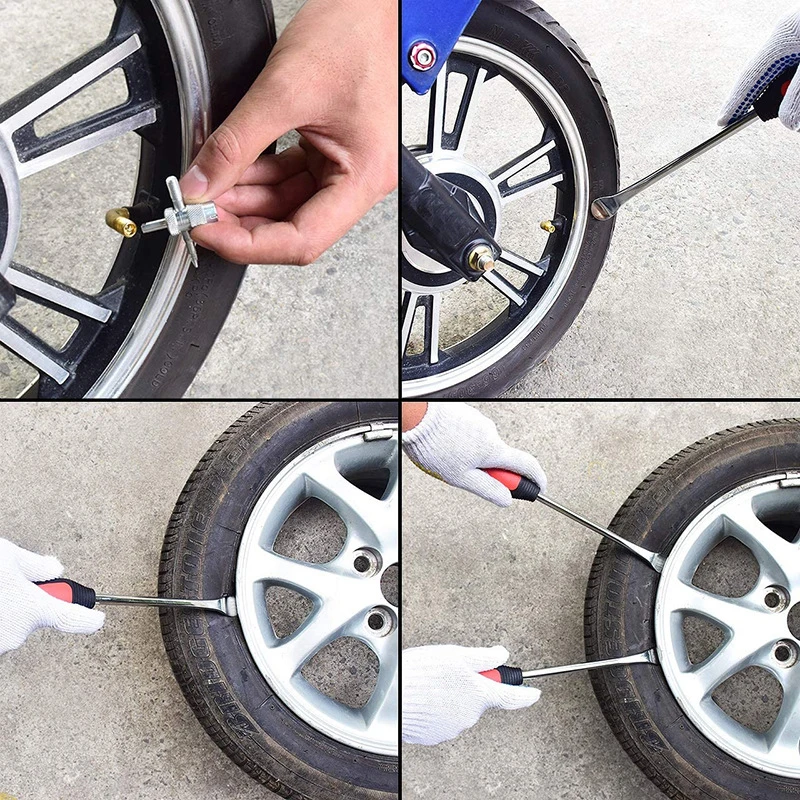
Our tire irons motorcycle is suitable for bike tires, motorcycle tires, and electrical motorcycle tires. You can use these tire changing spoons to remove and reinstall tires with minimal fuss.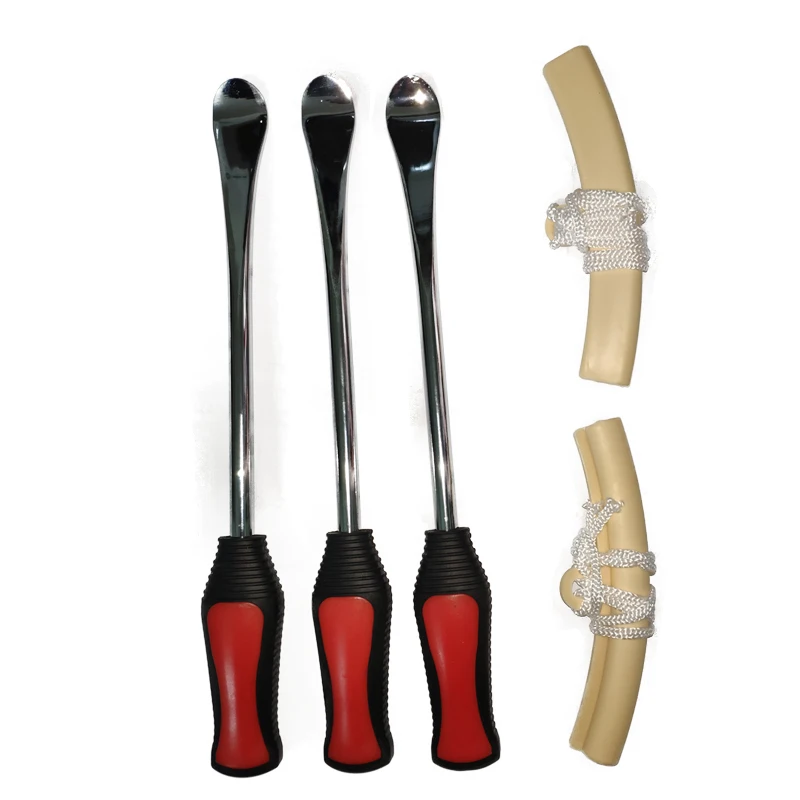
Sturdy Steel
The use of 40CR steel forging metal increases the toughness of the motorcycle tire spoons, and it is uneasy to break. In addition, this material is rigid and does not deform easily.
Practical Design
OUR tire levers are about 16 inches long, offering adequate leverage and increases strength and bend resistance without added weight. Changing tires become easy for you with our tire spoons.
Rustproof Paint
The tire spoon steel with a coating process has better corrosion-proof and rustproof features. In addition, its surface is more durable compared to ordinary steel.
Practical Flat Head
The motorcycle tire changing tools adopts a large area flat head stamping design. Therefore, the tire irons can be easily inserted into the tire and the rim.
Wide Application
It is ideal for mounting and dismounting bikes' tires, motorcycles' tires, and electric motorcycles' tires.
Specifications
Model: VV-TBB-16
Material: 40CR Steel
Product Size: 0. 70 x 16.00 x 0.70 in/1.78 x 40.64 x 1.78 cm
Product Weight: 2.00lb/0.91kg
Color: Black
Package Content
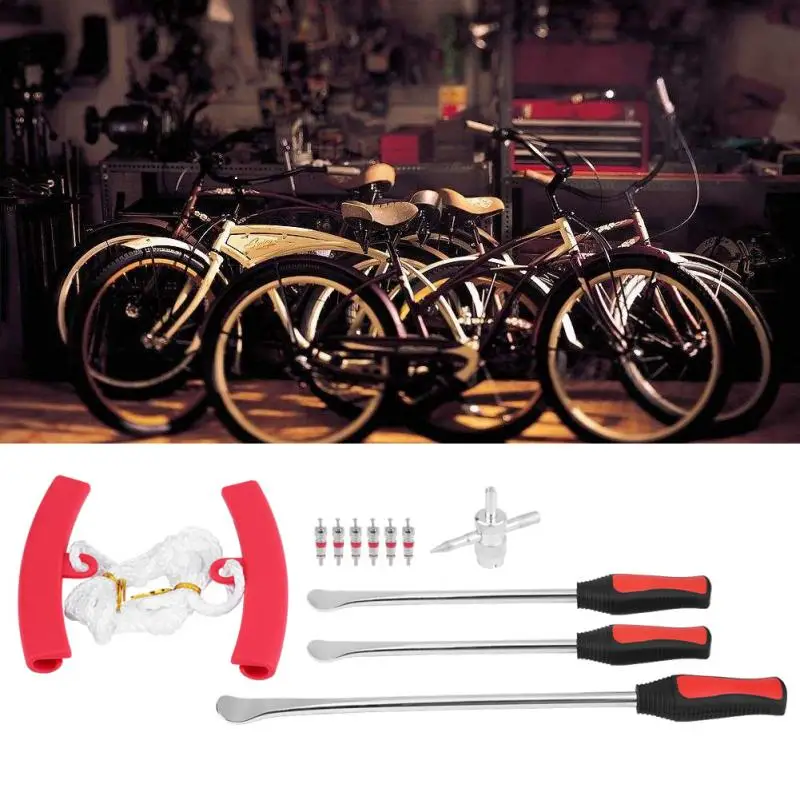
2 x 16 in Tire Iron
1 x Metal Ring
Tough Equipment & Tools, Pay Less
VEVOR is a leading brand that specializes in equipment and tools. Along with thousands of motivated employees, VEVOR is dedicated to providing our customers with tough equipment & tools at incredibly low prices. Today, VEVOR has occupied markets of more than 200 countries with 10 million plus global members.
Why Choose VEVOR?
Tough Equipment & Tools, Pay Less
VEVOR is a leading brand that specializes in equipment and tools. Along with thousands of motivated employees, VEVOR is dedicated to providing our customers with tough equipment & tools at incredibly low prices.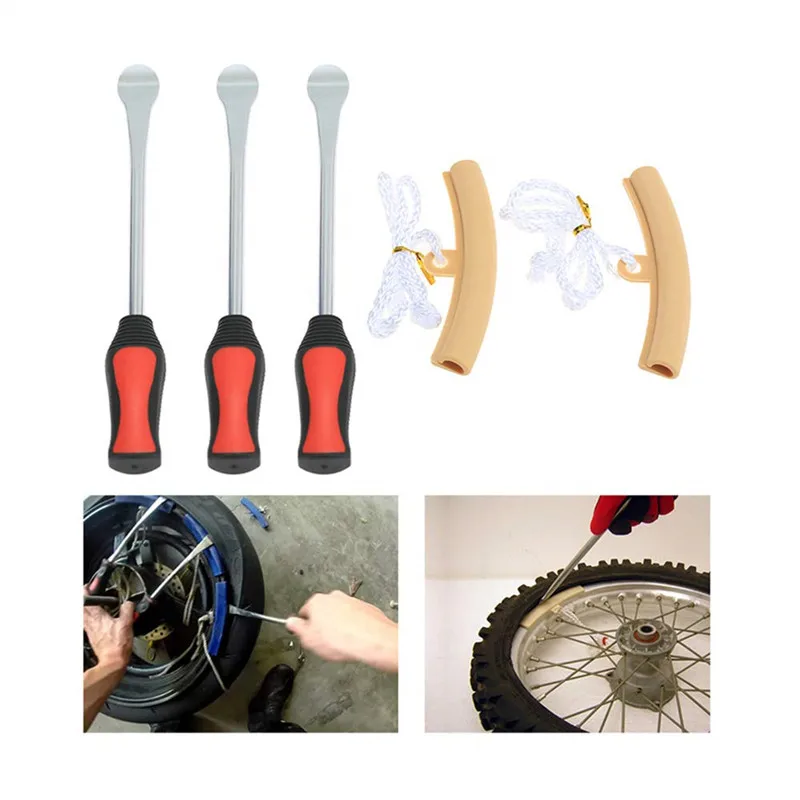 Today, VEVOR has occupied markets of more than 200 countries with 10 million plus global members.
Why Choose VEVOR?
16" Tire Bead Breaker
The dirt bike tire changing tools are made from premium steel then heat-treated for strength and durability. Its perfect size, 16 inches long, provides easy carriage and storage for you, and rounded edges help avoid tube pinching and tire damage. In addition, one end of each tire spoon is flat for better griping.
Simple Demounting
Our tire irons motorcycle is suitable for bike tires, motorcycle tires, and electrical motorcycle tires. You can use these tire changing spoons to remove and reinstall tires with minimal fuss.
Sturdy Steel
The use of 40CR steel forging metal increases the toughness of the motorcycle tire spoons, and it is uneasy to break.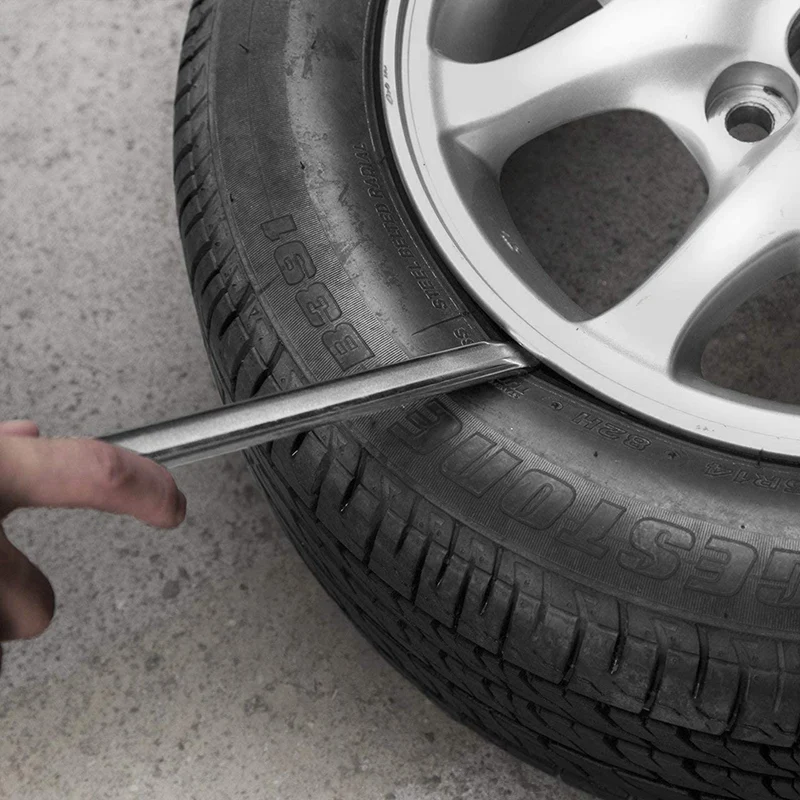 In addition, this material is rigid and does not deform easily.
Practical Design
OUR tire levers are about 16 inches long, offering adequate leverage and increases strength and bend resistance without added weight. Changing tires become easy for you with our tire spoons.
Rustproof Paint
The tire spoon steel with a coating process has better corrosion-proof and rustproof features. In addition, its surface is more durable compared to ordinary steel.
Practical Flat Head
The motorcycle tire changing tools adopts a large area flat head stamping design. Therefore, the tire irons can be easily inserted into the tire and the rim.
Wide Application
It is ideal for mounting and dismounting bikes' tires, motorcycles' tires, and electric motorcycles' tires.
Package Content
Specifications
 70 in/1.78 x 40.64 x 1.78 cm
Questions and Answers
Typical questions asked about products: Is the product durable? ...
Ask the First Question
Price 4.8
Quality 4.6
Features 4.6
Easy to use 4. 7
7
3 Review(s)
Sort:
All
All star
Most Recent
Clear filters
HiTechRedNeck
THEY WORK!!
I've not changed enough tires in my days to tell you whether these are golden or not.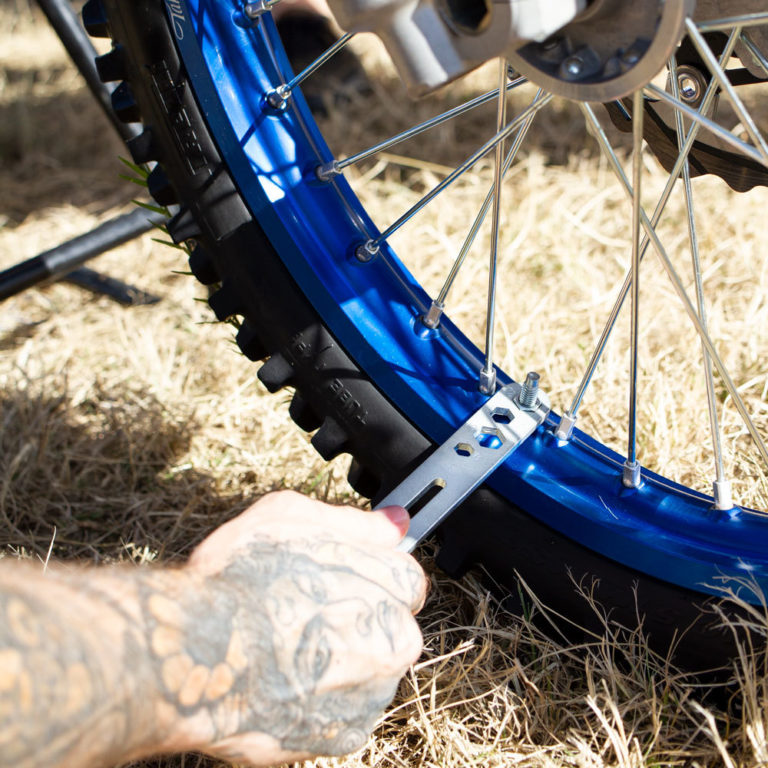 .. but they do the job... the fork has a flat side and a beveled side, flat side needs to be against the tire... the beveled side has an angled slot for the lifter to slide into, slide it in, put the irons together and push them down together... that's it, the bead should be broken... I will say its important to get the fork as far into the bead as possible... first time using them, I wasn't getting it in far enough and just built up my frustrations... but if you get the fork all the way into the bead (not the lower sidewall), the bead will break and you will have success... I actually used some light hammering to get it all the way into the bead... great investment, half the cost of the "others" out there like this...
See more See less
0
MATT PETRI
Good tools
Working great
See more See less
0
Richard M Lupien
good tools
helped a lot getting tire off
See more See less
0
GET COUPON
Back to Top
855-385-1880 Monday to Friday, 08:00-17:00, GMT-7; Saturday to Sunday, 08:00 - 15:00, GMT-7 ©2009 - 2023 VEVOR All Rights Reserved
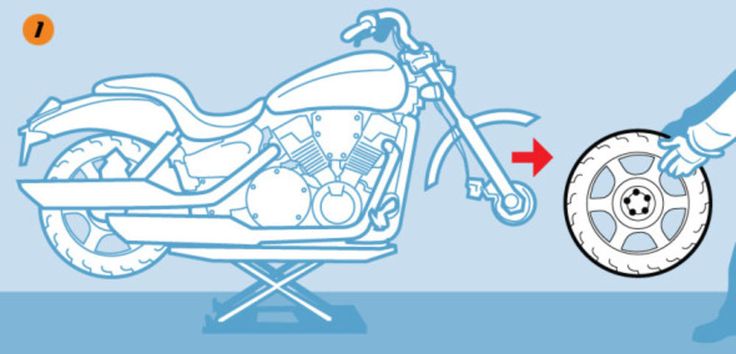
(1) Proper tools. You’ll want to have a tire-changing stand, tire spoons, tire paste, gloves, Motion Pro Bead Buddy, valve-core remover, 12mm or 13mm wrench, air compressor and baby powder. Dunlop recommends using Hunter Engineering tire paste, but there are several other good brands and even recipes for making your own tire paste on the internet.
(2) Air out. With the wheel on the stand and the sprocket side up, remove the valve cap and nut. Then remove the air-valve core. Set it aside to allow all of the air to come out of the tube. Loosen the rim lock completely without removing the rim-lock nut. Now, with all of the air out of the tube, begin to knock the tire off the bead.
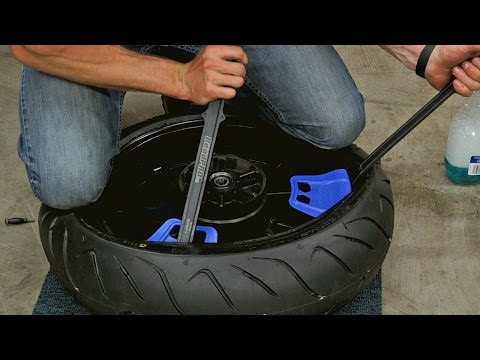
(3) Break the bead. Start a quarter of the way from the rim lock. Grab your tire spoon and lodge the lip side of the spoon underneath the rim and then push down. Without any air in the tire, you should be able to push the tire off the rim. Continue this step around the tire until one side of the tire is completely off the bead.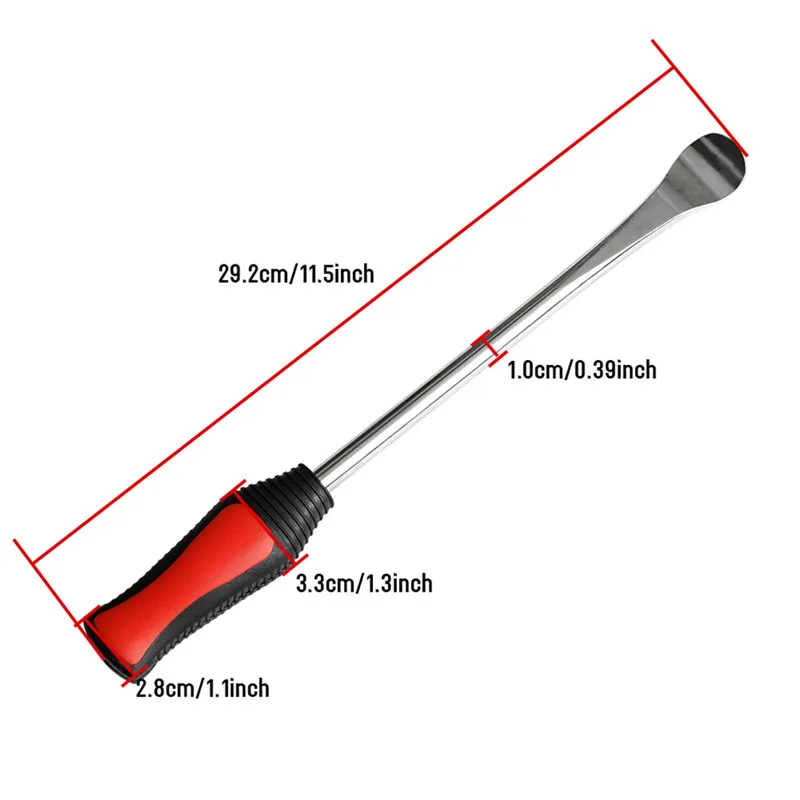 Then flip it over and repeat these steps on the other side.
(4) Get a grip. After the bead is broken, you’ll want to turn over your tire spoon so that the lip is facing towards the rubber to scoop it up and get it over the rim. At this point, you’ll want to be positioned so your arms are reaching across the wheel to have the most leverage. Start about a quarter of the way around the tire from the rim lock and lodge your spoon between the tire and rim. Once you’re set, pull back on the tire spoon until the tire comes up and over the rim. Then slide the handle of your spoon underneath the rear brake rotor and leave it there.
(5) Removing the tire. Grab your second tire spoon and lodge it in between the tire and rim 2 inches away from your first spoon; pull back and put it underneath the rotor next to your first spoon. If you have a third tire spoon, it’s time to use it. Take another 2-inch bite and pull. After using the third spoon, you will only need one spoon to complete the removal process. Repeat these steps all the way around the tire on both sides until the tire is off and you can pull the wheel out of the tire.
(6) Preparing. While the new tire is still on the ground, add baby powder to the inside. The powder keeps the tube from galling up on the tire by allowing it to move freely. This allows the tube to last longer and helps prevent pinch flats. Put the valve core back into the tube. Add a very small amount of air to the tube so that it doesn’t get pinched by the tire irons. The pressure needed to be less than 2 psi. Then place the tube in the tire. Check to see if the tire is directional and adjust accordingly. Also, wipe the tire paste onto the inner lip of both sides of the tire to help it slip on easier.
(7) Valve stem. Set the tire on top of the wheel and stick the valve stem into the rim. Put the nut back onto the stem, but only tighten the nut down halfway. Often times the tube will shift inside the rim if the nut is locked down tightly and the valve stem won’t be able to lean, which can cause the valve stem to tear.
(8) Mounting. Push with your waist and hands to get the bottom lip of the tire on to the rim. It will go on about two thirds of the way with your hands. Then, with your tire spoon, grab the remaining part of the tire and pry it onto the rim. Most of the tire will go smoothly, but a small section of it will be caught by the rim lock. Flip the wheel over and grab the tire with two spoons, one on either side of the rim lock, and walk it over the rim lock. Next, push the rim lock out into the tire to position it before you remove your spoons.
(9) Bead buddy. Flip your wheel over and start with two tire spoons lodged between the tire and the rim to get the bead of the tire engaged in one section. Leave enough room between the spoons to put your Bead Buddy in. The Bead Buddy will sit with one edge in between the rim and tire while the other end latches onto a spoke to keep it in position. The next step is to lodge the spoon under the tire again with the lip facing the rim and pull back to mount it. Keep pushing it down with your hands so that the tire remains loose on the rim until the tire is fully on. For the last bite, don’t stick your spoon straight in the remaining gap. Push the spoon in between the tire and rim at an angle, using your hand to pull up on the tire to help get the spoon in. Grab the tire closer to one side. Pull on the spoon and use your other arm to press down on the rest of the tire to mount it completely on. Then push down again with the spoon to allow space for the bead buddy to come out.
(10) Beading the tire. Once the tire is fully mounted, fill up the tube with an air compressor until you see and hear the tire bead snap into place. You may need to put as much as 40 psi into the tube. Check to make sure that the tire bead has popped up on both sides. Check the tire pressure and lower it to your preferred air pressure (typically from 11.5 to 13.5 psi) before you hit the track.
Dunlophow to change a motocross tiremotion pro bead buddymotocrossmxaten thingstire mounting pasttire spoons
 ru
ru Our website displays products that are automatically imported from allegro.pl and translated into Russian.
Since we are not the seller of the product displayed on our site, we cannot have all the information about a particular product. Additional information about the goods can be found in several ways:
1. Read the description in detail. Usually all the necessary information is in the official description on the lot page. nine0003
2. If the information you are interested in is not in the description, you can ask the question directly to the seller. He will respond to you within one business day.
3. If you have a rich experience of surfing the Internet, you may be able to find information about this product in various forums and other Internet resources using global Internet search services.
4. If you do not speak the language or do not want to clarify the information for any other reason, please contact us - we will be happy to help you. In order for us to ask the seller a question, place an order and write down your questions in the comments to the product. During the day we will make a request to the seller, comments will appear in your personal account. nine0003
1.Search by keywords, check the catalog on the left
Suppose you want to find a headlight for AUDI, but the search engine returns a lot of results, then you will need to enter the exact make of the car in the search box, then in the list of categories that is on the left, select a new category (Auto Parts - Car Parts - Lighting - Headlights headlights). After, from the presented list, you need to select the desired lot.
2. Shorten the query
For example, you need to find the front right fender for KIA Sportage 2015, do not write the full name in the search box, but write the fender KIA Sportage 15 . The search engine will say "thank you" for a short, clear question that can be edited based on the search engine's results. nine0003
3. Use similar combinations of words and synonyms
The system may not understand any combination of words and translate it incorrectly. For example, the query "computer desk" has over 700 lots, while the query "computer desk" has only 10 lots.
for example, looking for glass on your smartphone, you need to score "glass on xiaomi redmi 4 pro" and not "glass on xiaomi redmi 4 pro". nine0003
5. Write abbreviations and abbreviations in English
If you give an example, the phrase “bmw e65 hub” will give no results due to the fact that in e65 the letter e is Russian. The system does not understand this. In order for the automation to recognize your request, you need to enter the same thing, but in English - “BMW e65 hub”.
6. Few results? Look not only in the title of the ad, but also in the description!
Not all sellers write the necessary search parameters in the ad title, so use the search function in the ad description! For example, you are looking for a turbine and you know its number "711006-9004S”, insert the number into the search box, select the “search in description” checkbox - the system will return much more results!
7. Feel free to search in Polish if you know the name of the thing you need in this language
You can also try using Yandex or Google translators for these purposes. Remember that if you have unresolvable problems with the search, you can always contact us for help.
Well, for starters, we ignore the advertising descriptions of a wonderful “hold” on any surface (“universality” of rubber is a myth, and a highway declared as such holds much worse than a special one in difficult conditions). The principle of “taking the most expensive and popular one” is also not suitable for choosing motorcycle tires: if you choose the wrong type or profile, the same advantages can turn into a serious problem, therefore, we carefully study the characteristics. And here it is important that you know about the types, tire design, features of the choice of operation (oddly enough) and the timing of changing tires. Let's fill in the thematic gaps together. nine0003
Each class of motorcycle has its own type of “shoe”, designed for efficient transmission of torque, better grip, stability when maneuvering in the conditions in which a particular bike is most of its life. Conventionally, motorcycle tires can be divided into road, off-road and racing. Within the class, tires are divided according to tasks: road, slick, rain, cross (endur), mud, studded, and dual-use. Diameter and width - depend on the class and dimensions of the equipment. By class, we will consider it. nine0003
In this category, most of the products are designed for limited use and have an extremely small resource - just one race or training session. Provides the best grip on asphalt. Their profile allows you to lay the bike almost parallel to the ground in the turn, however, only after warming up.
 Specialized products for professional sports. They enter the operating mode only when warming up to 90–100 o C.
  Used for everyday riding with infrequent trips to the track "on their own". nine0065
 These motorcycles mostly "live" on the track, observing the primer only from a distance, from the height of the main road, so their "shoes" are designed for asphalt: the most durable, designed for the heavy weight of the motorcycle (passenger + luggage), and "all-weather".
 They allow you to "play enduro" on the classics.
 The scatter of equipment in this category is very large - from "evil" tuned fifty dollars for mini-cross to light enduro for travel, so there are a lot of models here. You can combine them into classes according to their purpose: purely sports, amateur and rally:

For medium-sized classics, small-capacity, retro and custom motorcycles, various road tires are produced with a low semicircular profile, moderately developed tread, revealing working properties at temperatures below 80 about C. There are a lot of options, as well as specifics (all-season, rain, universal).
Motor tires are designed for high side loads. Its profile - even for the widest models - is more rounded than that of an automobile, consists of a working part responsible for traction, and a side part that “works” only when tilted in a turn. Parts not in contact with asphalt are also very important. It depends on them how much the tire will weigh, how much it will be washed under the weight of the bike, how long it will last. nine0003
Hidden part between the inner and outer layers of rubber, which gives rigidity and takes on the load. The structure of the cord is multi-layered. Steel wire, or threads made of polyamide, aramid fibers (Kevlar), or polyamide are arranged in dense rows either across the tire, or - intersect at an angle of 30–40 degrees in the direction of its rotation.
The edge of the tire, going inward, into the grooves of the edges of the rim, having an annular metal (internal) reinforcement. The reliability of its fixation in the rim determines the life of a motorcycle tire, and sometimes a motorcycle with a driver. nine0003
The working part, covered with an intricate pattern, the size, shape and depth of the grooves of which depend on the purpose of the product.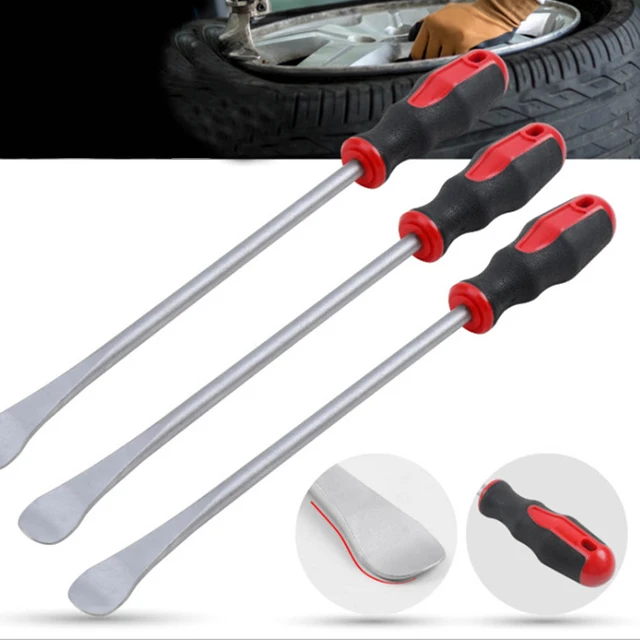 A larger high tread is typical for off-road and cross-country motor tires, a lower, smooth one - for road and racing.
A zone connecting the tread and the bead that is not inferior to them in strength, but does not work with either the road surface or the rim. It is on it that “letters” are applied that reveal the properties and characteristics of the tire. nine0003
The three main indicators of motor rubber - width, profile (height), seat diameter (internal) - are measured in millimeters and inches. There are about a dozen markings adopted in different countries, but only four systems are widely used: Metric, Alpha, Standard (inch), Low profile (inch). For each of them, corresponding tables are available. For our market, more characteristically - Metric. nine0003
The name of the manufacturer (brand) and the name of the model are written in the largest letters on the product.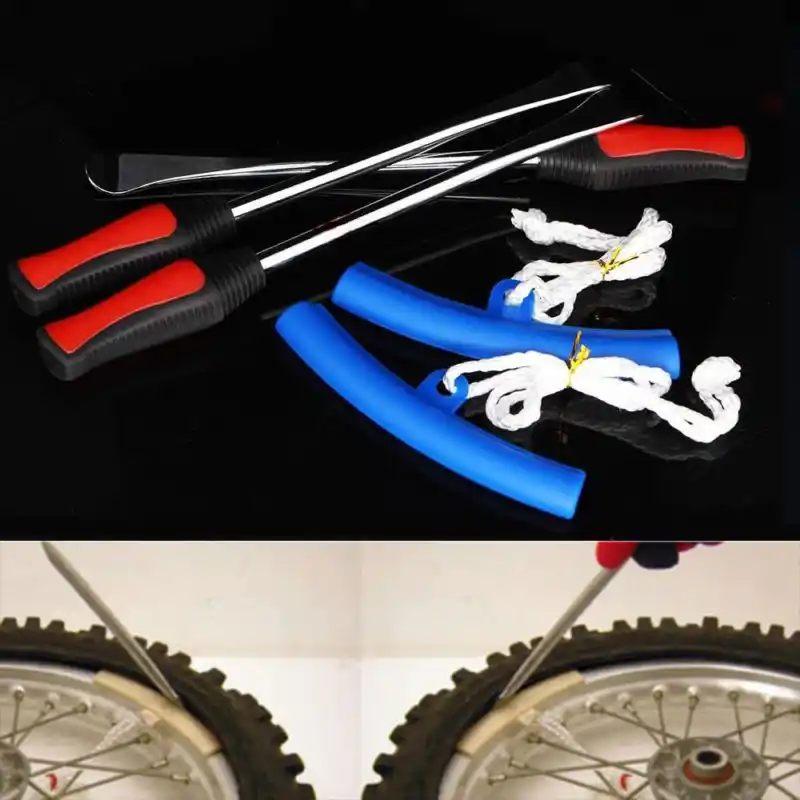 The next in size is a "sausage" of numbers and Latin letters, indicating the width, height of the profile, the diameter of the rim for which the tire is intended, the weight limit per axle (rear / front), and the speed to which you can accelerate on this rubber. A little smaller - the country of origin, certificate, information about the material, design. Further, “small print” indicates no less important properties, which we will also consider separately. nine0003
I’ll immediately note the most common mistake in reading the rubber size index: the letter R is not a “radius”, as some motorcycle and car owners believe. This letter means "radial" model and indicates the radial direction of the inner carcass reinforcing layers of this tire. There are two main designs - radial - when the cord layers run across the tire, and diagonal - when they cross. nine0003
You don’t see the letter “R” in the index, but you see a gap, or “B” - it means the rubber is diagonal, and if “reinforced” or “reinf” is written nearby, it is also reinforced with an additional layer of cord.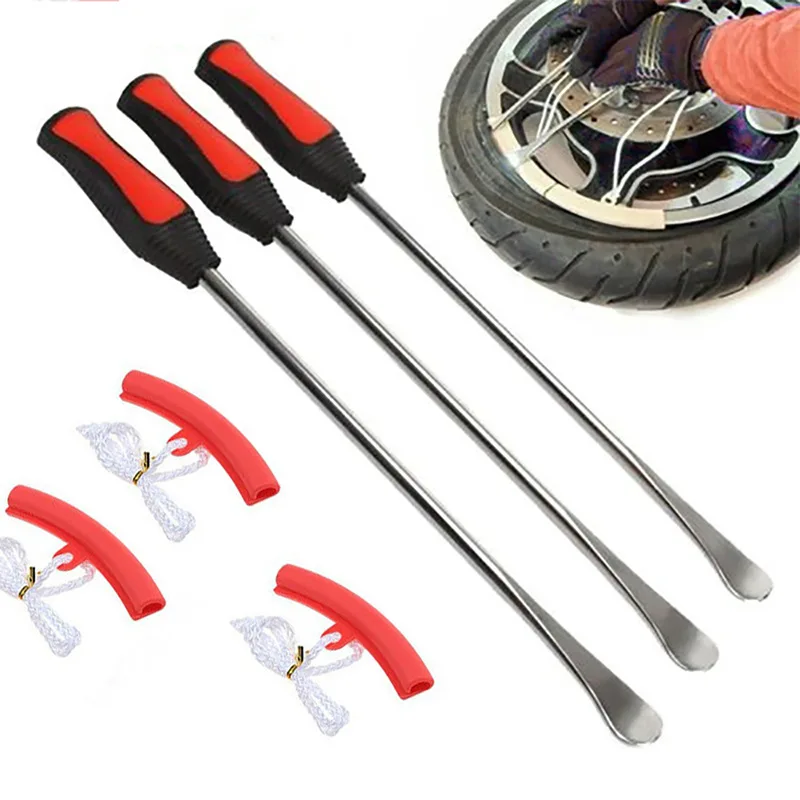
"Sausage of letters and numbers", for example, 120/70 ZR17 (73W) TL, stands for:
The arrow with the words "wheel rotation" strictly regulates where the tire should rotate during operation. If there are letters ND (non directional) on board, it can be placed in any direction.
If the manufacturer clearly limits the installation location of the tire, he writes “Front” on it for the front or “Rear” for the rear.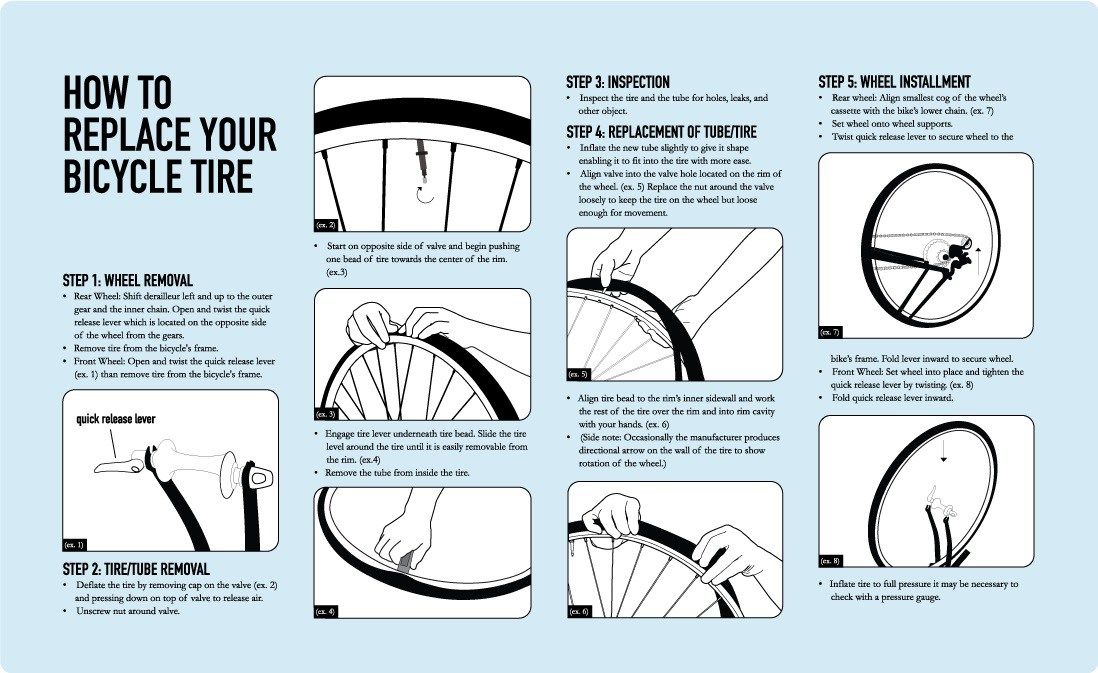 Without this marking, rubber can be placed on either side. nine0003
TL or tube less - as we have already deciphered earlier - tubeless. TT stands for tube type, or "suitable for camera use."
All manufacturers unanimously recommend “not wearing” rubber for more than five years, and if the equipment has been “shod” in it for ten years, even mothballed, urgently change the “bagels” without hesitation. A couple of decades ago, the resource of tires was regulated only by their external condition and the courage of the driver, but this was even before the mass “epidemic of planned obsolescence of goods”. Now, two years are taken into account in the calculation of the service life, and five years is the allowable storage period for rubber in a warehouse, as a result of which it should not be sold, but disposed of. The release date is marked with two two-digit numbers enclosed in a circle or oval. The first is the week number from the beginning of the year, the second is the year of production itself. nine0003
It is a common practice to buy lightly worn race slicks or cuts - only makes sense for training on the "ring" or karting track, but not on the DOP. In addition to poor handling, longer stopping distances on slippery surfaces, and increased risk of blown tires at high speeds, riding old tires carries legal risks. When passing a technical inspection, a cracked or worn protector (hypothetically) can cause a refusal to issue a diagnostic card. In fact, this is the same malfunction as badly worn brake pads. Also, in the event of an accident, due to the unsatisfactory condition of the rubber, the insurance company may refuse to pay you, referring to your favorite excuse - speeding (based on the increased stopping distance).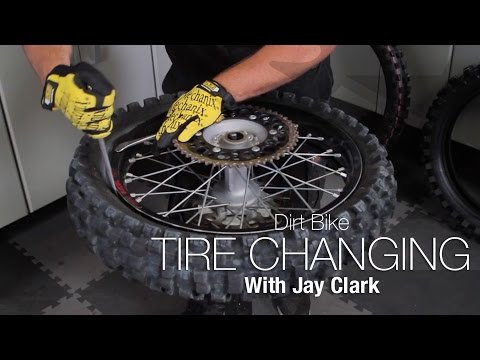 nine0003
"From the factory" modern motorcycle tires are covered with a preservative silicone impregnation that prevents drying out during storage. It is slippery and penetrates deep into the pores of the rubber. Until you wipe it on the asphalt - do not count on a good "hold" and "sharp" brakes. It is not necessary to wash off the grease with gasoline or other solvent (it is useless), just ride measuredly for the first couple of hundred kilometers. By the way, after long-term storage of used road motor rubber, it is also recommended to “run in” it in order to remove a layer of coarsened material from the surface. nine0003
Even if you provide ideal storage conditions, motor rubber still ages over time, becoming covered with microcracks. If the "age" of tires has exceeded 10 years or more - do not buy them, despite their attractive appearance.
Signs of critical wear:
The principle of evaluating the residual depth of the tread grooves is now outdated - most manufacturers add an integrated tire wear indicator to the options, which is worth focusing on.
Let's start with what happens if you put a wider tire back without changing the "native" rim. This question worries many inexperienced motorcyclists who want to look more "sporty".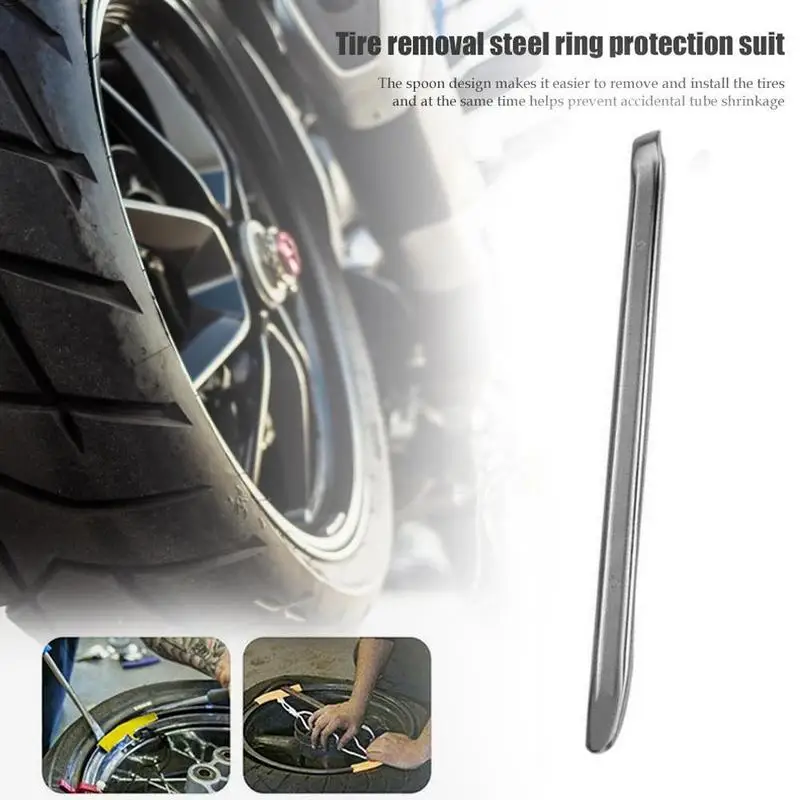
Firstly, you will not wait for the expected increase in traction due to the increased area of \u200b\u200b"support". Wider rubber, squeezed by the edges of the rim not in size, will tend to “up”, so the calculated wheel profile will be violated. It will be higher, respectively, the contact patch will not increase. Secondly, the controllability in corners will worsen, the speedometer will “lie”, the weight distribution will change due to the rear of the motorcycle raised.
This is highly discouraged for most modern sportbikes that hit the track, but many classic models, nakeds and cruisers are often fitted from the factory with a combination of radial front and diagonal rear tires. Unlike the radial, the diagonal one is a little “softer”, allows for moderate overload, is sold a little cheaper, so why not?
The choice of how much to inflate the wheels to is a constant compromise between the loads on the rubber and its capabilities. On most motorcycles, the recommended pressure for each axle is indicated on a sticker (on the fork and swingarm), but this value is only relevant for the rubber model that was supplied from the factory. On a new model, look for a designation on the tire (next to the max load load) indicating the maximum allowable cold pressure. Do not take a tire if this value is lower than recommended for your motorcycle. nine0003
Let's say your bike has a sticker with the recommended 2.25 bar for the front and 2.5 bar for the rear wheel. If you ride mainly with a passenger, with luggage, making long “flights” along the track, your motorcycle weighs 200 or more kilograms, and its volume is close to a liter, keep the pressure in the rear wheel at least 2.8–3.0 bar, and in the front 2.5 bar. If you ride around the city, alone, with almost no luggage, and are not fond of “flights”, it would be optimal to set equal pressure in both wheels at 2.2 bar. nine0003
For lightly loaded medium-sized engines, the interval varies from 2.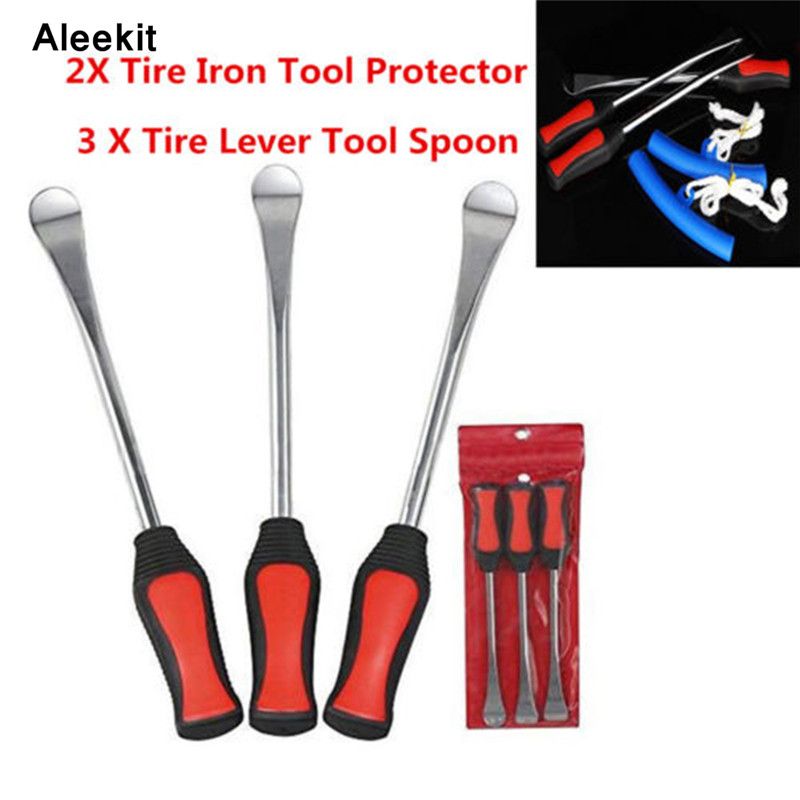 0 to 2.3 bar, and for slender "Chinese" 2.1 bar - in the front, 1.9 bar - in the rear cylinder (especially if the tires are also Chinese). The pressure in road tires must not be lowered below 1.9 so that the motorcycle does not start to “float” in corners or on bumps - this is dangerous.
The more we inflate the closed volume of the wheel, the more “round” it becomes and the smaller the area in contact with the asphalt. A larger contact patch means greater rolling resistance and accelerated tire wear, a smaller one means worse stability, lower braking and acceleration efficiency. Up to a certain point, these nuances are compensated by the tread, so on motocross and enduro bikes, the wheels can be lowered to 1.2 bar - front and 0.8 bar - rear. However, air is an unreliable business, therefore, in hard enduro and trials, a gel filler is now more often used, which allows maintaining a pressure of 0.4 and 0.9bar. Such a set will not live long, but this is a sport in which, as we remember, rubber consumption is not considered.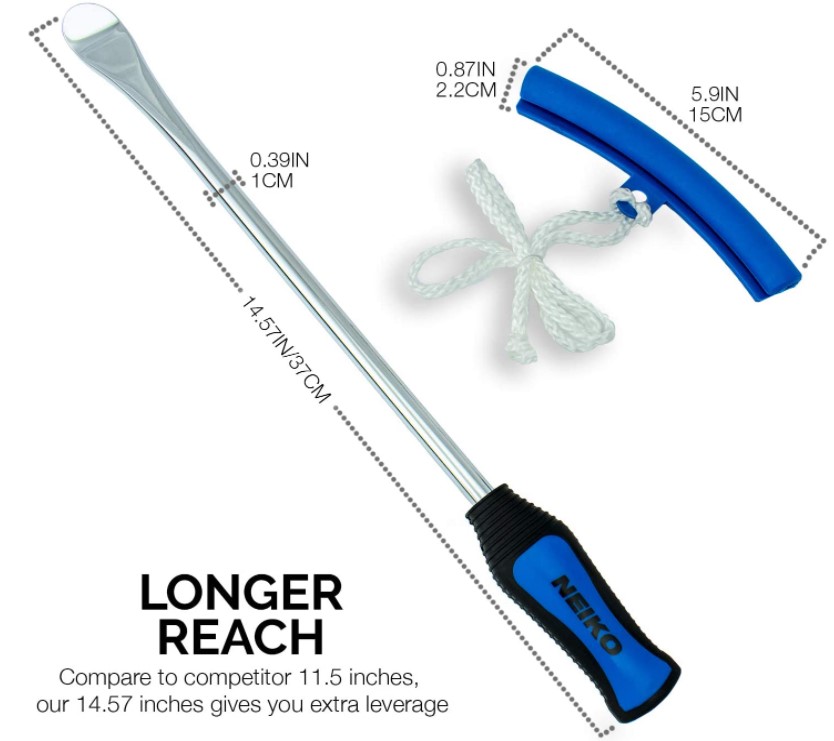
Definitely yes. The older the cylinder, the harder its surface and the lower the residual tread height, the worse the bike “holds” the road. Bald or improperly matched tires increase the braking distance, and can cause an unexpected “leaving” the track into a ditch. On an over-inflated tire, the fork or pendulum will “beat” hard, and on a flat tire, the motorcycle will become less predictable in corners and “gobble up” more gasoline than in a normal ride. nine0003
No, because their rims are not sealed and you simply cannot inflate the tire. Not all alloy wheels are suitable for tubeless, so always check what type of rubber was on the bike before. In addition, the hole in the rim designed for the camera nipple may not match the size of the new nipple.
Only if the damage to the wheel does not allow you to inflate the tire, and you still need to get to the “repair”. In all other cases, the idea is controversial. The inner surface of a tubeless rim is not designed for other rubber to constantly rub against it, creating additional heating, and the inner part of a tubeless rim may have protrusions that injure the chamber. It is possible to get a “beautiful” wheel by putting a tubeless tube on a spoked rim, but objectively, this will increase its weight (remember the unsprung masses), and reduce the life of the camera. About when it frays to break - you will know already on a flat tire. You can repair a puncture of a tubeless tire without removing the wheel, but you will have to remove and patch the tube with its disassembly. nine0003
Undesirable. Even if it does not look worn yet, its resource is already less, from frequent “heating-cooling” cycles, it becomes rougher than new, frays or cracks faster. The old tube may not fully expand and fold if the new rubber has a lower profile (and internal volume) than the previous one.
If it belongs to the Racing Street or Street Legal class, this is a completely justified choice for the owner of a sport, street, naked or classic with claims to “aggressiveness”. In other cases, it is not recommended. Firstly, the use of racing slicks or cross-country tires is not allowed on the DOP. Secondly, sports tires are designed for intensive work with a certain warm-up. At competitions, before the race, they are warmed up in special covers, and then they are “given” one warm-up lap so that from the first seconds of the test race they can provide the bike with good contact with the asphalt (sticking). nine0003
In the city, even if you ride aggressively, the slick simply does not have time to warm up to operating temperature (more than 80 about C). Or even before it does not heat up for the whole trip, given the ragged rhythm of traffic lights and possible "toffees". Accordingly, it will not give adequate grip when trying to “give a corner”, the wheels will be demolished during braking, and instead of an energetic start, the bike will “grind” on the spot.