A slow tire leak is more than just a nuisance. A leak can lead to low tire pressure. Not to mention, prolonged running on an underinflated tire can lead to more extensive tire damage or even cause a dangerous blowout.
If you’re experiencing a slow leak, here are some things to look for:A tire puncture: It is a common misconception that a puncture will cause the tire to immediately go flat. However, in many cases the object that caused the puncture remains lodged in the tire and prevents the air from leaking out quickly. As with all tire leaks, it is important not to ignore a puncture. Eventually the object will either wear down and/or work its way out of the tire. For more on this read our article How to Repair a Tire with a Safe, Permanent Fix.
Wheel damage: Another common cause for slow tire leaks is damage to the area where the tire bead meets the rim. This type of damage is typically cause by the driver hitting the curb, taking a speed bump at high speeds OR those dreaded potholes! The impact deforms the wheel’s metal surface which may cause the tire to pull away from the mounting surface of the wheel.
Valve stem damage: The third most common cause for slow tire leaks is worn out or damaged valve stems. Time, use and exposure to elements can cause your valve stems to wear out and cause leaks.
Diagnosing your tire leak:
If your vehicle is equipped with TPMS, you will know right away if you have a leak. If the sensor light on your dashboard goes off, you inflate all the tires back to proper pressure and the light goes back on a few days later – you likely have a leak. If your vehicle does not have TPMS, its important to check your tire pressure regularly.
Once you’ve identified that you have a leak, use TECH Chek to locate the source of your leak. Simply spray the product all around the tire. Where the surface of the tire begins to bubble is likely the source of your leak.
It’s important to have your tire diagnosed by a professionally trained tire shop or mobile tire repair service as soon as possible. In the case of a puncture, you may want to use a tire repair kit to keep your tire properly inflated until you can have it serviced. The leak should then be permanently fixed using a proper tire repair consisting of a cured rubber stem and repair unit.
If the leak is caused by a damaged valve, a trained tire technician can typically replace the valve at a minimal cost. In some cases, however, the tire may need replaced.
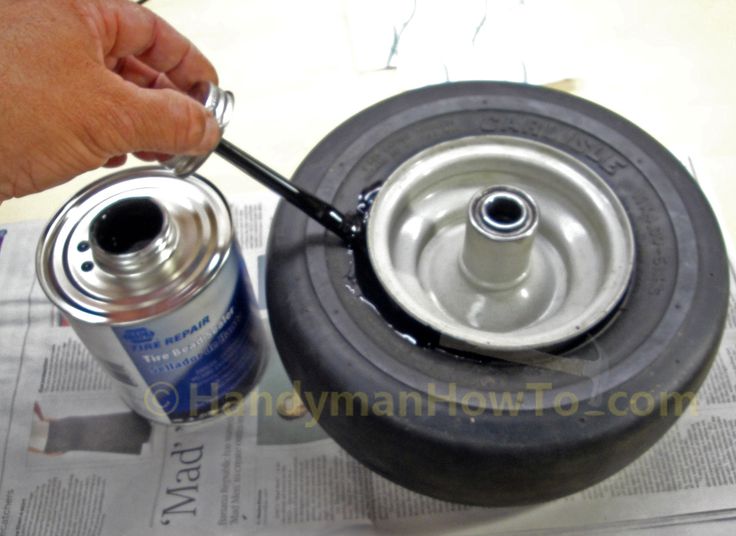
If the leak is caused by a damaged wheel, a tire technician may be able to reseat and seal the tire using a bead sealer. However, if the damage to the wheel is significant, unfortunately that means you may need to replace the wheel itself.
To read more about the types of damage that can and cannot be repaired, click here!
So, you have a flat tire or one that’s leaking air. It’s not the end of the world. Luckily there are safe and cost-effective ways to properly repair most tire punctures. The purpose of this article is to show you the difference between a safe, permanent repair and a temporary string, plug or patch repair.
According to the National Highway Traffic Safety Administration (NHSTA) and the Tire Industry Association (TIA), the only method to properly repair a tire puncture is to fill the injury with a repair stem and back the stem with a repair patch. This is commonly known as a combination repair or a patch/plug repair.
Patch/plug repairs are most often performed using a one-piece repair unit that combines the repair stem and cap (or patch) into one unit. However, special circumstances may require the use of a two-piece combination repair (ex. If the angle of the puncture exceeds 35 degrees). The repair is then permanently bonded to the inside of tire and through the injury channel using a cold, chemical vulcanizing process. The repair essentially becomes part of the tire, creating an air-tight seal that keeps air in and moisture and contaminants out (more on this procedure below).
Emergency roadside plug repairs are NOT intended to be a permanent tire repair. Plugs and string repairs are designed to get you back up and rolling long enough to get home or to the nearest service center to perform a proper tire repair.
The common misconception with plug and string repairs is that because they hold air, they are safe to use. While it is true that many plug repairs do a great job of keeping air in the tire, that’s only part of the equation. Because they’re not completely sealing the injury, plug repairs may allow air and moisture to penetrate the body of the tire. Over time, this could lead to a dangerous (or even deadly) blowout.
A Patch-Only Tire Repair Leaves Your Tire Susceptible to DamageA tire repair that uses only a patch is also NOT considered proper or safe. A properly installed patch will do a great job of allowing the tire to hold air. However, similarly to the plug-only repair, the patch does not fill the injury channel. Therefore, air and moisture could seep into the tire from the tread surface and eventually damage the tire.
Only a proper patch/plug repair completely seals the puncture from inside the tire and through the entire injury channel. There are a few extra steps necessary to perform a proper tire repair in accordance with industry guidelines. We’ve developed a simple acronym to help organize and remember the steps: R.E.P.A.I.R.
 First, the injury is drilled out using a carbide cutter to strip away and damaged cords or belts. Next, the inner liner is cleaned and buffed to a slightly rough texture. This also helps maximize adhesion of the patch/plug repair.
There are a number of factors that may determine whether or not your tire is safe to repair. These factors fall into three main categories:
The occasional flat or leaky tire is an unavoidable part of life. But, taking shortcuts to repair it can be dangerous to you and your passengers.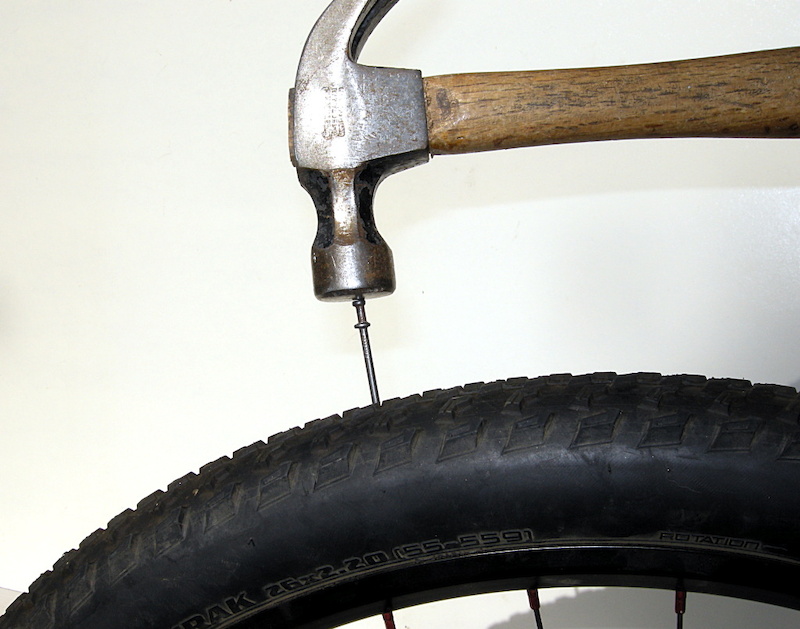 Take the time and do the research to do the job right and/or find a reputable tire repair shop trained in proper tire repair procedure.
More interesting news on our pages in social networks
What to do if the sunroof in the car is leaking? This problem occurs among motorists with enviable regularity. The reason for this is the technical characteristics of the design or shortcomings during self-assembly. Often there is no need to turn to specialists, because you can fix the hatch leak in the car yourself. nine0003
The most common problem is seal failure and wear . The seal is a rubber element glued around the entire perimeter of the frame. It ensures tight contact of the panel with the body and improves the tightness of the hatch. The rubber wears out little by little and begins to crack over time. This interferes with the fit, and water begins to flow through gaps and cracks.
The second fault is typical for sliding structures and their varieties. Most insignificant damage to guide element can lead to closing problems. The panels do not reach the edge and do not ensure tight contact with the seal, resulting in streaks.
Another problem - drive failure . It is more often characteristic of electric drive mechanisms that use a motor. In severe conditions, it burns out and stops moving the panel correctly.
Also, leaks can be caused by blockages . Because of this, water cannot pass, the pipes do not cope with the task. Moisture has nowhere to go and a leak forms.
Most hatch problems are caused by lack of tightness . However, moisture can pass through more than just the sealant. Water sometimes flows into the cabin due to improper frame installation.
How to fix a car sunroof leak? It is not difficult to solve the problem of a roof leak in a moment: it is enough to have a sealant with you and seal the leak with it. But to solve this problem capitally - you will need to tinker. nine0003
Stock . When a car sunroof leaks, the drainage system may be to blame. Clogged drain pipes will have to be cleaned. Arm yourself with a long thin cable, for example, from bicycle brakes. Loosen the end a little and slide it into the tubes, clearing the blockage so that the water can pass through.
Gasket replacement . If the whole thing is just a cracked gum, then you need to replace it. To do this, the old rubber is removed, the place of its shrinkage is cleaned from the remnants of glue and dirt, degreased, carefully smeared with sealant, along the width of the seal and a new one is mounted. If there is no cast o-ring on sale, then you can put a door one instead, but only the joint must be asked for. nine0003
Sunroof motor repair . Replacing a burned-out electric motor is also a simple task. Access to them on all machines is good, so unscrewing it and putting in a new one is easy. You can temporarily eliminate the leak by disconnecting the drive rod from the panel and putting it in place manually and then press it again with the drive pin so that it does not open with the wind.
Guide repair . Repairing damaged rails can be the hardest part, as the entire mechanism must be disassembled to get to them. It is not always possible to find the necessary spare parts. Sometimes it's easier to buy a second, not entirely serviceable donor hatch, and then remove all the missing parts from it and transfer them to a working item. nine0003
But if the sunroof does not have to be used often (when the car is equipped with air conditioning, this is not necessary at all), then the owner can simply silicone it tightly - he will get rid of the leaking ceiling, but he will not be able to move the panel.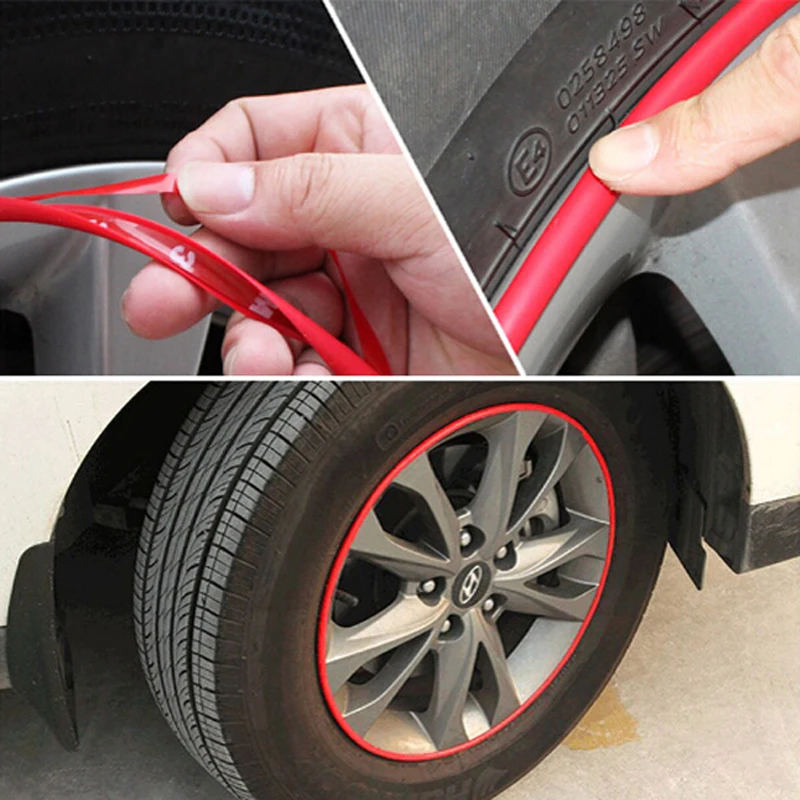
The car sunroof is very expensive. Its replacement will cost the owner dearly, but sometimes, especially if the model is quite new, it is indispensable (parts for repair are difficult to find). Therefore, before buying a car with an opening sunroof, every motorist should think about whether he needs it? nine0003
If the first option is chosen - welding, then you should drain the water from the heating system, dry the leaking place and weld the crack. If the cause of the leak is through rust, then most often it will not be possible to weld and you will have to change the pipe section, i.e. cut out all the corrosion-damaged place and weld in a new pipe.
But welding is difficult, long, and for many it is not applicable. The easiest way is to make a "doll", i.e. wrap the pipe with material impregnated with sealant. To do this, we drain the water from the heating system, dry the leaking place, clean it from dirt, paint and rust. Now you can start gluing. As a material for a doll, it is easiest to use a medical bandage or burlap. As an adhesive, you can use building silicone sealant or liquid glass. The gluing procedure itself is simple. We coat the pipe with sealant at the place of gluing and thoroughly impregnate the applied fabric with the same sealant. Next, tightly wrap the pipe with a cloth and leave it for the time necessary for the sealant to dry. The thicker the doll comes out, the more securely it will hold. If the cause of the leak was corrosion, then the doll must be made wider, because. the narrow doll will soon start up again. nine0003
Instead of a doll, you can use "cold welding". This is a sealant that looks like plasticine. It is mixed with a hardener and sticks to a dry, well-cleaned place on the pipe. After hardening, "cold welding" will become like a stone. But if the pipe was not cleaned properly or it was even a little wet or damp, then this plasticine will not hold for long. Therefore, it is better to use a doll, because.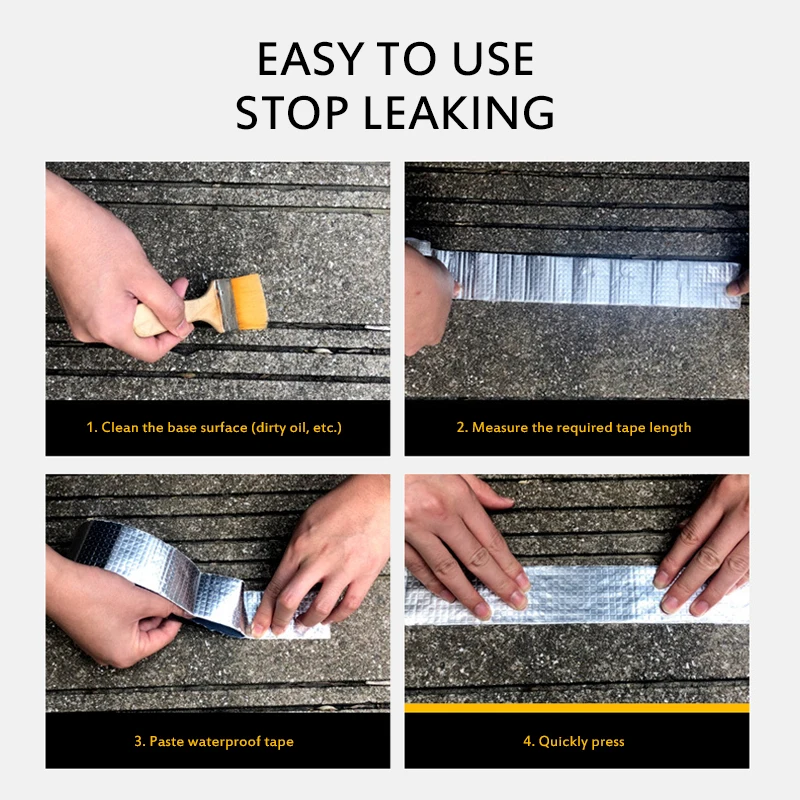 she holds more securely.
If the junction of the pipes has leaked, then everything is simpler here - we unscrew the connection, clean the threads, apply a sealant for the threaded connections (this is either flax using paint or drying oil, or a special sealing tape), twist the connection back and that's it, the leak is eliminated. But if you don’t want to disassemble the connection or it’s not possible, then you can put a doll on the junction using the method described below. nine0003
Seal current heating pipes without draining water
If it is not possible to drain the water from the heating system, or the water has been drained, but the lowest pipe of the system is flowing, in which it is completely impossible to drain the water, then we need products that can stick to the wet pipe. Of course, welding and cold welding are not applicable here. And the same doll is applicable here, but only with a special sealant that can stick to a wet surface. Such sealants, as well as ordinary ones, can be purchased at hardware stores. The pipe is wiped from water and coated with sealant and wrapped with a cloth as soon as possible. But this will save only with a slight digging of the pipe. If the leak is more severe than slight digging, then rubber can be used as a temporary solution. The most common rubber from a car camera, for example. We cut out a strip of rubber and wrap the current place very tightly with it. After that, we take several worm-drive clamps (ordinary clamps for a screwdriver, which are used in cars to connect pipes and pipes) and clamp the rubber twist with clamps. In such a simple way, for some time, the leak can either be completely eliminated or partially reduced. nine0003
There are special repair kits for sealing pipe leaks, which include a rubber clamp with a valve. An open valve allows water to drain from under the clamp while it is being mounted and clamped. When the clamp is securely fixed, the valve closes, and the clamp begins to reliably contain the leak. Such a repair kit saves even with a strong leak, in which no other means will save.
By the way, if the water cannot be drained, then there is a way to temporarily dry the pipe in order to be able to seal or weld it. This purpose is served by means for freezing pipes, for example, "FREEZE PACK canister for freezing pipes" or "Apparatus "Moroz" for freezing pipes." Such a tool allows you to freeze water on both sides of the damaged area and, when the water pressure disappears, you can digest a piece of pipe or put on a doll. nine0003
In closing
If the source of the leak is through rust or a crack, then all dolls, bandages and repair kits are only a temporary measure, because. rust will develop, and the crack will spread. Therefore, all these funds can only be used to wait for the summer, to drain the water in the summer and change the damaged section of the pipe. If the pipe is not welded in the summer, then there is a risk that the next winter, at the most inopportune moment, the flow will start again, which will flood the neighbors from below or bring other troubles.