M-S580EKIT
Milton Digital Inflator Gauge w/ 4 Chucks, 15" Hose (0-160 PSI) - S-580EKIT
$219.95
PCL-DAC409
pcl-accura-mk4-digital-tire-inflator-4-215-psi
From $98.72
10 reviewsM-1750
Milton 1/4" FNPT 5-in-1 Safety Exhaust Coupler - 1750 (Ea)
$17.95
PCL-DAC1A08N
accura-1-digital-tire-inflator-0-174-psi-w-6-ft-hose-and-euro-clip-on-air-chuck
From $151. 97
PCL-AFG5A09
truck-tire-inflator-0-174-psi-w-21-in-hose-and-dual-foot-air-chuck
From $70.08
1 reviewM-731
Milton Quick-Fill Valve Plug For Car and LT
$3.75
1 reviewH-377
Haltec Large Bore Lock-On Air Chuck (Long)
$29.75
1 reviewDIL-7260-S2
Dill 2ft Digital Inflator Gauge (170 PSI)
From $134.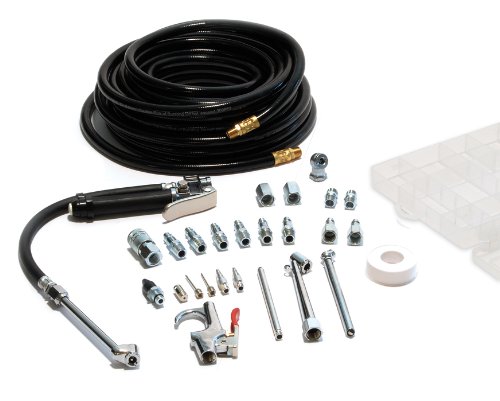 95
95
PCL-QUBE4
accura-3-mode-tire-inflator-w-euro-air-chuck-and-16-ft-hose-120v-us-plug
$543.27
BTC-BSTTPG200
Bartec TPG200 Bluetooth Tire Pressure and Tread Depth Gauge
$995.00
M-1654-9-EA
Milton Brass Hose Ferrules (pair)
From $1.75
ESC-10960
ESCO 10960 Dial Gauge Tire Inflator, 20" Hose (174 PSI / Clip-on)
$74.95
PCL-Ch3A01
pcl-rapid-air-chuck-open-end
From $9.31
1 reviewRE-841P
Rema Polyurethane Recoil Air Hose, 1/4" Male Ends
From $39. 95
95
RC-DP7450-OLP
Reelcraft HD Low Pressure Dual Pedestal Air/Water Reel
From $448.42
PCL-CO1A13
pcl-dual-angle-air-chuck-1-4-npt
From $12.81
CTS-5009184
Coats Autoflate Digital Inflator - 5009184
$1,475.00
PCL-DAC601
pcl-dac6-digital-aircraft-tire-inflator-350-psi-1
$567.01
RC-D9399-OLPBW
Reelcraft Low Pressure Air/Water Reel
From $903.31
H-326
Haltec Large Bore Screw On Air Chuck
$28.95
Win A Dry Ice Cleaning Solution or A $10,000 Shopping Spree - LEARN MORE HERE
Win A Dry Ice Cleaning Solution or A $10,000 Shopping Spree - LEARN MORE HERE
Reserve Your Stay At Destination OG - Book A Week!
Reserve Your Stay At Destination OG - Book A Week!
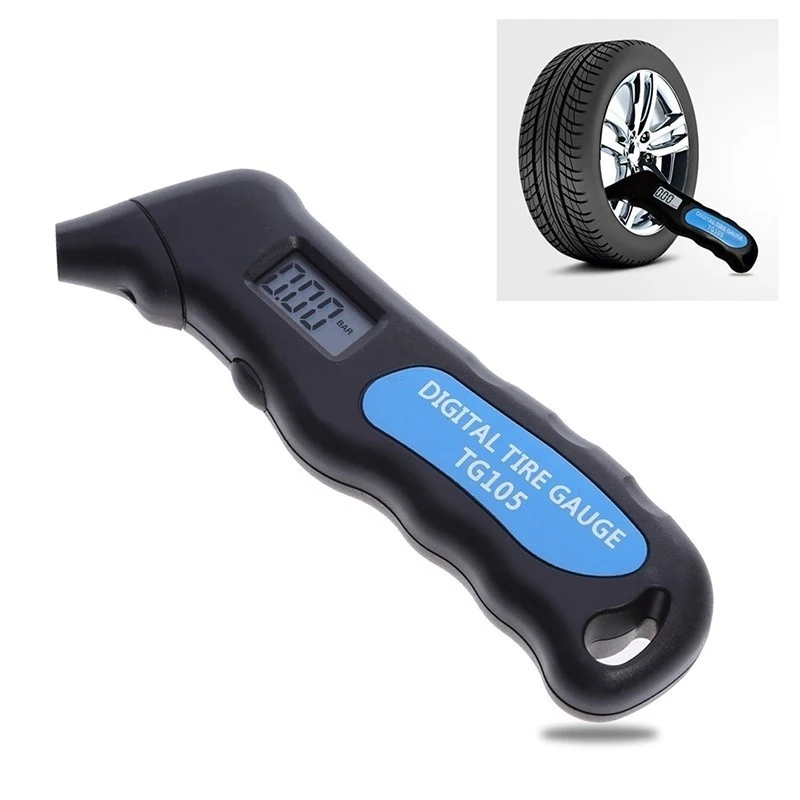
Here is our collection for air automotive & detail tools such as digital tire inflators, pressure gauges and random automotive tools like tread depth gauges. A featured brand like PCL is known for its accurate digital tire inflators like the ACCURA 1 which has an accuracy of 0.2 psi and a 13 CFM fill rate. PCL is the company you need for your tire filling and pressure checking needs. You'll find Pneumatic polishers from Rupes down below too along with air compressor blowguns from Prevost.
19 products
Sort SortFeaturedBest sellingAlphabetically, A-ZAlphabetically, Z-APrice, low to highPrice, high to lowDate, old to newDate, new to old
PCL ACCURA 1 Tire Inflator
from €17895 from €178,95
PCL Digital Tire Inflator
€9095 €90,95
PCL Digital Tire Pressure Gauge
€3595 €35,95
PCL Tire Pressure Gauge
€995 €9,95
PCL Angled Twin Air Chuck
€995 €9,95
Prevost Euro High Flow Gun
from €1495 from €14,95
Prevost Blow Gun
from €1495 from €14,95
Prevost Industrial Gun
from €1495 from €14,95
RUPES LHR75 3" BigFoot Random Orbital Pneumatic Polisher
€27895 €278,95
RUPES LTA75 3" BigFoot Triple Action Pneumatic Polisher
€48895 €488,95
RUPES LTA125 5" BigFoot Triple Action Pneumatic Polisher
€51195 €511,95
Prevost 3 Stage Combination Sub-Micronic Filter
€1. 29295 €1.292,95
Prevost Force 3 Blowgun
from €3295 from €32,95
3/8" Air Hose v1.0 - 50 foot
€9395 €93,95
3/8" Air Hose Jumper v1.0 - 2 foot
€2395 €23,95
Black Blue Gray
Compressed Air Hose Reel Package
€97595 €975,95
Compressed Air Tool Kit
€27495 €274,95
Prevost Blow Gun Work Station Kit
from €6295 from €62,95
Tornador Blow Out Tool
from €5795 from €57,95
Products: brake cleaners, rim cleaner.
Equipment: all modern tire systems are powered by compressed air: pneumatic guns for loosening wheels, tire changer, inflation guns. Therefore, the main tool for tire fitting is a compressor. In 99% of cases, reciprocating compressors with a capacity of 400 lmin are used. These compressors require ISO VG 46 and 100 compressor oils, depending on the compressor manufacturer's recommendations. Oil change, on average, 200-250 hours when using mineral oils, that is, about once a month during the tire season. Using synthetic oils, such as Liqui Moly LM 500, article 4076, you can increase the compressor maintenance period up to two times a year. nine0003
The air gun is an essential tool for quick wheel removal. It has a lubricator lubrication system, that is, oil is supplied along with compressed air using a special lubricator-lubricator. In small tire shops, they save money on lubricators and periodically bury the oil directly into the air gun. To lubricate air guns, use Liqui Moly Oil fur Pneumatikgerat, part number 7841.
| Fig 1 | Fig 2 | Fig 3 |
To carry out work, place the vehicle at the place where the brake is to be carried out.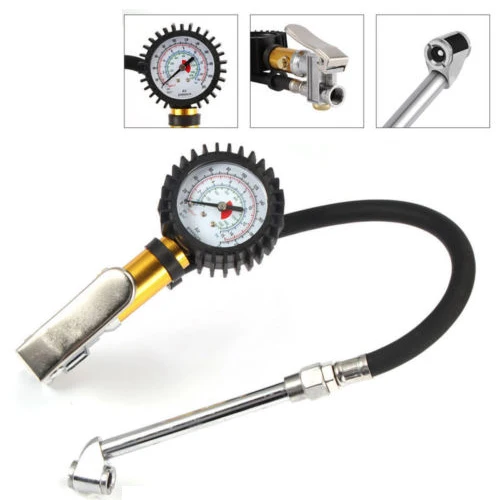 work and fix manually Raise the vehicle with a tire jack or scissor lift, unscrew the wheel fasteners and remove the wheel. Wash the wheel in a washing machine, dry it. Using the special tool, unscrew the valve and bleed air from the wheel. Remove balancing weights, if self-adhesive weights are used, then remove the remaining glue from the rim with a rag using Liqui Moly Dichtungs Entferner. It is necessary to carefully inspect the tread for stones stuck in the sipes, since wheel balancing is meaningless with a dirty tread. If you plan to install the tire back after repair, then it is necessary to mark the position of the nipple for inflation on the tire using a special marker or chalk. The tire is installed in the same position in which it was removed from the rim. Install the cleaned wheel on the tire changer and tear off the sidewall of the tire from the rim with a spatula (Fig. 1). Next, center the wheel on the clamps (1) of the machine Fig. 2, (use plastic protective pads when working with light alloy wheels) and completely separate the sidewall of the tire from the hump with a roller (Fig.
 3). Before removing the tire from the rim, apply Liqui Moly Reifen Montierenpaste to the parts of the tire adjacent to the rim. nine0003
It is recommended to apply the paste with a flute-type brush, it is not recommended to use fly brushes (Fig. 4). Pry off the sidewall of the tire with a mounting spatula, bring it up by the heel of the machine (Fig. 5) and rotate the tire until the sidewall of the tire completely goes beyond the rim. Do the same with the bottom of the tire and remove the tire from the rim (Fig. 6).
| Figure 4 | Figure 5 | Figure 6 | nine0019
| Figure 7 | Figure 8 | Figure 9 |
Before mounting a new or refurbished tire, be sure to replace the tubeless tire valve (Fig. 7), clean the tire contact surface with a Reiniger und Ferdunner cleaner (Fig. 8), place the rim in the wheel balancer (Fig. 9) and check the runout of the rim .
To mount the tire, it is necessary to put the disk back into the clamps of the machine (Fig. 2). Before installing the tire, apply mounting paste to the sidewalls of the tire adjacent to the rim (Fig. 10) using a flute brush on both sidewalls of the tire. Put the tire on the disc using the machine's thrust pad (Fig. 5). Orient the tire according to the marks made earlier, in case of using a new tire, align the factory mark (yellow or white) with the tire valve by location. Inflate the tire, allow the sidewall to take the correct position on the hump of the rim, for which give an air pressure of 6-8 bar (when the tire is seated, a loud bang will occur). Check the tightness of the fit by using Leck Such Spray or immersion in a water bath. After checking the tightness, bring the pressure in the wheel to the nominal value and install it in the balancing machine. Center the wheel on the center hole and studs and balance. Degrease the rim with Reiniger und Ferdunner in places where self-adhesive balance weights are fitted. nine0003
| Fig 10 |
Before installing the wheel on the hub, treat the mating surface of the hub with your choice of (Fig. 11): Aluminum Spray, copper spray Kupfer Spray or ceramic paste Keramik Paste. The same compositions must be used to treat wheel fasteners (Fig. 12), studs or bolts (if there is a corresponding recommendation from the car manufacturer). Install the wheel on the car (Fig. 13), manually tighten the fasteners, make the final tightening to the required torque with a torque wrench. Attention: Do not use pneumatic tools to tighten wheel fasteners! nine0003
For seasonal preservation of winter or summer sets of tires, use Reifen Glanz Schaum Tire Foam.
Don't let a flat tire put you off your path. Learn how to repair a tire in the field.
Author – Joey Nickisher, OFFGRIDWEB.COM
Translation and adaptation – Artyom Kostin, LASTDAY.CLUB
A few years ago, my colleagues and I conducted a search and rescue operation. We successfully found the "lost", but halfway out of the forest, we suddenly realized that the wheel of our SUV was punctured. Another transport for the evacuation of the victim was not suitable, and he needed medical assistance urgently. So I had to repair the tire in the field. Happened. The victim was taken to the hospital, and we were enriched by the experience of field repairs. But what would we do if we didn't have the right skills and tools? Do you have them? nine0003
Therefore, to begin with, let's talk about the simplest and most banal option for “repairing a tire” ...
Yes, some motorists are very lucky and have never had the need to change a flat tire on their own. Others were less fortunate, and they know perfectly well what kind of hemorrhoids it is to change a wheel right in the middle of the road.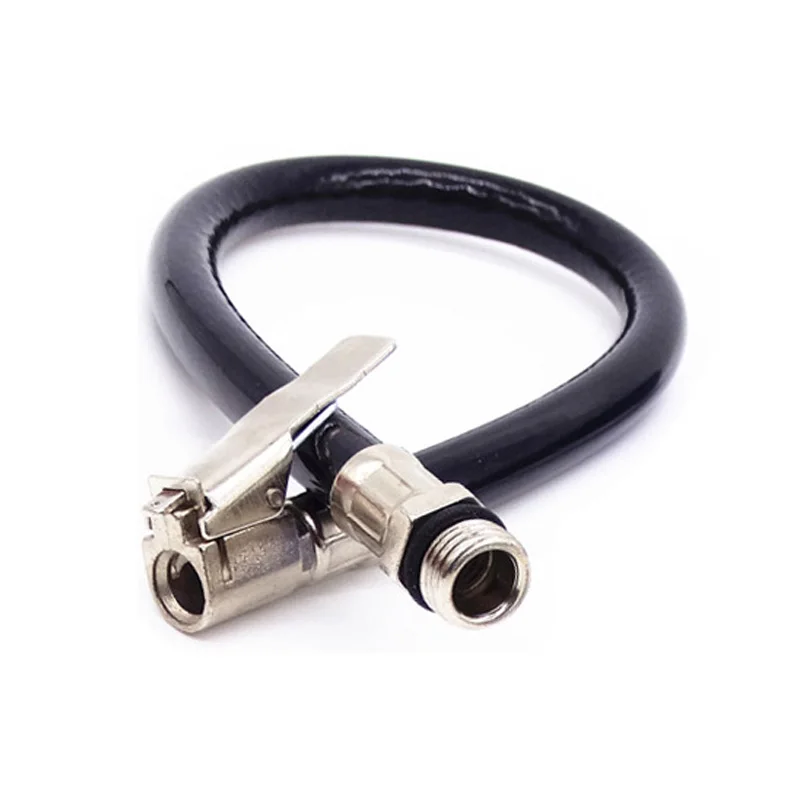 Worse, perhaps, only to do it in the middle of a dense forest. So, it is worth figuring out by experience how to do it yourself. No kidding, because at least in theory anyone can do it - “ The business is to jack up, unscrew the nuts / bolts with a balloon, raise the car, remove the wheel, put the dock, tighten, lower, tighten ... ", but in practice it always begins" Where to put the jack? key?”, “How to unscrew the spare wheel?” etc.
It is better to study and practice in advance than to try to do something in an emergency with difficulty and obscenities. And after you learn how to do it yourself - be sure to teach this to your household and the people you regularly carry in your car - just in case. nine0003
In addition to the relevant knowledge, you will also need tools. And, of course, the spare tire itself. Without him, you understand, it is difficult to do anything at all. So, it is worth figuring out where in your car it is stored. And is there any. Spare parts can be located in different places of the car - under the floor, under the seats, in a plastic casing at the back, in the trunk, suspended from the back with cables or mounts, etc.
The latter case is particularly difficult, as the fasteners can only be removed using the special tools supplied with the purchase. In addition, when working with them, you may need to study the instructions. And it is better to do this in a garage or a quiet environment, and not in the middle of a forest. It is also worth regularly checking the degree of inflation of the spare tire and pumping it up if the pressure is low. Keep in mind that many vehicles are shipped with flat tires or repair kits, rather than wheels that are ready to be installed. nine0003
You will also need a jack to lift the car, a wheel wrench or other wrench that fits the nuts and bolts that hold the wheels. If all of the above is not present, then this is a sure path to disaster. Or - to a long and expensive wait for a tow truck.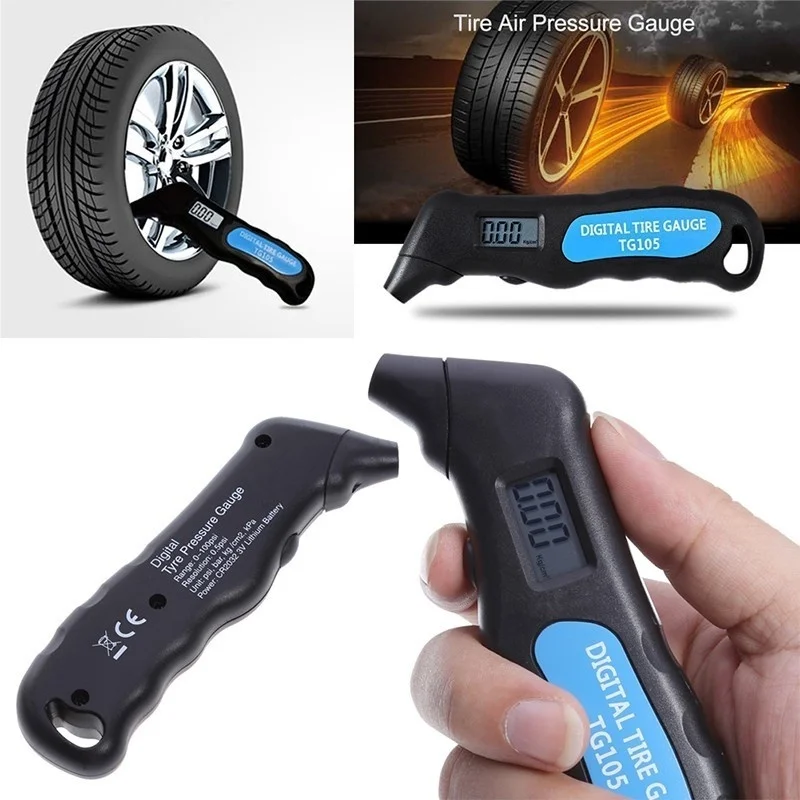
The simple wheel replacement algorithm looks like this.
Read the vehicle manual before starting work. The fact is that on modern vehicles there are two main ways to fasten the wheel - using nuts or bolts. And it's better to know this in advance. A mechanical jack (left), which you will find in the trunk of almost every car, despite its not the most convenient principle of operation and a small footprint, is an excellent choice for emergencies. The hydraulic jack (right) is compact and robust. Wider bases improve stability, but may be too high for vehicles with low ground clearance. nine0003
Everything seems to be clear with this, right? But what if the wheel is not replaced?
The first thing to do is fill the flat tire with compressed air. If the leakage rate is low, then this is quite enough to reach the service center. Most often, air compressors powered by a 12-volt power source are used for this. Or - compressed air cylinders of various sizes, ranging from simple CO2 cartridges, which may need several pieces per tire, to large portable cylinders. The most extreme case is a bicycle pump. It is hard, long and not rational if the air flows out faster than you replenish it. So if the damage is extensive, other repair methods are needed. There are many ways to inflate a tire, from compressed air and CO2 tanks, electric compressors and a good old hand pump. nine0003
There are various tools and tools available to help you repair your tire. U.S. Tire Manufacturers Association - U.S. Tire Manufacturers Association (USTMA), has developed its own criteria for such products. They are discussed in the text "Puncture Repair Procedures for Passenger and Light Truck Tires" - "Repair of tires for cars and light trucks." According to these recommendations, you can work with holes not larger than ¼ inch, which are located directly in the tread area (but not on its edge or on the side surface). Under normal circumstances, this standard should be maintained, but you may find yourself in a situation where even some tire repair can make the difference between life and death! nine0003
So, the best tool for repairing a tire is “fungus”, a kind of cork with an internal patch. They are used at service stations. This repair involves widening the hole, plugging it in, applying an activator adhesive and a patch on the inside of the tire.
The average person can install a simple harness patch without removing the tires from the rim. First, locate the location of the damage. Then - remove the debris and the damaging element (nail, screw, etc.). Then, using a spiral awl - a tool that resembles a file or rasp, clean the walls of the hole. Then - install the tourniquet (strip of rubber) on the harness installation tool, (a tool with an eye that resembles a huge sewing needle). Apply glue to the hole and the patch cord, and then push it directly into the hole, leaving no more than a centimeter sticking out. Turn the plug tool and pull it out, leaving the patch in the hole. Wait a few minutes - let the glue grab. If the damage is not particularly serious, this should be enough. This tire repair has been practiced for quite a few years. nine0003
Although this is not officially recommended, if the puncture is not sealed, then you can try to insert additional plugs into the hole. In addition, this method should not be used with a punctured side of the tire. However, I myself have seen similar patches on the side surfaces of the wheels of ATVs, tractors and SUVs. But only in really emergency situations. And if you find yourself in such a patch, then, of course, you will have to insert such a patch, but you will need to drive slowly - at the speed of a pedestrian. And only to the place where it will be possible to change the tire normally. This applies to both off-road and the roadway - otherwise the risk is too high that the plug will be knocked out by pressure. nine0003
There are many varieties of stoppers, plugs, patches and fungi, but I would single out Stop & Go International. They work on the same principle as similar tire repair fungi, but offer a number of additional benefits:

You may ask me: “Why any plugs and fungi when you can seal the hole with Fix-a-Flat tire sealant?”. You can, of course, but this is far from the best and most successful option. Yes, sometimes it works, but it has significant drawbacks that interfere with normal use. Let's start with the fact that before the change in the formulation of Fix-a-Flat in 2016, the past mixture, according to the safety protocol of 10/15/2000, was corrosive. So older Fix-a-Flats have the potential to cause further tire damage and, in severe cases, serious wheel problems. nine0003
Therefore, this method is a quick but temporary solution to the problem. And the chemical sealant should be removed from the inside of the tire as soon as possible. And for this, many service stations charge an additional fee. What's more, even with the new formulation, the instructions still say to remove the mixture after 3 days or 100 miles. Otherwise, problems can begin. Slime tire sealant (which is injected inside the wheel and closes the puncture), and more “traditional” tire repair kits. nine0003
The old Fix-a-Flat formula contained tetrafluorothane, heavy aromatic solvents, amorphous polyolefin, various aromatic resins, an inert filler, and a trade secret "proprietary" substance. The new formula contains tetrafluoro-1-propene, glycerin and cellulose. Just in case, check what is written on the can of sealant.
You may also have heard of Slime Tire Sealant, a thick green slurry that could be injected into the inside of a tire to repair minor damage and prevent further deflation. The manufacturer claims that this product is safe for TPMS (tire pressure monitoring system), contains rust inhibitors and lasts for several years. Based on my personal experience, it's true. Tires really last more than one year after such a repair.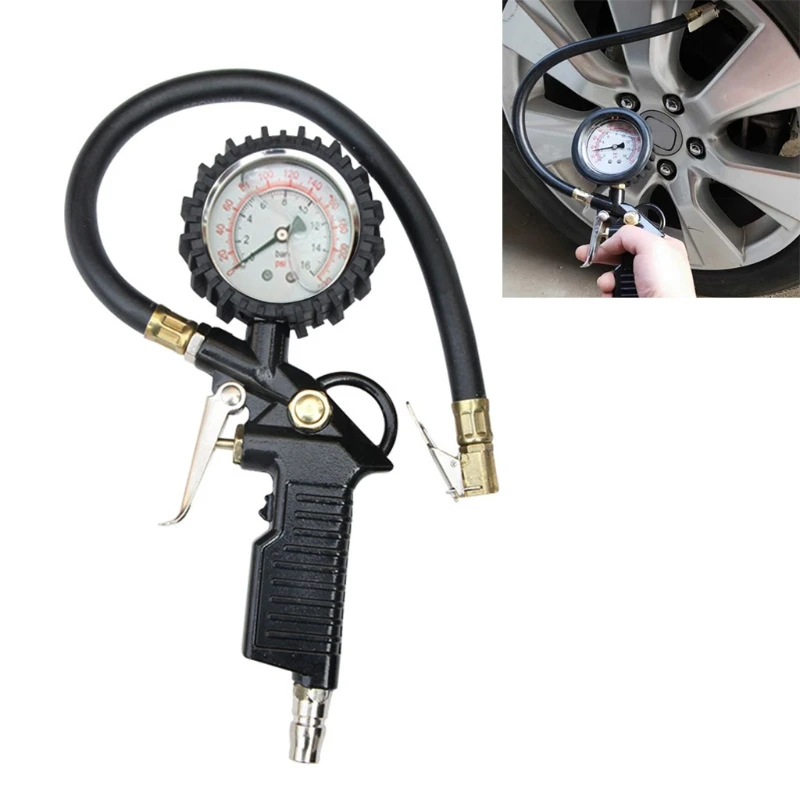 Plus, it is extremely easy to use - you need to pull the spool out of the valve (the valve through which the wheel is inflated), then - using a special tool, introduce the sealant into the tire. Slime contains glycerin, attapulgite, cellulose and quartz. Tire repair - installation of a patch cord. nine0003
TireJect Sealant is similar to Slime - this liquid also needs to be introduced into the chamber through a valve and is also effective for two years. But at the same time - much more liquid and is available in two versions. "Automotive Sealant" works on sidewall holes and projector punctures up to ¼" while remaining safe on tires, rims and pressure gauges. "Off-Road Sealant" works with holes up to 3/8 inch, which are also located on the side, and with tires that have already begun to rot and let air through purely due to age. It is made from liquid rubber, sealing particles and armid (Kevlar) fiber. However, it is harmful to pressure sensors. Personally, I tried it on my old land aerator tires that didn't hold pressure for more than two days.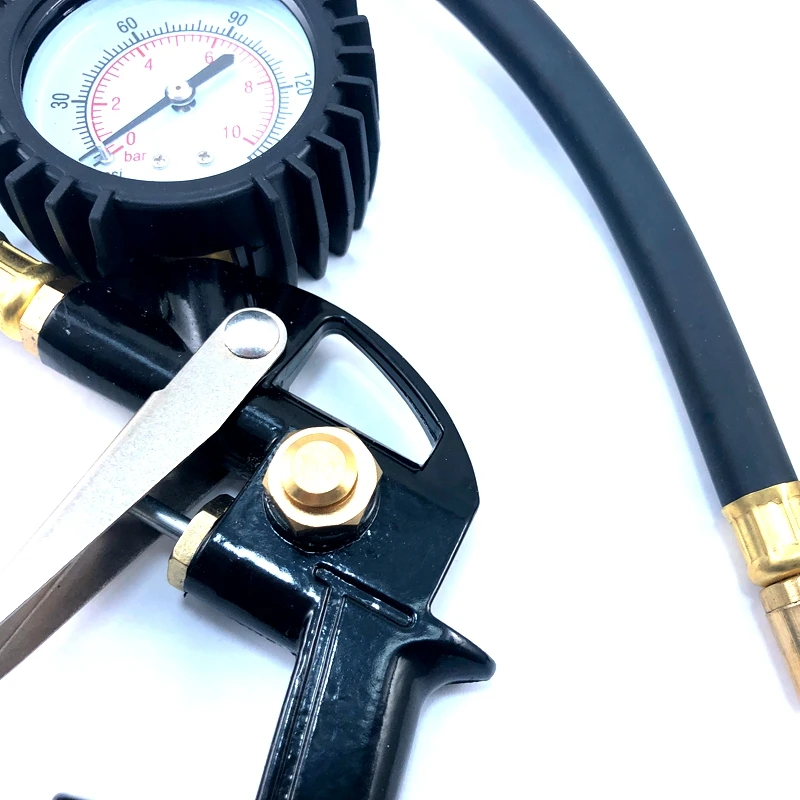 It's been 30 days since using TireJect - and they still held air! The main ingredients are propylene glycol and natural rubber latex. nine0003
While researching, I came across another tire repair sealant called FlatOut Multi Seal. I haven't used it myself, but I feel it's worth a mention. Just like the two products mentioned above, this is a liquid that needs to be injected into the inside of the wheel through a valve. According to the manufacturer, this substance lasts for 10 years, but is only suitable for off-road tires, as it harms pressure sensors. Multi Seal Pro HD 2500 handles holes up to ¾" and Multi Seal Armor 3500 up to 1 ¼". Such holes, for example, leave bullets on impact. The chemical ingredients in the FlatOut Multi Seal are 50% Propylene Glycol and the rest are low dose proprietary ingredients. You can use the External Patch Kit to repair a tire without removing it from the wheel. The process involves removing the punctured tire, cleaning the hole, then installing a tourniquet and applying an activator adhesive.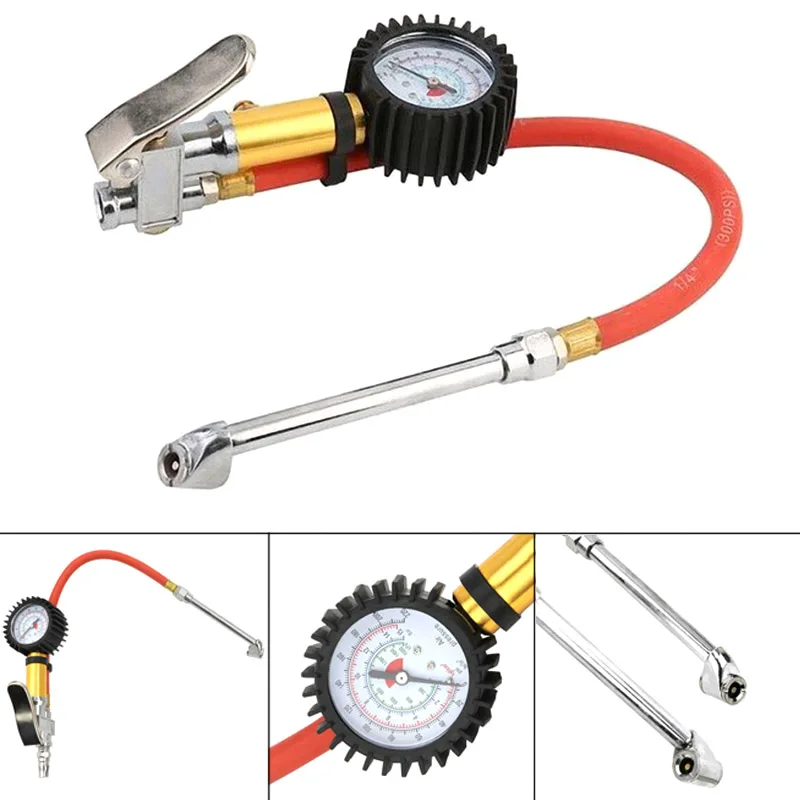 It is wise to then go to the service, disassemble the wheel and install a fungus patch on the inside of the tire to reduce the risk of air leakage. nine0003
A friend of mine was riding a quad bike over rough terrain and blew a tire. The hole was too big for normal fixing methods, and there was no spare tire. What did he do? He sewed up the hole. That's right - he took a thick canvas needle and a thick nylon thread, put a bunch of seams on the hole, placed a patch on the tire from the inside, and then filled everything both outside and inside with activator glue. That was enough to get to the workshop. nine0003
In some Third World countries, damage is still being repaired with a torch and pieces of rubber that are melted directly onto the damaged areas. This, of course, requires very skillful hands, but a lot of tires have been repaired in this way. There is also the old "school trick" that allows you to put a flat tire back on the wheel - any flammable aerosol. You inject it in, ignite it, the gas expands, the tire straightens out and back onto the wheel. But we do not recommend that you use this method - it is quite dangerous, as the explosion can tear the rubber into pieces. Damage to the side of the tire is almost beyond repair. Patching the sidewall is highly discouraged, but it can be done as a temporary measure in an emergency. nine0003
At the beginning of the article, I said that my comrades and I had to repair a tire during a rescue operation. Of course, we could install a patch or a fungus, but first we would need to find the damage, and then also spend time on repairs. We could have just changed a wheel, but no one had a spare at all.
We could take the tire off and put a new tube in it. But for this it would be necessary to find a wrench, a jack, lift everything, disassemble the wheel and replace the chamber. But we didn't have a wrench or a jack. High jacks are especially useful off-road for vehicles with high ground clearance.