Knowing how to change a tire is a necessary skill for all drivers. If you rely on a cell phone to save you in a roadside emergency, there’s always that chance you will forget to charge it, be out of range, or leave it at home. Flat tires can happen anywhere, and a cell phone is no substitute for knowing how to change a flat tire.
Thankfully, changing a tire isn’t all that hard! Just adhere to the following guidelines to be prepared in case you have a flat.
These items should have come with your vehicle:
Jack
Lug wrench
Fully inflated spare tire
Vehicle owner’s manual
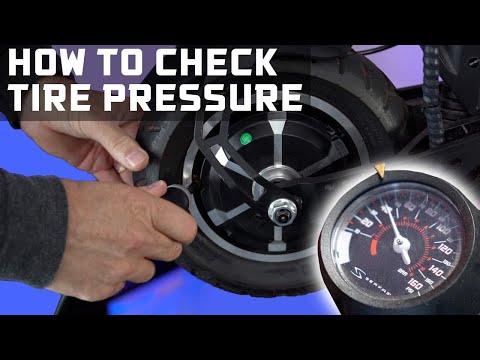
If you have misplaced any of these items, or if your car did not come with these items, you should purchase new ones right away. And be sure you’re regularly inflating the spare tire to your vehicle manufacturer’s recommended PSI. You should check the spare’s air pressure every time you check your other tires.
Remember to check pressure every month and before long trips or carrying extra load.
Here are some items that don’t come with your vehicle but that you should stow in your trunk or glove box in case you have to change a flat tire:
Flashlight with working batteries
Rain poncho
Small cut of 2"x6” wood to secure the jack
Gloves
Wheel wedges
As soon as you realize you have a flat tire, do not abruptly brake or turn. Slowly reduce speed and scan your surroundings for a level, straight stretch of road with a wide shoulder. An empty parking lot would be an ideal place. Level ground is good because it will prevent your vehicle from rolling. Also, straight stretches of road are better than curves because oncoming traffic is more likely to see you.
Never attempt to change your tire on a narrow shoulder near oncoming traffic. Keep moving (slowly) until you find a safer spot. While driving on a flat risks ruining your rim, replacing a rim is better than being hit by an inattentive driver.
Make sure to consult your owner’s manual and review their specific steps on how to change a flat tire for your vehicle
Your hazard lights or “flashers” will help other drivers see you on the side of the road. To avoid an accident, turn them on as soon as you realize you need to pull over.
Once stopped, always use the parking brake when preparing to replace a flat tire. This will minimize the possibility of your vehicle rolling.
Wheel wedges go in front of or behind the tires to further ensure the vehicle doesn’t roll while you fix the flat tire. If you’re changing a rear tire, place these in front of the front tires. If your flat tire is at the front, put the wheel wedges behind the rear tires.
Bricks or large stones will work just as well as “real” wheel wedges. Just be sure they’re large enough to stop the car from rolling.
If your vehicle has a hubcap covering the lug nuts, it’s easier to remove the hubcap before lifting the vehicle with the jack.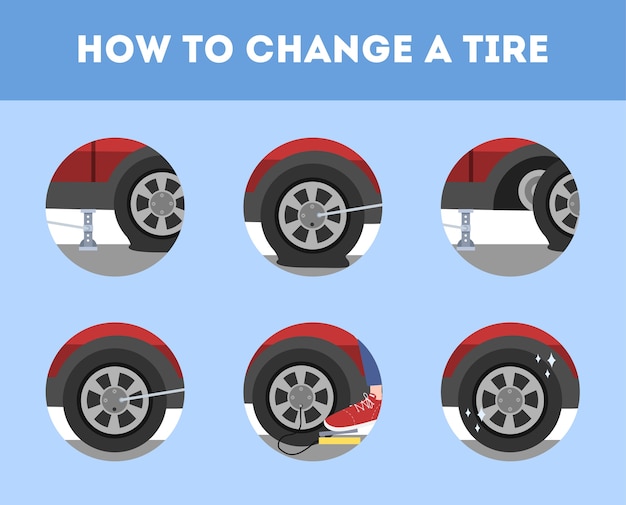 If your lug nuts are exposed, you can skip ahead to Step 6.
Use the flat end of your lug wrench to remove the hubcap. This will work for most vehicles, but some hubcaps need a different tool to come off. Consult your owner’s manual for proper hubcap or wheel cover removal procedures.
Using the lug wrench, turn the lug nuts counterclockwise until you break their resistance. You may have to use force, and that’s ok. Use your foot or all of your body weight if necessary.
Loosen the lug nuts about ¼ to ½ of a turn, but don’t remove them completely yet. Save that for when it’s time to remove your tire/wheel from the vehicle.
The right place for the jack is usually beneath the vehicle frame alongside the tire that’s flat. Many vehicle frames have molded plastic on the bottom with a cleared area of exposed metal specifically for the jack. To safely lift and avoid damage to the vehicle, follow the instructions for jack placement in your vehicle owner’s manual.
To prevent the jack from settling under the weight of your vehicle and coming off balance, place a small cut of 2x6” wood beneath it before attempting to raise your vehicle. This tactic is especially helpful on asphalt.
With the jack properly positioned, raise the vehicle until the flat tire is about six inches above the ground.
Never put any part of your body under the vehicle during or after raising the vehicle with the jack.
Now it’s time to remove the lug nuts all the way. Since you've already loosened them, you should be able to unscrew them mostly by hand.
Gripping the tire by the treads, pull it gently toward you until it’s completely free from the hub behind it. Set it on its side so that it doesn’t roll away.
Now place the spare on the hub by lining up the rim with the lug bolts. Push gently until the lug bolts show through the rim.
Put the lug nuts back on the lug bolts and tighten them all the way by hand. Once they are all on, check each one again, tightening as much as possible. You will tighten them with the wrench after lowering the vehicle to the ground.
Use the jack to lower the vehicle so that the spare tire is resting on the ground but the full weight of the vehicle isn’t fully on the tire. At this point, you should tighten the lug nuts with the wrench, turning clockwise, as much as you can. Push down on the lug wrench with the full weight of your body.
Bring the vehicle all the way to the ground and remove the jack. Give the lug nuts another pull with the wrench to ensure they’re as tight as possible.
If the hubcap you took from the flat tire will fit your spare, put it in place the same way you removed it initially.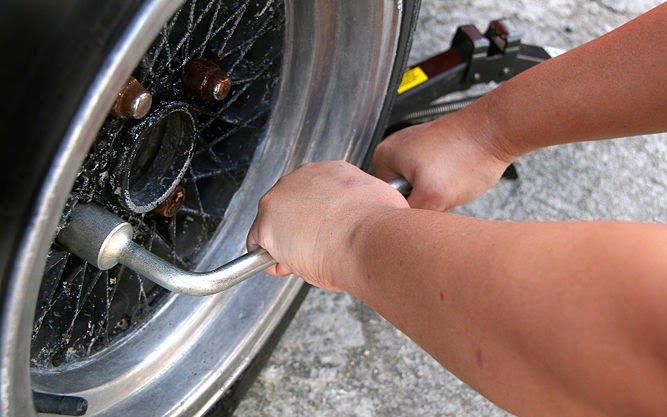 If it doesn’t fit, stow it away with the tire when you stow your equipment.
You have before you a jack, a lug wrench, wheel wedges, your flat tire, and possibly a hubcap. Don’t forget to put all of them in your vehicle before driving away.
You should check the tire pressure of the spare tire to make sure that it is safe to drive on. “T-Type” temporary spares, also called “mini-spares,” require 60 psi (420 kPa). If the tire needs pressure, drive (slowly) to a service station immediately.
Temporary spare tires aren’t made to drive long distances or at high speeds, so drive cautiously until you’re able to visit a tire technician. A professional should be able to determine whether your tire needs a repair or if it’s time to replace it.
Aside from taking your tire to a professional, the above procedure shouldn’t take more than 15 to 30 minutes to change a tire.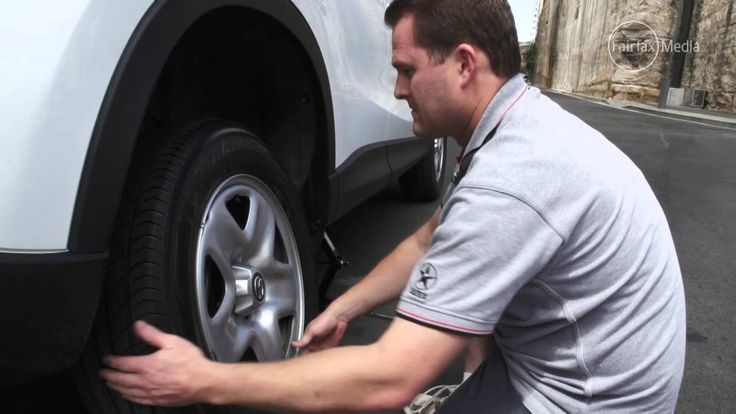 Just be sure you don’t leave out any steps.
It’s beneficial practice changing a tire in your garage or driveway to ensure you’re ready to handle this situation if it ever happens to you.
Knowing how to fix a flat tire is great, but regular tire maintenance is even more important. In addition to reviewing this guide regularly, remember to do the following:
Keep your tires properly inflated
Rotate your tires according to the manufacturer’s guidelines
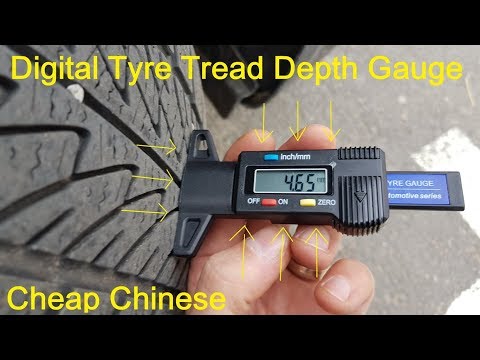
Monitor for tread wear
All of these precautions will extend the life of your tires and reduce the likelihood of a flat. While there’s no way to prevent flat tires completely, proper care can improve performance and ensure your tires last as long as possible.
There’s never a good time for a flat. That’s why Bridgestone DriveGuard tires are masterfully engineered to keep you moving for up to 50 miles at speeds up to 50 MPH without disruption.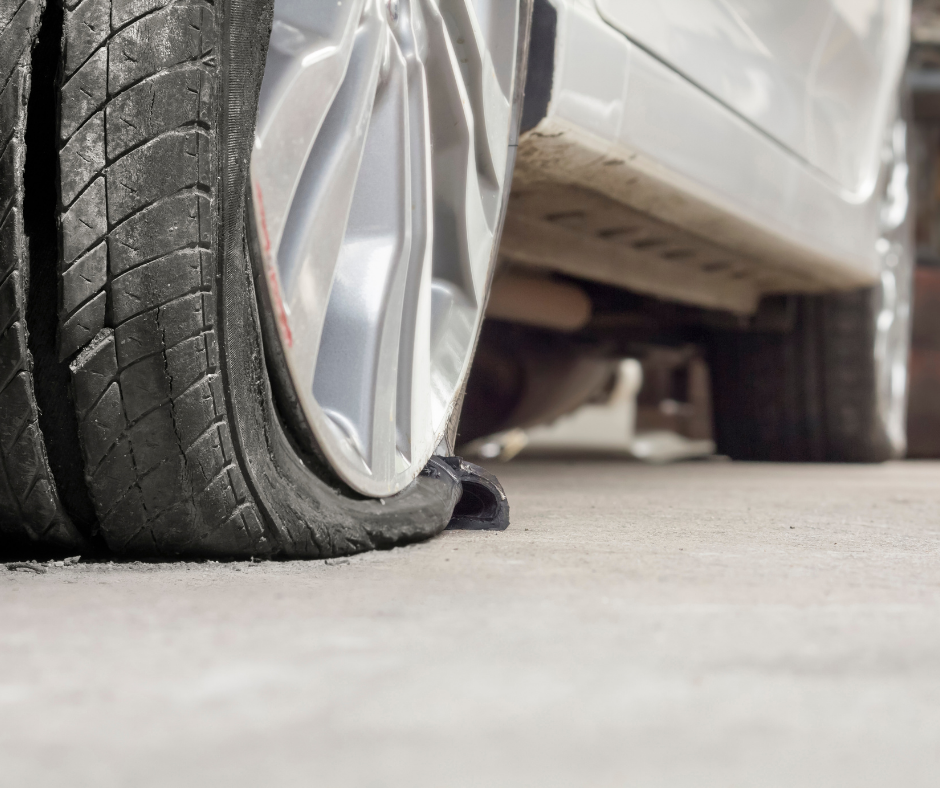
There’s never a good time for a flat. That’s why Bridgestone DriveGuard tires are masterfully engineered to keep you moving for up to 50 miles at speeds up to 50 MPH without disruption.
See Details Find Your Fit
September 16, 2022
Flat tires can happen at any time and place, and emergency roadside assistance may not always be available. So whether you’re a seasoned driver or a teen who’s getting behind the wheel for the first time, it’s important to know how to change a car tire.
We admit, it’s not as simple as jump-starting a car or checking fluid levels, but there’s no need to be intimidated—changing a tire really isn’t too difficult. This guide covers everything you need to know about changing a flat tire, step by step.
New cars come equipped with the basic items needed to change a tire, but over time they may be misplaced. If you bought a used car, it could be missing some, or all, of the things you need to change a tire. Check your car for these essentials and replace any items you don’t find.

In addition to the essentials outlined above, there are a few things SafeWise recommends having on hand to make changing a tire easier and less dangerous. Pack these items—along with a first aid kit, bottled water, and other safety items—in a durable bag and stow them in your car. Or purchase a roadside emergency kit that contains most, or all, of these things.

If you’re driving when you get a flat tire, slowly decrease your vehicle’s speed, turn your car’s hazard lights on, and look for a safe place to stop. If possible, pull into a parking lot with open space or find another low-traffic area.
Once stopped, put your car in park and engage the parking brake. This is another safety measure to help your car remain in place while you change the tire.
If you have flares or reflective warning triangles, set them out according to product instructions.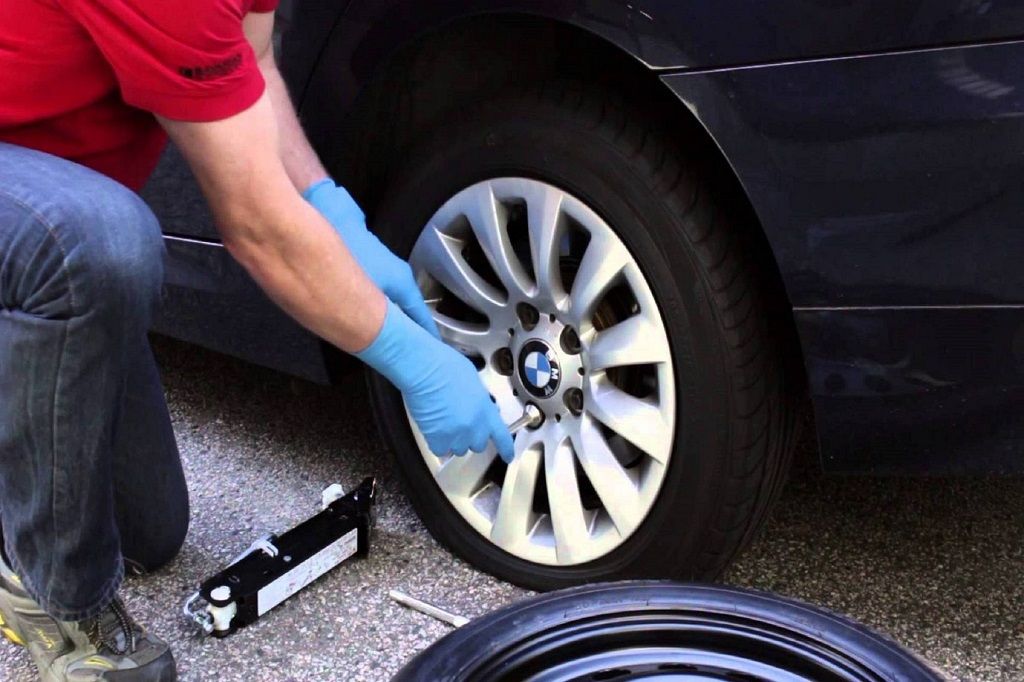 Use extreme caution and never turn your back to oncoming traffic.
Wheel wedges help prevent your car from moving. When changing a front tire, place them behind your car’s rear tires. When you change a rear tire, place them in front of the car’s front tires.
Next, you need to remove the hubcap. This is necessary so you can get to the lug nuts that secure your tire to the car. Use the pry bar (the lug wrench’s flat end) to pop the hubcap off the tire rim.
Use the lug wrench to loosen the lug nuts. Remember: lefty-loosey. You might need more leverage or an extra oomph of strength if the lug nuts are especially tight. Longer lug wrenches give more leverage, and sometimes you can push the lug wrench down with your foot to loosen the nut—just be careful not to loose your balance.
The best place for a jack is under the vehicle frame, next to the flat tire. For safety and to avoid damaging your car, consult your vehicle owners manual for specific instructions on where, and how, to place the jack.
Pump the jack slowly until the flat tire is off the ground. Make sure none of your or anyone else’s body parts go under the car while you’re raising it or once it’s raised. If your car moves while it’s on the jack, don’t try to stop it. Move away from your car and wait for it to fall, then try again.
With the lug nuts already loose, finish unscrewing them by hand. Put the lug nuts in a safe location so they aren’t misplaced.
Pull the tire toward you to remove it from the hub, then place it on its side and out of your way. If it's being stubborn, kick it. No, really—a swift kick can loosen any rust and help you pull the tire off. If you're wearing flip flops or sandals, sit on the ground (if it's safe to do so) and put both feet on the tire and push.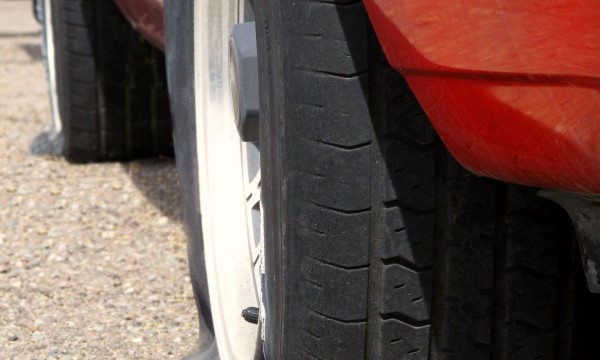
Line up the spare tire with the lug bolts and push it on the wheel hub until the bolts penetrate the rim.
Place the lug nuts on the lug bolts and tighten them down by hand. Don’t use the lug wrench to secure them yet.
Using the jack, lower your car until the spare tire touches the ground. Be careful not to lower it to the point where it bears your vehicle’s whole weight.
Tighten down the lug nuts by turning the wrench clockwise as much as you can. It’s important to tighten the lug nuts in the correct sequence to help ensure they stay secure on the hub. The star pattern is a good rule of thumb for tightening lug nuts.
Lower your car completely and remove the jack. Tighten your wheel’s lug nuts one more time, using the same pattern as you did in the previous step.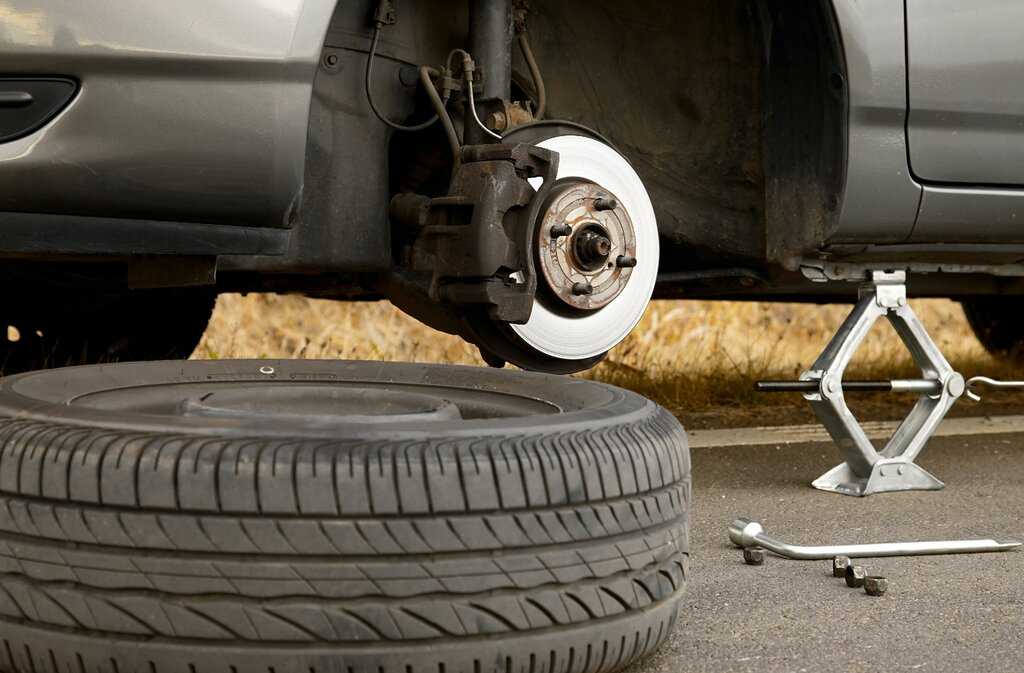
If the hubcap you removed fits the spare tire, put it back on.
If the hubcap you removed fits the spare tire, put it back on.
Gather all the items you used and secure them in your car. Be sure to stow your owners manual, jack, and lug wrench in their proper places.
It’s dangerous to drive on a spare tire for long distances so take your flat tire to a professional auto repair shop and have it fixed or replaced as soon as possible.
Taking proper care of your car tires can’t guarantee you’ll never get a flat, but it may reduce the chance. Regular tire maintenance can also help extend the life of your tires, make your vehicle safer to drive, and improve fuel efficiency.
According to the Rubber Manufacturers Association’s (RMA) tire maintenance checklist, there are a few easy things you can do to help keep your tires in good condition: regularly check tire air pressure, rotate tires based on your vehicle manufacturer’s recommendations, and have them balanced and aligned periodically.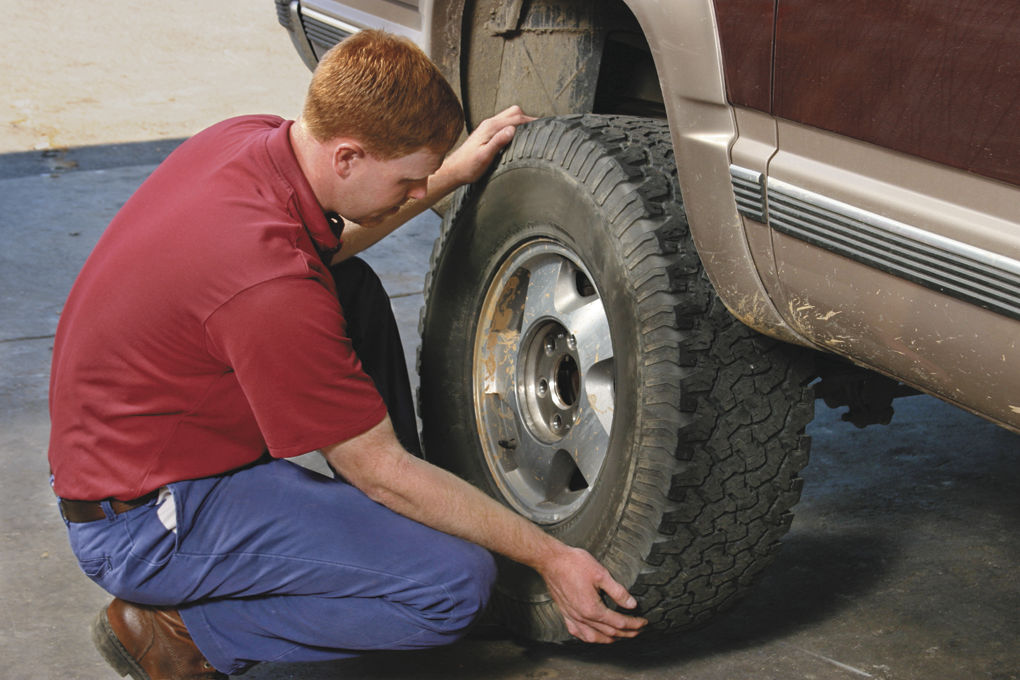
Preventive maintenance can help keep your tires in good working order, but it’s still important to inspect them frequently. The RMA recommends setting aside five minutes every month to look for early warning signs of car tire failure: cracks in the tire sidewall, uneven tread wear, excessively worn-down tread, and bulges. If you note any of these problems, go to an auto repair shop and have your tire repaired or replaced.
Before you or your teen hits the road again, practice changing your car’s tire in a safe location like the driveway or garage. Getting familiar with the process now will make you better prepared to change a tire under less ideal conditions. We suggest keeping this guide in your car’s glove compartment, and reviewing it every now and then to brush-up on how to change a tire.
For any other vehicle-related questions, visit our Car Safety Guide to find auto safety checklists and educational opportunities.
SafeWise wants you to keep in mind that changing a tire can be dangerous.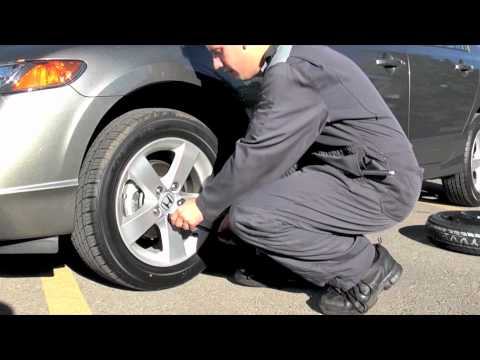 If you get a flat in an especially unsafe location, like a busy highway, and you can’t get your vehicle to a safer place, put your car’s hazard lights on and call the police for help. They can help block or divert traffic while you or your roadside assistance provider change the tire.
Product | Best for | Price | Specs | Stand-out feature | Learn more | Read review |
DroneMobile X-1 | Best car alarm | $129. 95 95 | 3,000 ft range | Remote start Diesel engine safe | View on Amazon | Read review |
|---|---|---|---|---|---|---|
Rexing V1P | Best dash cam | $159.99 | 4K Full HD 170° front and rear | Tolerates -20°F to 176°F | View on Amazon | Read review |
Vyncs | Best vehicle tracker | $89.99 | OBD port plug-in | Maintenance reminders | View on Amazon | Read review |
Torin Big Red | Best portable car jack | $25.60 | Lifts up to 15 in. and 3,000 lbs. | Lightweight Affordable | View on Amazon | Read review |
Garmin DriveSmart 61 | Best navigation system | $278.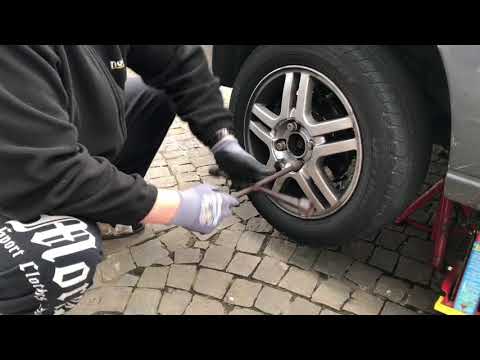 05 05 | 6.95 in. touchscreen | Voice control | View on Amazon | Read review |
Disklok | Best steering wheel lock | $189.98 | Hardened steel 3 different sizes | Tamperproof lock | View on Amazon | Read review |
*Data as of post date. Offers and availability may vary by location and are subject to change. SafeWise uses paid Amazon links.
Written by
Alexia Chianis
Wanderlust junky and mom of two, Alexia is a former police officer and U.S. Army Captain who draws on her experiences to write about a myriad of safety topics.
Read More
11/29/2022
The Best Home Alarm Systems in the UK
Find the right alarm system to protect your UK home. SafeWise recommends security systems for. ..
..
flat tire repairreplacement wheelspare tires
A flat tire checker not only saves your life, it saves your wallet. Therefore, at the first suspicion of a flat or damaged tire, immediately contact a service station. After checking, the specialist will advise you on what to do in your case - to repair or replace a flat tire.
If you are not sure that you can fix the problem of flat tires yourself, then it is better to seek help from specialists. They will look into your problem and advise you on whether to fix the damaged tire or replace it.
Also, truck tire shops can offer you useful services for longer tire life:

Initially inspect the tire for any stuck foreign objects. In their absence, we advise you to do the following manipulations:
Here are some general guidelines for changing tires yourself. Be aware that changing a tire can result in personal injury and/or damage to the vehicle/tools. If you are not sure that you can change the tire yourself, contact your nearest workshop for help.
 ), do not forget to put the machine on the handbrake.
Related videos:
See also:
Continental UltraContact - the new...
Continental keeps pace with the times, responding mobile to a rapidly changing society. Each product of the company is a challenge to the highest quality of the most...
Read more
Selection of tires for trucks...
When choosing tires for a working vehicle, one should not forget about the operating conditions. Evaluating them, the owner will be able to make the right decision. With ...
More
Narrow or wide? Which is better...
The opinions of car owners are divided in two. Some believe that it is better to install wide tires in winter, others express the opinion that it is necessary to purchase and install ...
Read more
Tires for all occasions
The main source of headache for car owners is the choice of tires for the vehicle. And if the situation is easier with passenger cars, then to choose ...
Read more
Budget Truck Tires
The modern world is characterized by a rich variety of vehicles. And each species requires special components. And tires for each type need to be selected...
Read more
New Eco Tire Introduced in India...
Apollo Tires Introduces New Eco Tire (Xtra Performance) Enhanced Comfort Compliant with India's BS-VI Emissions Standard and Specifications...Read More
Previous Article
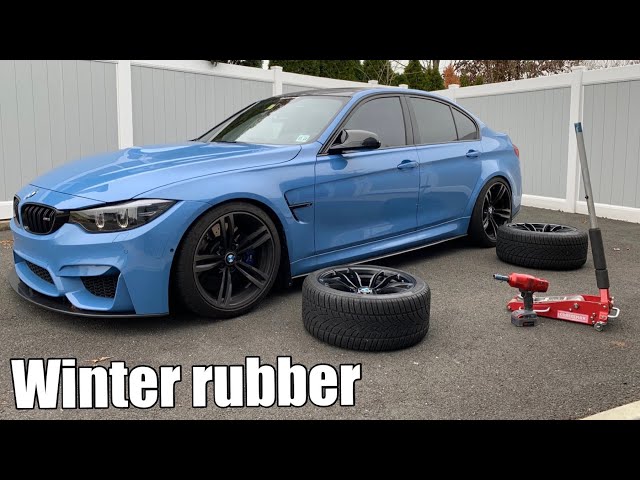
Tire Swapping
Next Article
Independent Tire Testing
Author: Aleksey Kokorin
Experienced drivers are not surprised by such a trifle as a puncture, but for the first time beginners usually get confused in the sequence of actions, forget about important details and do not know what to do with a punctured wheel even in a tire shop - especially if they start offering choose from several options or intimidate with expensive repairs. Let's set up an operation algorithm when a flat tire is detected and figure out what to do right away and what to choose later.
What to do when you find a puncture
Having found a flat tire, first of all you need to stop in a safe place, turn on the alarm, assess visibility and, if necessary, set an emergency stop sign: according to traffic rules, it is installed at least 15 meters from the car in the village and at least 30 meters outside the settlement.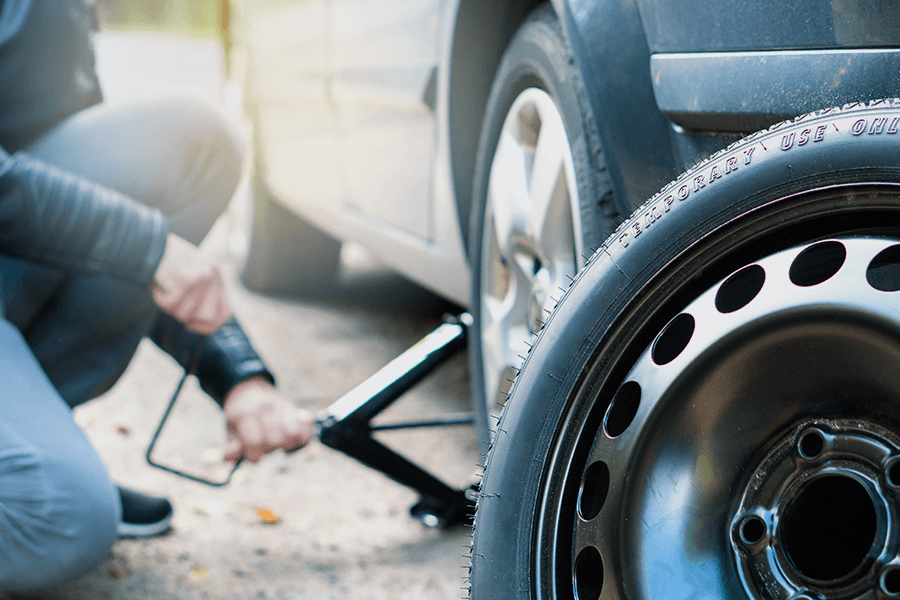 When choosing where to stop, consider the space to the side of the vehicle to handle a flat tire. You should not stop right on the road and in places where stopping and parking are prohibited: even if a punctured wheel belongs to the conditions of a forced stop, it is quite possible to drive several tens of meters on it to choose a safe and convenient parking place. At night or in conditions of limited visibility (for example, in fog or rain), it is imperative to wear a vest with retroreflective elements - this is required by clause 2.3.4 of the SDA and common sense.
Now you can start working on the wheel. We will sequentially consider several options for action, and then move on to ways to repair a damaged tire.
The most obvious solution to a flat tire is to replace it. If you have a spare tire that you are sure is in good condition, the best option is to install it and visit a tire shop to repair a punctured tire - such repairs will be more reliable and of high quality than doing it yourself.
If you do not have a suitable spare tire, but you do have a pump or compressor, you can assess the damage to the tire and try to inflate it again to get to the tire shop. It is better to start searching for an air leak with a valve (aka “nipple” or “nipple”): often a faulty spool becomes the cause of a flat tire. It is easy to check it: unscrew the protective cap (if there is one), pour water on it (or slobber it, as in childhood): air bubbles will leak. In this case, you can try to replace the spool valve by unscrewing it and screwing in a new one, but if there is no new valve, as well as a store nearby, you can try just unscrewing and screwing it back in. Regardless of whether it helped or not, you need to visit a tire shop to replace the entire spool or valve.
If the valve is tight and the tire is flat, it is most likely a puncture. The easiest way to find a puncture that is free of foreign objects is to pour water on the tire while looking at the surface: the damage will reveal itself as air bubbles. However, often the cause of the puncture can be found along with it: a self-tapping screw, nail or other arbitrary object sticking out of the wheel will clearly indicate the place of depressurization. In this case, you do not need to immediately remove the foreign object from the tire: it partially seals the hole, and if the pressure loss is slow, you can try to pump up the wheel and drive to the tire shop.
The same goes for wheels that are leaking from the rim or from a faulty valve. Usually, in this case, the air is bled slowly, and you can pump up the wheel and have time to get to the place of repair. By the way, rim leakage can occur due to disk deformation upon impact - for example, when hitting a pit with sharp edges. Such situations are fraught with damage to both the disk and the sidewall of the tire, in which case the disk will need to be corrected, and the tire repaired or even replaced. To avoid rim leaks, you need to inspect the rims every time you change tires.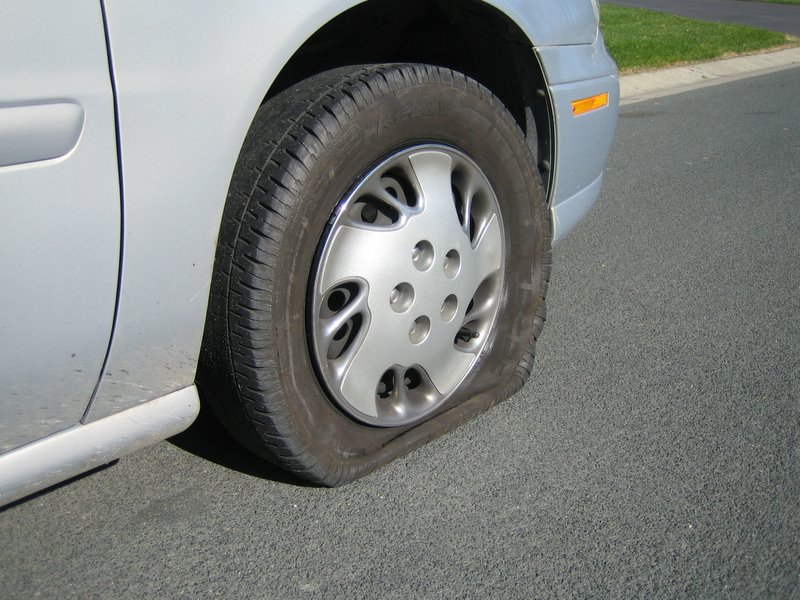 The loss of tightness occurs either due to corrosion or due to disc deformation, and not only steel, but also light alloy wheels can corrode. So if you see paint blistering or rust on the rim, the tires need to be put on rim sealant: when changing tires, this will be cheaper than the subsequent removal and re-tire to fix a leak on the rim.
If you find a puncture, but there are no foreign objects in it, and you do not have a spare wheel and tire repair kits, there is another popular method of temporary "repair". You can screw a self-tapping screw into the found hole - if, of course, you have one. In extreme cases, you can look for a self-tapping screw in the cabin by unscrewing it from some interior detail. This method cannot be called reliable: it is unlikely to ensure complete tightness of the wheel, but at least it can help you get to the nearest tire shop.
And a couple more useful remarks. If the wheel is completely flat, then it is easier to inflate it without a spool: the latter must be unscrewed, then the tire must be inflated and quickly screwed back in.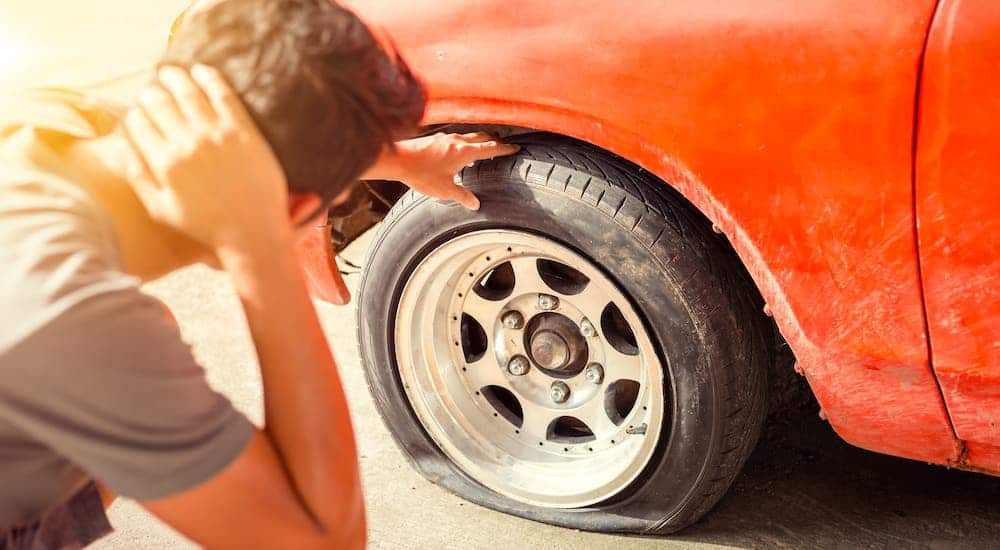 The fact is that the spool itself, when inflated, resists the compressor, and in the event of a loose fit of a flat tire to the disk, the power of a simple magazine compressor may not be enough, and the absence of a spool helps to increase air flow and facilitate the operation of the compressor. If this does not help, you can jack up the car by hanging a flat tire: this will improve the fit of the tire to the disk, and the chances of inflating the tire will increase.
Ways to repair on the spot
Now let's look at the options for self-repairing a tire using special materials that you should take with you or, if a puncture caught you in the city, buy at the nearest car shop.
1. The most common, cheapest and easiest way to do it yourself is to install a raw rubber band. The harnesses are sold complete with an abrasive awl to expand the hole in the tire and improve the contact of the repair harness with its edges, as well as a needle for installing the harness and an adhesive to fix it and at the same time seal the puncture. When choosing a repair kit in a store, you should pay attention to the following nuances:
Install the harness in the following order. First, the found hole is expanded with an abrasive awl - you need to insert and remove it several times into the puncture site. Then the tourniquet is inserted into the eye of the needle, and glue is applied to it. After that, the needle with the tourniquet must be inserted into the hole in the tire and pulled out sharply - so that the tourniquet remains in the hole, and the needle comes out without it. If everything worked out, it remains only to cut the end of the harness flush with the surface of the tire and pump up the wheel.
The advantages of repairing with a harness are quite decent reliability, simplicity and low cost. On a well-repaired tire, you can drive for a long time, and if the repair site starts to poison, you can either replace the harness or have the tire repaired in a quality service. Among the minuses is the possibility of damaging the cord during installation, as well as lower reliability compared to “full-fledged” repair methods in a tire shop. Strictly speaking, a tourniquet is still a temporary repair, so if it is possible to pump up a wheel and get to a tire fitting, then it is better not to enlarge the hole in the tire and get to the experts.
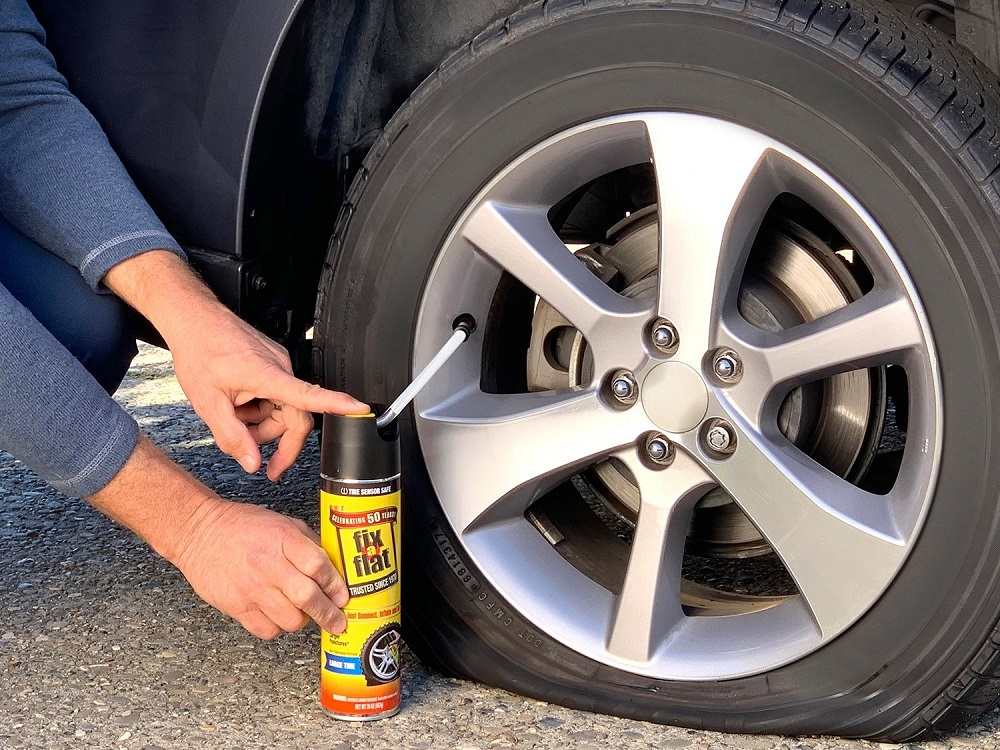
2. The second repair option is aerosol liquid sealants sold in cans. To repair a punctured tire with sealant, you need to remove the foreign object from the puncture site, then pour the sealant into the wheel through the valve, twist it to distribute the composition inside the tire, pump up the wheel and drive several kilometers at low speed for the final uniform distribution of the sealant.
The advantage of this repair is that it is easier and less labor intensive than installing a harness. However, there are also disadvantages: the larger the hole, the higher the chance that the sealant will not be able to eliminate it, and such a repair can affect the wheel balance. Compared to a tourniquet, it can be considered even less reliable and preferable, but simpler.
Repair options at a tire shop
If you put on a spare tire and brought the wheel to a tire shop, you may also be offered several repair options. Consider the most popular with an indication of the advantages and disadvantages.
1. The first repair method is the same harness installation as described above. As we remember, the tourniquet refers to a temporary repair, so among tire specialists this method is considered bad form, but many workshops do not exclude it from the list of services. All the advantages and disadvantages are the same here: such a repair will be the fastest, simplest and cheapest, but less reliable than other methods. It is worth choosing it in cases where the price and / or speed of the procedure is more important to you than anything else. If quality is a priority, then it is better to fork out for the options listed below.
2. The second option for repairing a puncture is to install a patch on the inside of the tire, the so-called cold vulcanization. In this case, the tire is removed from the disk, the surface around the puncture is treated with an abrasive, and the damage is sealed with a special patch. This is a more preferred repair method than a tourniquet: it is more reliable and durable, especially in the case of side punctures, when not the thick tread part of the tire is damaged, but the thinner sidewall. Among the minuses, only a higher cost can be noted: in addition to the actual tire repair, you will have to pay for the removal and installation of the wheel (or do it yourself), tire fitting and balancing.
3. The third option is a "complex" of the first and second: installation of the so-called repair "fungus". The “hat” of the fungus is a patch, and the “leg” is threaded from the inside of the tire to the outside. After gluing the patch, the excess part of the leg is cut off, as in the case of the tourniquet. Thus, not only the inner surface of the tire is closed, but also the hole itself. The advantages and disadvantages of this repair method are generally the same as those of a patch.
4. An extreme, “emergency” measure when repairing a punctured wheel is to install a camera in it. Typically, this method is used for tires that are no longer worth repairing, or “for reliability” after repairing a complex puncture. It should be understood that almost all modern tires are tubeless, that is, they are not designed to install a camera, so it’s not worth driving a wheel repaired in this way for a long time. Installing a tube is a temporary solution for riding until a new tire is purchased, and sometimes such wheels are left as spares. So this repair method can be kept in mind as a backup.
In conclusion
We deliberately left out of this text such methods as combined repair of tires with a tourniquet and a patch and hot vulcanization. The first is used quite rarely and for specific damage, and it is enough just to know about its existence. Well, the second is used to repair serious side cuts, and it is not only rare, but also very expensive. The cut site in this case is prepared, filled with raw rubber and processed with a hot press for vulcanization. Equipment for this procedure is not available in every tire shop, and the cost of repair can be about half the cost of a new tire.
interesting popular questions
Articles / Practice ATF, PSF and three different colors: what to fill in the hydraulic booster and what can be mixed Unfortunately, power steering fluid is usually remembered in two cases: when the pump is already dying and starting to howl, or if it has leaked somewhere. In a good way, of course, she also needs me ... 52 0 0 02. 12.2022
Articles / Practice Do No Harm: 10 Common Winter Car Mistakes In winter, the car is much more vulnerable than in the warm season. Many parts lose their flexibility, elasticity, become brittle. But a bit of attention and understanding on the part of the driver allowed ... 1115 3 one 12/01/2022
Articles / Statistics Not only parallel imports: why and how dealers join the fight for the secondary market With a shortage of new cars, the focus of many buyers has shifted towards used cars. The phenomenon is sad, but predictable and quite normal. Well, the second normal phenomenon ... 948 3 one 29. 11.2022
Test drives / Test drive Haval Dargo vs Mitsubishi Outlander: the dog is barking, the stranger is coming In the Haval dealership in the south of Moscow, life is in full swing: buyers look at cars, communicate with managers and sign some papers. While I was waiting for the test Dargo, the same cross... 17917 7 205 13.09.2022
Test drives / Test drive Motor from Mercedes, emblem from Renault, assembly from Dacia: test drive of the European Logan 1.0 It would seem that what's new can be told about the second generation Renault Logan, known to every Russian taxi driver, as they say, up and down? However, this car has.