What sets Stan’s rims apart is the patented shape. They feature a shallow drop-channel, a smooth transition to a wide, flat bead seat, and a very low sidewall. These features together make up our Bead Socket Technology (BST) profile, which makes Stan’s rims the easiest to set-up, most secure, best performing tubeless rims on the market..
For our mountain bike wheels, you will need one layer of our Yellow Tape (width varies by model), a Universal Valve, and sealant. Our road rims require two layers of tape. All of our in-house built wheels come with tape and valve stems pre-installed.
While most mountain bike tires can be used on our rims with proper set-up, we recommend choosing tires labeled "Tubeless Ready" for best results. Some tires are more porous than others and may require more sealant during initial setup.
Road tires, or any tire you intend to inflate over 40psi, must be specifically labeled for tubeless use, as these tires will have beads designed specifically to accommodate the higher loads seen in a high-pressure tubeless application. When in doubt, consult the manufacturer of your tire. Road tires that are labeled “Use only with hook bead rims” should never be used tubeless.
Yes, absolutely. While we firmly believe that tubeless is the best option for all riding applications, tubes can be used in our wheels.
Our recommended weight limits are determined by the individual components of the wheel build (rim choice, hole count, spoke gauge, lacing pattern) and vary between wheels. Please check the individual wheel page for the weight recommendation for the wheel of your choice. These weight recommendations are guidelines and have some flexibility based upon intended use and rider skill level.
A tire and rim work together as a system, therefore maximum tire pressure is specific to the rim and tire combination you will be riding. The maximum recommended pressure for common tire sizes for each rim is listed on their respective product pages as well on the rims themselves (if you are unable to locate this information on your rims, please feel free to contact us). Your tire will also have a labeled maximum pressure - consult both the rim and tire for pressure recommendations, being sure to stay under the limits labeled on both. Example: a tire has a maximum labeled pressure of 65psi and the rim has a maximum pressure of 45psi for a tire of that size. The maximum pressure you should run is 45psi.
Figure 1. Rigid Body Cassette
Figure 2.Individual Gear Cassette
Stan's freehubs are made lightweight using aluminum like many other brands. We recommend using cassettes with a rigid alloy carrier (XTR, XT, XO, etc. - Figure 1) for the largest sprockets. Cassettes with individual cogs (Figure 2) may mark the alloy freehub, though marks are only cosmetic and will not affect the performance of the hub.
Road tubeless offers the same benefits as tubeless mountain bike applications: fewer flats, lower rolling resistance, more comfort, and more traction.
It is our experience that most 700c road rims can be converted to tubeless with two layers of Yellow Tape, a Universal Valve, sealant and a Road Tubeless tire. Please check with the manufacturer of your rim for their recommendations on tubeless use prior to any conversion.
Rider weight and terrain will ultimately help you determine your preferred pressure, but a good starting point is 10% lower than you would run with tubes.
Yes and no. In a laboratory environment, yes, higher pressure does create lower rolling resistance. However, we do not ride on perfect surfaces, and even the nicest, new pavement is imperfect. These imperfections in the surface exert an opposing force on the tire; a lower pressure tire is able to conform to these imperfections and keep momentum moving forward, and therefore roll faster.
Yes, our sealant can be used in any tubeless application, including UST. Please follow your rim and tire manufacturer’s guidelines regarding the use of sealant.
For a XC 29er tire (2.0-2.2”) we recommend 3-4 ounces (89-118ml) of sealant as a starting point. The amount of sealant can be adjusted based on the volume of the tire. More sealant can also be added if a tire is particularly porous and difficult to seal. For road and cyclocross tires, we recommend 2 ounces (60ml).
Yes, if the tube or tubular has a removable valve core. If there are two opposing flat surfaces just below the top of the valve, you can use our valve tool to unthread the core and sealant can be installed. We recommend injecting 1-2 ounces (30-60ml) of sealant into tubes or tubular tires. Sealant will not damage tubular tires.
This is the natural process of the sealant evaporating. It is more evident in some tires, but is nothing to be overly concerned about. This “weeping” does not impact the effectiveness of the sealant. The weeping will dissipate as the sealant seals the casing of the tire. More porous tires may require a sealant refresh shortly after the initial setup.
The sealant should last an average of 2-6 months depending on factors such as: temperatures and humidity in your area, how often you ride, where you store your bike (cooler is better), tire casing thickness, number of punctures the sealant has already sealed that you never knew you had, etc. A good preventative maintenance schedule for most riders is to check/refresh your sealant quarterly (every three months).
Stan’s Sealant does not have an expiration date and will last many years in the bottle. Sealant bottles should be kept tightly sealed, and stored in a cool, dry place. Sealing crystals can settle, so be sure to shake the bottle thoroughly before use.
Anti-freeze agents allow the sealant to be used in environments as cold as -20°F (-28.8°C)
We use natural latex in our sealant and a small amount of ammonia is added to natural liquid latex as a stabilizer when harvested. While there may be a strong smell when initially opening your bottle, this trace amount of ammonia will continue to off-gas over time and the smell will fade. This very small amount in our finished sealant formula will have no damaging effects, even after years of use. Although our Yellow Tape may not be necessary to seal your rim, you may add one layer to protect un-anodized or scratched areas of your rim from oxidation due to moisture in the sealant. Our MSDS can be found on our Tech Docs page.
Stan’s Sealant will not damage your tire, however the use of liquid sealant may void the tire warranty on some models with certain manufacturers. Please consult your tire manufacturer’s warranty guidelines.
Race Sealant is the race-day variation of our popular sealant. While Race Sealant uses the same liquid base as our regular sealant it contains twice the particulate mix as well as a special XL crystal that isn’t used in the standard formulation. These additions allow the sealant to seal larger punctures and keep you racing. As it is made for race-day use it does require more maintenance: Race Sealant should be inspected more often than standard sealant, approximately every 2-3 weeks. It also cannot be injected through the valve; you must break the bead and pour the sealant directly into the tire.
Yes, our two sealant formulas can be mixed.
It is always good to wipe excess sealant out of your tires if you plan to use them again. A dry rag is sufficient for cleaning out regular sealant. Race Sealant must be rinsed out of the tire with water after use and then wiped with a rag. If allowed to dry, excess Race Sealant can cause the casing to stiffen, thereby affecting the performance of the tire.
Rinse any spills with cold water right away; do not let the sealant dry. We also recommend pre-treating or washing with a surfactant-based detergent such as Tide as soon as possible. Unfortunately, once your clothing is stained it will most likely not come out.
CO2 is best used in an emergency situation. If you have no other means to get your tire to seat, you can use CO2. However, we recommend that you let the CO2 out either after your ride, or after setting up your tire, and replace it with regular air. Prolonged exposure to CO2 can cause the sealant to separate and/or decrease the life of your sealant.
The widths of Yellow Tape we offer are based on the profiles of our rims and the recommendation for our rims and wheels can be found in the specifications on every product page . If you are using our tape in a different tubeless-ready rim, the tape should go from sidewall to sidewall (ie: not just over the spoke holes). We recommend tape that is 1-2mm wider than the internal width of your rim to account for the drop channel.
No. "Tape and Valve" conversions are only appropriate with rims that are labelled as "Tubeless Ready," "Tubeless Compatible," or similar. The BST (Bead Socket Technology) profile developed by Stan's NoTubes was a departure from traditional bicycle rim design and its core concept is the basis for the vast majority of "tubeless-ready" rims and wheels on the market today. Stan's Yellow Rim Tape is not, by itself, a tubeless conversion for older, traditional, non-"tubeless-ready" rims. These older rims require the use of a Stan’s NoTubes Rim Strip (now discontinued) to re-shape the rim bed to achieve a safe, secure tubeless setup. While we would recommend considering a new tubeless-ready wheelset in place of a rim strip conversion, Stan's Rim Strips and kits may still be available at your local bike shop and can be used to convert vintage bikes with older, non-tubeless-ready rims. Using only Yellow Tape and Stan’s Sealant on a non-tubeless-ready rim can result in not only difficult inflation during set-up, but catastrophic "burping" issues while riding. While Stan's Rim Strips have been discontinued, we continue to provide information and resources to assist in converting non-tubeless-ready wheels.
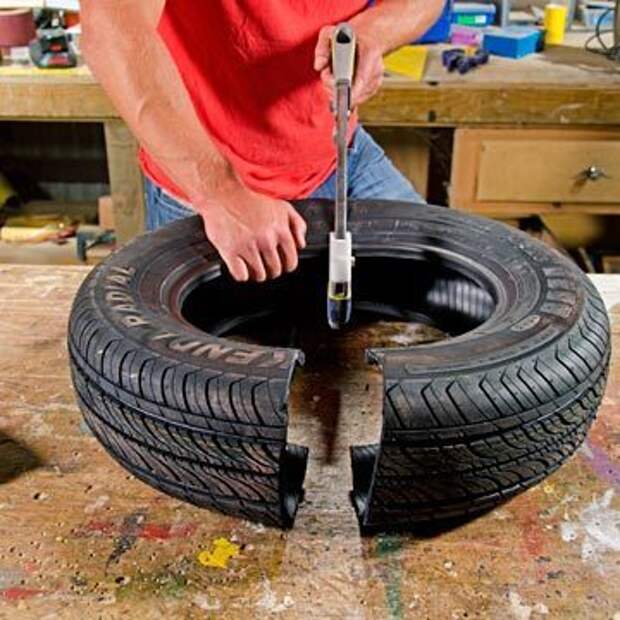
Tape should be applied smoothly and evenly in the rim bed from sidewall to sidewall, without air bubbles or going up onto the sidewall. View helpful videos.
Stan’s Yellow Tape uses a natural gum rubber adhesive that, with proper technique, sticks where you want it when you need it yet peels up leaving no residue for easy maintenance. Make sure the rim is very clean before applying. We recommend spraying with isopropyl alcohol and wiping with a clean rag. Pull firmly while applying pressure with your opposite hand to hold the tape in place. Do not attempt to reuse tape once it has been removed from the rim.
That depends on the rim and application. BST wheels are designed for low-pressure use (under 45psi) and require one layer of tape. BSTr wheels are designed to withstand high-pressure use (over 45psi) and require two layers of tape.
We do not recommend patching or partially repairing your rim tape. If your tape has been damaged, peel off all of the tape and re-tape the rim.
We do not recommend the use of Gorilla tape or similar tapes in either our rims or those of other manufacturers. These types of tape are too thick to be used with our rims and their porous construction can allow moisture into the rim cavity, resulting in possible nipple corrosion issues. Additionally, they leave a residue mess when removed, making maintenance a chore.
No. "Tape and Valve" conversions are only appropriate with rims that are labelled as "Tubeless Ready," "Tubeless Compatible," or similar. The BST (Bead Socket Technology) profile developed by Stan's NoTubes was a departure from traditional bicycle rim design and its core concept is the basis for the vast majority of "tubeless-ready" rims and wheels on the market today. Stan's Yellow Tape is not, by itself, a tubeless conversion for older, traditional, non-"tubeless-ready" rims. These older rims require the use of a Stan’s NoTubes Rim Strip (now discontinued) to re-shape the rim bed to achieve a safe, secure tubeless setup This reshaping creates a much more secure BST-like fit between the tire and the rim, allowing for easier inflation/setup and eliminating burping. While Stan's Rim Strips have been discontinued, we continue to provide information and resources to assist in converting non-tubeless-ready wheels.
Burping is the rapid air loss that occurs when the tire bead becomes separated from the rim while riding. Our BST rims are designed to offer a secure fitment between the rim and tire bead, eliminating burping.
If the valves that came with your wheels feature a removable core, you can add sealant directly through the valve using our sealant injector. Stan’s Universal Valves feature a removable core and will work with your UST rim and allow you to add sealant without breaking the bead. If using Race sealant, you must add sealant to your tire before fully installing it on the rim, as that formula cannot flow through a valve stem due to its high crystal content.
Low-pressure (up to 40psi): One of the biggest benefits of the Stan’s tubeless system is its versatility, and the shape of our BST rims enables the use of just about any tire, be it standard bead, “tubeless-ready”, or UST.
High-Pressure (above 40psi): All tubeless set-ups above 40psi must use a tire specifically labeled for tubeless use. Our BST-R rims are designed to accommodate these tires and pressures.
Rims and tires work together as a system, and using a tire that is too wide or too narrow for a particular rim can have adverse effects on performance. Our WideRight guidelines give you a range of tire widths for each rim profile, and Stan’s offers a broad range of models to fit a wide range of tire sizes and bike types. These WideRight numbers are not rigid rules; they are the size ranges we design around and what we consider optimal for performance on our rims. Using the guidelines can help you choose what rim may be best for your bike and the way you ride.
Yes, tubeless is a great option for fat and plus bike riders. We do not offer any conversion products specifically for fat bikes, but Stan’s Sealant and Universal Valves are both compatible with tubeless-ready fat bike rims and tires.
We do not currently offer any fat bike-specific tubeless products or kits.
We recommend starting with 6-7oz (177-207ml) per tire. More sealant may be required for particularly porous tires. Sealant will have the same life inside your fat bike tire of 2-7 months that it does in standard mountain bike tires.
No, we only offer our wheels built with Stan’s hubs.
Sorry, we do not accept outside hubs for custom wheel builds.
Sorry, we do not sell the individual wheelset components. We only have complete wheels, or rim-only available for purchase.
Yes, we do! We offer seven different colors in our custom wheel program. Replacement/aftermarket decals for rims or stock wheels are also available for purchase here.
Yes. Through our custom wheel program, many wheels can be built with five different nipple color options, as well as black or silver brass nipples.
Most of our aftermarket wheels are machine laced and hand-finished in our Big Flats, NY facility. Some international distributors utilize our Taiwan based wheel building facility where all wheels are built entirely by hand but follow the same quality control procedures as in NY. Certain distributors also build wheels by hand following a match spec to our other aftermarket offerings.
Some bicycle manufacturers and retailers prefer to buy our rims and build them with their own choice of hubs and spokes. The rims are no different from what we build with, however our hub parts will not be compatible with these OE hubs.
Each Stan's wheel is built to a specific tension for the rim used. For each of our rim models we list both a maximum build tension as well as the tensions that we build to in our NY facility to provide the best build and ride quality possible. Please note these tensions are measured without a tire mounted on the rim. As is the case with all wheels, tension will be significantly lower once a tire is installed.
Please see the Wheel Setup Guides for specific build information for your wheels.
Asym or Asymmetric rims are rims designed with an offset to one side to allow for spoke bracing angles that create a more balanced tension and stronger wheel. Stan's BST-A or BST-Asymmetric rim design incorporates our original patented Bead Socket Technology (BST) design to the equation, providing the easiest tubeless set up on the market.
The MK4 line represents our first asymmetrically designed tubeless rim, featuring a shallow drop-channel with a smooth transition to a wide, flat bead seat, with a low sidewall allowing for easy tubeless tire installation and inflation. The low sidewall also creates a secure tire/rim contact that promotes a tire’s optimal shape and performance at the tire/ground contact point. The 6069 alloy, welded-joint rims feature a shot-peened finish that further sets the MK4 line apart and createsa strong, crack-resistant surface.
Front: Offset goes to the disc rotor side, or rider’s left. Rear: Offset goes to the drive side. Or rider’s right. In doubt? Stan’s strongly recommends all wheels be assembled by a professional wheel builder, according to the specifications we offer in our MK4 rim specifications document.
All stock MK4 wheels built on the M-pulse hub line are 32 holes. We offer the MK4/M-pulse wheels in 6-bolt or Centerlock disc brake rotor configurations with all common freehub options: HG, XD/XDR, and Microspline.
To run the XD cog set on the XDR freehub simply leave the included silver freehub spacer in place while installing the XD cassette. To run an XDR level cog set simply remove that spacer. Tech Tip: Grease those freehub threads and cassette threads before installation.
The MK4 rim line works best with the Stan’s 35MM Universal Valves. The 44MM length will also work well if needed. We offer these valve lengths and many more in Brass or lightweight Alloy with many color options available.
In general Tubeless Ready Tires should be run at lower than a traditional tube and tire setups to get the most benefits out of this technology. When setting up your tires and wheels first review the Maximum Tire Pressure ratings for both the tire and rim (listed on the rim by model). Always use the lower of the two pressure ratings as the maximum. Maximum rim pressures are listed per rim model based on tire size/volume being used.
Yes. Please consult the tire manufacturers listed maximum tire pressure ratings for the tire and use that as your guideline for mounting a tire and tube setup on Stan’s rims. Tech Tip: We highly recommend not using a tire lever while mounting a tire/tube set up on our rims to limit the chance of potentially pinching the tube or causing potential damage to the rim tape during installation.
While we do not set definitive weight limits per rim model as many factors, including but not limited to assembly components and techniques, influence this calculation once assembled into a complete wheel we do offer the following weight limit guidelines for our complete wheels.
Crest MK4 = 190lbs (86kgs) Gravel/XC
Arch MK4 = 230lbs (104kgs) Trail
Flow MK4 = 250lbs (113kgs) Trail/Enduro/DH
The MK4 line of rims is only offered in Black. We do however offer a wide selection of decals to match your bike paint. Further custom options can be ordered through our partners at Slik Graphics.
While Stan’s only offers rims in black we do offer a wide range of colored decals to customize the look of your Stan’s MK4 27.5in or 29in rims and wheels. If you are looking for a 26in decal or that special color we do not currently offer please reach out to Slik Graphics who are the only officially licensed decal specialists to offer Stan’s custom decals.
The S2 line is available in 27.5” and 29” wheels, in all common freehub and axle configurations.
The S2 wheels are available exclusively through your local bike shops and select online retailers. We do not offer them for direct sale.
The S2 series is only available as a complete wheel, they are not sold as a rim only option.
M-Pulse is an all new premium hub platform based on the innovative magnetic pawl design proven by Project 321. It replaces traditional springs and pawls with powerful Neodymium magnets that provide fast and reliable 1.66° engagement. The pull of the magnetic pawls are at their strongest while the pawls are engaged and the weakest during coasting, keeping overall drag to a minimum. Every custom grease filled Enduro bearing is fully shielded to ensure maximum life.
All MK4 and CB7 wheelsets featuring M-Pulse hubs are offered in the most common freehub and axle configurations. Boost (15x110/12x148), Non-Boost (15x100/12x142), and Super Boost (12x157) options are available in both Centerlock and 6 Bolt rotor mounts. Quick Release, Lefty, and Torque Cap axles are not supported by M-Pulse.
Freehub options include Shimano HG, XD/XDR, and Shimano Microspline. Campagnolo cassettes are not supported by M-Pulse.
Bearing preload is the amount of side force placed on a bearing. Too little preload allows for play in the system, while too much preload results in unnecessary drag or binding. M-Pulse hubs have adjustable bearing preload on both the front and rear hub, allowing for precise tuning and wheels that spin perfectly smooth: video instructions
No, it is not possible to convert between Boost and Non-Boost spacing. Boost and Non-Boost hubs require hub shells of different widths to align the rotor and freehub body. It is not simply an end cap conversion.
All set-up and service manuals for M-Pulse hubs can be found on our Tech Docs page.
E-Sync is used on our S2, D, and EX3 series of rims.. All E-Sync Parts are backwards compatible with the previous Neo hub.
The E-Sync freehub is a Long Pawl Design which evens out load distribution inside the hub. Featuring 8.18 degrees of engagemen the E-sync comes stock with a chromoly axle and Enduro bearings.
XDR, MS, HG- QRx135 to 12x157 All Standard hub configurations
Not available: SS, 10x135, QR Bolt-on and Campy freehubs
All set-up and service manuals for E-Sync hubs can be found on our Tech Docs page.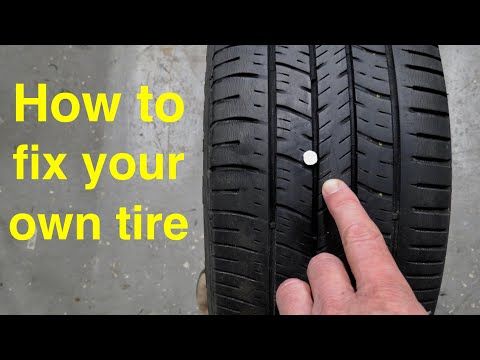
If your wheels are built with a 3.30RD hub, they are designed for road gearing options only and are not compatible with an XD driver. We also do not offer an XDR freehub body for 3.30 hubs.
Standard 3.30 hubs are 8/9/10 speed only and are not compatible with 11-speed road components. Only the 3.30RD hub is compatible with 11-speed road drivetrains. Shimano 11-speed mountain cassettes are designed to fit on a standard 10-speed freehub body (and require the use of a cassette spacer on 11-speed road freehubs).
That depends on which hub version you have. If both end caps are press-fit, yes your hub can be converted. If your end caps thread onto the hub, your hub cannot be converted to 12x142.
No, the singlespeed hub is only designed for singlespeed use and will not accept a freehub for geared use. If you would like to use your wheels on both geared and singlespeed bikes, we recommend using a standard Shimano freehub body, and a cog spacer kit for singlespeed use.
No, you cannot convert to Boost spacing. Boost spacing requires a wider hub shell to align the rotor and freehub body; it is not simply an endcap conversion. The 3.30 hub is not available in Boost spacing. Please browse our wheels with Neo hubs for Boost compatibility.
No, the release of our Neo hub was a complete departure from our 3.30 series and does not share any of the same parts. Only 3. 30 replacement parts can be used with our 3.30 hubs.
No, we do not offer a Micro Spline option for 3.30 hubs, and do not plan to in the future. Please contact us if you would like to have your wheel rebuilt with a new hub, compatible with Micro Spline drivetrains.
No, we do not offer a XDR option for 3.30 hubs, and do not plan to in the future. Please contact us if you would like to have your wheel rebuilt with a new hub, compatible with XDR drivetrains.
Yes, 3.30 hubs are compatible with 12-speed Sram mountain bike cassettes using an XD driver. 3.30 hubs are not compatible with Micro Spline or XDR cassettes.
Stock MK3 mountain wheels will ship with 15x100mm front and 12x142mm rear end caps installed. Quick release end caps are supplied in the box as well. Boost options do not come with extra end caps. MK3
Road and Gravel wheels will ship with 15x100mm front and 12x142mm rear end caps installed as well, however only 12mm front caps will be supplied in the box. QR caps are available for these wheels separately. S1 wheelsets do not ship with extra endcaps.
Quick release end caps are supplied in the box as well. Boost options do not come with extra end caps. MK3
Road and Gravel wheels will ship with 15x100mm front and 12x142mm rear end caps installed as well, however only 12mm front caps will be supplied in the box. QR caps are available for these wheels separately. S1 wheelsets do not ship with extra endcaps.
Yes, the Neo HG-style freehub is 11-speed compatible, and can be used for all 8, 9, 10 and 11-speed applications. SRAM 11-speed mountain gearing requires the use of an XD driver. The included 1.8mm spacer is always required except when using an 11-speed road cassette.
Yes, we offer XD, XDR, and Micro Spline freehub body options, compatible with your choice of 12-speed drivetrain.
No, the singlespeed hub is only designed for singlespeed use and will not accept a freehub for geared use.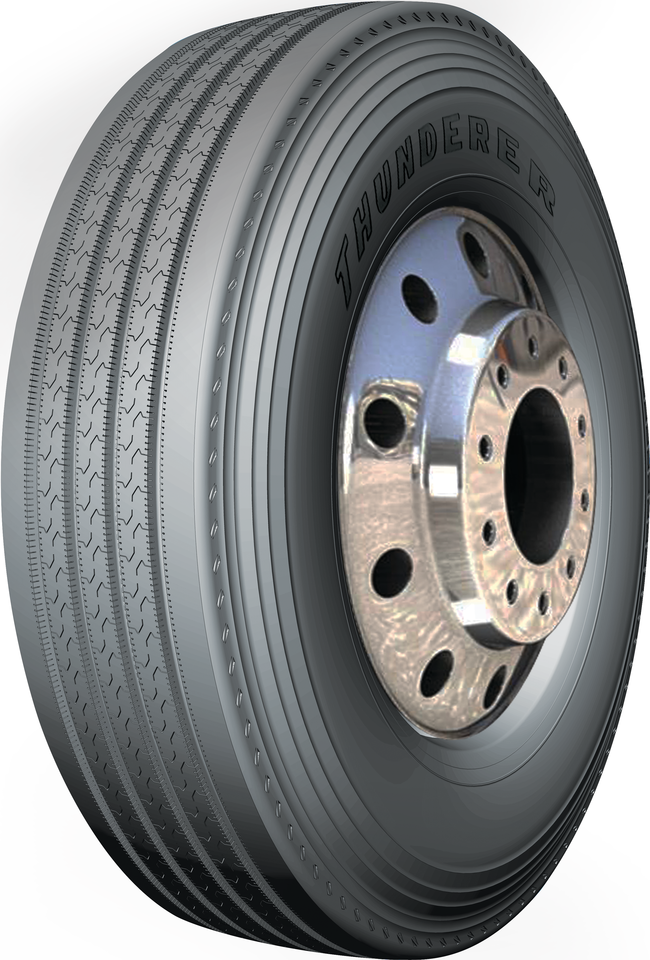 If you would like to use your wheels on both geared and singlespeed bikes, we recommend using a standard Shimano freehub body and a cog spacer kit for singlespeed use.
No, you cannot convert to Boost spacing. Boost spacing requires a wider hub shell to align the rotor and freehub body; it is not simply an end cap conversion. The same applies when attempting to convert from Boost to conventional spacing. Neo hubs are available in Boost spacing for all of our wheel models.
No, the release of our Neo hub was a complete departure from our 3.30 series and does share any of the same parts. Only Neo replacement parts can be used with our Neo hub.
We offer two freehub options, the Duraync is stock on our standard Neo while the Speedsync is offered on the Neo Ultimate. Durasync freehubs are 6-pawl, simultaneous engagement, offering 36 points (10 degrees) of contact while the Speedsync is upgraded with 6-pawl, phased engagement to 72 points (5 degrees) of contact. Both freehubs are compatible with all Neo hubshells.
Due to the tight tolerances inherent in the Lefty design, a small number of Lefty hubs can exhibit signs of lateral play at the spindle during setup or after initial use. An additional shim can customize the fit and eliminate play at the hub. Shim installation instructions are available in the Neo and Neo Ultimate Hub Manual.
All MK3 rims use the 35mm Universal Valve, with the exception of the Grail which uses the 44mm Universal Valve.
Can I use the same spokes if I want to rebuild my wheel on a MK3 rim?
Check out the Stan’s rim chart to verify that the ERD (Effective Rim Diameter) of your chosen MK3 rim matches that of your existing rim.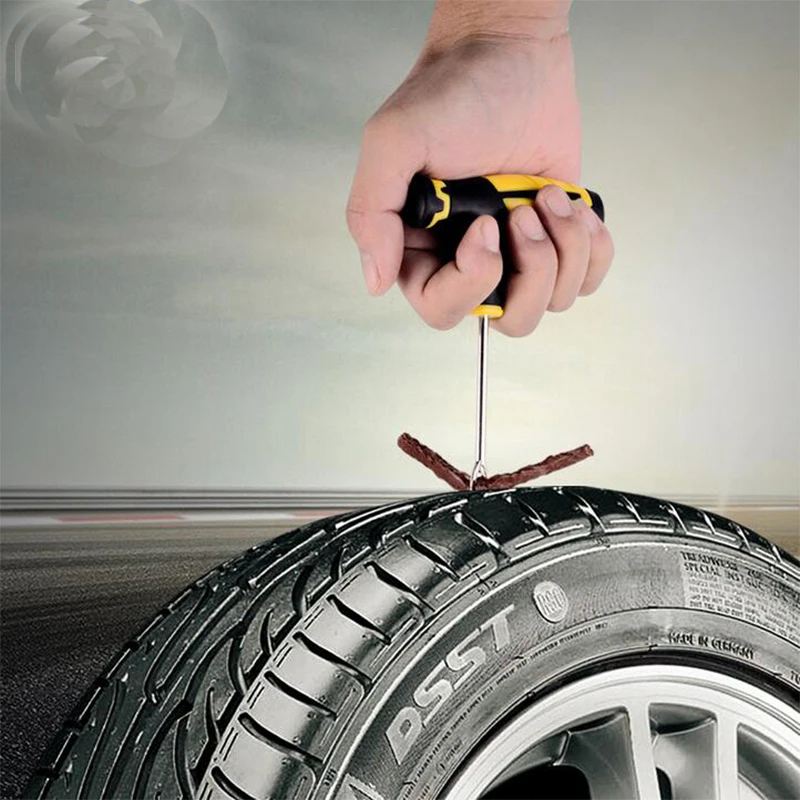 Rims with ERD’s within +/-1mm can use the same spoke length. One note: we do not recommend reusing spokes in most scenarios, as the previously tensioned and fatigued spokes may compromise the consistency and long-term integrity of the rebuilt wheel.
Unfortunately, our rims are only available in black.
Maximum tire pressure for most MK3 wheelsets is 45psi. Recommended max pressures are the same for both tubed and tubeless applications. The Grail and Crest rims are both compatible with higher pressures for use with a wider range of tires. The Grail has a max of 110psi and the Crest has a max of 55 psi. For more specific information on the exact rim you are interested in, maximum recommended pressure for common tire sizes for each rim is listed on their respective product pages as well on the rims themselves (if you are unable to locate this information on your rims, please feel free to contact us).
Rims and tires work together as a system, and using a tire that is too wide or too narrow for a particular rim can have adverse effects on performance. Our WideRight guidelines give you a range of tire widths for each rim profile, with the MK3 line available in six different models to fit a wide range of tire sizes and bike types. These WideRight numbers are not rigid rules; they are the size ranges we design around and what we consider optimal for performance on our rims. Using the guidelines can help you choose what rim may be best for your bike and the way you ride.
Our recommended weight limits are determined by the individual components of the wheel build (rim choice, hole count, spoke gauge, lacing pattern) and vary between wheels. Please check the individual wheel page for the weight recommendation for the wheel of your choice.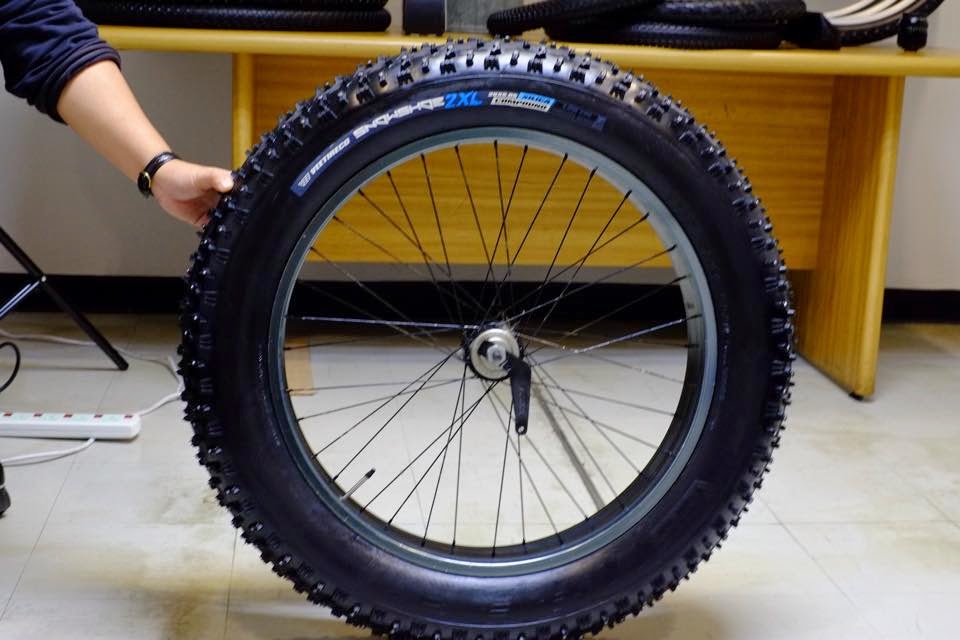 These weight recommendations are guidelines and have some flexibility based upon intended use and rider skill level.
Yes, we do! We offer seven different colors on complete wheel builds in our custom wheel program. Replacement/aftermarket decals are also available for purchase here.
S1 wheels feature the same WideRight BST profiles as their MK3 counterparts but are extruded from less exotic 6061 aluminum and are sleeved rather than welded. The rims built around the same versatile Neo-series hubs as our MK3 wheels but use a heavier gauge spoke and brass nipples. S1 wheels are on average around 165grams/pr heavier than MK3 wheels.
Unlike our MK3 wheels which are built and shipped from our NY facility, S1 wheels are built to our specifications by a select group of our distributors and available exclusively through your local bicycle retailer.
No, S1 rims are offered only as part of a complete wheel.
Our WideRight guidelines make it easy to find the perfect rim width for the tire size and volume you ride. The S1 series is available in seven different profiles to fit just about any choice of tire and riding style.
No, unfortunately we do not offer aftermarket decals for our S1 rims.
All MK3 rims use the 35mm Universal Valve, with the exception of the Avion which uses the 55mm Universal Valve.
Our recommended weight limits are determined by the individual components of the wheel build (rim choice, hole count, spoke gauge, lacing pattern) and vary between wheels.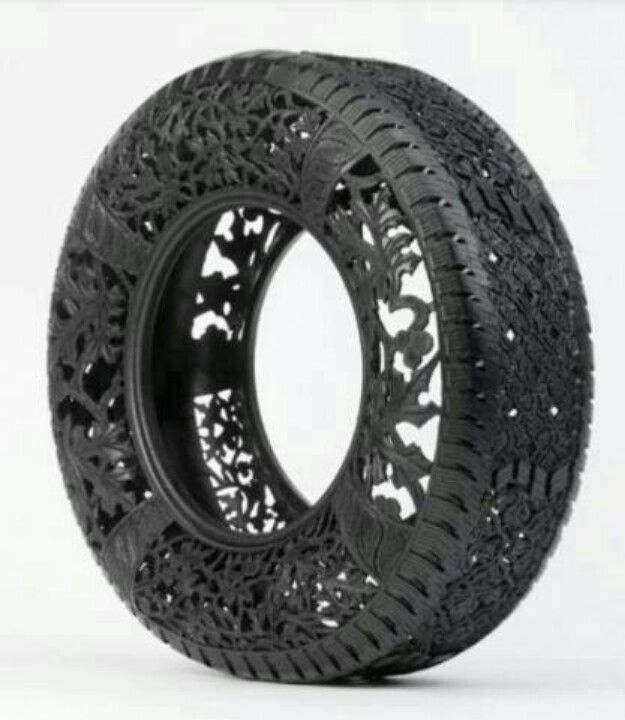 Please check the individual wheel page for the weight recommendation for the wheel of your choice. These weight recommendations are guidelines and have some flexibility based upon intended use and rider skill level.
Maximum tire pressure for most CB7 wheelsets is 45psi. Recommended max pressures are the same for both tubed and tubeless applications. The Grail and Crest rims are both compatible with higher pressures for use with a wider range of tires. The Grail has a max of 85psi and the Crest has a max of 55 psi.
Our WideRight guidelines make it easy to find the perfect rim width for the tire size and volume you ride. There are four different CB7 mountain profiles available and two CB7 all-road profiles to fit your choice of tire and riding style.
Yes, we do! We offer eight different colors in our custom wheel program. Replacement/aftermarket decals are also available for purchase here.
While most plug kits are modified or scaled-down versions of car and motorcycle products, the DART was designed from the ground up as a bicycle-specific tool. Rather than wedging a hard rubber strip into the tire, the DART uses a flexible fabric that conforms to the shape of the puncture. The Darts are also treated with a catalyst that reacts with the sealant to instantly create an airtight seal. This design lets you seal cuts and punctures easily on the tread as well as in the sidewall of the tire, a place where other plugs often fall short.
The DART was developed for use with Stan’s Sealant, but will react to some extent with any tubeless sealant that uses latex as a base.
No, the feather material is soft and pliable enough that it does not interfere with the tire and trimming is not necessary.
There is a valve core remover integrated into the DART tool, allowing you to add more sealant without carrying a dedicated valve tool.
Please see our Shipping and Returns information.
Please fill out our dealer application and we'll be in touch shortly.
Please fill out our dealer locator change request form and we'll be in touch after we've updated your listing.
Please see our Warranty Policy.
This simply means that the wheel is not currently built and ready to ship, but the components for those wheels are in inventory. Please place your order and your wheels will be built and shipped within 3-10 business days, out of stock items are items that we do not currently have in inventory.
Stan’s does not take orders for out of stock products. Any item that is out of stock will not be included with the order. If an item is out of stock on the website, you may add your email to the “Notify” box and you will be emailed when the item is available. Every effort will be made to provide inventory status at the time the order is placed.
Tubeless tire setups are becoming increasingly popular among mountain bike, gravel, and even road cyclists, and for good reason: a tire that seals its own punctures is pretty convenient. So if you’re going to run tubeless tires, you’ll definitely need the key ingredient that makes that magic happen—that is, tubeless tire sealant.
We spoke with Drew Esherick, team mechanic for Pivot Maxxis p/b Stan’s NoTubes cyclocross team, to get expert advice on how to use tubeless tire sealant and more.
(Haven’t jumped on the tubeless train yet? Here’s everything you need to know about tubeless tires to decide if they’re right for you.)
Tubeless tire sealant is the liquid that goes inside tubeless tires and automatically plugs punctures as they happen. Most sealant is made from a natural latex base that dries inside a puncture when it’s exposed to air. There are particulates suspended in the latex—different brands use different materials—which is what gives the latex something to stick to in order to clog the hole instead of seeping out.
→ No matter what you need to improve in your riding life, find it with Bicycling All Access!
Race sealant is a version that has more and larger particulates floating in the latex than regular sealant, allowing it to coagulate much faster and fix larger punctures more quickly. But it also requires replacing a lot more frequently, so it’s best for riders who race regularly.
Trevor Raab
It depends on whether you’re setting up your tires for the first time or just topping them off.
“The imperfections in a new tire are going to soak up some of the sealant,” says Esherick. So when you’re doing an initial setup, you use about double the sealant you would when you’re just topping it off.
For a brand-new gravel or mountain bike tire, use about four or five ounces, and use two ounces for a road tire. These are approximate measurements, so don’t worry about getting it exactly right. “There’s no such thing as too much,” says Esherick. But it’s very common to use too little then wonder why your sealant “doesn’t work,” so be generous with it.
$34 at Competitive Cyclist
Credit: Stan's No Tubes$10 at Competitive Cyclist
Now 25% Off
$30 at Amazon
Credit: Muc-Off$30 at Amazon
The least messy way to get sealant into your tires is through the valve stem. To do this, you’ll need a valve-core remover to remove the valve core and a sealant injector to measure it out of the container and squirt it though the valve, or a pre-measured bottle with an injector tip. If you don’t have either of these, you can separate a section of your tire from the rim and just pour it in.
Trevor Raab
Trevor Raab
If you’re pouring it in through an opening in the tire, Esherick suggests pouring the sealant in with the opening at the bottom of the tire, and then turning the wheel slowly to let the sealant run down inside the part of the tire that’s fully installed. This will allow you to finish installing that last bit of bead without making a mess. If you’re using race sealant, the larger coagulative particles are too big to fit through the valve without clogging it, so you’ll always pour it into the tire this way.
After adding the sealant, replace the valve core and inflate the tire to its specified pressure quickly to get the bead to settle in place on the rim. (Do not over-inflate; that can lead to explosions!)
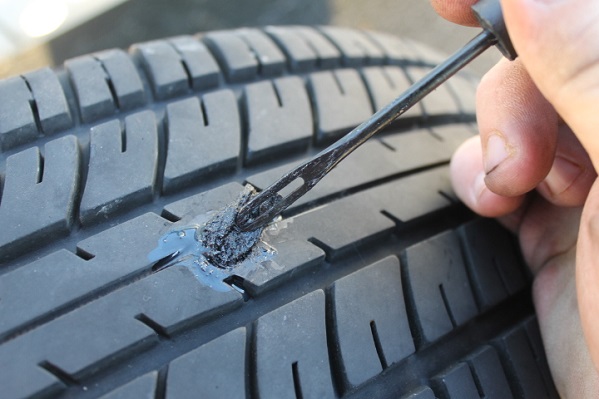
If your sealant is leaking out of a larger puncture rather than filling it, you can plug it by hand using a tubeless tire plug.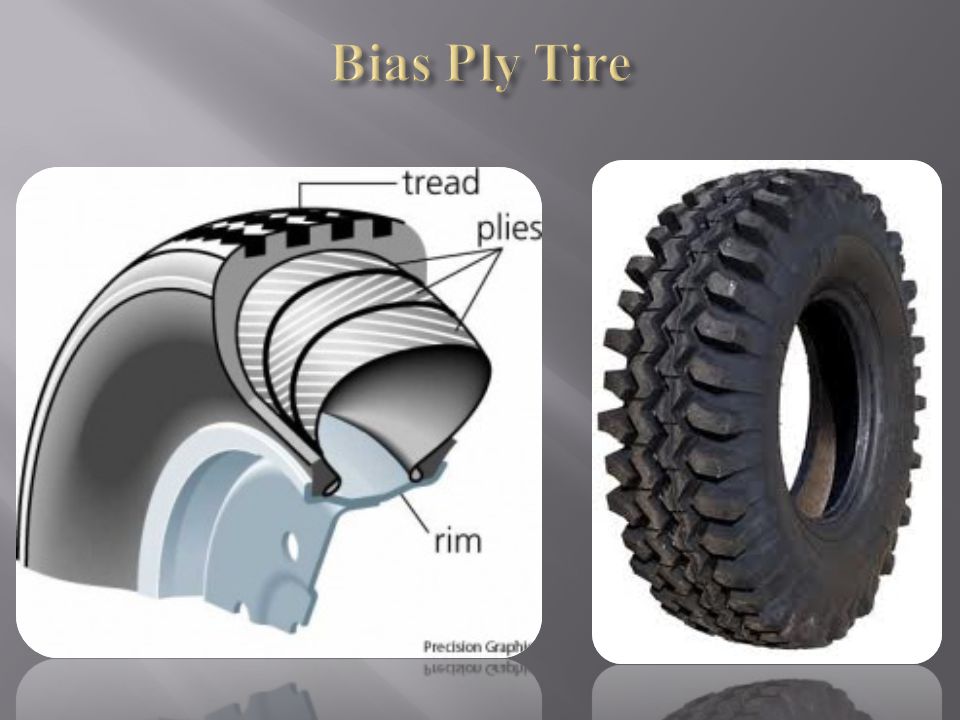 These are little rubber strips you poke directly into the hole with a needle. The rubber will get stuck in the tire and react with the chemicals in the sealant and expand to plug the hole. And yes, you can put a bunch in your tire if you have multiple holes.
If a puncture doesn’t seal you can use a plug kit to help seal the hole.
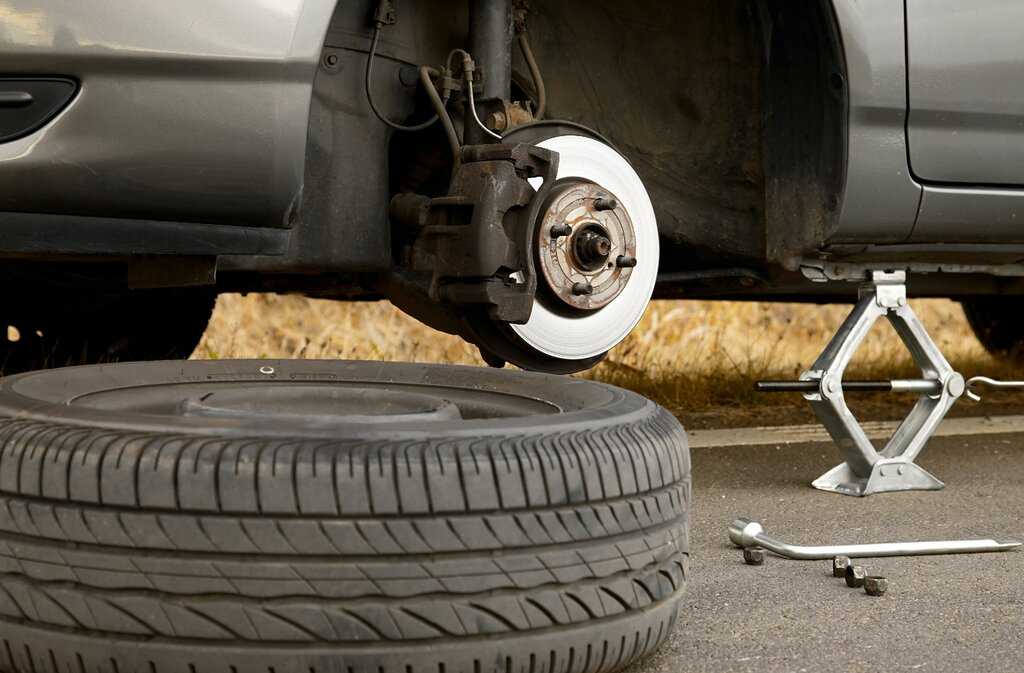
Trevor RaabIf you get a gash in your tire that’s too big for the sealant to handle or even to plug by hand, you can remove the tubeless valve and install a regular inner tube on the rim to get home. Another thing to keep in mind is that sometimes sealant takes a bit of time to fix larger holes: You might need to pull off the trail and let it pool around the puncture for a minute or two so it can do it’s thing.
“If your tire gets a puncture that just won’t seal, it’s possible you are riding with too much pressure,” Esherick says. “And if you’re doing that, you’re not getting the benefit of tubeless tires, which is to run a lower pressure that’s more comfortable and has better traction. ”
”
$155 at Trek Bikes
$66 at Amazon
Keep It Clean
$10 at notubes.com
Precisely measure sealant and install with no mess.
Mid-Ride Repair
$60 at dynaplug.com
Brass-tipped plugs make fixing bigger punctures easy.
“Bicycle tires are really thin and porous, which makes sealant evaporate over time and dry out,” Esherick says. That’s why it’s necessary to top off your sealant about every two to three months, even if you haven’t gotten a lot of punctures.
If your tire looks like this it’s time to clean it out and add some fresh sealant.
Trevor RaabAccording to Esherick, two ounces is the right amount of sealant for topping off gravel tires all the way up to 2. 5-inch mountain bike tires. “If you’re up in the 2.5- to 2.6-inch range, you might want three ounces, and 2.7- to 2.8-inch tires require about four ounces,” Esherick says. “As you get a larger volume tire, you’re going to want a little bit more sealant in there.” Two ounces is enough for road tires for the first time, as well as plenty whenever you top them off.
Try to, at least once a year, take your tire completely off the rim to scrape out the dried sealant and start fresh. This preventative maintenance will keep your tires turning in time.
Riley Missel
Riley Missel is an experienced road racer, mountain biker, national champion on the track, and a former Bicycling editor. She is a USA Cycling-certified Level 1 coach, a loud and very stoked Spin instructor, and she will definitely stop the ride to pet that dog.
This content is imported from OpenWeb.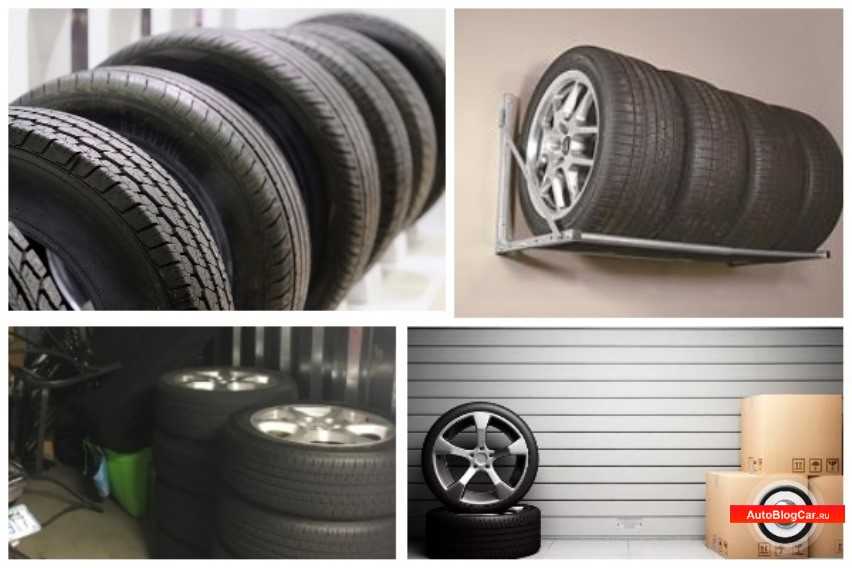 You may be able to find the same content in another format, or you may be able to find more information, at their web site.
In one of the previous articles, we talked about how to properly dispose of car tires. This is indeed a very serious problem, because the number of discarded but not properly disposed of tires in Russia is measured in millions of tons. Another opportunity to reduce environmental damage is the retreading of used tires.
The idea of extending the life of car tires dates back to the last century. Always and at all times, zealous car owners wanted more resource from tires. The most widespread are two technologies - the replacement of the tread tape and the so-called recutting of the tread (regruving). Those who remember the times of the USSR are probably familiar with the latest technology - during the years of total shortage it was a popular way to extend the life of tires, including cars. Of course, this happened with varying success - for example, retreaded tires could explode while driving due to the destruction of the cord.
The second technology is the so-called welding, that is, the replacement of the tread tape with a new one, using a cold or hot method. Currently, this is the most popular method of tire retreading, which, however, has a number of limitations. Let's look at each technology in turn.
To begin with, the most important thing. Car tire carcasses are not designed to be reused, so they cannot be restored in any way! Everything that will be said about retreading applies only to "commercial" tires for trucks, construction equipment and buses. These tires have a strong all-metal carcass that can withstand much more than the tread, as well as a special design designed for two to three times recovery.
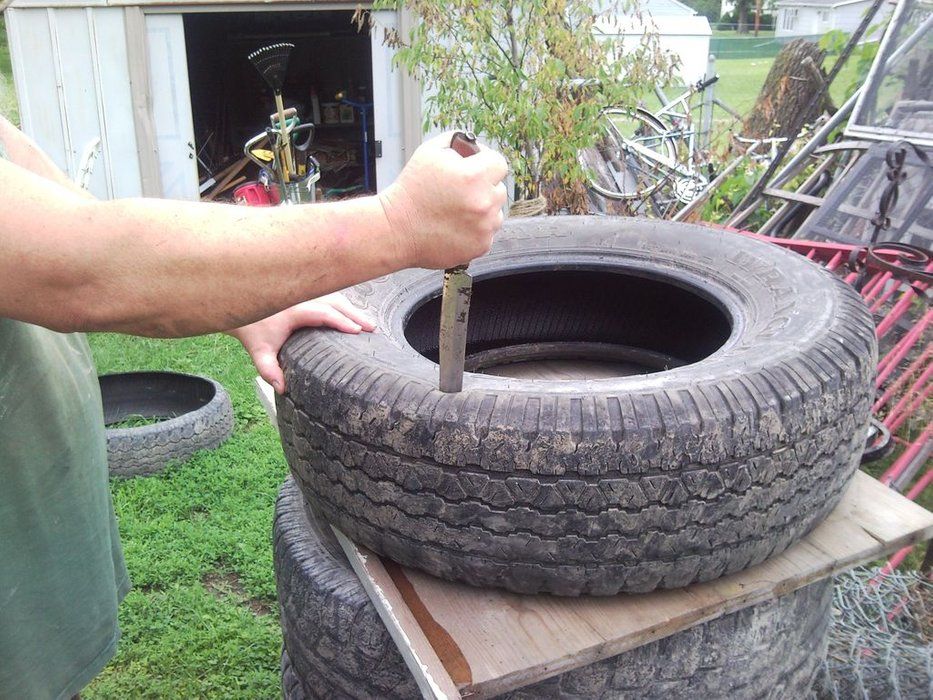
First, let's talk about regrooving the tread, or, as it is also called, regrowing. This is a procedure for deepening the tread with a hand-held cutting tool. Of course, this can not be done with any tires, but only with those that have the Regroovable marking.
In such cases, the design of the tire implies an additional layer of rubber at the base of the tread, which allows you to deepen the pattern by about 3 millimeters, thereby “winning” another 35-40 thousand mileage. The optimal moment for recovery is tread wear up to 3 mm.
Image: Michelin
This retreading method is considered to be the most inexpensive - spending only 3-5% of the cost of a new tire on regrooving, you can get another 20-30% of the original resource.
Regrowing also has disadvantages. The success of the operation depends entirely on the quality of the framework and the skill of the specialist performing the recutting. Some tire brands allow multiple regrooving for certain models, but after that, the tread must still be replaced. In addition, in a number of countries, the installation of "undercut" tires on the front axles of buses is prohibited at the legislative level.
Retreading, or changing the tread band, is the most common way to retread truck tires, allowing them to recover at least 50-60% of their original life. Retreaded tires are widely used in all world markets, for example, in Europe they account for more than half of total sales.
Given the high quality of the tire carcass, welding can be performed repeatedly, increasing the tire life up to 450-500 thousand kilometers. Hardfacing can be cold or hot. Let's analyze the differences between these technologies.
When retreading car tires in small factories, the cold method is most often used.
Image: GoodYear
It looks like this. The worn tire is placed in a special machine, where the tread layer is removed from it with a cutter. The breaker layer is carefully inspected for defects, which are repaired using pneumatic tools. The next stage is extrusion, in which the breaker is covered with a layer of raw rubber covering all defects. After that - another layer of raw rubber.
Images: Nokian Tires
Next, the tread tape is applied to the tire. As a rule, all major tire manufacturers produce such tapes, for example, Nokian Tires calls such treads Noktop and E-Tread. An interesting feature of the Noktop tread is the two-layer structure. A softer top layer provides improved traction in winter. By spring, it wears off, revealing a more rigid tread, optimal for use at positive temperatures.
Image: Nokian Tires
The assembled tire is placed in a so-called envelope, from which the air is evacuated. Next, the tires are placed in an autoclave, where, at a pressure of about 4 atmospheres at a temperature of 110 degrees Celsius, the vulcanization process takes place. As a result, the tread is tightly connected to the tire carcass.
The second technology - hot vulcanization - is distinguished by the highest quality of recovery, but due to its high cost and energy consumption, it is used only in large-scale industries.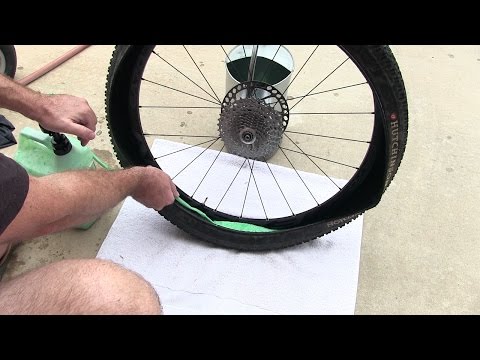
Hot welding is performed at 180 degrees Celsius and its main difference from the cold process is that a large layer of raw rubber (including sidewalls) is applied to the prepared carcass and then vulcanized with a press -shape on the tire is formed tread pattern - just like when creating a new tire.
For example, GoodYear has this technology called TreadMax or Next Tread. Technology means not only the tape itself, but also special equipment complete with technological maps.
Hot retread tires are more expensive than cold retread tyres, but their quality and service life are higher.
Modern technologies really make it possible to provide high-quality and even repeated retreading of truck and commercial car tires. But restoration is different for restoration - an artisanal procedure, performed in violation of technology, can lead to the separation of the tread tape and the destruction of the tire carcass while driving.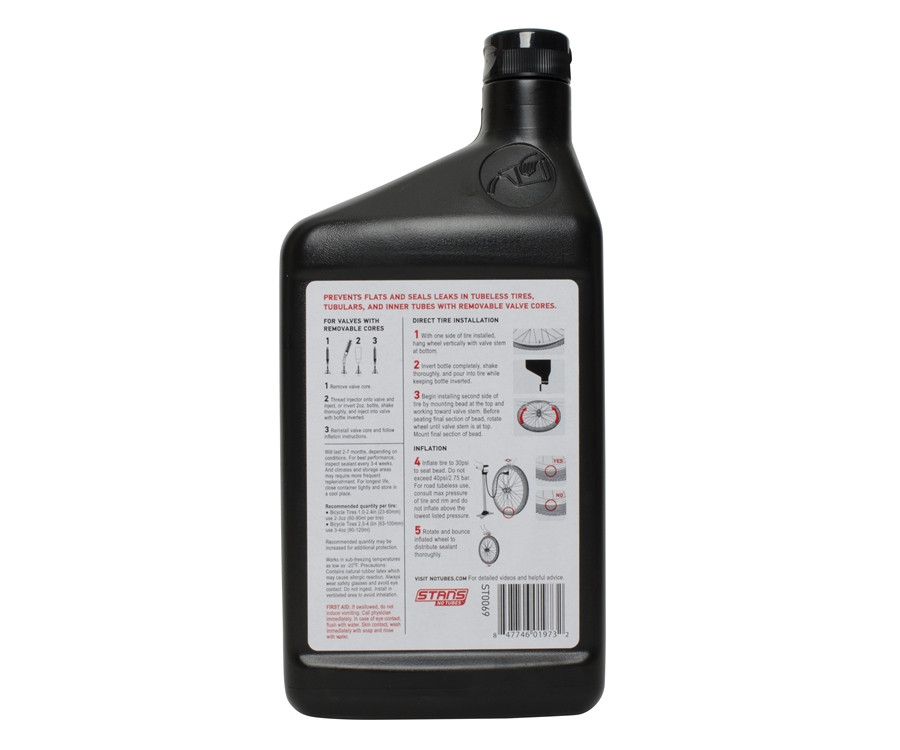
That's why, when choosing retreaded tires, contact only certified suppliers who work according to official factory technology and comply with all necessary quality standards. Buying “nameless” retread tires can be too expensive!
But what to do if the erased tire relief does not give the proper level of grip? In this case, you need to take a groover to cut the tread and restore the grip level. How to do it? Read about it in our article.
Factory cutting of lamellas in car tires involves the creation of grooves with a sufficient depth, but over time their height melts, rubbing against the asphalt and the ground surface.
The minimum admissible knurling depth cannot be less than:
If the tire is worn down to the marker sewn into the rubber, you will have to buy a new tire. If you want to avoid unnecessary expenses, try cutting new grooves in thick rubber before its height drops below 0.8-2.0 millimeters.
To restore rubber, you will need a special groover knife and a good eye. If you have the skills and a special tool, you can cut the tread with your own hands in just one or two hours, saving a lot of money. However, this technology does not work with all tires.
| Photo of a UAZ car tire before cutting | Photo of UAZ tire after cutting |
|
| |
The widespread fascination with ecology and the threat of global warming has changed the fate of worn wheels. Previously, such tires formed man-made mountains in every landfill. Today, according to the requirements common in the European Union, the following types of tires are subject to mandatory restoration:
 5;
5; Restoration of truck tires and swamp tires for SUVs is possible only with the assistance of a manufacturer who has provided for compatibility with cutting technology at the rubber production stage. Therefore, it is possible to cut tires at home only if the inscription - REGROOVABLE is read on their sides.
If you do not see such an inscription, contact a car repair shop or abandon the idea of \u200b\u200bretreading. After all, the wheel of a passenger car is pumped up to 2.5 atmospheres, and up to 8 bar is blown into the tire of a truck, so even the slightest mistake when cutting will reduce the life of the tire several times.
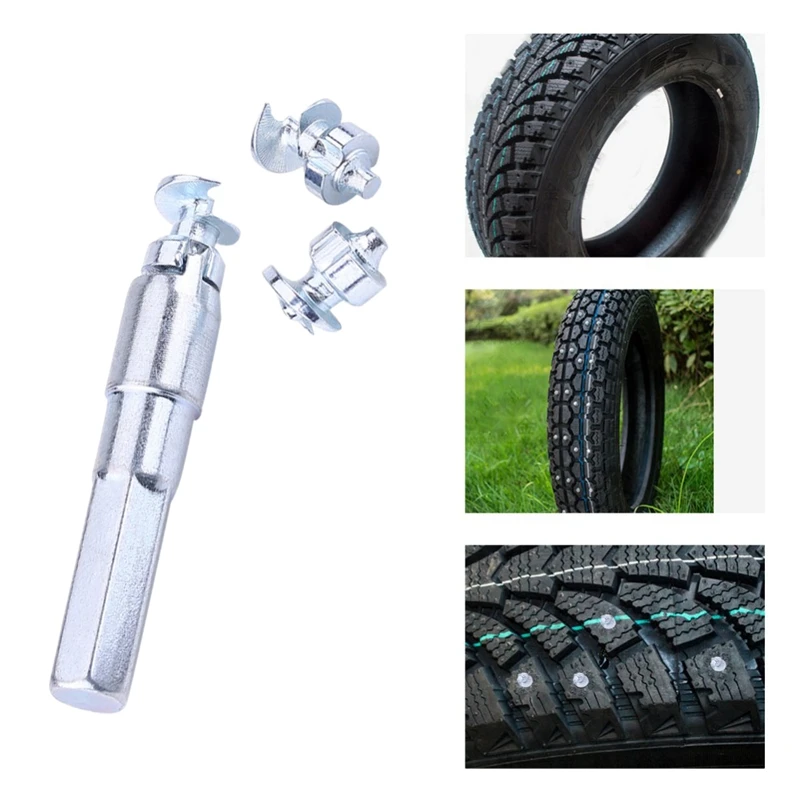
Before cutting new grooves on the tread, you need to find a device suitable for the case. In auto repair shops, a special machine for car tires is used for these purposes, and home craftsmen prefer to cut the tire with their hands using knives or machines.
The most popular tread cutter is the electric regrower. This knife-soldering iron hybrid cuts grooves from 0.5 to 5 millimeters deep to create a new tread pattern. Even a cast tire cannot resist such a cutter. Moreover, the combined (thermal and mechanical) effect on the rubber does not involve great effort when cutting. A professional device for restoring lamellas differs from a tool for garage craftsmen in the ability to change cutting nozzles. Manufacturers of such machines produce special sets of nozzles for each brand of car or truck tires. Some tools allow you to cut several lamellas at once in one movement.
Reducing the tread depth reduces the tire's grip on the road, so to improve stability, you need to deepen the existing grooves without widening them. For these purposes, you need to find a special regrower attachment or make a homemade knife for passenger tires and cargo treads.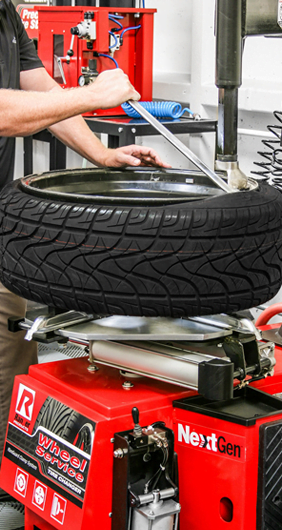
If tires are cut with a car regrower, the tool moves from the center of the tread to its edge. In this case, you need to control the position of the elbow - it must remain in a plane parallel to the contact patch. If you raise or lower your elbow during a cut, an extra hole or an area that is not selected in depth will appear on the tread.
When cutting thick truck tires or cast tires for special vehicles, this error can be corrected by transferring them to a car repair shop. Thin passenger tires do not forgive such failures. You can ruin a tire in just one awkward move. Therefore, most often, owners of old tires for UAZ, ZIL or GAZ take up self-cutting, but it is better for owners of passenger cars to restore their tires only in the workshop.
Summer Drive Protection Sound Comfort
Rating:
4.5
Tires Goodyear Eagle F1 Asymmetric 3 SUV
Summer Drive protection
Rating:
4. 5
5
Tires Goodyear Eagle Sport TZ
Summer Drive protection
Rating:
4.5
Tires Goodyear EfficientGrip 2 SUV
Summer Drive Protection Run On Flat
Rating:
4.5
Tires Goodyear EfficientGrip Performance
Winter Drive protection
Tires Goodyear UltraGrip Arctic 2 SUV
Winter Drive Protection Sound Comfort
Rating:
4. 5
5
Tires Goodyear UltraGrip Ice 2
Winter Drive Protection Sound Comfort
Rating:
4.5
Tires Goodyear UltraGrip Ice SUV
Winter Drive protection
Tires Goodyear UltraGrip Performance+ SUV
All season Drive protection
Rating:
5
Tires Goodyear Vector 4Seasons Gen-3 SUV
Summer Drive Protection Run On Flat
Rating:
4
Tires Goodyear Wrangler HP All Weather
All season Drive protection
Rating:
4. 5
5
Tires Goodyear Vector 4Seasons
Summer
Rating:
4.5
Tires Goodyear Wrangler All-Terrain Adventure with Kevlar
Summer Drive protection
Rating:
4.5
Tires Goodyear EfficientGrip SUV
Summer Drive Protection Run On Flat
Rating:
4
Tires Goodyear Eagle F1 Asymmetric SUV
 After that, carry out the entire complex for cleaning the wheels before selling - remove the dust, wash the rubber from the inside and out, perform blackening. It is much more pleasant to work with a clean tire, especially if you do all the work with your own hands and home tools.
 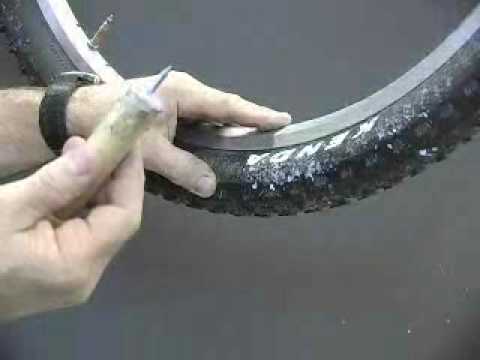 Just do not press the tool on the tire - this way you can cut the rubber through and through. A professional does the job in several passes.
This video shows the sequence of processing a tire by a professional groover. As you can see, the master uses special nozzles that allow you to neglect measuring the depth of cut. This saves time and improves the quality of processing.
If you want to go that route, first check how much professional cutting equipment costs. It is possible that its price will seem excessive to you, and you will prefer to order this work from professionals.
This video shows how the homemade tool works. A machine made from a conventional soldering iron works no worse than professional equipment. A heavily worn tire is covered with new grooves in just 6-7 minutes. But if you want to go this route, pay attention to the impossibility of adjusting the depth of cut. In fact, it depends on the pressing force. The author of the video suggests “cutting the tire as you like,” which does not guarantee the long life of the rubber and the safety of the vehicle owner.