Getting your ATV tires balanced at a shop can get expensive. Some places charge around 40 to 50 bucks to do all four tires. It’s really not a hard thing to do yourself, even after getting the balancer and proper tools, you’ll save a lot of money in the long run.
There’s a few different ways to balance an ATV or UTV tire, and not all methods even require a tire balancer. In fact, depending on where and how you ride, there might be an even easier and cheaper option for you to balance your ATV tires.
To balance ATV or UTV tires at home, start by cleaning the tire of debris and existing wheel weights. Using a tire balancer placed on a flat level surface, mount the tire on the balancer and add weights until the bubble on the balancer is level.
| Here are the basic steps to balance an ATV tire the traditional way: Clean Tire Of Debris And Existing Wheel WeightsPlace Balancer On Flat Level SurfaceMount Tire On Tire BalancerInspect Bubble On Balancer LevelAdd Wheel Weights To Level Bubble |
Using this method will give you as close to a professional tire balance as possible. But, do you really need to do this type of tire balance for your quad? There are simpler ways to balance a tire that might fit your situation better. So first lets figure out which type of tire balance will work best for you.
There’s three popular ways to balance ATV and UTV tires. The traditional more professional method, the balance beads method, and the tire slime or tire sealant method. I do not recommend the tire slime method ever. It might work as a quick fix, but I would avoid trying this approach to balance your tires.
So you’re left with using a tire balancer and wheel weights, or using the balance beads. The balance beads are only really effective at speeds above 30 – 35 mph. The thing is, most quads will only feel the effect of unbalanced tires after it reaches those speeds anyway.
Also, the balance beads are less effective and aren’t made to be used with a tire sealer or tire slime. So if you have that stuff in your tires, I wouldn’t recommend the tire beads approach for you either.
If you notice a wobble in your tires at low speeds, under 30 mph, and want try balancing the tires to fix it. I would recommend using a tire balancer with some wheel weights. Either way, if you plan on riding over 45 mph on your quad, it’s a good idea to balance your tires one way or the other.
This is the more traditional method to balancing tires and is the most common approach people take. This method requires you having a tire balancer you can use as well as wheel weights.
If you’re wondering what kind of tire balancer you need, check out this Portable Bubble Wheel Balancer, Static Balancing Machine to give you an idea. This one can be used to balance tires for cars and light trucks as well.
Make sure your center hub is at least 1-1/2″ in diameter or this balancer won’t work for you. I’ve seen other models that are more compact but people have complained that their rear ATV tires won’t fit in that type.
If your center hub is less than 1-1/2″ in diameter than you can use the smaller compact balancer like this BikeMaster Wheel Balancer and Truing Stand. You won’t be able to use this one for your car or truck tires though, it’s actually more suited for motorcycle tires.
The First thing you want to do is make sure the tire balancer in on a flat level surface. You want the bubble in the level on the balancer to be dead center before you mount the tire on. Some balancers will have screws around the level that allow you to adjust the bubble to dead center that way.
If this is a new balancer I suggest you clean all the packing grease that they put on it for shipping and storage reasons. I’ve noticed that tends to mess with the reading you get from the balancer.
You’re going to want to clean the tire and wheel. Get all the mud and debris off the tire and scrape any existing wheel weights off with a screw driver. If you have clip on wheel weight, they do make a special tool to get those off called Wheel Weight Pliers. But you should be able to force them off with any old set of pliers you have. If you do plan on always using clip on wheel weights, the pliers will save you a lot of head ache though.
Now mount the wheel into the balancer. You should be able to press down on your wheel and the center cone will center the tire for you.
Now you can give your wheel a little spin on the balancer. Let it stop spinning and come to a rest before you check the level for balance. You may want to try this a couple times to give yourself a good idea of where the tire is heavy.
You’ll notice the bubble leaning out of the circle in the level if your tire is out of balance. After you’ve wobbled the tire on the balancer a few times, and the level keeps showing out of balance, it’s time to add some wheel weights.
There are two main types of wheel weights used to balance tires, the stick on wheel weights and the clip on wheel weights.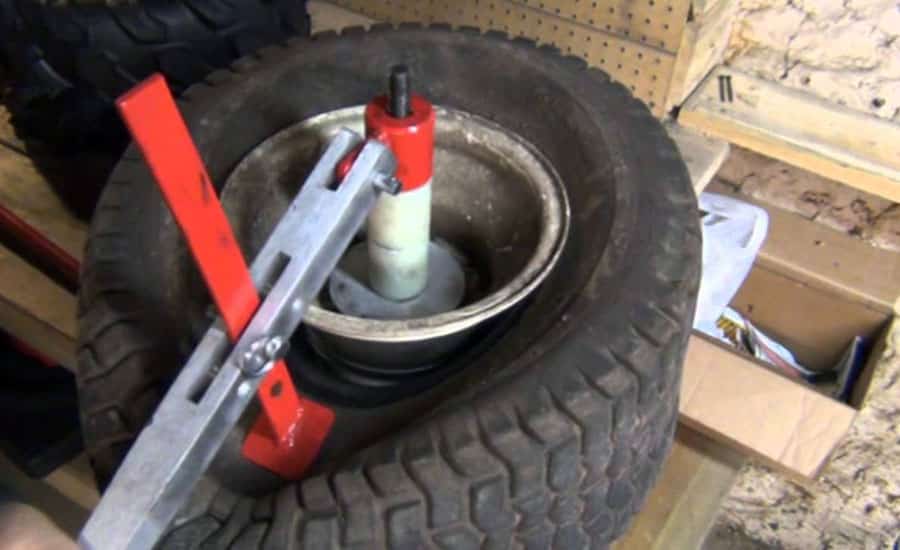 The stick on are more popular because they are easier to deal with. No special tools, just any old hammer you have laying around to install them. And to remove them, all you need is a screw driver or a chisel.
The clip on wheel weights can also be put on using a hammer, but are a lot more of a pain to remove without the special tool. One benefit is that if you’re careful removing them, you can sometimes reuse the clip on wheel weights. In order to reuse the stick on wheel weight you need to reapply the sticky film they come with.
I use the stick on wheel weights myself, they’re just easier to work with to me and an entire box of them is usually less than 20 bucks. I use these Professional Adhesive Steel Wheel Weights from Amazon.
You’ll want to stick the wheel weights on the side of the wheel the bubble is leaning towards. The goal here is to get the bubble on the level to dead center with your wheel mounted on the balancer. Sometimes this takes some tinkering.
Keep in mind that if you end up with wheel weights on opposite sides of the wheel from each other, you messed up. Continue steps three and four until your tire is balanced.
The balance bead approach to balancing your ATV or UTV tires is the simplest and cheapest way to balance your tires. The only thing you’ll need is a valve core remover and some balance beads.
The reason I like using tire beads is because they are reactive to the conditions of the tire while you ride. Meaning, if you get a rock stuck in the tread or a bunch of mud gunked up on the tire, the balance beads will shift and still keep your tire in balance. The are constantly re-positioning even as the tire wears to help give you the most life out of your ATV and UTV tires.
Also, you don’t have to worry about clip on or stick on wheel weights coming off when riding through rough terrain. Keep in mind, the balance beads don’t work well at slower speeds, you really need to get up above 35 mph to feel the difference they make.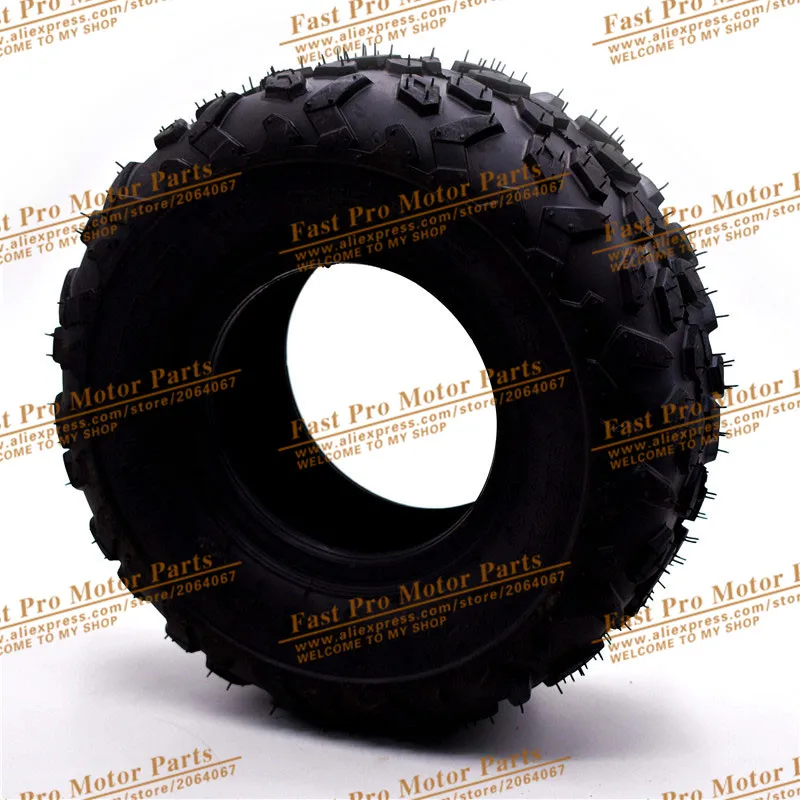 But for most quads, the effect of an unbalanced tire is usually only felt at higher speeds anyway.
I use this E-Z Tire Balance Beads Deluxe Kit from Amazon because it comes with everything needed to balance all four tires for around 25 bucks. They even include the valve core remover and some spare valve cores if you need them later on.
Really step one should be remove the wheel from the machine, but technically you could do this with the wheel still mounted on the quad. It does make the job a whole lot easier if you take the wheel off though.
You’ll want to let the air out of the tire before you try to remove the valve core. Do that by pushing on the little knob on the valve to let air out with a screw driver. Sometimes the back side of a tire pressure gauge will have a little knob made for doing this.
You could also let the air out using a valve core remover tool but be careful. Unscrew the valve core a little until you hear air leaking out but keep pressure on the tool.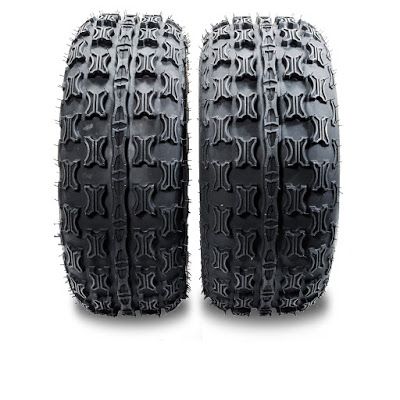 If you loosen too much the valve core could come shooting out, and those things are hard to find if that happens.
Now that you’ve got most of the air out of the tire. Use the valve core removal tool that comes in the balance beads kit, or any valve core removal tool for that matter, to remove the valve core.
You have to measure out the right amount of balance beads based on the tire you’re putting them into. If you don’t put the right amount in, your tires won’t be balanced properly. Use the chart below as a guide on how much balance beads you need for your tire.
You’ll need to measure the beads, but a simple kitchen scale will work. Anything that can measure in ounces will work actually. It will typically be around 5 – 6 ounces, but again, check the chart at the bottom of this page to get the right amount for your tire
Attach the little tube that came in the balance beads kit to the valve on the tire.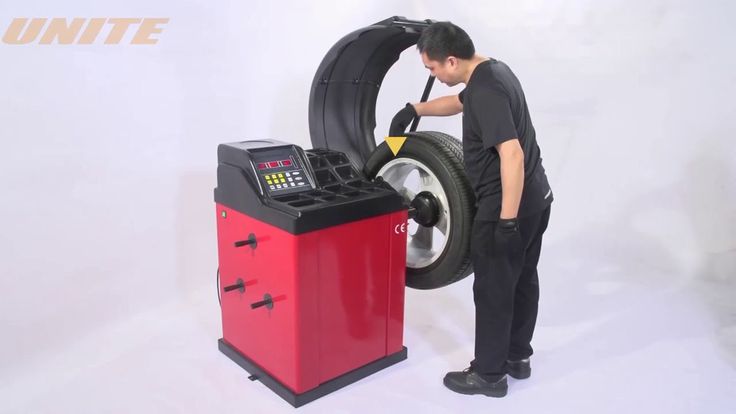 It’s ok to have to screw it in a little bit to get it seated nice and tight.
Fill the bottle with balance beads and connect to the other end of the tube. The kit I recommended above comes with all these tubes and bottles, but some kits don’t. If you have to, find a funnel and some way to attach it to the valve, maybe with duck tape.
Then pour the beads into the tire, do this part slowly. I know it’s tempting to just flip the bottle up and get them in there as fast as you can. But the balance beads will get all clogged up in the tube where it connects to the valve. It ends up being a pain in the butt, just take it slow.
There you’ve filled the tire with balance beads. Now put the valve core back in with the valve core tool, and inflate the tire like you would normally. You shouldn’t need to do anymore adjustments, but it’s a good idea to take the quad out for a spin to see how it feels.
You could also put the balance beads in the tire during a tire change.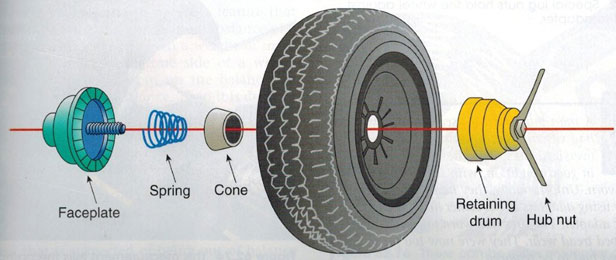 Since you’ll have the tire off the rim anyway, just put the right amount of beads in the tire before you mount it back on the wheel.
If you like that approach, and you’re planning on changing your tires out anyway, check out this article on How To Mount ATV/UTV Tires At Home. In that article I explain how to change an ATV or UTV tire step by step.
Balancing your tires helps extend their life by reducing abnormal wear. If you plan on riding slow through rocky terrain and mud, then you probably don’t need to balance the tires at all. But for most people, hitting those flat straight-aways is fun part of off-roading. And you should really have your tires balanced if plan on riding at speeds above 35 mph.
| Tire Size | Ounces | Tire Size | Ounces | |
| 145/70 – 6 | 3 oz | 20 x 7 – 8 | 5 oz | |
| 16 x 8 – 7 | 3 oz | 20 x 11 – 8 | 5 oz | |
16 x 6. 50 – 8 50 – 8 | 4 oz | 22 x 12 – 8 | 5 oz | |
| 18 x 11 – 8 | 4 oz | 22.5 x 10 – 8 | 5 oz | |
| 18 x 9.50 – 8 | 4 oz | 20 x 11 – 9 | 5 oz | |
| 19 x 7 – 8 | 4 oz | 22 x 10 – 9 | 5 oz | |
| 19 x 8 – 8 | 4 oz | 22 x 11 – 9 | 5 oz | |
| 20 x 10.00 – 8 | 2 oz | 25 x 12 – 9 | 5 oz | |
| 22 x 11 – 8 | 5 oz | 25 x 13 – 9 | 5 oz | |
18 x 8. 50 – 10 50 – 10 | 5 oz | 23 x 10 – 10 | 5 oz | |
| 20 x 10.00 – 10 | 5 oz | 23 x 7 – 10 | 5 oz | |
| 20 x 11 – 10 | 5 oz | 23 x 8 – 10 | 5 oz | |
| 21 x 7 – 10 | 5 oz | 24 x 10.50 – 10 | 5 oz | |
| 21 x 9 – 10 | 5 oz | 24 x 11 – 10 | 5 oz | |
| 22 x 10 – 10 | 5 oz | 24 x 11.5 – 10 | 5 oz | |
| 22 x 11 – 10 | 5 oz | 24 x 9. 50 – 10 50 – 10 | 5 oz | |
| 22 x 7 – 10 | 5 oz | 25 x 11 – 10 | 6 oz | |
| 22 x 9.50 – 10 | 5 oz | 25 x 12 – 10 | 6 oz | |
| 22 x 7 – 11 | 5 oz | 24 x 9 – 12 | 5 oz | |
| 23 x 8 – 11 | 5 oz | 25 x 10 – 12 | 6 oz | |
| 24 x 10 – 11 | 5 oz | 25 x 10.50 – 12 | 6 oz | |
| 24 x 8 – 11 | 5 oz | 25 x 11 – 12 | 6 oz | |
| 24 x 9 – 11 | 5 oz | 25 x 8 – 12 | 6 oz | |
| 23 x 10 – 12 | 5 oz | 25 x 8. 00 – 12 00 – 12 | 6 oz | |
| 23 x 10.50 – 12 | 5 oz | 26 x 10 – 12 | 8 oz | |
| 23 x 8 – 12 | 5 oz | 26 x 12 – 12 | 8 oz | |
| 23 x 8.00 – 12 | 5 oz | 26 x 12.00 – 12 | 8 oz | |
| 24 x 11 – 12 | 5 oz | 26 x 9 – 12 | 6 oz | |
| 24 x 12.00 – 12 | 5 oz | 27 x 12 – 12 | 8 oz | |
| 24 x 8 – 12 | 5 oz | 27 x 9 – 12 | 8 oz | |
| 205/80 R12 | 6 oz | 23 x 7. 00 R12 00 R12 | 5 oz | |
| 205/85 R12 | 6 oz | 23 x 10.00 R12 | 5 oz | |
| 255/70 R12 | 8 oz | 25 x 8 R12 | 6 oz | |
| 255/65 R12 | 8 oz | 26 x 8 R12 | 6 oz | |
| 270/60 R12 | 8 oz | 25 x 11 R12 | 8 oz | |
| 26 x 8 R14 | 8 oz | 26 x 10 R12 | 8 oz | |
| 26 x 11 R14 | 8 oz |
Sharing is caring!
We balance our car tires, shouldn't we balance ATV tires too? Maybe. If you do decide you need to balance your ATV or UTV's tires, be aware that having it done professionally can be expensive. If you can get a professional to do it at all. Many people choose to balance their ATV tires themselves, finding it effective and budget friendly. This post will help you determine if you need to balance ATV tires and how to do it.
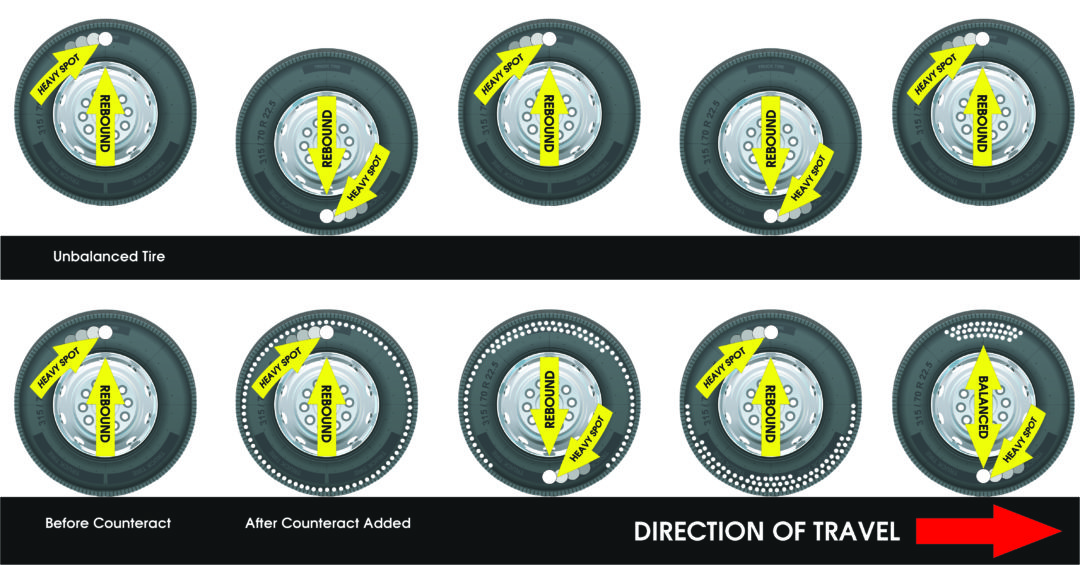
Wear and tear create damage and imperfections in the tire that change its shape, making certain areas heavier than others. The smooth motion of a new tire is thrown off, resulting in vibrations you can feel as you pick up speed. Most are not too bad and could be easily ignored, but they can become so violent that they make it very hard to ride the machine.
Riding on significantly unbalanced tires for a long time and at high speeds can put strain on your suspension, bushings, and bearings. So, if you're tempted to tough out more violent jolting, you'd be better off to balance the tires.
Whether you need to balance your tires depends on the type of riding you do and how important having balanced tires is to you.
Most of the time, you won't notice a tire balance issue when driving below 35mph. If you mainly use your ATV for mudding or tackling other really rough terrain, you might not exceed 35mph enough to seriously care whether your tires are balanced. If you do a lot of trail riding or racing, balanced tires will have much more impact on you and the machine.
ATV are waterproof & breathable riding gear
Find out the items that suit your needs
Let's go over the two best methods of balancing ATV tires.
Image from www.boostatv.com
The best way to balance ATV tires for trail riding and racing is the weight method. Depending on the way you use your vehicle, this method might be good for your needs too.
The principle is to stick weights to the outside of the tire to counteract the wear. This method is not recommended for any rough terrain or mud because it will pop the weights right off.
You'll need to buy balancing weights and a balancer tool to measure how much weight you need to add and wh ere.
Balancing weights come in self-adhesive and clip-on forms. The self-adhesive is the most popular type because they're the simplest and don't require any special tools to add or remove. Clip-on weights are not very difficult, and they offer the benefit of being able to be reused.
www.rzrforums.net
There are several models of balancers available at automotive stores. The size of the tires does impact whether certain models of balancer will work, so you may need to do research or ask for help at the store to ensure you're buying the right one for your tires. You'll begin by cleaning the tire and rim with degreaser to ensure the weights get a firm hold.
Set the tire balancer on a level surface. You can tell it is level because the bubble will be dead center.
You can then mount the wheel on the balancer. Spin it, and when it has come to a complete stop, check the bubble. You can do it multiple times to ensure you are getting an accurate reading.
The bubble will be out of place to the same degree that the tire is out of balance. You will add weights to make the bubble dead center again.
Stick the weights on the side of the tire the bubble is leaning toward. You don't want to end up putting weights on both sides of the tire. Just add the right amount on the one side to make it level.
www.atvhelper.com
The bead method is less accurate but more forgiving and won't be impacted by rough terrain. This is the best method to go with if you find yourself needing to balance tires for aggressive riding.
These ceramic beads are placed inside the tire and will naturally conform to the needs of your tire as you ride. Because this method is based on the movement of the beads, you can't use them if you also use tire slime or sealant.
You'll need the beads and a valve core remover for this job. A balance bead kit should come with both. You'll also need a scale, It can be any scale that measures in ounces.
Image from www.offroadxtreme.com
You can start this method with the tires on the machine or off. Let the air out of the tire. If you use the valve core remover to let the air out, do it slowly so the valve core doesn't come flying off and get lost.
Use the tool to remove the valve core. Most tires need 5 to 6 ounces of balance beads, but you can do some research to ensure that's the right amount for your tires. The amount of beads is important. The kit came with a tube and should have come with a bottle to ins ert the beads in to the tire. If the bottle isn't included, you can use a funnel. Let the beads go in slowly to let them easily move through the tube. Once they're all in, replace the valve core with the valve core tool and inflate the tire.
SPORTSMAN Black
36 EUR
32. 40 EUR
HIT
ENDURO LIGHT Graphite
the most durable
458 EUR
HIT
ENDURO Camogrey
the most durable
657 EUR
ENDURO Graphite
the most durable
279 EUR
HIT
ENDURO Graphite
the most durable
657 EUR
-28%
AQUAMASTER-ZIP LIGHT Camogrey
with central zipper
598 EUR
430.40 EUR
HIT
ENDURO LIGHT Camogrey
the most durable
458 EUR
-12%
AQUAMASTER LIGHT Red
reliability & comfort
438 EUR
386.20 EUR
NEODRY Black
17 EUR
11.90 EUR
ENDURO Camogrey
the most durable
279 EUR
AQUAMASTER Blue
reliability & comfort
647 EUR
-20%
HIT
AQUAMASTER Red
reliability & comfort
259 EUR
207. 20 EUR
-40%
HIT
AQUAMASTER Orange
reliability & comfort
259 EUR
155.40 EUR
AQUAMASTER Red
reliability & comfort
677 EUR
BELT
9 EUR
ENDURO BF Camogrey
bootfoot waders
528 EUR
ALL SEASON Black
62 EUR
ENDURO BF Camogrey
bootfoot waders
329 EUR
MUDWAY Graphite
179 EUR
MUDWAY Camogrey
179 EUR
Explore all
Information about tires for motorcycles
Question: Can ATV tires be balanced?
Answer: Yes, you can. It will not be worse. This is purely a matter of expediency and economy.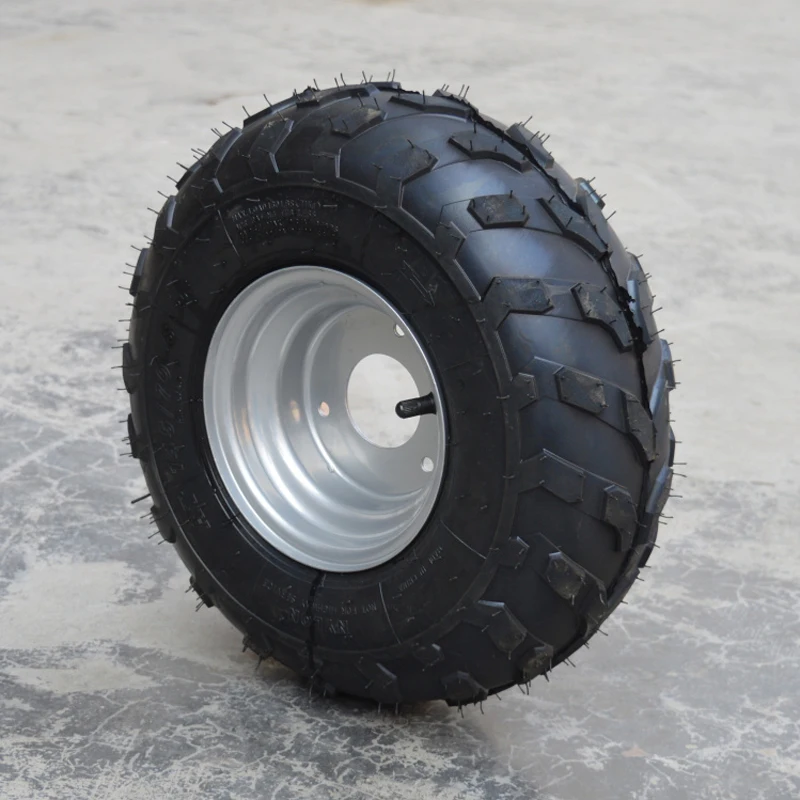 The tire fitter will be a little surprised by such an order. Perhaps he will need a fair amount of weights.
Question: What is the best way to do this?
Answer: Let the tires rest warm. Mount, pump up the necessary pressure. Make sure that the tire beads are seated on the disk seats. Tires for ATVs usually have a diagonal design and are subject to deformation during transportation. They need to be given some time to take the correct form. And only after that - to balance.
Question: Is it necessary to balance?
Answer: No. The point of balancing tires on a vehicle is to minimize wear and improve ride comfort. Is this achievable on a quad bike? The ATV does not develop high speed, it travels over rough terrain. Small tractor. Does it make sense to balance tires on a tractor? nine0003
Question: So be it, but I am a perfectionist. Where is the best place to go for wheel balancing?
Answer: Most likely to any tire shop where the fitter agrees to do it.
Question: Which weights are better to use - padded or adhesive?
Answer: Those that will provide a strong fixation on the disc in rough terrain in difficult conditions. Most likely, adhesive weight on the inner surface of the disk. For mud tires, the answer is no. Experiment. nine0003
Question: I feel discomfort when driving, what should I do?
Answer: To begin with, wash off the dirt from the inner surface of the wheel. Check suspension. Check disk geometry. Then check the geometry of the wheel assembly. Do not forget the advice above - tires should be mounted in warmth, restore their working shape in warmth. Imported tires are of high quality, but what if there is an accidental power inhomogeneity in the layers? If the tires are not new, and the ATV has been sitting idle for the entire winter season, you can see if there are “pressure sores” in the tire. nine0003
Question: And what to do next?
Answer: If new, contact the seller. The buyer has the right to a good quality product.
If the tires were not moving, try to "roll out". These are diagonal tires, the chance that they will recover is very high.
Question: There is a strong beating on the wheel, will the balancing correct the situation.
Answer: As the tire fitters say, even a brick can be balanced. Only the wheel geometry is not corrected. nine0003
Question: Are factory tires balanced?
Answer: Yes, some firms balance. Do not forget, however, that stock tires are smaller and have lugs.
Q: Can I balance ATV tires myself?
Answer: Yes, it is not very difficult. You just need to make some simple device for promotion. It will be static balancing, rough, but quite sufficient. But where to get the weights? nine0003
© text and photo STARKO Group, 2011
Return to list
01/16/2019
ATV road tire pattern Most new passenger vehicles use the P-metric system (eg P235 / 75R15) which is based on aspect ratios, sidewall heights and rim diameters.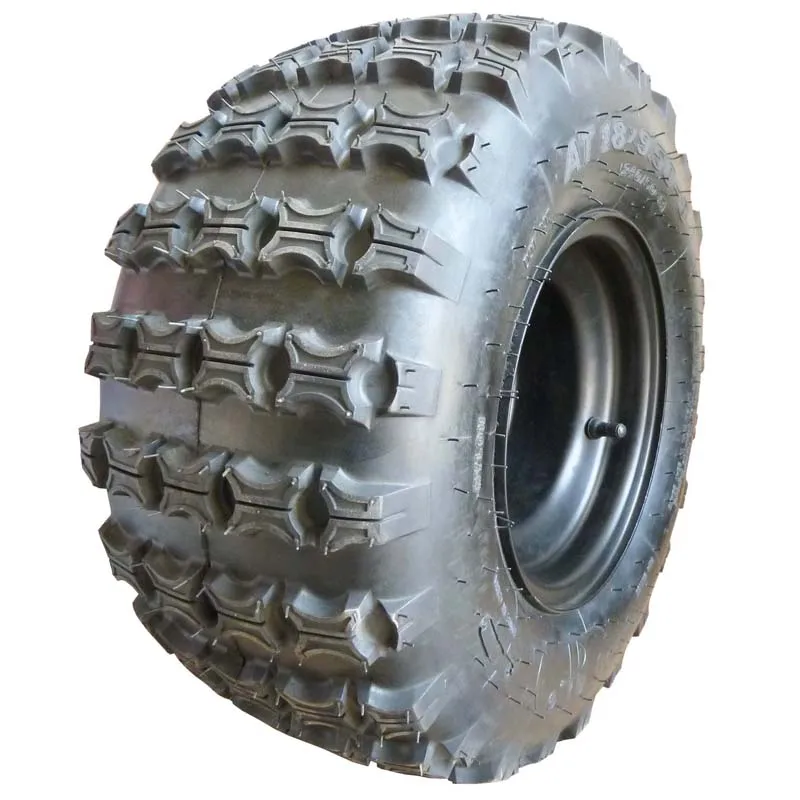 Converting a P-metric tire size to a normal tire size is easy. nine0003
Determine the diameter of the offset part of the tire. The dimension of the offset layer is imprinted on the original tire or on the original specifications for the vehicle. Find this number in the tire size chart. For example, an A78-14 tire has a diameter of 24.2 inches. If you can't find a written indication of your offset, measure the tire from top to bottom to get the diameter.
Compare the tire diameter with the conversion table. Find the tire diameter and to the right of that measurement is a P-metric size that is close to the displacement ply. There will be very few exact matches as the design of the two types of tires results in height and width variations. nine0003
Determine P-metric dimensions close to the bias bar diameter if no exact match is specified. You may have to choose one that is directly above or directly below the diameter. For example, a 25.8" tire does not have an exact match, but P215/70R14, P185/75R15, and P195/70R15 are the closest matches. Multiple measurements, as much as possible, means you're comparing tires of different sizes.
Enter the P-metric size(s) into the tire size calculator. The calculator will provide the dimensions of the P-metric tire and the tire size chart will provide you with the dimensions of the bias ply. The calculator compares two P-metric sizes, so you can enter two metrics at once. nine0003
Compare the RPM of the P-metric tires with the RPM printed on the tire chart showing the offset measurements. Both on the graph and on the calculator, the number of revolutions per mile (or kilometer) is indicated as "RPM". Keep the RPM of the P-metric tire as close to yours as possible. For example, 889 rpm is relatively close to 897 rpm.
Good to know! In P-metric measurements, the three-digit number following P is the tread width of the tire. The higher the number, the wider the tire. If you are replacing a thin tire (many offset tires were narrow), choose a smaller size P.
Although there is a lot of talk on the Internet about ATV tires that cannot be balanced, in fact they not only can, but should be balanced.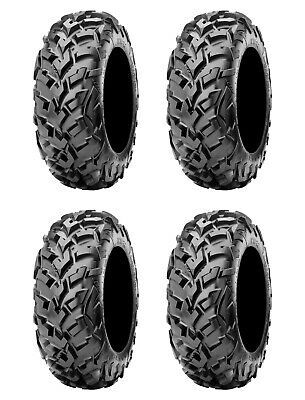 Tire and wheel assemblies must be balanced before use. Failure to do so will result in poor performance and accelerated tread wear.
Unbalanced wheels create vibration that can be felt through the steering. This makes the ATV uncomfortable to drive and results in premature tire wear. Doing your own balancing saves you money and allows you to periodically check your tire balance without having to buy tires too often. nine0003
Place the balancer on a level work surface. Make sure the air bubble is centered inside the dot. Refer to the owner's manual for instructions on how to adjust the balancer head so you can center the air bubble. Alternatively, you can place small spacers, such as washers, under the base of the balancer to center it. Double check that the bubble is centered before placing the wheel on the balancer. This is very important and the success of the whole procedure depends on it. nine0003
Inspect the tire to be balanced and use a screwdriver to remove any wheel weight that is on the wheel/tire assembly. It can be dirt, a plaque stain, and even a stuck pebble.
Place the wheel and tire assembly on the balancer. It is very important that you center the wheel hole on the balancer head. Push the wheel up and down lightly to make sure the wheel is properly seated.
Check bubble position and add wheel weight against heavy area. The place where you need to add weight will be the side where the bubble is. If you need to add a few grams, it is better to add them on the outer and inner sides of the wheel. Use a hammer to gently tap on the scale after you have positioned it. If you are using weights, make sure the area you are putting the balance weights on is clean and dry. nine0003
Repeat these steps until the bubble is in the center of the balancer. Please note that if, as a result of all your observations and manipulations, weights appeared on opposite sides of the wheel, then you made a mistake and must repeat the steps. Why error? The whole point is that the weights on opposite sides of the rim simply cancel each other out and cannot fix anything in terms of balancing.