Snow chains for your car that you can easily build at home… made entirely from zip ties.
RELATED: 17 Clever Winter Gear Organization Ideas
In this article:
Usually made from steel, snow chains are attached to car tires to provide maximum traction in the snow, making the process of driving less of a headache. While every resident that lives in a snow-filled community probably has at least one set of snow chains, that doesn’t mean that it’s not a good idea to know how to build your own snow chains and how to put on snow chains in case of an emergency.
But you might be surprised that you can make your own chains…with just zip ties. Not meant as a replacement for actual snow chains, but these DIY-models from Instructables’ user movemaine, can provide some quick traction in an emergency.
For One Tire
Make sure to check how many openings your rims have. One “snow chain” will go through each opening, so if you have six openings, you’ll need six chains.
If you have more or fewer openings, simply adjust the number of zip ties you use, but the process will be identical for all types of rims.
InstructionsStart by tying a small zip tie to the long zip tie (which we’ll call the chain) about 6 to 8 inches away from the head. Tighten the small zip tie as hard as possible without damaging it.
Add a second small zip tie about an inch away from the first small zip tie. Continue this pattern until you’ve got six small zip ties attached to your chain.
 Trim the Zip Ties
Using a pair of scissors, trim the small zip ties to about 1/4 of an inch in size. You would not want some excess zip ties to be stuck and in the way of making driving complicated.
Repeat these steps over to complete as many snow chains as needed. Do this on all others and make sure every zip tie is trimmed properly.
RELATED: How Zip Ties Can Help you Bike Through a Blizzard
Once all your chains are finished, it’s time to attach them to your tires.
As a tip, turn your wheel all the way to the right. This will make the entire process much easier.
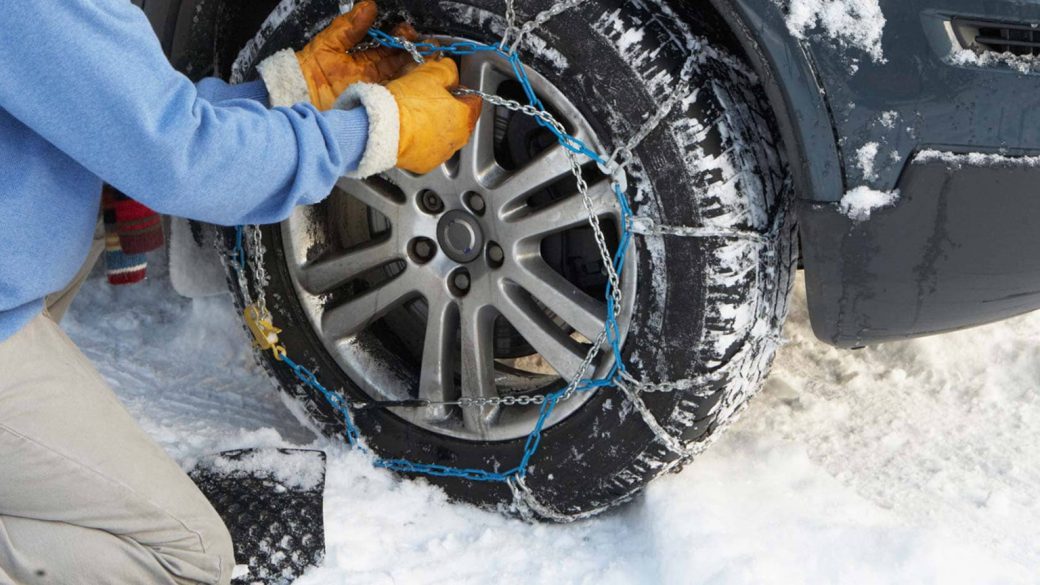
Now insert your chain through any of the openings of the rim, with the head in first, and then pull it around the other side of the tire, back to the front. Pull the chain towards the end of the opening that it would naturally slide over to help prevent it from moving around.
Connect the zip tie and tighten it, all while keeping the smaller zips (which is the grip) on the tread of the tire.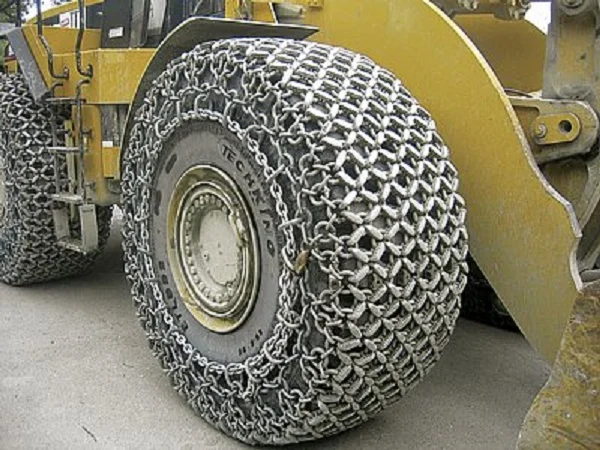 Once they’re set, tighten the chain as best as you can.
Repeat this process for all the openings on the tire. Around 5 to 6 zip ties will work for each tire of your vehicle.
They will stay on your tire when driving with snow chains through snow and ice, but they will likely break off if you drive for a long period of time on concrete alone.
Go ahead and watch the video provided by Jason Day and see how the zip tie snow chains are being used in a 6-inches of snow field:
Winter comes and goes, but there are many places across the world that have snow all year ’round, leaving many with no choice but to stock up on tools that make life easier in the snow and ice. One such winter accessory that many people heavily rely on to literally get through snowstorms are snow chains.
While they provide traction, these snow chains are by no means a permanent solution to driving on snow.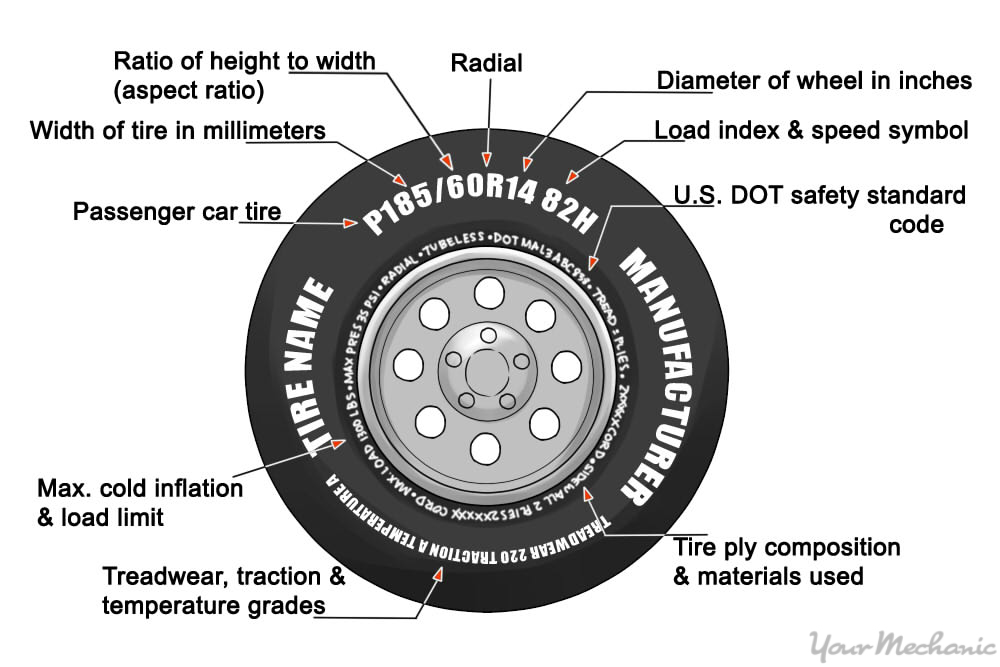 So make sure that this coming winter season you are all set for your gear and for your own safety!
Did you enjoy our post? Let us know your results in the comments section below!
UP NEXT:
We love getting feedback; it helps us improve the site and choose which topics to cover. We love doing cool DIY projects by making craft projects, home decor projects, upcycling ideas, recipes, tutorials, and anything you can do yourself.
That’s why we created this site, we want people to be more in touch with their creative side and realize that there’s a lot of things that they can do themselves. We’d love to hear from you and create a community of DIY enthusiasts where any project is just a click away.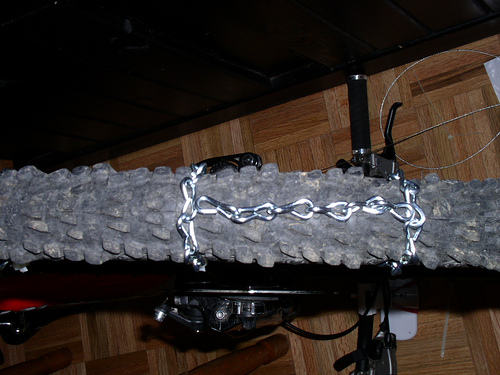
Stay connected with us on Facebook, Twitter, and Instagram!
Editor’s Note: This post was originally published on January 18, 2016, and has been updated for quality and relevancy.
Many hobbyists do not consider RC tire chains worth using.
In my experience—it is true—your mileage may vary.
However, the simple truth is that RC tire chains can be more useful than expected and, in fact, make your RC car a lot more capable on snow.
If done right, you can not only make your RC vehicle a lot more powerful and stable on snow terrain, but it is also an enjoyable and interesting project that doesn’t take too much time or effort.
Are RC Tire Chains Worth Making?Some of you may wonder, “Wait, but do RC tire chains really help that much with the traction?”
Here’s the thing.
One of the problems that you will encounter with many RC car tires is that they can do great in the summer, but they may not do so well in the winter—even if they have good treads.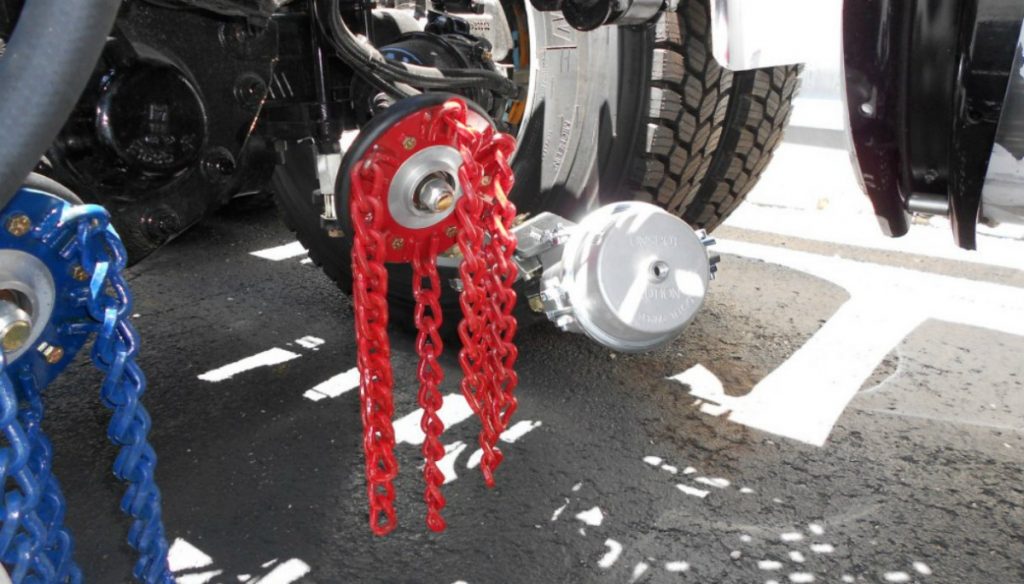
Because of the lower temperatures, tires tend to harden up and become rock solid. This negatively affects their traction, making the whole RC vehicle a lot more slippery in the winter.
This is normal and part of how tires work.
Putting chains on your RC car tires can prevent the tires from spinning and be particularly helpful when going up steep angles. The chains also can help in preventing skidding.
That being said, if you are bashing or racing on thick powder, freshly fallen, or lightly packed snow, you can end up bottoming out, in which case, whether you have chains installed on your RC car tires may not matter at all.
Overall you can expect to see a notable improvement in the forward and backward traction. But when it comes to sidehilling, the chains may not really improve the traction of the RC vehicle.
The Type of TerrainThat being said, you don’t have to use RC tire chains only on snow, so you don’t need to wait for winter to come around to try them out.
You can use RC tire chains on ice and mud; they can perform well even on grass and dirt.
Overall, snow, ice, and mud are the best types of terrain on which you can use RC tire chains.
However, it is worth mentioning that you should not use RC tire chains on other types of terrain like asphalt, tarmac, concrete, wood, carpet, or sand.
Driving your RC car on hard surfaces like asphalt, concrete, carpet, or wood can damage not just the chains but the surface, too.
In theory, RC tire chains should also work on sand. However, in reality, things are a little different. On sand, the RC car tire chains will not provide any significant traction. In fact, it is more likely for the RC car to get dug in and buried in the sand.
Ready-Made vs. Home-Made RC Tire ChainsTypically we can separate RC tire chains into two main categories, (1) the one you can purchase directly from your LHS or online, and home-made.
The ready-made RC tire chains will be designed to provide traction without affecting the RC car negatively.
However, you can always make your own RC tire chains. On average, they will be cheaper but keep in mind that if the chains are not made correctly, they can not only offer little to no benefits but even damage your RC car.
On average, making RC tire chains from scratch can cost between $10 to $30, while pre-made RC tire chains can often cost upwards of $30.
That being said, you don’t necessarily need to make or buy or make tire chains for your RC vehicle as there are other options. Some people report experiencing decent levels of success with using spikes or paddles on snow as well. So if you already have a set of these lying around, you can give them a go to see how they will behave on snow.
What You Need to Build RC Tire ChainsThe neat thing about RC tire chains is that you can turn this into an afternoon project.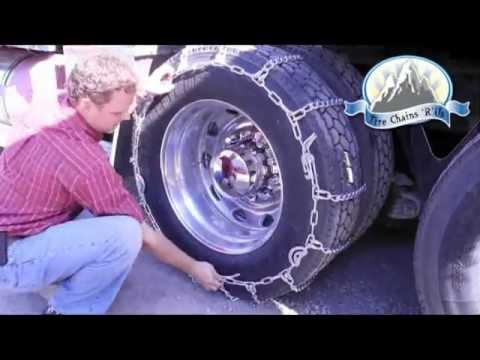
What you will need to build your own RC tire chains are two needle-nose pliers (or a pair of needle-nose pliers and a pair of regular pliers) and a jack chain.
If you are using chains that have their links soldered, you may need a pair of side-cutting pliers to cut open the links.
Needle-nose pliers are commonly found in all hardware stores and very inexpensive. (They can be found for as little as $5.)
What Kind of a Chain Do You Need?Generally, jack chains are used for hanging lightweight objects from lighting fixtures to signs and even flower pots. You can find a number of different jack chains; they can be made from solid stainless steel, aluminum, or brass. In addition to that, they can also be copper or zinc plated or black powder-coated.
It is recommended to use stainless steel jack chains for your RC tire chains. The finishing of powder-coated chains and chains with zinc and copper plating could come off eventually, and while you can also use them, you can expect to see some rust build up over time.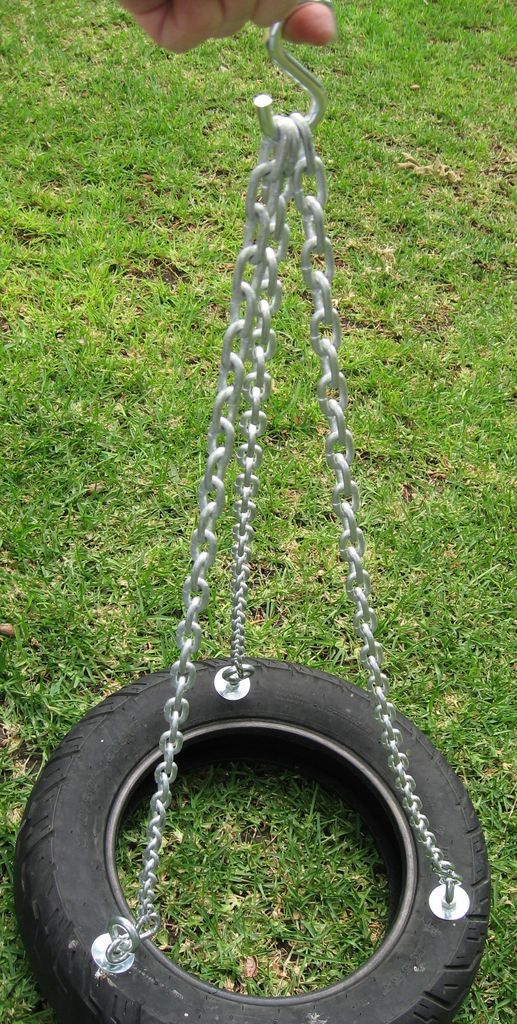
Typically jack chains are available in sizes from #6 to #18—and the bigger the number, the smaller the size of the links.
The size of the chain you need will vary depending on the size of your tires.
Typically hobbyists use Jack chain sizes #12 to #16. You can go with #12 jack chains for bigger tires, while for smaller ones, you may need to consider using #16 instead.
How Long Should the Chains Be?To find out how long of a Jack chain you will need, you need to consider three things:
In terms of overall length, you may need anywhere between 20 to 30 feet long Jack chain for all four RC tires depending on their size.
Related Post: The 10 Best RC Cars For Snow
For example, for 2.2 sized RC tires, you may need about 5 feet of jack chain for each tire. This gives us at least 20 feet of chain to do all four RC tires. And for 1.9 sized RC tires, you may need less Jack chain.
Usually, you will end up with some chain left unused. It is always good to have some extra chain, especially since it is possible to break some of the chains’ links during the installation process.
And while the numbers mentioned above will work for most people, some will still have to play around with the number of links until they find what will work best for them and their RC car tires.
You can check out a wide selection of jack chains on Amazon by clicking here.
How to Build RC Tire ChainsDetermine the Type and Size of Chains You NeedThe first step is to determine what type, length, and size of chains you will be using.
The right type, length, and size will depend on the type of RC tires you will work with.
Making the first set of chains is the hardest as this is when you will have to do all the measuring and adjusting. Once you have the correct setup down, all you need to do for the other three tire chains is simply follow the same pattern.
Determine the Length of the Side ChainsUsually, the side chains can vary in length between 10 to 24 links depending on the tires and chain’s size.
The length of the cross chains is very important as it affects how effective the chains will be.
If the loop is too big (meaning the side chains are too long and the cross chains are too small), the chains may not stay well centered. The chains will get displaced a lot more frequently, and you will need to adjust them often.
And if the loop is too small, the chains can come off the tires.
For smaller tires, you can use smaller chains. However, smaller chains are also a little more time-consuming and tedious to work with.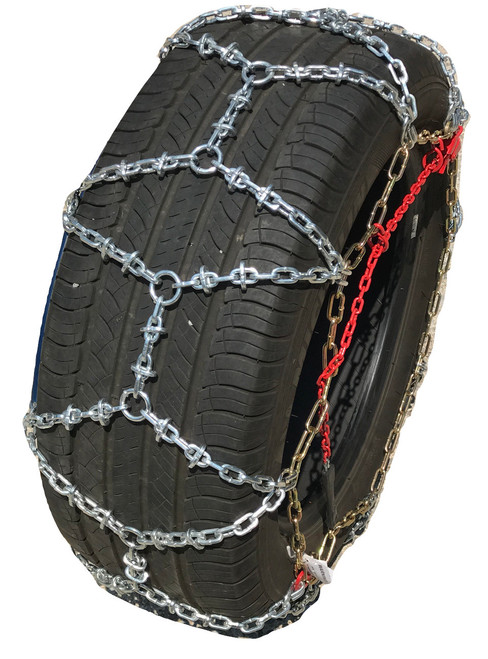
Although, normally, you can keep the side chains at the same length, sometimes you may need to have one of the side chains slightly longer.
The longer side chain is usually the one going towards the inside of the RC vehicle. The reason for this is that you may need to have more clearance for the support arms and the steering links, depending on your RC model.
There are several guidelines you can follow in determining the length of the side chains.
Generally, you want the side chains to wrap around most of the way on the sidewall. The side chain loop should be no less than halfway down from the tread.
You can put a piece of string, lay it around the diameter of your choice, and cut it at the right length. Then you can use that piece of string as a guide of how long each side chain should be.
Of course, you can also do this using the chain instead.
This is, of course, the simplest way to go about it.
However, you can also use a simple math formula to find the circumference of the side chain—by multiplying the diameter of where you would like your side chain to be placed by Pi (3.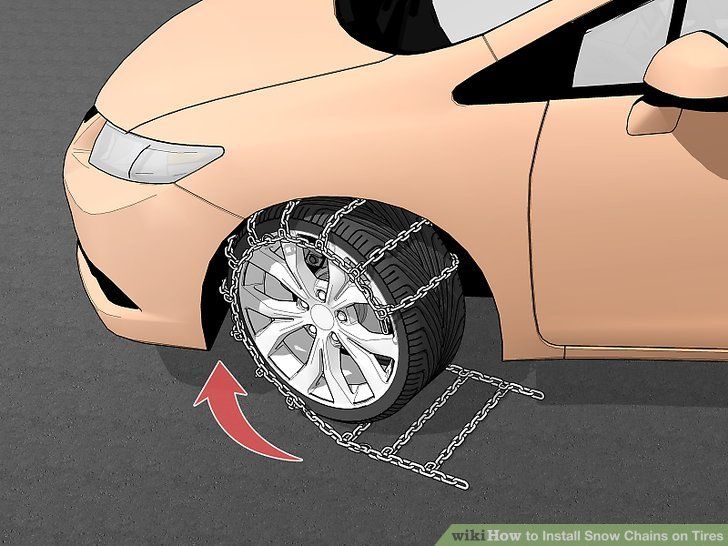 14159), which will give you the side chains’ length.
For example, if the diameter where you’d like the side chain to wrap is 2.7 inches, multiply that by 3.14159 you get 8.48 inches. In other words, the side chains should be 8.48 inches in length.
Of course, you may not be able to have your side chain at exactly 8.48, depending on how long each chain link is. This is why it is recommended to round up or down to the nearest full chain link.
Write everything down because you will be using the same number of chain links for the other three tires.
Determine the Length and Number of Cross ChainsUsually, between 5 to 15 cross chains are used depending on personal preference, tire size, terrain, and chain size.
It is advisable to experiment with the number of cross chains you will be using.
For deep snow, you may want to have a higher number of cross chains. On that type of terrain, it is best to use at least 10 cross chains.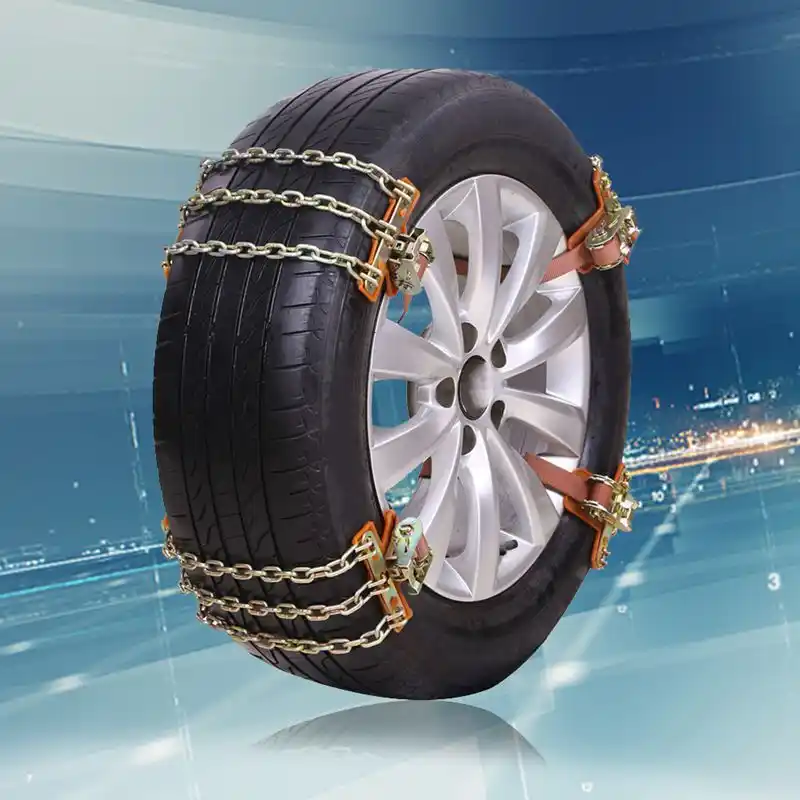 That way, as the wheel rolls, when one of the cross chains gets off the ground, another one will come in contact with it, maintaining the traction.
If you have lots of snow but also dry areas where there are rocks or asphalt and less snow, you may want to go with fewer cross chains. That way, a bigger part of the tire will be in contact with the ground, which will allow the rubber to get a good grip on the areas with less snow.
When it comes to length, cross chains are generally between 4 to 7 links long, depending on the tire and chain’s size.
To determine the side chains’ length, you can again use the string method or directly lay out a piece of chain on the tire while keeping in mind where the side chains should fall.
Or you can again calculate it.
Take the diameter you used to calculate the length of the side chains in the previous step and subtract it from the tire’s outer diameter. Multiply that number by two (for both sides of the tire and if you are using the same diameter for all side chains) and add the tire’s width. This will give you the length of the cross chains.
Round up or down to the closest full chain link if necessary.
Cut the Chain Into PiecesAfter determining the side chains’ exact length and the cross chains, cut the chain into the exact number of side chains and cross chains you will need.
You can do that by using a set of pliers, bending the end links on each chain piece. Bending the jack chains is very easy to do.
I recommended pre-bending all the side chains and the cross chains. That way, it will be easier for you to hook them all up and close them in one go.
Lay Out the Chains on a Flat SurfaceLay the cut pieces of chain out on a flat surface.
Make sure that the cross chains are evenly spaced out.
For example, you want to have a cross chain running every 2 or 3 links on the side chain.
All you have to do to ensure the cross chains are evenly spread out is calculate the number of loops on the side chain. If you have a 14 links long side-chain, this means you have 28 loops.
So you want to have a number of cross chains that 28 is divisible by.
In this case, you can choose to go with 7 side chains, and dividing 28 by 7 gives us 4. In other words, you will place one cross-chain every 4 loops on the side chain.
Assemble the ChainsAt this point, you want to attach the cross chains to the side chains.
After doing that, you are ready to install the RC tire chains on the wheels.
How to Install RC Tire ChainsAssemble the RC Tire ChainsFollowing the instructions above, build your RC tire chains. Ensure that the cross chains are spaced out evenly, and the length of the side chains and cross chains is appropriate for the type and size of RC tires you are using.
Wrap the Chain Around the TireLay the chain on the table and place the tire on top of it and wrap the chain around the tire.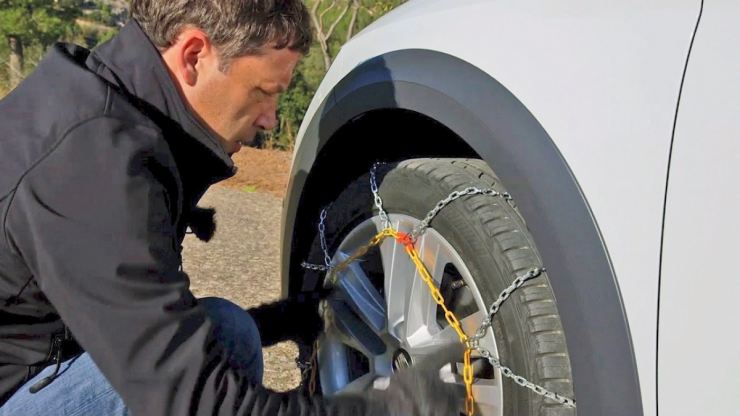
You should still have two links open on each side chain, which you can now connect and tie together.
Alternatively, you can also use quick link locks. Quick link locks are making the whole process of assembling and disassembling the chains super easy.
Some owners use two zip ties to hold the two ends of the chain together.
However, keep in mind that—although zip ties do work— it is not recommended to use zip ties to hold the chains together. Cold causes plastic to become brittle, and depending on the ambient temperatures where you live, the zip ties can break, causing the RC tire chains to come off the tires.
Ensure the Chains Fit NicelyAt this point, you should be able to see if the chains fit well. If they are too tight or too loose, adjust accordingly.
Adjust and Tighten the RC Tire ChainsThe chain will probably not be evenly spaced out, so take a few minutes to center the side chains and the cross chains.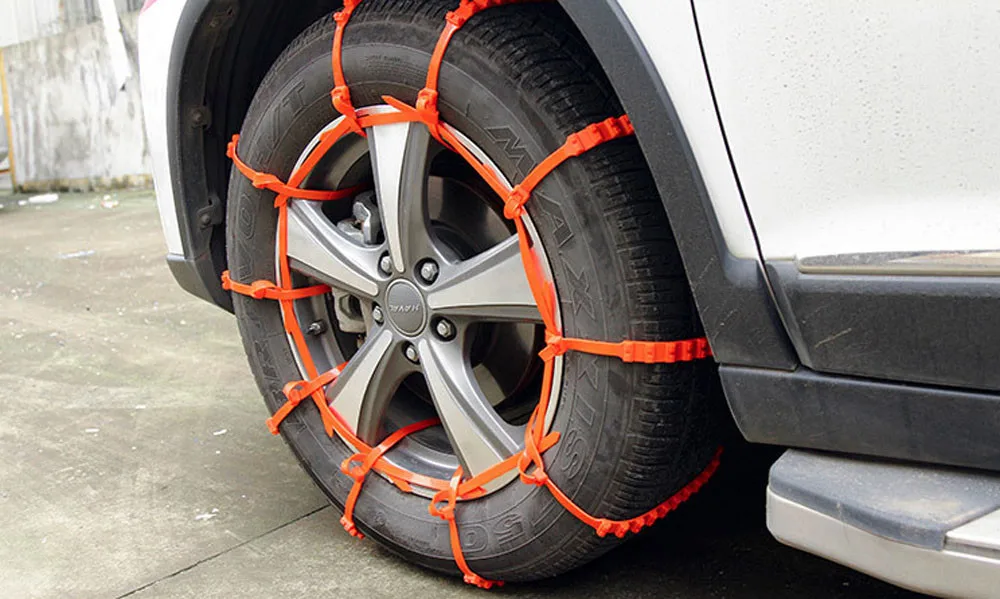
If you happen to have a wider gap at the spot where the side chains meet, you can add another cross chain to fill up that gap.
The chain should always feel snug and tight. If necessary, tighten the RC tire chains. If the chains are too loose, they may come off or even get tangled in the suspension or the chassis. This can easily damage both the chains and the RC vehicle. (It is also a health hazard as flying pieces could potentially hit the people nearby.)
You can use a rubber band, a thin gauge rubber-coated wire, or a short chain that runs across the RC tire and over the rim to hold the tire chain in place. That way, you will ensure the chains are not loose.
How to Make RC Tire Chains for Dually TiresSo far, you have learned about single tire RC cars. However, not all RC vehicles have single tires. Some have dual tires, and the good news is that you can easily make RC tire chains for dually tires.
The way to mod your RC tire chains for dually tires is by simply adding another side chain to the whole setup.
Start making your RC tire chains, as discussed above. Then you add another side chain and another set of cross chains. In total, you will have three side chains.
It is not recommended to use 2 side chains and simply double the length of the cross chains as this will leave a gap between the two tires, and the chains will be a lot looser.
For example, imagine you need 12 cross chains and 2 side chains for a single RC tire. If we convert that to a dually tire, you will need 24 cross chains and 3 side chains.
By using three side chains, you will have one side chain fit in between the two tires, which will keep the chains snug and tight at all times.
In fact, this is precisely what you will observe on some real-sized vehicles that have dual tires.
RC Tire Chains PatternsSo far, you have learned how to make a simple tire chain pattern, which is known as a ladder pattern. The ladder pattern used by the majority of hobbyists is the most popular pattern and is often used on real-sized vehicles, too.
However, if you want, you can also try making different patterns. There are diagonal, diamond, and square tire chain patterns.
In some instances, it may be possible that these patterns can help to keep the RC tire chains tight and snug, improving the RC vehicle’s performance and traction on some terrains. However, it is unlikely that you will notice any drastic change in the RC vehicle’s behaviour.
Overall it is recommended to stick to the ladder pattern as it is the easiest to do while providing arguably the same results as the other patterns.
Can You Make RC Tire Chains Lighter?One of the downsides to RC tire chains is that they can be heavy. This can make the tires—and as a result, the whole RC vehicle—so heavy that it can start sinking in the snow.
Fortunately, there are a few ways you can make them lighter.
If you want to make them lighter, you can try to replace the side chains with a small wire rope, which can be tied together with a wire rope crimper using a crimper tool.
Another way to make your RC car tire chains lighter is by using a smaller size jack chain for the side chains.
How Long Does It Take to Make RC Tire Chains?The entire project takes about 2 to 4 hours to complete for all four wheels.
On that note, it is worth making a small rig that you can use to build and store your RC tire chains—all you need is a small plank of wood and 4 nails or screws.
Make your first RC tire chain and lay it down on a small piece of wood. The plank of wood should be slightly larger than the whole RC tire chain setup when carefully laid out on it. Put four small nails where each end of the side chain is.
That way, the nails will keep the chains stretched and spaced out, which will help you keep the chains from twisting too much while you work on them, and when you store them.
It will take much of the guessing out of the way when you start making the rest of the RC tire chains, as you will immediately have a visual of how long each chain should be.
On real-sized vehicles, it is required to put tire chains on the wheels that move the vehicle. So on front-wheel-drive cars, you put the chains on the front wheels, and on rear-wheel-drive cars, you place them on the rear tires. And all-wheel-drive vehicles usually have chains placed on all four wheels.
If we go off that rule, then if you have a 2WD RC car, you can try to put RC tire chains on the wheels that move the RC car, and if your RC vehicle is 4×4, you can use four RC tire chains.
However, ideally, you want to put chains on all four RC tires regardless if the RC vehicle is 2WD or 4WD. By using four RC tire chains, you will get the best traction, performance, and control.
Can You Modify RC Tire Chains?For those that like to experiment, a good idea may be to try and weave something through the cross chains to see if you can get a similar effect to paddle tires.
This can be a fun little side-project, but the actual results will vary wildly.
You can also have studs placed on the RC tire.
However, placing studs or other things on your RC tires can be dangerous as these things can fly out of the tire—especially if you drive your RC car at higher speeds.
That being said, studs can perform well on ice.
Contents
Design and types of anti-skid means
Making the simplest home-made chain for car wheels
Installation method without jacking up the machine
Alternative solutions
Points to remember
Any motorist with experience had unpleasant moments when the driving wheels of the car began to slip in mud, ice or deep snow. It is often almost impossible to get out of such situations on your own - only with the help of another vehicle. How are our colleagues doing? Some people buy studded tires after such incidents, others simply put the car on a "fun" during natural disasters. But there is another category of motorists that uses homemade chains for wheels and, I must say, quite successfully.
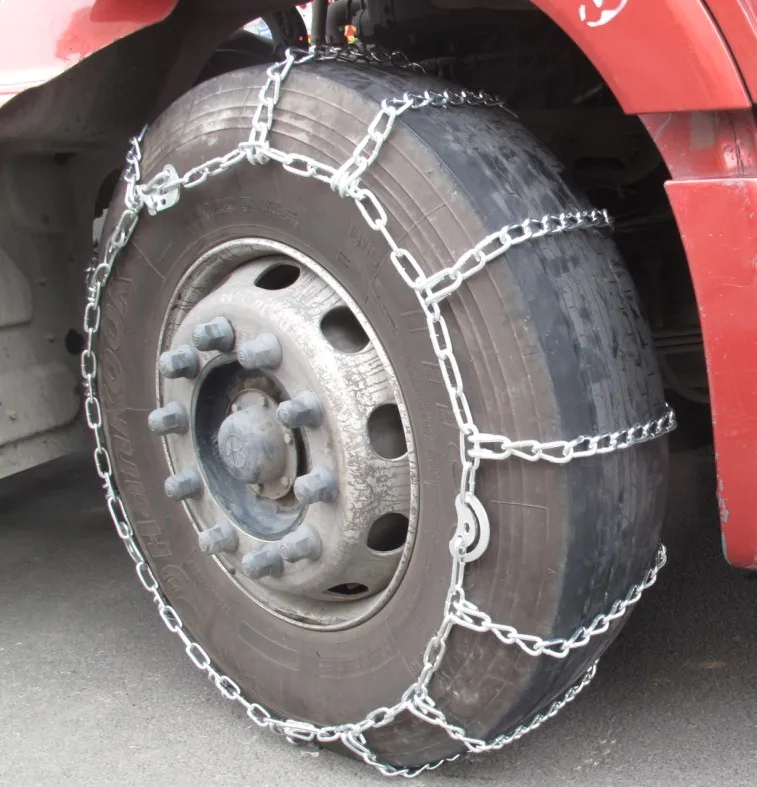
These devices are based on a simple design consisting of steel links or reinforced wire . A successful application lies in the uniform distribution of the elements along the entire radius of the tire. Failure to comply with this condition threatens to break the product and loss of anti-skid properties. The classic scheme, proven by more than one generation of motorists, consists of internal and external components that run around the entire circumference of the tire. They are interconnected by transverse parts, the so-called " grouser ". The manufacturing technology of do-it-yourself wheel chains is available even for beginners. Depending on the layout of the structural elements, there are three types of devices :

Each type has its own advantages and disadvantages. In terms of labor costs, the first option is the most accessible - "ladder" .
It is not always possible to purchase an anti-skid device - the high price and lack of availability of the right size makes car owners decide such issues on their own. I must say that this is a pretty good choice - all the necessary components are always available in hardware stores. In a critical situation, you can try to simply wrap the tire with a cable or a piece of metal rigging , but not everyone carries such a set with them. Moreover, for a disc type brake system, this option is absolutely contraindicated - such a design will disrupt the operation of the mechanisms. Therefore, it is worth preparing in advance homemade chains for wheels , for which will need :

The dimensions of the workpieces depend on the dimensions of the tire used, so it is important to measure the desired values in advance. The number of transverse parts is also individual - craftsmen recommend making sure that there are two "crossbars" at once in the plane of contact between the tire and the ground. Thanks to this scheme, traction characteristics and reliability of the entire product will increase. Preparatory action process and do-it-yourself assembly of chains on wheels consist of the following items:
As can be seen from the description, with a certain skill and tool, the operation will take no more than 40 minutes.
Those who have welding experience can put it into practice and refuse threaded connections, which will certainly affect the quality of the equipment.
Having checked the reliability of the finished product, it remains only to install it on the car.
The anti-skid device is mounted first of all on the drive pair and this is done using two methods :
The choice of method is up to the driver, but it is worth focusing on one recommendation - you need to think about installation in advance, even before entering the difficult area . Only in this way will it be possible to avoid annoying mistakes and save a lot of time.
Before proceeding with the operation of installing homemade chain on car wheels , carefully lay it, not allowing the links to twist.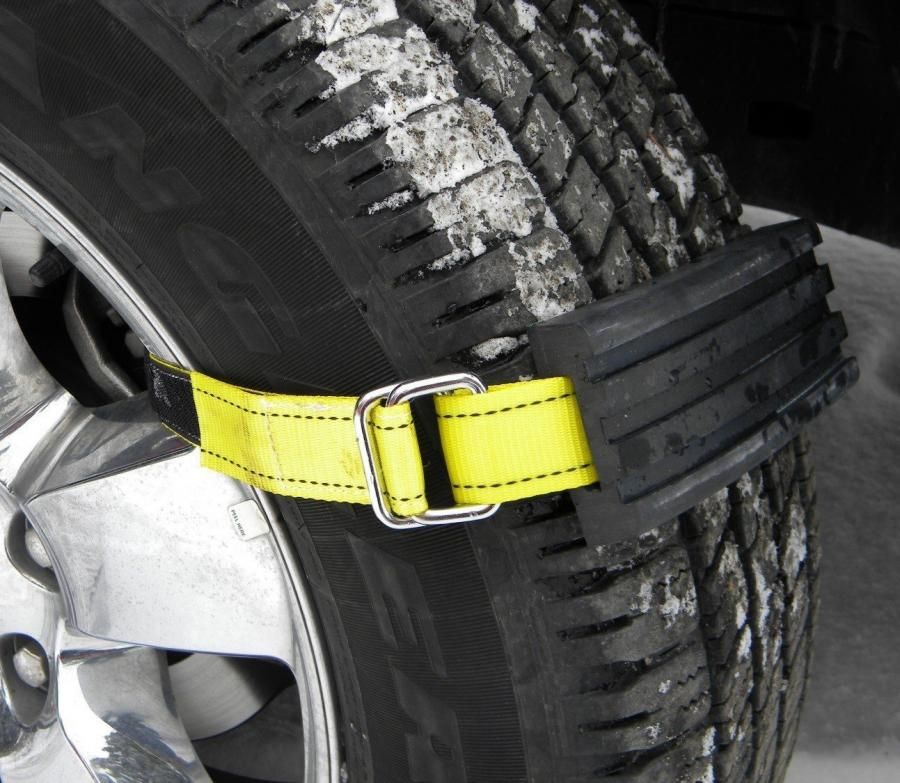 Further, we act according to the points:
Do-it-yourself installation of the chain on the wheels of a car using a jack is similar to the technology described above, its only advantage is to facilitate the task. For a better installation, you must first reduce the pressure in the tires, but after the operation, do not forget to restore normal parameters. This procedure will allow the product to fit as tightly as possible to the tire.
The idea of folk craftsmen does not stand still - and now they offer an alternative solution: anti-skid bracelets .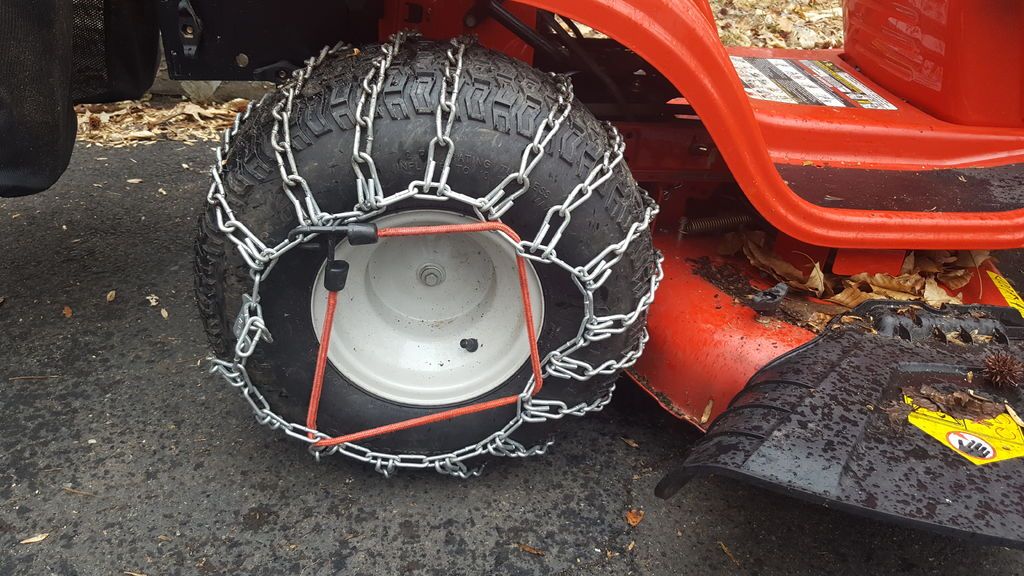 In principle, these are the same home-made metal chains for wheels , only with a difference in the absence of longitudinal elements . The advantages of bracelets are as follows:
So what is needed for the manufacture of :
For 195 and 205 mm tires you will need about 4 meters of chain. As you can see, the costs are minimal, and you only need to cut the material to the required length. Another alternative is kits for DIY wheel bracelets using chains , they are quite affordable and of good quality (except for Chinese ones).
Set consisting of:
The kit is very easy to use and does not take up much space. An important plus is the possibility of using machines with disc brakes . Judging by the reviews, owners of expensive SUVs do not disdain to use them, which once again speaks of the practicality of the device.
For more information on how to make your own anti-skid bracelets, see the video:
Anti-skid chains must not be used when driving on paved roads (concrete, asphalt). In conditions of loose snow or soil, it is recommended to adhere to a speed of 10-20 km / h. Wheel slippage must not be allowed.
After installing the anti-slip device, after driving the first 100 meters, you should stop and check the reliability of its fixation, as well as the tension around the entire perimeter. A loose chain can cause damage to suspension and steering components.
When it's cold outside, icy or snowy on the road, a car enthusiast thinks about optimizing his own car and increasing its efficiency. In this case, the best option is a comprehensive solution.
Installation of an antifreeze heater will help to warm up the engine, Chameleon athermal tinting will help keep the heat inside the cabin, and snow chains are ready to provide better cross-country ability.
It is about chains, their features and purpose, types and methods of self-manufacturing that we will talk about in this article.
Snow chains can turn any car into an all-terrain vehicle.
Their task is to improve the quality of vehicle grip, regardless of the surface. Mud, ice, deep snow are not obstacles for a car with chains on wheels.
At the same time, a huge plus of the products is the possibility of their use from time to time (if necessary).
For example, you drove hundreds of kilometers on asphalt, turned off-road and ran into a difficult section of the road.
All you have to do is put snow chains on your wheels and keep moving. These are reliable assistants to a car enthusiast who are always there.
Ample opportunities and ease of use have made snow chains truly in demand among motorists.
Manufacturers, for their part, offer a very wide range of products.
So, today there are several main types of chains that differ in material and pattern.
Made of plastic, rubber or polyurethane. The main function here is performed by special pads with spikes.
Polyurethane snow chains are the most popular.
Advantages - increased wear resistance, resistance to various chemicals, tensile strength and good elasticity (even at extremely low temperatures).
Polyurethane is much better than rubber.
Generally speaking, soft chains have a number of advantages:
 This allows you to mount products on cars with small wheel arches;
 Disadvantages.
The main disadvantages include high cost (when compared with metal structures) and "hardening" of rubber in the cold, which complicates installation.
Anti-skid chains have increased reliability, are affordable and provide maximum cross-country ability.
But there are also disadvantages:

In addition, metal snow chains differ in pattern.
Ladder.
The simplest option. Here, two parallel cables are connected by transverse strips.
These devices are the most affordable, simple in design and lightest in weight.
Fitted on non-steered wheels. This option is considered the best for long trips in off-road conditions.
Disadvantage - "throwing" the transport while driving, the appearance of jerks, the likelihood of "burrowing" and so on.
In turn, jerky movement has a negative effect on the suspension and transmission of the car.
Diamond pattern.
Has a drawing scheme in the form of a geometric figure of the same name.
Honeycomb.
The most complex design. Here, the longitudinal cables are also combined diagonally, which gives the effect of interlacing.
The diamond and honeycomb patterns provide the car with less traction than the ladder, but you can get out of the rut much faster.
The advantage of these chains is smooth running, no risk of burrowing in the mud and excellent handling.
See also:
Modern snow chains are divided into classes. They come in several types - for cars, SUVs and trucks.
The main difference here is the size of the wheel. At the same time, special chains for jeeps and trucks have a larger size of links and can be equipped with additional spikes to improve the vehicle's cross-country ability.
If you wish, you can make snow chains with your own hands.
To do this, proceed in the following sequence:
 The easiest option is a ladder;
 That's the whole wiring diagram. If you prepare all the material and act strictly according to the plan, then it takes no more than 2-3 hours to complete the work.
Chains can be mounted in two ways - it all depends on the type of device, weather conditions and your skills.
The first method is using a jack.
Everything is simple here. It is necessary to fix the machine with special stops and put on the parking brake.
Next, one by one, jack up each wheel, put on the chain, lock the locks.
The second way.
Skill required (no jack required). Park the machine on level ground and place the chains in front of the wheels.
Make sure that the locks are on the outside. It is very important that the links and knots are not twisted.
Now all that remains is to smoothly unfold the snow chains in front of the wheels and run over them. At the same time, about 25-30 cm should remain until the end.
Next, a long section of the chain is thrown over the wheel, the inner and outer parts are fastened. That's all. It remains to pull the product with an adjusting cable.
Before forcing some obstacle, it is advisable to drive several tens of meters on the chains, pull them up and then set off.
Otherwise, the performance of the products will be reduced.