Biketoworkday is supported by its audience. When you buy through our links, we may earn an affiliate commission. Learn more
All seasoned cyclists know that bike tires can do wonders in their riding experience. Bike tires not only enhance the entire aesthetics of the bike but also provide a more efficient ride. It can enhance comfort, increase traction, and reduce rolling resistance for a quality ride.
However, eventually, your tires will not be as reliable as before. You will notice that your tires are worn out, which compromises your safety when biking.
Thus, here is our easy-to-follow guide on how to change a road bike tire without needing to go to a bike shop. It includes taking off the old wheels, inflating the tire tube, fitting and installing the bike tire into the rim.
Table of Contents
As mentioned earlier, road bike tires directly impact how efficient your bike riding will be. It allows a smoother ride and ensures safety when you are on the road. Road bike tires can also give you full control when riding.
Here’s how you can tell when a tire needs to be changed or replaced:
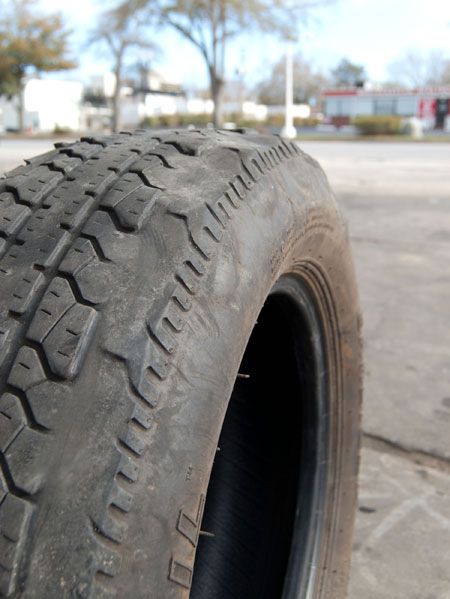
Worn out treadWhen you look at a bike tire closely, you will notice a unique pattern of groove cutouts on the rubber.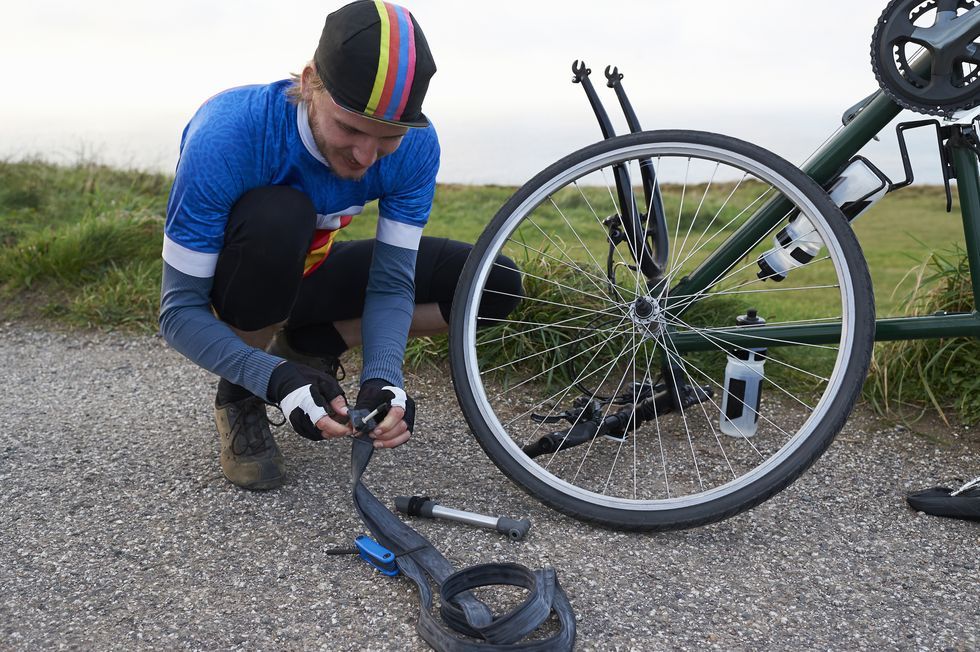 These cutouts are the bike tread. It is useful when you are navigating on any type of road.
If the tread became shallow, your bike tires would start wearing out until it gets smooth or bald. This will result in loss of traction and most likely compromise the quality of your ride. It also indicates that you need road bike tire replacement
Punctures when cyclingWhen your tires wear out, you will start having punctures frequently. It not only poses a danger when riding but will also become a major disturbance for you. A regular puncture will discourage you from taking the road or join group cycling because of the distraction it causes.
If this happens, check on your tires and see if they need to be changed.
Dry-rotWhen your tires are frequently exposed to corrosive chemicals like gasoline or cleaner, they will exhibit dry rot. Having dry rot invites a potentially harmful situation. You might experience a tire failure, especially when riding at increased speed downhill.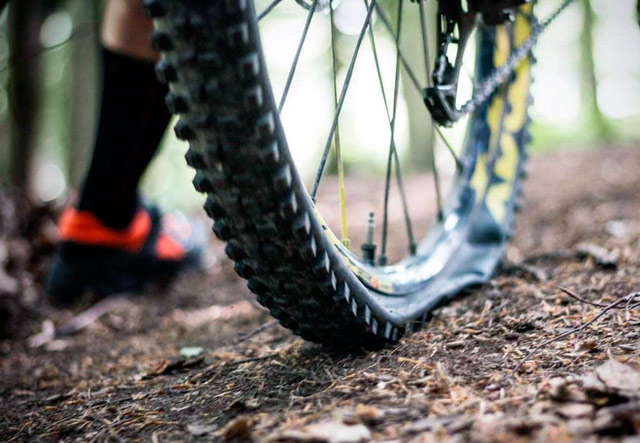 It is vital to check your tires for dry rot so that you can change a road bike tube and tire immediately.
Materials needed:
After discovering that your road bike tires need a replacement, you can head straight to a local bike shop for new tires. It is important to get the size of your wheels and measure your old tires. You should also consider the tread patterns and type of tire you want to use for replacing bicycle tires.
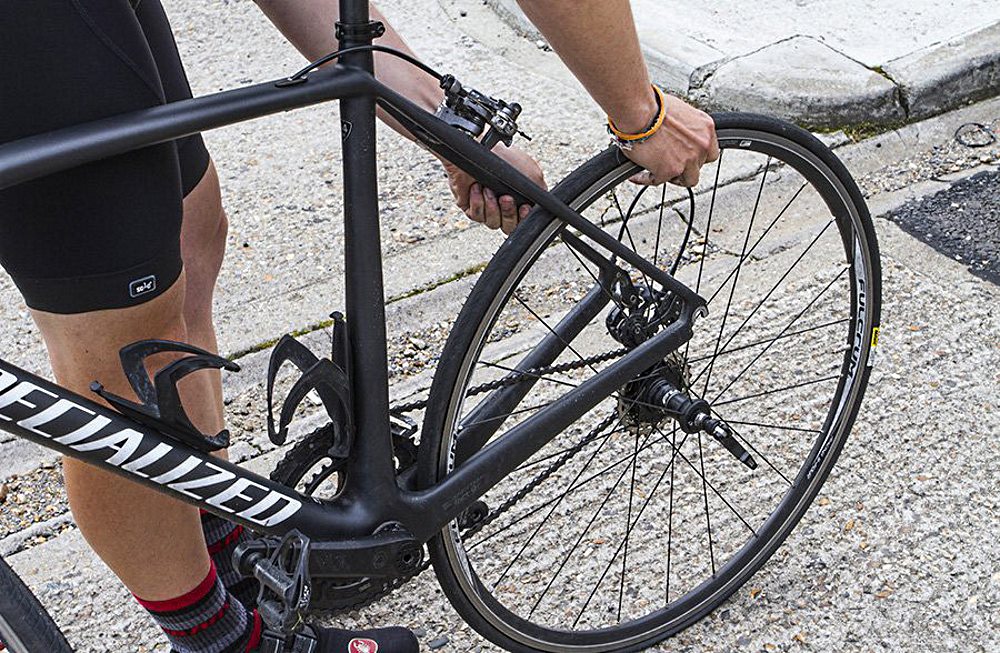
Step 2: Take off the wheelsThe first step to take in this process is removing the bike wheels. You can flip the bike upside down or use a bike stand for this step. You must loosen the brakes first for the front wheel, then locate the quick-release levers for easy removal.
For the rear wheel, you must adjust the gears first up to the smallest ring.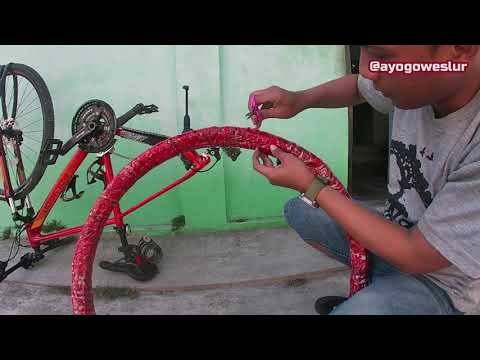 Loosen the brakes and locate the quick-release lever. Then, focus on the derailleur on the cassette and pull out the wheel slowly.
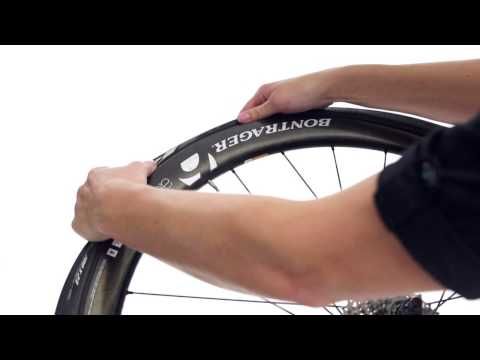
For the tire and inner tube to be removed quickly, you must completely deflate the tires first. Once deflated, you can push the part of the tire closest to the rim and move away up to the midsection of the wheel. Do this step around the bike until the tire is already loosened.
Step 4: Take the tire away from the rimOnce the tire has loosened its grip from the rim, you can use tire levers to separate the tire and the rim. You can use the hooked end of the tire lever and attach it to the outer edge of the tire. When you secure the attachment, you can now pull the level over the edge of the rim. Do this in a clockwise direction until you finally take the tire off the rim.
(Pro tip: You must apply consistent pressure when you remove road bike tires from the rim.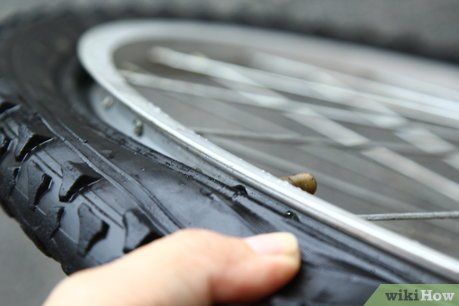 In this way, the tire will not fall back into its old position)
Locate the tire tube and slide the tube out. When you touch the air valve, you can push it through the hole of the wheel frame and completely remove it.
Step 6: Fit the new road tireAt this point, you are now ready well-versed in changing a road bike tire.
First, you must lay the new tube flat and inflate the tube moderately with a pump. The tube must start getting in shape but should not be entirely inflated. Then, let the tube slide slowly into the tire and line up the tire tube valve to the rim’s valve hole. Check whether the tire fits perfectly into one side of the rim. You must get the proper fitting of the tire before inflating the tube.
Step 7: Install road bike tire into the rimBy this time, you have installed the half side of the tire and tube into the rim; using the tire lever, you can push the other side of the tire over the edge of the rim. Adjust the position of the tube inside when needed. When you replace road bike tube, ensure that the tube is properly installed between the tire and the wheel. Then, roll the rest of the tire to the rim edge slowly. Make sure that you put the tire in place for this step.
After putting the tires onto the rim, you can re-install the bike wheels to your bike. Next, inflate the tire tube using a bike pump. Then, you are done.
Changing your road bike tire is one of the skills you must learn as a biker. You will constantly encounter worn-out tires, especially when you regularly commute using a road bike. Thus, we have developed a simple guide on how to change a road bike tire so you can follow the entire process.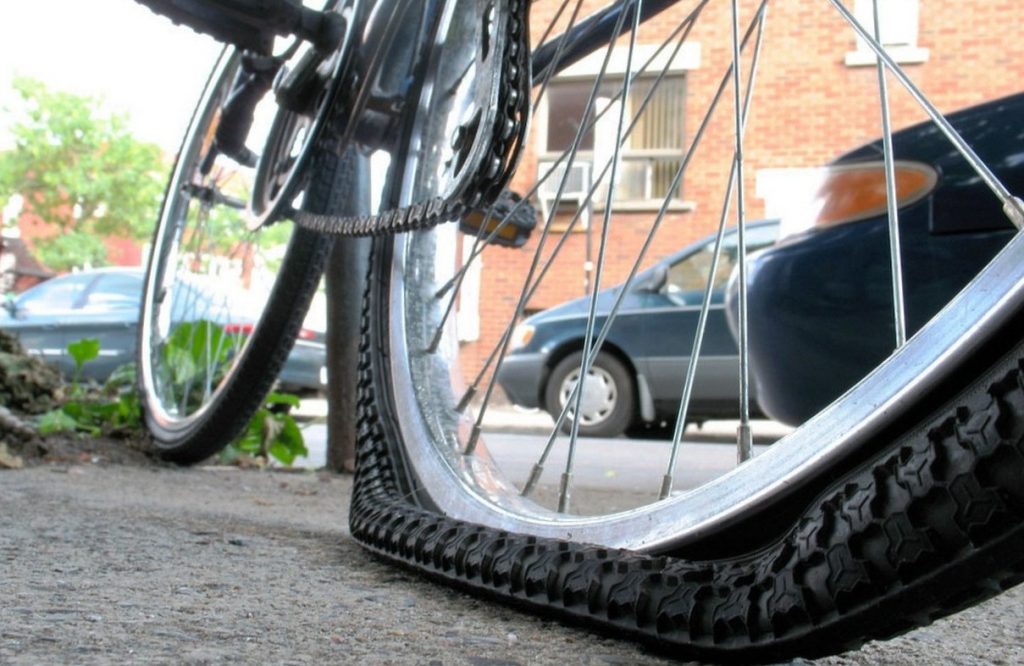 We kept the steps uncomplicated; even a beginner biker can understand.
Gary Johnson
“I ride my bike to work for years, but is that enough? Our carelessness towards our surroundings has taken a toll on the environment. And now, everyone is responsible for changes; even the most minor contribution is counted. With this hope and spirit, I started with my partner to establish Biketoworkday to help more individuals commute to their work sites on their bikes.”
Updated: Jun. 09, 2022
Next Project›
Family Handyman
Follow these simple steps for replacing a punctured bicycle tube. You can even fix the flat on the go if you have a spare tube, tire levers and a pump.
By the DIY experts of The Family Handyman Magazine
Step 1: Remove the tire and old tubePry under the bead of the tire with one of the tire levers and hook it to a spoke.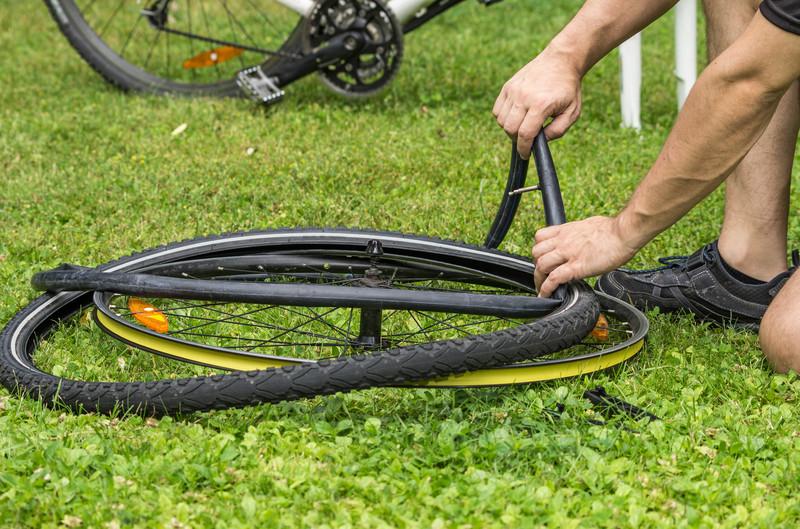 Move over about 4 to 6 in. and insert the other tire lever. Pry it down and then slide it along the rim to release the tire.
The first step of how to change a bike tire is to release the brake and loosen the axle nut so you can remove the wheel from the bike. Most bikes have a quick-release mechanism on the brake and a quick-release lever on the axle. If you’re not sure how to remove the wheels on your bike, check the manual or visit your local bike store and ask someone on staff to show you how. Do this before you have a flat so you’ll be prepared. For a guaranteed trouble-free fix, buy a new tube rather than patching the old one (see “Valve Types” below).
After removing the wheel from the bike, the next step is to take one edge, or bead, of the tire off the rim so you can remove the damaged tube (Photo 1). Pull out the tube. Then remove the tire completely from the rim, put it around your neck like a necklace and turn it inside out while running your fingers along the inside to feel for sharp objects.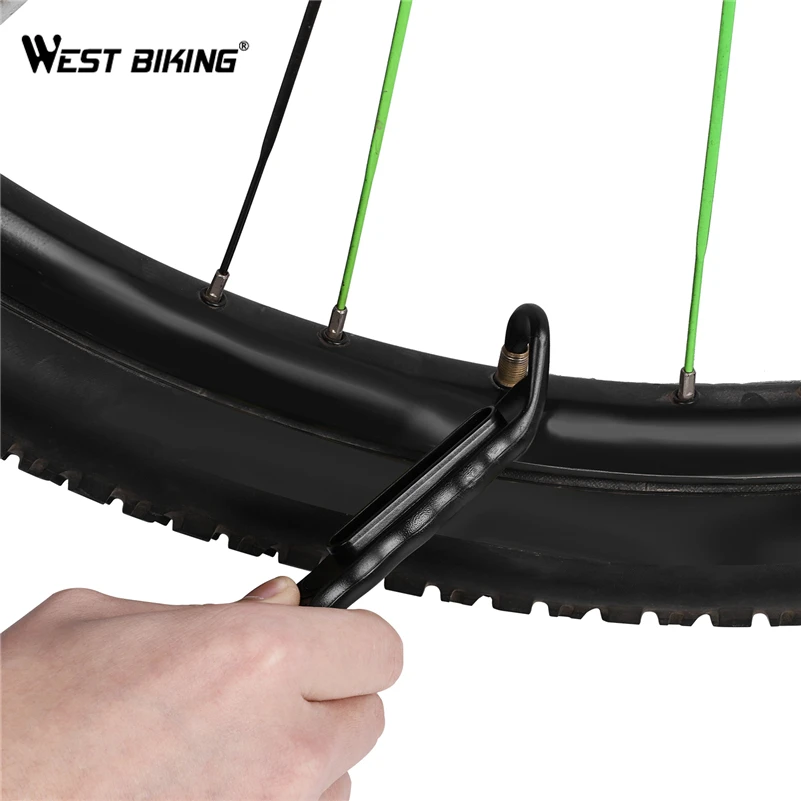 Be careful, though—there could be bits of glass lodged in the tire.
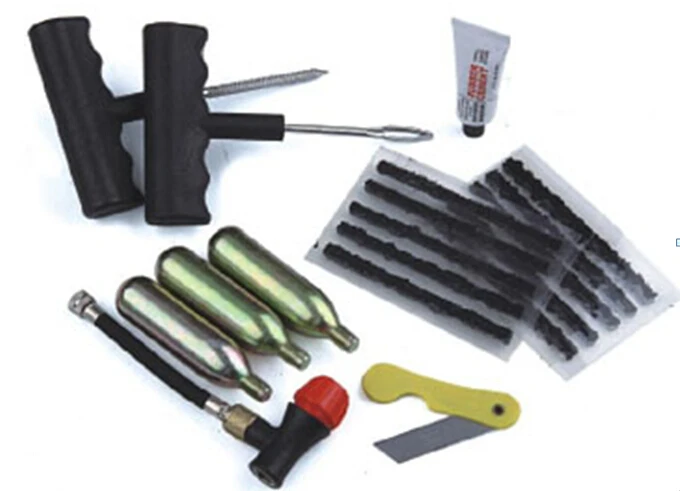
If you don’t want to walk home after having a flat, here’s a tip: Assemble a tire repair kit like this. A repair kit is one of the most valued bicycle accessories you’ll want. You can put it in a resealable plastic bag and tuck it in a knapsack or buy a small pack that straps under your bicycle seat. Not including the seat pack, the kit cost us about $38.
Step 2: Install the new bike tubePartially inflate the new or patched tube and insert the valve stem into the hole in the rim. Then work the tube into the tire.
Press the bike tire back over the rim, being careful not to pinch the tube. If it’s too tight to push the last section by hand, use the tire levers to pry the bike tire onto the bike rim.
After checking the tire, put one bead back on the rim, leaving the other side loose so you can install the new (or patched) tube (Photo 2).
Photo 3 shows how to push the second tire bead back onto the rim after the tube is in place. When the tire is completely installed, check all around on both sides to make sure the tube isn’t pinched between the tire and rim. To do this, push against the bead and look into the space between the tire and rim to be sure it’s clear.
Now you’re ready to fully inflate the tire. But there’s one last thing to watch for. Occasionally the bead may not seat properly on the rim, so stop before the tire is inflated to full pressure and rotate the wheel while you inspect the area where the tire and rim meet. If you see a spot where the bead isn’t seated in the rim, let a little air out and work the bead into the rim with your fingers. Then inflate the tire to the pressure listed on the side. Reinstall the wheel and spin it to make sure it’s centered between the brakes and rotates freely. If you’ve done an emergency repair using the CO2 cartridge, you may not have enough pressure. When you get home or to a bike store or gas station, fill the tire.
When you go to buy a new tube, take the old tube with you and match the valve. Presta valves have a nut on a threaded shaft that seals the air in and must be loosened to inflate the tube. You need a pump that’s compatible with a Presta valve to inflate these tubes. If you have Presta valves on your bike, keep a Presta-to-Schrader adapter with you so you can use a gas-station air pump to inflate your tire.
Next, check out how to change a car tire.
Originally Published: August 28, 2019
ⓘ
If you are a cyclist, you need to be able to deal with a number of common problems that can happen on the road. A punctured wheel is one of the main ones. Unfortunately, you can run into a nail, a piece of metal or a broken bottle almost anywhere, and sooner or later it happens to everyone. Already happened? Read our review, which we prepared together with Onliner, on how to change or seal the tube, tire on a bicycle.
To remove the damaged tube from the wheel, you need to remove it from the bike - this is much more convenient to work with. Then follow the step by step instructions:
1. Unscrew the protective cap from the nipple. If necessary, completely deflate the wheel. This will make the job easier, as there will be no unnecessary resistance.
2. Using a pry bar, hook the edge of the tire and pull it out of the rim. Special tools allow you to carry out this procedure quickly and as painlessly as possible.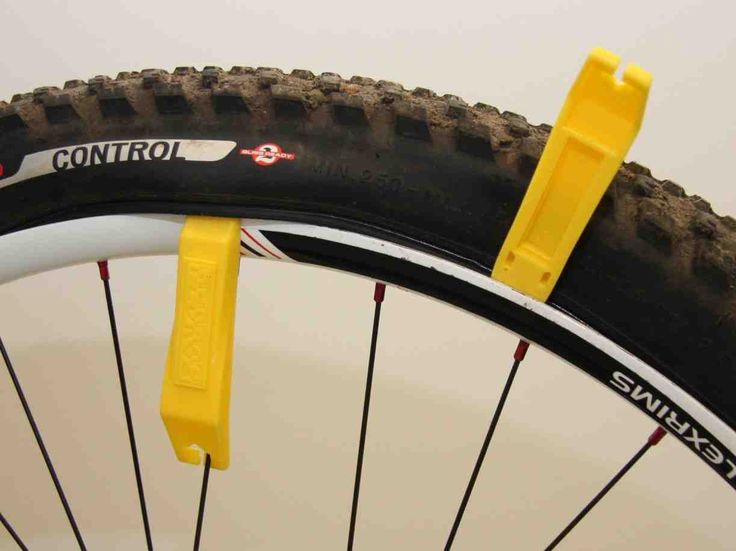 If there is no pry bar, you can try using any thin and durable object, such as a spoon. Her handle has repeatedly rescued cyclists who did not have repair tools at hand. Just make sure she doesn't bend over.
Important: The tool should not have sharp ends, so a screwdriver is not the best solution, although it fits the given shape. With it, you can only damage the wheel more. If you want to keep the tire, don't.
3. It is optimal to use two mounts. First, pick up the edge of one, then, when you fix the position, in 2-3 centimeters, pick up the tire with the second mount. This will be followed by a release of pressure, and the work will go easier. While continuing to support the first mount with your hand, continue prying the tire in a circle with the second until it is completely released from the rim.
4. Now that one end of the tire is completely out, release the nipple and remove the damaged tube.
We will consider the installation process with the installation of both a new camera and a tire.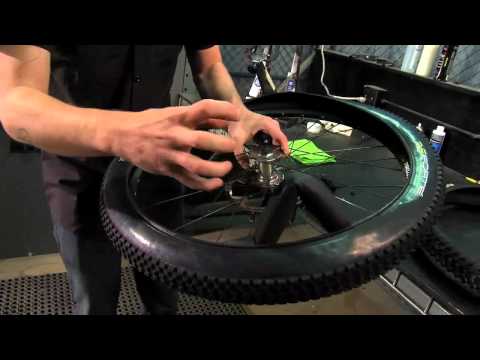 If you are keeping the old camera, skip the first step.
1. We put a new tire on one “rib” of the wheel, so that we have a free pocket for inserting the camera.
2. We take a new chamber (deflated) and, starting from the nipple, lay it along the rim.
3. While the camera is not yet closed, pump it up a little to make sure that it is laid flat and not twisted anywhere. If the tube is installed with a kink or twisted during installation, it will most likely burst as soon as you get on the bike. Agree, you don’t need such unnecessary frustrations, because these are not only ruined plans, but also additional financial costs.
4. Now you need to "fill" the tire into the rim. In the first steps, this is done manually, but at the end, installation will again be required. You can do it with one, but it's better to use two. Use it to pull the tire towards you a little so that it easily enters the rim. You can push the tire a little inward with a mount so that it is better fixed. The main thing is that the attachment depth is the same throughout the circle.
5. After the wheel is closed, pump up the chamber to the desired state. Usually the right pressure is indicated on the tire, check it to properly set your pump.
6. Now screw the cap on the nipple to fix the condition of the wheel.
7. It remains to install the wheel in place and that's it. Now your bike is back on track! Make a small circle on it at low speed to make sure everything is secured properly and you feel comfortable. If necessary, pump up the chamber of the second wheel so that they are equally elastic. After replacing one tube, many cyclists experience minor discomfort while riding. If everything is fine, you can go to the road. What if something happens, you already know how to change a tire and you can do it even in field conditions.
Try not to rush during the procedure and be careful at every step. Any carelessness can then turn into problems on the road. If you are saving an old tire, be sure to check the inside of it for any piercing or cutting elements. It often happens that part of the object that pierced the camera breaks off and remains in the tire. Doing so may damage the camera again. So, if you managed to find the "culprit" of the tragedy, make sure you extract it completely.
When working with the pry bar, be sure to hold it with your hand, even if it seems to you that it is holding itself. The resistance of the tire can easily push it out. In the best case, it will simply fall and you will have to start work again. At worst, it will fly out with force and can hit you in the face. The sensations are unpleasant, not to mention the fact that it can be traumatic.
Bicycle tyres, bicycle tubes
NB permanent author Yuriy Ganusyak shares his advice on how to take care of a bike so that it serves faithfully for a long time. Note that this material is designed for an experienced "rider".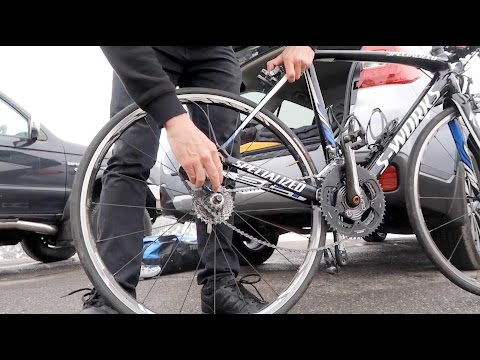 Therefore, if, while studying the review, you discover concepts or details unknown before, feel free to leave questions in the comments.
It's better to learn how to work with each part of the bike yourself. It is not as difficult as it seems at first glance, and bike maintenance skills will never be superfluous on a trip.
First, let's make a list of parts of the bike that need maintenance, and then we'll deal with each item in more detail.
 These consumables, which everyone for some reason forgets, need to be replaced regularly in order for Dura Ace to work like Dura Ace (SHIMANO DURA-ACE - high-quality components for mechanical shifting and braking from the Japanese manufacturer SHIMANO - author), and not like crap. 5-10 thousand km between replacements, depending on operating conditions.
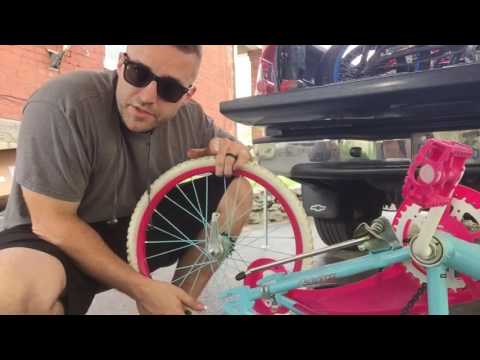
And before you start listing the main units and features of their maintenance, remember the main rule, which sounds like this:
node!
And more:
Chains tend to stretch with wear. Moreover, it is not the cheeks of the chain that are stretched, as one might think. The connecting pins are erased, because of which the chain not only becomes longer, but also looser. An elongated chain begins to work worse with a cassette and a system star, the grooves of which are designed for a certain pitch.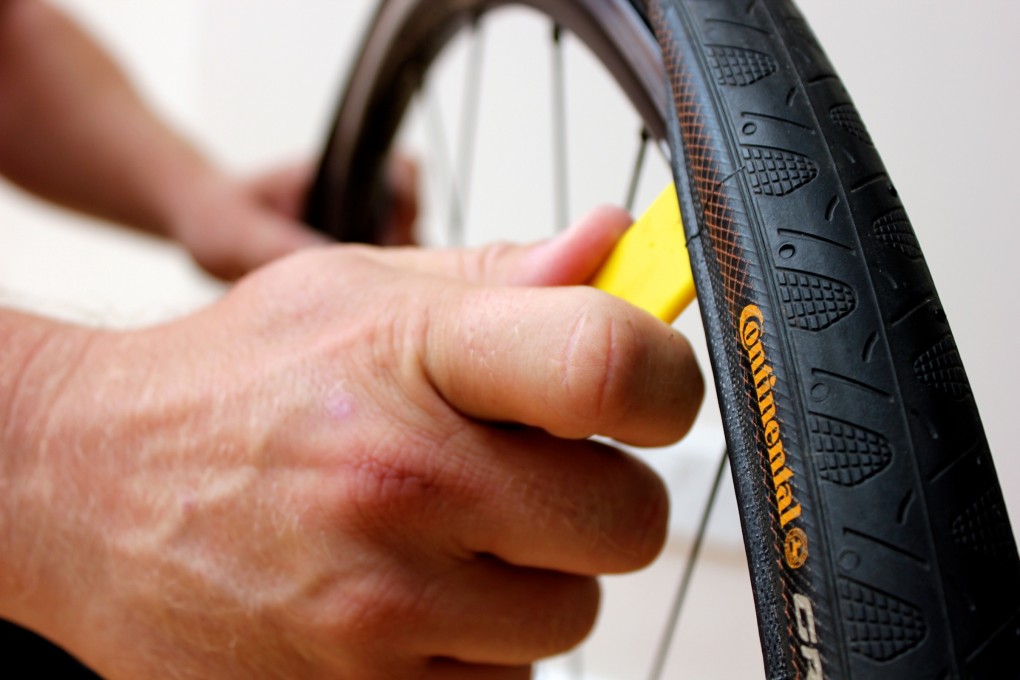 In this case, all components are subjected to abnormal stress, from which they wear out even faster.
The chain wears about 2-3 times faster than the cassette. And about 10 times faster than the system's star.
To prolong the life of all this goodness, use the chain replacement strategy . In addition to it, there is another fairly simple way to care for the mechanism, developed by the author of these lines - let's call it "Cleaning-Lubrication" . Let's start with the last one.
So you bought a new bike, or a new cassette and chain. Turn around and go back to the store for two new chains (for a total of 3). Buy a "gauge" - a simple device that measures wear - and be patient.
— Cleaning-lubricating the chain
Regularity - once every 50-200 km, depending on the type of lubricant, weather conditions, etc.
Algorithm: wipe the chain very carefully with a rag so that it shines like new.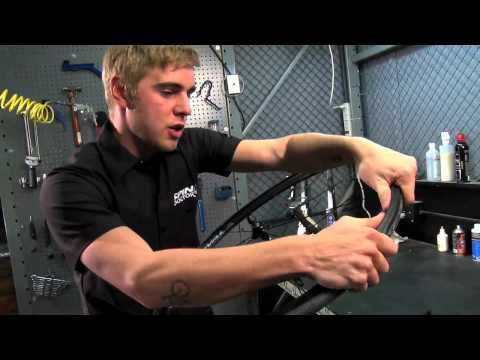 Then apply grease so that it gets inside the pins. Make a couple of tens of turns with the connecting rods so that the lubricant is distributed inside the chain. And again wipe the chain with a rag. The chain must be clean and dry after lubrication!
Optional - Wipe the teeth of the large system sprocket to minimize chain fouling. I recommend using Finish Line Teflon Lube.
- Circular replacement of the chain
Regularity - once every 500-700 km. The basic set consists of three clean dry chains.
Algorithm: chains are hung on a stud, the least stretched is determined by their length. This chain is set for a period of two weeks, the rest - for a week and a half. After 2 weeks of use (remember about regular lubrication during this period! - Author), the chain is replaced with the next of the remaining two. After all three chains go through their cycle, a “spring cleaning” is performed (see below).
Thus, the wear of all chains, and hence the transmission as a whole, is evened out.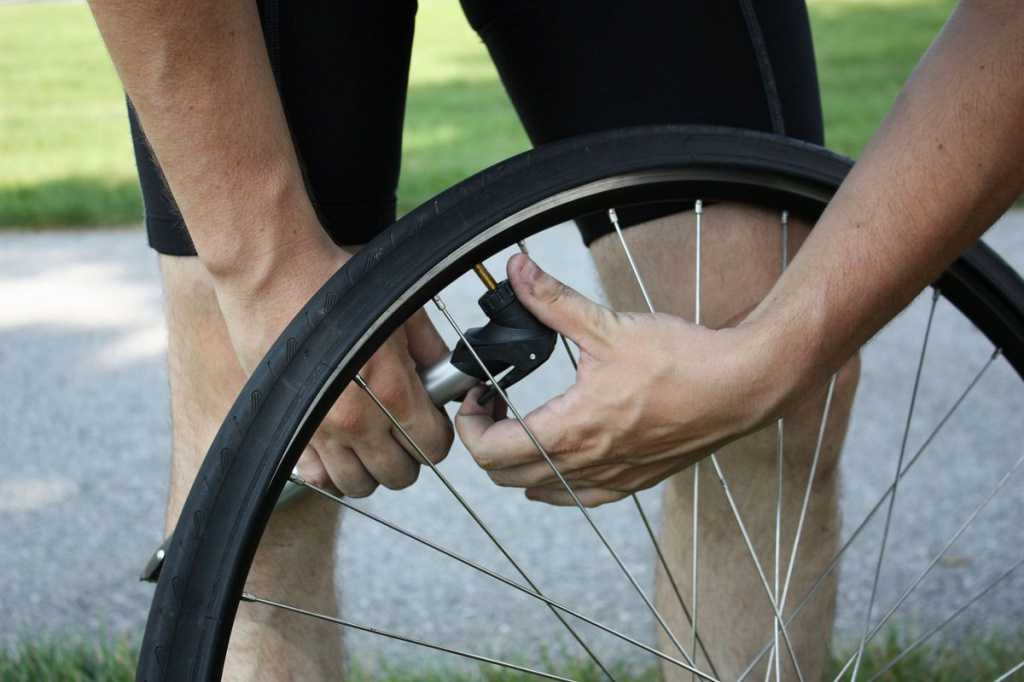
After the cycle, all circuits must be checked with a “gauge”. If any of them has reached wear 1.0, it should be excluded from the cycle. After all 3 chains pass the 1.0 mark, the transmission set is considered conditionally worn out and replaced with a new one.
The transmission set lives 5-15 thousand km depending on the care taken.
- General cleaning
After all 3 circuits have outlived their cycle (approximately 1,500-2,000 km), it is worthwhile to carry out a deeper cleaning of all components.
Algorithm: remove the cassette, wash it to a shine and dry it. An old toothbrush and Fairy detergent are great for this. Then clean the stars of the system, the transfer rollers. Immerse the chains overnight in the White Spirit solution (gasoline solvent, a mixture of liquid aliphatic and aromatic hydrocarbons - ed.), Then wipe thoroughly with a rag. The transmission is now ready for the next cycle of use!
Specific tools for "general cleaning": cassette remover, whip, "gauge".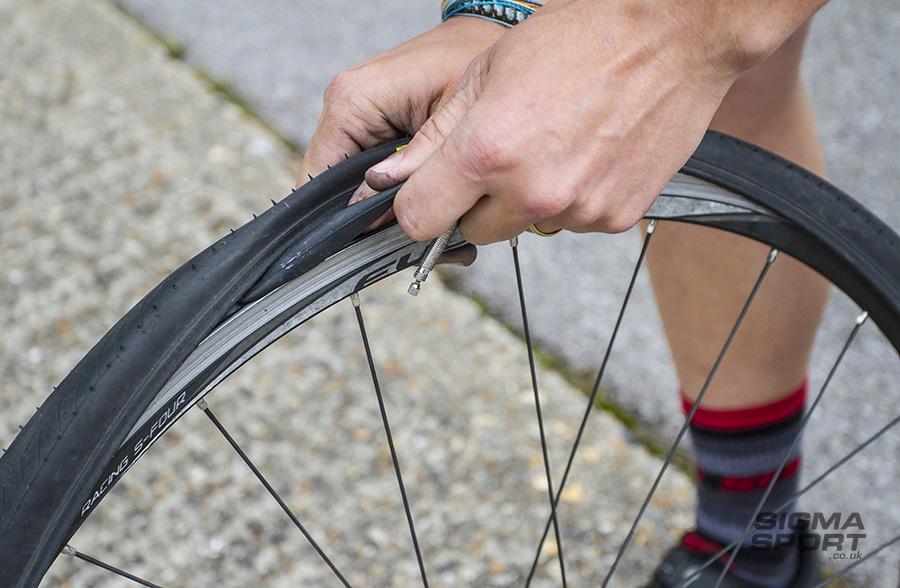
There is one little trick that can extend the life of the rubber.
If you don't spend 100% of your time riding in a time trial champion seat, then approximately 70% of your weight is on the rear wheel and only the remaining 30% is on the front.
Because of this, the rear tire, if they are the same, wears out faster than the front. If you are not too lazy to swap the front and rear tires during the “general cleaning”, they will wear out more evenly and last longer.
Let me remind you that the average life of good tires is 5-7 thousand kilometers, and on good asphalt under a light messenger it can reach 10K or more.
The frequency of punctures can also be a measure of tire wear. If the tire begins to prick once a week - in the oven it.
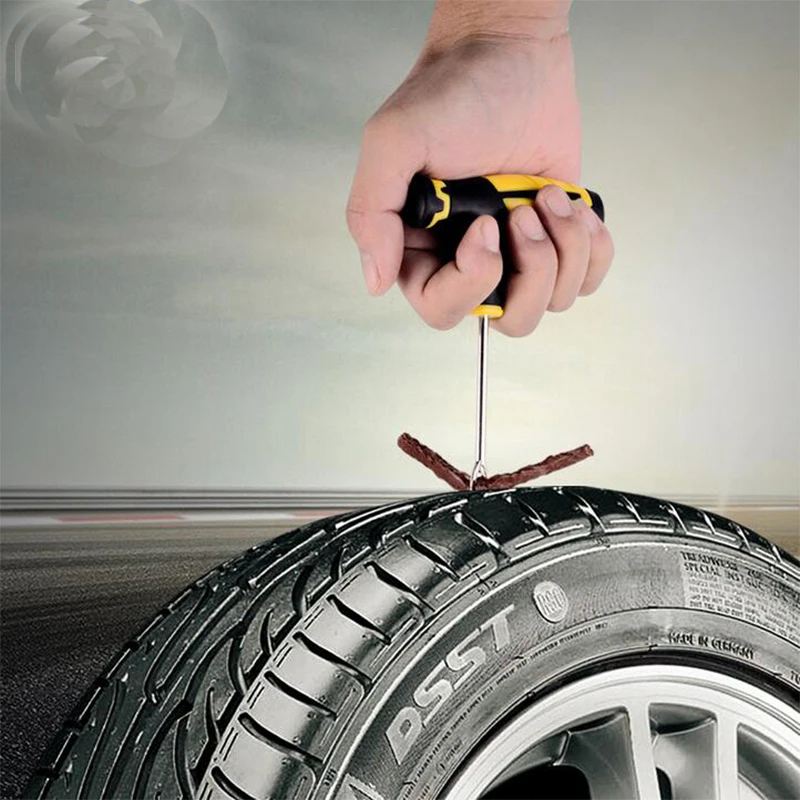
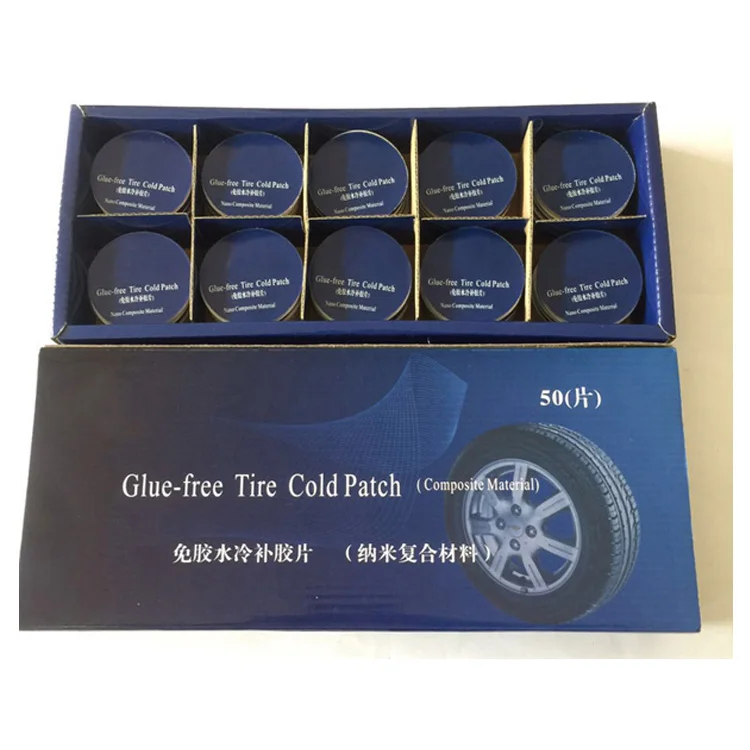
Do not get carried away with self-adhesive patches, bring spare tubes with you!
The problem is that they tend to peel off at the most inopportune moment.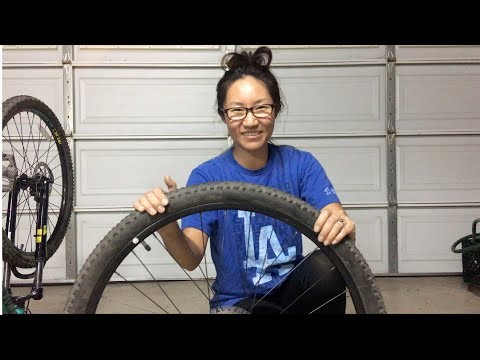 If you pierce on the road and there are no normal patches and glue, use self-adhesive, but after that you should replace the camera with a new one or seal it with high-quality patches.
Perhaps there is no more underestimated component that affects shift quality than jackets and cables. Athletes buy top-of-the-line equipment, carbon frames and high-profile wheels, but don't think about the fact that Dura Ace doesn't perform well with worn cables and shirts.
I never oil WD40 cables. This is my religion. The cable, lubricated with WD40, collects dust on itself and arranges “Hell and Israel” in a shirt.
The key to success is ground cables, not necessarily Teflon, although the latter have some advantage. And good quality shirts.
It is optimal to change the cables and jackets together with the complete replacement of the transmission, i.e. about once every 10,000 kilometers.
The detailed algorithm of this procedure is rather cumbersome, and I will not present it in this review. Those who want to get confused can find it at this link.
A road bike has a huge advantage over MTBs in terms of component durability. On the highway, they usually ride in dry weather and do not bathe the bike in mud up to the very bushings. However, from time to time bearings die on the highway.
From my experience, this happens with such regularity:
Now more about carriages and bushings .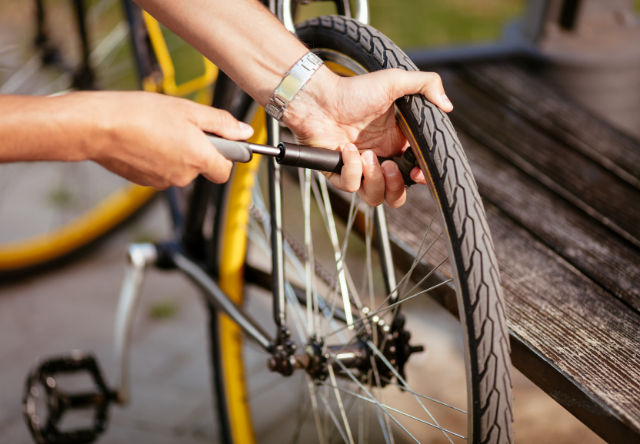 All of them are conditionally divided into two types: threaded, they are also BSA and models "press fit".
In the first case, two bottom bracket shells are screwed into the frame on the thread, in the second case, bearings or cassettes with them are pressed into the frame seats.
- BSA (threaded)
Servicing the former is fairly easy, but comes with risks. It is dangerous not only to overtighten the thread (it can be corny to rip off, although you need to be very strong and enthusiastic). It's even more dangerous to miss it. In this case, the thread is quickly loosened, the cup begins to play and break the thread. Catastrophic consequences occur in 1-2 days of driving with an unwound bottom bracket cup.
If you still decide to do this business, then I recommend arming yourself with a high-quality manual for replacing threaded carriages and the following specific tool: carriage puller such as ParkTool BBT-19 or BBT-09; a special compound like ASC-01, so that the carriage does not remain in the thread forever; torque wrench to tighten to the correct torque.
- Press fit bottom bracket
I would not recommend changing bottom brackets where the bearing is directly pressed into the frame unless you are experienced (e.g. BB30 or BB90). In theory, replacing bearings is simple - press-press-press, but there are high risks. A minimal misalignment of the bearing during pressing can lead to jamming, and if excessive force is applied, to damage to the bearing seat. The consequences are irreversible!
Excellent manuals for replacing these bottom brackets: BB30; BB92, BB90 and the like.
- Headset
In most modern road bikes, head tube bearings are installed without special tools. You just need to know the right article of bearings and have them in stock for a rainy day, and also be able to tighten the steering column.
You can talk about steering tightening for a long time. The main recommendation: the tightening torque should be such that when the front brake is clamped, there is no play in the steering. Having reached this state, we squeeze the bolt that tightens the steering wheel a little more, but so as not to overtighten it.
The steering wheel must turn freely!
After that, tighten the bolts on the stem. And not vice versa!
- Bushings
There are enough types and designs of bushings to cover them in this short overview. It is better to entrust the maintenance of wheel bearings to an experienced mechanic, or carefully read the manuals, or leave a question of interest in the comments to the article. Choose.
The pads have a wear indicator. Check their condition regularly and change if necessary.
For those who ride on flat terrain, one set of pads can last for years, like me, for example. Residents of Crimea change them more often. Of the tools, this requires a 2.5 mm hex, in the case of Shimano, and 5 minutes of time.
If you ride on carbon rims, always use the special pads for carbon!
Otherwise, you get, firstly, too much wear on the braking surface of expensive wheels, and secondly, no braking in the rain.