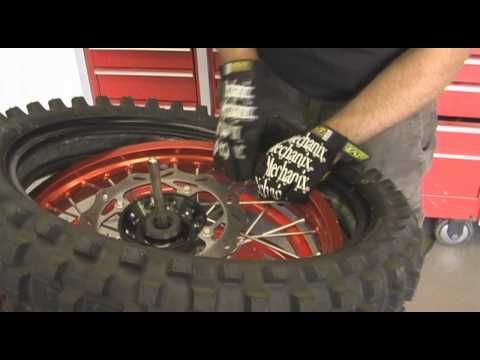
Changing a dirt bike tire can seem intimidating, but most riders with a little mechanical aptitude and access to a few tools can complete the project unscathed. In this video, our experts show you how to change a dirt bike tire.
First, remove the tire from the bike and position the tire off the ground using a bucket.
Using a core-removal tool, pull the valve core out and deflate the tire. Now’s a good time to remove the dust seal since you eventually need to remove the tube from the tire. Make sure you loosen the rim lock since it must be loose to remove the tire.
A little bit of soapy water goes a long way in this project, so use soapy water as a lubricant around the edge of the tire. Use a tire spoon on the edge of the tire to break the bead free from the rim. Work your way around the tire to unseat the bead.
Now, flip the tire over and repeat the process until the tire is off the bead.
Next, starting at the rim lock, put your tire spoons underneath the tire on the rim, being careful not to pinch the tube. Start working the tire around the rim with the tire spoons. Once it’s removed about three quarters of the way, it will start to come off a little easier.
After one half of the tire is off the rim, reach in and remove the tube.
Now, remove the other half of the tire from the rim. Spray soapy water to lubricate the tire and rim, then slide a tire spoon underneath the tire. If you have a plastic hammer, carefully hit the bead, taking care not to bend the rim. Work your way around the tire to help push it off the rim.
Again, use plenty of soapy water to lubricate the tire and set it on the rim. Locate the yellow dot on the rim and align it with the rim lock. This is very important for balancing the tire.
Start the tire onto the rim by hand, then use a tire spoon to push the tire on the rim the rest of the way.
Reinstall the valve core into the tube, and reinstall the tube into the tire. Take your time to ensure the tube doesn’t pinch or wrinkle. Push the valve stem through the rim and screw on a nut to hold the valve stem through the rim.
As you finish installing the tube into the tire, make sure the yellow dot is lined up with the rim lock. Also, ensure the valve stem is straight.
Using tire spoons, start at the rim lock to install the tire. Make sure the tube isn’t pinched between the tire spoon and rim.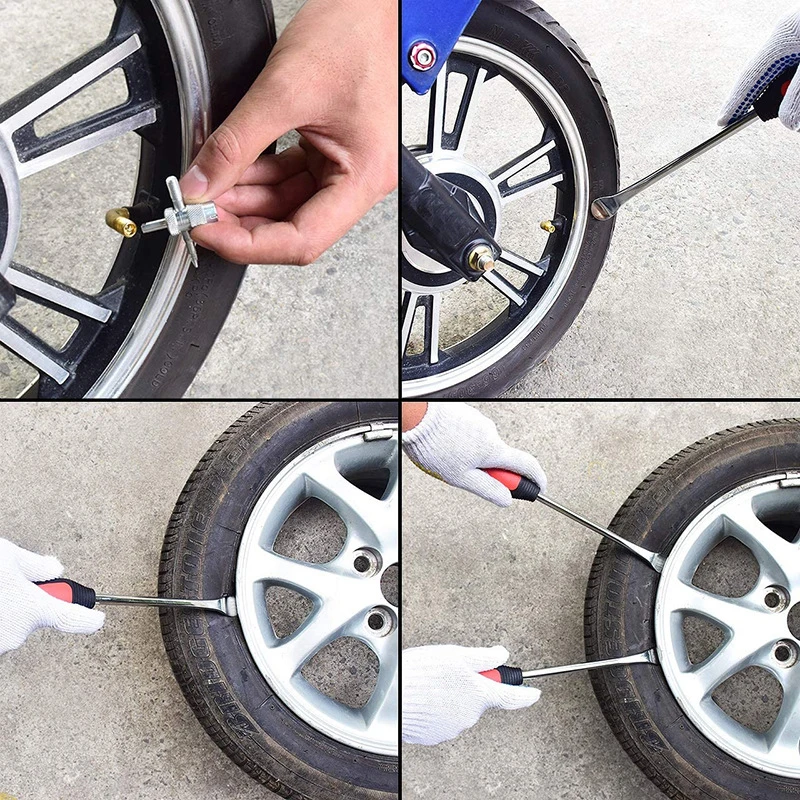 Use your knee to work the tire around the rim. It’ll go easy until about the halfway point, and then it’ll become difficult. At this point, be careful that you’re not pinching the tube as you gain a new bite with the tire spoons. A good trick is to use a plastic hammer to help as the tire becomes difficult to move.
At this point, add a little air to the tube. Check the bead all the way around on both sides to be sure the tube isn’t sticking through and that everything is aligned properly.
Now, be sure the tube is in the tire properly. Remove the valve core again and deflate the tube. Push back and forth on the valve stem to verify it isn’t pinched. Once you confirm the tube isn’t pinched, reinstall the valve core and add some air to the tire. If you see a few bubbles come out, don’t panic – that’s just the soapy water, which is normal. Again, check the bead on both sides.
Now, inflate the tire to the correct pressure. Look in the bike owner’s manual or on the side of the tire for the correct tire pressure.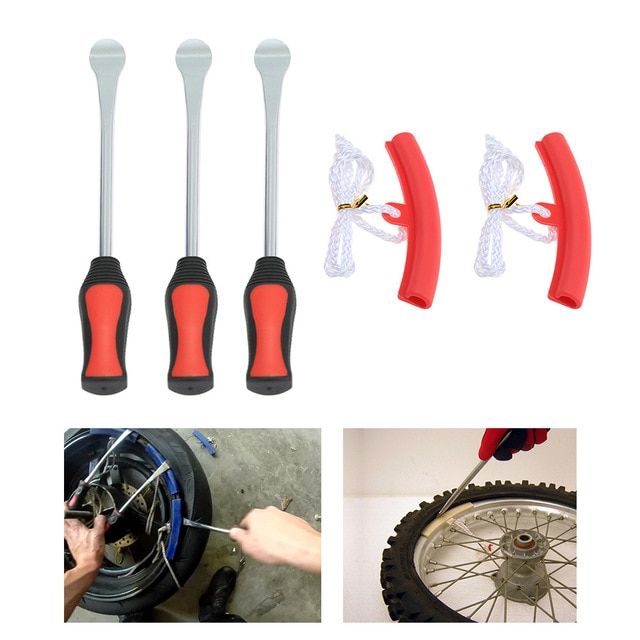 Install the dust seal and put on the valve cap. Finally, tighten the rim lock, which ensures the tire stays on the rim in the event of a flat.
Now you know how to change a dirt bike tire. Take your time and work carefully to help avoid problems so you can get back to riding. Don’t forget to check out AMSOIL products for your dirt bike.
Shop AMSOIL Dirt Bike Products
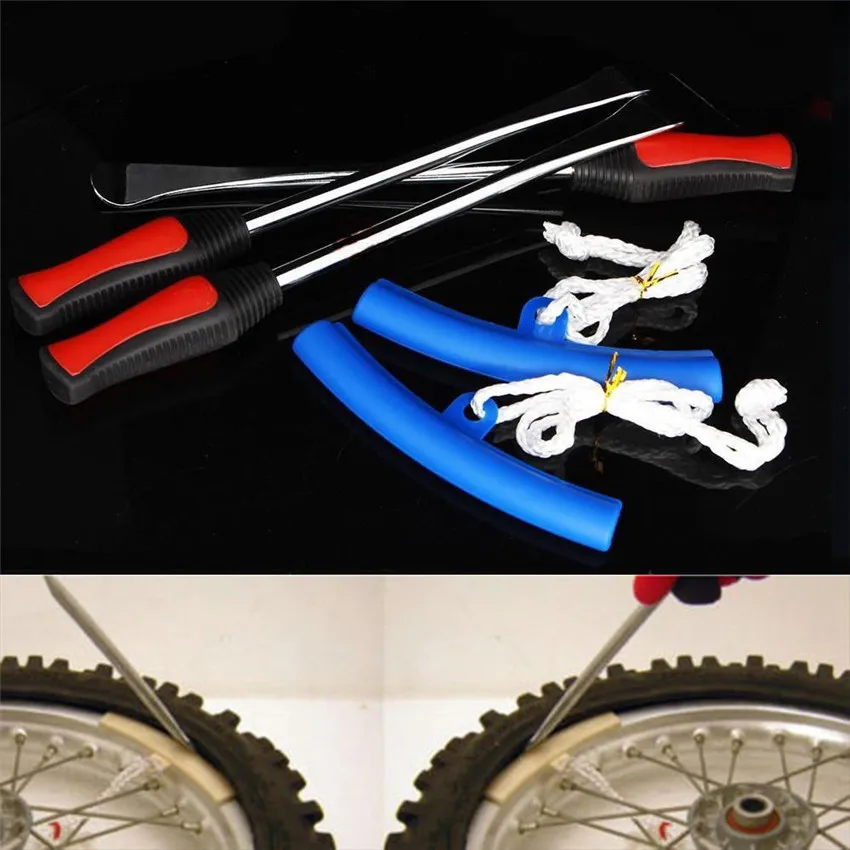
(1) Proper tools. You’ll want to have a tire-changing stand, tire spoons, tire paste, gloves, Motion Pro Bead Buddy, valve-core remover, 12mm or 13mm wrench, air compressor and baby powder. Dunlop recommends using Hunter Engineering tire paste, but there are several other good brands and even recipes for making your own tire paste on the internet.
(2) Air out. With the wheel on the stand and the sprocket side up, remove the valve cap and nut. Then remove the air-valve core. Set it aside to allow all of the air to come out of the tube.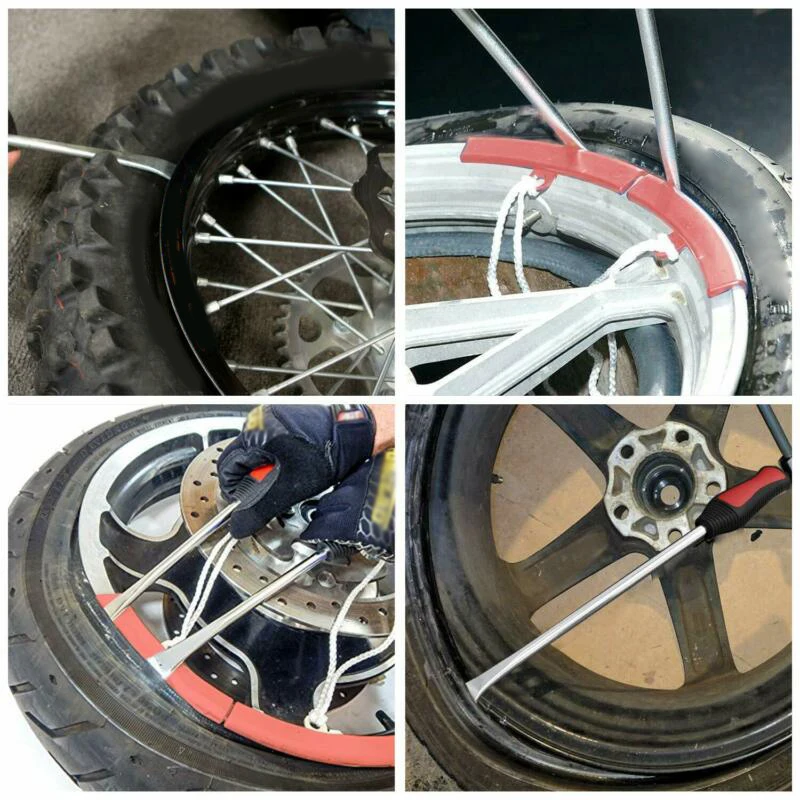 Loosen the rim lock completely without removing the rim-lock nut. Now, with all of the air out of the tube, begin to knock the tire off the bead.
(3) Break the bead. Start a quarter of the way from the rim lock. Grab your tire spoon and lodge the lip side of the spoon underneath the rim and then push down. Without any air in the tire, you should be able to push the tire off the rim. Continue this step around the tire until one side of the tire is completely off the bead. Then flip it over and repeat these steps on the other side.
(4) Get a grip. After the bead is broken, you’ll want to turn over your tire spoon so that the lip is facing towards the rubber to scoop it up and get it over the rim. At this point, you’ll want to be positioned so your arms are reaching across the wheel to have the most leverage. Start about a quarter of the way around the tire from the rim lock and lodge your spoon between the tire and rim. Once you’re set, pull back on the tire spoon until the tire comes up and over the rim.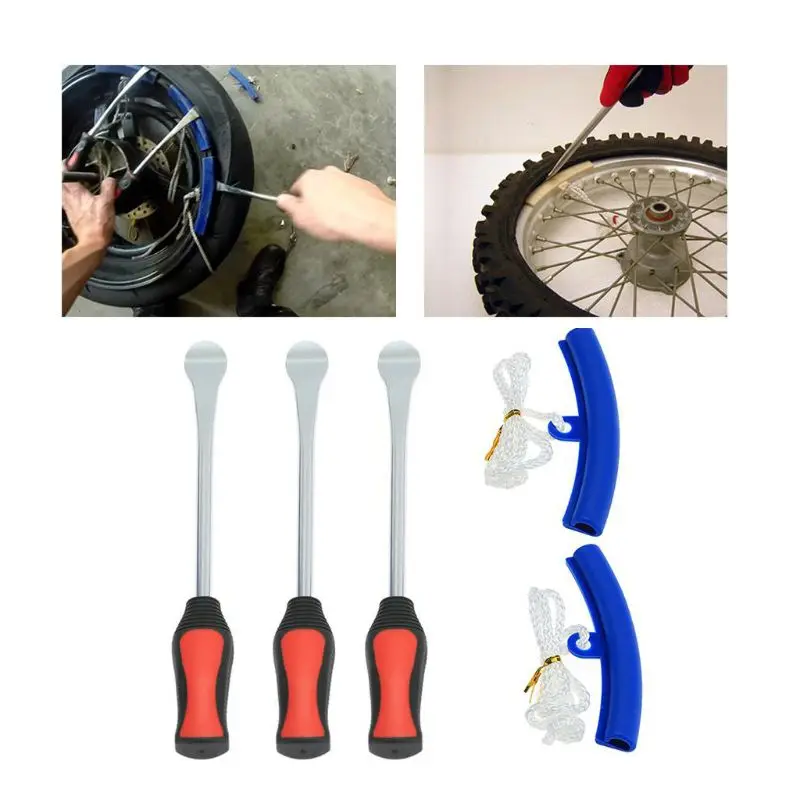 Then slide the handle of your spoon underneath the rear brake rotor and leave it there.
(5) Removing the tire. Grab your second tire spoon and lodge it in between the tire and rim 2 inches away from your first spoon; pull back and put it underneath the rotor next to your first spoon. If you have a third tire spoon, it’s time to use it. Take another 2-inch bite and pull. After using the third spoon, you will only need one spoon to complete the removal process. Repeat these steps all the way around the tire on both sides until the tire is off and you can pull the wheel out of the tire.
(6) Preparing. While the new tire is still on the ground, add baby powder to the inside. The powder keeps the tube from galling up on the tire by allowing it to move freely. This allows the tube to last longer and helps prevent pinch flats. Put the valve core back into the tube. Add a very small amount of air to the tube so that it doesn’t get pinched by the tire irons. The pressure needed to be less than 2 psi. Then place the tube in the tire. Check to see if the tire is directional and adjust accordingly. Also, wipe the tire paste onto the inner lip of both sides of the tire to help it slip on easier.
(7) Valve stem. Set the tire on top of the wheel and stick the valve stem into the rim. Put the nut back onto the stem, but only tighten the nut down halfway. Often times the tube will shift inside the rim if the nut is locked down tightly and the valve stem won’t be able to lean, which can cause the valve stem to tear.
(8) Mounting. Push with your waist and hands to get the bottom lip of the tire on to the rim. It will go on about two thirds of the way with your hands. Then, with your tire spoon, grab the remaining part of the tire and pry it onto the rim. Most of the tire will go smoothly, but a small section of it will be caught by the rim lock. Flip the wheel over and grab the tire with two spoons, one on either side of the rim lock, and walk it over the rim lock.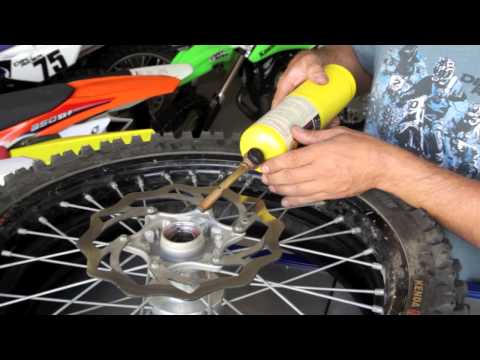 Next, push the rim lock out into the tire to position it before you remove your spoons.
(9) Bead buddy. Flip your wheel over and start with two tire spoons lodged between the tire and the rim to get the bead of the tire engaged in one section. Leave enough room between the spoons to put your Bead Buddy in. The Bead Buddy will sit with one edge in between the rim and tire while the other end latches onto a spoke to keep it in position. The next step is to lodge the spoon under the tire again with the lip facing the rim and pull back to mount it. Keep pushing it down with your hands so that the tire remains loose on the rim until the tire is fully on. For the last bite, don’t stick your spoon straight in the remaining gap. Push the spoon in between the tire and rim at an angle, using your hand to pull up on the tire to help get the spoon in. Grab the tire closer to one side. Pull on the spoon and use your other arm to press down on the rest of the tire to mount it completely on.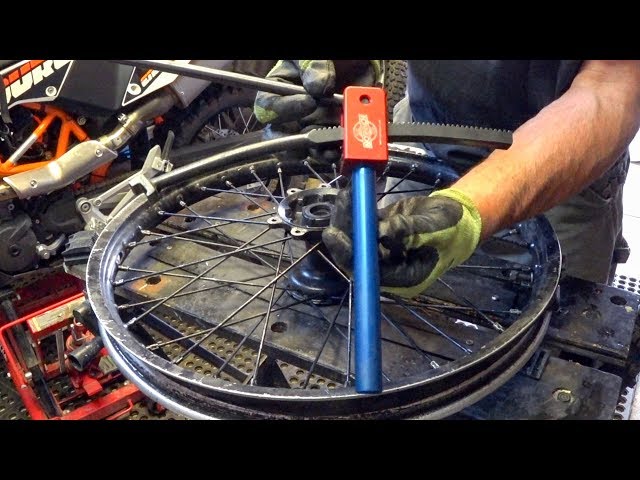 Then push down again with the spoon to allow space for the bead buddy to come out.
(10) Beading the tire. Once the tire is fully mounted, fill up the tube with an air compressor until you see and hear the tire bead snap into place. You may need to put as much as 40 psi into the tube. Check to make sure that the tire bead has popped up on both sides. Check the tire pressure and lower it to your preferred air pressure (typically from 11.5 to 13.5 psi) before you hit the track.
Dunlophow to change a motocross tiremotion pro bead buddymotocrossmxaten thingstire mounting pasttire spoons
1 . what kind of brakes does your bike have?
- if you have disc brakes, then go straight to step 2.
- if your bike has a rim brake, then you need to release it.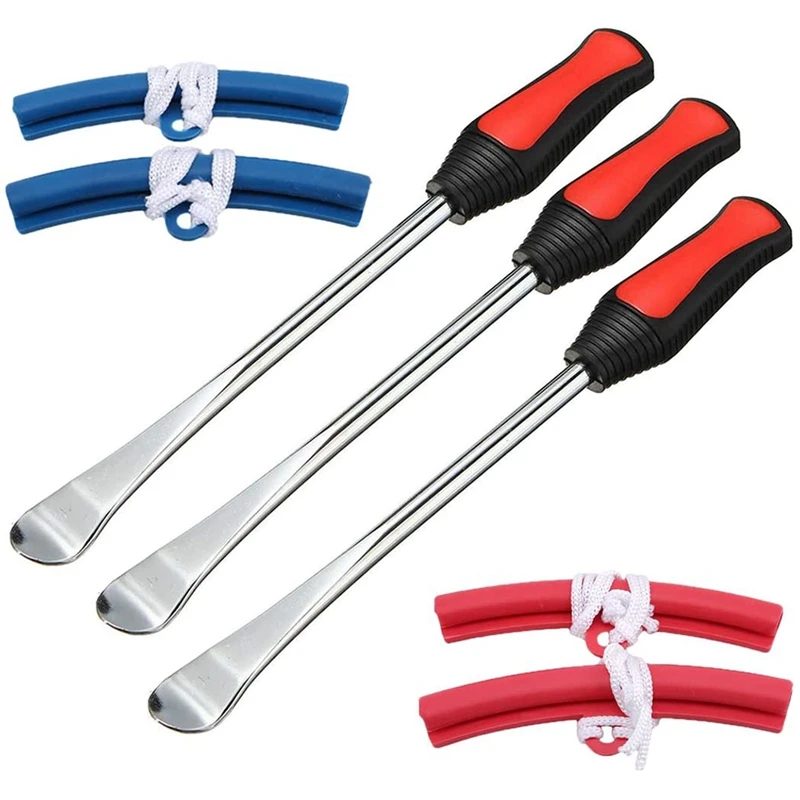 This procedure is approximately the same for all types of rim brakes: to release the V-brake, you need to squeeze the pads with your hands and pull out the arc, as shown in the figure.
2 . turn the bike upside down, it is quite stable on the handlebars and saddle. Be careful not to damage the equipment attached to the steering wheel (bicycle computer, bell, bicycle headlight, etc.)!
3. How is your wheel fixed: a regular nut or an eccentric (a small lever)?
- if the wheel is fastened with nut , then two suitable wrenches must be taken. Throw one on one side, the second on the other, and turn one of the keys counterclockwise, holding the second in place. It is not necessary to unscrew the nuts to the end, but simply loosen them until the wheel can be safely removed.
- if the wheel is fastened with an eccentric , then everything is simple here - no tools are needed.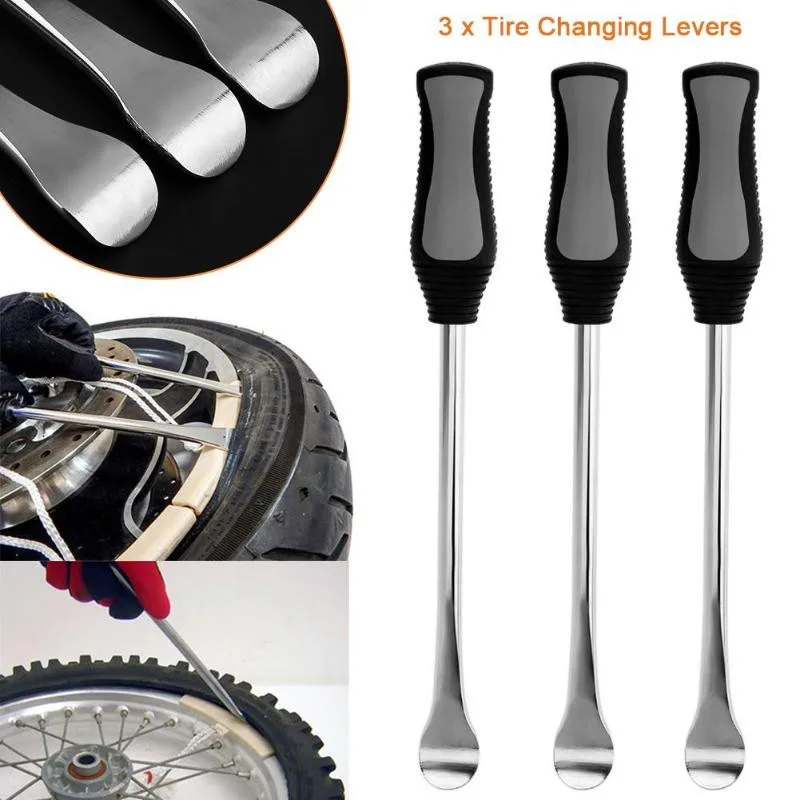 We pull this eccentric towards ourselves, as shown in the figure, after which it is necessary to unscrew it a little more counterclockwise, holding it on the back side with your hand until it becomes possible to pull out the wheel.
4. pull the wheel up, and if you did everything right, it can be easily removed.
*on bikes with disc brakes, do not press the brake lever with the wheel removed, as this can compress the pads, and you will have to fiddle with them.
The process of installing the front wheel is the reverse of removing it.
1. insert the wheel back as it was. Do not confuse the direction of rotation of the wheel (written on the tire). Remember that your bike is turned upside down and you should think about the direction of movement. In the case of disc brakes, it is difficult to confuse, since it is necessary that the disc hit exactly between the pads.
2. tighten the nuts or tighten the eccentric
3. flip the bike
4. if you have rim brakes, then you need to return them to their original state. We check that the wheel does not hang out, spins freely and the brake functions, otherwise we check everything again point by point.
The process of removing the rear wheel is TOTALLY the same as the process of removing the front wheel. You don’t even have to look at the equipment hung from the back (you only have to remove the chain from the axle if it catches).
The installation process is also similar to the installation of the front wheel, with a small exception: it is necessary that the chain fits correctly. To do this, we bring the wheel to the attachment points, put the chain on the sprocket and then put the wheel in place. True, a situation may arise in which it seems to you that the chain is twisted, and in order to untangle it, you will need to remove it. This is wrong. You just need to twist it back and forth, imagine how it was installed before on the stars and most importantly - do not panic. That seems to be all. Now you have mastered the art of removing and installing wheels.
LEARN MORE
LEARN MORE
LEARN MORE
ASK A QUESTION
Removing the front/rear wheel is easy.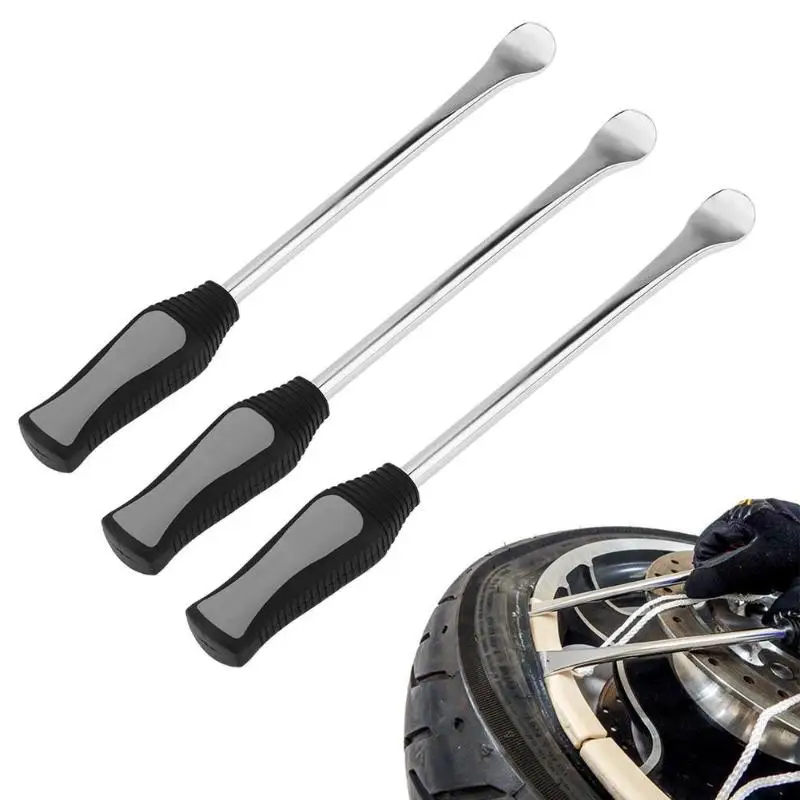 Even if you are doing it for the first time. The wheel is removed to replace the tube, tire or spoke. Transportation in public transport or seasonal storage - for these reasons, dismantling is also resorted to.
You can always remove or install a wheel, carry out maintenance on your bike or solve any technical problem in our professional workshop.
The front wheel is easy to remove, but the rear wheel is a little trickier. After all, there is a chain, and a lot of sprockets, and a switch. But you definitely don't have to worry! In a new article, we will talk about this procedure in detail. There is nothing supernatural in this.
1. Depress the rim brakes.
2. Move the brake levers (one by one).
3. Slightly lift the cable holder up.
There are two ways to fix the wheel: with two nuts or with an eccentric (more often). In the case of nuts, you will need two wrenches. Use the first key on one side, holding it in one position.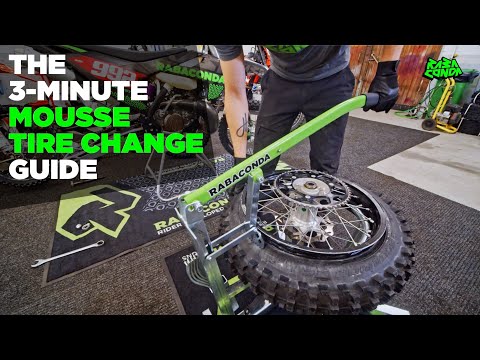 Turn the second one to the left (counterclockwise). It is not necessary to completely unscrew the nuts - you just need to loosen them enough. If the wheels are mounted on an eccentric, then the task is simplified: there is no need even for tools. Just pull the eccentric lever towards you, then, supporting the axle on the other side, make a couple of turns with it to the left - until the wheel is released.
When removing two wheels, it is advisable to remove both brakes. Otherwise, you will have to turn the bike over twice. If the tires have a large tread pattern or they are just very large, then deflate the air first.
It is also a good idea to loosen the chain as much as possible. To do this, put the chain on the smallest sprockets front and rear. Then you need to turn the bike upside down. Then simply open the eccentric / unscrew the wheel nuts.
Please note that in this position (wheels up) the bike will be very stable and accessible for maintenance. However, there is a certain nuance: if hydraulics are installed on the bike, then it is advisable not to keep it in this state for too long. Air can get into the hydraulic lines, which, in turn, will lead to a difficult and time-consuming process of bleeding the brake system.
How to remove the wheel (disc brakes)
If you have disc brakes, then we recommend inserting a special plug between the brake pads (sometimes it comes with the bike). A piece of plastic or a ruler will do. This will prevent the pads from compressing if you accidentally press the brake lever. Then it is not so easy to unclench them back, and if this fails, you will not return the wheel back.
Installing the wheel is carried out in the same way - only in reverse order. Bring the wheel to the grooves, put the chain on the sprocket, insert the axle into the grooves, and the rotor (brake disc) into the caliper. It is important that the axis enters the groove to the very end.