Last Updated October 14, 2022
TireHungry.com is reader-supported. When you buy through links on our site, we may earn an affiliate commission at no added cost to you
Whether for proper tire disposal or for recycling into ornamental, farming, or gardening purposes, cutting tires in half is the most sensible thing to do with your old, scrap tires. However, tires are built with durable rubber to withstand extreme abuse and are wrapped inside with high-tensile metal belts, so you’ll need to be equipped with the right tools to get through them.
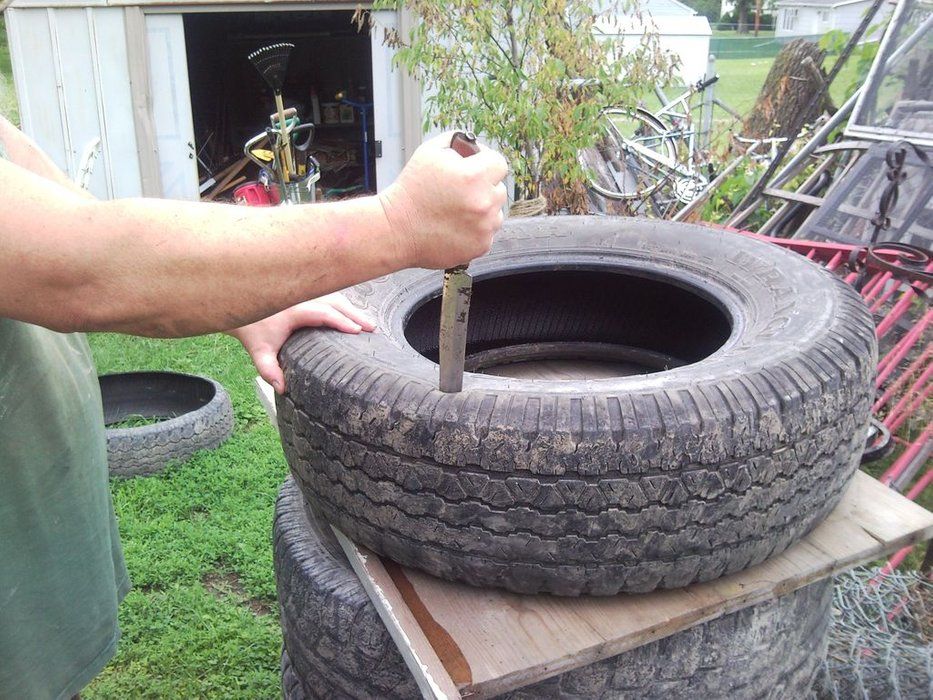
To cut tires in half, you can opt to choose between two easy-to-follow processes: First is by removing the sidewall with a knife or any sharp and pointed tool through the seam found in the sidewall just below the tread. The second is to reduce them into more manageable pieces with the use of power tools such as a jigsaw, circular saw, or Dremel tool equipped with metal cutting blades.
What's In This Guide?
Before you proceed with cutting tires, you must first check with your community if there are specific regulations on tire handling and proper disposal. Because tires are made with man-made rubber, they are non-biodegradable and their chemical composition can seep into the ground. That is why some local ordinances are very specific on this aspect.
RegulationSince scrap tires or old tires are considered solid wastes, they are regulated primarily by state governments. As of writing, there are already 48 states that have specific laws or regulations in dealing with scrap tires management.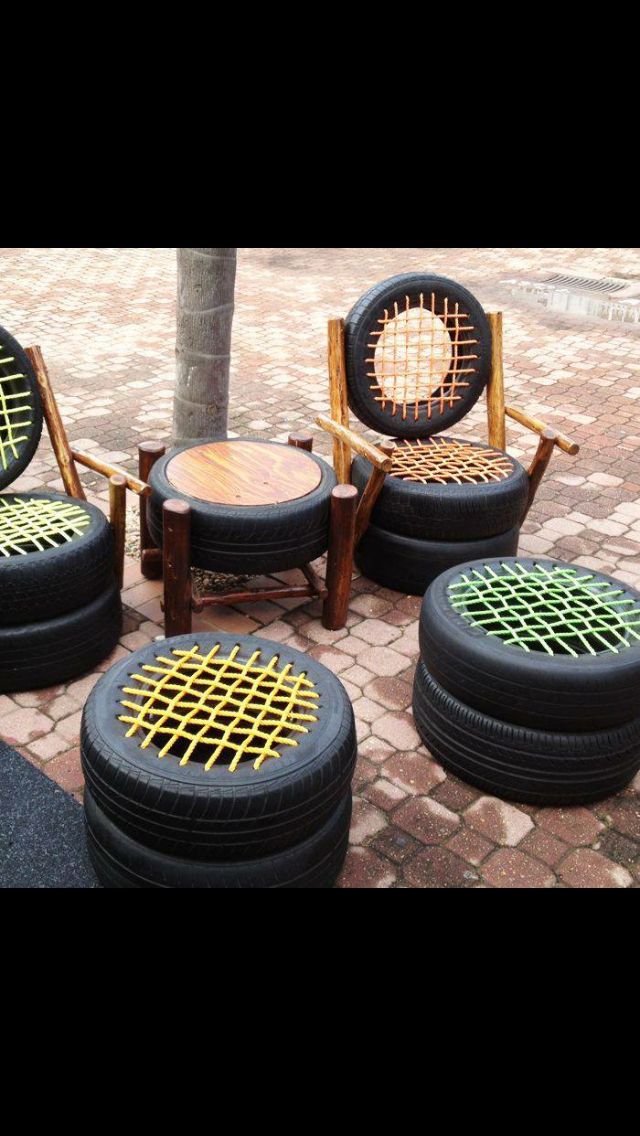 While each state’s program is unique, proper delegation on handling, disposal, and recycling are the common themes.
If you will cut tires just to easily dispose of them, without the consideration of reusing or recycling, you should also consider your local or municipal regulations. Some municipal ordinances have tire disposal guide requirements. For example, some specific guidelines mention that tires should be cut into a minimum of two pieces.
SafetyWhen cutting tires in half, you’ll be dealing with sharp and pointed tools for piercing through the sidewall and/or cutting through the tires’ tread. That is why safety must be observed at all times, keeping the tools away from the body is a good start.
Additionally, rubber fragments left after cutting tires vary in size, from considerable chunks to clouds of dust. This may have a chance to go through your nose or eyes which will cause irritation. On the other hand, the emitted fumes which resemble burning rubber can be toxic at moderate levels.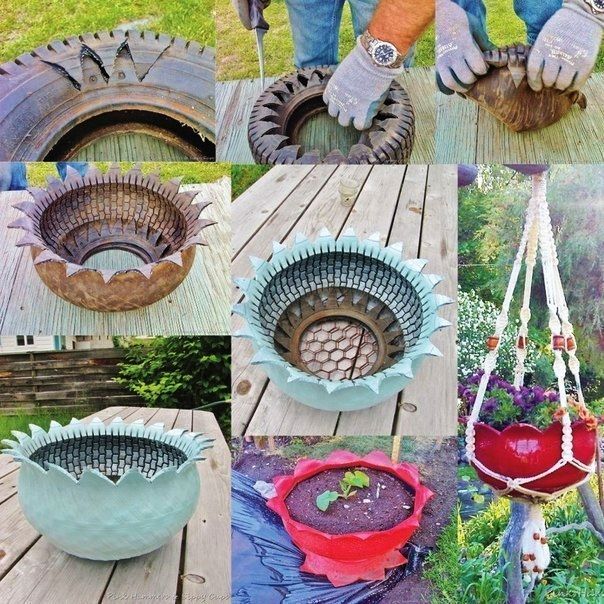 Lastly, the exposed portion of steel belts is very sharp, so take extra precaution when handling cut tires.
The ‘sweet spot’ of the sidewall is the softer and smoother part about one inch near the tread. This is the weakest point in the tires with virtually no reinforced belts. Having said that, avoid cutting too close to the tread nor too close to the rim as these portions are saturated with steel belts.
To do this, strike the sidewall with the tip of the blade forcefully. If you’re having trouble, or unsure that the blade will just slide through, an awl, ice pick, or any similar pointed tool will help.
The tire will likely roll or move while you’re slicing through the sidewall. To prevent this from happening, lay the tire flat on the ground, then step on the opposite section of the tire, away from where you are cutting. Another way is to keep the tire upright, locking your foot or thighs to prevent it from rolling. However, you should practice extra caution in this position and make sure that you are cutting in the direction away from your body.
Step 3: Cut through with a sawing motionYou can gain momentum if you are cutting with a sawing motion. Some tires have seams running through the sidewall, one near the tread and another near the rim. Make use of them as your guide while cutting through. When cutting along the sidewall, there will be a point that the blade will be harder to cut through the rubber. This is naturally brought about by friction, you can spray the blade with a lubricant and you’ll immediately notice the difference.
Wooden dowels keep the cut area open, making it easier to cut through the rubber. These dowels pry apart the rubber on both sides, preventing the blade from being stuck.
Step 5: Continue cutting until the sidewall detachesIf you’re already halfway through, rotate the tire a little half to get a new position to continue. This will make the process easier. You can also use your free hand to pull the other side of the sidewall to help you slice through.
How to Cut Tires In Half Method 2: Slicing into Small PiecesTools you’ll need:Cutting tires with power saws will leave behind lots of rubber and metal fragments, not to mention the fumes cut tire will emit during the process.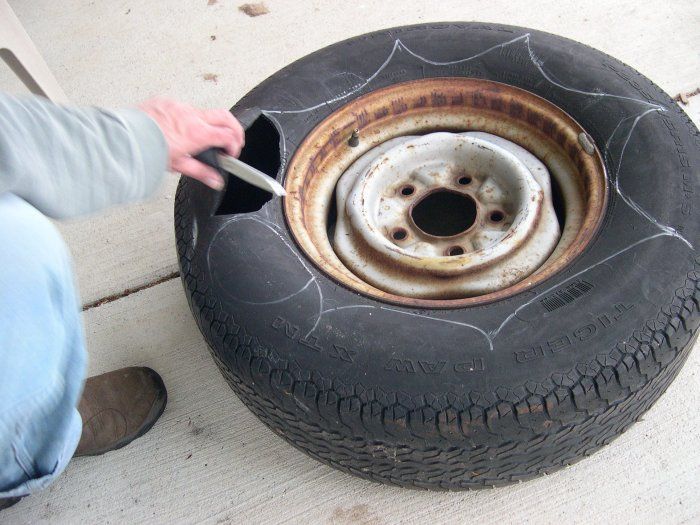 Work in a secured location with proper tools and equipment to promote a safe, efficient, and neat tire cutting activity. If you will be working outside with no power outlets available, ensure that the extension cord you are using is rated for high-voltage applications.
Any tire, regardless of its size, is stuffed with high-strength steel belts, with larger tires equipped with more reinforced steel. This is why it is necessary that the blade you’re using has the capability to cut through metal. Ferrous-metal cutting blades or metal grinding wheels will safely and efficiently do the task.
Also, wear your personal protective equipment such as safety glasses and a dust mask. The use of protective arm sleeves and gloves is also recommended to protect your limbs against metal shards flying out of the tire.
Step 3: Cut widthwise through one sideAs your tire is laid flat on its side, press the blade laterally across the sidewall, working your way slowly from the tire’s inner lip to the edge of the tread.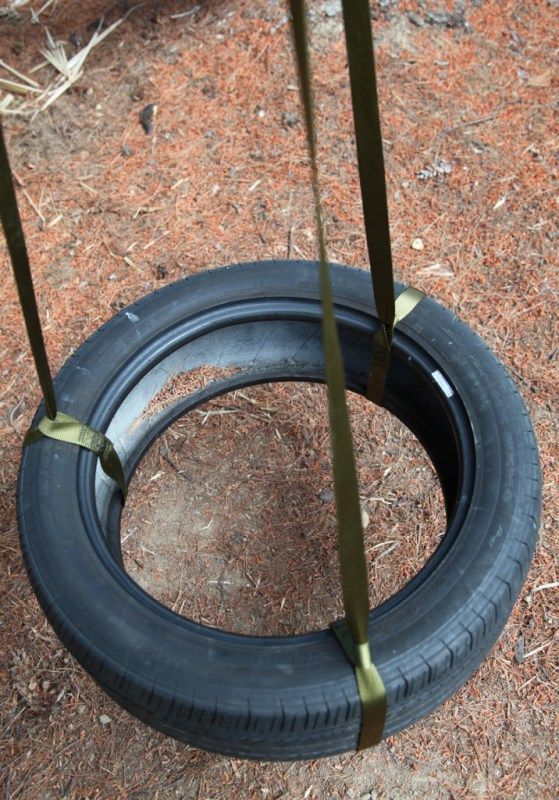
Keep in mind that the innermost tough part of the tire, called a bead, has a bundle of high-tensile steel wires wound into a rubber band. You may feel a slight resistance on this part but there’s nothing to worry about if you’re using the right type of blade.
Step 4: Complete the cut from the opposite sideFlip the tire over to cut on the second side, applying the same trick done in Step 3. Then, cut across the tread to completely separate each end of the tire. Next, turn the tire 180-degrees and repeat the process to have a tire neatly divided in half.
This technique will save you a significant amount of time and energy as cutting this way reduces strain brought by the resistance of inner steel belts holding the tire together.
Step 5: Continue cutting in halvesLike slicing a pie, continue cutting each pair of the tire equally into smaller sections until you’ve reduced it to quarters or eights. As the pieces become smaller, they’ll be prone to moving and sliding due to the reduced weight, keeping them in place with a vise or similar clamping tool will help.
Tire cutting, if not planned correctly, will entail additional yet unnecessary time, not to mention the extra effort that can be prevented in the first place. There are a few recommendations to consider such as starting the cutting process by piercing the sidewall with a pointed tool instead of the same cutting tool and avoiding cutting directly through steel belts manually.
Make a strong start by piercing a hole in the sidewall with a pointed toolUse an awl, ice pick, or any similar tool that can be used for poking into the tire. This way, you’ll reduce the pressure you’ll exert into striking the tire if you will be using a knife or box cutter.
Cutting directly through steel belts is time-wasting if done manuallyUnless you’re using a power tool, cutting directly through steel belts by hand requires too much effort, let alone your tool could dull or get damaged blades. Leave the cutting of tread and bead to a jigsaw, circular saw, or Dremel tool.
If you will be working with car tires, the process will be the same regardless of the size, as you will deal with the same steel reinforcements. If you don’t have any power tools in hand, you can use a good old hacksaw or a big pair of steel shears, though be prepared for a more tedious task, you’ll probably hurt your hands too.
Can I cut a tire off a rim?Yes, it is possible. In fact, with the right angle, you can cut through easily and as close as possible to the rim. However, the challenge is to keep the angle of the blade correct, as you don’t want the blade hitting the rim.
ConclusionThe tire cutting process may look intimidating at first. This thought may be brought about by the use of high-powered tools and patient dealings with tough tire rubber materials. However, if done correctly, and equipped with the right tools and equipment, you can get through with this process with ease. Just remember to put your safety first at all times.
Top Tire Retailers
Sometimes cutting tires is necessary for prompt disposal.
These are tricky beasts to tackle—so arm yourself and prepare for a potential struggle. You’re going to need several sharp tools, patience and strength.
Here’s how you cut your tire in half:
To cut tires in half, you’ll need a power tool—for example, an industrial chainsaw or circular saw. It needs the ability to cut through metal.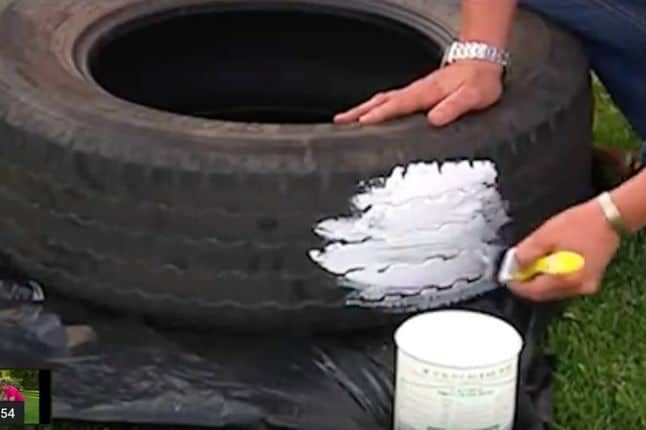
If you need to remove the sidewall first, you’ll also need a sharp blade, and dowels.
Before we get started, there are precautions you need to take. This will help you avoid mishaps and discomfort.
Manufacturers often thread tires with steel, so protective clothing is a must. Try to avoid overly flammable clothing, in case of sparks. Make sure you also wear:
If possible, look into purchasing a welding apron too. It’s not vital, but an intuitive precaution to take.
Not all tires contain steel, and there’s no guarantee it’ll spark. But it’s better to be prepared than cause an accident.
Try to stick to areas lacking flammable shelving, or nature. You can work in or outdoors—just do it smartly.
If indoors, remove everything from your workspace that you won’t use in your task.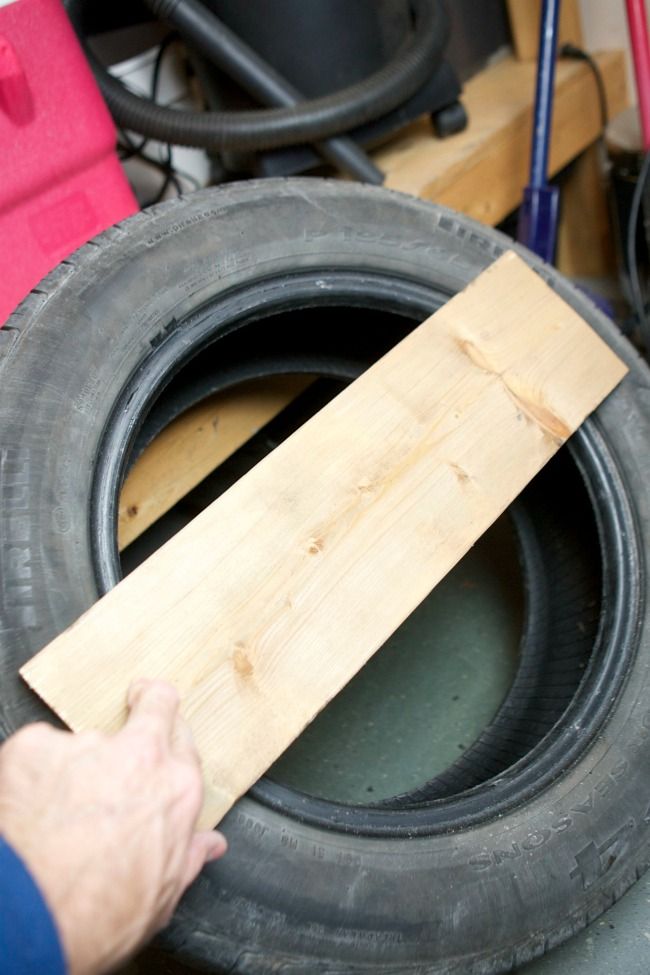 If you have wooden shelving or otherwise immobile and flammable objects, cover them with a flame proof tarp.
In an enclosed workspace with wood or drywall, hang these tarps from your walls, too. Steel and concrete walls and flooring are safest, though.
Similarly, try working on concrete outdoors. Avoid grass and trees—even small sparks can be disastrous.
As you tear through the material, it’s going to get hot, and burning rubber stinks and produces fumes.
This is another reason to consider working outdoors. If that’s not possible, keep all the windows open, and a door to the outside open too if possible.
Make sure you take a break if the smell becomes overwhelming. Inhaling a little won’t hurt you, but burning rubber can be toxic.
Cutting up tires is easy in theory, considering their strength, and their metal content, though, it looks more arduous.
Luckily, there are simple steps to take that make the journey far easier.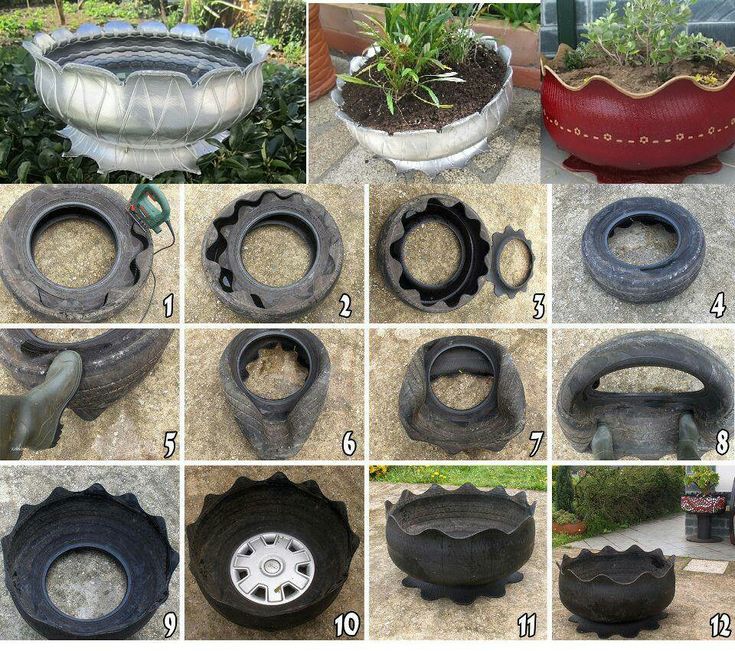
When combating a tire with a saw, the sidewall can get in the way. It’s much simpler to attack the thickest piece of the tire directly.
There are only two steps to removing the sidewall but, of course, you can skip the removal and get right to cutting, if you need your halves or parts to have sidewall.
Grab a sharp blade that won’t bend. An awl is best—but any sharp blade will suffice.
Create several puncture holes, an inch deep, near the tread, but avoid getting too close to it—there may be steel reinforcements in place. If you tackle the steel with a blade, you’ll damage the blade and waste time.
You can create punctures all around, or in one spot. Creating them in one spot will help you get a wider blade (consider a saw, electric or manual) inserted smoothly.
Puncturing all around the tire will make those areas a little easier to get through.
Once you have a puncture area large enough, work a saw or other blade of choice into the gap.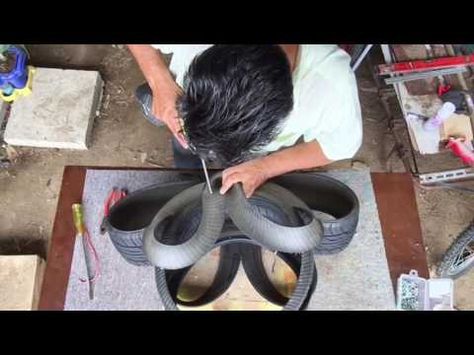 Now follow a generally rounded pattern as you go.
If desired, you can lubricate your blade and tire as you cut. This will help eliminate the stench and heat caused by blade-on-tire friction. Regular WD-40 will suffice.
It’ll be easier to keep cutting if the tire isn’t constantly rubbing your blade. Place dowels every few inches to keep the tire separated.
Your blade has more wiggle room as you progress. so you’ll be able to remove one dowel, shove your fingers down the gap, and pull the sidewall out when you finish cutting.
Once you remove the sidewall from your car tyre, the rest is easy—in theory. You only need one tool: an electric blade that cuts through metal.
Let’s go through this in steps, too.
Before you start cutting, ensure your tire is secure. You may wish to clamp the sides if you work indoors. It’s best to use old clamps you don’t care about, on a metal table that you’re fine with scratching or denting.
Outdoors, consider securing the tire to the ground with rope.
Now you can get to work straight away. Double-check your tire is secure, ensure you have help nearby in case of a mishap, or you requiring assistance, and arm yourself with the electric saw of your choice.
Ensure this blade can cut through metal. Tires often contain steel belts, giving them more stability.
It’ll take some strength, but fire up your saw and cut straight through the tire—tackle one side at a time, cutting down into material.
Walk around to the opposite side, and make a cut there. Now your tire is in two pieces, and you can cut it into more if you wish. Remember, the smaller the pieces, the easier they are to transport and dispose of.
If you want to cut your tire as small as possible, consider turning it into scrap. You can use this scrap for future projects, or discard it with ease.
For this, you’ll want to cut the tire into quarters, or smaller sections.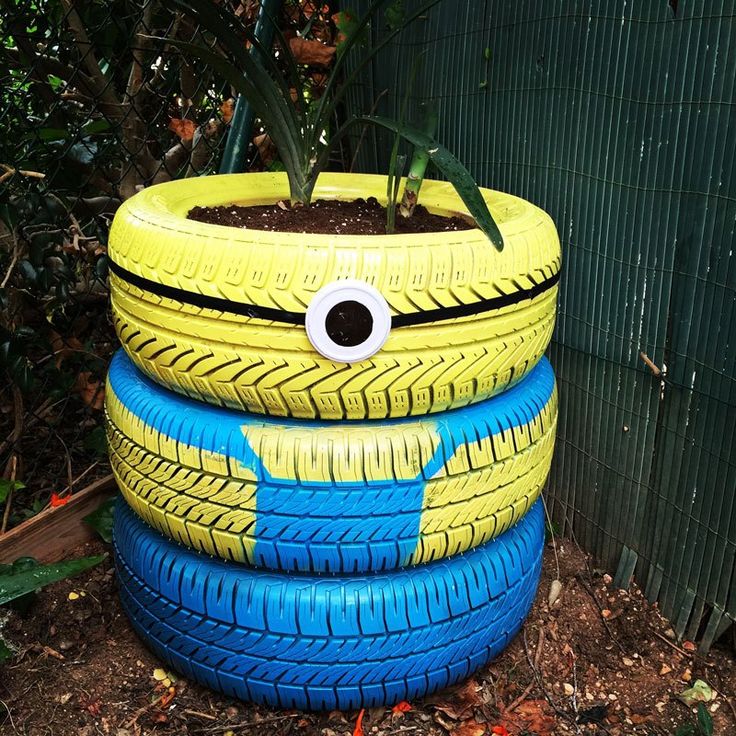 Now you’ll need an adjustable clamp or vice.
Here’s the gist of it:
This should leave you with small, curved strips of thick rubber.
If you choose not to repurpose your tires, you can search for a facility that recycles them.
There may be no facility close to you—research online, or call the appropriate department in your city’s services. They’ll be able to advise you.
Please never burn your old tires as it has a detrimental effect on the environment. Also avoid taking them to a landfill—rubber bio-degrades, but it’s a slow process, which is far from ideal.
If you can’t find somewhere to recycle your tires, you could give away or use the scrap.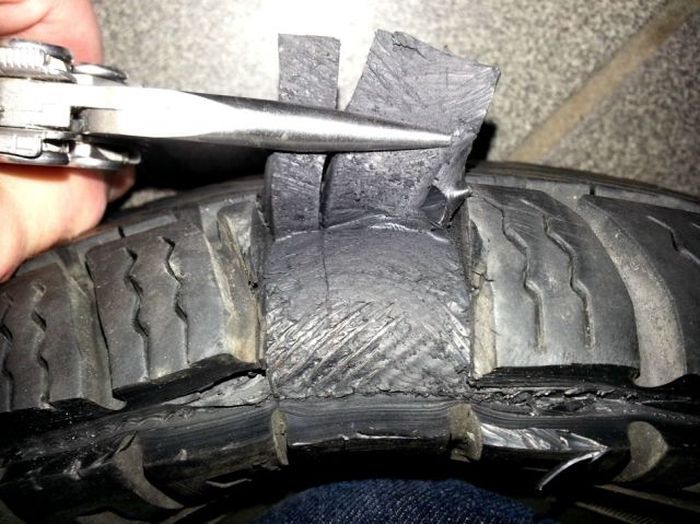 There are many DIY enthusiasts who’d put it to excellent use.
If you or someone you know enjoys DIY, there are uses for your old tires—whole and cut.
If the tire cutting intimidated you, there are plenty of ways to repurpose your old tires. You can turn them into an item to use in your home, or someone else’s. Consider:
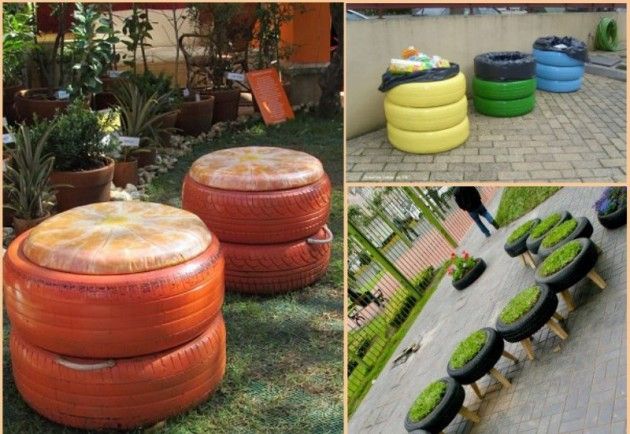
Here are some ideas for if you went through with the cutting, but can’t find anywhere to dispose of your cut tires.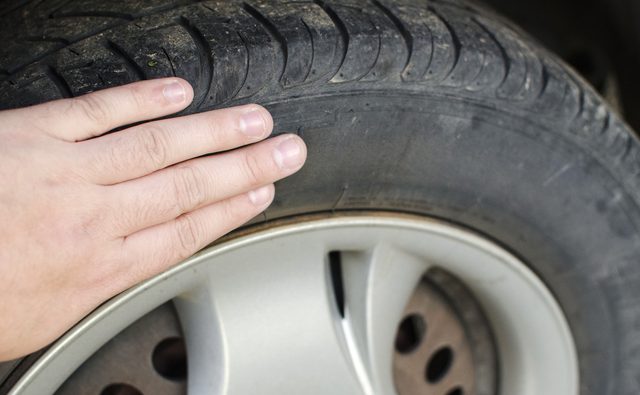
Finally, here are some ideas you can use for putting cut scrap rubber to excellent use:

Cutting tires in half is a tricky business, but gets easier after the first time. Ensure you take the necessary safety precautions, and nothing should go wrong.
Please don’t attempt to substitute any of the tools used in this process and dispose of your cut tires responsibly.
If you lack a place of disposal, why not turn your tires into something new and exciting? It’s a fantastic activity for you, or someone crafty in your family.
Old car tires are of no value, so they just get rid of them - most often thrown into a landfill. But why litter the environment when rubber can be put to better use?
Contents
 1 The main stages of work
 Read also: How to bend a polypropylene pipe at 90 degreesBy increasing the thickness of the sole, the shoes, of course, will gain a little weight, but there are pluses: the sole will be very durable and will last much longer.
The first step is to cut off a layer of rubber from a car tire (cut off to the cord).
As a result, we get a wide strip of rubber, which is quite enough to “change shoes” for several pairs of shoes.
Next, using a metal brush, the master makes notches on the inside of the rubber strip and on the sole of the shoe itself (for better adhesion to each other).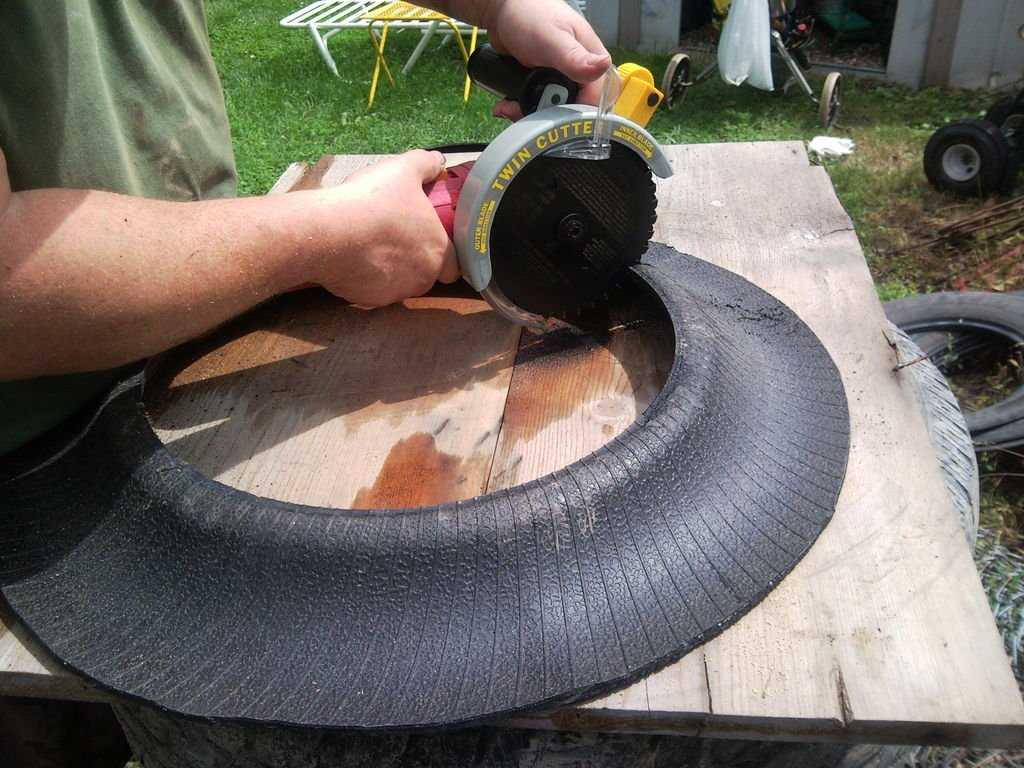
Read also: How to change the battery in a chameleon welding mask
At the next stage, the master applies glue to the prepared rubber surface and to the sole.
Glue the sneakers to the rubber strip, press it with something heavy.
Read also: Homemade device for winding fishing line
After the glue dries, all that remains is to cut off the excess parts of the rubber with a knife.
Details on how to make a shoe sole from an old car tire can be seen in the author's video. This article is based on a video from the YouTube channel Ban bekas & kerajinan .
Make the bottom of a strong shoe with used car tiresIt will look quite appropriate at the dacha. Just enough to give it a more presentable appearance.
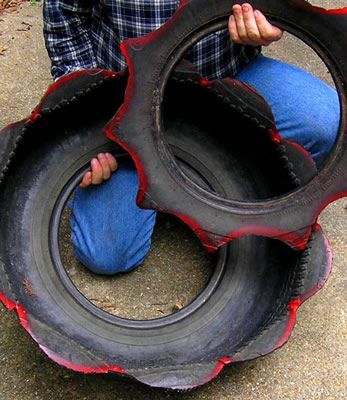
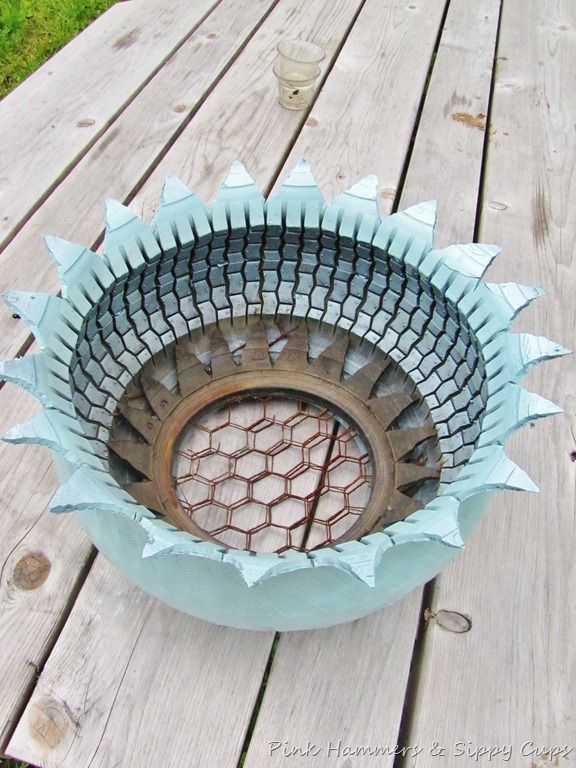
Lay the car tire flat on a table or any other horizontal surface. Then we draw petals using the template.
Next, we arm ourselves with a construction or clerical knife and cut out a ring with petals.
Cut out a circle from a piece of sheet rubber, and make drainage holes in the central part with a punch.
The next step is to nail the rubber circle to the petal ring.
Be sure to bend the tips of the nails on the reverse side to avoid injury. The result was the foundation of a garden bed.
Next we need a motorcycle tire. She needs to cut out a part of the rubber on the side. After that, turn the tire inside out.
In the upper part of the motorcycle tire, we cut out petals of arbitrary shape for decoration with a knife (but it is desirable that they be the same size). Then we install it on top of the base.
We connect both parts of a homemade garden bed with nails.
At the end, it remains only to paint the finished product with paint.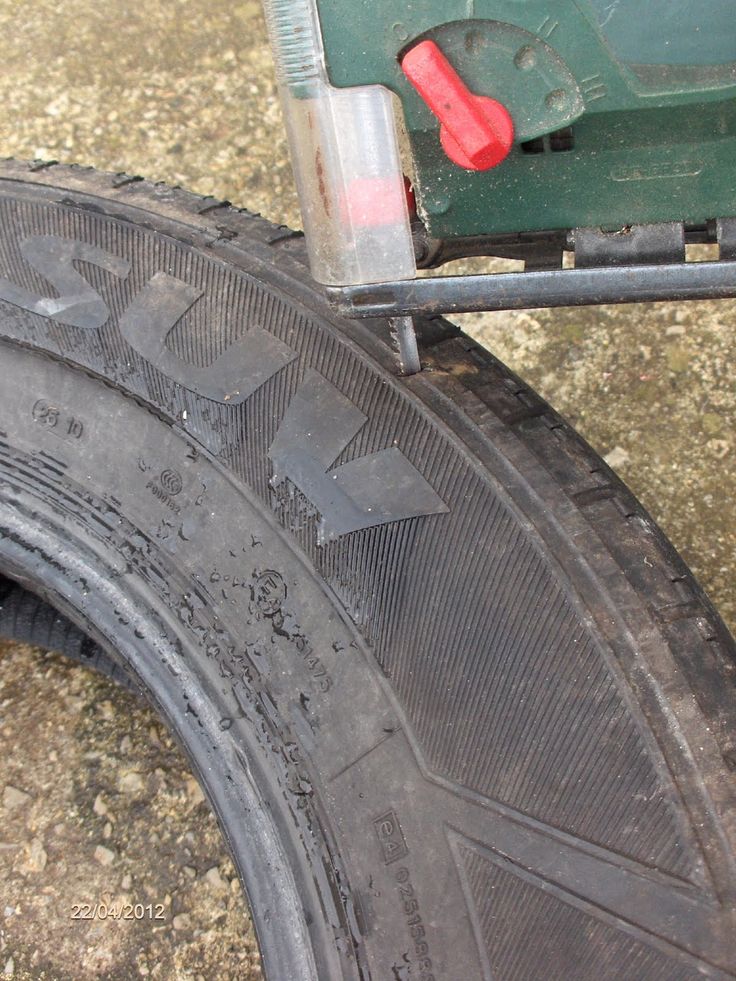 Better than aerosol. Paint color is up to you.
In this review, the author will share with us a fairly simple (but most importantly, working) way to cut a rubber tire from a car into strips. What they (bands) may be needed for, we will tell later.
The first step is to cut off the sides. Actually, it is these parts of the tire that we will dissolve into stripes.
You may also be interested in reading: what can be done with the old step drill .
Rubber can be cut with an ordinary knife (the main thing is that it is sharp), but in this case the craftsman used a construction knife with interchangeable blades.
It is enough to moisten the knife blade itself in water, and it cuts rubber like clockwork.
In general, if you're cutting tires, try using a craft knife with some water. You will not regret.
We also advise you to read: how to make a tool for removing the bearing from the crankshaft.
Next, you need to make a device with which you can dissolve the rubber into strips.
To make a device for cutting tires (let's call it a tire cutter), you will need the most common materials that can be easily found in any garage:
You will also need the main structural element - a cutting knife. In its role is a replaceable blade for a construction / clerical knife.
Bend the metal plate into a U.
At the end of the prepared board, make a cut and insert the plate into it. We fix it with two nails, as shown in the photo below.
We insert the blade into the plate, and next (at the required distance - depends on the desired strip width) we drive in a nail.
Our homemade device is ready. Now you can try it at work.
In general, anyone who has worked with a bottle cutter at least once will figure it out without problems - the principle is the same.
We “bait” the edge of the rubber onto the blade, after which we pull it towards ourselves. Thus, we quickly and easily dissolve the entire tire.
By hammering the nail closer to the blade, you can spread the cut strips along, reducing their thickness.
The cut rubber strips can be used to make the bottom of a flower bed or for other purposes, for example, to make a soft seat for a chair.
This article is based on the author's video from the YouTube channel Ban bekas & kerajinan.
Manual tool for splitting tire A simple homemade wall-mounted punching bag made from an old car or truck tire, perfect for practicing hard hitting at home.
Wall pear can be hung in the room, garage or workshop.
The base is attached to the wall cushion using dowels. As a platform for tires, you can use plywood, OSB, a wooden shield.
The wall-mounted “cushion” for hitting can be fixed in only one position (on the same level) or made universal in order to adjust its height for practicing punches not only with hands, but also with legs.
First of all, we cut off a piece of plywood or a wooden board that fits the size.
Then we make a marking on the tire, based on the length of the platform, after which, using an angle grinder, we cut off a suitable piece of rubber for the wall “cushion”.
The next step is to mark and drill holes in the base for wall mounting.
Using self-tapping screws with large washers, fasten the tire itself to the platform. To do this, you need to make cuts along the edges.
Then all that remains is to drill four holes in the wall to screw the wooden base.
You can watch the detailed process of making a home-made wall-mounted “cushion” for whipping in the video on our website.
Make a Wall Tool for Kickboxing — Diy FitenssIn this review, the author will share an idea on how to make a water container from a tire from a Kirovets tractor.
A self-made container is useful for watering plants and trees in a summer cottage. From the main tool you will need:
We advise you to also read: how to make an original concrete path for a garden or cottage.
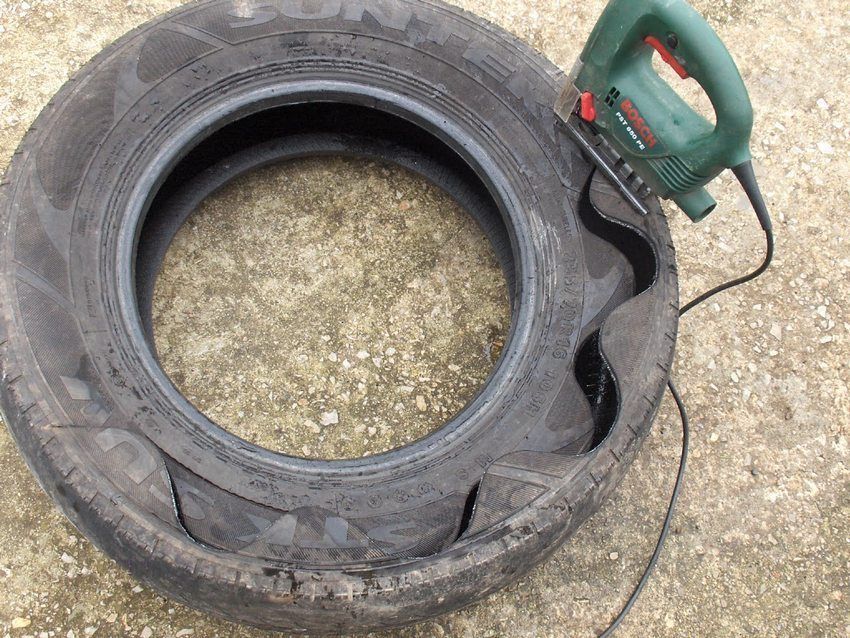
Using a drill, drill a hole for the file, then cut out the cord with an electric jigsaw.
We find a suitable place on the site, and you can start installing a homemade water tank.
We level the area where the container will be located, cover it with plastic wrap. Then we put the cut tire from the tractor on top, and set it to the level.
At the bottom of the tire, you will need to drill a through hole with a diameter of 21 mm.
Next, we install a water pipe with two lock nuts, a ball valve and a fitting (for connecting a hose).
The hole in the bottom of the tank will need to be concreted. For better adhesion of the solution to the tire, the author screws in the screws and ties them with steel wire.
We prepare the concrete solution and pour the bottom of the tank.
After the concrete had dried, I painted the bottom with homemade waterproofing, which can be made from Styrofoam and xylene (or gasoline). How to prepare waterproofing, read here .
The process of making a water tank from a tractor tire can be seen in the video below. This idea was shared with us by the author of " Anatoly Stupin" (video source - YouTube).
Container for water from the Kirov cylinder.
Rubber water tank is a great option for giving. It is very strong and at the same time lightweight.
The container is also resistant to sunlight, making it suitable for outdoor use. And it doesn't rust like a metal barrel. You can make a rubber container from an old car tire.
The idea of making a homemade product belongs to the author of the YouTube channel Ban bekas & kerajinan.
You might be interested in reading: how to make your own hydroponic growing system.
First of all, we select a car tire of a suitable size. Using a knife, cut out a ring on one of its sides.
Turn the tire over on the other side, and nail a piece of thick rubber onto the nails. This will be the bottom of the container.
The tire itself and the previously cut ring will need to be turned inside out.
A rubber ring will serve as a base.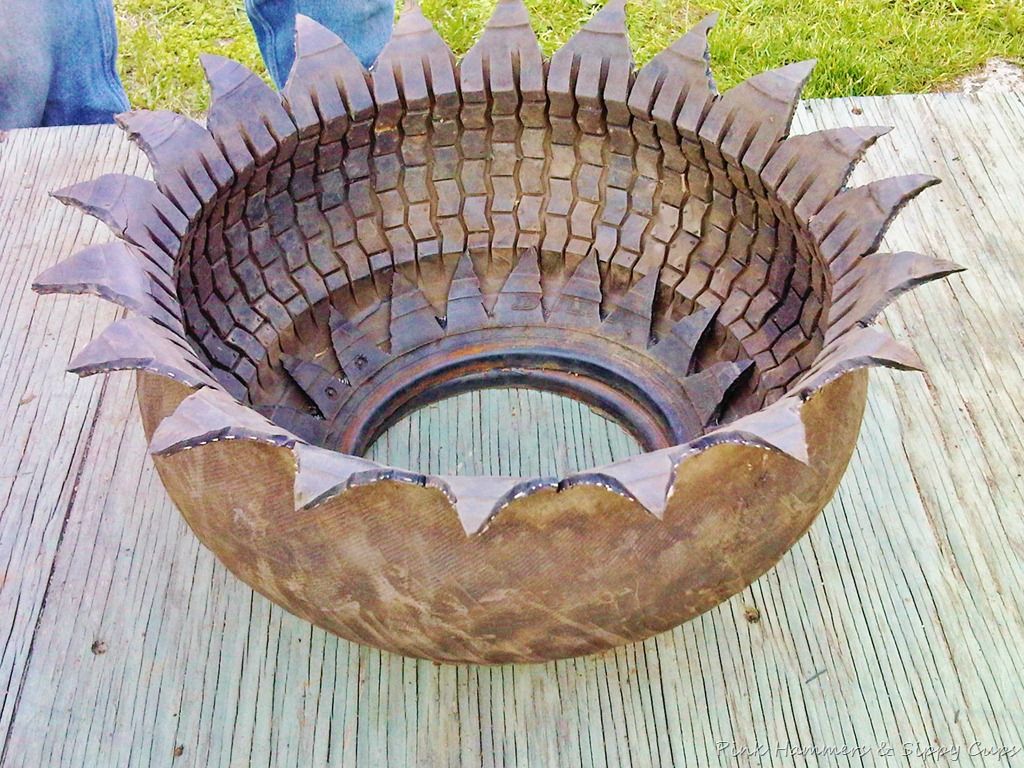 We install a tire on it, after which we nail it.
Next, you need to make the handles. The author cut off two pieces of rubber, and nailed them to the sides of the container.
At the last stage, all that remains is to paint the outer surface of the tire with black paint - the water in it will heat up faster.
It is clear that drinking water cannot be stored in such a container. But collecting rainwater or, for example, heating tap water to water plants is the right thing.
Details on how to make a water tank from a car tire can be seen in the author's video below.
Make a water bath from used tiresThere is never too much water in a summer cottage. Especially if the central water supply is not carried out. To store water, we suggest using a homemade container from an old car tire.
Rubber as a material is in many ways better than metal or plastic.

Firstly, it absorbs the heat of the sun better, as a result of which the water warms up quickly (and plants need warm water). At the same time, rubber retains heat better. Secondly, rubber is more durable than the same metal. Thirdly, it is a cheap and affordable material.
The author of YouTube channel Ban bekas & kerajinan shared his personal experience of making a homemade water tank from an old car tire. Take note.
First of all, using a clerical knife, you need to cut off a part of the car tire - cut out a ring, which will later be used as the base of the container.
From a piece of rubber, cut out a circle of suitable diameter and use small nails to nail it to the car tire.
We bend the protruding ends of the studs. This is the bottom of the container.
The next step is to turn the tire inside out. We attach the previously cut ring to the bottom of the container.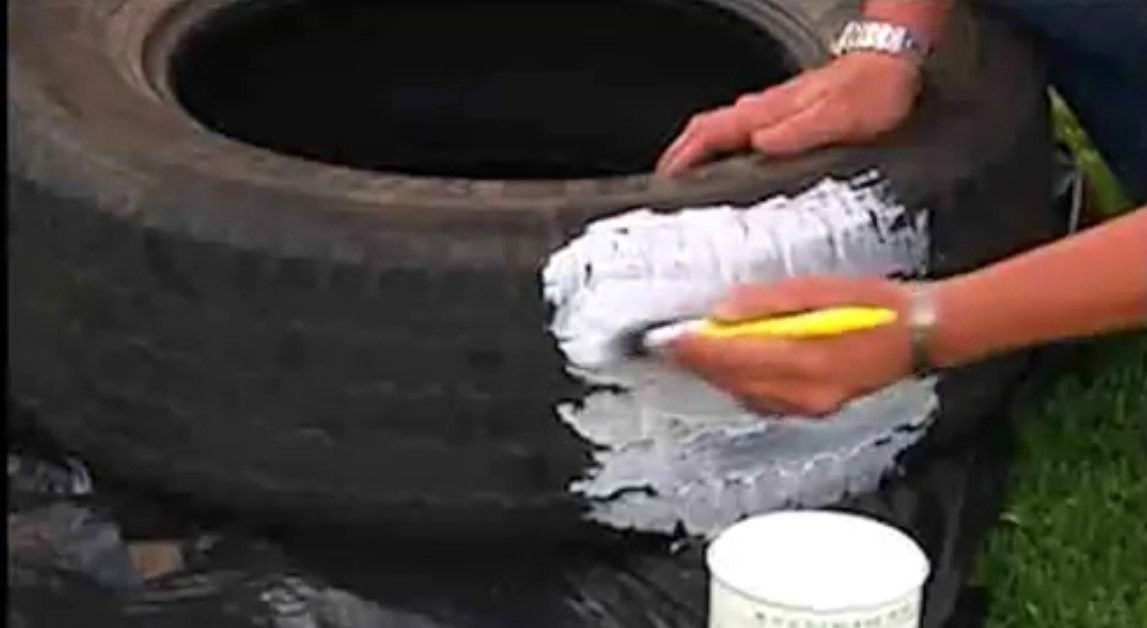
In the end, all that remains is to make handles so that you can carry the container from place to place.
To do this, use a drill or screwdriver to drill through holes in the tire and insert a rope into them. From the inside of the tire we make knots, after which we cut off the excess. We lightly melt the ends of the rope with a lighter.
Then it remains only to wash the car tire well with water and detergent and paint the outside.
For details on how to make a container for storing water from an old tire, we recommend watching the author's video below.
How to make a leak-proof water tank with used tiresDisposal of waste is very urgent all over the world. The Vietnamese, for example, went the right way - they began to reuse old tires from trucks, but in the form of baskets and buckets for household needs.
The tread layer is removed from the old worn car tire and all parts containing steel wire are cut off.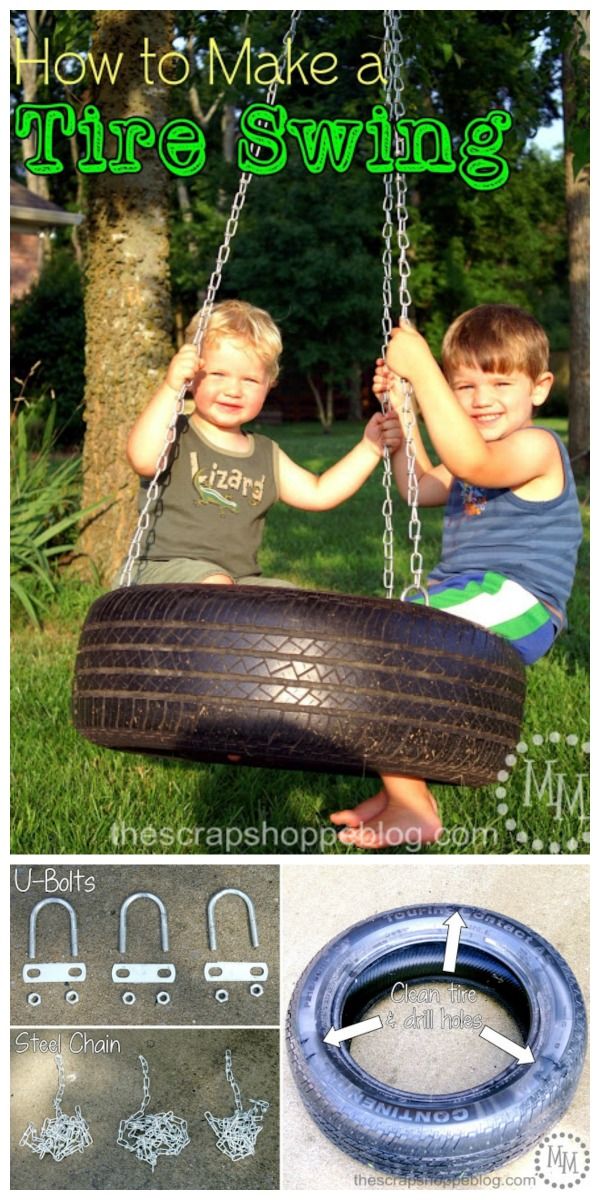
Next, the inside of this tire is exposed.
Unlike the outer one, it does not contain as many rubber strength additives as the cord and tread portions. That is why the inside is so elastic.
After thoroughly washing the rubber from dirt, you need to set the shape of the future basket. Having bent the workpiece to the state of a cylinder, we fasten it with temporary brackets.
Cut out from a wide piece of elastic part a circle with a diameter equal to the diameter of the inner part of our cylinder. We also fix it on the brackets.
Next, we proceed to the final assembly of the basket.
We drill holes at the seams of our temporary joints and sew everything with threads.
For ease of transfer, we attach handles opposite each other along the upper edges of the cylinder. Fasten with staples and drill holes. With the help of rivets and washers we rivet our fasteners for handles.
In the same way, but with a smaller strip, we can make a lid for our basket.
In this review, we will tell you how to make a cool country table using different materials at hand. The neighbors are sure to be jealous!
When finished, the outdoor coffee table looks very cool. You can't even tell that it's made of rubbish.
For the manufacture of the table we need:
It will also be necessary to prepare a metal mesh Chain-link (a small piece) and a plastic film.
If your dacha is not only work in the garden, but also a comfortable outdoor recreation, then you will probably need a comfortable chaise longue made of wooden pallets.
First of all, lay the metal mesh on a flat surface (eg concrete floor). Then it will be necessary to lay a plastic film on the mesh, and rubber tires are already laid on it.
We mix cement mortar from cement, sand and water. We fill them with the inside of the tires, reinforce with a plaster mesh.
Insert a piece of plastic pipe into the flower pot. We install it in the center of a large tire. Fill with cement mortar.
We cut off all the excess, and grind.
Next, using cement mortar, glue the table leg to the base, also placing it in the center.
The last step is to sand everything, dust off with a brush and then spray paint (the author uses black and gold colors).
Andrey Vasiliev
Ask a question
Old car tires are of no value, so they just get rid of them - most often thrown into a landfill. But why litter the environment when rubber can be put to better use?
Contents
 1 Basic steps
Read also: How to bend a polypropylene pipe at 90 degreesBy increasing the thickness of the sole, the shoes, of course, will gain a little weight, but there are pluses: the sole will be very durable and will last much longer.
The first step is to cut off a layer of rubber from a car tire (cut off to the cord).
As a result, we get a wide strip of rubber, which is quite enough to “change shoes” for several pairs of shoes.
Next, using a metal brush, the master makes notches on the inside of the rubber strip and on the sole of the shoe itself (for better adhesion to each other).
Read also: How to change the battery in a chameleon welding mask
At the next stage, the master applies glue to the prepared rubber surface and to the sole.
Glue the sneakers to the rubber strip, press it with something heavy.
Read also: Homemade device for winding fishing line
After the glue dries, all that remains is to cut off the excess parts of the rubber with a knife.
Details on how to make a shoe sole from an old car tire can be seen in the author's video. This article is based on a video from the YouTube channel Ban bekas & kerajinan .
Make the bottom of a strong shoe with used car tiresIt will look quite appropriate at the dacha. Just enough to give it a more presentable appearance.
Lay the car tire flat on a table or any other horizontal surface. Then we draw petals using the template.
Next, we arm ourselves with a construction or clerical knife and cut out a ring with petals.
Cut out a circle from a piece of sheet rubber, and make drainage holes in the central part with a punch.
The next step is to nail the rubber circle to the petal ring.
Be sure to bend the tips of the nails on the reverse side to avoid injury.
The result was the foundation of a garden bed.
Next we need a motorcycle tire. She needs to cut out a part of the rubber on the side. After that, turn the tire inside out.
In the upper part of the motorcycle tire, we cut out petals of arbitrary shape for decoration with a knife (but it is desirable that they be the same size). Then we install it on top of the base.
We connect both parts of a homemade garden bed with nails.
At the end, it remains only to paint the finished product with paint. Better than aerosol. Paint color is up to you.
In this review, the author will share with us a fairly simple (but most importantly, working) way to cut a rubber tire from a car into strips. What they (bands) may be needed for, we will tell later.
The first step is to cut off the sides. Actually, it is these parts of the tire that we will dissolve into stripes.
You may also be interested in reading: what can be done with the old step drill .
Rubber can be cut with an ordinary knife (the main thing is that it is sharp), but in this case the craftsman used a construction knife with interchangeable blades.
It is enough to moisten the knife blade itself in water, and it cuts rubber like clockwork.
In general, if you're cutting tires, try using a craft knife with some water. You will not regret.
We also advise you to read: how to make a tool for removing the bearing from the crankshaft.
Next, you need to make a device with which you can dissolve the rubber into strips.
To make a device for cutting tires (let's call it a tire cutter), you will need the most common materials that can be easily found in any garage:
You will also need the main structural element - a cutting knife. In its role is a replaceable blade for a construction / clerical knife.
Bend the metal plate into a U.
At the end of the prepared board, make a cut and insert the plate into it. We fix it with two nails, as shown in the photo below.
We insert the blade into the plate, and next (at the required distance - depends on the desired strip width) we drive in a nail.
Our homemade device is ready. Now you can try it at work.
In general, anyone who has worked with a bottle cutter at least once will figure it out without problems - the principle is the same.
We “bait” the edge of the rubber onto the blade, after which we pull it towards ourselves. Thus, we quickly and easily dissolve the entire tire.
By hammering the nail closer to the blade, you can spread the cut strips along, reducing their thickness.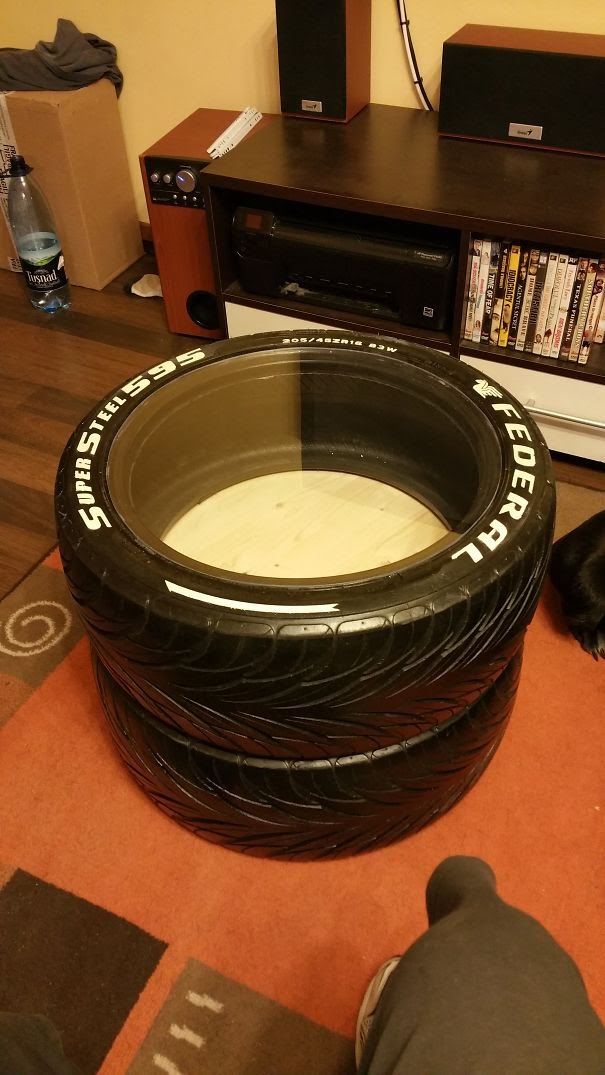
The cut rubber strips can be used to make the bottom of a flower bed or for other purposes, for example, to make a soft seat for a chair.
This article is based on the author's video from the YouTube channel Ban bekas & kerajinan.
Manual tool for splitting tireA simple homemade wall-mounted punching bag made from an old car or truck tire, perfect for practicing hard hitting at home.
Wall pear can be hung in the room, garage or workshop.
The base is attached to the wall cushion using dowels. As a platform for tires, you can use plywood, OSB, a wooden shield.
The wall-mounted “cushion” for hitting can be fixed in only one position (on the same level) or made universal in order to adjust its height for practicing punches not only with hands, but also with legs.
First of all, we cut off a piece of plywood or a wooden board that fits the size.
Then we make a marking on the tire, based on the length of the platform, after which, using an angle grinder, we cut off a suitable piece of rubber for the wall “cushion”.
The next step is to mark and drill holes in the base for wall mounting.
Using self-tapping screws with large washers, fasten the tire itself to the platform. To do this, you need to make cuts along the edges.
Then all that remains is to drill four holes in the wall to screw the wooden base.
You can watch the detailed process of making a home-made wall-mounted “cushion” for whipping in the video on our website.
Make a Wall Tool for Kickboxing — Diy FitenssIn this review, the author will share an idea on how to make a water container from a tire from a Kirovets tractor.
A self-made container is useful for watering plants and trees in a summer cottage. From the main tool you will need:
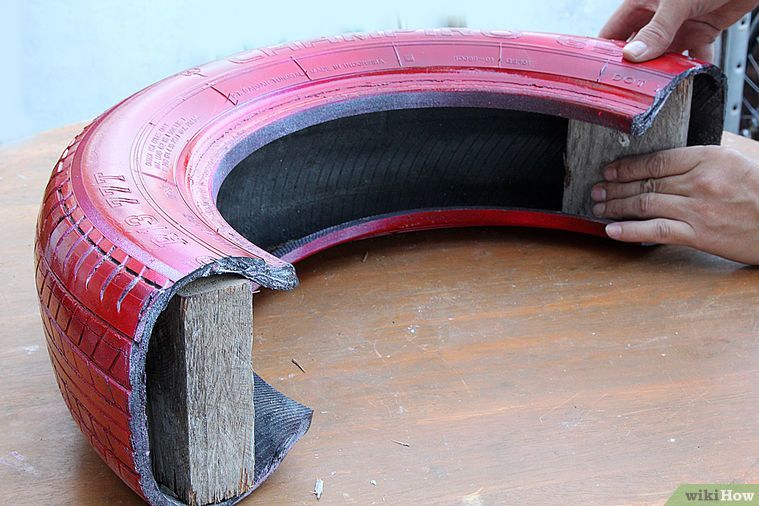
We advise you to also read: how to make an original concrete path for a garden or cottage.
Using a drill, drill a hole for the file, then cut out the cord with an electric jigsaw.
We find a suitable place on the site, and you can start installing a homemade water tank.
We level the area where the container will be located, cover it with plastic wrap. Then we put the cut tire from the tractor on top, and set it to the level.
At the bottom of the tire, you will need to drill a through hole with a diameter of 21 mm.
Next, we install a water pipe with two lock nuts, a ball valve and a fitting (for connecting a hose).
The hole in the bottom of the tank will need to be concreted. For better adhesion of the solution to the tire, the author screws in the screws and ties them with steel wire.
We prepare the concrete solution and pour the bottom of the tank.
After the concrete had dried, I painted the bottom with homemade waterproofing, which can be made from Styrofoam and xylene (or gasoline). How to prepare waterproofing, read here .
The process of making a water tank from a tractor tire can be seen in the video below. This idea was shared with us by the author of " Anatoly Stupin" (video source - YouTube).
Container for water from the Kirov cylinder.Rubber water tank is a great option for giving. It is very strong and at the same time lightweight.
The container is also resistant to sunlight, making it suitable for outdoor use. And it doesn't rust like a metal barrel. You can make a rubber container from an old car tire.
The idea of making a homemade product belongs to the author of the YouTube channel Ban bekas & kerajinan.
You might be interested in reading: how to make your own hydroponic growing system.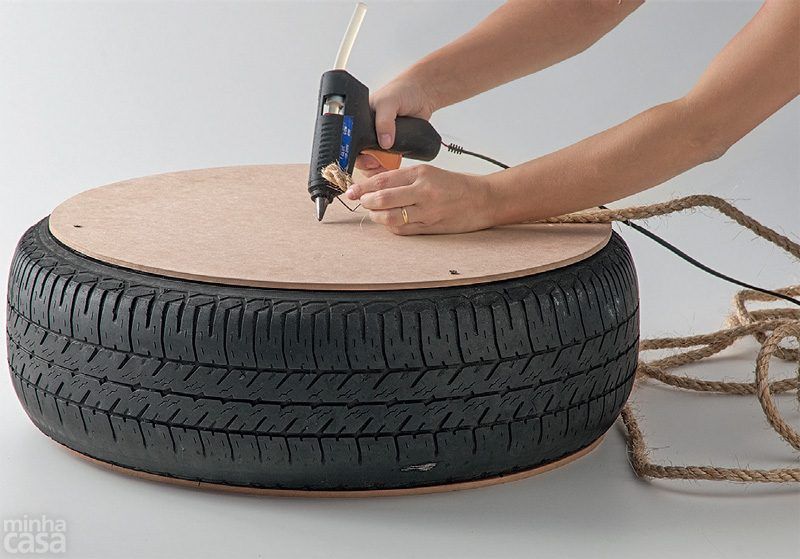
First of all, we select a car tire of a suitable size. Using a knife, cut out a ring on one of its sides.
Turn the tire over on the other side, and nail a piece of thick rubber onto the nails. This will be the bottom of the container.
The tire itself and the previously cut ring will need to be turned inside out.
A rubber ring will serve as a base. We install a tire on it, after which we nail it.
Next, you need to make the handles. The author cut off two pieces of rubber, and nailed them to the sides of the container.
At the last stage, all that remains is to paint the outer surface of the tire with black paint - the water in it will heat up faster.
It is clear that drinking water cannot be stored in such a container. But collecting rainwater or, for example, heating tap water to water plants is the right thing.
Details on how to make a water tank from a car tire can be seen in the author's video below.
There is never too much water in a summer cottage. Especially if the central water supply is not carried out. To store water, we suggest using a homemade container from an old car tire.
Rubber as a material is in many ways better than metal or plastic.
Firstly, it absorbs the heat of the sun better, as a result of which the water warms up quickly (and plants need warm water). At the same time, rubber retains heat better. Secondly, rubber is more durable than the same metal. Thirdly, it is a cheap and affordable material.
The author of YouTube channel Ban bekas & kerajinan shared his personal experience of making a homemade water tank from an old car tire. Take note.
First of all, using a clerical knife, you need to cut off a part of the car tire - cut out a ring, which will later be used as the base of the container.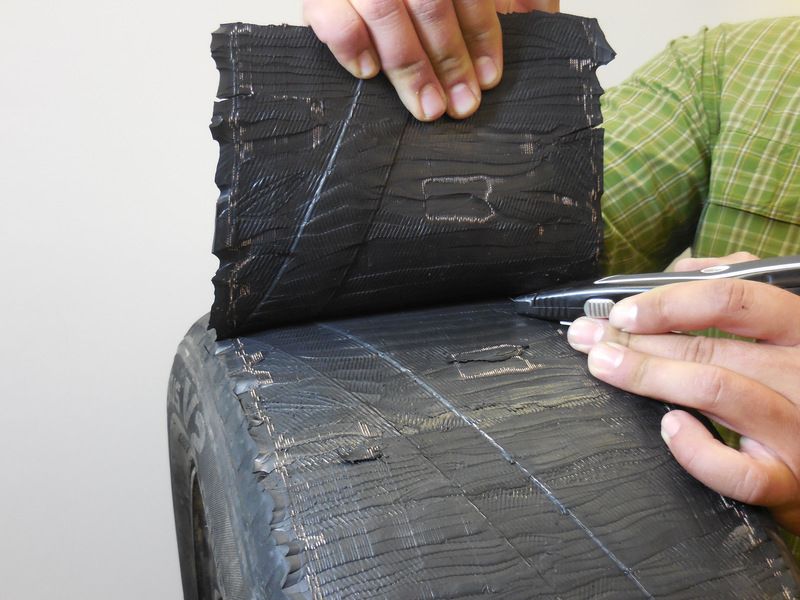
From a piece of rubber, cut out a circle of suitable diameter and use small nails to nail it to the car tire.
We bend the protruding ends of the studs. This is the bottom of the container.
The next step is to turn the tire inside out. We attach the previously cut ring to the bottom of the container.
In the end, all that remains is to make handles so that you can carry the container from place to place.
To do this, use a drill or screwdriver to drill through holes in the tire and insert a rope into them. From the inside of the tire we make knots, after which we cut off the excess. We lightly melt the ends of the rope with a lighter.
Then it remains only to wash the car tire well with water and detergent and paint the outside.
For details on how to make a container for storing water from an old tire, we recommend watching the author's video below.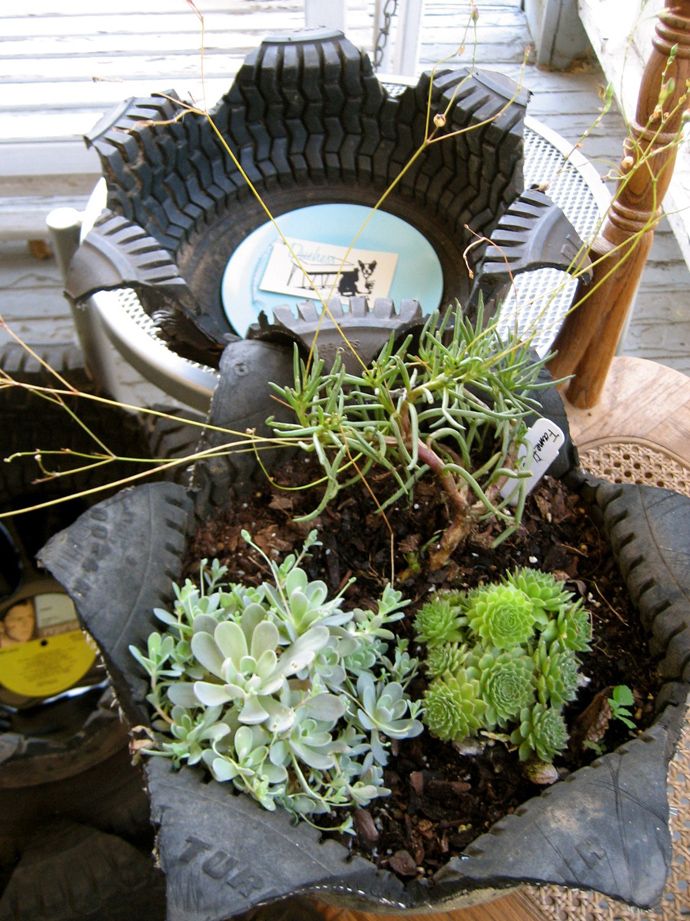
Disposal of waste is very urgent all over the world. The Vietnamese, for example, went the right way - they began to reuse old tires from trucks, but in the form of baskets and buckets for household needs.
The tread layer is removed from the old worn car tire and all parts containing steel wire are cut off.
Next, the inside of this tire is exposed.
Unlike the outer one, it does not contain as many rubber strength additives as the cord and tread portions. That is why the inside is so elastic.
After thoroughly washing the rubber from dirt, you need to set the shape of the future basket. Having bent the workpiece to the state of a cylinder, we fasten it with temporary brackets.
Cut out from a wide piece of elastic part a circle with a diameter equal to the diameter of the inner part of our cylinder. We also fix it on the brackets.
Next, we proceed to the final assembly of the basket.
We drill holes at the seams of our temporary joints and sew everything with threads.
For ease of transfer, we attach handles opposite each other along the upper edges of the cylinder. Fasten with staples and drill holes. With the help of rivets and washers we rivet our fasteners for handles.
In the same way, but with a smaller strip, we can make a lid for our basket.
In this review, we will tell you how to make a cool country table using different materials at hand. The neighbors are sure to be jealous!
When finished, the outdoor coffee table looks very cool. You can't even tell that it's made of rubbish.
For the manufacture of the table we need:
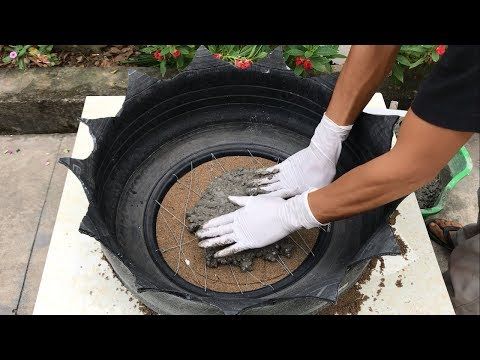
It will also be necessary to prepare a metal mesh Chain-link (a small piece) and a plastic film.
If your dacha is not only work in the garden, but also a comfortable outdoor recreation, then you will probably need a comfortable chaise longue made of wooden pallets.
First of all, lay the metal mesh on a flat surface (eg concrete floor). Then it will be necessary to lay a plastic film on the mesh, and rubber tires are already laid on it.
We mix cement mortar from cement, sand and water. We fill them with the inside of the tires, reinforce with a plaster mesh.
Insert a piece of plastic pipe into the flower pot. We install it in the center of a large tire. Fill with cement mortar.
We cut off all the excess, and grind.
Next, using cement mortar, glue the table leg to the base, also placing it in the center.
The last step is to sand everything, dust off with a brush and then spray paint (the author uses black and gold colors).