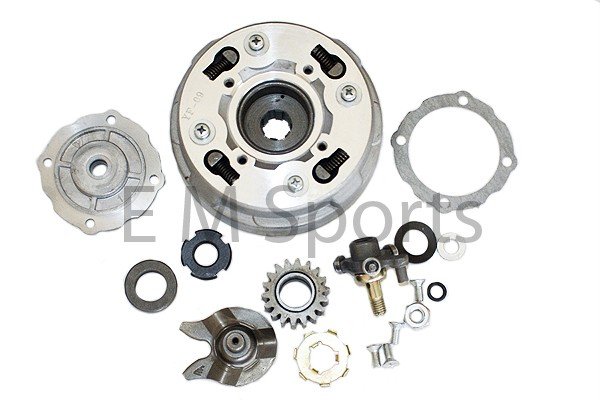
The clutch system in your ATV is the main connection between your vehicle and the wheels’ controls. It’s an important constituent of the overall transmission system that doesn’t get much attention when everything works well. How does a clutch work?
An ATV clutch works by ensuring stability in the power generated from the ATV engine to work with a transmission. The mode of operation in a clutch will vary depending on whether it is a sheave clutch or a centrifugal clutch. It can also use a multi-plate clutch design.
The rest of the article will look at the different types of clutches you may find in an ATV and how they work.
A clutch is an integral unit in any vehicle’s power transmission, and an ATV is no different. When your ATV is on, the engine spins all the time, but the wheels do not.
The clutch ensures smooth engagement between the spinning engine and the transmission, ensuring that there’s no slippage between them.
There are three main types of clutch you can find in any ATV model today. They are the sheave clutch, centrifugal clutch, and multi-plate clutch.
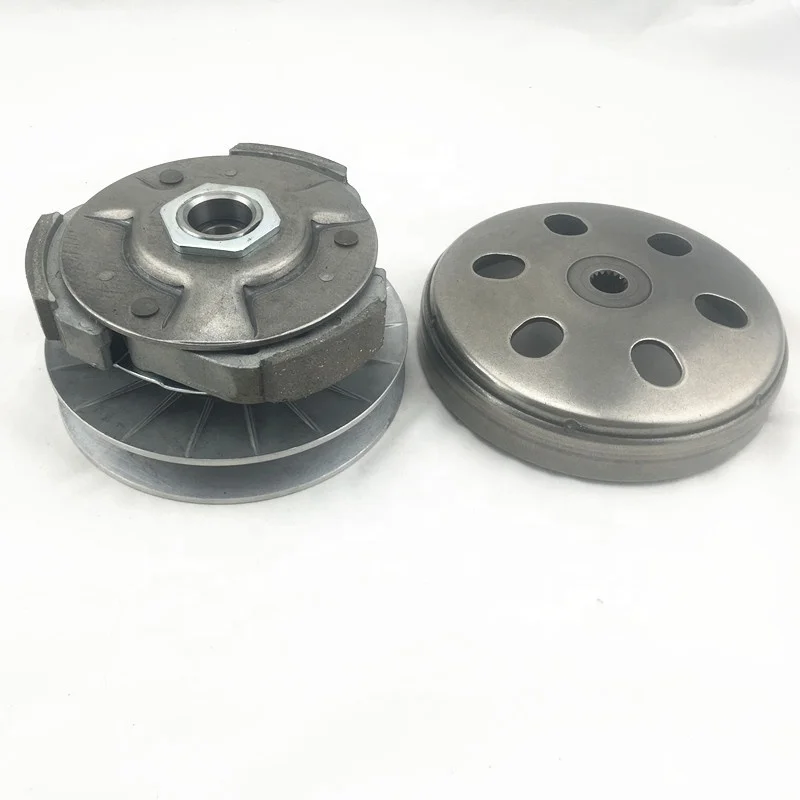
These clutches are mostly used in ATV models fitted with automatic CVT (continuously variable transmissions) systems. They are built to ensure the engine is constantly running at the best RPM needed to generate the highest power possible at any speed level.
This system consists of a primary and secondary clutch. These are also known as the drive/driven clutch.
The ATV engine’s crankshaft is linked to the primary clutch, which is joined to the secondary clutch through the drive belt. Finally, the ATV’s secondary clutch is linked to its transmission.
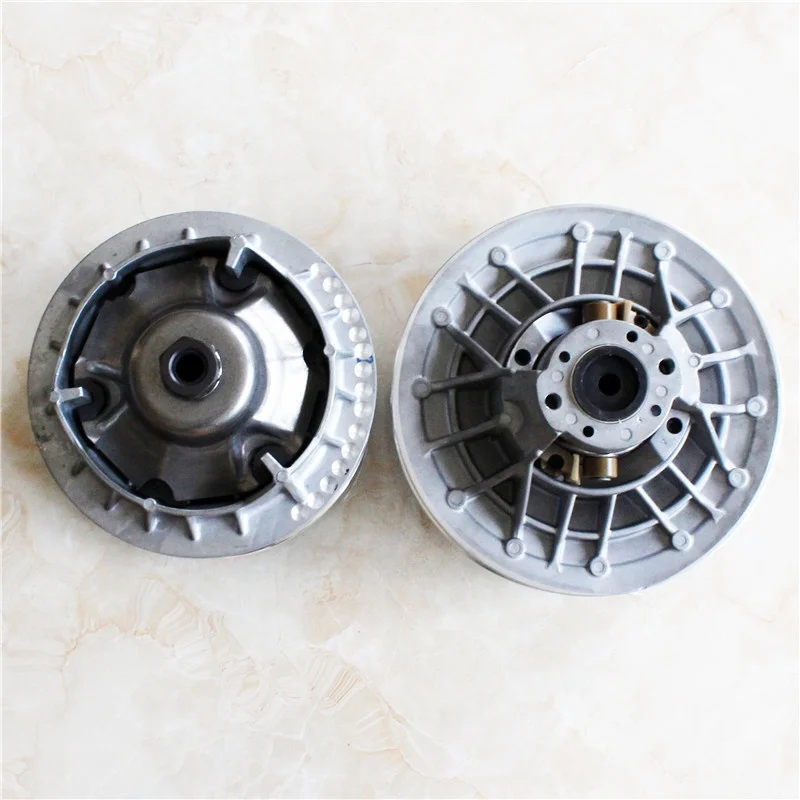
The primary and secondary clutches have movable and stationary sheaves where the drive belt fits.
The moveable sheave is fitted with a spring for compression and some flyweights.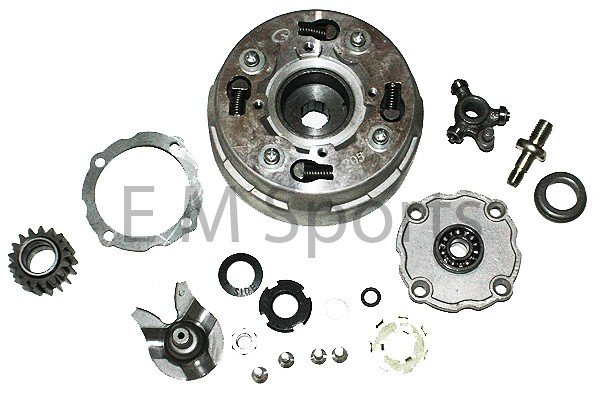 The weights are useful because they help the stationary and movable sheaves to maintain an appropriate distance.
When your engine is running and the driveshaft spins, centrifugal sources move the flyweights and the stationary and movable sheaves around to force a gear change and deliver higher speeds when you need it.
Here’s a video showing the install of a sheave clutch:
The centrifugal ATV clutch gets its name from the fact that it relies on the centrifugal force generated while it is rotating to activate or deactivate the clutch system.
Different manufacturers have different designs and layouts for centrifugal clutches, but the operation mode is similar across the board.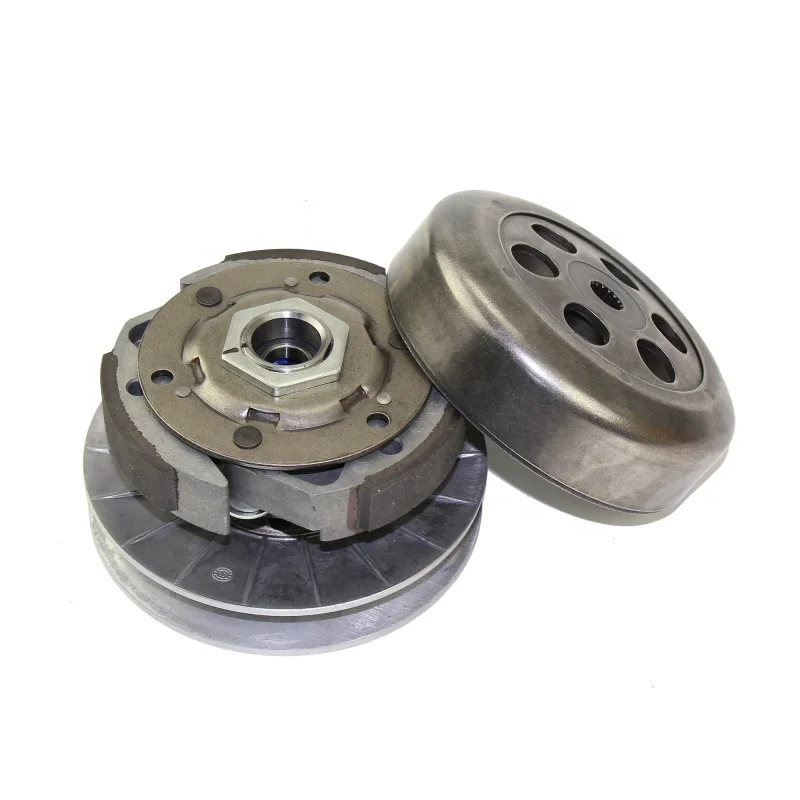
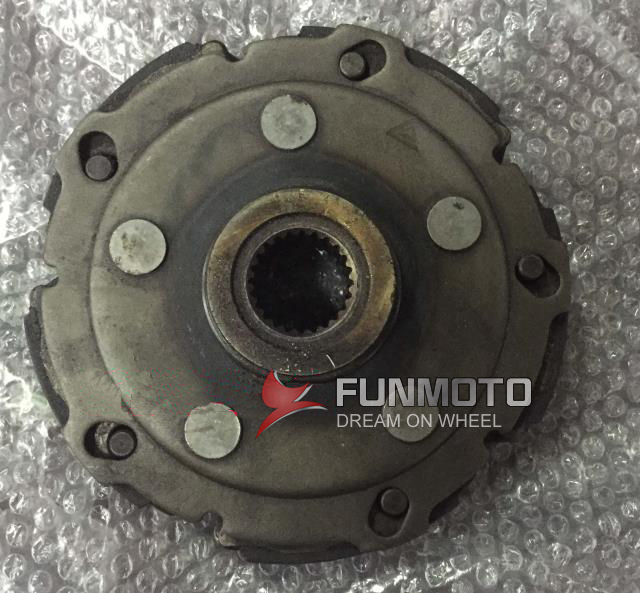
The ATV engine’s crankshaft is hooked to the central or main drive shaft inside the clutch system. While the crankshaft rotates, the drive shaft spins with it. The entire clutch system is contained inside an external clutch drum linked to the ATV transmission.
A collection of springs linked to the ATV drive shaft nestles between the outer or exterior clutch drum and the central drive shaft. Some clutch shoes (weighted) are affixed to the other extreme of the springs.
These shoes don’t interact with the clutch drum’s inner side due to the tension delivered by the springs.
The ATV’s drive shaft spins both the shoes and the springs as the crankshaft spins. With an increase in the speed of rotation, the shoes’ centrifugal force also increases. The force pushes the shoes outward, so they can come in contact with the clutch drum’s inner face and bind against it.
As soon as the shoes come in contact with the ATV clutch drum, the drum will spin, providing drive or power from the ATV engine into the transmission and the rear wheels.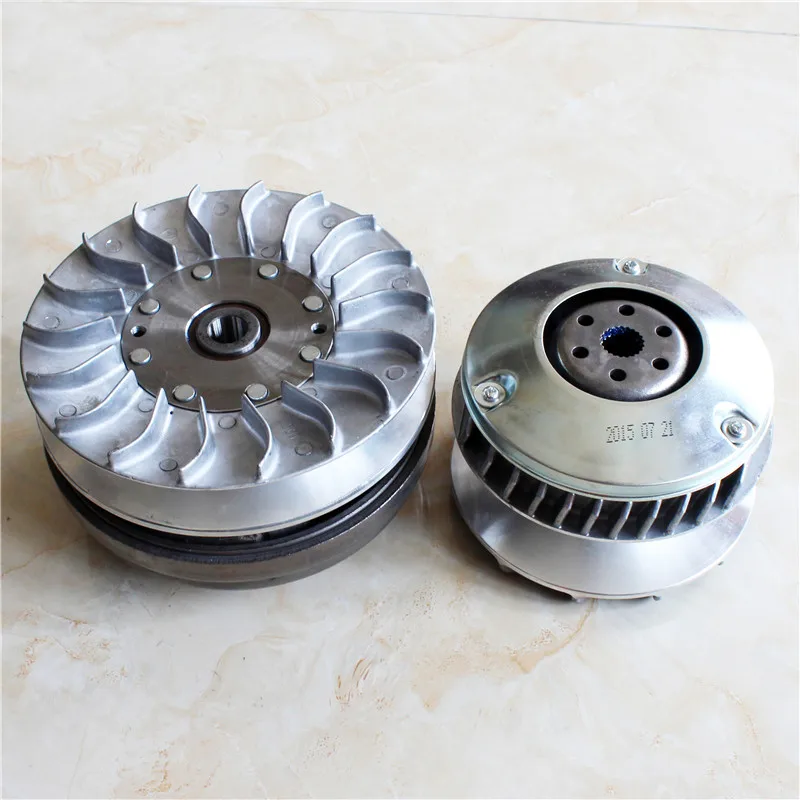
Here’s a video showing how a centrifugal clutch works:
A multi-plate clutch is a popular option found in many ATV models. It receives power from an engine and channels it to the input shaft of the transmission. From here, the power moves to the rear wheels through the gearbox.
The crankshaft coming from the ATV engine is linked to a drive gear joined to the outer clutch basket. The clutch basket rotates as the crankshaft spins. Inside the outer basket, a clutch boss (a smaller inner basket) is linked to the ATV transmission.
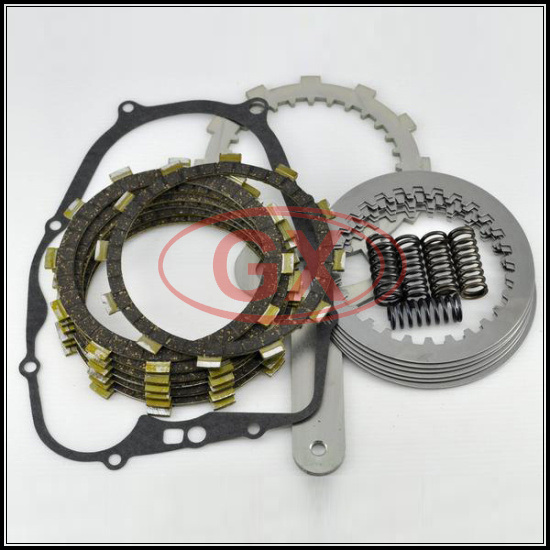
A set of friction clutch plates (also known as clutch discs) separate the inner and outer baskets.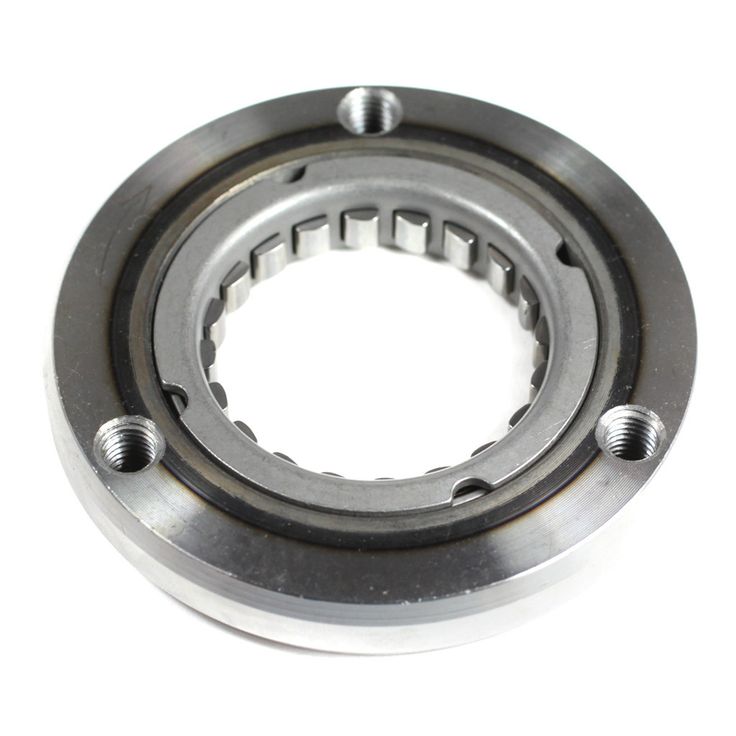 A section of the plates is joined to the outer basket while some drive clutch plates hook up to the inner clutch basket.
The clutch plates are protected from the top by a set of springs and the pressure plate. The pressure plate is designed to hold down the clutch plates to ensure the friction plates are bound tightly to the drive plates for a clean lock.
As the crankshaft rotates the outer basket connected to it, the tightly locked clutch plates trigger rotation in the inner basket as well. The result is rotation in the ATV transmission input shaft, which drives the ATV’s gearbox and rear wheels.
Here’s a video showing the operation of a multi-plate clutch:
We’ve seen a peek into what happens under the hood with the main types of ATV clutches.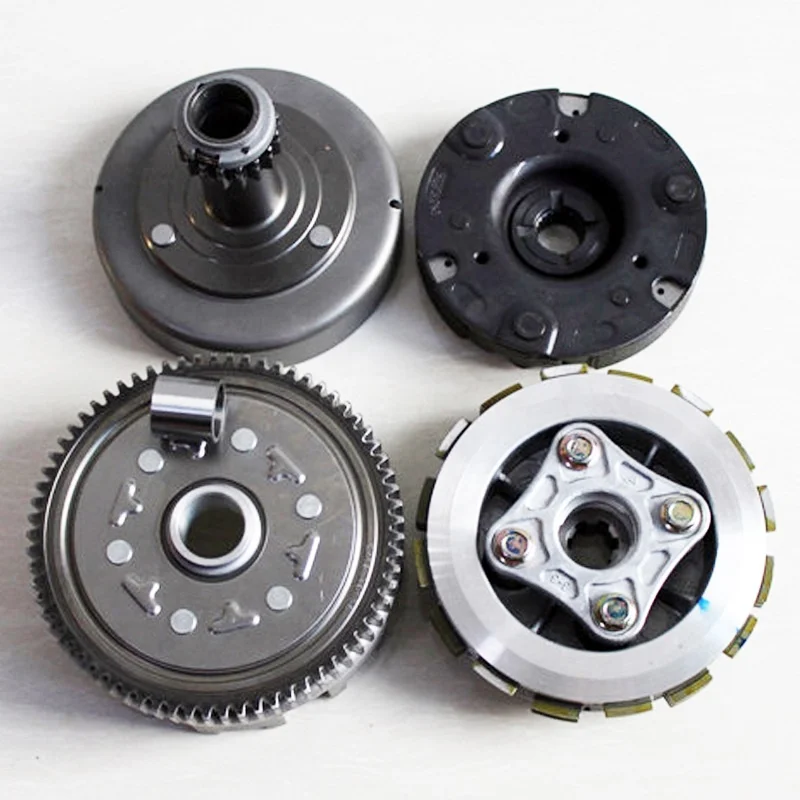 The convoluted nature of the systems means that your clutch needs regular maintenance.
If you take your ATV to a maintenance shop, you’ll likely get clutch maintenance by default. However, if you’re doing the job on your own, there are a few things you should know:
Here are some things to watch out for when inspecting your ATV clutch:
These are some of the major maintenance tips to keep in mind for your ATV’s clutch. If you don’t ensure regular maintenance for the vehicle, there is a high possibility that it will develop any of the common problems associated with ATV clutches.
These include clutch slipping, clutch creeping and the attendant pungent smell, and a jerky feel in the lever. Repair these problems will cost more than maintenance in most cases, so give the clutch the desired attention.
Don’t forget to practice sensible clutch use while out riding to reduce the chances of damage. Don’t use your clutch as an aid for braking, and don’t leave your foot on it half the time.
Basically, any scenario that doesn’t make sense with your standard car or motorcycle clutch should be avoided with your ATV as well.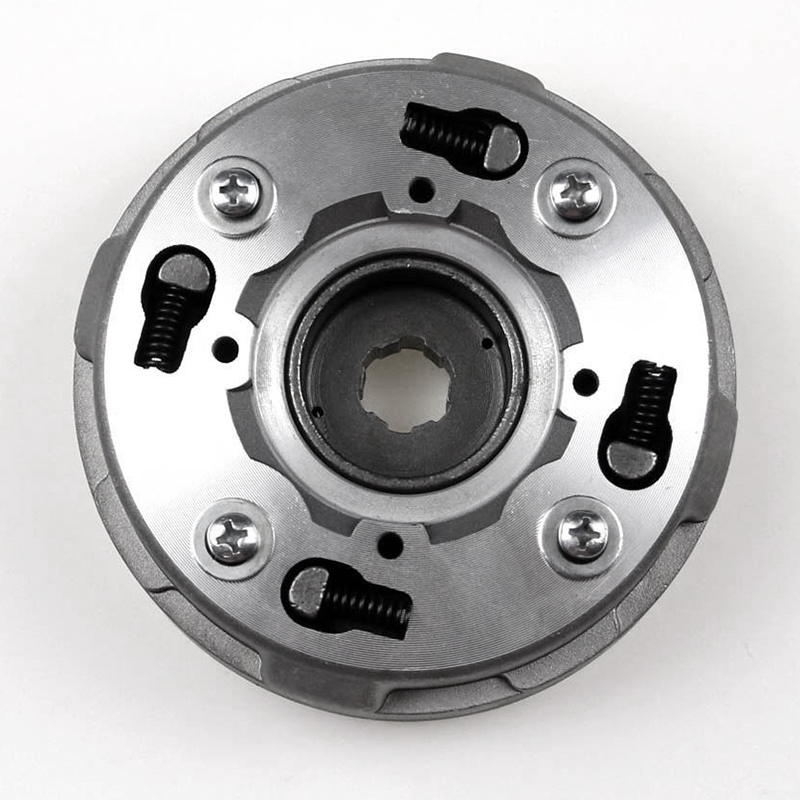
The clutch operation in an ATV is a very elaborate process regardless of the ATV clutch type in your model.
Understanding how each type of clutch works makes it easier for you to deliver regular maintenance if you have the DIY skills. If you don’t have the skill to handle the maintenance, outsource it to avoid more serious damage.
Sharing is caring!
In this post, we’ll have a look at some common causes if your ATV won’t move forward or backward when you put it in gear. Typical components that may need to be addressed to fix this are:
Page Contents
I recommend that you start your troubleshooting by making sure all four wheels on the ATV spin freely and that there’s nothing in the driveline preventing it from moving as normal.
To test this, all you need to do is to put the ATV in neutral (N), leave the parking brake off, and try to push it forward or backward by hand. Some of the larger ATVs can be a bit heavy to push, even for an adult, but on a flat smooth surface like asphalt or concrete, you should be able to make it move.
If the wheels spin freely, you know that the driveline and brakes are fine and that the problem is with your gearbox, transmission, or gear-shifting mechanism. You may jump straight down to troubleshooting transmission issues.
If you cannot get the wheels to turn, no matter how hard you push, the problem may still be with your transmission or gear shifter. But because it is far easier, you should start by looking into the bike’s driveline, brakes, and bearings to ensure there are no issues there.
Wheel bearings may seize up completely if you let them wear too far before having them replaced.
On solid rear axle racing quads, you should also inspect the carrier bearing as they may break and lock up.
While you have the wheels off the ground, you should also inspect the brakes.
 Proper cleaning should fix your issue.
 If you still haven’t found a definite indicator that something is wrong with either the wheel hub assembly or brakes, you should isolate them from the rest of the driveline. This way, you don’t waste time troubleshooting parts of the ATV that may be working as normal.
You usually don’t break an axle without noticing. The most common scenario for broken axles is your front axle popping when struggling in a mud hole at full throttle, and the tire suddenly finds traction. “POP,” and the ATV no longer moves.
An axle may strip if it pops out of place. The C-clip that holds it in place may come loose so that the axle starts moving out until just a small portion is still gripping and the splines stip. You will likely hear scraping noises if the axle has been stripped.
When a driveshaft or axle breaks, your bike will no longer pull on the wheel that the stripped or broken axle goes to. The remaining wheels will likely still pull as normal.
When installing bigger tires, you will add more strain to your bike’s driveline. Consider upgrading your axles to heavy-duty aftermarket parts that don’t break as easily.
The drive belt on CVT transmissions may break due to old age, wear, or misuse. An old belt that is pushed hard may explode in an instant, leaving the bike stranded.
If your bike stopped moving instantly, you should remove the belt cover to inspect the belt. You may find your belt in a thousand pieces or just worn so badly that it is slipping.
Related: ATV belt slipping – symptoms and causes
If you get water on the drive belt and CVT clutches, it will break the friction that makes your ATV move. The drive belt housing is sealed and should normally protect the drive belt from splashing water.
But if the cover fasteners are not properly tightened or the seal is not in place, it may not be sealed properly. And if you have been riding in deep water, it may enter the belt housing through the belt housing vents.
Related: 16 Steps to Repair an ATV Submerged in Mud or Water
If you suspect that water in the belt housing is your cause, a drain plug at the bottom will drain any water that has entered.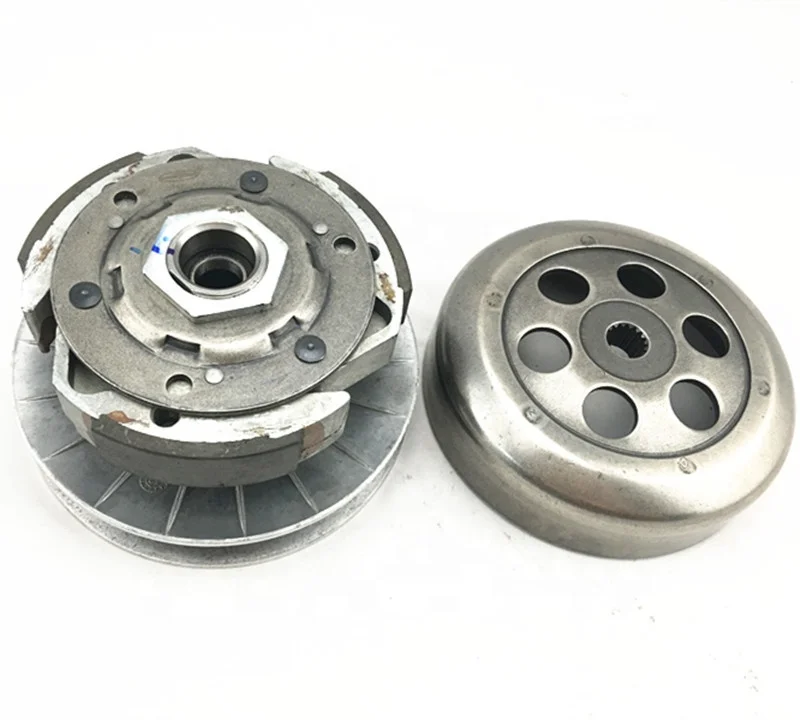
After you have gotten all of the water out, the bike should start moving again. Go gentle for the first few miles so that the belt and clutches can dry completely before applying too much throttle, or the belt will slip, causing premature wear.
When you get back home, it’s a good idea to remove the belt cover to see if you can find the cause of water entering.
In addition to loose bolts and a seal that has popped out of its place, you should look for damage to the casing itself. It is not unusual that the cover gets damaged by hitting rocks or branches.
See if you can hear or feel if the gears inside the transmission are shifting when you put the AVT in gear. The gear shift indicator may indicate that the bike is in gear even if the internals have not shifted completely.
A shifter that feels loose or is not shifting all the way may need adjusting.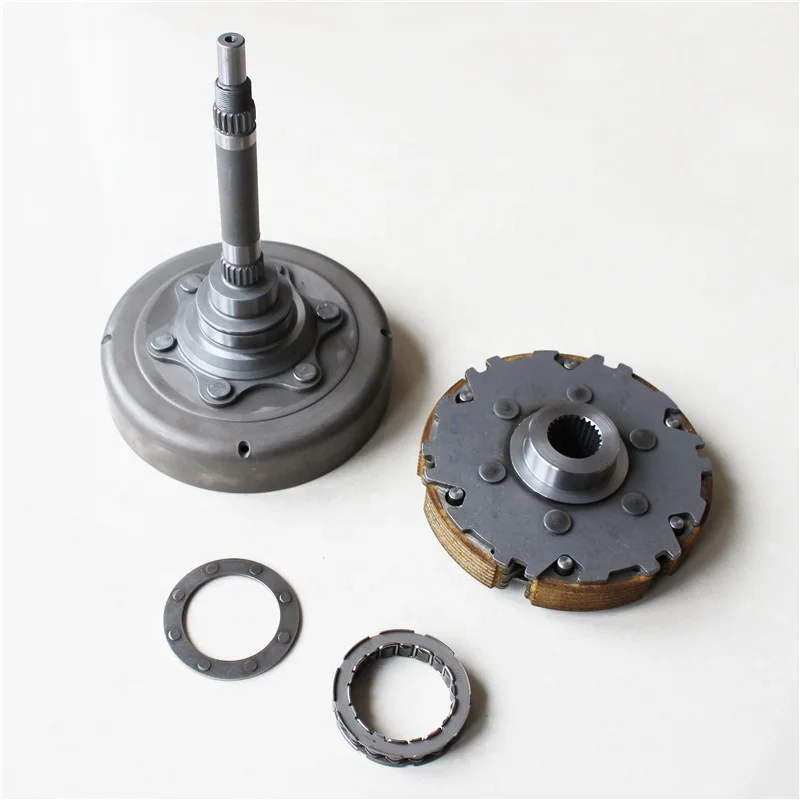 Try setting the bike in gear with a bit more firm motion than normal. You can even gently hit the lever to make it “pop” into gear.
Do not use excessive force; you are only trying to find out if it needs a bit of convincing to pop into gear. If this helps, you will likely be able to fix your issue by adjusting the gear linkage.
Also, ensure none of the visible components in the gear shifting mechanism have come loose or are broken. Some ATVs use a plastic clip that sometimes pops off. And where the shifter rods connect to the transmission, you will find a bell crank that is well known to strip or crack.
You need to make sure the clutch cable is adjusted correctly on manual clutch setups.
If all of the externals seem fine, but you can still not make the ATV shift completely, you may have a bent or broken shift fork, broken drive chain, or stipped pinion inside the transmission.
Before splitting the case, you can try this:
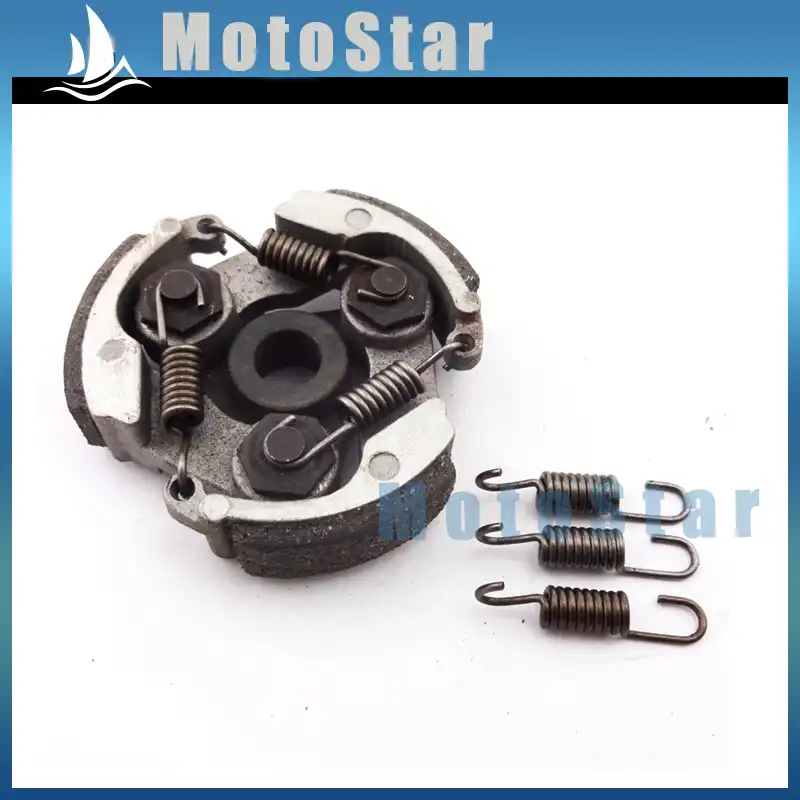
This post goes more in-depth on possible causes when an ATV won’t go into gear or won’t shift gears.
If one of the clutches is not working properly, they may not engage to move your ATV forward.
Listen if you hear any abnormal or weird noises from the belt housing area while in gear and applying throttle.
To further investigate, you need to open the belt cover and inspect how the clutches behave. Keep your hands and any loose objects clear of the clutches whenever the motor runs.
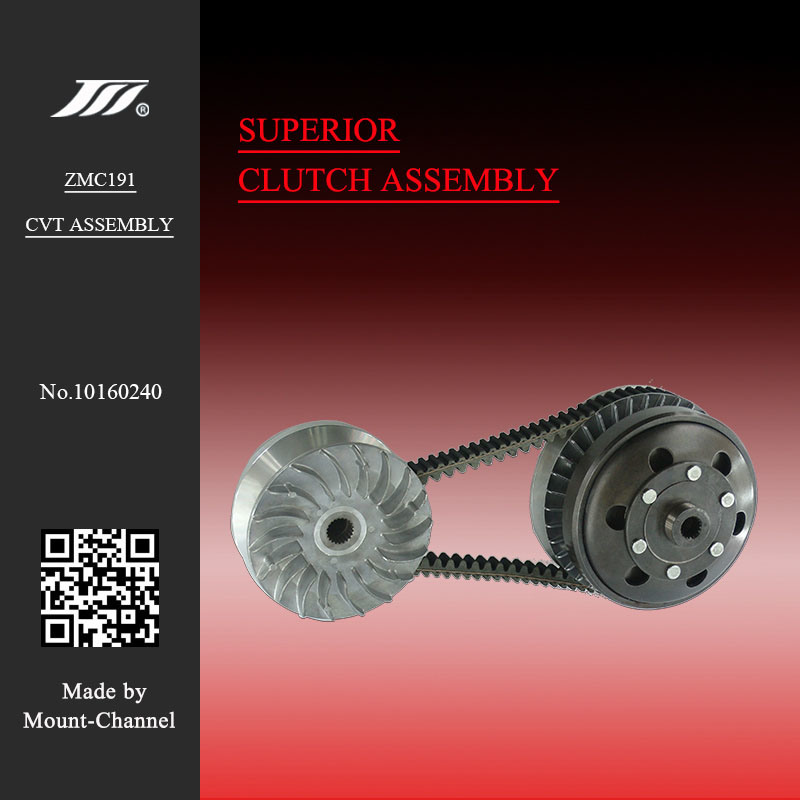
None of the dry clutches on belted ATVs with centrifugal wet clutches should spin at idle, even when in gear. When you apply throttle, the wet clutch engages – which engages the primary clutch – which turns the belt – which spins the secondary.
On belted ATVs without a wet clutch, the primary clutch is spinning all the time, while the secondary clutch only spins when throttle is applied. When idling, the belt rests on a bearing on the spinning primary, but as soon as it speeds up, it grabs onto the belt so that it starts turning.
If your ATV does not behave as described above, you may have issues with the clutches that need to be addressed.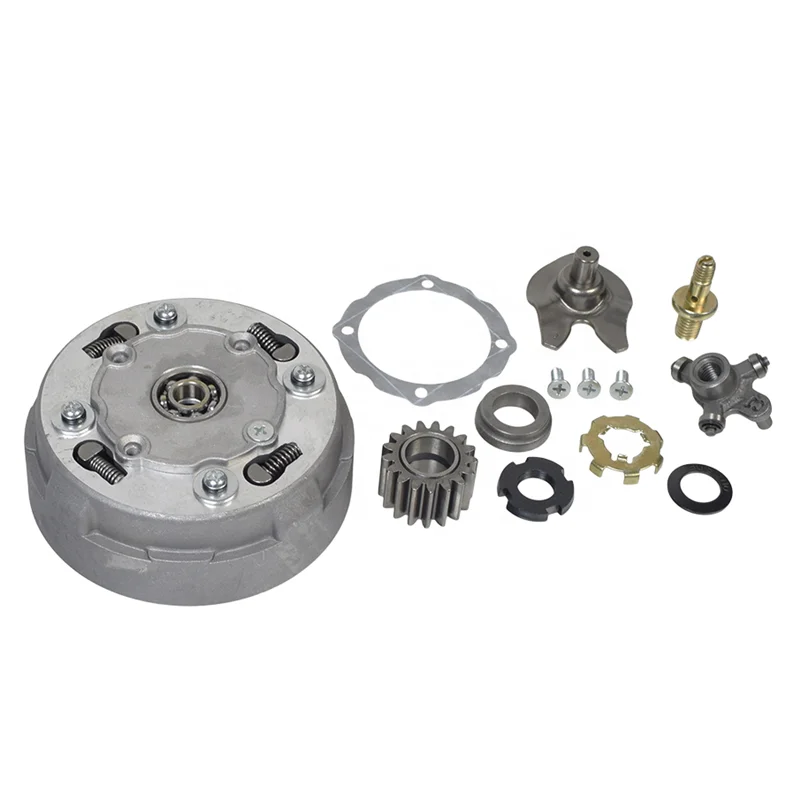
Differentials are another possible culprit if your ATV won’t move. A range of things can go wrong, but here are some of the more common:
Some ATVs have internal wet clutches that sit in an oil sump. The same issues listed here also apply to the Hondas with hydrostatic transmissions.
Wet clutch systems require a specific type of oil for the clutches to work properly. If the oil you are using is not wet clutch safe, it will prevent your wet clutch from engaging and prevent your four-wheeler from moving.
Please refer to your service manual to learn what type of oil your ATV needs.
Another common issue that will prevent your wet clutch from working properly is running with too little oil.
Adding oil to the specified level may, in some cases, be enough to bring your ATV back to full working order.
But if you’ve been running too little oil for too long, you may be looking at expensive repairs such as a transmission rebuild, oil pump replacement, or in the worst case, a complete engine rebuild.
Your service manual will tell you the correct oil level.
Here are a few issues it may be worth looking into if you suspect that your wet clutch is not working properly:
Some, if not all, wet clutches have an adjustment screw for proper alignment.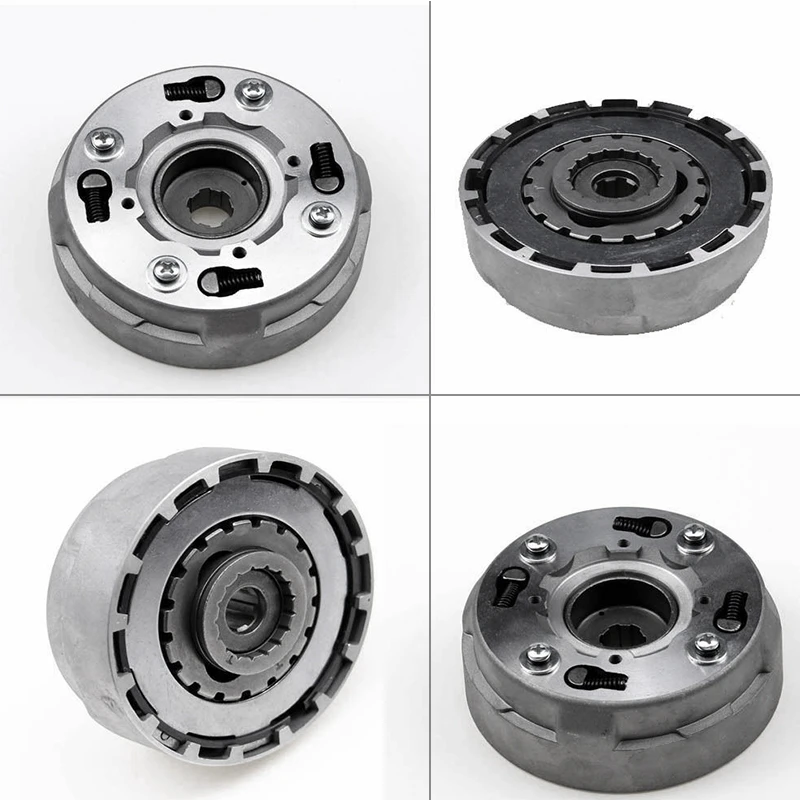 If not adjusted correctly, the clutch pack will always stay disengaged. A service manual will tell you where to find it on your ATV.
Many owners report that they find this adjustment screw very hard to move.
If the adjuster screw is turned too far, it may push the pressure plate back too far, where it may get hung up. Other components like the clutch plates, may hang up or get jammed.
To find out, you need to remove the clutch plate cover on your wet clutch. Replace the clutch plates if you see any sign of damage.
On Honda ES models, you may find that the shift motor is not fully shifting the transmission into gear. It may lurch or make a noise as if it is going into gear but then bumps back out of gear as soon as you apply throttle.
The grease used inside these motors may be too heavy, or it tends to gum up over time. Cleaning out the old grease and adding white lithium grease may be all that is needed to bring the motor back in working order.
Gear position sensors may go bad from shorting out or due to internal corrosion.
Check for continuity in the different gear settings if you know your way around a multimeter. If there is no continuity in any of the positions, you know that the sensor is toast or needs replacing.
The ATV clutch is responsible for both gear shifting and vibration reduction during the ride. ATVs for children are no exception.
As a rule, the occurrence of any problems with this component of motor vehicles, the rider feels immediately. It is recommended to service the ATV clutch every 6000-7000 km, but sometimes all kinds of problems can occur earlier. The rate of wear of the functional components of motor vehicles directly depends on the conditions of its operation.
The following points can serve as a signal that something is wrong with the motorbike clutch:

Depending on the severity of the failure, the problems described above can be solved either by repairing the vehicle's clutch or by replacing it completely. As for Chinese models of ATVs, here it is necessary to check whether the nuts on the clutch are securely fastened. Poor assembly of motorcycles can also cause suspicious sounds in the variator area.
To change the clutch on a children's ATV with your own hands, you will need:
In general, this procedure is quite simple and fast. In older models of ATVs, everything is somewhat more complicated. Before proceeding with the dismantling of any components of motor vehicles, be sure to read the instructions from the manufacturer.
Even in Chinese models of ATVs, the clutch boasts an impressive margin of safety, and therefore its breakdown often occurs as a result of improper use of this equipment.
The main causes of premature ATV clutch wear include:
The only way to prolong the life of your ATV clutch is to use it properly and carefully. It is advisable to use good oil, and do not forget about timely maintenance.
The use of high-quality clutch discs in the ATV ensures a smooth start of the vehicle, and also fully ensures reliable grip without slipping even under fairly high loads.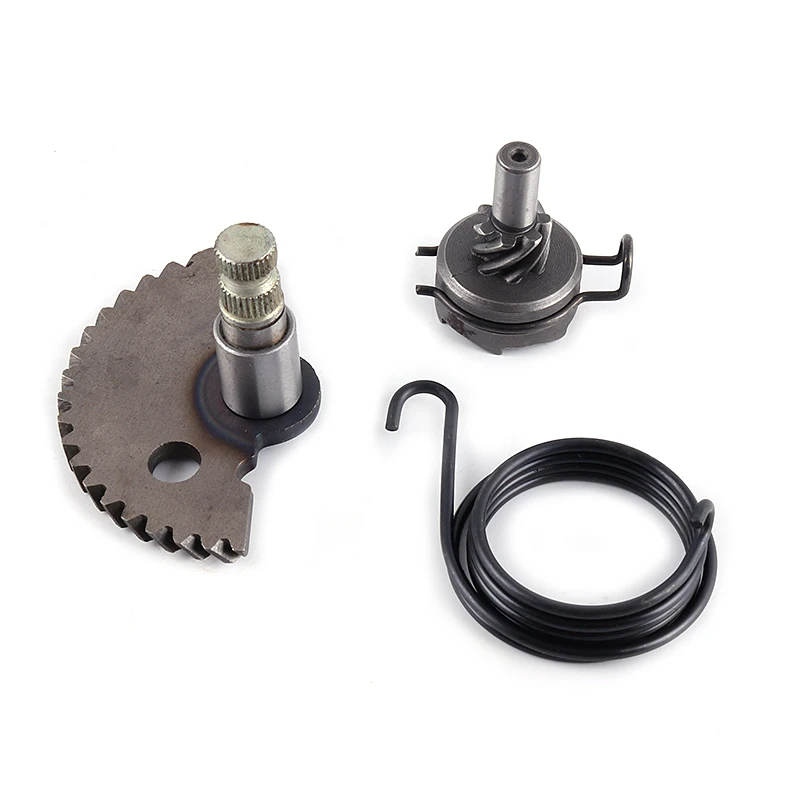 The exception is children's electric ATVs, in which there is simply no clutch disc.
ATV clutch usually needs to be adjusted no more than once a year. Before starting work, place the vehicle on a special footboard.
The process of adjusting the clutch on a motorbike is quite simple, and consists of the following steps:
 If it operates too slowly or too quickly, adjust the screw in the desired direction (tighten or loosen).
 Since adjusting your ATV's clutch is easy, you can repeat this procedure as needed. In the vast majority of motorcycle models, this functional component is adjusted in a similar way. If there are certain nuances in the clutch setting, they are explained in detail in the official vehicle manual.
05/29/2021 3377
Proper gear shifting depends on the technique of execution, the secret of which is smooth and even movements.
If you didn't get enough driving school, try driving in an abandoned area, like a former parking lot. So you can hone your technique without being distracted by other vehicles and obstacles. With regular practice, you will get an inner feeling of when and how to release the clutch, how hard to throttle for smooth acceleration, how hard to press the pedal.
You will feel when the engine reaches a certain torque required for another gear. Focus on the sounds and your own feelings: the motor seems to “ask” for a switch.
9000 9000
When the motorcycle is in neutral, the green indicator lights up.
Push the lever down from second gear while holding the clutch. Without the clutch, it will be harder to get into neutral speed. Look at the toolbar: did the corresponding indicator (usually green) light up? If you miss and hit the first one, use the edge of the shoe: this force is enough to switch.
The best way to get used to smooth shifting is to monitor how your bike behaves. If it twitches, jerks when the clutch is released, then the left hand is acting too sharply. If the bike leans forward between gears, then you are pushing too hard.
Deceleration between gear changes means there is not enough throttle, which allows the engine to slow down. Smooth shifting is a well-coordinated work of the clutch, gas and gear lever.
For example, a motorcycle is moving at 80 km/h in fifth gear and needs to come to a complete stop. Slow down by gradually shifting to lower gears and release the clutch, slightly gasping. This way you use the engine braking and retain the ability to accelerate at the green light.