(c) 2011 by Tom King
Way back at Keene Public School, we used to play volleyball on an uneven dirt and rock basketball court with a net strung between two metal poles stuck into a car tire full of concrete. I think that public schools are prohibited from using anything so practical (or cheap) anymore, but if you look you'll still find a few here and there on church playgrounds or gyms. It's likely some kid turned one on its side and rolled it over his own or someone else's foot. One lawsuit and anything good gets banned. Still, these sturdy volleyball goals are really handy and if the folk using it have a modicum of intelligence and supervise their children, they should be safe enough. They are portable, hold the net tight and can be built out of scrap materials with minimal cost.
Materials:
Tools:
Step 1
Lay the tires on the ground.
Step 2
Prop the poles or posts upright with the bases of the poles in the exact center of each tire. Tie or brace the poles so they won't move while the concrete is setting or the pole will be loose inside the concrete.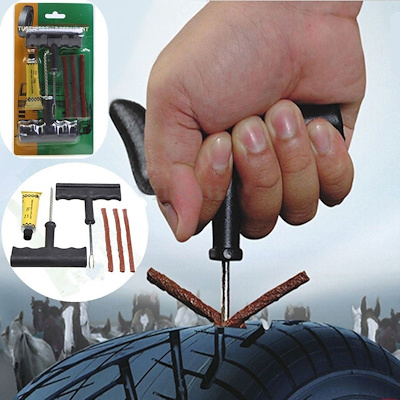
Step 3
Mix enough concrete mix in a wheelbarrow to fill up one tire at a time. Make it a little thinner, about the consistency of fresh made pudding so it will flow easily up inside the tire
Step 4
Pour concrete into the tires around the base of the poles or posts. I prefer to scoop the concrete into a plastic bucket so I can control the wet concrete more easily. You have to pour slowly so you don't move the base of the upright out of center and it's hard to control that if you pour directly from the wheelbarrow. Tires hold a deceptively large amount of concrete, so you may have to keep mixing bags and adding them till the concrete fills the tire to the top rim. Mix quickly so the first pour is still wet when you add more. Don't run concrete over the top rim of the tire or the dried overflow will break off in thin sheets later and make a mess.
Step 5
Let the concrete cure overnight.
Step 6
Remove the braces and check out how sturdy the pole is.
Step 7
Lay the pole over and mark holes for the eyebolts at 2 feet from the ground (for the bottom tie of the net) and at 7 feet 4 inches for women's volleyball and at 7 feet 11-5/8 inches for men's v-ball. You'll be installing 3 eyebolts or screws for tying the net to.
Step 8
Predrill holes for eyebolts a bit larger than the bolts or a bit smaller than eye screws. If you're using pipes drill all the way through so you can bolt the eyebolt in place. If using wooden posts, drill a hole slightly smaller than the eye screw and a quarter inch or so shallower than the length of the screw.
Step 9
Install the eyebolts or eye screws so the eyes are all on the same side of the upright pole or post.
Step 10
Roll the volleyball standards into place on either side of the center of a large flat area 30 feet wide by 60 feet long. String up the net and you're ready to go.
Note on Playing Volleyball:
I always use the women's height for groups of kids or church groups to make it easier to play. That is, unless it's an all men's group or you have one of those pesky ego-maniac show-offs who thinks it's fun to spike a volleyball into a kid's face to show off his prowess in front of the women-folk. Then, I put the net at full height so they can't spike the ball so easily. Men, even church-going men, are dreadfully competitive. I've even resorted to using nerf volleyballs and beach balls to reduce the danger to smaller players and to make the game more fun to play.
Safety Note:Here are Marc St. Angelo's
tire & concrete volleyball poles.
Thanks for pic, Marc.
I called these "movable" volleyball posts and not "portable", because, though you can move them around your backyard or playground, I wouldn't want to haul them across town without a really big trailer and possibly a crane. There is a lot of concrete inside one of those tires and they are extremely heavy. To move them around, you merely lay them over on their sides, have one person lift the pole end to guide it and another one or two to roll the tire. Don't let it roll over your foot whatever you do because, as I said, all that concrete is really, really heavy. It's pretty easy to move them, though and it's obvious how heavy they are so you have to be pretty thick to want to get in front of one when it's rolling. Don't let small children turn it over or play "pole vault" with it. I can tell you from bitter childhood experience that when the pole starts upward, a lightweight child can get flung a goodly distance when the pole snaps him off the ground. And if he does manage to hang on, he can pull the whole pole over and conk himself on the head. I was more curious than bright in them days. Like anything you have around children, you have to watch them and sometimes think for them. It's a bloody miracle some of us ever managed to grow up in one piece at all.
Posted by Jefferson Bryant Know How
Flat tires tend to happen at the worst time in the worst places. If you are on the road or outside of normal business hours when your vehicle has a flat and the spare is missing or no good, you might feel stranded, but there is an option—a tire plug kit. This is something that anybody can do, you just need the right parts.
Liquid tire repair might get you down the road, but it could make your tire repair difficult and possibly damage the TPMS (Tire Pressure Monitor System) unit inside the rim itself depending on the formula. The best solution for an emergency tire repair is a tire plug. Made from cork and a gooey adhesive that keeps it place and seals the tire, a tire plug repair is an excellent way to get your car back on the road until you can get to a tire shop for a proper internal patch.
Installing a plug in your tire works for pierced tread area only. You cannot fix sidewall damage, compression breaks (from potholes, gravel roads or curbing) or any other type of catastrophic tire damage. The most common road hazards you will find are punctures from nails and screws. Fixing these issues are perfect for the good old fashioned tire plug. If you are wondering how long does it take to plug a tire, then the answer is just a few minutes. Most of the time is spent preparing to perform the plug itself. Here’s how to plug a tire with a plug kit.
You will need the following to make a tire plug repair:
There are all kinds of tire plugging kits, but you want the most complete tire repair kit which comes with the plugs, the installation tool, and the reamer tool.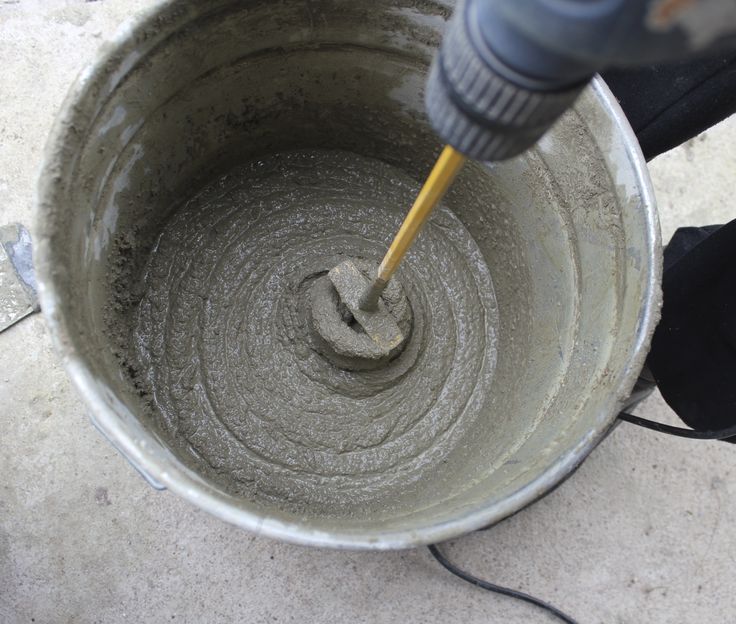 Some flat tire repair kits just come with the plugs and installer, but the reamer tool is a necessary component to a good repair. Some tire plugging kits also come with liquid cement. You can use it or not, but the cement helps make a more permanent repair.
Locate the puncture. If you don’t see or hear the puncture, spray some soapy water on the tire and look for bubbles.
This is a small staple that was dropping tire pressure by 20 psi in about 12 hours. It needs to go.Remove the offending item. This is usually easy, but sometimes the nail or screw is worn down, making it hard to get a bite on it. This is where the side-cutters come in really handy. You will want to position the tire where you get the most leverage.
Side cutters work best for removing these items, as they can grip small round objects better than regular pliers.Insert the reamer.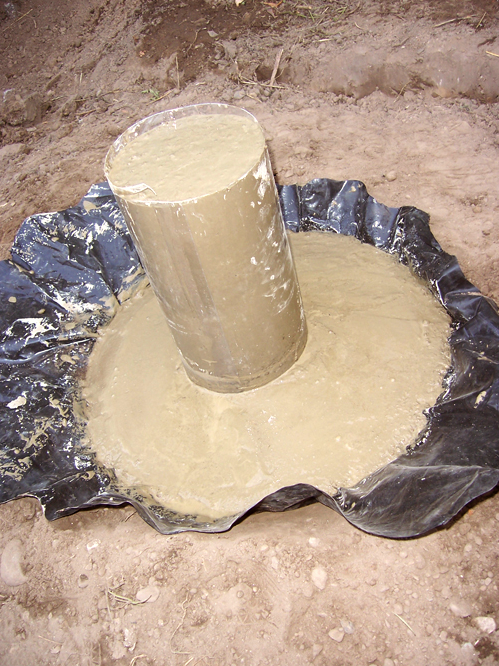 This will take some effort, as you have to push it through the steel belts. Use a twisting motion and push it into the tire. Once the reamer is through, saw it in and out of the tire a few times to really make a nice hole for the plug. Yes, it is counter-intuitive, but it is necessary.
Push the reamer all the way and then saw it in and out a few times to make a clean hole.
Prep the plug and installer. Pull a plug off the strip and push it through the eyelet of the installer tool. The pliers will make this easier. Push a little through, grab it with the pliers and pull the plug halfway through the eyelet.
Pull a cork strip from the tire plugging kit and grab the installer tool, which looks like a large needle with a slit in the eye.Threading the sticky cork tire repair plug is not easy, but if you can get it squished into the hole, you should be able to pull it on through.
 The side cutters might help.
Insert the plug into the tire. If the kit has liquid cement, apply some to the plug before inserting it into the tire. Simply push the installer into the hole in the tire until the plug is about 3/4 of the way in. Twist the installer tool 90-degrees and pull it out. The plug will stay in the tire and the tool will come out nice and easy. You may trim away the excess plug or leave it to wear away as you drive.
Push the tire plug into the hole. Don’t twist the plug as you push it in, just go straight down and stop when there is about a 1/2-inch exposed.This is what you should see when the tire plug is installed.
Once the tire repair plug is in you can now twist the handle 90-degrees and pull the tool out.
Fill the tire to the proper PSI. If you have a portable air compressor, this will make things easy. However, if you do not, you need to get air very soon.
All done.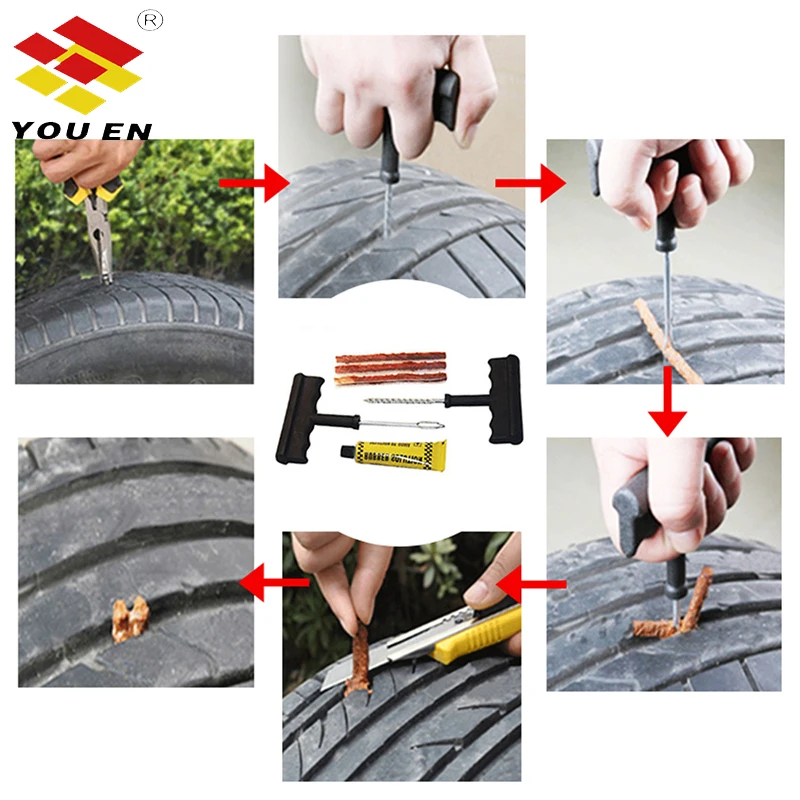 You can trim the tire plug or leave. You will need air, so don’t go driving until you have the tire aired up.
Every automobile you own should have an emergency tire plug repair kit in the tool box, along with a portable air compressor. These emergency repairs are quite good, but for a long term repair, you should take the vehicle to a tire shop for a proper repair as soon as possible. They will know the best way to patch a tire for your type of damage.
Check out all the steering & suspension parts
Categories
Know How
Tags
emergency repair, flat tire, flat tire repair, patch flat tires, sealant, tire maintenance, tire plug kit, tire pressure, tire safety, tire wear, tires, wheels
A life-long gearhead, Jefferson Bryant spends more time in the shop than anywhere else. His career began in the car audio industry as a shop manager, eventually working his way into a position at Rockford Fosgate as a product designer. In 2003, he began writing tech articles for magazines, and has been working as an automotive journalist ever since. His work has been featured in Car Craft, Hot Rod, Rod & Custom, Truckin’, Mopar Muscle, and many more. Jefferson has also written 4 books and produced countless videos. Jefferson operates Red Dirt Rodz, his personal garage studio, where all of his magazine articles and tech videos are produced.
Gradually, a pond in the country is becoming an integral part of a comfortable stay. To make the heat easier to bear, you can build a pond from the materials at hand - a do-it-yourself tire pool, for example.
The swimming pool and the pond create a unique beauty in the dacha. In addition, water bodies help summer residents and plants to endure heat. In its waters it is pleasant to cool off in the summer heat and in the evening when the work is completed.
The unique microclimate can create even a tiny pond from a car tire.
If you know how to do it with your hands, an excellent alternative to expensive and not very durable inflatable pools is a pool from a tire with your own hands. Its creation is not associated with material costs, and the products are durable and reliable.
In order for a pool to appear on the site, you will need:
The layout of the pool looks like the one shown in the picture.
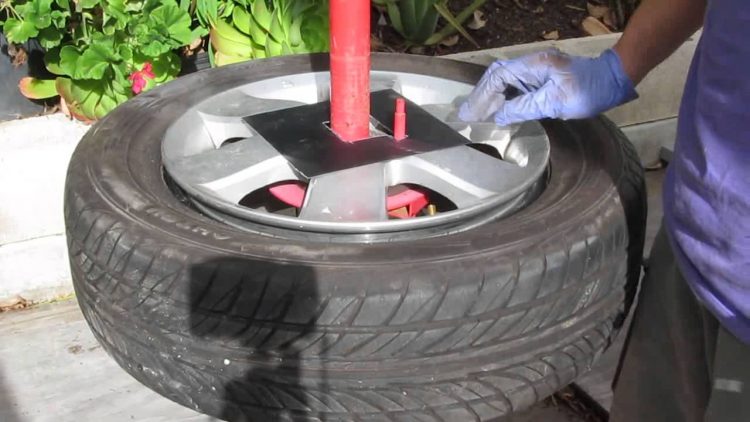
It all starts with the preparation of the tire. It needs to be cut off on one side, leaving only the side. A jigsaw will help cut the cord. The grinder is less preferable in this matter, since rubber scatters from it and becomes sticky and it will not be easy to get rid of it.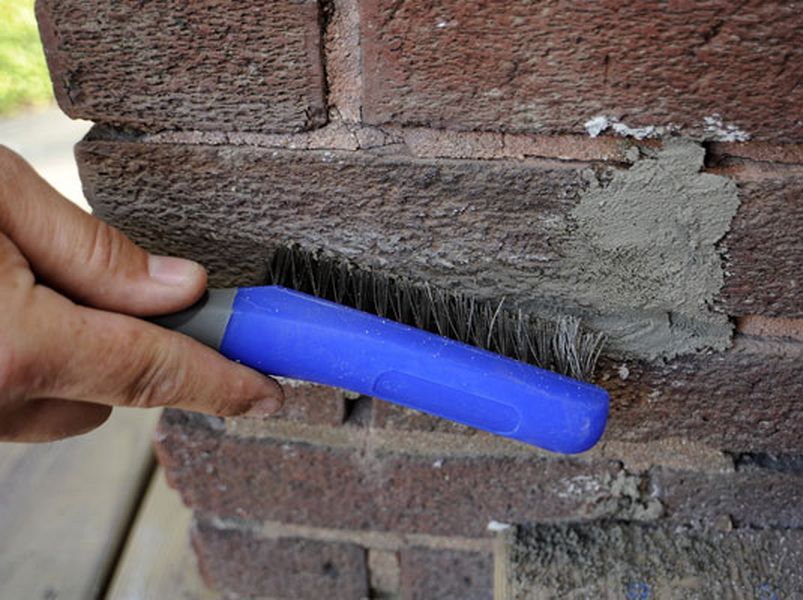
In order for the structure to stand still, prepare the site: on the area corresponding to the diameter of the tire, the sod is removed on the bayonet of the shovel. Make a sand cushion of small thickness. If it is planned to supply a concrete path to the pool, then the size of the site will need to be increased.
The next step is concreting. To carry it out, you need to knead the solution for pouring the prepared circle. The layer height is at least 20 cm so that the concrete does not crack during operation. While it is not frozen, install the tire.
The cement is leveled (the rim of the tire must be under the layer of cement, i.e. be invisible when looking inside the tire). Otherwise, cement must be added to keep the pool watertight.
So that the future reservoir does not move under the weight of water, it is recommended to fill the bottom with molten tar, on which a special (or polyethylene) film is placed. In extreme cases, the tire is painted from the inside.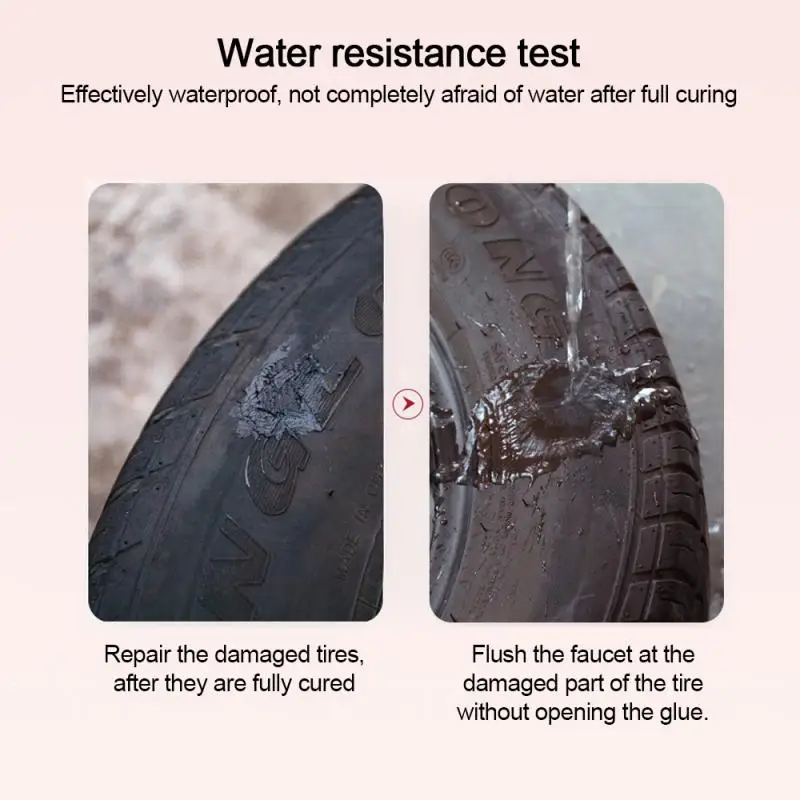
After the work is completed, the structures are allowed to dry thoroughly. Then it is filled with water and covered with a plastic film that protects from sunlight, bad weather and pollution.
Recommended:
Since, in a sunny area, the water will evaporate, settling on the inner surface of the film, it is recommended to ventilate it periodically.
After complete drying of the bottom, start decorating and decorating the pond.
And here the scope for imagination is limitless - you can paint the side surface of the tire with multi-colored paints, make a brick wall, tighten it with a mesh, plaster and lay out a mosaic.
 The workpiece with the tire installed on it is then poured with cement. It is ready for use as soon as the materials dry well.
 The question of replacing it is decided before the concrete is poured: perhaps it will be a crane fixed with a lock nut and a couple of washers. The device will not leak due to the compression of the rubber. Water in unpainted tires heats up faster because the black color attracts heat better.
Video: DIY tire pool
You can create a decorative pool made of tires with your own hands, which functions as a small pond. You can’t swim in it, but such a pond will be a great decoration. It can be overlaid with stone, decorated with flowers.
After filling it with water and seaweed, you can put fish in it. The boundaries of fantasy do not exist here: you can lay out a mosaic, just paint it, etc. It will require a large tire.
And you will also need:
Its creation begins with digging a foundation pit. Its diameter should be 20-30 centimeters larger than the tire size. The depth of the pit is 2/3 of the width. The bottom of the pit is carefully leveled.
Crushed stone is poured on it, it is compacted and concreted. Then a waterproofing is created, for which the bottom is poured with melted bitumen to the height of the tire bead.
Bitumen can be replaced with polyethylene film: the bottom is lined with it, bending the edges outward.

But, it will have to be changed every year, so it is more correct to prepare a covering material instead of polyethylene, which is used for waterproofing pools.
The space formed between the tire and the walls of the excavation is covered with soil and compacted.
After waiting until the cement hardens well (about a week), you can start water procedures. We must not forget that even a small reservoir needs to be looked after - change the water, clean the bottom.
Video: Exclusive tire ponds
Undoubtedly, today it is not a problem to buy an inflatable pool, which is easy to install, does not take up much space, and can be easily removed for the winter. But, such pools have one significant minus - the price.
When constructing a pool of tires, practically no material investments are required, and it's just nice to refresh yourself in a pond, the construction of which is directly involved.![]() You can feel all the advantages of such a pool by plunging into its cool water. Try it!
You can feel all the advantages of such a pool by plunging into its cool water. Try it!
Obviously, it is difficult to find an owner who would not like to decorate his landscape. Such elements of architecture as arches, arbors and, of course, flowerpots can help with this. You can buy a lot of things today. The consumer, tempted by a wide choice, is offered products for decorating flower beds made of wood, concrete, various ceramic flowerpots and much more, from various raw materials. But it is quite possible to make an originally designed solution for the landscape with your own hands.
Flowerpots for plants are absolutely not difficult to make yourself. How to make a flowerpot, from what material and what to add, we will tell in our article.
How to make a flowerpot
Content
 1 VAZOns of tires
 Concrete products are practical and durable. They can serve as a decoration for your yard and garden for many years.
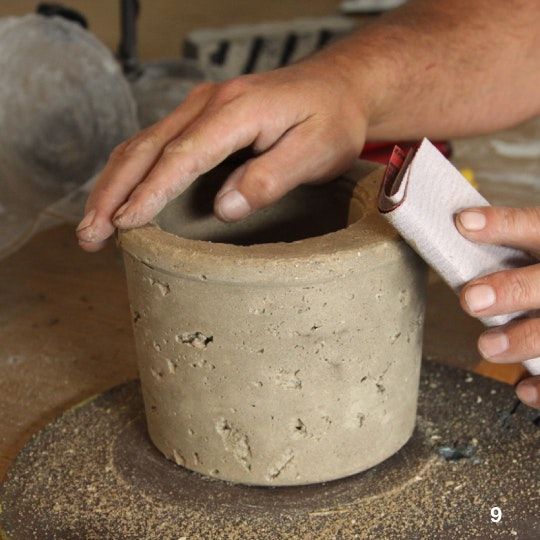
To make an original concrete product with our own hands, we need a cement mortar and a form into which we will pour this mortar. The form is taken absolutely arbitrary, the more bizarre it is, the more interesting your flowerpot will look.
Now more about the process itself:
 This is necessary to facilitate the process of separating the mold from the solution poured into it.
 Concrete flowerpots
You can make as many flowerpots as shown above, in different shapes and sizes, as much as you like. We have given you the simplest example of how to make flowerpots. But there are other ways to make these landscape elements yourself, but they are somewhat more complicated. Here is the diagram:
 The pipe must be lined with boards or bricks so that the top of the pipe is visible. This design will serve as our framework.
 Concrete outdoor flowerpot
It is easy to make beautiful elements for the garden and the plot with your own hands from used car tires. For the production of our products, you need very little time, and a minimum of tools: a sharp large knife, an electric jigsaw, several tires, as well as a few elements such as desire and inspiration:
A true work of art for decorating a garden is easy to make not only from tires, but also from an ordinary tree stump. How to do the processing of a stump with your own hands so that you get a beautiful and functional flowerpot? Let's consider the technology:
First, we create recesses for flowers on the surface of the stump. To do this, holes are drilled at a small distance from each other and the wood is removed. We pour out the earth and the flowerpot is ready - you can plant flowers.
This type of planter is quite mobile and can be placed anywhere in your garden.
You can create masterpieces in the form of vases from unnecessary buckets. The only question is how to decorate them. Decorations made of cones, which are usually a lot in the area where coniferous trees grow, can become a very original option.
To do this, remove the handle in a leaky bucket, make a cover of cones, and the flowerpot for your fern or palm tree is ready, and you can put it anywhere - in the gazebo, and on the veranda, and at the porch.
Cone decorations can be made on various bases that are suitable for planting flowers - plastic bottles, old boxes, etc. Or you can just make a basket of cones, which will stand on the table of the summer veranda and delight you and your guests.
Original flowerpot made of wood
There are a lot of ideas with landscape design with flowerpots, you can do a lot with your own hands, you can do it in the real world, or in the virtual world - in Minecraft, for example.
Let's, for fun, deal with this option of the popular game:
A clay pot in minecraft is a decorative building block with which you can decorate your house in minecraft by planting seedlings or flowers, cacti or bushes in a pot-block.
