Troubleshooting an ATV that won’t go into gear or won’t shift gears can be quite complicated, but not always. Whether you can address the issue on your own depends on the severity of the problem and your mechanical skill level.
ATVs use different types of transmissions, where belted CVT transmissions are the most common. The possible causes and the steps required to solve the problem depend on the type of transmission your ATV has.
This post covers some of the most common causes if your ATV doesn’t go into gear. It is meant to guide where to begin your troubleshooting, not as a complete repair guide for all ATV transmissions.
The service manual for your specific brand and model will provide more detailed troubleshooting procedures for your transmission issues.
Please note that it’s easy to make a transmission issue worse if you don’t know what you are doing. Some of the repairs require special tools such as a clutch puller or a clutch disassembly tool. If the repair seems intimidating to you or you do not have the right tools, it is recommended that you take the bike to a dealer technician.
Page Contents
We recommend that you begin the troubleshooting by testing whether you can shift gears when the engine is not running. This initial test allows you to narrow down the possible culprits of your gear-shifting issue.
If you can shift gears with the engine off, you know that the gear-shifting mechanism, as well as the inside of the gearbox, most likely works fine.
Gear shifting problems that are only present when the engine is running are usually clutch- or belt-related (Step 3) or caused by a high idle (Step 2). You may find that the bike wants to creep or move forward when in gear at idle. But even without creep, the problem may be with one of these components.
If you are, however, unable to shift gears with the engine off, we recommend you jump straight down to Step 4.
Many ATVs come with an automatic clutch that engages when you apply throttle, and the clutch speeds up. The same principle applies whether you have a wet disc clutch or a dry clutch, as you find on a belted CVT transmission.
If the ATV, for some reason, idles higher than it’s supposed to, it may cause the clutch to engage slightly, putting a small but constant tension to the metal gears inside the gearbox. This pressure on the gears makes the ATV very hard to shift.
Most ATVs should idle around 1100-1200RPM. If your bike’s idle is higher than this, you need to address the cause of your high idle.
For carbureted ATVs, there will be an adjustment screw to set the idle. Your user manual will provide the correct setting for your bike. Adjusting the idle on a fuel-injected ATV is usually a job for a mechanic.
When idling, the primary clutch on a belted CVT transmission is supposed to spin freely without engaging (not pulling on the belt). This relieves the tension on the gearbox and allows you to shift gears.
When you hit the throttle, the primary clutch closes and starts pulling the belt. The belt makes the secondary (driven) clutch spin, which creates tension between the gears inside the gearbox.
This is how a CVT transmission works:
But when the transmission is not tuned correctly or has a mechanical issue, it may be engaging and spinning the secondary clutch even at idle.
To troubleshoot an issue like this, you need to remove the belt cover to inspect the clutches and see how they behave when the engine runs, both at idle and when revving in neutral.
Please note that the clutches will be spinning at high speeds. Keep your hands and all loose objects clear of clutches to avoid potentially fatal damage.
If the primary clutch is packed with dirt, it may bind or not open enough to release the belt. Now is a good time to pull the clutches for proper cleaning and service.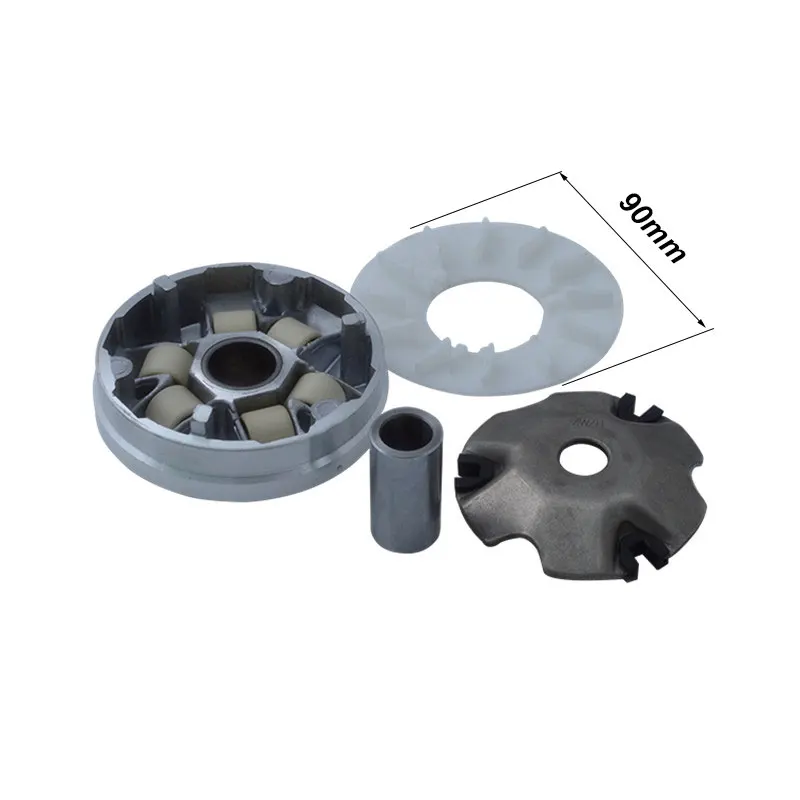
The springs inside a CVT transmission clutch may weaken over time, preventing the clutch from functioning as it is supposed to. Clutch springs are replaceable, but you may need special tools to pull and disassemble the clutch.
If the motor mount is bad or has come loose, the primary clutch may be out of alignment. Use a pry bar to see if you can lift the whole engine. You should barely be able to see the engine move, if at all.
The drive belt should ride in the clutch assembly center, not touching the primary’s two clutch sheaves. If it does rub against one of the sheaves, it will cause unwanted tension on the belt.
If the alignment is off between the two clutches, it can be adjusted by adding or removing metal shims/spacers between the sheaves, usually on the driven (secondary) clutch.
Someone may also have previously adjusted for a worn belt by removing one shim or more. When installing a new belt, you may need to add those spacers back to prevent binding, leading to gear shifting issues.
If the drive belt is worn too much, it will ride low on the sheaves, causing a slight creep.
We recommend that you only use OEM belts. There are aftermarket belts available that offer better performance and longevity at a smaller price. But slight variations in production tolerances can cause issues such as the clutch engaging too soon.
Aftermarket belts also use a harder compound to make them last longer, which may wear your clutch sheaves over time.
Remove the belt cover. If the belt is shredded, it may have gotten wrapped around the driven shaft, causing it to bind up.
Polaris ATVs with EBS (engine brake system) have components that may wear out in time.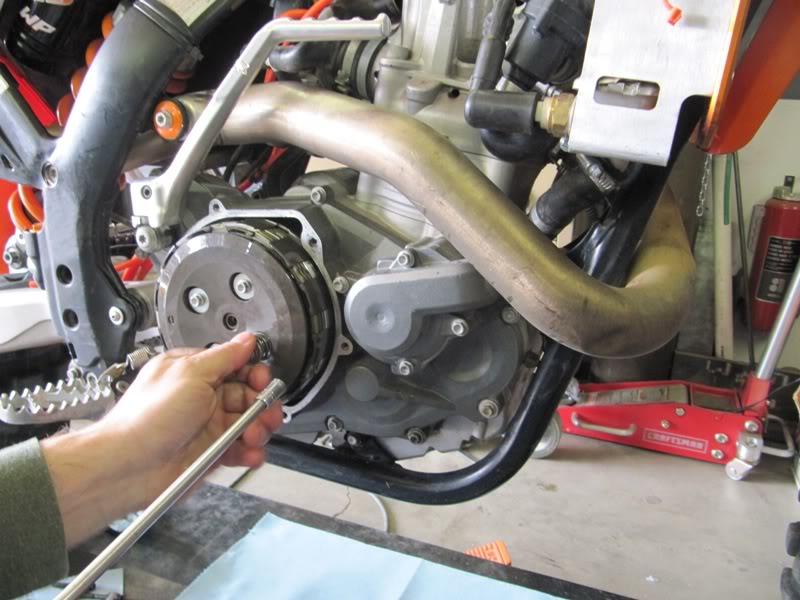 Inspect the EBS fiber washers (one on each side of the EBS bushing) on the primary clutch to see if they are worn out. If the washers are worn, the belt may not ride in the grooves as it should and instead ride one of the sheaves.
Some ATVs with engine brake systems have a primary clutch with a one-way sprag bearing, a so-called one-way clutch. It is supposed to spin freely in one direction and be locked in the other direction. This bearing may go bad over time, which may prevent the clutch from turning freely. It may be hard to tell if the bearing is ok; just a slight drag may cause shifting issues.
In this case, the problem is likely with the gear changing mechanism or the transmission’s internals. Begin by troubleshooting the externals as they are the most accessible.
Some ATVs have adjustable gear linkage. If not adjusted correctly, the bike will not shift as it should.
On ATVs that has manual clutch transmissions, you should make sure that:
To test your gearbox for internal damage without splitting the case you can try this method:

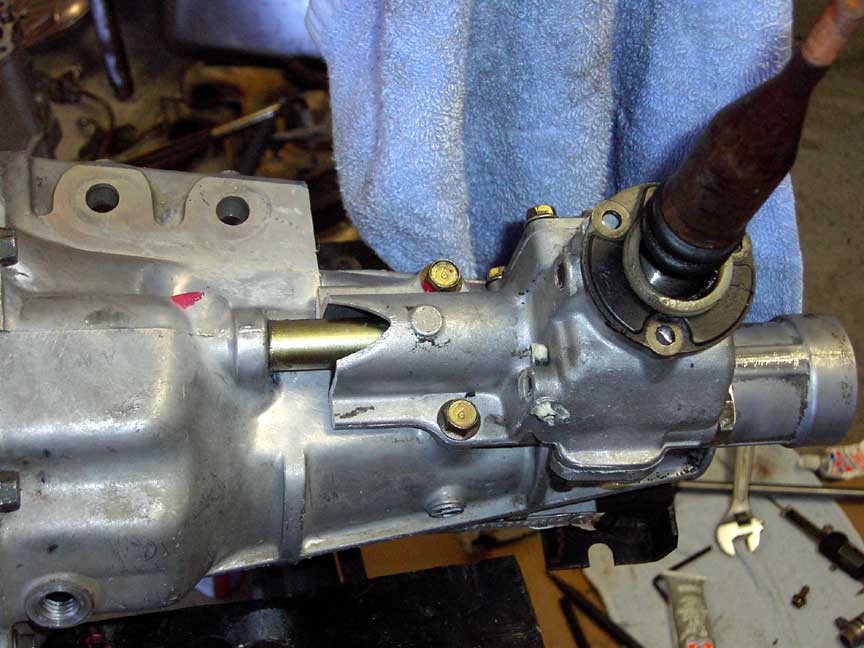
One of the most common issues one could be facing with a gearbox’s internals is having a worn or bent shift fork. The shift fork is what shifts the gears in place. If it is bent or worn, it can’t push the gears completely in place.
Some ATVs use an oil-sump wet clutch in combination with the dry clutches on the CVT belt transmission. You also have some Honda ATVs with hydrostatic transmissions that use oil to drive the ATV forward.
Here are a few things to check out whenever any of these types of ATVs won’t go into or shift gears.
Make sure the oil level is correct or the bike may not shift as it should.
If the oil is old or contaminated it needs replacing:

It is possible to measure if the oil moves well through the engine using an oil pressure gauge. If the pressure is weak, you may have bad seals and need to open the engine.
ATVs with an electric shifter, like the Honda AS models, uses an electric motor to shift through the gears. If the motor does not work, the bike will not shift gears.
The only way to make it shift is by using the emergency shifter (a short-shifting shaft sticking out the left lower side of the engine, use the supplied gear change tool). If the bike shifts when using the emergency shifter, you need to address the shifter motor.
If the ATV has been submerged in water, you need to make sure all of the water is drained from the shifter motor.
Remove the motor. If the motor does not turn even when hooking it up directly to a battery, it may be burnt out and need replacing.
It is easy to forget that an electric-shift ATV needs electricity to shift. Make sure the battery is properly charged and in good condition.
Related resources:
How to charge an ATV battery
How to troubleshoot an ATV battery that is not charging.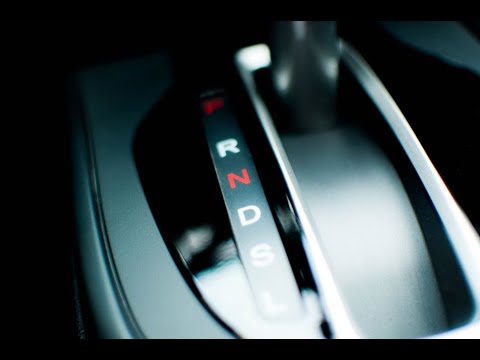
If you try to shift on an electric shift ATV, you may hear the shift motor moving, but it does not shift completely.
You may find that the problem is worse at colder temperatures. Fixing this issue is relatively easy. All you need to do is replace the old gummed-up grease with all-temperature, white lithium grease.
For the complete procedure, go to Hondaatvforums.net
Located on the carburetor, the Honda ES models have an angle sensor that tends to go bad. After replacing the sensor, make sure it is clocked correctly.
When this happens, there is usually no need to worry. In fact, most ATVs are affected by this issue, some more than others.
What happens is that the wheels must be rotated slightly for the gears inside the gearbox to sync (line up).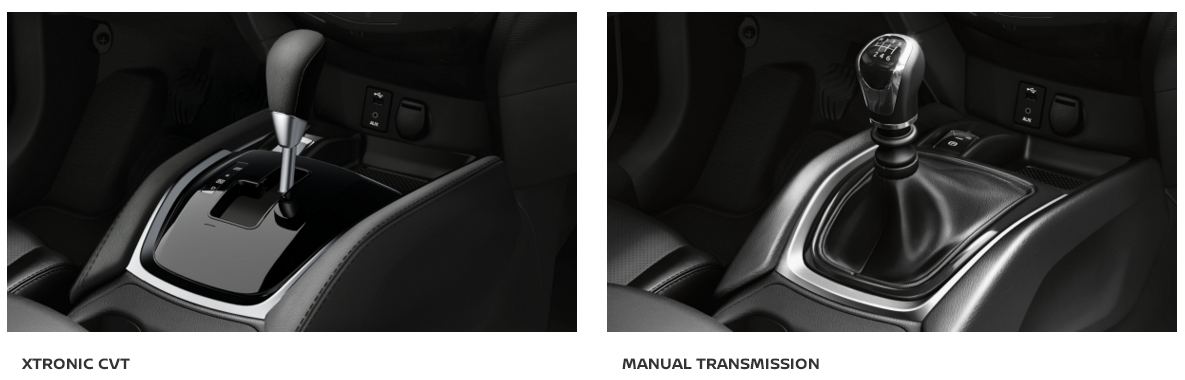
You may have noticed that this phenomenon gets worse when trying to shift in and out of “park” when standing on a hill.
The best way to avoid this is by applying the parking brake before putting the transmission in “park.” This way, the gears won’t bind up, and you will be able to shift in and out of gear effortlessly.
In this post, we’ll have a look at some common causes if your ATV won’t move forward or backward when you put it in gear. Typical components that may need to be addressed to fix this are:
Page Contents
I recommend that you start your troubleshooting by making sure all four wheels on the ATV spin freely and that there’s nothing in the driveline preventing it from moving as normal.
To test this, all you need to do is to put the ATV in neutral (N), leave the parking brake off, and try to push it forward or backward by hand. Some of the larger ATVs can be a bit heavy to push, even for an adult, but on a flat smooth surface like asphalt or concrete, you should be able to make it move.
If the wheels spin freely, you know that the driveline and brakes are fine and that the problem is with your gearbox, transmission, or gear-shifting mechanism. You may jump straight down to troubleshooting transmission issues.
If you cannot get the wheels to turn, no matter how hard you push, the problem may still be with your transmission or gear shifter. But because it is far easier, you should start by looking into the bike’s driveline, brakes, and bearings to ensure there are no issues there.
Wheel bearings may seize up completely if you let them wear too far before having them replaced.
On solid rear axle racing quads, you should also inspect the carrier bearing as they may break and lock up.
While you have the wheels off the ground, you should also inspect the brakes.
 Proper cleaning should fix your issue.
 If you still haven’t found a definite indicator that something is wrong with either the wheel hub assembly or brakes, you should isolate them from the rest of the driveline. This way, you don’t waste time troubleshooting parts of the ATV that may be working as normal.
You usually don’t break an axle without noticing. The most common scenario for broken axles is your front axle popping when struggling in a mud hole at full throttle, and the tire suddenly finds traction. “POP,” and the ATV no longer moves.
An axle may strip if it pops out of place. The C-clip that holds it in place may come loose so that the axle starts moving out until just a small portion is still gripping and the splines stip. You will likely hear scraping noises if the axle has been stripped.
When a driveshaft or axle breaks, your bike will no longer pull on the wheel that the stripped or broken axle goes to. The remaining wheels will likely still pull as normal.
When installing bigger tires, you will add more strain to your bike’s driveline. Consider upgrading your axles to heavy-duty aftermarket parts that don’t break as easily.
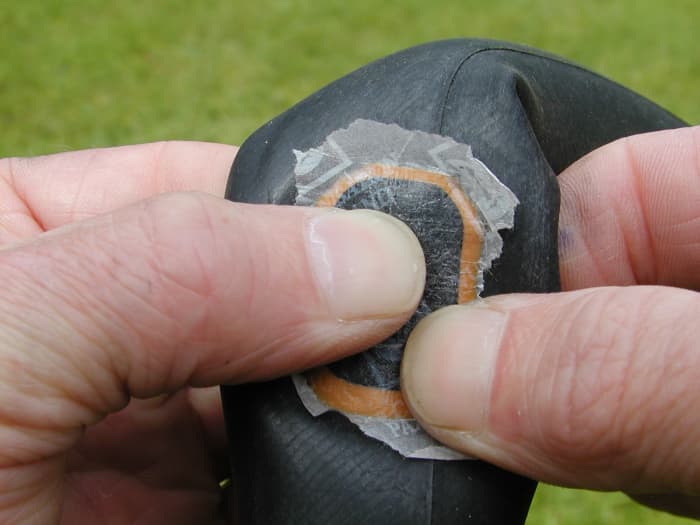
The drive belt on CVT transmissions may break due to old age, wear, or misuse. An old belt that is pushed hard may explode in an instant, leaving the bike stranded.
If your bike stopped moving instantly, you should remove the belt cover to inspect the belt. You may find your belt in a thousand pieces or just worn so badly that it is slipping.
Related: ATV belt slipping – symptoms and causes
If you get water on the drive belt and CVT clutches, it will break the friction that makes your ATV move. The drive belt housing is sealed and should normally protect the drive belt from splashing water.
But if the cover fasteners are not properly tightened or the seal is not in place, it may not be sealed properly. And if you have been riding in deep water, it may enter the belt housing through the belt housing vents.
Related: 16 Steps to Repair an ATV Submerged in Mud or Water
If you suspect that water in the belt housing is your cause, a drain plug at the bottom will drain any water that has entered.
After you have gotten all of the water out, the bike should start moving again. Go gentle for the first few miles so that the belt and clutches can dry completely before applying too much throttle, or the belt will slip, causing premature wear.
When you get back home, it’s a good idea to remove the belt cover to see if you can find the cause of water entering.
In addition to loose bolts and a seal that has popped out of its place, you should look for damage to the casing itself. It is not unusual that the cover gets damaged by hitting rocks or branches.
See if you can hear or feel if the gears inside the transmission are shifting when you put the AVT in gear. The gear shift indicator may indicate that the bike is in gear even if the internals have not shifted completely.
A shifter that feels loose or is not shifting all the way may need adjusting. Try setting the bike in gear with a bit more firm motion than normal. You can even gently hit the lever to make it “pop” into gear.
Do not use excessive force; you are only trying to find out if it needs a bit of convincing to pop into gear. If this helps, you will likely be able to fix your issue by adjusting the gear linkage.
Also, ensure none of the visible components in the gear shifting mechanism have come loose or are broken. Some ATVs use a plastic clip that sometimes pops off. And where the shifter rods connect to the transmission, you will find a bell crank that is well known to strip or crack.
You need to make sure the clutch cable is adjusted correctly on manual clutch setups.
If all of the externals seem fine, but you can still not make the ATV shift completely, you may have a bent or broken shift fork, broken drive chain, or stipped pinion inside the transmission.
Before splitting the case, you can try this:
This post goes more in-depth on possible causes when an ATV won’t go into gear or won’t shift gears.
If one of the clutches is not working properly, they may not engage to move your ATV forward.
Listen if you hear any abnormal or weird noises from the belt housing area while in gear and applying throttle.
To further investigate, you need to open the belt cover and inspect how the clutches behave. Keep your hands and any loose objects clear of the clutches whenever the motor runs.

None of the dry clutches on belted ATVs with centrifugal wet clutches should spin at idle, even when in gear. When you apply throttle, the wet clutch engages – which engages the primary clutch – which turns the belt – which spins the secondary.
On belted ATVs without a wet clutch, the primary clutch is spinning all the time, while the secondary clutch only spins when throttle is applied. When idling, the belt rests on a bearing on the spinning primary, but as soon as it speeds up, it grabs onto the belt so that it starts turning.
If your ATV does not behave as described above, you may have issues with the clutches that need to be addressed.
Differentials are another possible culprit if your ATV won’t move. A range of things can go wrong, but here are some of the more common:
Some ATVs have internal wet clutches that sit in an oil sump. The same issues listed here also apply to the Hondas with hydrostatic transmissions.
Wet clutch systems require a specific type of oil for the clutches to work properly.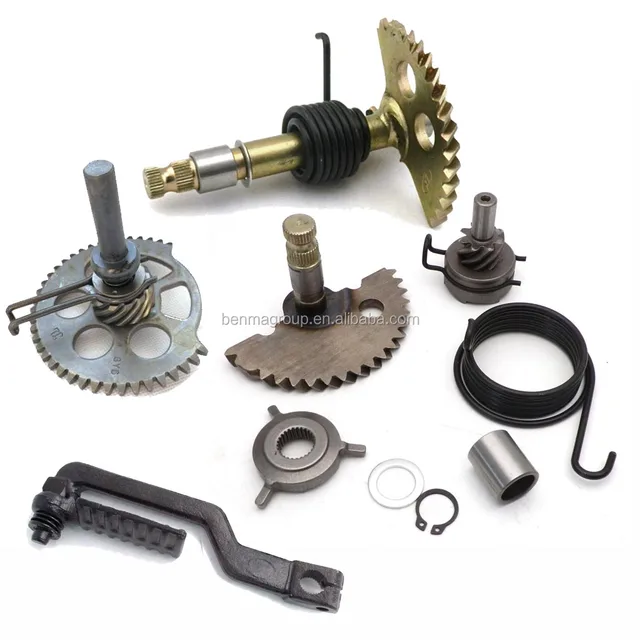 If the oil you are using is not wet clutch safe, it will prevent your wet clutch from engaging and prevent your four-wheeler from moving.
Please refer to your service manual to learn what type of oil your ATV needs.
Another common issue that will prevent your wet clutch from working properly is running with too little oil.
Adding oil to the specified level may, in some cases, be enough to bring your ATV back to full working order.
But if you’ve been running too little oil for too long, you may be looking at expensive repairs such as a transmission rebuild, oil pump replacement, or in the worst case, a complete engine rebuild.
Your service manual will tell you the correct oil level.
Here are a few issues it may be worth looking into if you suspect that your wet clutch is not working properly:
Some, if not all, wet clutches have an adjustment screw for proper alignment. If not adjusted correctly, the clutch pack will always stay disengaged. A service manual will tell you where to find it on your ATV.
Many owners report that they find this adjustment screw very hard to move.
If the adjuster screw is turned too far, it may push the pressure plate back too far, where it may get hung up. Other components like the clutch plates, may hang up or get jammed.
To find out, you need to remove the clutch plate cover on your wet clutch. Replace the clutch plates if you see any sign of damage.
On Honda ES models, you may find that the shift motor is not fully shifting the transmission into gear. It may lurch or make a noise as if it is going into gear but then bumps back out of gear as soon as you apply throttle.
The grease used inside these motors may be too heavy, or it tends to gum up over time. Cleaning out the old grease and adding white lithium grease may be all that is needed to bring the motor back in working order.
Gear position sensors may go bad from shorting out or due to internal corrosion.
Check for continuity in the different gear settings if you know your way around a multimeter. If there is no continuity in any of the positions, you know that the sensor is toast or needs replacing.
CVT transmission is a good compromise between automatic and mechanical. It is not as expensive and difficult to repair as an automatic, and does not require as much driver attention as a mechanic. Therefore, all CFMOTO ATVs are equipped with CVTs from the Canadian company CVTech. This is a world-famous manufacturer that develops CVT systems specifically for ATVs.
In this article, we'll take a look at the variator mechanism and tell you what to pay attention to in maintenance and care to reduce wear on parts.
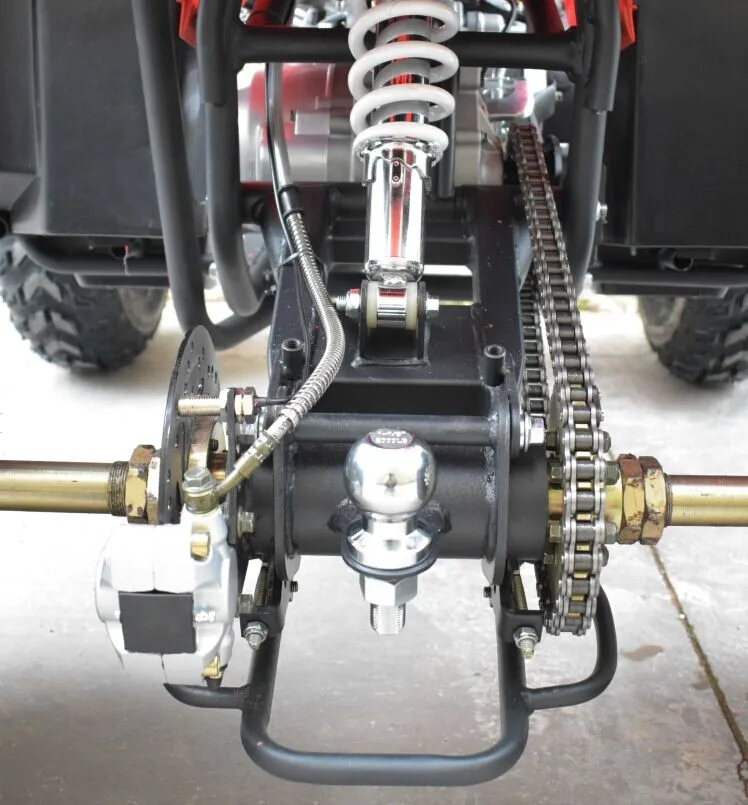
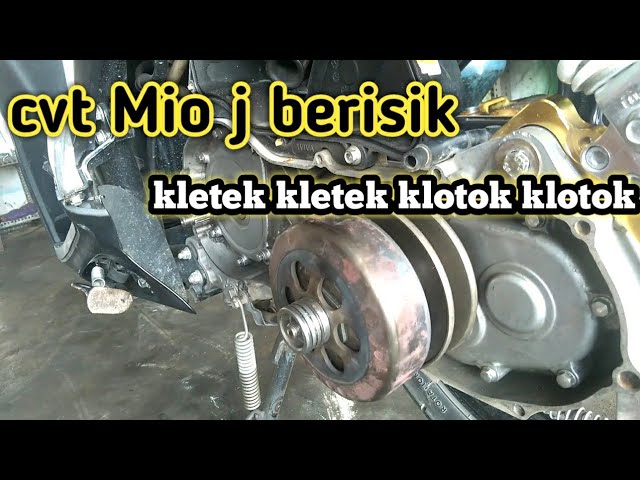
The device of the variator on the example of CFMOTO X4: 1 - drive pulley, 2 - bolt, 3 - driven th pulley, 4 - belt, 5 - washer, 6 - weight block, 7 - weight, 8 - slider.
The CVT adjusts the ATV's speed based on the engine RPM. It consists of two parallel pulleys with movable conical disks or jaws.
The crankshaft rotates the drive pulley, and from it the torque is transmitted to the driven pulley using a toothed belt. The higher the number of revolutions, the stronger the effect of centrifugal force. The discs of the drive pulley come together, pushing the belt to a larger radius. At the driven shaft, the disks converge, compress the spring, and the belt goes to the center between them, thereby smoothly changing the gear ratio. The spring is responsible for ensuring that the belt is always tensioned. As the RPMs increase, the belt tightens proportionately to keep it from slipping.
The variator has a drawback: it is necessary to monitor the cleanliness of the mechanisms and the condition of the belt. If the ATV often has to ride through deep and muddy puddles, do not be lazy to periodically open the variator cover and inspect the mechanism.
Sand and clay trapped inside interfere with the operation of the variator and accelerate the wear of its elements. Most often, the situation can be corrected - just rinse the mechanism with water from a hose after a trip. If the clay is dry, you need to completely disassemble the mechanism, remove the pulleys and clean it.
https://youtu.be/k0_c191KfBY?t=240
The wear of a toothed V-belt is an irreversible process: it is the same consumable item as pads or an oil filter. With careful operation, the ATV belt is able to run from 4 to 8 thousand kilometers.
The belt must be replaced if:
Changing the belt is easy. In some versions of the design, you need to remove the pulleys, others just screw a long bolt into the driven pulley - its sides will disperse and release the belt.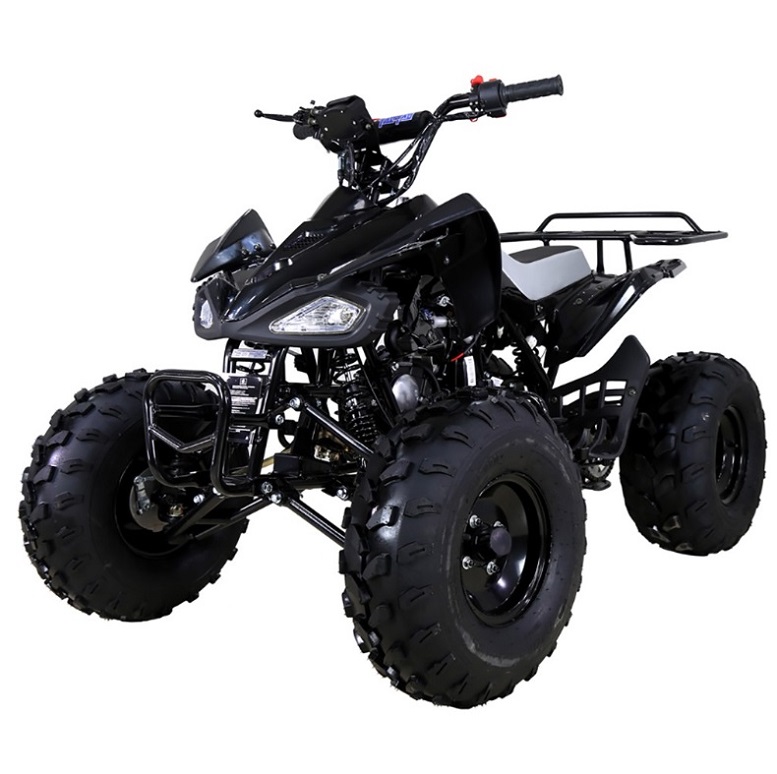
To make the variator last longer, CFMOTO experts recommend using original belts from Mitsuboshi belting ltd. This Japanese manufacturer produces high quality drive belts with an extended service life - such belts will not tear into rags after 1000 km of run.
The variator should be checked before every long trip. This is a simple procedure, and it is easier to carry out in the garage than during a trip.
You can buy original consumables, undergo maintenance or repair an ATV in the showroom of an official CFMOTO dealer in your city.
Addresses of official dealers CFMOTO
Articles
02 Dec
Any wheeled vehicle - from a bicycle to a multi-ton truck - has a transmission in its device: a system that transmits rotation from the engine to the wheels.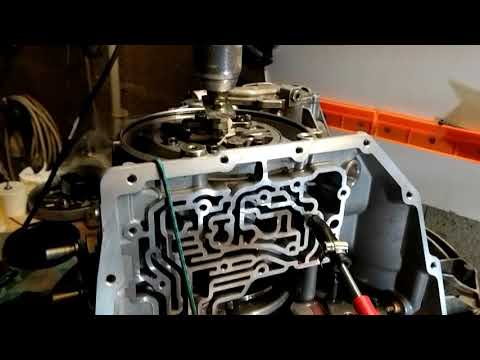 The operation of the transmission - and therefore the speed of driving - can be controlled by shifting gears.
Gear shifting is organized differently in each mode of transport. In the article below, we will tell you exactly how to shift gears on ATVs, and what gearboxes are found on such equipment.
Gearboxes for ATVs can be of two types:

Rare and mostly found in older models, but other variations can be found. For example - "automatic" with the ability to manually shift gears.
Manual ATVs are a little more difficult to drive (at least at first, until you get used to it), but you can more accurately select the appropriate mode. And vice versa: CVT "boxes" are much easier to operate, they are easy to master for a beginner who gets behind the wheel of an ATV for the first time. But on the other hand, with active driving along a route with variable difficulty, riding a CVT will be a little less convenient.
For example: you are driving on a flat packed dirt road on H and you see a large stretch of muddy road ahead with deep mud (or a steep hill, or bumps, or stones). You will have to come to a complete stop and shift to L, drive through mud, and come back to a dry road, come to a complete stop again and shift back to H. , like motorcycles, and a manual clutch lever on the handlebar on the left.
The foot lever device can be of two types:
The shift itself is carried out in the same way as on motorcycles:
 If you have experience driving any vehicle with a manual transmission, you will quickly get used to an ATV with such a gearbox.
 When exactly to switch speeds up and down is determined by the tachometer, speed, road complexity, weight of the load taken and the characteristics of the ATV itself (power, weight).
CVT gearboxes are much more common on ATVs. The clutch in them does not need to be squeezed out, and the “mode” of driving forward is selected from two (most often) options: in high (suitable for driving on an easy route) or in low (for difficult sections, steep climbs and towing) gears.