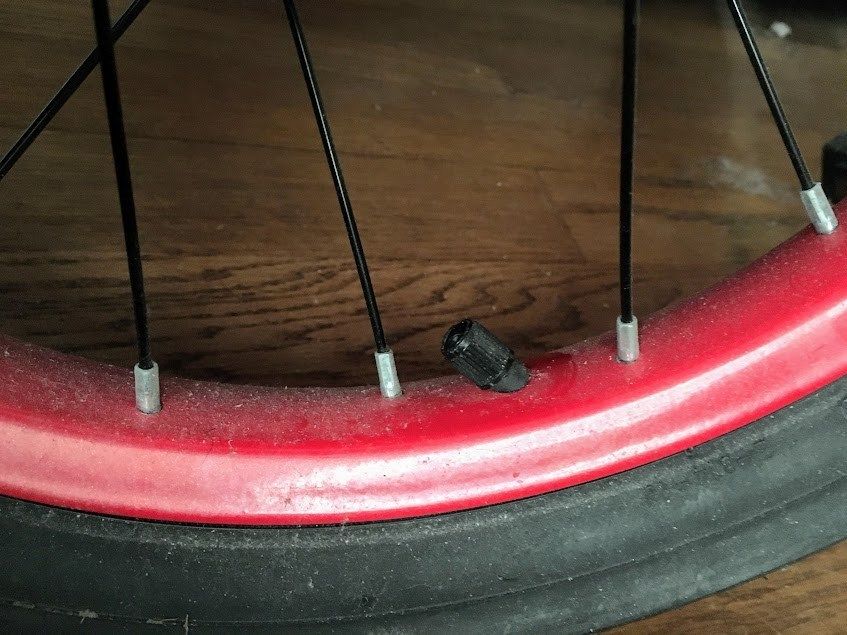
A leaky tubeless value is one of the most annoying things that can happen to a cyclist. It can be a tricky fix to stop air leaking out, and diagnosing the problem can additionally be tedious. Of course, some say it’s easy and can simply be fixed with a quick bit of tape.
However, without knowing what to look for, it’s challenging to identify the root cause of the problem. That means you need to remove the tire and take a proper look at the issue. And, of course, that makes the whole operation a lot more complicated.
This post might contain affiliate links for which we may make a small commission at no extra cost to you should you make a purchase. Learn more.
Even if you’re experienced in fixing a leaking tubeless valve stem, it can still be a tricky fix. Here are the reasons why it happens and some top tips to fix it.
Why does it happen?A leaking tubeless valve stem is mainly caused by two issues – a damaged or incorrectly installed tape, or a value that is not set up properly.
If the tape around the tubeless value stem is in any way compromised, then air will leak into the rim, which in turn will usually be released through the valve stem hole. This air leakage can occur because the valve stem isn’t sealed tightly so it’s the logical option for the air to escape.
If you can hear the air pressurising out of the valve stem, the first step is to make sure the valve stem is set up correctly. If the valve stem is installed correctly and is tight, but the air is still leaking, the cause will be damaged or poorly installed tape.
How tubeless systems workBeing tubeless, there is no inner tube to hold the air inside your bike tire. Instead, the tire is sealed by an airtight fit between the rim and the tire, preventing air from leaking out.
For that to be successful, there needs to be a layer of rim tape that closes the rim spoke holes and helps seal the air in. Hence one of the main causes of air leakage being damaged tape. Because the rim spoke holes are quite large and sharp, the tape is normally pretty rugged and durable.
The tubeless valve is an additional part that is normally sealed with rubber close to the valve hole on the rim. The valve stem is tightened by a locknut, which can be seen on the outer side of the rim.
The tubeless tapeTires need to be ‘tubeless ready’, so normal bike tires can’t be used on a tubeless set up. This is because tubeless tyres have stronger side walls so they don’t leak air without an inner tube.
Tubeless tires hold the air much the same as an inner tube does, with the tire’s bead sticking to the rim and rim tape to seal the air in completely.
If there are any gaps, tubeless tyres typically have a sticky sealant poured inside the tire to plug the holes effectively. That helps if you get a puncture as the sealant works to close the damage.
Some riders use double layers of rim tape to create a stronger seal inside the tire, however, it can add extra weight to the wheels and is also harder to replace.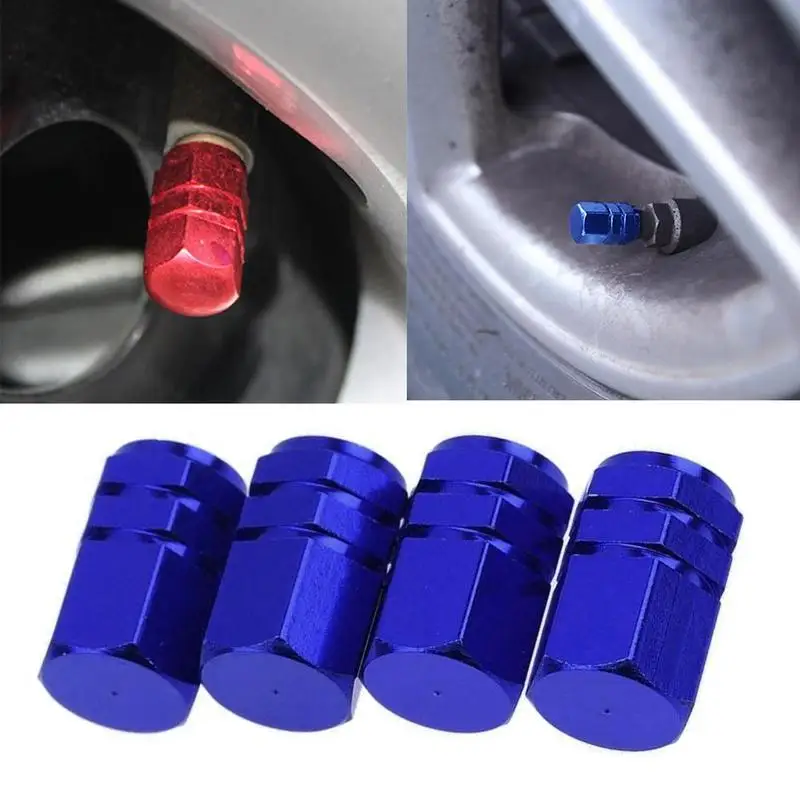 To perform properly, tubeless rim tape must be sticky.
If the rim tape isn’t sticky enough or is made of poor quality, it’ll leave air bubbles and gaps between the tape and rim, causing air leakage. It also needs to mix well with the sealant inside the tire.
Additionally, tubeless rim strips are made specifically for certain rims, with a fitting for a tubeless valve. However, that can be a problem as they need to accommodate the valve and properly fit the rim they are on.
Because of the incompatibility with different rims and tubeless valves, tubeless rim strips aren’t particularly common anymore.
The tubeless valveAs mentioned, the tubeless valve is usually sealed by rubber. This is pretty effective at keeping air in, but can be damaged. For instance, if the whole valve twists, then the rubber block sealing it will get damaged and create a leakage gap. So they need to be treated carefully.
The other sealant options are a metal block with a rubber seal and a cone-shaped rubber seal.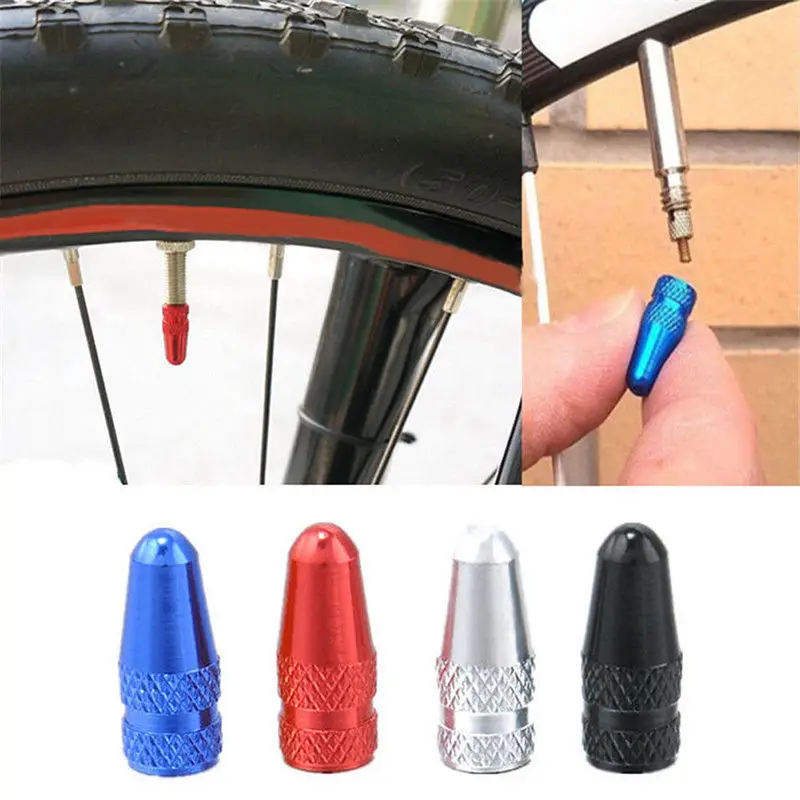 The metal block with rubber has issues with compatibility, so it’s often seen on modern bikes, but the cone-shaped rubber seal is a more popular option today.
If the sealant is a cone-shaped valve, then the first thing to check is if the rim tape valve hole is completely opened. Make sure there is no extra room there by pushing in the valve and increase the tension with the locknut to try and seal all the gaps.
If the tubeless valve stem is still leaking, it’ll likely be a tape issue. It could be there are gaps in the tape installation, or there may be damage to the tape near the valve hole. If that’s the case, you can add tape to a small part of the damaged rim tape to form a patch and close any gaps.
If the problem is the valve stem itself, you can either change the valve stem or attempt to seal the gaps another way. That’d be a DIY option but you could use an old tube or rubber to create o-rings.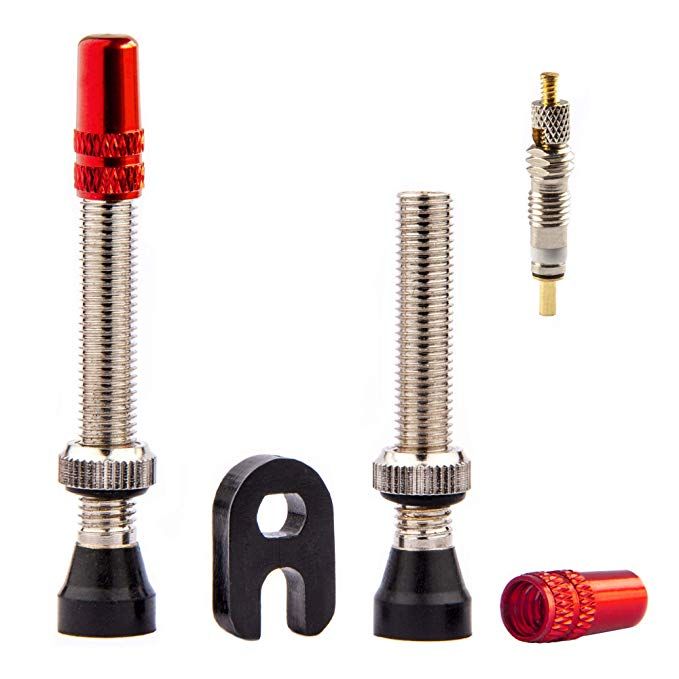
This isn’t advisable, however, as they are usually too thick and difficult to morph into the shape needed to plug the gap. Adding patches to the rim tape is another option, especially if the rim shape isn’t smooth.
The added thickness of the additional rim tape can help squeeze the gaps and seal the valve better. You could also add more sealant into the tire and spin the wheel once the valve is back on to try and create another inner layer of the goo.
Rim tape leakage caused by damaged tape is just as likely as leakage from the valve stem. If it’s because the rim tape isn’t sticky enough, then the only proper option is re-installing rim tape with a stronger and more robust option.
For cuts or splits in the tape, a patch of new tape will do the job. Split tape is unfortunately pretty common as the rim edges can be sharp.
Remember, never tighten a valve stem with pliers. It’ll damage the stem and cause further problems.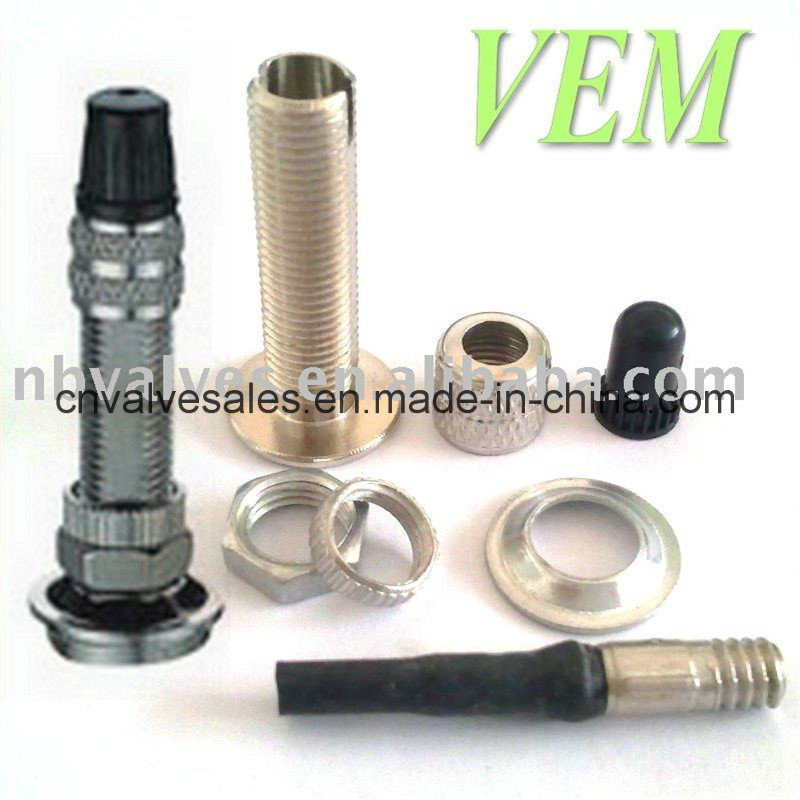 If the valve stem is seated properly and tight, but the air is still leaking, you’ll have a breached tape.
If you’re trying to pump air into the tire, be careful not to force air through in case the tire blows off the rim. Additionally, if sealant is leaking out of the rim, particularly at the valve stem hole, you need to remove the tire and thoroughly re-visit the taping.
Check the tape, fix it if required, and ensure the valve stem isn’t faulty and is seated firmly in the rim hole.
Putting your air leakage problem behind youAir leakage in tubeless wheels, unfortunately, happen. The good news, however, the problem doesn’t need to be an end-of-the-world event.
In order to prevent the problem from happening, ensure the rim tape being used is a well-recommended, good quality option, and take care when installing it, and use proper tubeless tyre sealant to help seal the tyre and the rim. This should be replaced at least once a year.
Chris Smith
Founder of Vivi Nation, the cycling, running and active living brand. Chris is a sports enthusiast, occasional triathlete and experienced cyclist, having led multiple cycle tours across Europe.
If you think that the tire’s valve stem is leaking or not maintaining the proper air pressure, it’s time to remove it from the tire. But how do you remove a valve stem from a tire in the simplest and quickest of ways?
Removing a worn-out valve stem requires a few tools, including vice grips and some other items to break the tire bead. You will also need a new valve stem to install into the tire.
With that being said, let’s head towards the initiation of the whole process as below:
Contents
 4 Step 4: Install the New Valve Core
To remove the tire valve stem, you will need the following tools and supplies:
Vice Grips: You will need them to hold and remove the tire’s stem.
2×4 wood piece: It will help break the tire bead.
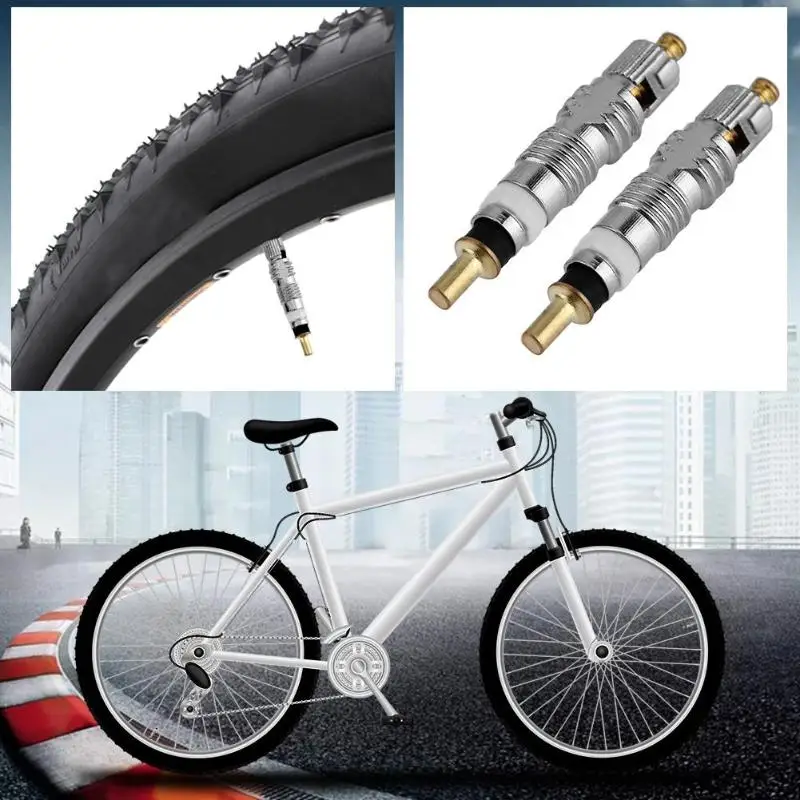
Valve Core Tool: This 4-way tool is a game-changer. It will help you remove the old valve core and replace it with a new one simultaneously.
New Valve Stem: If the valve still leaks after replacing the core, you’ll need a new valve stem to replace it with the older stem.
Cutter: A cutter is also required to cut the upper part of the valve while replacing it.
The valve stem size depends upon the size of the wheel rim, especially when we talk about bikes. That said, the simple rule of thumb is to add 15mm extra with the height of the rim while deciding on the valve stem for the tire.
For instance, if the maximum rim height is 25mm, you’ll need a 40mm valve stem for that purpose. Similarly, one can take an idea about the right valve stem size for the tires in the table mentioned below:
| Valve stem length | Maximum rim height |
| 40mm | 25mm |
| 50mm | 35mm |
| 60mm | 45mm |
| 80mm | 65mm |
Source: Cycling Tips
Right after you know the size of the valve stem, you can get it from a local bike repairing shop or any marketplace according to your requirements.
Now, we’ll first replace the valve core in a tire with the help of tools and supplies, and if it does not work out, we’ll remove the whole valve stem.
Follow us for the step by step operation:
Check whether the valve core is leaking or not by removing the cap from the valve stem. Drop soapy water on it, and if it makes bubbles, that means the valve core is leaking.
After removing the valve cap, insert the valve core removal tool inside the stem and twist it until the tire is completely deflated.
Warning: The tire could burst with air suddenly getting out of the stem, and it might blow contaminants in your eyes. Hence, we recommend wearing protective goggles and a mask before inserting the tool inside the stem.
The very next step involves removing the valve core from the stem. For that purpose, insert the tool inside and rotate it to the left to release the valve core.
Install the new valve core using the same removal tool, and that would be it.
Keep the tool aside and follow the next step:
Inflate the tire again and after you are done with inflation, spray soapy water on the valve stem again.
If there are no bubbles, there’s no need to remove the valve stem. However, if the bubble remains, you’ll be required to remove and replace the old and worn-out valve stem.
To remove the valve stem and replace it with a newer model, you’ll be required to follow the steps mentioned below:
Press the core valve inside the stem until the air gets out of the tire.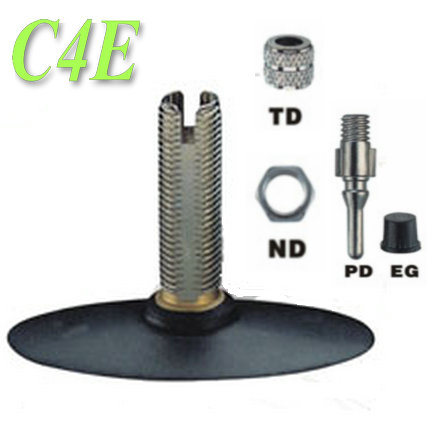
The tire may burst out and cause damage if you do not deflate it properly, so pay good attention to it.
Breaking the bead from the tire is somewhat tricky, but in the case of a bike’s tire, you can easily break it using vice grips.
If the bead is way too rigid, use the 2×4 wood as a tire lever and put force on it. It will break the bead of the tire and remove it conveniently.
After removing the tire from the bead, find the old valve stem and remove it using pliers or vice grips.
Cut the upper part of the stem with a cutter if it’s stuck. Perform this action with care, or else you may damage the tire.
Gluing or lubricating the new valve stem would help it to slide into the rim. We endorse using a dishwashing detergent to lube the stem properly, but you can lube it with soapy water as well.
After lubricating correctly, insert the new valve stem through the hole of the rim and pull it through using the vice grips.
You can also use pliers or any other valve tool, but we recommend the vice grips as they can hold the stem valve easily.
Last but not least, start inflating the tire via the newly installed valve stem.
While you inflate it, the tire will automatically adjust itself around the bead.
To check for leaks again, spray some soapy water on the stem, and this time, we are sure that there will be no leaks on the stem.
Install the cap on the valve stem to keep the core away from attracting dust and other foreign debris.
Fixing valve stem leak is possible in two ways, i.e., to remove and replace the valve core via valve core removal tool and to replace the entire stem. We’d suggest that you replace the valve core first. If it still leaks, you’ll have to replace the old valve stem with a new one by removing the tire from the bead and inserting the new stem into the rim.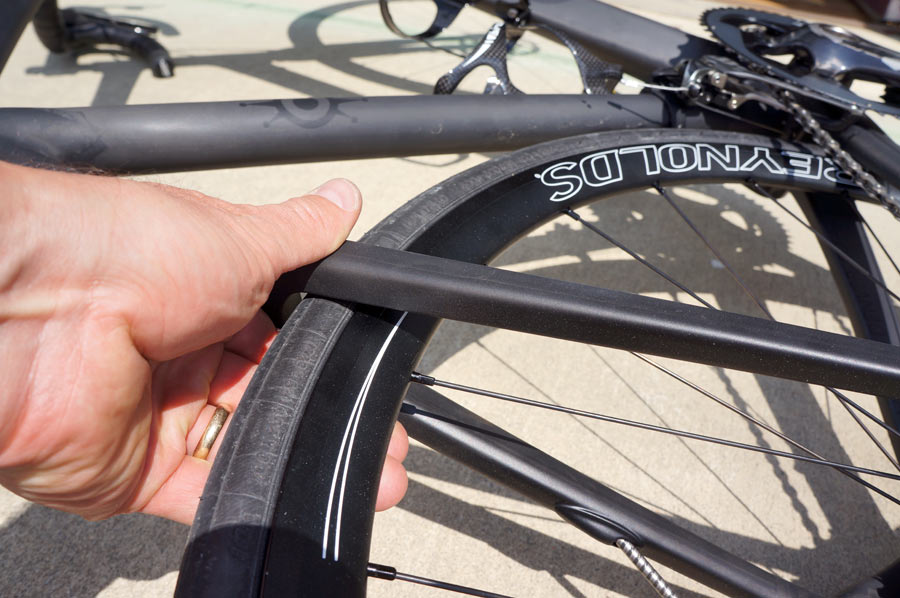
Although we recommend that you get the valve core removal tool, if that’s not possible, you can pull out the core by simply using the needle-nose pliers. Remove the cap from the valve, insert and hold the valve core using the needle nose pliers and pull it out manually.
After removing the old stem from the tire, start with gluing and lubricating the new stem so that it can easily slide and pull through the rim’s hole. Insert the new core stem inside and pull it through the hole of the rim using vice grips.
Removing the valve stem and valve core from the tire requires no special skills as you can easily perform this experiment at your home.
Follow the step-by-step process mentioned above and start with checking the leaks first. The whole process won’t take more than 2 to 5 minutes if you can diagnose the leaking problem in the tire.
There’s no need to replace the valve stem if installing the core valve has resolved the leakage problem.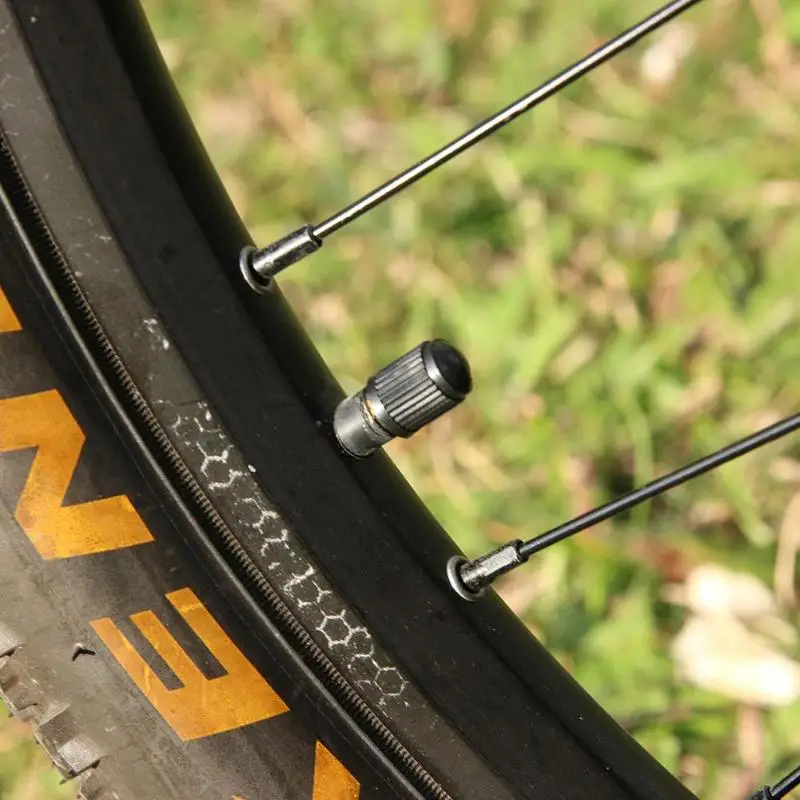 But, if it persists even after replacing the core valve, you’ll need to install the new valve stem into the tire.
However, if you still think that you won’t be able to pull it off, take your bike to a local tire shop, and the mechanic there will do that for you.
Good Luck!!
There are a few steps to take when your bike tire is flat. First, make sure you have a spare tube. Second, try to inflate the tire with a pump. Third, use a wrench to remove wheel off the frame. Fourth, place the wheel on the ground and use a spoke wrench to remove the rim from the wheel. Fifth, inflate the new tire and reattach the rim to the wheel. Finally, install the wheel on the frame and tighten it with a wrench .
- Tire Lever
- Flat Remover
- Patch Kit
- Ruler or Ruler
- Cordless Drill with bit size to fit tire valve stem (usually 1/4")
-1/2" ring saw or jigsaw
-Hammer and nails
-Sturdy work platform, such as a concrete patio or driveway
There is no single answer to this question.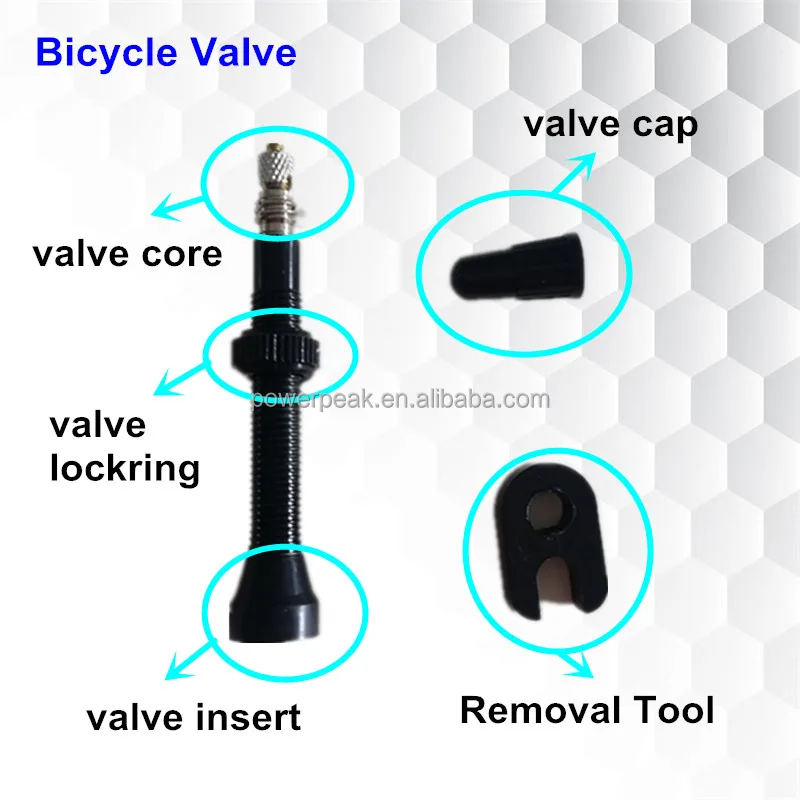 Different cyclists have different preferences and needs, so it is important to find a pump that suits your specific needs. Some cyclists prefer pumps with built-in pressure gauges that allow them to monitor tire pressure; others may prefer pumps with very large reservoirs to store more air. Ultimately, the best place to buy a bicycle pump depends on your individual needs and preferences.
Here are some general tips for repairing a bicycle tire:

Fixing a flat tire on a bike can be frustrating, but with the right tools and instructions, it's not that hard. Here are four steps to fixing a flat tire on your bike:
if something like this happens!
If none of these solutions work, contact a professional bicycle mechanic. Thanks!.
 If the wheel is non-removable, unscrew all the swivel bolts that secure it to the frame and pull it out of its socket (or unscrew it with a hex wrench). Be careful not to lose the screws!
  You will know that you have released enough air when both ends of the hose rebound slightly in their holders, without releasing additional air from the pump. Use a hand pump. Place one end of this earpiece over a standard household hand pump and blow into it through the other end, against your ear. (See photo.) You'll know you've released enough air when both ends of the earpiece spring back slightly into their earcups, without any extra air being released from the mountain bike pump. Tire levers can also be used; see instructions below for this type of lever.
 There are several ways to remove a bicycle tire. The most common method is to use a wrench or hex wrench to loosen the bolts holding the tire to the rim. Once the bolts are loose, you can remove the tire from the rim. Another method is to use a tire inflator until they are firm, then use your hands to remove them from the rim.
If you have a bike with a puncture, the first thing to do is find the hole in the tire. This can be done by looking for something sticking out of the tire, or by feeling around the inside of the tire. If you can't find anything obvious, try looking inside the tire with a flashlight. Once you find the hole, use a needle or piece of wire to pry out any pieces of fabric or rubber stuck in it. Finally, use patching material to patch the hole and replace the tire if necessary.
There are several ways to patch a flat bicycle tire. The most common is to use duct tape. Cut a piece of duct tape the same size as the hole in the tire and stick it over the hole. Make sure the sticky side of the tape is facing down. Then press down on the tape to hold it in place. Finally, use a needle or pin to pierce it several times so that the air can escape and fix the tire. Another option is to use adhesive tape. Cut off a small piece of adhesive tape and peel off one end so that it is slightly wider than the hole in the tire. Place it over the hole and gently press until it sticks. Then use your fingers or a cloth towel to remove the excess adhesive tape.
If the tire is completely flat, you need to remove the wheel from the bike. Then use pliers to remove the bolt that secures the tire to the rim. Finally, lift the tire and remove it from the rim. using a pump, and then re-attach to the wheel.
If the bicycle tire is flat, it must be inflated. There are several ways to do this:
- Inflate the tire with a bicycle pump.
- Use an air compressor.
- Use a can of compressed air.
- Use a foot pump.
- Use a hand pump.
If you have a puncture inside the tire, it can usually be fixed by removing the inner tube and covering the hole with a rubber band or piece of cloth. If you have a puncture on the outside of the tire, you will need to remove the entire tire and replace it. Follow these steps, to fix a bicycle tire:
If you have a flat tire, there are a few things you can do to fix it as quickly and efficiently as possible. Here are four tips:
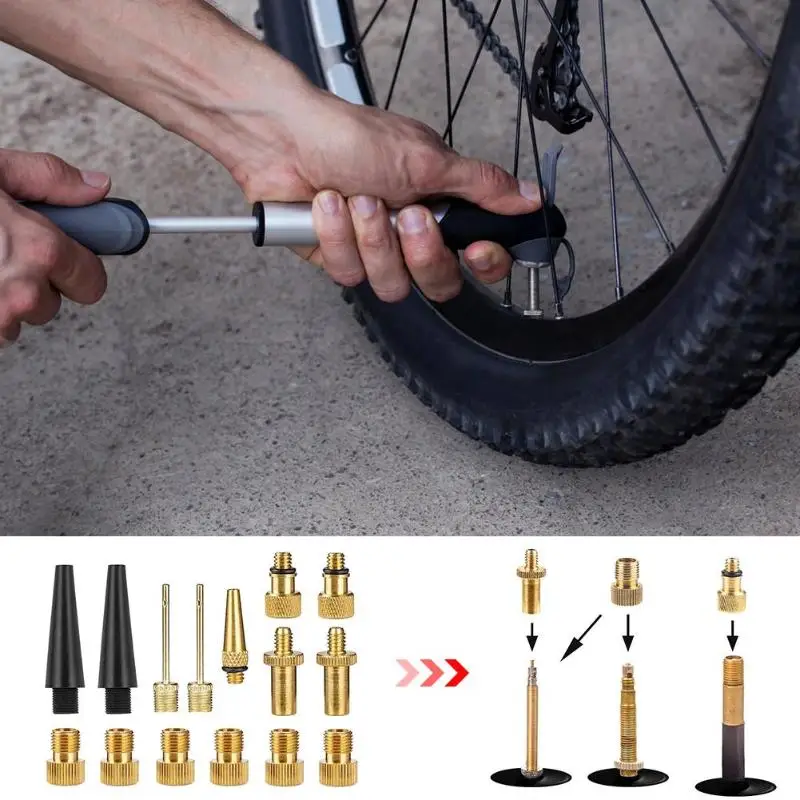
CONTENT OF THE ARTICLE:
Nothing can 100% protect bicycle tires from damage. But you can use a number of tips on the site so that the tires let you down as little as possible - you will worry less about the integrity of the tires and put patches on them less often.
Related: How to properly inflate bicycle tires?
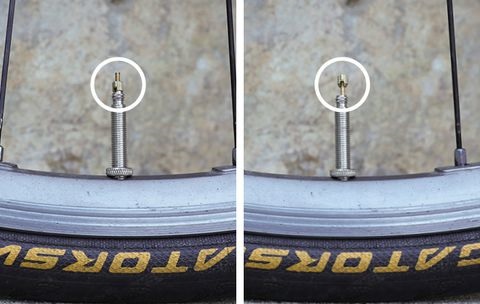
The easiest way to check tire pressure is with a pump. If you have an older sediment model, we recommend purchasing a separate sensor. Be sure to check if your valve model is Presta or Schrader (the bulkier Presta valve will need to loosen the top nut before checking pressure).
One of the most important rules is to regularly inspect tires for damage from branches, broken glass, and stone chips, especially if your route has previously passed through rough terrain. Such small elements will not immediately damage the tire, but over time they will penetrate deeper and deeper into it until they break through the tube. Remove bits of debris with your fingers or tweezers before they cause much damage.
Also check the side of the tire for cracks or wear. A tire with any of these problems increases the risk of blowing out at the most inopportune moment. If you are unsure of the bike's condition, contact your nearest bike repair shop to have the tires checked.
They are very handy because you can repair a punctured chamber with it or use it as a preventive measure to avoid future cracks.
The concept is simple: squeeze some sealant into the valve stem to coat the inside of the chamber.
In the event of a small puncture or cut, the sealant quickly fills the damage and creates a plug that often lasts longer than the tubes or tires around it.
Cons of Sealants : Some of them are quite difficult to use, and of course sealants alone do not protect against large cuts or tears.
The tire spacer is a thin strip of extruded plastic that is placed between the tire and the pipe. This extra layer greatly reduces the chance of puncturing the chambers with twigs, broken glass or other sharp objects. Liners are popular and work well, but they add weight to the tires, which will increase the resistance of the tire when it is inflated (it will increase). However, if you drive off-road or on poorly maintained streets, liners will give your tires a longer life.
When installing the liners, slide the tire on the rim as you normally would to fit the tube inside the tire. Install the camera. Inflate the tube until it starts to touch the inside of the tire (it won't take long). Then slide the spacer between the tube (slightly inflated) and the tire. The pressure of the inflated chamber will allow the liner to be held in place on the inside of the tire, preventing the liner from moving if the tire collapses (when climbing over obstacles - when installed this way, I've never experienced shim displacement).
If after installing the liner you cannot place the tire back on the rim, then the tube is probably too inflated - deflate a little, put the tire on the rim and inflate the wheel to the recommended or required pressure.
Another option is to replace tires with ones specifically designed to resist damage. These tires slow down slightly compared to standard bike tires, but people who have used them have said tire cracks are much less common.
How do they work? Many companies use a durable aramid fiber belt (such as the well-known Kevlar® brand) in their tire manufacturing to resist punctures; others simply increase the thickness of the tread. These tires are sold by various brand names: SERFAS system - crack protection, Continental safety systems, Michelin ProTek reinforcement system and so on. The disadvantage of these tires is that they are quite heavy, which reduces the acceleration time. Finally, consider using tear resistant cameras.