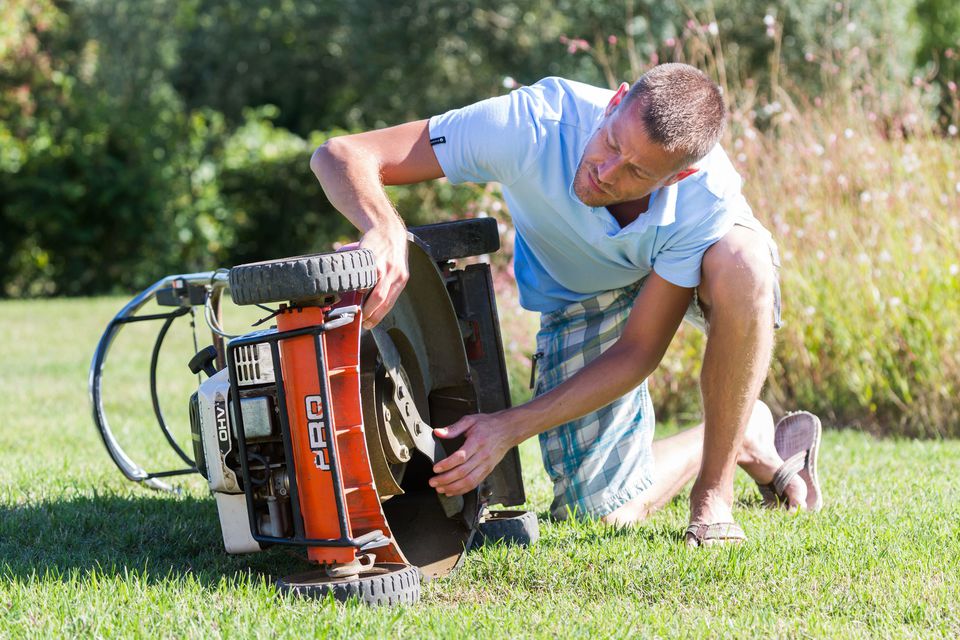
It’s a fine sunny day of the spring season, and you are busy with some work in your garden. You use your trusted lawnmower that has not failed you. But suddenly, you feel that the lawnmower is not running as smoothly as it should. It feels like it’s being dragged on the ground forcefully. So, you turn off the lawnmower engine and get off your riding lawnmower. But what you see now is not pleasant at all. Your lawnmower has a flat tire, and you know you need to fix it with a new tire or tube.
As the lawnmower tire gets old, it is more likely that a nail can easily pinch into the tire and make it flat. A hard bump to the lawnmower can also cause this issue. This article shall be a step-by-step guide on removing a lawnmower tire, fitting a new tube or tire, and putting the tire back on the rim.
How to put a lawnmower tire back on the rim, step by step:
Contents
 4 ● Step 4. Install the tire on the rim:
The detailed procedure of removing and replacing your lawnmower tire has been broken down into several small steps.
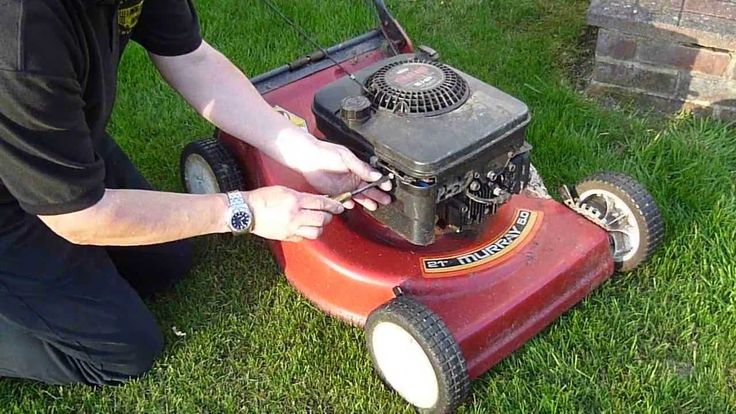
The first step to fix the flat tire or replace it with a new one is to remove the old tire and the rim from the lawnmower. You shall follow the following steps to complete this procedure:
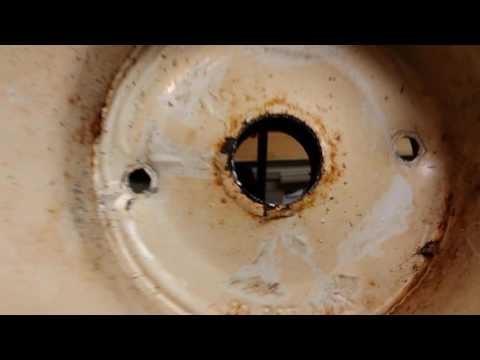
There is a plastic boot (or a cap) at the center of the tire’s rim. Grab it using a pair of pliers and remove it from the rim. Try not to break it as it holds some grease and is a little brittle because of that.
Behind the plastic boot lies a c-clip. Grab the tab of the c-clip using a pair of pliers and pull it out of the rim.
Once you have removed the c-clip, you shall see a washer. Draw this washer out of the rim.
After you’re done with the steps mentioned above, you can now pull out the rim along with the tire from the lawnmower.
As you have removed the rim and the tire from the lawnmower, it’s time to remove the tire from the rim.
To remove the old tube’s nozzle (if your tire has a tube), you first need to peel the tire off from at least one side of the rim.
To do that, hammer a flat head screwdriver at the junction of the tire and the tube. Once the screwdriver gets inside this junction, please give it a push and try peeling the tire off the tube. Repeat the same step on the opposite side of the tire as well.
Every tire and tube has a nozzle that is fitted into the tire’s rim. It would be best if you pulled out this nozzle from the rim to proceed further.
This is where things get exciting and is the most technical step of the entire process. You may need a couple of screwdrivers for this step. Although there are special tools to take the tire off the rim, we shall use screwdrivers to save some bucks.
Insert screwdrivers at different positions: Insert a screwdriver inside the junction of the tire and the rim, and pull the screwdriver upwards so that the tire starts coming up off the rim.
Do the same step using another screwdriver, which shall be inserted at some distance from the first one. Keep working around the tire doing the same step.
Remove the tire off the rim: The tire is now completely free from the rim’s grip. Remove this tire off the rim.
Grab a torchlight and check if there are any nails or a sharp object pinched into the tire’s inside or on the outside surface.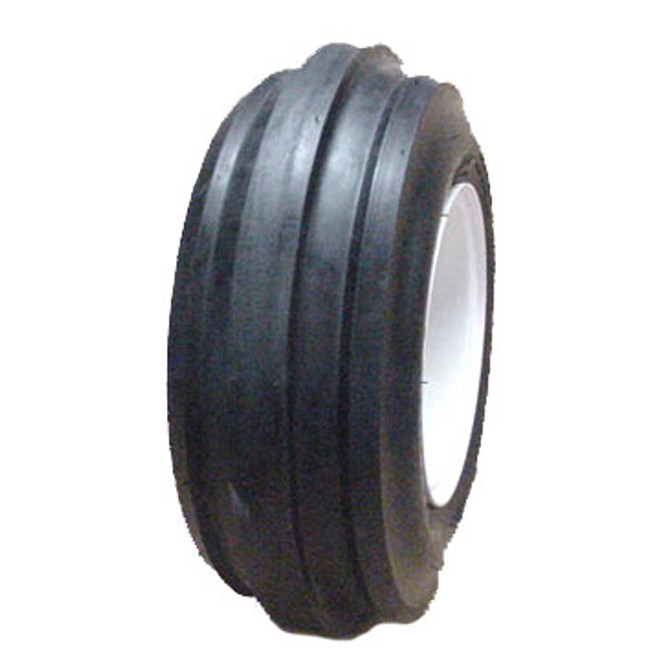 If you find any, remove it from the tire’s surface using pliers.
Phew, that must have been a tiring job. You are now halfway there, and all you need to do now is install the new tire back on the rim.
Some tires might be tubeless, while some may have a tube. You need to install a new tube if the previous one had completely weathered or has had various punctures.
Please insert the new tube inside the tire and stuff it in. The tube’s fill valve must be in line with the fill valve hole inside the rim, where it is to be fitted in. Insert the fill valve into the fill valve hole located on the rim.
If you are installing a new tire or putting the old tire back on the rim, this step is applicable for both of these cases. Screwdrivers and some hand force are all you need for this step.
/cdn.vox-cdn.com/uploads/chorus_asset/file/19493887/howto_storemower_02.02v1_copy.jpg) This step is done to make the edges softer so that they may easily fit onto the rim. Oil can also be used to serve this purpose in case transmission fluid is not available.
This step is done to make the edges softer so that they may easily fit onto the rim. Oil can also be used to serve this purpose in case transmission fluid is not available.Once the tire has been put back on the rim, it shall now be installed back on the lawnmower.
Place the tire back on the lawnmower’s axil, just like the way you pulled it out earlier.
 2. Re-install the washers:
Insert the washers back into the tire’s rim.
Re-install the c clip back into the rim with the aid of pliers.
Re-install the plastic boot back on the tire’s rim.
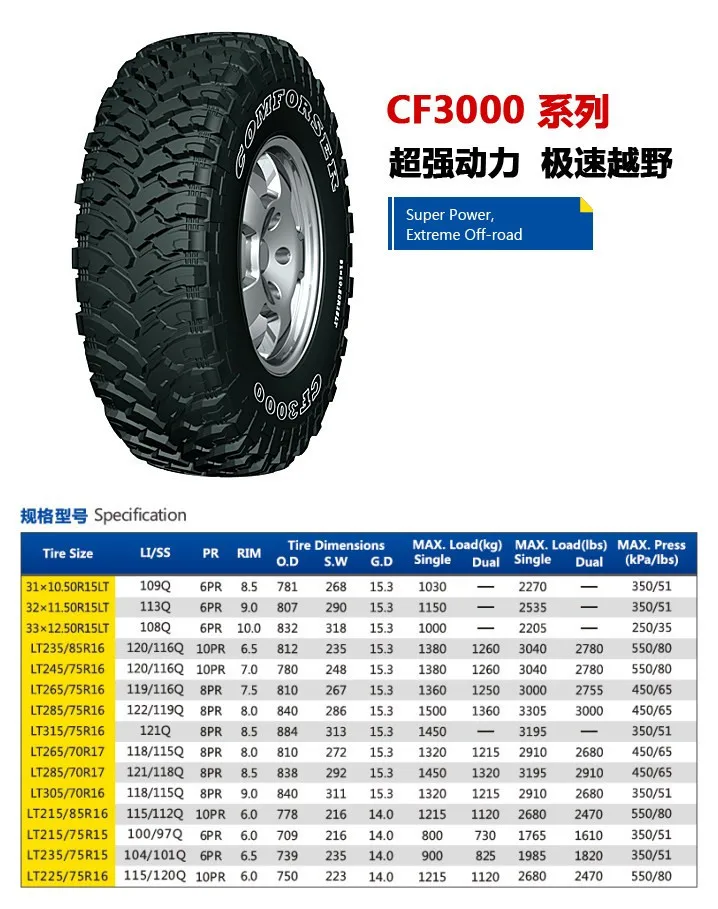
Related Questions:1. What size of lawnmower tires should I get?Like other tires, a lawnmower tire has a series of numbers imprinted on one of its sides. These numbers indicate certain specific details about the tire. Only two parameters are enough to indicate the tire’s full size, i.e., the tire width and the rim diameter. There are two different systems for tire’s sizing:
Two-number sizing:
Most of the lawnmower tires use a two-number sizing system to indicate the tire size. For example, in two number sizing, numbers are displayed as 5-9. This number indicates that the tire width is 5 inches and the rim diameter is 9 inches. These two numbers are all that you need to get a fresh piece of a lawnmower tire.
Three-number sizing:
This sizing system indicates the tire’s size with the help of three digits. For example, if the number 15×6.00-6 is imprinted on your tire, the number before ‘x’ indicates the tire’s diameter when it is fully inflated. The tire width is indicated by the number between the ‘x’ and ‘- ‘. The last number indicates the rim’s width.
2. How much air pressure should I maintain in lawnmower tires?Like other lawnmower parts such as the engine, fuel, and filters, they must be maintained for the lawnmower’s ideal performance. Similarly, maintaining an adequate and specific amount of air pressure in the tires is equally essential.
A flat lawnmower tire can ruin a garden lover’s mood. But removing and replacing a tire is not very complicated and can be done easily by most. Do not forget to take some precautionary measures before you start. Wear safety glasses and protective gloves to protect yourself from unnecessary injuries. And when you finish fixing your tire, also think about other maintenance tasks like the carburetor, air and fuel filters, and do not let gas get too old. This will prolong your lawnmower’s life, and you can continue to maintain your lovely garden!
If you’ve had a lawn mower for more than a couple of seasons, chances are you’ve had a flat tire.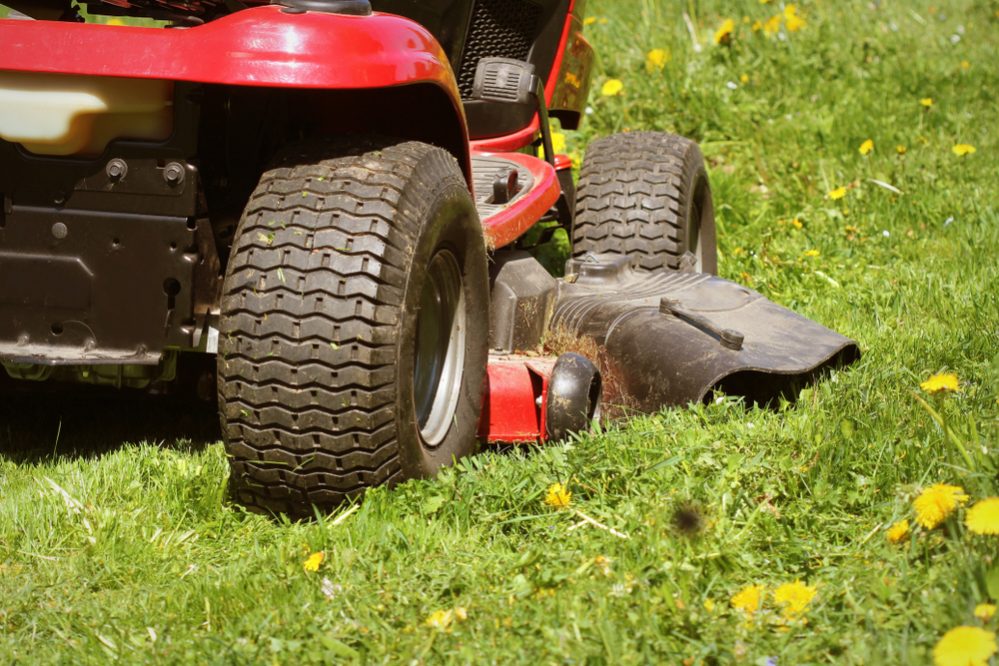 In this article, we’re going to tell you how to get a flat tire back on the rim and how to change a tire if you need to.
With our step-by-step guide—lawn mower tire flat & off the rim? Here’s how to fix it, you’ll be back to cutting your lawn in no time.
A tire that’s slipped off the rim is never a wanted sight!Using simple tools and a few helpful tricks, you can get your tire back on the rim or replaced. With a little effort and minimal cost, your mower will be ready to go again.
Want to know how to get your lawn mower tire back in working order? Let’s get stuck in.
For this repair, you’ll need a few tools. And if you need to replace the tire, a few more. For both repairs, don’t forget your safety gear. Here, we’ve listed what each job requires:
Not all flat tires are created equal.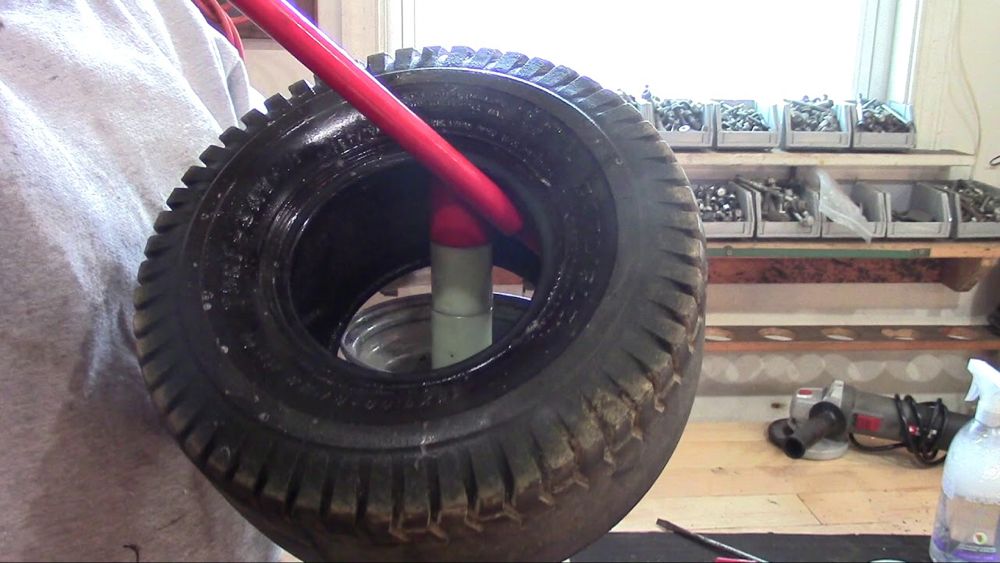 Sometimes a flat caused by a very slow leak or just time can simply be reflated. And it will last a good while until next time. But sometimes a flat causes the tire to come off the rim of the wheel, and this requires a more complicated fix. And in the worst case, with a damaged or worn-out tire, you’ll need to replace it.
No matter if your tire is just off the rim, or needs replacing, we’ve got you covered. Here is our step-by-step guide to fixing a flat on your lawn mower. Steps 1, 2 and 3 are required for both fixes. After that we’ve split the instructions depending on whether you’re putting it back on the rim (steps 4a to 7a) or changing the tire (steps 4b to 10b).
I know it’s obvious, but we’re nothing if not complete. Make sure your mower is on a flat surface. Then turn off the mower and remove the ignition key. It’s a good idea to chock the wheels as well.
What might not be so obvious, is that we highly recommend you remove the spark plug cable as well. Removing the cable means there is no chance of the blades moving while you’re fixing your flat. It’s never wasted time to do things safely.
In order to get to your tire, you’re going to need to jack up the mower. Any jack will do as long as it’s rated for more than the weight of the mower. We would recommend fixing your flat on a hard surface, driveway, garage or shed. But, if your mower is still on grass, and you’re using a bottle jack, you’re going to need to put wood under the jack to stop it from sinking into the grass.
Jak up the mower so your tire spins freely. You want enough height to make it easy to get your hand underneath the tire. Once you’ve reached the required height, support the mower with a jack stand.
You need to check the tire for obvious damage, holes or sharp objects. If it helps, put a little chalk mark on the tire. Carefully roll the wheel round, inspecting both side walls and the surface for damage.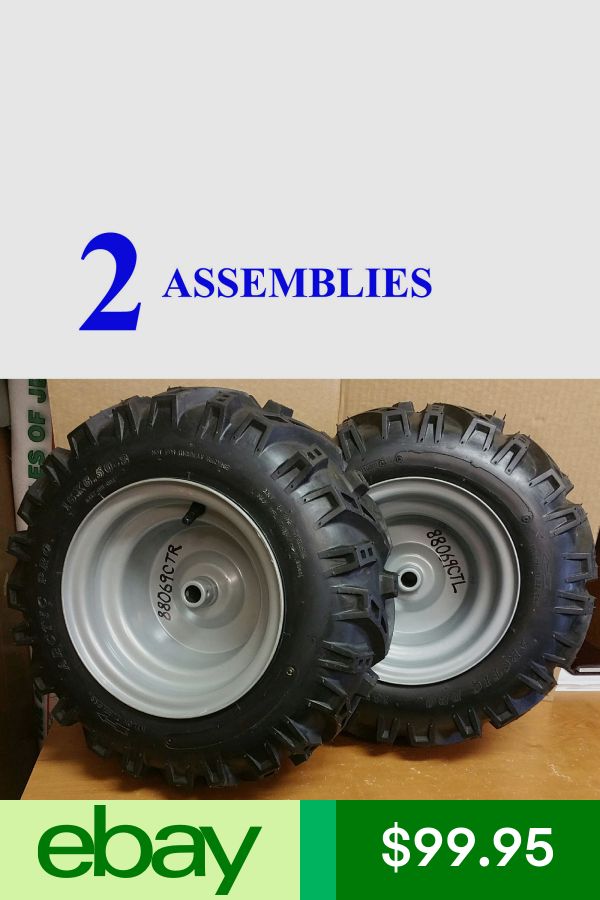 When your chalk mark comes back around, you know you’ve covered the whole tire.
If you can’t find any obvious holes or damage, and the tire is not completely worn out, you can try putting it back on the rim, inflating it and seeing if it holds. If the tire is punctured, ripped, or completely worn out, you’re going to need a replacement.
These days most mower tires are tubeless. That means there is no inner tube inside the tire that holds the air. Instead, the air is held inside the tire by a seal formed between the tire bead and the rim.
In order to refill a tire where the bead has come off the rim, you first have to create a seal between the bead and the rim.
The easiest way to do this is to apply pressure to the surface of the tire. This pushes the bead outwards and helps create the seal you need. On used tires, it’s usually not possible to do this by hand. So instead, we can wrap a ratchet strap or a rope around the tire and use that to help.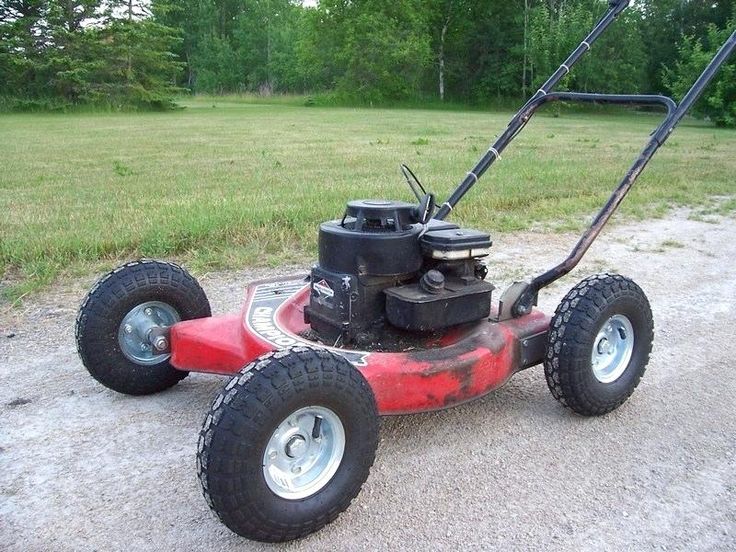
Get your ratchet strap around the tire and ratchet it a few times to apply pressure. This pushes the middle of the tire down and the sides outwards.
Once you’ve applied a bit of pressure, try pushing the sidewalls near the rim. If the bead seems solid against the rim, you can start adding some air and seeing if you have a seal.
If air still escapes from the sides and the tire won’t inflate, ratchet a couple of times on your strap and see if that helps. Once you have a seal, inflate the tire enough to keep the pressure on the bead so that you can remove the strap.
After removing the strap, you can continue to inflate the tire. The optimum tire pressure will be on the tire wall. And that is the number to aim for. Usually it’s between 15-40psi and often around 20psi.
Make your to check the tire and inflate to the right pressure.Make sure you check your tire and inflate to that pressure. Under or over inflating can increase tire wear, decrease grip, and increase the chance of a puncture or blowout.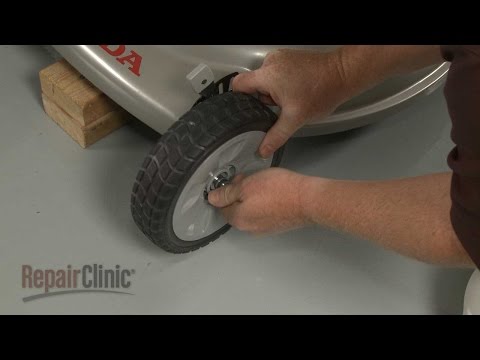
That’s it, your tire is back on the rim and fully inflated. Re-insert your jack and raise the mower enough to remove the jack stand.
Lower the mower back onto all its wheels. We recommend letting it stand for a few minutes before moving it. This way you can wait and see if your tire will keep pressure.
Once your happy everything is working, don’t forget to reconnect the spark plug wire and remove any chocks on the other wheels.
So, you’ve inspected the tire and decided to replace it. Now you need to remove the wheel. Take off the axle cover if there is one. Underneath will be a retaining ring. Use a slot screwdriver or pliers to pull it off.
Now you can remove the washer and pull off the tire. Beyond the tire is an inner washer. It’s best to pull that off as well. Make sure you put your two washers and the retaining ring somewhere safe. It’s really annoying to find you lost one when it’s time to put the tire back on.
Take the tire and lie it flat with the valve facing upwards. Remove the stem cap and use the stem core removal tool to unscrew and pull out the core.
Push down on the tire to dislodge the bead. Using a couple of slot screwdrivers, pry the tire up and off the rim on one side. Take your time. Pry a little of the bead up, slide another screwdriver next to the first and pry a bit more. Continue around the rim until the whole side is free. Flip the tire over and do the same again so that you can pry the tire completely off the rim.
While you’ve got the rim separate, give it a clean. Removing any dirt and grime will give a better seal between the new tire bead and rim.
Now it’s the reverse procedure from removing the tire. Using your slot screwdrivers (and make sure there are no sharp edges that could damage the tire) pry one side of the tire onto the rim. Flip it over and pry the other side on.
Flip your tire vertical again and find your compressed air.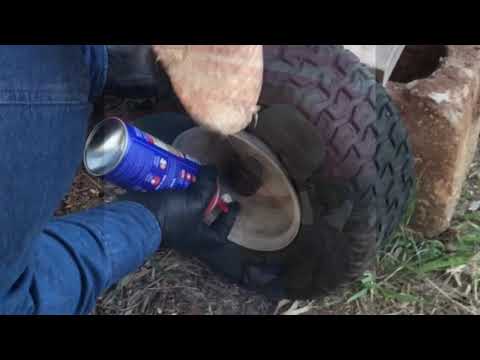 With a new tire, and not attached to the mower, it shouldn’t be necessary to use a ratchet strap or rope to get the bead to seal.
Push down a little on the tire and start to inflate. The bead should seal. Once you’re happy you have a seal, re-insert the valve stem core.
With the valve stem in, you can continue inflating the tire to the optimum tire pressure. Remember to check the optimum pressure on the tire wall and only fill to this value. As we said above (step 6a), over or under inflating a tire is not a good idea.
Using the reverse procedure from taking off the wheel, you can now re-install it. Find your washers and the retaining ring.
Put the back washer on first and then slide on the wheel. Add the front washer. Using pliers, put the retaining ring back on the axle and then replace the axle cover.
That’s it, you have a new tire. Re-insert your jack and raise the mower enough to remove the jack stand.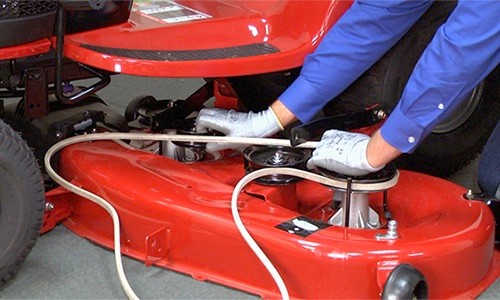 Lower the mower back onto all its wheels.
Once your happy everything is working, don’t forget to reconnect the spark plug wire and remove any chocks on the other wheels.
Well done! You have fixed your mower tire and are ready to get back to your lawn.
I hope this guide has been useful to you. Whether you’ve put your tire back on the rim or replaced it completely, following our step-by-step guide should get your mower back on the grass in no time. Happy mowing!
Other
Author stroika.ru.admin Reading 4 min Views 6 Published
If you have been using your lawn mower for more than two years of lawn mowing, chances are its tire is now flat.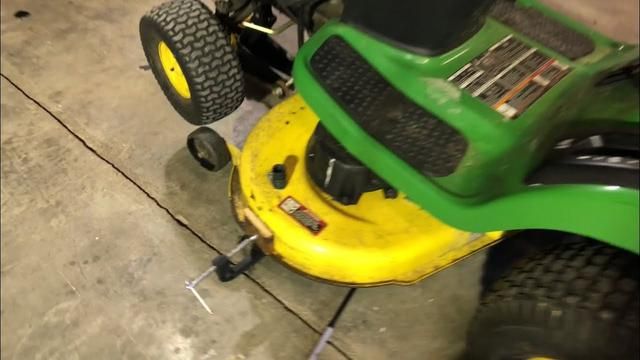 I have been using the lawn mower for five years now, so I have experience in troubleshooting all related problems
This is not hard to do because you can do it using simple tools and techniques. Usually a lawnmower tire works well, but when it gets too old or a nail is stuck in it, all the air comes out of the tire and it becomes flat.
In this article, I have detailed how to remove a flat tire from a lawnmower, how to install a new tube, and then how to install it back on the rim of the machine. You can also do this by easily following step by step and saving money.
Contents
During the spring season, the lawn has a lot of hard work cutting grass with a lawn mower.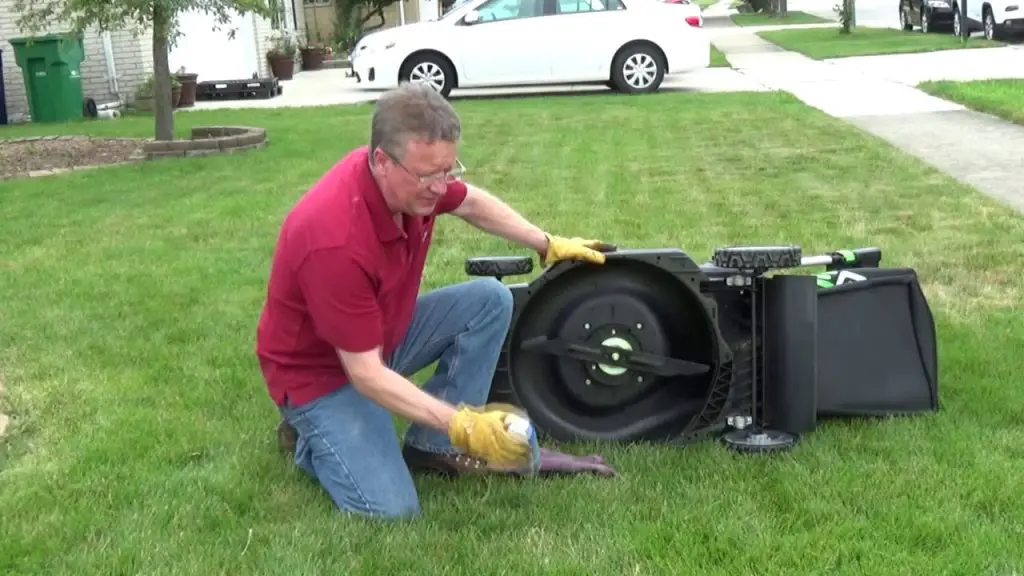
But if you notice that the machine is getting heavier and not running smoothly, but dragging on the grass, its tire is probably flat due to wear or maybe a pinched nail in its tube.
First of all turn off the engine because you know you need to fix a new inner tube or maybe a new tire. Here is a step by step guide through this entire procedure.
When you notice that the machine is dragging and moving unevenly, turn off the engine because it will take some time to inspect the mower.
And if you make sure that the tire is flat, you will probably need some time to repair or replace the tire. Therefore, it is better to turn off the engine to cool the car and also save fuel.
Obviously, you know that the first thing to do is to disconnect the damaged tire from the rim of the machine.
The next step is to separate the tire from the rim, you can do it easily this way.
With the tire completely out, inspect it carefully. If you find nails inside, remove them with pliers.
If you find that it has a lot of cracks and the tire is too old, replace it with a new tire.
Now finally the last step to put the tire back on the rim. You can do it easily this way.
Once the tire is on the rim, it is now easy to attach the tire to the lawnmower.
Most car wheels are made of steel or aluminum. Aluminum is lighter, more attractive, doesn't rust, provides better handling and performance than steel, but it's also more expensive. Steel wheels have the advantage that, if they are bent, they can usually be straightened out. And if you can't repair them, it's cheaper to replace them. Surface damage to aluminum wheels can be repaired easily. You can repair damage to both types of wheels yourself in a few steps.
Contents
Raise the car and remove the wheel if you have a curved steel rim. Many auto repair shops (at least the reputable ones) will not repair steel rims, noting that new spare wheels are cheaper.
Press the valve stem to remove air from the tire. Remove the valve stem using a valve stem puller or pliers. Do not reuse valve stem. Buy a replacement instead.
Put the tire/wheel on the ground. Press on each side of the outer edges of the tire. Jump up and down or even jump to break the tire/wheel bead.
Remove the tire from the rim by inserting the handle end of a pair of pliers. Do not use a screwdriver or similar sharp tool that could damage the inner tube (unless you change the tube anyway). Lubricate the handle of the pliers with petroleum jelly or other lubricant and roll the inside of the tire along the rim, sliding the tire over the edge of the rim. Attach the other end of the tire to the same end of the rim.
Examine the damage. A steel rim that is bent at the outer edge - usually after being hit by a pothole or curb - can be repaired fairly easily. Damage to the inside of the wheel near the hub can be more difficult or even dangerous to repair. Get a professional opinion on the extent of the damage if you're unsure. Aluminum wheels, although they can be repaired, are prone to cracking if bending is severe.
Place the wheel on a flat, heat-resistant surface, such as a concrete garage floor, or secure the wheel in a vise. Using a propane torch or blowtorch, heat up the damaged area of the rim. Again, this is a simple matter with steel wheels, but aluminum wheels can discolor when heated, especially alloy wheels that contain magnesium. It is best to have a professional aluminum wheel repair done.
Heat the steel for about a minute. The bezel will become flat, almost scaly, in color. Depending on the severity and location of the damage, use a hammer, channel locks, or pliers to bend the edge of the rim back into shape. You may need to start with a hammer, bring the rim closer to its original shape, heat up the rim again, and then complete the process with pliers.
Let the rim cool, then sand the repaired area to remove any burrs. Inspect the wheel for cracks that may have appeared during the repair.