1. Getting Started - Prepare for the repair
2. Find Spare Tire Kit - Locate all of the components for your spare tire jack kit
3. Access Spare Tire - Locate and remove the spare tire
4. Pre-Jack List - Things to do before jacking up vehicle
5. Position Jack - Assemble components and position jack
6. Raise Vehicle - Use the jack to safely raise the vehicle
7. Replace Jack - Secure jack kit components back in place
8. Flat Tire Tips - Tips on dealing with a flat tire
9. More Info. - Additional information on flat tires
Share on
Learn how to change a flat tire using the Chevrolet Trailblazer spare tire kit. Make sure you are in a safe area that is level and free of traffic before attempting to fix a flat tire. This video shows you where the spare tire, jack and jack kit is located in your Trailblazer how to assemble the components of the spare tile tool kit, how to replace the flat tire with your spare tire and safety precautions to take when using your jack. Most Chevrolet jack kits include the jack, a jack handle and a lug nut wrench. The video also shows how to put the 2007 Chevrolet Trailblazer back in its original location.
Which way does the spare tire go on? The Trailblazer spare tire should always be mounted with the valve stem (the thing you put air into) pointing out. If you cannot see the valve stem, the spare tire on Trailblazer is mounted backwards. In addition, if your Trailblazer has a donut spare (a small spare tire), then you should mount it on one of the rear wheels when you are in a safe area to do so. What is the maximimum speed for a spare tire? If your Trailblazer has a donut spare, the maximum speed is likely 50 miles per hour. Some trucks have full-size spare tires, which would have the same speed limits as the other tires.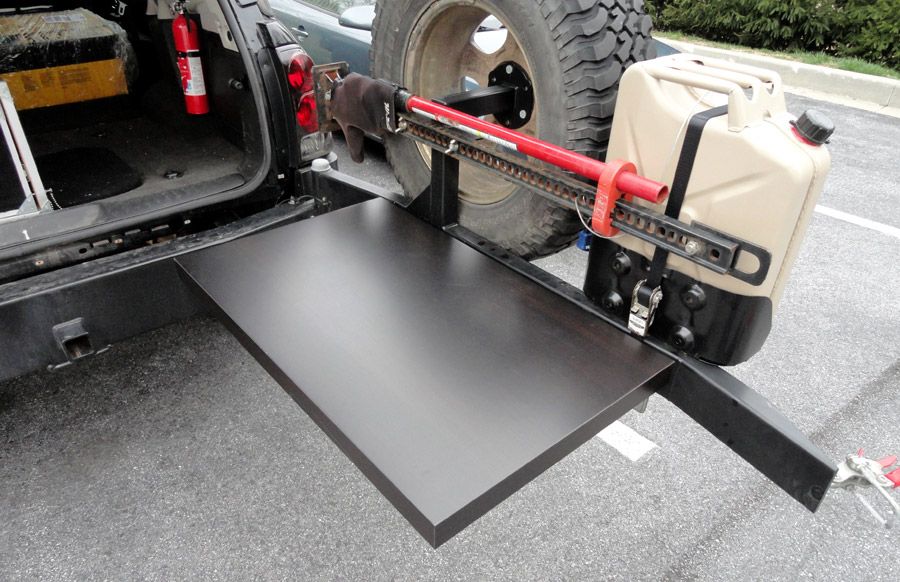 How many miles can be driven on a spare tire? If it is a donut spare tire, you should not drive more than 50 miles on a donut spare tire.
While following the instructions provided in your Trailblazer's owners manual and in this video will help minimize the risk of injury. The best way to avoid injury is to never get under your vehicle while it is jacked up. Remember also, that even if your car is jacked up properly, another car could hit it and knock it over; therefore, be sure to give careful consideration to your environment before raising your car.
Author
Hans Angermeier is an ASE certified Maintenance and Light Repair Technician and has produced over 100,000 videos showing drivers how to fix things on their cars. He has broad expertise on basic repair procedures covering the majority of cars on the road. Over the past 10 years, Hans has been focused on building CarCareKiosk, which is visited by millions of drivers each month.
Don't send mixed signals - if your turn signal doesn't blink, or blinks rapidly, you likely have a burnt out bulb
Low coolant levels is all to common - top yours up today
Properly inflated tires is the easiest way to improve fuel economy. The right tire pressure is NOT on the side of your tire btw
Sure you can take it in for a $19 lube, but are you OK with a stripped oil pan and cheap parts in return?
Spare Tire Hoist - Replaces 924-509, 25911640, 15247311, 88940274, 924509 - Fits Chevy Trailblazer, EXT, GMC Envoy, XL, Isuzu Ascender, Buick Rainier, Oldsmobile Bravada, Saab 9-7x - Rear Tyre Holder
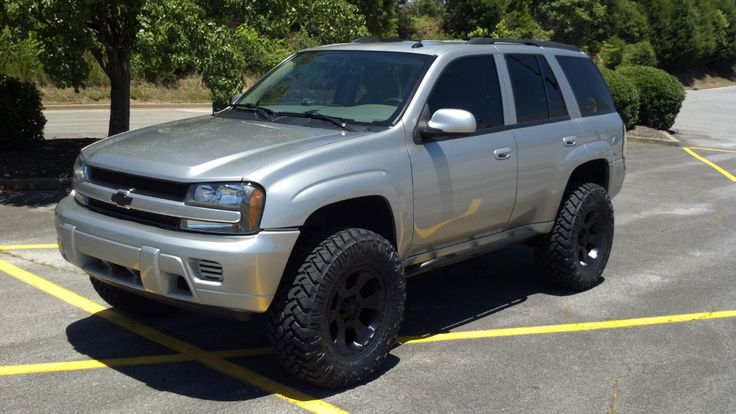
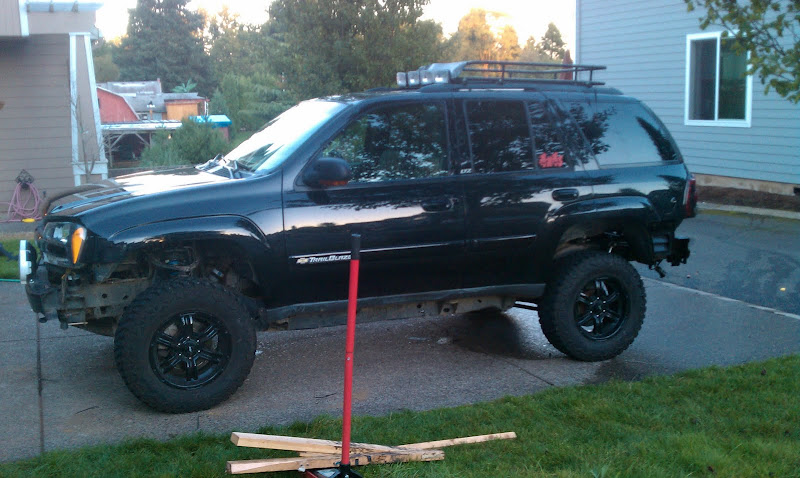 This spare tire winch has the updated design and does not have the secondary latch or lock that your old spare tire hoist has which can be a pain to remove especially during emergency situations.
The spare tire hoist holds your spare tire in place underneath the rear of your vehicle. This is an updated design without the secondary safety latch or lock that usually gets stucked over time due to elements like mud that hit the undercarriage of your vehicle making you unable to get the spare tire down.
This spare tire winch has the updated design and does not have the secondary latch or lock that your old spare tire hoist has which can be a pain to remove especially during emergency situations.
| | | |
|---|---|---|
ASE Certified TechniciansInstalling parts on you vehicle can be difficult and we understand. That's why we have certified technicians on staff to assist you with installation or even properly diagnosing your car. Our technicians will even provide the factory repair manual to make installation easier for you. | Strict Quality ControlAll of our tire hoists undergo strict quality control not just before shipping but throughout the production process. | An American Small BusinessAA Ignition is a division of GWA Auto Parts and we are proud to be an American Small Business. Located in sunny South Florida and founded by long time car enthusiasts, AA Ignition takes pride in providing quality products at an exceptional value. |
This is a compatible replacement part manufactured by AA Ignition. This spare tire hoist is NOT a genuine GM or Dorman part. GM and their associated vehicle models and part numbers are used in this listing only to identify the vehicles this spare tire hoist fits.
4. What to do in the event of a damaged tire
Hitting sharp objects may damage the tire and rim. When parking, do not "grind" tires to the curb.
Check the wheels regularly for damage.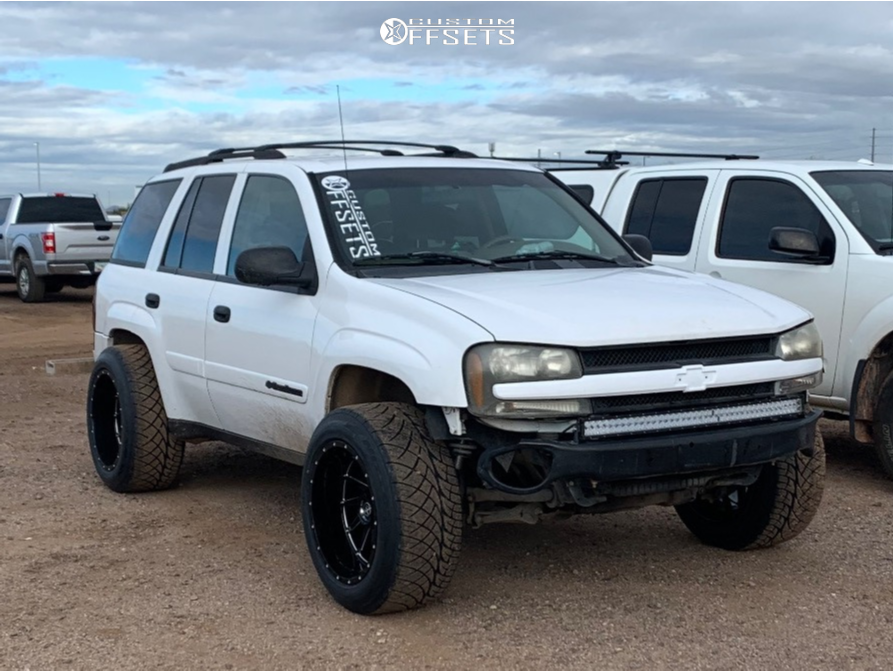 If damaged or excessive wear occurs, contact your Chevrolet dealer for assistance.
Depending on the size of the spare wheel compared to other wheels fitted to the vehicle and the regulations in force in the country, it may be classified as a temporary spare tire.
The spare wheel has a steel rim.
The spare wheel must not be smaller than the other wheels. Otherwise, and also if winter tires are installed on other wheels, this may impair the vehicle's handling. Replace the defective tire as soon as possible.
The spare wheel is stored under the bottom of the vehicle's luggage compartment.
Only one temporary spare wheel may be fitted. Do not exceed the speed of 80 km/h. Take turns slowly. Do not use this wheel for a long time.
1. Open the cover.
2. Use a screwdriver to assemble the wheel wrench, jack handle extensions and handle.
3. Insert the flat end of the jack handle at an angle into the hole in the center of the luggage compartment floor trim and then into the guide groove.
4. Turn the wheel wrench counterclockwise to lower the spare wheel to the ground. Continue turning the key until the wheel is down enough to be removed from under the vehicle.
5. With the wheel lowered slightly, fold the retainer along the first cable so that it can be pulled through the hole in the rim.
6. Unscrew the nut on the disc using the wheel wrench to disconnect the second cable. Remove the safety cable.
7. Carefully set aside the replaced wheel and tools.
Carry out the following preparations and observe the following instructions.
1. Park the vehicle in a safe place on a level, firm and non-slip surface.
2. Press the alarm button
3. Install the wheel chock.
| Shine Puncture | Place of anti -sloping stop installation | |||
| in front | left side | Behind the right wheel | ||
| Continum | CA0044 | Left side | In front of the front right wheel | |
| Right side | In front of the front left wheel | |||
”),
5. Remove the spare wheel (see above).
Note
- Do not replace more than one wheel at the same time.
- Use the jack only to change a wheel in the event of a puncture, not to change summer tires for winter tires (or vice versa).
- When the vehicle is on soft ground, place a sturdy board (max. 1 cm thick) under the jack. WARNING
- There must be no people or animals in the suspended vehicle.
- Do not get under a jacked up vehicle.
- Do not start the engine with the vehicle raised.
- Clean the wheel nuts and threads before installing the wheel.
1. Remove the cap covering the hub. To do this, insert the flat end of the wheel wrench into one of the recesses and pry off the cap using the wrench as a lever. Place a soft cloth between the key and the wheel to protect the alloy wheel.
2. Turn the wheel wrench counterclockwise to loosen all wheel nuts. Do not completely loosen the nuts.
CAUTION
Working under a jacked up vehicle is dangerous. If the vehicle slips off the jack, you could be injured (even fatal). Do not stand under a vehicle that has only been raised with a jack.
The jack must be installed strictly in the places provided by the manufacturer.
Incorrect installation of the jack can damage the bodywork and even cause the vehicle to fall. To avoid injury and damage to the car, the jack foot must be installed strictly in the places provided for it.
3. If a front tire is punctured, place the jack behind the wheel arch under the platform specially provided for this purpose on the frame.
If a rear tire is punctured, place a jack under the rear axle as close as possible to the shock absorber strut.
Suspension of the front wheel
Suspension of the rear wheel
4. When placing the jack under the rear axle, make sure that the notch on the jack leg fits exactly on the axle.
Install the jack handle and, observing the position of the jack, rotate it until the wheel is off the ground.
5. Remove the wheel nuts.
6. Remove the wheel with the flat tire.
7. Remove rust and dirt from wheel bolts, mating surfaces, and spare wheel.
8. Install the spare wheel.
CAUTION
Do not lubricate bolts and nuts with oil or grease, as this may cause them to loosen. The wheel can come off and cause a serious accident.
9. Install the nuts and tighten by hand to press the mating surface of the wheel rim against the hub.
10. Lower the vehicle to the ground by turning the key counterclockwise.
11. Tighten the wheel nuts crosswise (1, 2, 3, 4, 5, 6).
Note
Tightening torque: 140 N.m.
12. Align the valve hole provided in the wheel cover with the tire valve before installing the wheel cover. Reinstall the hub cap if the vehicle is equipped with stamped wheels.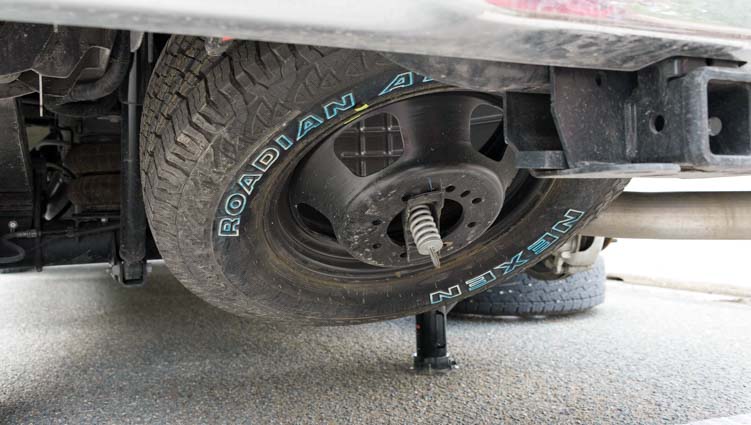 Place the cap on the disc and lightly tap it so that it does not protrude.
Note
There is only one way to install the hood. Align the tab on the cap with the recess on the disc.
13. Remove the replaced wheel and tool kit (see section above).
14. Check the tire pressure of the installed wheel and the torque of the wheel nuts as soon as possible.
Note
Replace or repair the defective tire.
If the wheels are fitted with directional tires, they must be fitted in the direction of rotation specified by the manufacturer. The direction of tire rotation is indicated by a symbol (eg arrow) on the tire sidewall.
In case of incorrect orientation of the wheels with a directional tire tread pattern:
- vehicle handling deteriorates - replace the defective tire with a new one as soon as possible or repair it;
- Drive with caution on wet or snowy road surfaces.
The damaged wheel must be stored in the spare wheel compartment. The driver's tool must be placed in its original place under the cover on the right wall of the luggage compartment.
Check cold tire pressure at least every 14 days and before every long trip. The air pressure should also be checked in the spare wheel.
The tire pressure is indicated on the plate located on the frame of the right front door.
A. Tire specifications. B. Tire mounting location. C. Normal load (up to three people). D. When fully loaded (five people + luggage). E. Spare tire information.
Inflation indicated for cold tyres.
Always inflate the spare tire to the pressure for a fully loaded vehicle.
Incorrect tire pressure reduces safety, reduces vehicle handling and ride comfort, increases fuel consumption and tire wear.
WARNING
Excessively low inflation pressure can cause tires to become very hot and cause internal tire damage that can cause tread separation and, at high speed, even tire blowout.
If you are using tires other than those fitted from the factory, it may be necessary to reprogram the speedometer, change the tire pressure rating, and make other changes.
Replace the tire pressure decal with a new one after installing a different tire size.
WARNING
Installing the wrong tires or wheels can cause an accident. Repairs resulting from this damage will not be covered by the warranty.
Do not use tires or rims that are different in size or type from those originally fitted to the vehicle. This can adversely affect the safety and performance characteristics of the vehicle. It may also result in loss of control or rollover, causing serious injury. When changing tires, ensure that all four tires and rims being installed are of the same size, type, tread height, manufacturer and load capacity. The use of tires of a different size or type may seriously impair ride, handling, ground clearance, braking distance, body-to-wheel clearance and speedometer readings.
| DIY
| |||
Chevrolet Silverado - Video Lesson Model: Chevrolet Silverado MK 2 - Years 2007-2014 The video shows how to remove the spare tire from a Chevrolet Silverado. Published on 12 July 2022 by ScegliAuto | Why does the Check Engine light come on? With this video tutorial we can understand why the engine warning light comes on. When the yellow light comes on, it indicates a less serious problem, however, when the red light comes on, it indicates a more serious problem, so the car should be stopped as soon as possible to avoid damage. |