When you purchase through links on our site, we may earn a commission at no additional cost to you. Learn More
So your ATV battery won’t charge, not from running the bike and not even when using an external battery charger. Or maybe it seems to be charging just fine, but you can’t get it actually to hold a charge?
There are a few things you should look into before spending money on a new battery or other parts. If you’re lucky, you can fix the issue without even spending one single dollar.
Before you begin troubleshooting, it may be a good idea to read this post on how an ATV charges its battery.
Today’s post will cover these three different scenarios:
Let’s dive into the actual troubleshooting.
Page Contents
It’s a good idea to start your troubleshooting by identifying whether your ATV has a faulty charging system or if the problem is with the battery itself.
The easiest way to do this is by trying to charge the battery with an external battery charger.
If the battery charges fine when using a charger and holds its charge when sitting a few days under no load, you know that the problem is with the ATV and not the battery.
If it does not charge or hold a charge when sitting disconnected, well, then you know that the problem is with the battery.
This battery has gone bad and cannot be charged to hold more than 4.25 volts.Even if your battery is brand new and you are experiencing issues, I suggest you follow these steps. Brand new batteries may be damaged as well.
I generally recommend using a good quality fully automatic battery tender (or a so-called smart charger) to keep your ATV battery in good shape when the bike is not in use or whenever it needs need to be topped off.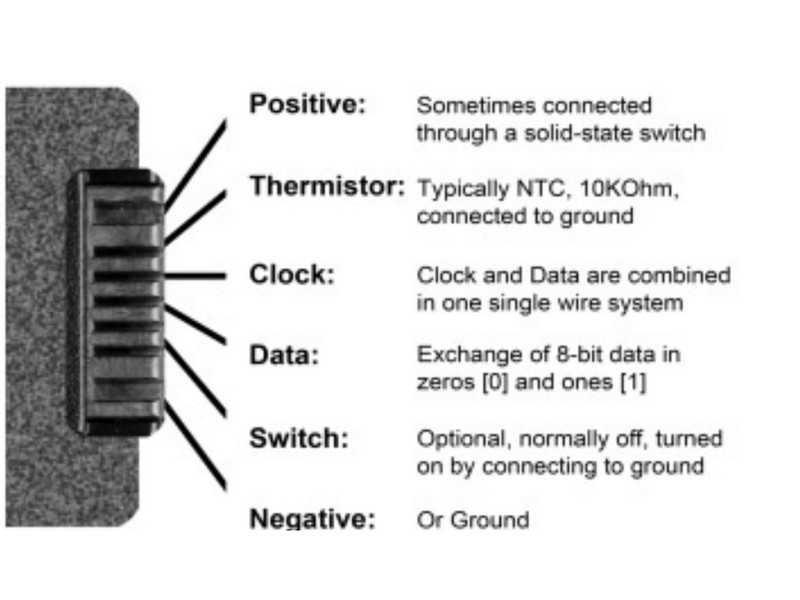
Smart chargers come with the advantage that they will automatically shut off when the battery is full or if there is a short or another issue inside the battery.
My trusty Ctek Multi XS 3600 is a cheap charger/tender that does its job well.I’ve been using Ctec chargers with great success for many years. The Ctec XS 0.8 is a reasonably priced, high-quality charger that fits well for most ATV batteries. Click here to see today’s price over at Amazon.
 There is always a small risk that something goes wrong when you charge a battery. If it were to start leaking or, in the worst case, blow up, at least you won’t damage the ATV.
Related:
When the charging cycle is complete, it’s time to read what voltage the battery holds. To do this, you will need a basic multimeter.
If you don’t have one, you can get them cheap at your local auto parts store. Even the cheapest ones will do the job. Every home mechanic should have one, and I promise that you will find plenty of uses for it as soon as you learn the basics of how to use it.

Now you should know whether you have an issue with the battery or if the issue is with the bike’s charging system.
Here are the most common causes when the battery won’t charge, even when using an external battery charger:
 The battery is old, or it has gone bad
No battery lasts forever, and at some point, all batteries will stop working. If you take proper care of the battery, it should last for many years, but you can ruin it in months or even days if you misuse it.
If you could not charge the battery above 12.4V, there is a good chance the battery has gone bad from misuse or just from being old.
There may be a bad cell with an internal short that prevents the battery from taking a proper charge.
Another (and better) way of testing if the battery has gone bad is performing a so-called “Load test.” This simple test measures what charge the battery can maintain even under heavy load. You’ll find instructions on how to perform this test in this post about what to do when a battery keeps draining for no apparent reason.
Acid lead batteries need a certain fluid level to take and hold a charge. The electrolytes should fully cover the plates inside of the battery.
If your battery is the Lead-Acid type and has covers that are meant to be opened, you can follow these simple steps to inspect and top of a battery that is low on battery acid.
Warning 1: Do not try to open a battery that is not designed to be opened. If fluid levels run low on a battery like this, there is nothing you can do but replace it with a new one.
Warning 2: Battery acid is highly corrosive and will cause permanent damage if it gets in contact with your skin or eyes. Use proper eye protection and rubber gloves.

In this scenario, the battery will charge just fine when you hook up an external charger, but it will not charge from running the ATV.
There are a few common causes you need to address.
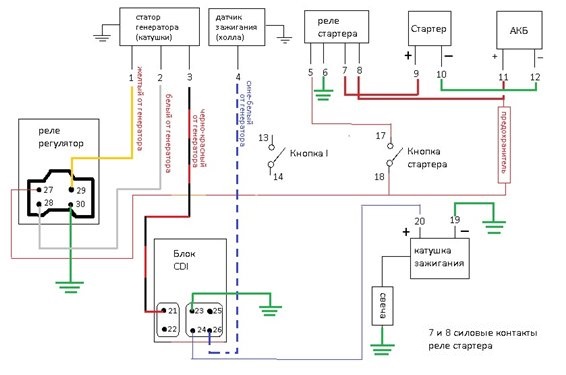
The charging system on an ATV is quite simple but nowhere near as efficient as the one you will find on a car. It uses a stator that produces a current inside of the engine when the engine is running.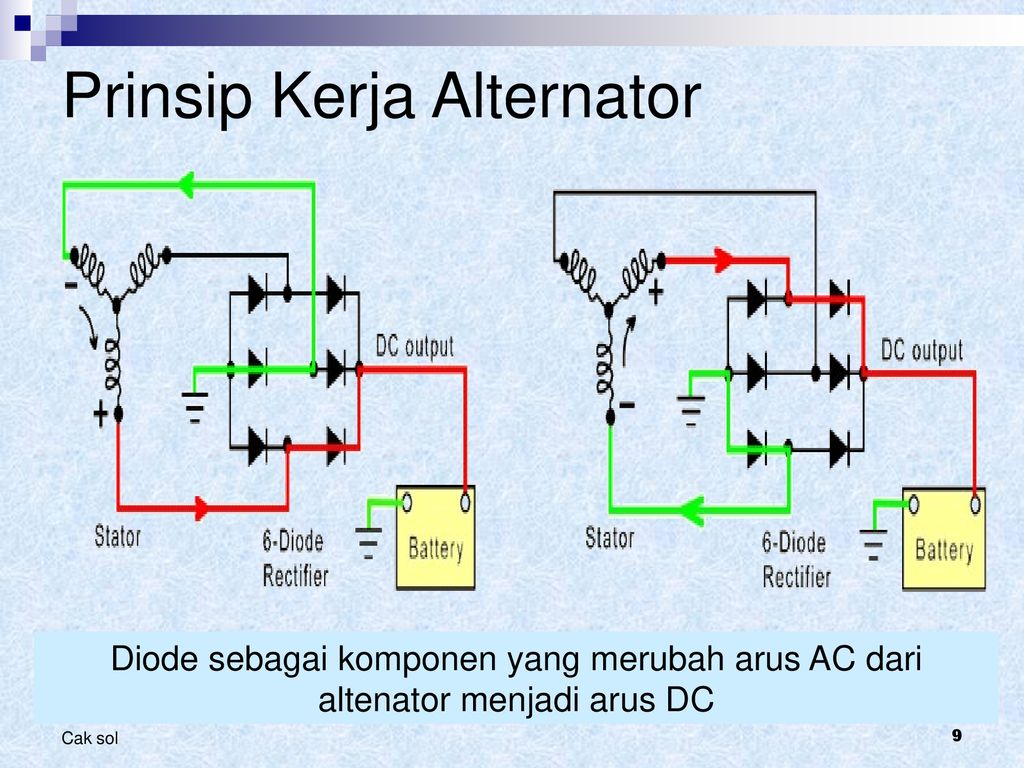 The output power from a stator is much less than what you get with an alternator used on cars.
The current then runs through a voltage regulator/rectifier that converts the current from three-phase AC voltage to DC voltage and regulates the output current to 14V – 14.5V. This current is then what’s charging the battery and powering all of the bike’s electric components.
The stator and rotor are located inside the engine behind this cover.Even when the system works as intended, it may sometimes struggle to keep up to charge the battery to a full charge. This happens when you combine a low output charging system like the one you find on ATVs using power-hungry accessories like a winch or heated grips.
You can test the stator using a multimeter to measure resistance; this post describes the steps.
Alternatively, you can measure what voltage output you get from the stator. This method is less accurate but will give you a good indication of whether the stator is working correctly or not.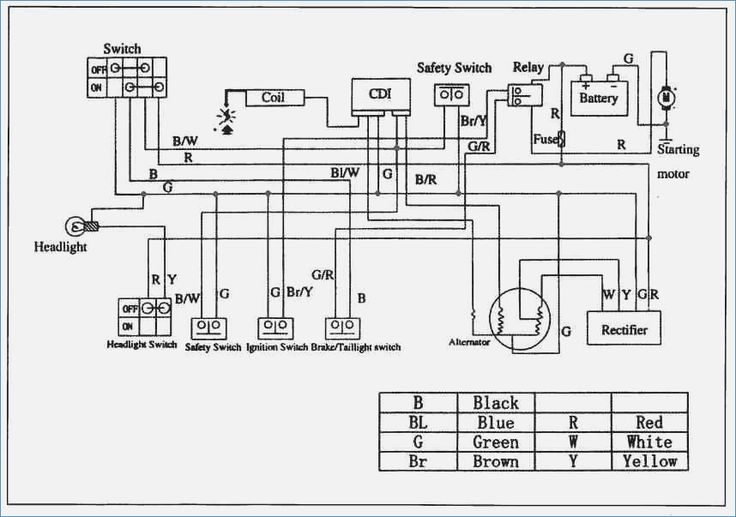
The output voltage on a working ATV stator should be about 20V AC at idle to 40V AC or more when revving.
If any of the three phases did not put out 20V – 40V or more, the stator is likely not working correctly and needs to be replaced.
If the stator checks out fine when doing the tests above, it’s time to see if the voltage regulator works as it should.
ATVs are often used in wet conditions or bumpy off-road riding. This leaves the wiring particularly exposed to corrosion or coming loose.
A corroded or loose connection will prevent the battery from being properly charged.
Disconnect the battery connectors and clean them with some sandpaper before installing them again. The ground wire is particularly prone to corrosion.
Do the same with any exposed connectors found in the wiring connecting the stator and the battery.
In this final scenario, we will cover what may be wrong when the battery seems to be charging just fine but then loses its charge after just a day or two, even when disconnected from the bike.
If you suspect that something other than the battery itself is causing it to drain, please refer to this post for proper troubleshooting for a battery that keeps going dead.
Even if the battery seems to be charging fine, there is a chance that fluid levels are low. Make sure all levels are correct as described above and recharge the battery to see if that helped.
Sulfation is a naturally occurring chemical reaction happening inside the battery when it’s being discharged. The process normally gets reversed when the battery is charged again.
Under certain circumstances, the sulfation becomes permanent and has damaged the battery.
This may happen when:
A sulfated battery loses a lot of its capacity and behaves as a small battery would. When you try to charge it, the charger will indicate that it is fully charged after just a short time of charging. But as soon as you disconnect the charger, the voltage will drop in just a matter of hours.
In some cases, it is possible to salvage a sulfated battery.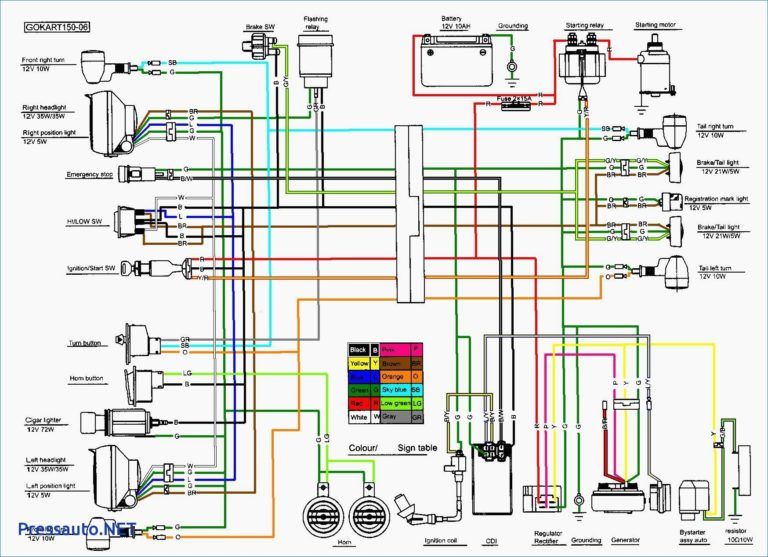 But in most cases, the damage is beyond repair, and the battery needs replacing.
Try slow charging (trickle charging) the battery using a low amp charger 24h or more. Sometimes, this may bring a dead battery back to life.
There are also chemical treatments available that may help you recondition a sulfated battery. But because ATV batteries are relatively cheap, I recommend that you rather get a new battery instead of spending time and money on a battery repair that may or may not be successful.
Engine roaring, wind rushing, heart thumping- then all of a sudden, the fun comes to a stop. Your battery on your ATV has died and you are not sure why. Perhaps this is due to a bad stator, or perhaps it is due to something else.
The stator of an ATV works to recharge your battery while your vehicle is running, similar in function to a car’s alternator. When the stator goes bad, your ATV will only run until the battery goes dead, which is not very long. Test the stator with a multi-meter to ensure that this is the problematic part.
Generally speaking, you should be able to narrow down which part on your ATV is causing the issues, especially if your battery is dying rather frequently. The tools that you will need will be relatively inexpensive, so you will just need to run a few tests and determine if your stator is the problem.
Once you have determined this, then there are a few ways to resolve the issue. Continue reading to learn more about what happens when your ATV’s stator goes bad.
There are only so many things that can slow you down once you begin the thrill of ATV riding. Whether you engage in ATV riding for recreational purposes, use your ATV for work on a farm, or are passionate about ATV as a sport, there are few limitations that can restrict you.
However, when the ATV stops functioning, you will likely be disappointed, frustrated, and in a rush to get your vehicle working again.
One problem part that can cause your ATV to stop working correctly is the stator. The stator works to recharge your ATV’s battery as you drive it.
Similar to the function of an alternator in a car, the stator is very important for ensuring the longevity of your ATV ride. When it goes bad, your battery will not recharge while in use, so your ride will be cut short.
Then, you will only have the option of charging your ATV’s battery while it is not in use, and this will only give you a brief period in which to enjoy riding your ATV. And, of course, you could get stranded when your ATV battery dies as you will not be able to predict the range of time that the off-powered charge will provide for you.
Since the stator recharges the ATV battery while the vehicle is in use, this allows the ATV to be used so long as all of the other parts are working correctly and there is enough fuel.
When the stator goes bad, your thrills of ATV riding will be cut short, and you will surely be over it.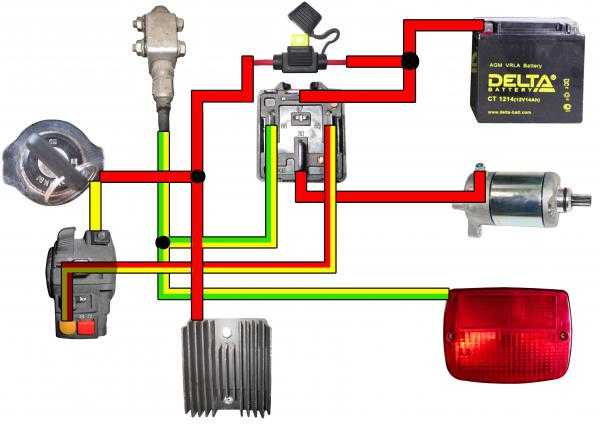 In this case, it is important to check out why your stator has gone bad- and, of course, you will need to make sure that the stator is the reason your battery is dying in the first place.
As the stator is made up of a few different components, it is possible that damage to any of these components could cause it to become faulty. The main components of a stator include the cable (connection) and the iron and wire coils. If any of these are dirty or broken, your stator will likely stop working as it should rendering your battery uncharged and you a sitting duck.
Here’s a quick video explaining what a stator is and showing you an example in case you’d like to see it.
Maybe you have your suspicions that your stator is bad, or perhaps you heard of your buddy’s going bad recently and you are wondering if the same problem is happening to your ATV.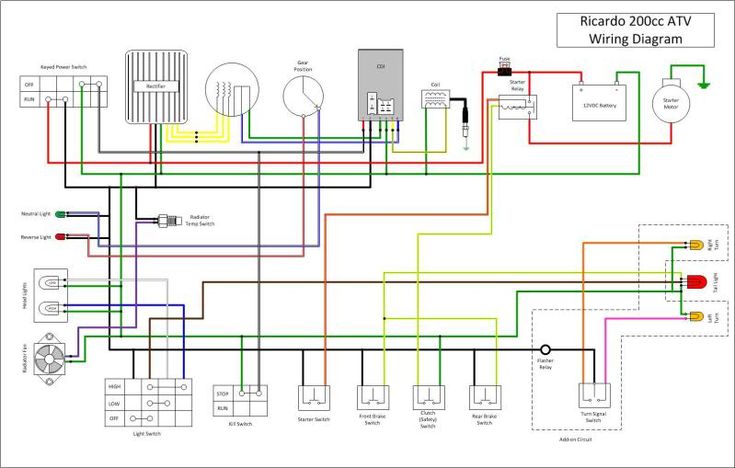 Fortunately, there are a few ways to tell if your stator is bad.
A few signs that your ATV’s stator is bad include loose, faulty, or dirty connectors and a battery that will charge with a separate charger but not while the ATV is in use.
To test your stator and determine whether it is bad or not, use a multimeter to tell if the appropriate ohms are being produced. You can find the appropriate range in the ATV’s manual or online.
The main indicator that your stator is bad will be that your battery is not charging- especially if your ATV will charge when on a separate charger but not while the ATV is in use.
In short, this is a high indication because the battery is not the issue in this scenario as it is clearly able to charge. But, if the stator is bad, then it will not charge the battery which will be noticeable when your battery dies when not connected to the alternative charger.
If there are loose, faulty, or dirty connectors with your stator, then this could be the mechanical evidence you need to be able to tell that your stator is bad.
When these components go bad, then the part itself ceases to function as it was designed to do. In this case, you will either have to clean or replace the faulty component, or you will need to replace the entire stator- it depends on your situation.
Fortunately, stators themselves generally run under $100, though the parts can be found for way less (often under $20). So, if it is only a small component of your stator that needs to be replaced, then knowing this will save you a bit.
Either way, it is best to have a multimeter on hand to be able to test your stator to ensure that it is the faulty component of your ATV before continuing. Here’s an example Fluke Multimeter (link to Amazon) that I have, to give you an idea of what you’ll need.
If you are unsure whether your battery is faulty or the stator is the problem component of your ATV, there are a few things that you can do.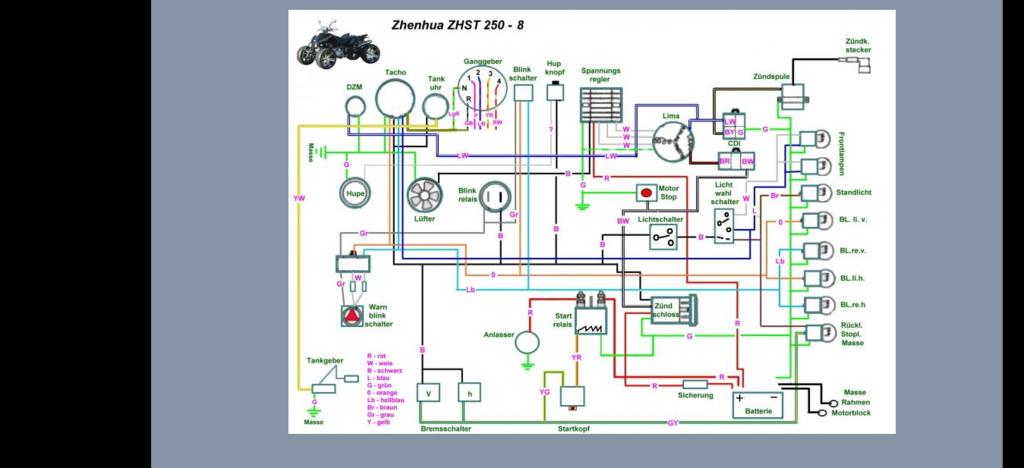 First, you might take your ATV battery to an auto shop and have them test the battery. This will ensure that the battery itself is or is not the problem so that you can eliminate this piece.
If the battery is able to hold a charge but is not recharging while riding, this could indicate that your stator is the component to blame. In this case, you should consider testing the stator with a multimeter to verify the energy output and determine whether or not it is functioning as it is supposed to.
To test your stator with a multimeter is a relatively simple task. To do so, follow these easy steps:
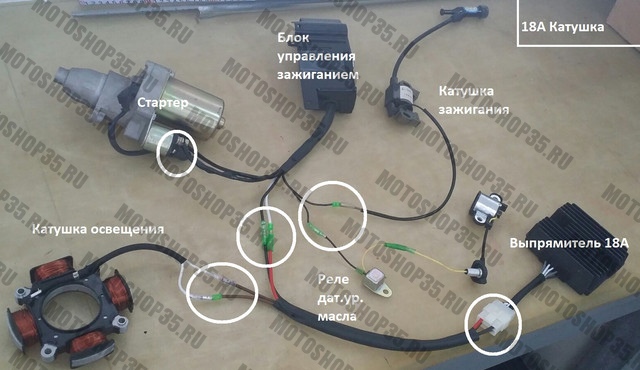 Each ATV stator has various ranges in which it should be producing, so it is important to check your ATV’s operation manual for what is best for your unique vehicle. You can use your printed manual that came when you bought the vehicle, or you can search online using your vehicle’s make and model number.
 This will be done by reading the ohms produced and deciding if this falls in the appropriate range for your vehicle. If not, then you know you have a faulty part and this will need to be replaced.
Here’s a video showing the whole process of testing a stator, so you can see it in action.
Once you are confident that the problematic part of your ATV is, in fact, the stator, there are a few options that you can consider. Of course, you will want to have verified with a multimeter test that this is the reason your ATV’s battery is not charging in the first place.
If your ATV’s stator is determined to not be working correctly, then you can either replace the individual parts that are not working, replace the entire stator component, or take your ATV to a professional for them to provide the appropriate action.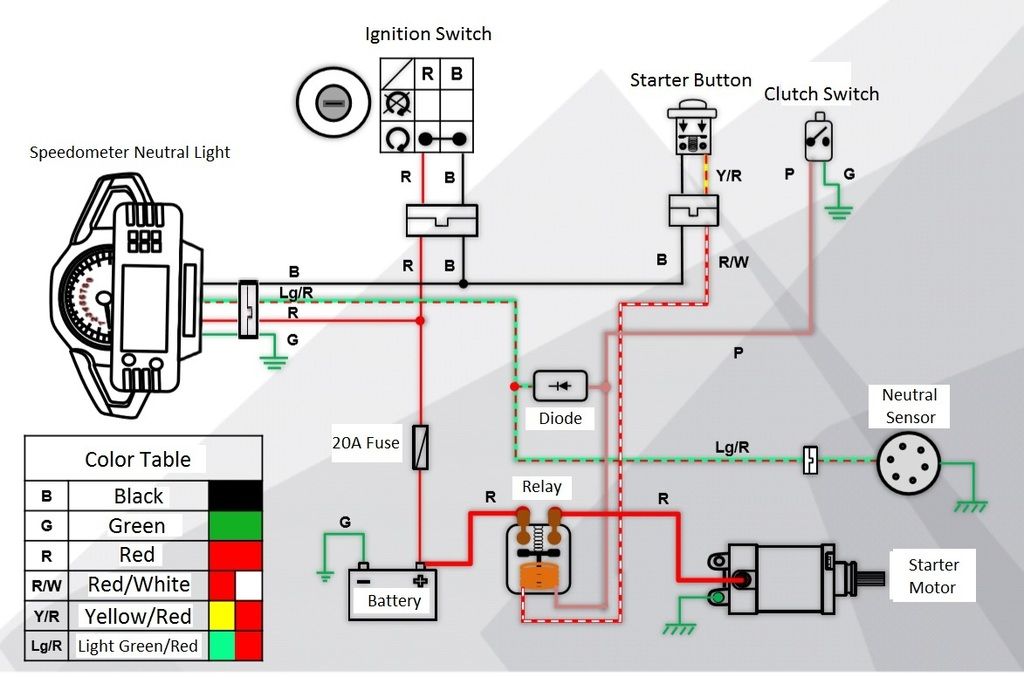
Of course, taking your ATV to a professional will generally cost more, but there are limited risks with this option. Usually they will warranty their work.
Otherwise, if you are attempting to take care of the part yourself and you do not actually know what you are doing, then you might be purchasing unnecessary parts, taking apart pieces of your ATV that you do not know how to handle, and risk a greater cost in the long run as you have to pay someone to fix your mistakes.
You can usually find an ATV Stator (link to Amazon) online, just make sure it will work for your model.
There are plenty of tutorial videos available, though, if you are relatively confident in working with ATV and vehicle parts, so just be sure to make the decision that is right for you and your vehicle.
Here’s a good tutorial video for replacing a stator on an ATV. Not all ATVs will be exactly the same, but these steps are a general guide for changing out a stator.
Hopefully, once you test and replace your stator (or faulty stator components), your ATV’s battery will resume charging while riding, and you can get back to enjoying the thrill of the ride.
Sharing is caring!
The generator is one of the main mechanisms of any ATV. During the operation of the ATV, it creates an electric current from the rotation of the crankshaft. During the operation of equipment, it is constantly in operation, so after long-term use there is a possibility of its breakdown.
All ATVs presented on the page https://sh.sh3011.ru/kvadrocikly/cforce-600-eps.html are powered by internal combustion engines. With the help of a powerful motor, the necessary cross-country ability and speed are provided. While the engine is running, the generator continuously generates electricity that is used to power various electrical appliances and the ATV.
ATV alternator breakdowns are not uncommon, due to the constant operation of this unit. If there are problems with its functioning, there is usually a serious disruption in power generation. If this happens, then you can independently check the main elements of the entire system. To carry out verification work, you can use a conventional multimeter. Everything must be done in the following sequence:

ATV alternator repair procedure involves replacing it because this unit is rarely repaired.
Repairing an ATV alternator is a complex process, so ATV owners most often just replace it with a new unit. The disassembly process includes the following steps:
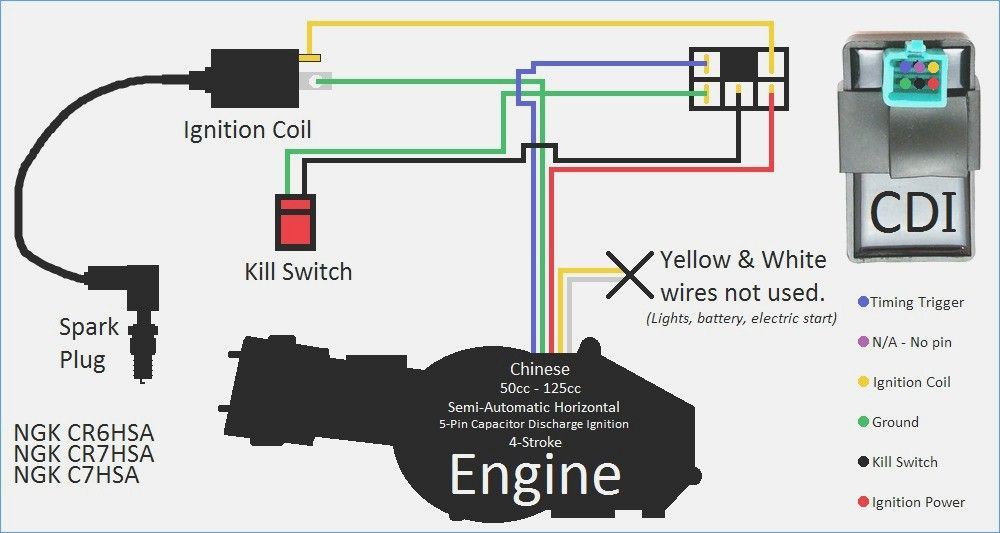
This completes the dismantling work. Installation of a new unit is carried out using the same tools, only in reverse order. When installing the right engine cover, a new gasket must be installed. If it is not there, then it is best to coat the surfaces to be joined with sealant to prevent moisture from penetrating into the mechanism. On the site https://sh.sh3011.ru/ you can learn more about the features of repairing ATVs and checking the operation of the main components and assemblies.
The ATV battery is one of the most important elements in its electrical system. Given the amount of additional equipment installed on the ATV (winches, additional lights, alarms, heating, etc.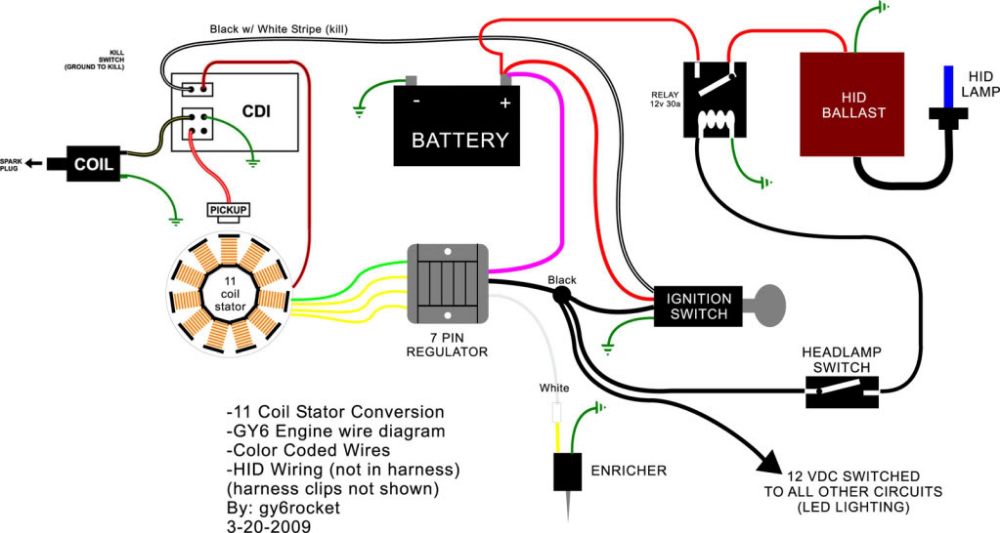 ), the battery often does not charge to the end. And the owners do not pay due attention to this, which is why they change the battery every season. Believe me, with proper care, the battery can last 3 or more seasons. Let's pay attention to the rules for charging your ATV battery, consider errors and answer questions that arise when servicing the battery.
Warning. The conversation for the most part will be about serviced batteries. Maintenance free ones have no plugs (at the top of the battery) and only need a timely and full charge, and their owners may skip some of the points described below.
Can I use the car charger to charge the ATV battery?
It is possible, in the case when the charger has an adjustable charge current and it is possible to set the minimum current from 0.5 to 0.7.A. There is a simple rule: one tenth of the battery capacity will be considered the normal current for charging (calculation should be made in Amperes). Of course, it is much easier and more correct to use special devices designed for low charging current. Complete with the charger always comes instructions for use, which contains the basic requirements and rules, do not neglect to read it.
Is noise and bubbling normal when charging?
Moderate boiling is normal. This is explained by the reaction in which the electrolyte enters with lead plates, in which the acid releases a certain amount of gas. It is worth worrying if the boiling is excessively strong - this indicates that the charge current has been exceeded.
Why does a new battery drain quickly?
What is sulfation?
Sulfation is the formation of lead sulfate (white matter) on the battery plates.
All old and failed batteries are subject to this phenomenon.
What affects the sulfation process?
How to avoid sulfation?
Monitor the condition of the ATV's electrical system at all times. The battery loses its charge significantly during engine start, and the charge must be replenished when driving, so monitor the health of the regulator and generator relays. When the ATV is not used for a long time, remove the battery and charge it with the charger at least once every 2 months. When the first signs of sulfation appear, charge the battery with low current for a long time (up to 2 or more days).
Amps / hours - what is the characteristic?
This is the unit in which the battery capacity is measured. For example, a fully charged battery with a capacity of 1 Ah should theoretically provide a current of 1 ampere for an hour.
How and why to monitor the electrolyte level?
The electrolyte is sulfuric acid diluted with water in the right proportion. During operation, water evaporates, and the proportion of sulfuric acid increases, which, in turn, adversely affects the health of the battery.
If the electrolyte level drops (each battery has a normal level mark), add distilled water (available from auto parts stores) to the mark.
How can I tell if the battery is charged?
A charged battery produces 12.8 V. If your multimeter measures 12.5 V or less, the battery needs to be charged.
Which terminal should be connected first when installing the battery on the ATV?
The positive terminal is always connected first. When connecting the wire to the terminal, a spark may occur, so all flammable liquids must be removed in advance.