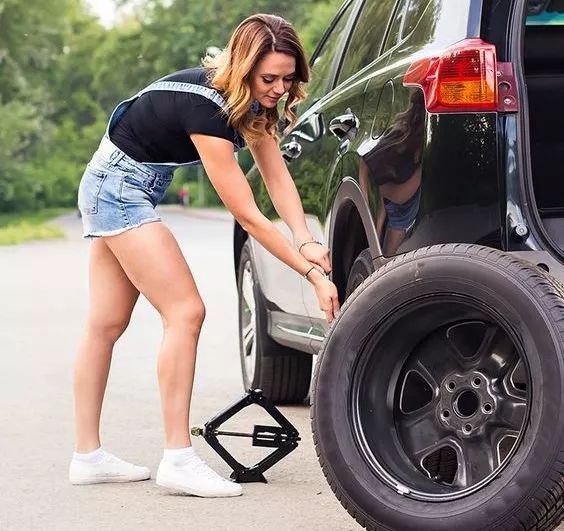
Having a stuck wheel on your car can be really frustrating, especially when you got a flat tire by the side of the road. Here are a few tips on how to remove a stuck wheel easily
You have a flat tire, and you jack up the wheel, but it refuses to come off. What could have happened?
Changing a wheel should not be this hard, but a wheel can get stuck due to rust accumulation. This corrosion appears in the area between the wheel and the hub. This makes it hard to remove the wheel because it feels permanently welded to the hub.
If you are changing the wheel alone and there is no one to give you that necessary muscle, consider some of the following tire removal tips.
If you leave your car in an area exposed to snow and road salt, then these elements can get into your aluminum alloy rims and into the hub, where they cause corrosion. These corrosive elements tightly glue your wheel to the hub, making it almost impossible to replace a worn-out tire.
It is not only aluminum wheels that have this problem. Steel wheels are also affected, and it can happen under any climate conditions after some time.
We recommend purchasing some synthetic grease to apply to the wheel hub and rim to prevent this problem from happening. Do this the moment you purchase a new car or during the first wheel replacement.
So let’s find out the best methods of removing a stuck wheel.
RELATED: What is Cross-Threading a Wheel Nut/Stud?
Here are a few tips from me, which I usually use to remove stuck wheels. Remember always to use safety equipment and get help from a professional mechanic if you are not sure about how to do it. Follow these steps to remove a stuck wheel:
Total Time: 10 minutes
If you are near a service station or a garage, you can use this simple trick to remove a wheel stuck on your car. Loosen the wheel stud nuts but do not remove them altogether. Just loosen them 1-2 turns. Lower the car and drive a few feet forward and backward. Repeat this process on level ground. Jack up the car and remove the nuts.
The wheel should have loosened, and you should now be able to remove it. Ensure that when driving the car, the nuts are not so loose that they fall off. You should also drive very slowly, so as to avoid any accidents.
If you have aluminum alloys or steel wheels, then the likelihood of rust/corrosion developing on the hub is high. You can use a rust removal lubricant to loosen the wheel. For this procedure, first remove the wheel cap and spray the wheel studs. You can use lubricants like PB Blazer or Liquid Wrench.
After spraying the studs, do the same in the area where the wheel intersects with the central hub. Give the spray around 15 minutes, and then try to get the wheel loose again by giving it a slight punch or kick.
After jacking up the car, remove all wheel bolts or nuts except one. Use your foot to hit the tire while it is off the ground. Check that your car is standing on the jack stands safely. Rotate the wheel and hit it with a kick again. With continuous effort, the wheel should separate from the hub, and you can then comfortably remove it after unscrewing the last bolt.
This method of removing a wheel stuck on the car is better than using a hammer to hit the stuck wheel. The force from a hammer will destroy the wheel rim and bolts. Once you have removed your tire, use some sandpaper to remove any rust on the hub. The next time you re-install the wheel, apply some anti-seize.
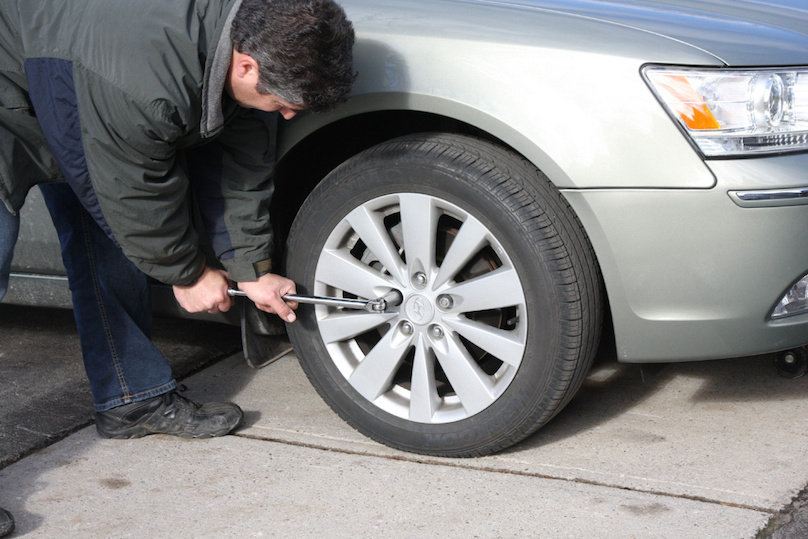 Lumber and Heavy Hammer
While this technique is not safe, you can try it out when you have run out of options with a wheel stuck on the car. The first stage is to jack up the car. Before proceeding, ensure that the car is secure on the jack stands. Find lumber measuring 2X4 inches and place it in the space between wheel and tire.
Pick up a heavy-duty hammer and then get under the car. Place the lumber across the wheel and tire and use your hammer to hit the lumber. This will free up the wheel and enable you to carefully remove it from the hub. It is important to note that this method can be quite dangerous because you are under the car. If your jack stands fail, the car will collapse on you, killing you instantly. You also need to be quite strong to use the hammer effectively for this purpose.
This is the method I’m using myself, and it has solved this problem thousands of times. Spray some lubricant around the wheel hub and bolts if possible. Then place some protection on the rim at the point where you put the crowbar.
Get a long crowbar and put it between the rim and wheel spindle or control arm, depending on the best location. Check the image above.
You need to be a little bit careful with this technique, as it may damage the rim. However, it is an incredibly effective method that works every time.
If you have tried all the techniques mentioned above and your wheel is still stuck, you may be forced to take it to a tire service station. This is better than hitting the wheel with a hammer and destroying your bolts, hub, and rims. Just be honest and tell them that the wheel is stuck.
Having a wheel stuck on the tire is not a pleasant affair – especially when you are in a hurry.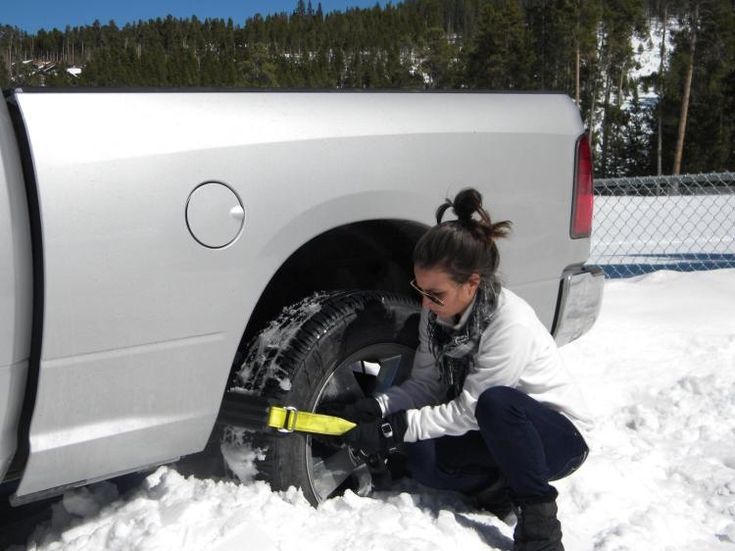 The main cause of a wheel stuck on the tire is when corrosion forms in the area between the rim and hub. This corrosive element acts like strong glue and can cause problems removing the wheel from the hub. There have been various solutions proposed to remove the tire, each with its set of pros and cons.
The easiest technique to remove a stuck tire is to find a lubricant and spray it into the spaces in the rim against the hub. The lubricant is effective in dissolving the rust formed.
You can also jack up the car and leave one bolt on the wheel. Use your leg to hit the wheel until it comes loose. Some people use a heavy hammer or torch to dislodge a stuck tire, but this can cause damage to the rims. It also requires some muscle.
Learn more:
Categories: Tires, Guides
1A Auto Team 1A Auto Blog Home
If the tire won’t come off after the lug nuts have been removed, there are a few steps you can take to get the wheel off.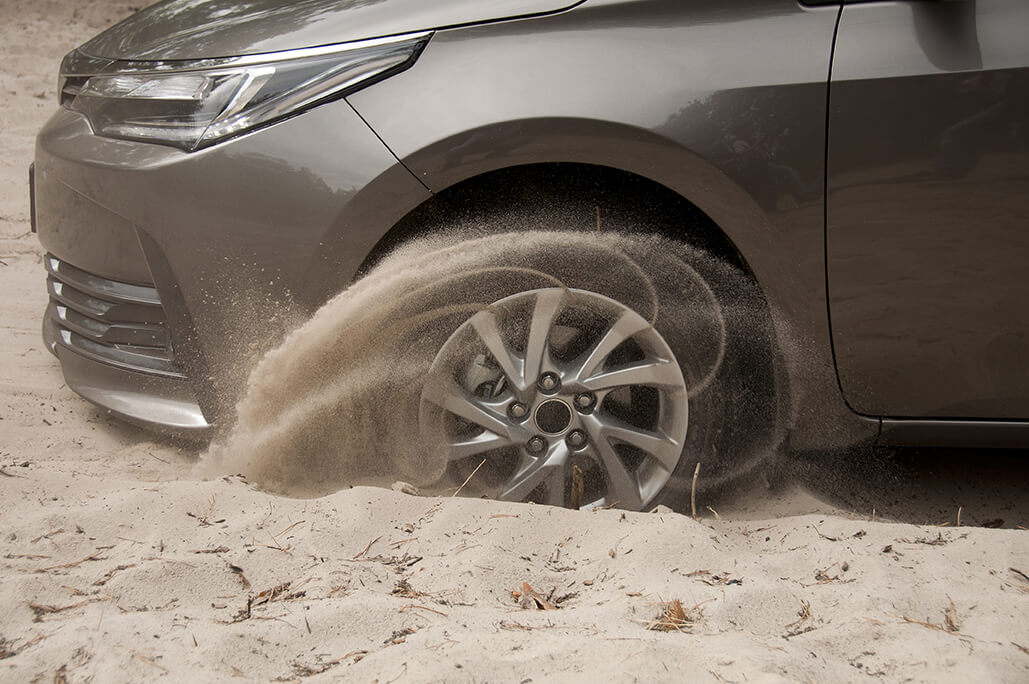 This post and video reviews how to remove a stuck tire yourself with a few simple tools and how to keep this problem from reoccurring.
In these examples the tire has an aluminum rim and corrosion is sealing the wheel to the brake disc.
4 Different Methods to Remove a Stuck Tire
With the vehicle well supported, tighten one lug nut and pull the tire off. The lug nut may prevent the tire from pulling off unexpectedly.
See this in the video above at 0:24.
If the above method does not work and the tire is still stuck, tighten the lug nuts on loosely by hand and lower the car to the ground. Lowering the vehicle and putting weight back on the wheel might pop it loose.
See this in the video above at 0:39.
At this point, if the tire doesn’t loosen, shake the vehicle from side-to-side.
See this in the video above at 0:59.
If the above methods don’t work, place a long pry bar to the back of the rim and try to jostle it free without hitting any brake lines or other parts.
See this in the video above at 1:26.
Once the wheel moves and breaks free, remove the remaining lug nuts and remove the wheel.
To prevent a tire from sticking, apply a dab of anti-seize compound and lightly coat the back of the rim. Spread and remove the compound with a paper towel.
If you do not have anti-seize compound, dip a paper towl into the motor oil and apply a thin coat to the back of the rim with the paper towel. Don’t apply too much so motor oil doesn’t leak onto the brakes.
Once the back of the wheel is coated, put the wheel in place.
Summary
Flat tire on the road, no one around, tire shop far away. Here's what you need to do to put a spare on your own, even if you've never done it before.
Turn on emergency lights.
SourcePlace warning triangle on the road. Usually it is in the trunk.
The sign must be installed behind the car at a distance of 15 m in built-up areas: this is approximately 22 steps for a person of average height. If the wheel needs to be changed on the track, a distance of 30 m is required - approximately 45 steps. This is especially important in the evening or at night when visibility is much worse. In the dark, you also need to wear a reflective vest.
Put the car on handbrake . Mechanics - handbrake and first gear. A car with an automatic transmission - on the handbrake and in the parking mode.
To ensure that the machine does not start moving, additional wheel chocks or stops can be fitted.
No shoes - stones or bricks of the right size will do.
Install the wheel chocks on the opposite side. For example, you need to replace the rear wheel - the stops are placed under the front wheels.
You will need a jack, a wheel wrench and a spare wheel.
Jack and wheel wrench usually look like thisThe wheel is in a niche under the boot. In some cars, for example, "Niva" or "Oka" - under the hood.
The jack must be installed exactly under the jacks that are in the car . If the jack support is misaligned, the vehicle may roll over onto its side.
If the ground is loose or wet, the jack will fall through, so you need to put something solid under it. Suitable floor mats, boards, bricks or branches.
Correctly installed jack Raise the car a little : no more than 1 cm.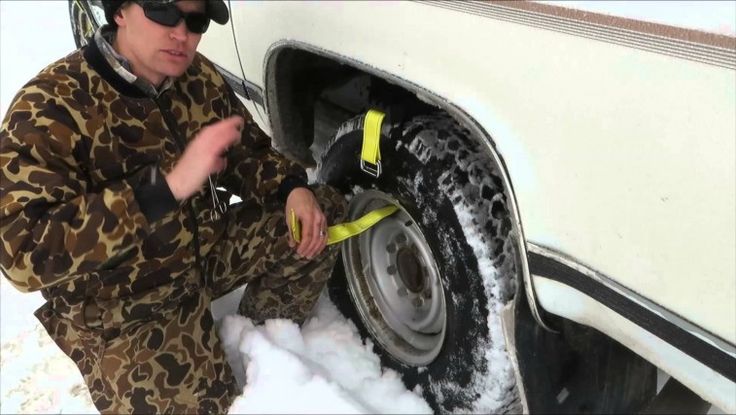
Remove the punctured wheel . Use the wheel wrench to loosen the wheel bolts. If you can’t do it with your hands, you can stand on the key with your feet.
Raise the vehicle with a jack until the wheels are off the ground . It is necessary to finally unscrew the bolts - with your fingers or a wrench - and remove the wheel.
Place the removed bolts in such a way that dirt does not get on the threaded part, otherwise the threads will be damaged. With a faulty thread, the wheel will not be firmly attached to the car.
Install the spare wheel:
Check that the wheel is correct:
April 22, 2017 Likbez Do it yourself
The ability to change wheels will never be superfluous. Moreover, the process itself takes 10–15 minutes, and everything you need is usually in the trunk of any car.
A punctured wheel is usually indicated by extraneous noise from the outside, as well as loss of speed and deterioration in handling. If the car pulls to the side, and in order to keep it on the road, you have to make an effort, then most likely a puncture on one of the front wheels. If the back of the car starts to skid, then the problem is there.
When that happens, you'll know exactly what's going on. Don't panic by any means. Align the car and, gradually reducing speed, pull over to the side of the road.
You can't drive on with a flat tire, but it's also not a good idea to stop in the middle of the road. Therefore, do not be afraid to drive a couple of tens of meters and choose a flat, dry place on the side of the road.
It is best to stay away from moving traffic so as not to cause an accident and risk your life.
Drivers of vehicles with a manual transmission must always engage first gear, and owners of automatic transmissions must shift the lever to the park (P) position.
And in any case, you need to put the car on the handbrake.
After parking the car in a safe place, do not forget to turn on the hazard warning lights and install the warning triangle located in the trunk. In settlements, it is placed 20 meters behind the car, and on the highway - 40 meters.
In the same place, in the trunk, find the spare tire and the jack with the wheel wrench. Usually the manufacturer places all this in a special niche under the floor, which can be reached by lifting the bottom panel.
It's good to have a pump and pressure gauge with you, as well as wheel chocks. And, of course, gloves will not interfere, since you still have to get your hands a little dirty.
After removing all the tools and spare tire, place them next to the punctured tire and ask all passengers to get out of the car. Even if it's freezing cold or pouring rain outside, safety comes first.
Despite the handbrake and the gear engaged, before installing the jack, you must additionally fix the wheels with stops. For them, however, any stones or pieces of brick will pass.
If the rear wheel needs to be replaced, the chocks are placed on both sides of the front wheels and vice versa.
You are now ready to remove the wheel. First, remove the disc from the plastic cap and use the wheelbrace to loosen the bolts. To move them from their place, you will need a lot of effort, which can be provided by the weight of your body by simply pressing on the key with your foot. It is not necessary to completely unscrew the bolts: it is enough to unscrew them one turn.
The machine must then be jacked up. In no case should you install it anywhere. Especially for these purposes, there are small reinforced places on the bottom, which are usually located behind the front wheel or immediately in front of the rear. The manufacturer designates them using triangles or cutouts at the bottom of the thresholds. If the weld is covered with plastic pads, they will break at the jacking points.
Place the jack under the bottom and start turning the handle clockwise. Be sure to make sure that the jack rises evenly, does not heel.
If under the weight of the machine the bottom leg of the jack sinks into the ground, you need to put something like a piece of board or brick under it.

Do not raise the wheel too much. It is enough to stop 5 cm from the ground. After that, you can completely unscrew the bolts and remove the punctured wheel from the hub. It is better to slide it under the car as insurance, and put the bolts somewhere on a rag so that they are not lost.
It remains to replace the punctured wheel with a spare. To do this, align the holes on the disc with the holes in the hub, put the wheel on and screw on the bolts, completely wrapping them by hand.
It is important to install the nuts that fasten the wheels to the hub with the semicircular side towards the rim, and not out.
Remove the punctured wheel from under the machine, lower the jack and finally tighten the bolts. You need to do it right. On wheels with four or six holes, opposite bolts are tightened in pairs. If there are five holes, then you need to pull in this order, as if you are drawing a five-pointed star.