| How-To - Wheels and Tires
We usually carry spares. Tires that is. We hope they always remain spares and that we never have to use them. However, there's always the chance you have no spare or already damaged one tire, and now have a tire that's jumped off its wheel bead. It's rapidly lost all air and you have to find a way to get it reseated on the wheel and re-inflated.
If you stick to running street pressures in the dirt, it's highly unlikely you'll push a tire off the wheel bead. But airing down is an off-road necessity in many cases and without beadlocks there is some risk of popping a tire bead. When bead retention fails it almost always occurs on the outside wheel bead and very often on the downhill side of the vehicle where the weight of the vehicle is pressing the hardest on the tire sidewall. Other times, when bouncing laterally in deep ruts, a tire can be slammed sideways hard enough to blow the tire off the wheel bead.
A tire that's been knocked off the outer wheel bead can often be reseated, re-inflated, and then you can be on your way again. If the tire has come unseated from both the inner and outer wheel beads, you've got a bit more work on your hands to get both sides sealed again. In this situation, a large ratchet strap tightened around the middle circumference of the tire may help get the tire beads pushed outward a bit for a better chance of seating. Wider wheels also make reseating more challenging.
Getting the tire completely back on the wheel and re-inflated requires cleaning the bead surfaces on the tire and wheel, getting them pulled together, and getting sufficient air inside to inflate and seal the tire back on the wheel. It can be done in the boonies with a little technique and a good shot of air.
The first thing you must do is get the tire fully off the ground and high enough so it has room to be inflated without touching the ground. Short of this, there's no way to get the tire pulled back out towards the wheel bead for reseating. In most cases, it's easier to work with the wheel on the vehicle, using the rig as a solid anchor to hold it while you pull on the tire.
When the tire popped off the wheel, there's a good chance dirt or mud got inside it. We're not overly concerned with what got all the way inside, but we do care about debris on the tire and wheel bead areas. Always clean these surfaces before attempting to reseat the tire as debris here can keep the tire from fully sealing and holding air well. Feel free to wash down the bead areas with water which will clean and help the tire slide back on the wheel easier.
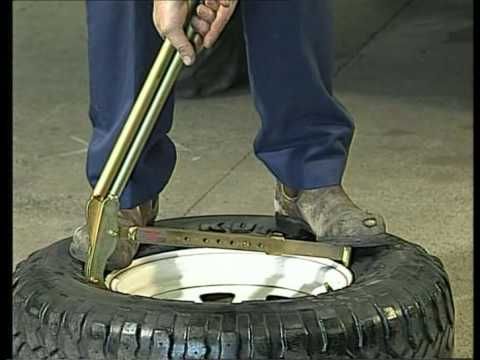
The final step of getting the tire back to a serviceable condition is to inflate it. If the backside bead is still in place on the wheel, that's a huge plus. In many cases, a couple pairs of hands pulling the tire towards the outside can get the outer tire bead out where it can start to seal again. Shoot the valve stem with air to attempt to inflate. You'll hear air hissing in locations that are not sealing. Shift your pull to try to get those spots to seal. Once the seal begins, further inflation will cause the tire to pop rapidly back onto the bead seat.
A voluminous shot of air helps greatly when trying to reseat a tire. A CO2 tank, or large air pump with reservoir, works best to get air rapidly back into the tire while trying to get the bead to reseat. A small pump often has trouble getting sufficient airflow into the tire to seat it. We've seen the starter fluid trick help reseat tire beads effectively. It involves shooting a few squirts of starter fluid inside the carcass, then tossing in a match to ignite the flammable material. Once the tire expands onto the wheel from the heated gases, one has to get to the valve stem quickly to get air into the tire for inflation. Often removing the valve core helps get the air inside quicker, but be cautious of hot gases coming back out of the stem.
If you’re a regular driver, you may have had the bad luck of experiencing a broken tire bead.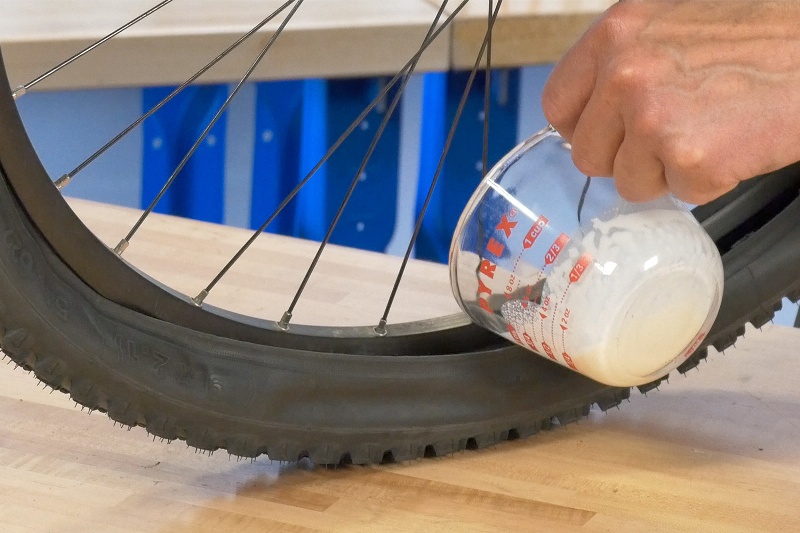
Hitting the curb or pothole, or even a quick sharp turn can result in an unseated tire bead, making the tire impossible to re-inflate.
Reseating the bead by taking it to a workshop might not be the most viable option when you’re left stranded in the middle of a road.
But do not worry because there is a rather quick (albeit dangerous) fix to pop a tire back on the rim.
All you need is some combustible fluid, a source of ignition, and a little faith in science. Just spray a little starter fluid outside the rim, and light it on fire. The expanding gas will push the sidewalls of the tire up and out, causing the tire bead to snap back into place.
You would require the following items to perform this task:
Follow the steps outlined below to properly seat a tire back on the bead:
Step 1: Lift the tire up from the groundElevate the wheel off the ground with the help of a jack.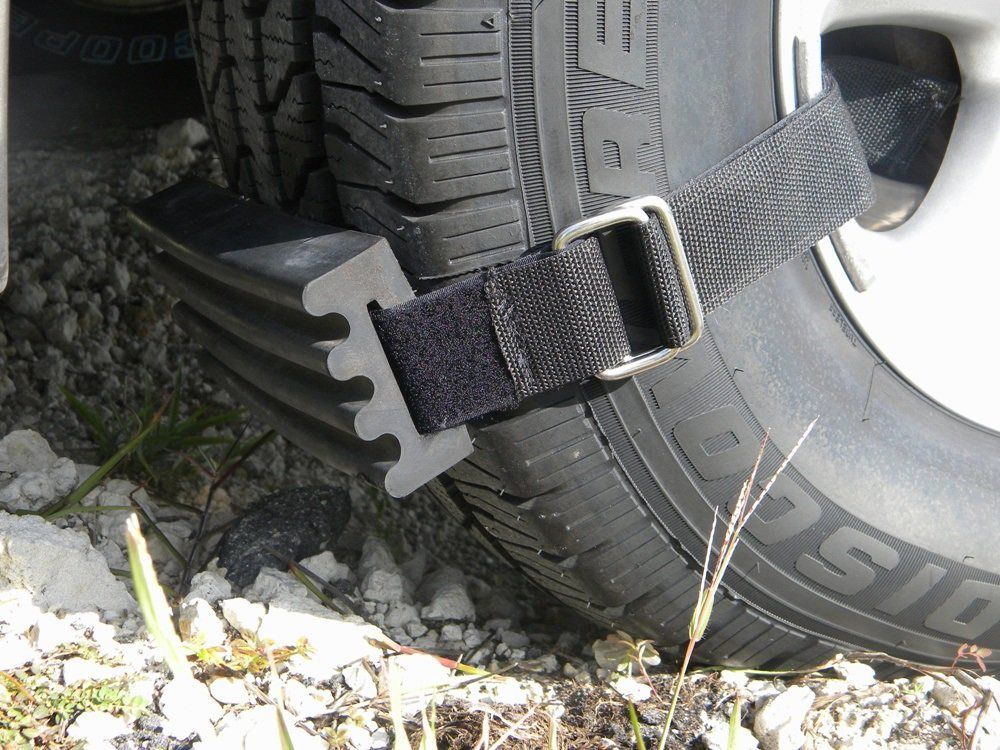 If you’ve already disassembled the wheel, place the rim inside the tire and lay it flat on the ground.
Don’t have a jack?
Well, don’t worry you can check out our guide to jacking up a car without a jack!
Carefully spray some starter fluid in the cavity created by the rim and the sidewall of the tire.
Make sure you don’t spray too much of the liquid as that might damage the sidewall of the tire.
Once you’ve sprayed it around the entire bead, spray a little off the edge of the tire and onto the floor in a straight line.
Be extremely cautious with the amount of fluid that you spray onto the wheel.
Starter fluid is highly flammable. Using exorbitant amounts of such combustible liquid can cause a fire that might be difficult to contain.
Due to this reason, always keep a fire extinguisher nearby.
Using a lighter, matchstick, or whatever source of ignition you have, light up the starter fluid starting from the link you previously made on the ground.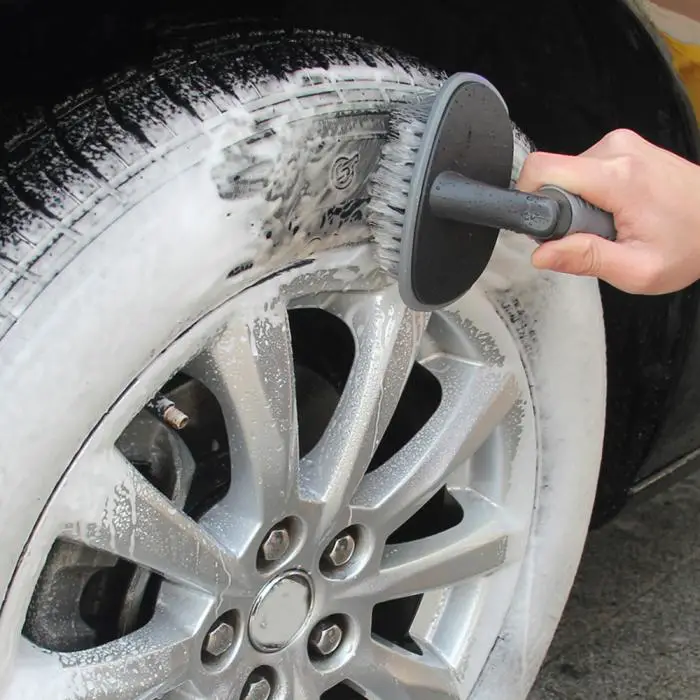
This step must be carried out immediately after spraying the tire bead so that the fluid does not evaporate away.
You might want to step back and distance yourself a bit after this step as it will cause an explosion.
The fire will cause the gases in the wheel to ignite and expand rapidly.
This sudden expansion of gases (an explosion) will cause the tire beads to move along the wheel and catch the grooves, seating them back in place.
As soon as you hear a popping sound, put out the fire as soon as possible.
This indicates that your tire is seated back onto the rim.
Finally, pump air into the tire using an air pump and you’re all set to hit the road again!
There are some disadvantages that come along with this method of popping tires back onto the rim. If not done properly, this can result in Pyrolysis, which is basically the thermal decomposition of the tire.
Pyrolysis can not only cause chemical deterioration of the tire over time but can also lead to a full-blown-out explosion.
The pressure inside may rise up to 7000 kPa and seriously injure anyone in close proximity to the tire.
Watch this video to learn the science behind using fire:
This is why you must always put off the fire as soon as you hear the ‘pop’ sound – usually a couple of seconds after you light up the fire.

Any kind of clicking or popping sound from your car’s tires is a cause for alarm, and something not to be taken lightly.
Sounds coming from a vehicle’s wheels might be due to an underlying problem in one (or more) of the following parts:
In order to find out the exact cause of trouble, you would need to take the car for a road test.
However, before you do that, make sure that there isn’t something dangling off your vehicle or a broken car part causing the noise.
Using fire might be a convenient way to pop your tire back onto the rim, but it surely isn’t the safest. Playing with combustible fluids and fires can be very risky and dangerous if you don’t know what you’re doing exactly.
Always try to seek help from a professional first, and if that isn’t possible, only then should you try pulling off such a feat. Just make sure that you abide by all the necessary safety protocols, and you should probably be fine.
(Visited 5,616 times, 6 visits today)
Another season of changing shoes is approaching. And you may remember that after the last winter/summer there is a joint on one of the tires - a small bump. I don’t want to run to the store for the sake of one new tire. We understand. Or maybe it looks even better if repaired?
Yes, not every wheel that meets with a nail, rebar sticking out of the ground or a sharp stone on the road is considered damaged. Everything, of course, depends on the scale of the damage and its location on the tire itself. Some are easily repaired, while others are simply impossible to do - the tire can only be sent to the trash.
A bulge on a wheel, referred to by drivers as a bump or bulge, is the most common tire sidewall defect. It appears due to a collision with an obstacle or after falling into a pit, more often at high speed. The threads of the sidewall carcass are easily damaged by impact, and the tire at this point can no longer hold the load and air pressure - swelling appears. A small bump sooner or later turns into a big one, and driving with such a defect is dangerous - the wheel can shoot at any moment. At high speed, this is fraught with loss of control, departure from the road and a rollover.
The quality of roads in Kazakhstan contributes to the appearance of bulges on tires
Some types of bulges are repairable, although this is a temporary measure. Not a single patch can restore the factory rigidity. Ideally, change the tire.
Special cord patches can extend the life of a tire with a herniation, even if the swelling has appeared on the tread. The sidewall is a different story. If the swelling appeared at a distance of more than 40 mm from the side, it can be repaired. If not, then the wheel needs to be replaced. Blisters on low profile tires are most often non-repairable.
For maximum safety when riding with a repaired bump, insert the tube. This is an inexpensive and reliable solution. On our market, you can find cameras made in China and Russia, the latter are slightly more expensive, but also of better quality.
The elimination of a side cut is a serious operation, therefore, as in the case of a bump, you will have to go to the professionals.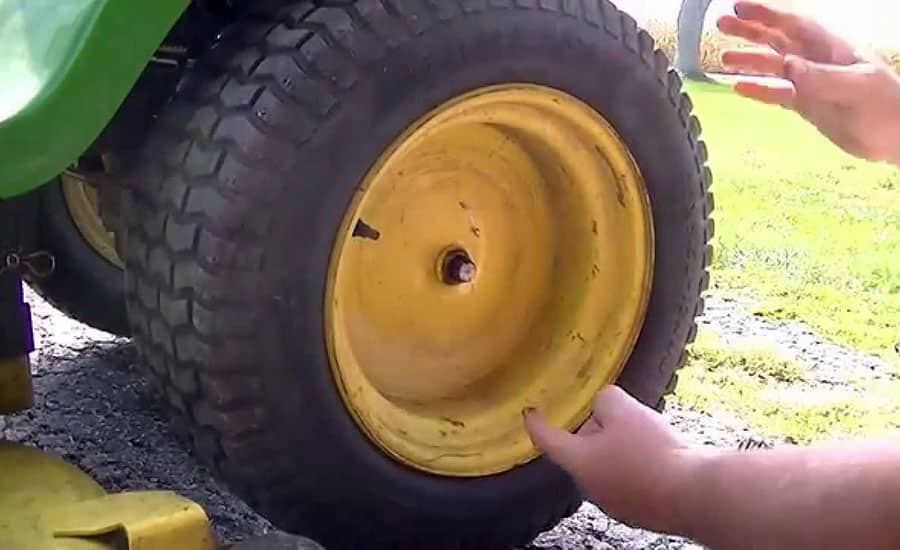 We need cord patches, since nowadays they are of different sizes and with a different number of layers. And if you do it wisely, then you can't do without special tools and vulcanization.
A cut, by the way, cannot be healed in all cases. If the gap is in the shoulder area of the tire, it is unlikely that anyone will undertake to repair it, since no guarantees can be given here. However, our Kulibins take on even the most difficult cases, cutting out parts of the sidewalls from the tires and even weaving the cord on their own.
Tire overhaul. We would not put such a wheel on ourselves
Low profile tires can be repaired, but more difficult. A tear in the sidewall is easier to seal on tires with a medium or high profile.
Sometimes a cut is confused with a pluck. This is when the outer layer of the sidewall caught on something sharp, a tear formed, but the frame itself remained intact. There is nothing wrong with that, although the drivers at the tire fitting company successfully repair the cut, for which they take it accordingly.
If a piece of rubber remains on the sidewall, then glue it with ordinary superglue (101st). If it came off, then it is better to cover it with raw rubber and vulcanize. Leaving the pluck bare is not recommended, because the tire carcass, often consisting of a metal cord, will quickly corrode.
In Europe, defective or used tires are perforated before being sent for scrap to prevent their resale and possible operation. But they don’t know that we have such holes on the sidewall patched once or twice
Cuts and hernias are not the only possible damage to the side of the tire. You can also spoil the side ring, in the process of changing shoes, for example. If it’s for garlic, then such a tire is already dangerous. Sooner or later, the tire pressure and the load in motion will start to squeeze the rubber off the rim - a wheel explosion can occur.
This ailment is repaired if the wire ring - the base - is intact. There are no special technologies and materials to correct this particular problem, but most often craftsmen use a two-component composition for chemical (also called cold) vulcanization. After mixing, the mass is pressed into a fat-free damage. Compound manufacturers recommend waiting 72 hours before mounting a tire. Of course, our masters do not pay attention to this condition - they put the tire right away. And it’s good if the wheel is flat because of this at night in the parking lot, and not on the road.
If the side ring tears are barely noticeable, but the wheel still deflates, then you can use a special liquid - a bead seal designed to seal a tubeless tire.
These seals have been used in motorsport for some time. In particular, in the American Formula D Drift Series, drivers used compounds to keep the tire on the rim even with minimal tire pressure. Now they are banned.
Pay attention to the left rear wheel of the Nissan Silvia S13. Due to too low pressure, it was literally taken off the disk under load
Every schoolchild has faced this problem when patching the inner tube of his bike after hitting something sharp. Repairing a car tire puncture with your own hands will also not be difficult even on the road. But for this you will need a pump (or compressor) and a universal tire repair kit with harnesses. All this is sold at any car market or gas station.
Repairing a tire on the side of the road with harnesses
The process is simple. If we are talking about the front wheels, then in most cases the wheel can not even be removed, it is enough to turn the steering wheel in the right direction, find the puncture site and carry out repairs. First, the hole is cleaned with a helical awl from the set. The tourniquet itself is smeared with glue and tucked into the eye of the awl, after which it is inserted into the tire hole. With a sharp movement, the tool is removed, and the tourniquet remains in place and clogs the hole. The tails are cut with a knife, but not at the root, it is recommended to leave about 20 mm. The tire is inflated and checked.
Sometimes a nail or self-tapping screw clogs the hole by itself, remaining in it. If you see a hat in a tread, do not rush to pull it out. While the pressure is holding, move to vulcanize. And sometimes they drive with a screw in a tire for weeks.
Repair of a puncture at a tire shop
Punctures are also repaired with harnesses at a specialized service, although among professionals such repairs are not considered long-term. After a few months, the flagella dry out and can let air through. There are more advanced methods like cold and hot vulcanization. The latter is more reliable. In this case, the hole is sealed with an elastic patch, and the funnel from a foreign object is filled with a special compound. After that, a vulcanizer is put on the tire, it heats up the rubber and solders it.
In addition to the plaster, the puncture is also repaired with special cord fungi. Craftsmen process the puncture site: drill it and treat the surface with a tool to roughen it. Then the repair area is lubricated with glue (it is also called cement) and a fungus is introduced. This is done from the inside of the tire. The cap of the fungus is rolled, and the excess legs are simply cut off from the outside.
Puncture repair with sealant
With the advent of tubeless wheels, and later run flat tires, many automakers began to abandon spare wheels. Instead, repair kits with compressors are supplied with the machines. A repair kit is essentially a bottle of pressurized sealant. Later, such spray cans began to appear on the shelves of ordinary car dealerships.
This method has not taken root in the CIS, because the condition of the roads makes it necessary to have at least a stowaway in the kit, but it can also be considered as a method of repair on the road.
The car must be jacked up and sealant must be pumped into the damaged wheel through the nipple. Next, you should spin the wheel, then pump it up, lower the car and drive a few hundred meters. If the tire tightness has not been restored, repeat the procedure.
For commercial vehicles, cutting the tread with a special device (regrower) is a common thing. Moreover, such tire retreading is provided by the factory (marked REGROOVABLE on the sidewall) to increase the service life. But there are entrepreneurs who undertake to deepen the grooves in tires for passenger cars. But they are not intended for such an operation. Often used tires for sale are “refreshed” in this way. Be careful!
What is the threat?
The worst option is that the retreaded tire will shoot out on the road, as the master can damage the undertread layer when deepening the grooves. Such a tire will not be able to hold pressure at some point. There will be a boom! In the best case, the tire will indeed last a little longer, but is the game worth the candle? We think it's not worth it.
How is cutting made?
A regrower is used to cut the tread. Roughly speaking, this is a large soldering iron with interchangeable tips of various shapes. It goes through rubber like a knife through butter.
If the tire is for passenger cars, then it is worth taking on a regrower only in one case - when part of the tread pattern was welded with "new" rubber during repair. This is where threading comes in handy in order to restore the grooves and symmetry of the tread.
Vehicle operation is prohibited if:
- tires have a residual tread height of less than 1.6 mm;
- tires have punctures, cuts, ruptures that expose the cord, as well as delamination of the carcass, delamination of the tread and sidewall;
- tires in size or load capacity do not match the car model;
- tires of various sizes, designs (radial, diagonal, chamber, tubeless), models, with different tread patterns, winter and summer, studded and non-studded, new and restored, are installed on one axle of the car;
- Tires retreaded according to the second repair class are installed on the front axle.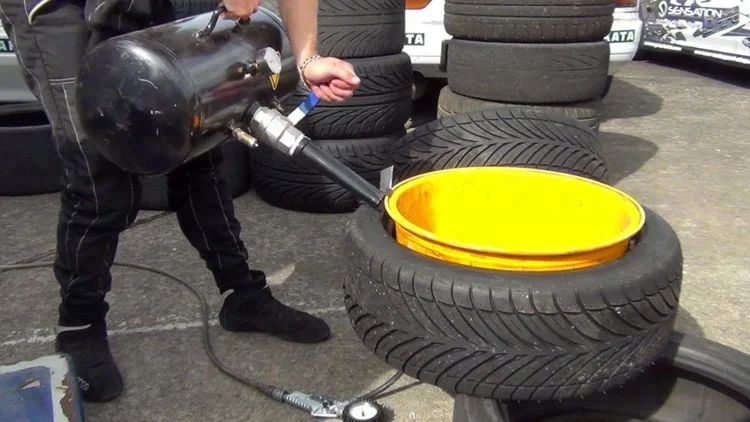
What is a second class repair?
This is the case when the carcass of the tire is restored after serious damage. A side cut (or tear) is a serious damage to the tire carcass.
But what to do if the erased tire relief does not give the proper level of grip? In this case, you need to take a groover to cut the tread and restore the grip level. How to do it? Read about it in our article.
Factory cutting of lamellas in car tires involves the creation of grooves with a sufficient depth, but over time their height melts, rubbing against the asphalt and the ground surface.
The minimum admissible knurling depth cannot be less than:
 6 mm for cars;
 If the tire is worn down to the marker sewn into the rubber, you will have to buy a new tire. If you want to avoid unnecessary expenses, try cutting new grooves in thick rubber before its height drops below 0.8-2.0 millimeters.
To restore rubber, you will need a special groover knife and a good eye. If you have the skills and a special tool, you can cut the tread with your own hands in just one to two hours, saving a lot of money. However, this technology does not work with all tires.
| Photo of UAZ car tire before cutting | Photo of UAZ tire after cutting |
|
| |
The widespread fascination with the environment and the threat of global warming has changed the fate of worn wheels. Previously, such tires formed man-made mountains in every landfill. Today, according to the requirements common in the European Union, the following types of tires are subject to mandatory restoration:
Restoration of truck tires and swamp tires for SUVs is possible only with the assistance of a manufacturer who has provided for compatibility with cutting technology at the rubber production stage. Therefore, it is possible to cut tires at home only if the inscription - REGROOVABLE is read on their sides.
If you do not see such an inscription, contact a car repair shop or abandon the idea of \u200b\u200bretreading. After all, the wheel of a passenger car is pumped up to 2.5 atmospheres, and up to 8 bar is blown into the tire of a truck, so even the slightest mistake when cutting will reduce the life of the tire several times.
Before cutting new grooves on the tread, you need to find a device suitable for the case. In auto repair shops, a special machine for car tires is used for this purpose, and home craftsmen prefer to cut the tire with their hands using knives or machines.
The most popular tread cutter is the electric regrower. This knife-soldering iron hybrid cuts grooves from 0.5 to 5 millimeters deep to create a new tread pattern. Even a cast tire cannot resist such a cutter. Moreover, the combined (thermal and mechanical) effect on the rubber does not involve great effort when cutting. A professional device for restoring lamellas differs from a tool for garage craftsmen in the ability to change cutting nozzles. Manufacturers of such machines produce special nozzle kits for each brand of car or truck tires. Some tools allow you to cut several lamellas at once in one movement.
Reducing the tread depth reduces the tire's grip on the road, so to improve stability, you need to deepen the existing grooves without widening them.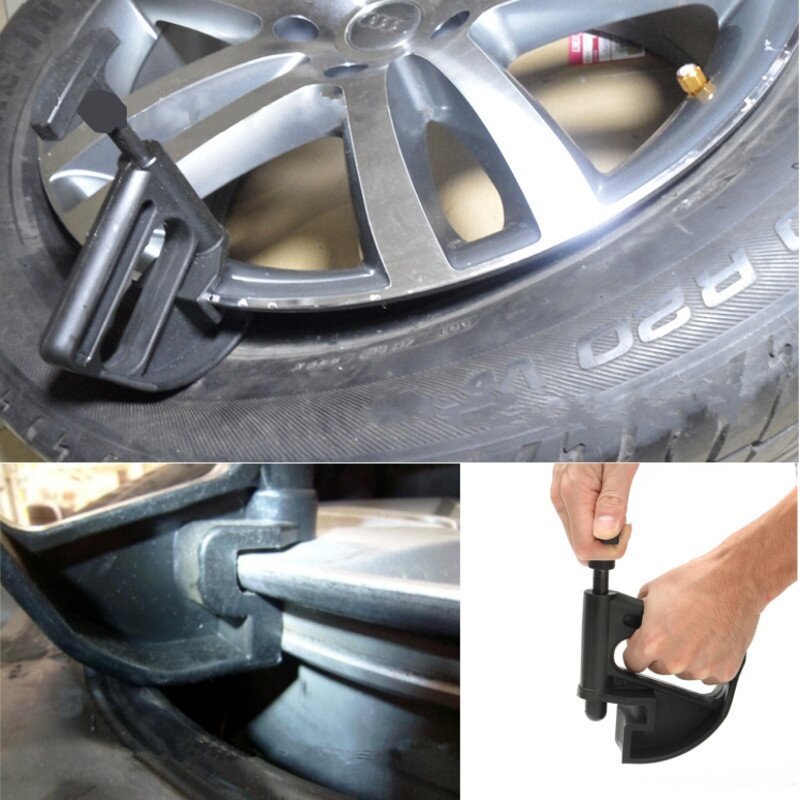 For these purposes, you need to find a special regrower attachment or make a homemade knife for passenger tires and cargo treads.
If tires are cut with a car regrower, the tool moves from the center of the tread to its edge. In this case, you need to control the position of the elbow - it must remain in a plane parallel to the contact patch. If you raise or lower your elbow during a cut, an extra hole or an area that is not selected in depth will appear on the tread.
When cutting thick truck tires or cast tires for special vehicles, this error can be corrected by transferring them to a car repair shop. Thin passenger tires do not forgive such failures. You can ruin a tire in just one awkward move. Therefore, most often, owners of old tires for UAZ, ZIL or GAZ take up self-cutting, but it is better for owners of passenger cars to restore their tires only in the workshop.
Summer Drive Protection Sound Comfort
Rating:
4. 5
5
Tires Goodyear Eagle F1 Asymmetric 3 SUV
Summer Drive protection
Rating:
4.5
Tires Goodyear Eagle Sport TZ
Summer Drive protection
Rating:
4.5
Tires Goodyear EfficientGrip 2 SUV
Summer Drive Protection Run On Flat
Rating:
4.5
Tires Goodyear EfficientGrip Performance
Winter Drive protection
Tires Goodyear UltraGrip Arctic 2 SUV
Winter Drive Protection Sound Comfort
Rating:
4. 5
5
Tires Goodyear UltraGrip Ice 2
Winter Drive Protection Sound Comfort
Rating:
4.5
Tires Goodyear UltraGrip Ice SUV
Winter Drive protection
Tires Goodyear UltraGrip Performance+ SUV
All season Drive protection
Rating:
5
Tires Goodyear Vector 4Seasons Gen-3 SUV
Summer Drive Protection Run On Flat
Rating:
4
Tires Goodyear Wrangler HP All Weather
All season Drive protection
Rating:
4. 5
5
Tires Goodyear Vector 4Seasons
Summer
Rating:
4.5
Tires Goodyear Wrangler All-Terrain Adventure with Kevlar
Summer Drive protection
Rating:
4.5
Tires Goodyear EfficientGrip SUV
Summer Drive Protection Run On Flat
Rating:
4
Tires Goodyear Eagle F1 Asymmetric SUV
 After that, carry out the entire complex for cleaning the wheels before selling - remove the dust, wash the rubber from the inside and out, perform blackening. It is much more pleasant to work with a clean tire, especially if you do all the work with your own hands and home tools.
This video shows the sequence of processing a tire by a professional groover. As you can see, the master uses special nozzles that allow you to neglect measuring the depth of cut. This saves time and improves the quality of processing.
If you want to go that route, first check how much professional cutting equipment costs. It is possible that its price will seem excessive to you, and you will prefer to order this work from professionals.
This video shows how the homemade tool works. A machine made from a conventional soldering iron works no worse than professional equipment. A heavily worn tire is covered with new grooves in just 6-7 minutes. But if you want to go this route, pay attention to the impossibility of adjusting the depth of cut. In fact, it depends on the pressing force. The author of the video suggests “cutting the tire as you like,” which does not guarantee the long life of the rubber and the safety of the vehicle owner.