Feb 26, 2019 1 comment The links in the post below may be affiliate links. Read the full disclosure
There’s something special about growing your own food. In years past I have loved going out to the garden as I prepare dinner and pick fresh herbs, tomatoes, carrots, cucumbers, and more!
Personally, I think that garden fresh veggies taste more vibrant and are just fun to grow. So, I decided that I want to try growing potatoes in tires because it looked interesting and my family loves potatoes baked, mashed, as a salad, in a soup, and just about any way that they can be prepared!
Here’s a little bit of information about when to plant your potatoes:
The main thing affecting planting time is frost; potatoes are only half-hardy and any frost will kill off emerging plants.
What you will need:I just happened to have a stack of tires from when we changed over the tires on our van, but I have also gone to our local tire store and asked them for their trash tires. They were happy to give me all I needed for free.
After you get your tires, make sure to wash off the tire grime! I used our pressure washer, but you could also use the jet stream on your garden hose. My big kids had a lot of fun running the pressure washer! I came behind them to scrub them down and do a final rinse down before calling it good.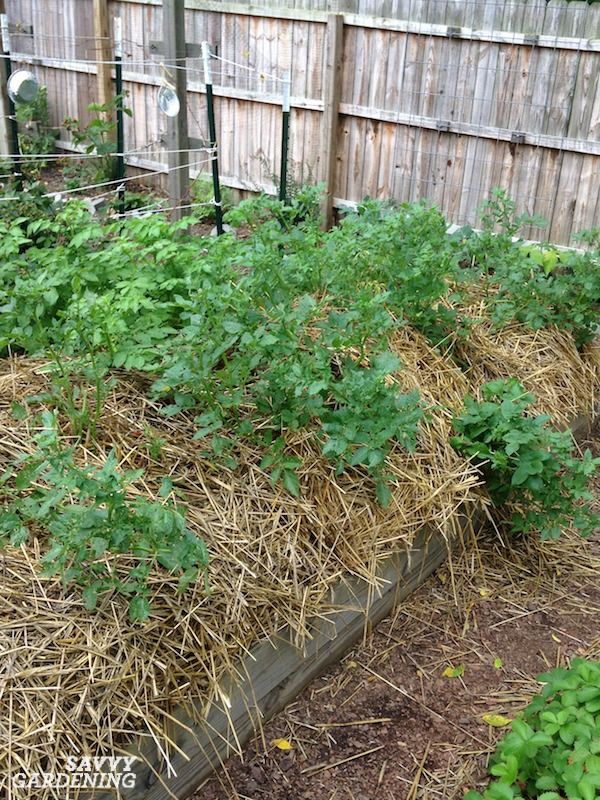
After I washed the tires I cut away the sidewall so that I would have more growing room. Honestly, this was the hardest part of the whole tire planting process, but it went pretty quick once I figured out a good technique with my utility knife.
IMPORTANT: Please make sure to always handle the knife safely by cutting away from you to prevent cutting fingers or legs. I also slipped on work gloves because after handling the first tire bare-handed they were raw. So, I recommend the gloves! 🙂
Step 2: Prepare the ground and tires for planting.Potatoes love water, but they don’t love sitting in it, so make sure there is drainage below the tire. I chose the spot that I would use for my tire to sit and then cleared away the ground to make it level.
I also removed the weeds, then covered the area with 1-2″ of small river rock. After getting the ground ready I placed the tires where I wanted them then added additional rock to bring it up to the rim of the tire.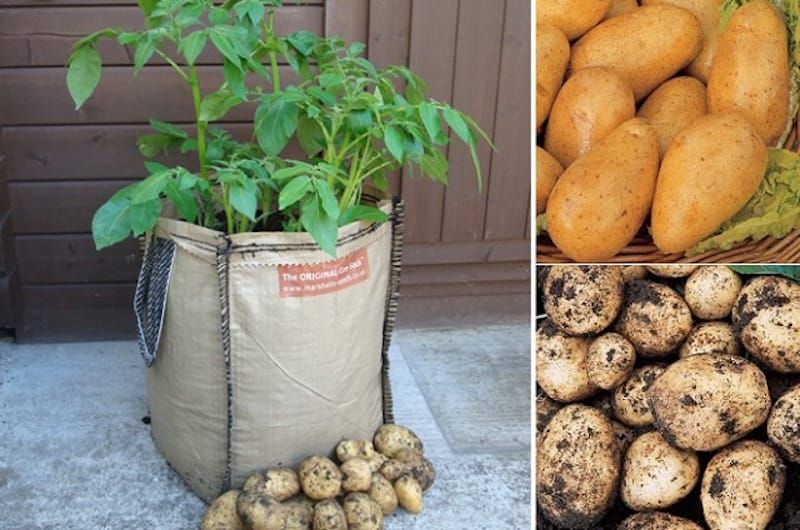
Next, fill the tire with soil/potting mix/compost to just over half the depth of the tire. I used a mix of all three in equal amounts, but you can also use straw in the mix in order to prevent the soil from compacting. Loose and airy soil = room for the taters to grow! Now you’re ready to plant!
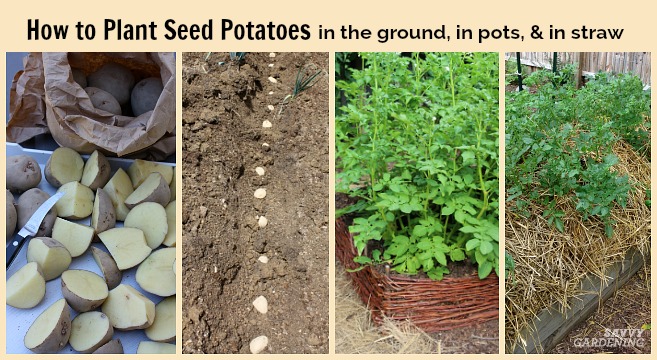
To get your potatoes ready, cut the potatoes into about 2-inch cubes with at least one eye per cube. Allow the potato pieces to sit out overnight to scab over which helps to prevent molding and diseases. Here’s a picture of my potato seeds before planting:
Next, place 4 seed potatoes in the tire equally spaced, with the eye or shoots facing up, and then cover with a couple of inches of soil. Once you have your potatoes covered, keep the soil moist, and in about 6 weeks you will have healthy plants growing!
When the young potato plants are 2 – 3 inches high, add a second tire to the stack and add more soil, almost but not quite covering them.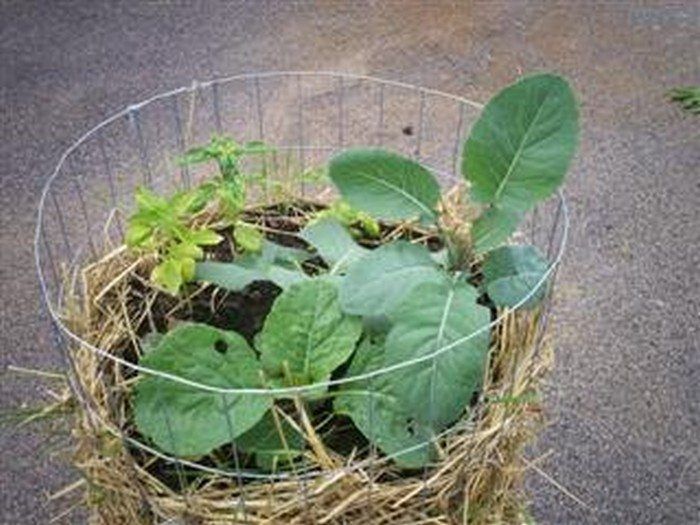 Continue covering the plants with soil until your stack is 2-3 tires high.
Potatoes (tubers) will be forming all the way up the stack of tires. Be cautious in keeping the potatoes covered while they are growing. Exposed potatoes may become toxic, and you don’t want to have to toss out all of the hard work you are doing!
Enjoy your beautiful harvest of potatoes – I can hardly wait to see how this will turn out!
During this process, I stepped back to ask myself whether or not growing potatoes in tires was going to be safe for my family. After doing a lot of reading and researching about the topic, I came to my own conclusion that there is just not enough evidence to suggest that the tires cause harm while growing veggies inside of them. You will have to make that decision for yourself, but I also ran across this and wanted to share how this gardener answered the question in depth.
A few things to remember: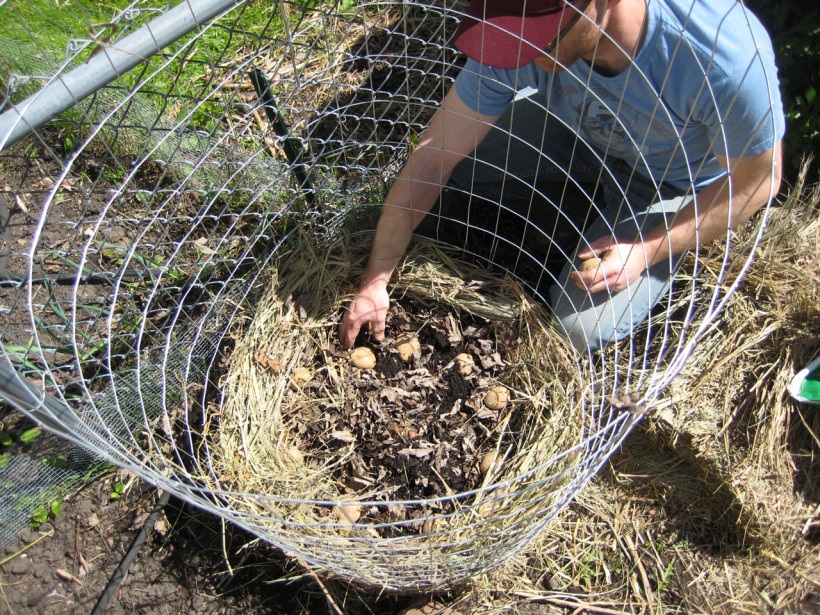 It can cause gastrointestinal and/or neurological symptoms upon ingestion. To avoid this, make certain that potatoes are completely covered in dirt throughout the growing season.
 If you’re wanting to use something other than a tire, check out this handy planter!
Ships Free with Amazon Prime (Try a FREE Membership)
Click to see the price on Amazon
See all our gardening tips!
Categories: Home & Garden
 We really appreciate it.
*Please enter a valid email address.
Something has gone wrong!
Please Try Again
Sorry, Current deals list is finished.
As a preparedness-minded person (& chief cook / bottle-washer), I often evaluate foods based on their shelf-life, ability to fill the eater up, adaptability in cooking, and how well they can extend the meal. Potatoes really are winners in these ways.
If properly stored (in a cool, dark, somewhat humid place), they can last months and then the remaining ones can be used as seed potatoes for the following year’s planting. A food source for “fresh” eating and a seed crop for the future- pretty good.
Potatoes are well-known for being filling.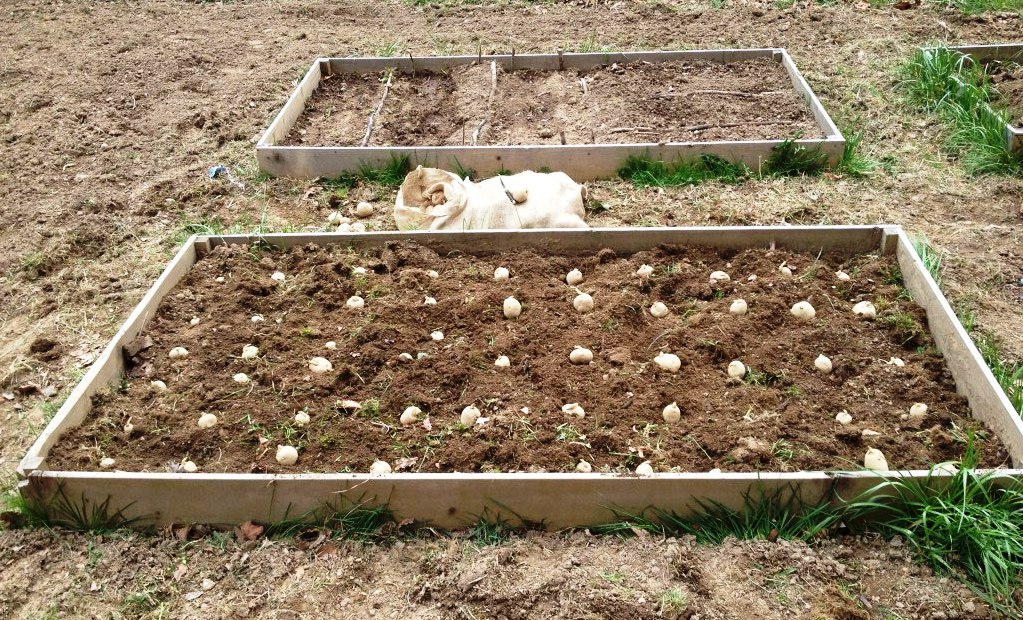 One of our regular rotations on the meal calendar is stuffed baked potatoes. Any number of things can be “stuffed” inside them, from healthy broccoli to hearty chili.
The humble spud can be cooked in a myriad of ways at any meal. Breakfast hashbrowns, homefries, scalloped, mashed, and on and on. They can take center-stage as the main course or be content to be merely a side-dish.
One of the best aspects of potatoes from a preparedness standpoint is that they really help extend a meal. I’ve heard tales of women “just adding another potato to the stew” when extra hungry mouths showed up during hard times. Not more meat, of course, but another potato to fill another stomach. When we eat stuffed baked potatoes, in the winter we often open just one large can of chili to spread over them and top with some cheese. That’s pretty economical.
Nutritionally, they are pretty good too. With their “jackets” on, they are high in potassium and Vitamin C. They’ve gotten a bad rap in recent decades because of the way most of them are eaten these days- skinless and fried.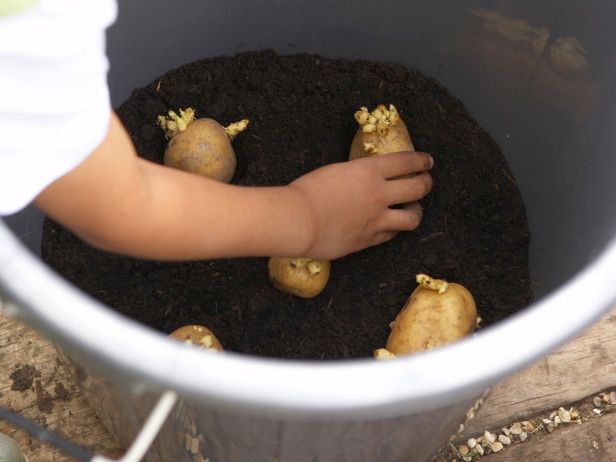 Of course, we are interested in getting the most nutritional bang for our buck too, so we’d plan to eat them prepared in the healthiest way.
As preppers, we should be giving more consideration to how potatoes may fit in our food plans. That brings me to my present topic- a different way to grow them.
Most of us know that the edible part of the potato plant is the tuber that grows below ground. Traditionally, you put a “seed potato” (a chunk at least 1″ x 1″ with a sprouting “eye”) in the ground and covered it with dirt. As a new plant emerged, you continuously mounded dirt over it, leaving only a bit peaking out. All underground parts would form tubers.
At the end of the season, you had to very carefully dig away the dirt to get the potatoes out of the ground. I found this part to be so aggravating. After months of carefully mounding the dirt and watering, a fair number of the potatoes were always pierced by garden fork or shovel. Some could be washed and used immediately for dinner, but far too few were left to store and save for seed potatoes.
A couple of years ago, I began to see articles about growing potatoes in straw. That was very intriguing. After more doing more research and reading anecdotes from all over, we have decided to try this method ourselves this year. According to many of these folks, you not only don’t have the problem of ruining the potatoes as you dig them up, but the harvests are much better.
We have some sturdy old plastic bins around that we have decided to re-purpose as our potato gardens. Being that this is an experiment, I only purchased a few pounds of organic seed potatoes for this trial. As mentioned in previous posts, we are starting raised beds this year and I am “great with child” again (due in June), so I didn’t want to put too many new irons in the fire.
I first put several sections of non-slick/non-color newspaper on the ground beneath where the potatoes would go.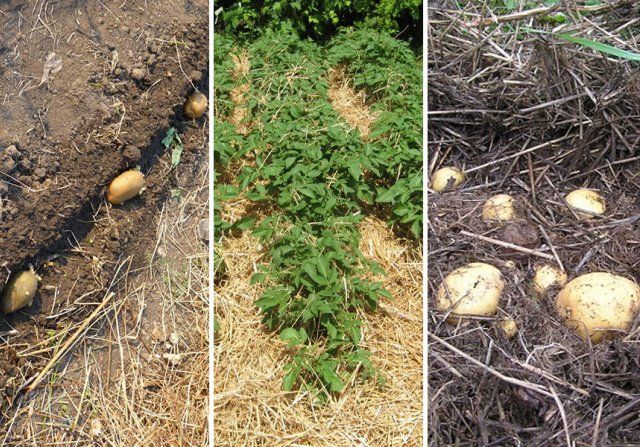 (This was to block out weeds from below.) Then I pinned the paper in place with the plastic boxes. I made mounds of “good dirt” (compost and peat moss) and placed the seed potatoes in them and covered them with more dirt. I sprinkled organic bone meal on the soil also, since it helps in the formation of tubers. (You do not want to add much nitrogen or you’ll get lots of leaves on the plants, but fewer tubers). Then I piled straw over top of them in the bins.
As the plant tops grow through, we will add more straw (rather than covering with dirt). We always had a problem in our traditional row garden with having enough dirt to continue to rake up the mounds of growing potatoes (and after a certain height, it just wanted to tumble back down or wash off with the next rain). With high-sided bins and lots of old straw around, we hope to address this problem too.
We’ve had a pretty bad Colorado potato beetle problem in years past. I think I will try planting marigolds and nasturtiums in the bins with the potatoes. They have helped with bean beetles and squash bugs, so maybe they will deter those ugly brown and yellow potato beetles too.
The only real issue I can see with regards to this method in our fairly warm climate is that the potato plants may get too hot. They are considered a “cool weather” crop, meaning they tolerate cooler temperatures better than hot. That’s why they thrive in places like Idaho. We’ve had good crops in-ground in years past. I’m wondering if they will get too hot this year without soil around them. On the flip side, the straw will be mostly shaded by the high sides of the bin. We’ll have to see how it goes.
At the conclusion of the season, we will tip the bins over and pull the straw away. Hopefully, we will reach right into the straw and harvest a couple hundred pounds of perfect potatoes (at least those are the yields some people claim).
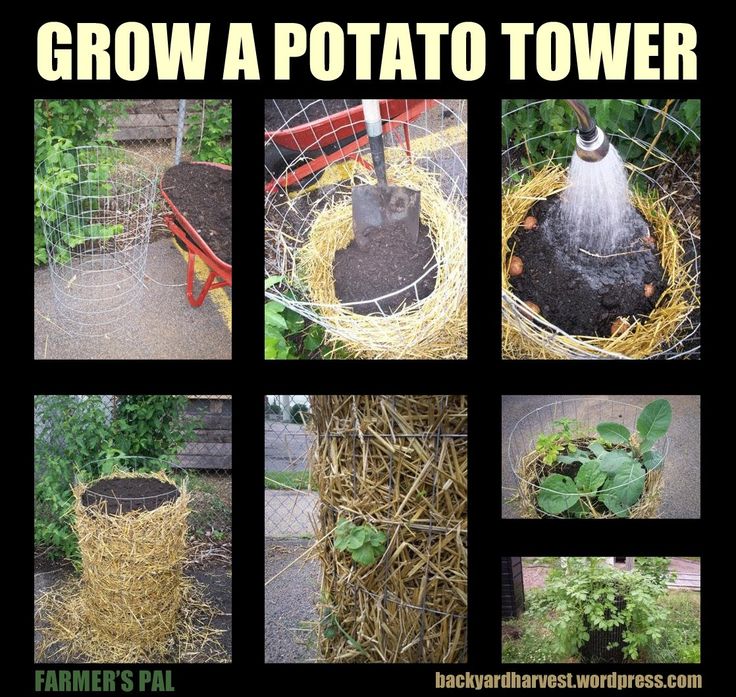
There are some other versions of this method. One is to use old tires and stack them. Plant the seed potatoes in one on the ground.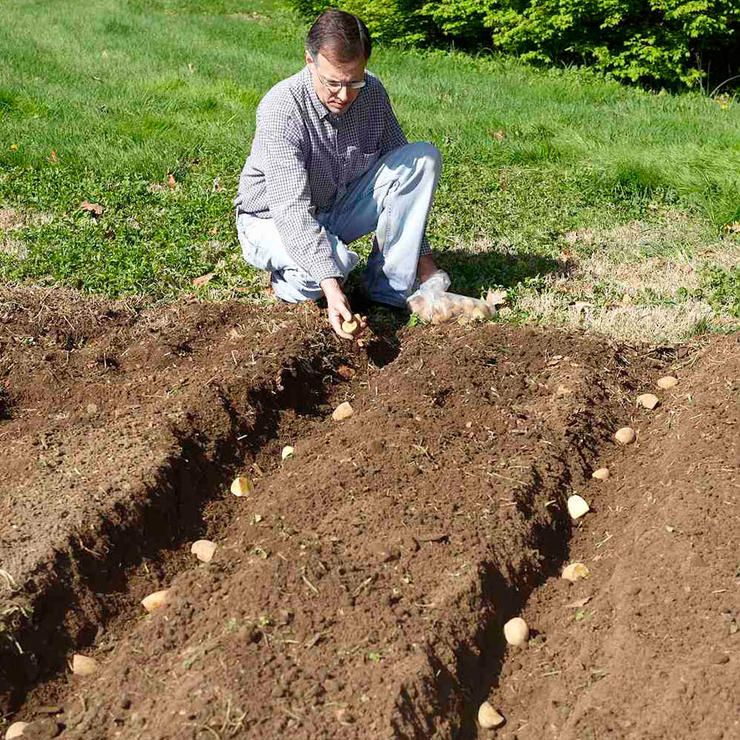 Toss straw over them as the plants grow and add another tire. Keep going until you run out of tires or time. Since all the covered plant is supposed to produce tubers (as long as they get sufficient water), you get a vertical growing space that can produce far more potatoes than a plant limited by the lower height of the dirt mound in the garden.
Another possibility I’ve seen is literally to plant the potatoes in the midst of stacked straw bales, adding as you go (like with the tires).
I’m excited about this less-work method of growing spuds. At the end of the season, I’ll report back about how they turned out.
Ever grown potatoes this way? Any pointers? Please share in the comments section.
Like Loading...
Growing Your Own Food
← Raised Bed Gardening, part 2
Choosing a Home Defense Weapon →
Straw is a wonderful material that is popular among gardeners and summer residents.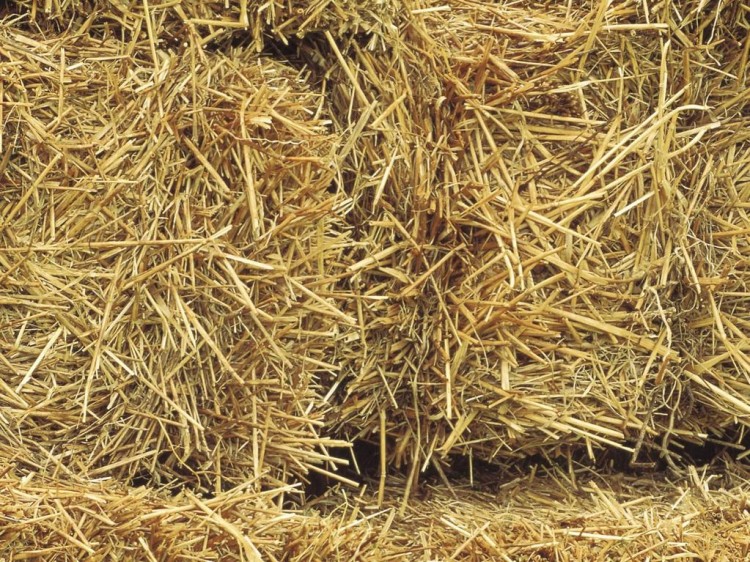
There are several ways to use it, we have described some of them, in particular, covering and mulching.
The main advantage of this raw material is due to the hollow structure of the stem, which absorbs and retains moisture while allowing air to reach the plant.
Straw remaining after harvesting or threshing is an excellent fertilizer that, when properly applied:
All this can and should be used when growing potatoes, because the use of straw eliminates the need for:
Next, we will tell you why this happens and how to properly plant and grow potatoes under straw or hay, and at the end of the article we will provide a video clip on this topic.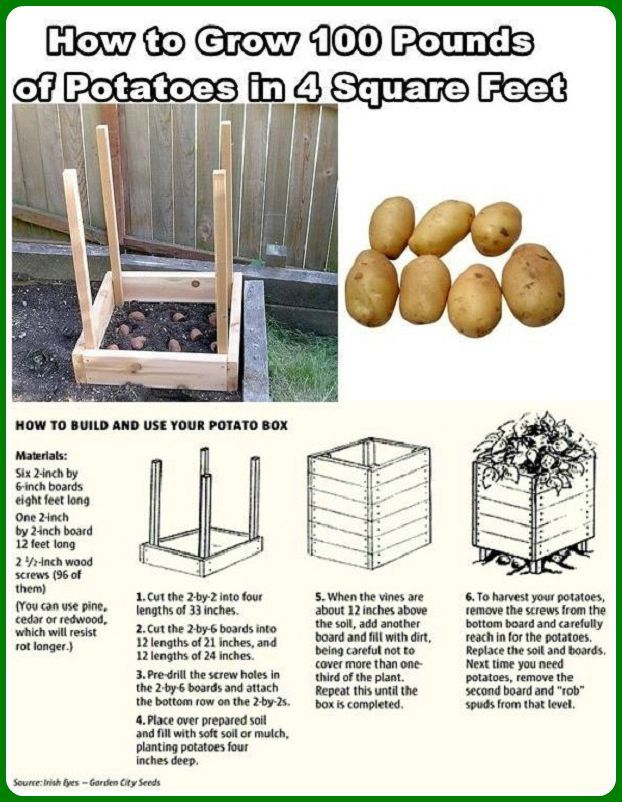
Contents
This is very difficult to achieve when using fertilizers, because the increase in nitrogen in the soil not only improves fruiting, but leads to the filling of fruits with nitrates, after which they are no longer suitable as human food.
Straw, on the other hand, leads to an increase in fertility without increasing the nitrate content, which is achieved by excellent soil balance and other factors.
Straw is based on carbohydrates such as :
Once in a humid environment, they become food for humus-forming microorganisms, and humification, that is, transformation into humus, consists of many processes in which a huge number of participants are involved.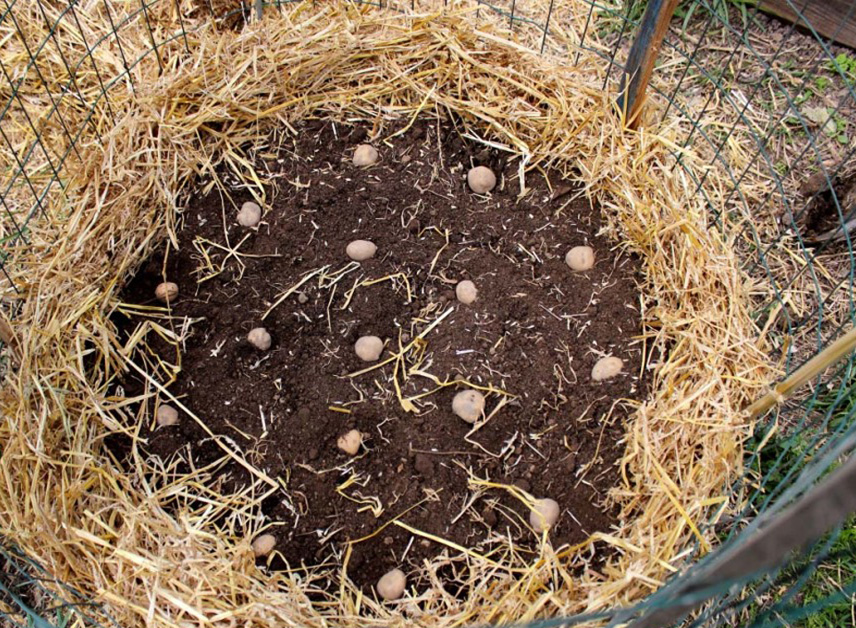
Hummification is a very long process, which is always connected with other soil regeneration processes , i.e.:
Various microorganisms and worms are engaged in the transformation of organic matter into humic acids, and only the latter, eating the dead remains of plants, produce ready-made vermicompost, the rest are already participants in a complex food chain .
In this chain, the waste products of some microorganisms become food for others, so that the humus they produce is more balanced and nutritious than that made by worms.
In any case, once in the soil, the straw will gradually turn into humus, which will make the soil on the site more fruitful.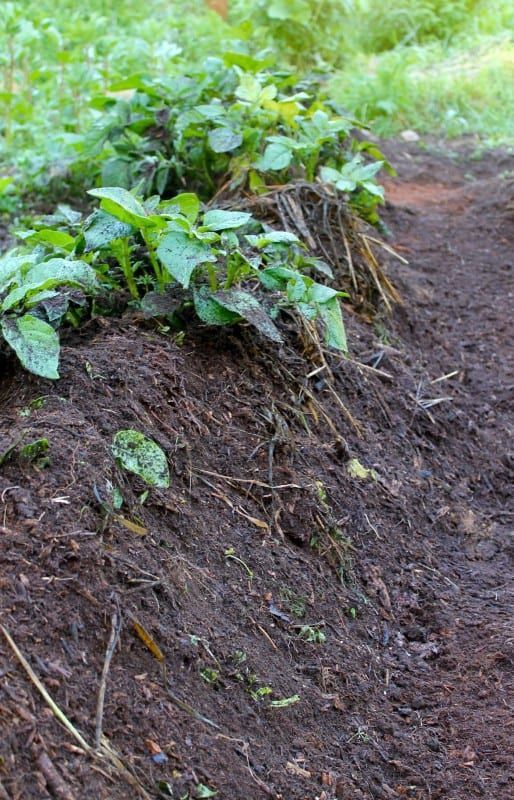
Worms that feed on dead organic matter loosen the soil, which increases its water permeability.
In addition, the lignin contained in the straw is not processed by the worms, therefore, even after absorption by bacteria and other participants in the humification process, most of the cellulose remains in the earth lignin tubes.
These tubes rot for several years, being in the ground, they perform the same function as sand, that is, they pass and absorb water. And the higher the soil moisture, the more nutrients the plant roots, including potato roots, will receive, which means the more abundant the harvest will be.
Humic acids alone are not enough for the normal development of root crops, because they require various minerals, therefore, the longer the soil is used for growing plants, the less these substances are in it.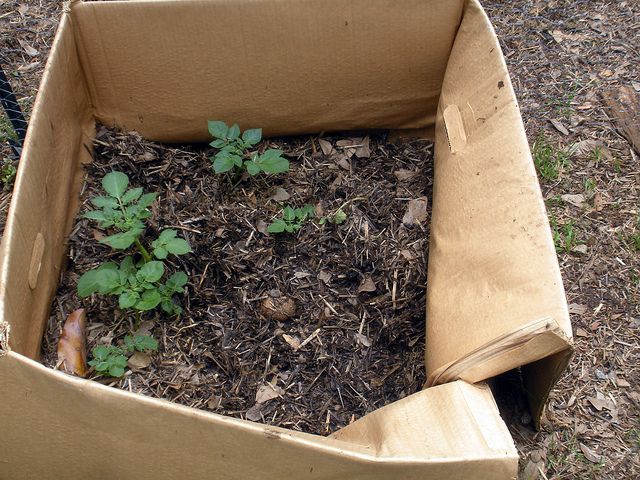
Straw contains almost the entire periodic table, so effectively compensates for the lack of trace elements , which means that the roots will receive them in sufficient volume, so that they will develop properly.
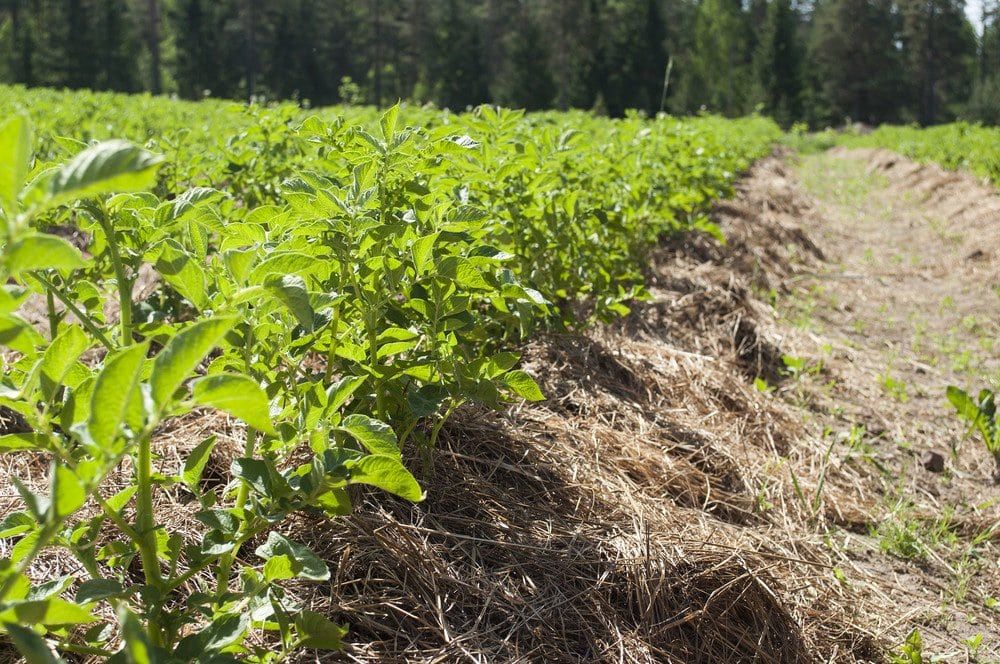
Above, we talked about how the straw introduced into the soil affects the soil, but the mulch is laid on top. Actually, the expression “grow potatoes under straw” came from her, that is, mulch plants, covering them with threshing waste.
When the soil around the plants is covered with straw, the following happens :
There are two ways to plant potatoes under straw:
We recommend using the second method, which, unlike the first, completely eliminates the risk of an increase in nitrates in the fruit, and such tubers are very dangerous to health, so they should not be eaten.
In addition, the second method greatly simplifies the entire cultivation process , because:

This difference is due to the fact that no fertilizers and even repeated digging of the site can replace the process of natural soil regeneration, but if this process is spurred by the introduction of straw and combined with digging, then soil fertility will increase several times. Therefore, the correct cultivation of potatoes under straw does not begin with the planting of new seed material, but with the harvesting of the old crop.
Such cultivation can be divided into several stages :
If you plan to plant potatoes in the same place where they grew, then immediately after harvesting, sow the area with green manure , that is:

You can plant any one plant, but it is better to use all, mixing them all over the site. As soon as the green mass gains strength, trample it and dig up the area, then mulch it with partially rotted straw.
We described these processes in detail in articles :
If you have ready-made humus, fill it in before mulching, cover with partially rotted material and water abundantly. The use of biodestructors gives good results, because they accelerate the processing of cellulose into humic acids and increase the efficiency of the soil regeneration process.
If you plan to plant potatoes in an area previously occupied by other crops, cover it with humus and mulch with straw. If the plot stood fallow for a year, then he does not need any preparation , because the earth has rested and is in optimal condition.
In warm regions, spring preparation of the soil is reduced to digging trenches and laying humus in them from manure and straw, or any other. In cold regions, soil heating is required, which will allow you to plant seed 2-3 weeks earlier.
To do this, either dig trenches about 80 cm deep for every 2 rows of potatoes, or dig a pit of the same depth, and beds and row spacings are formed after the introduction of heating material and insulating soil.
After preparing a pit or trench, fill it with straw and carefully trample down to make a pillow 40 cm thick. Ideally, under the weight of a person, it should not collapse more than 1-2 cm. one meter, this will increase the efficiency of heating, but it is impossible to make it thinner than 40 cm, otherwise it will not warm the soil above it.
Then pour abundantly heating material with warm water with biodestructors dissolved in it , for example:
Immediately after watering and applying biodestructors, cover the heating material with a layer of earth 30–40 cm thick and plant the seed material in 2–3 days.
Gardeners still cannot agree on whether it is better to plant whole potatoes or pieces, so you will have to decide on your own.
Before planting, make furrows 10 cm deep, into which a layer of humus 5 cm thick is poured, if this is not done, the yield will be worse. Arrange the furrows from north to south so that the plants get more sunlight and heat.
Some gardeners first form high beds that rise 5–10 cm above the row spacing, and then furrows are formed in them.
Deep furrows are not required for growing under straw, the main thing is that the potato is at least slightly covered with soil, and new tubers will form at the junction of soil and straw, so the optimal distance between the top of the tuber and the straw is 1–3 cm.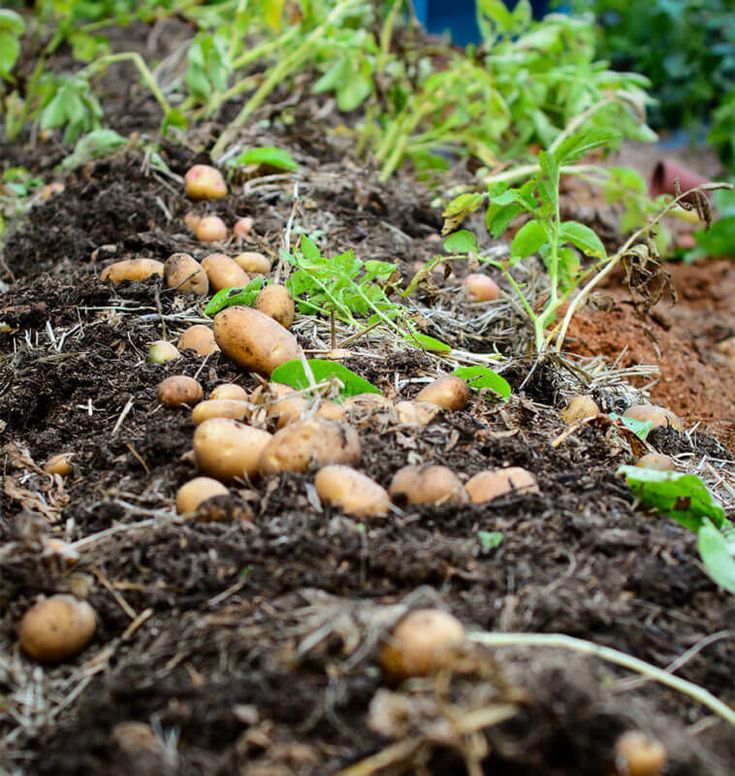
Among the gardeners growing potatoes, disputes about when to apply mineral fertilizers, that is, ash, do not subside. Some recommend pouring it on the bottom of the furrow, while others advise pouring it on top of the ground or mulch.
We recommend focusing on the autumn preparation - if you mulched the area in the winter with partially rotted straw, then it is advisable to bring the ash both into the furrow, where it will reduce the slightly increased soil acidity, and sprinkle it over the mulch. If you did not mulch the area in the winter, then there is not much difference where exactly to add the ash, the effect will still be the same.
Immediately after planting, cover beds and row spacings with straw, 20 cm thick in beds, 10–15 cm in row spacing .
Use only fresh (not rotted or discolored) straw that has been in a ventilated, dry place for less than a year.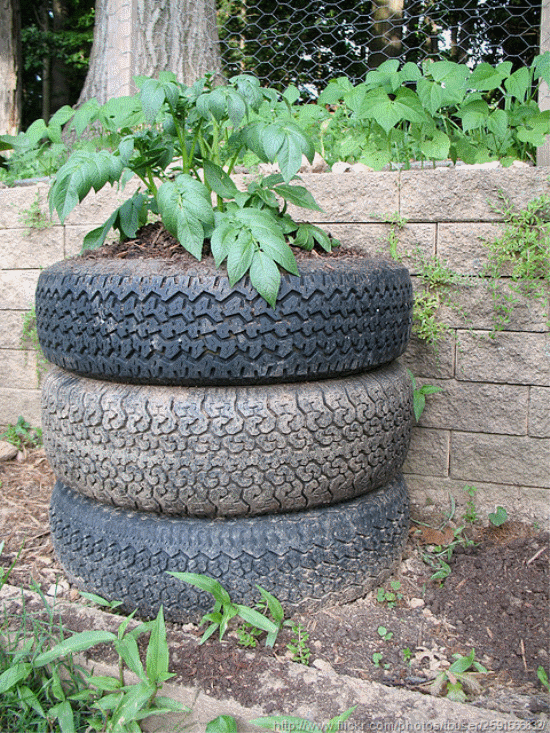
Straws with an average length of 20 cm are best suited, they are quite flexible and pliable, and due to their relatively long length they will not be blown away by the wind. Do not compact the mulch, but on the contrary, loosen it a little with your fingers, this will not spoil the thermal insulation properties of the material, but it will facilitate the germination of potato seedlings.
In most cases, the entrances successfully break through the mulch, but sometimes they do not have enough strength to do so. In such cases the surface of the mulch rises slightly above the breaking through greenery .
When you see a characteristic raised area that hasn't broken through in a couple of days, carefully dig it out to gain access to the sun, then gently spread the mulch so it wraps tightly around the ground and the young stem.
When the stem has risen 15-20 cm above the mulch, cover the entire area with another 10 cm thick layer of mulch instead of hilling. Use the same material as for the first mulching, i.e. to golden.
Do not press it to the ground to compact it, but lay it in bunches 5 cm thick, pressing them together.
These beds can be watered both with a watering can and drip irrigation. Depending on the weather and soil properties, watering is required 2-8 times a month, although if there was a snowy winter, and then after the snow melted it rained heavily, then you can do without watering until the heat starts.
In addition to the first and second mulches, intermediate mulches are also needed, during which the optimal thickness of the protective layer is restored.
The need for this arises from :
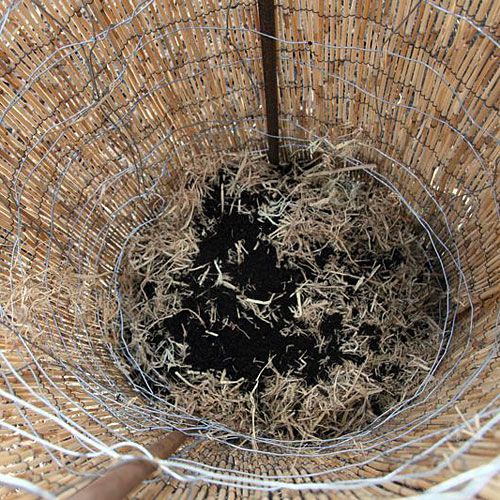
This mulching is carried out every 3-4 weeks.
Prior to harvesting, all mulch is removed from the site and placed in a compost heap or pit until the material is completely rotted out unsuitable for use on the site. Then most of the tubers are collected from the soil surface, and the remains are dug up , after which the site is leveled and green manure is planted.
The best way to increase yields and protect potato beds is to plant green manure directly in the beds. White mustard and various legumes are well suited , they not only balance the chemical composition of the soil, but also drive away the wireworm, which is a serious threat to the tubers.
Lettuce also gives good results. Green manure can be planted instead of every fifth or tenth potato bush, then they will protect the area around them from pests and improve the soil throughout the area.
This video will show you how to plant and grow potatoes under straw or hay with step by step instructions:
Growing potatoes under straw allows you to achieve higher yields and improve the taste of potatoes than traditional methods, and requires much less financial and physical effort.
This technique is based on those processes that occur in nature and are the result of hundreds of millennia of evolution, so they provide the best balanced result. With such cultivation, even very large tubers will never be overflowing with nitrates, so eating them will only bring benefits.
Anna Medvedeva
I don't want to dig, but I want to rest! And here's some advice on how to cut down on the effort of planting potatoes for the May holidays.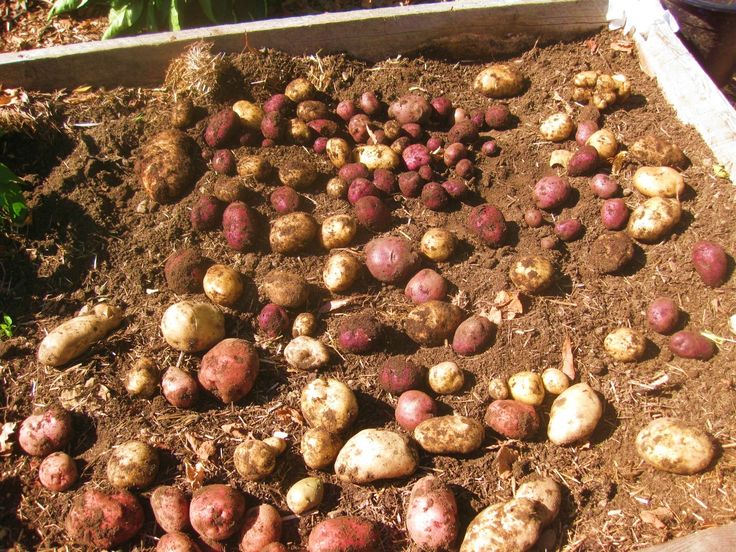
Wet conditions this spring have created ideal conditions for heavy soil compaction in many Russian regions. And by the May Day holidays, when summer residents go to plant potatoes, the earth is unlikely to have time to dry out, especially when it comes to heavy and clay soil. It's scary to think that you have to turn the earthen layers with a shovel, and then treat your chondrosis!
Don't worry, take the advice of Andrei Chuikov, a gardener from Suzdal, Vladimir. This year he will do so.
- If the spring is good, then I let the area under the potatoes under the cultivator. But this year the big digging is cancelled, at least for May. Loosening after rains is a thankless task, and my first planting will be on top of the beds after onions.
What I'll do right now as the sun starts to scorch is remove the mulch from last year's onion beds (turn the onions on the potatoes) and spray weed seedlings with a homemade herbicide at the rate of a tablespoon of vodka per glass of water plus a drop of dishwashing liquid .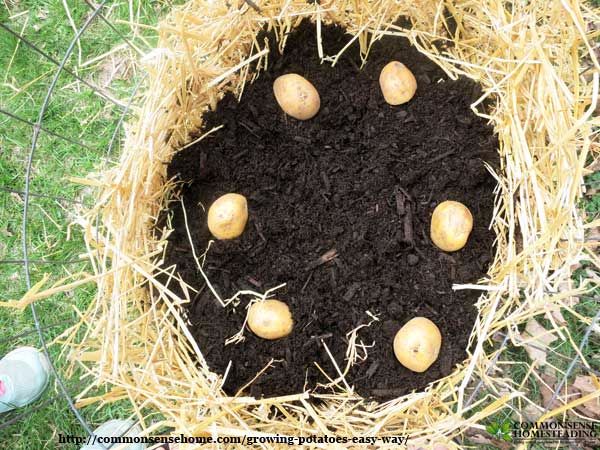 I don’t have a lot of weeds, and I don’t feel sorry for cheap vodka. The sun will dry the weeds. And while they are drying, I will choose the smallest thing and lay out the potatoes for sprouting in the sun. In this case, it is not necessary to cut the tubers into pieces. In wet conditions, the pieces will rot.
Then I'll go to my friends' stables and bring some straw. During planting, I will spread the potatoes directly on the ground about 30 centimeters apart and cover with a 50/50 mixture of straw and rotted compost. I will add wood ash after trimming.
You should get decent piles of about thirty centimeters. Now it's time to water. And in a couple of weeks the tops will break through. I will spud with the same straw mixture and make sure that the tubers are well covered. If it gets cold again after planting, I will cover the straw mound with plastic.
This is a convenient way that does not hurt your back. In addition, you can choose ripe potatoes, as they say, on demand, from straw, without digging up the entire plant.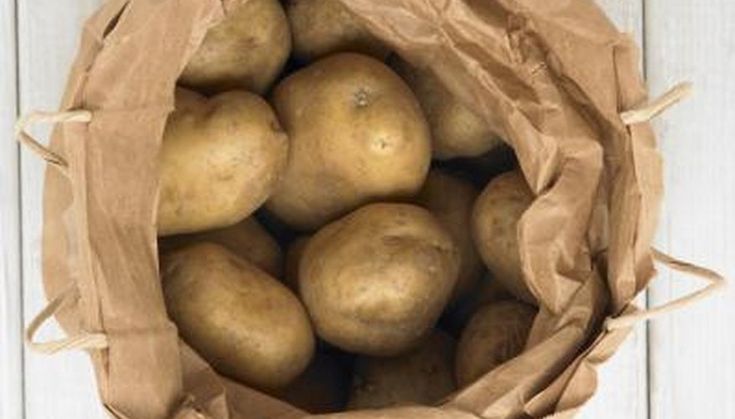 In general, the height of a straw pile for a good harvest will end up being about half a meter. And the same material at the end of the season is embedded in the ground for the subsequent winter garlic.
Perhaps it is worth recalling the old trick to those who have everything overgrown with weeds or occupied by lawns, but suddenly there was a desire to grow their own potatoes without delving into agronomic wisdom. Here you need tires and, again, straw.
We close the selected place with sheets of cardboard and put the first tire. Fill to the top with straw and lay out about 6 seed potatoes (here you can take chopped pieces). Cover with straw. We put another tire on top, again we “bring in” straw and potatoes.
Repeat until there are four or five stacks. Now we water and cover with the top layer of the most fertile soil that you find nearby, without weeds and pests, 5 cm. In the season, of course, we continue to water so that the straw is slightly damp, but not wet.