Care & Maintenance November 01, 2021
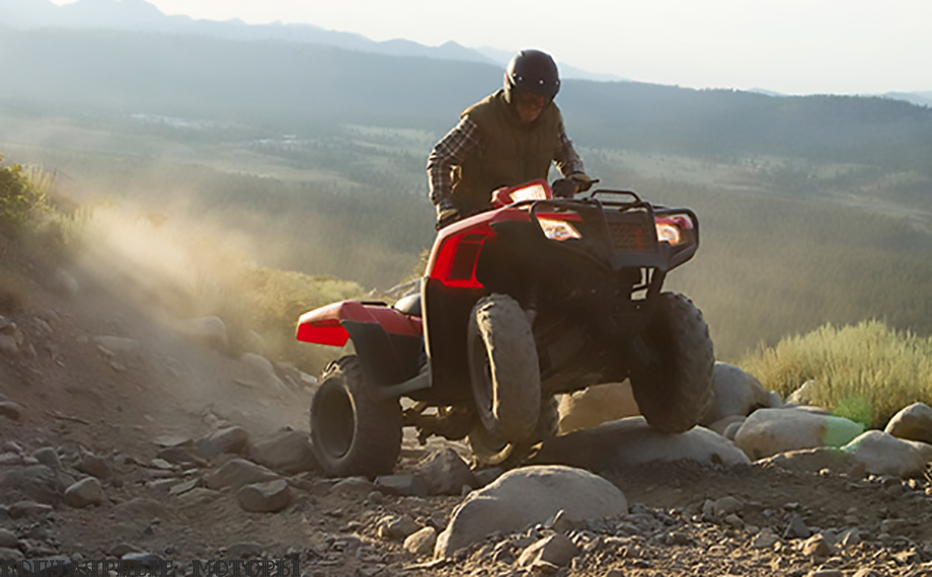
For some of us, winter is just another season for riding our ATVs and UTVs out on snow-covered trails—and maybe even for putting them to work doing a bit of plowing. But many riders put their rigs into hibernation mode for the cold and snowy season. That’s not as simple as just pulling the four-wheeler or side-by-side into the yard or the garage and forgetting about it until the spring thaw: You’ve got to do a little prep work beforehand. Learn how to properly winterize ATVs and UTVs with these straightforward tips.
Winterizing side-by-sides and ATVs partly involves conducting a little routine maintenance on the engine and the starting system. From dealing with the fuel tank to caring for the battery, let’s dive in!
Fuel allowed to stagnate in the tank can gum up the system with varnish, and condensation may cause its ethanol component to separate from the gasoline (phase separation) and thus lead to performance issues in spring. To avoid these degradations over winter, you should either run your machine out of gas before putting it into storage (siphoning out anything that remains in the tank after the engine dies) or add a fuel stabilizer in the proper dose. After adding the stabilizer, run the engine for five to ten minutes to allow it to penetrate all parts of the fuel system. Top off the tank with fresh fuel to limit the amount of air inside and thus ward against the formation of condensation.
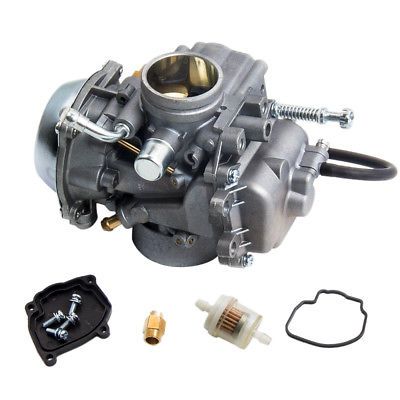
If your ATV or UTV has a carburetor, close off the petcock and drain the fuel out of the float bowl.
Old oil can cause its own problems, given the acidic and otherwise damaging combustion products that tend to accumulate in it. If your four-wheeler is due for an oil change, take care of that before putting it in winter storage.
The same goes for your transmission and differential fluids.
Leaving a dirty air filter in your ATV or SxS over winter can cause it to degrade, plus make starting up in the spring a bit of a trial.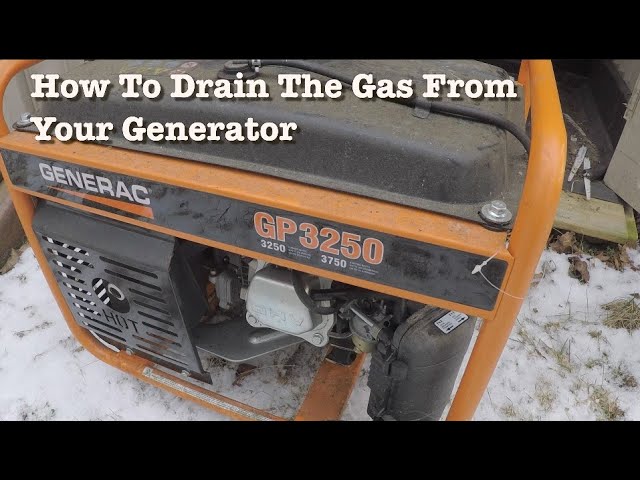 Therefore, clean the air filter (or, if necessary, replace it) ahead of storage.
You may also want to block off the airbox intake to keep critters out. You should also consider similarly blocking any other intakes and exhaust tubes or pipes where rodents might otherwise get in and start nesting.
Remove the battery when your ATV or SxS is positioned for storage. Take the opportunity to give the terminals a good cleaning so they have the best connection possible when you pull your machine back out of storage.
If you have the structure and the space, it’s always preferable to store your SxS or ATV in a garage, barn, shed, or other indoor shelter to minimize its exposure to the winter elements. Ice, road salt, snow, and mud can all promote corrosion and rust, and extreme temperatures can cause their own problems.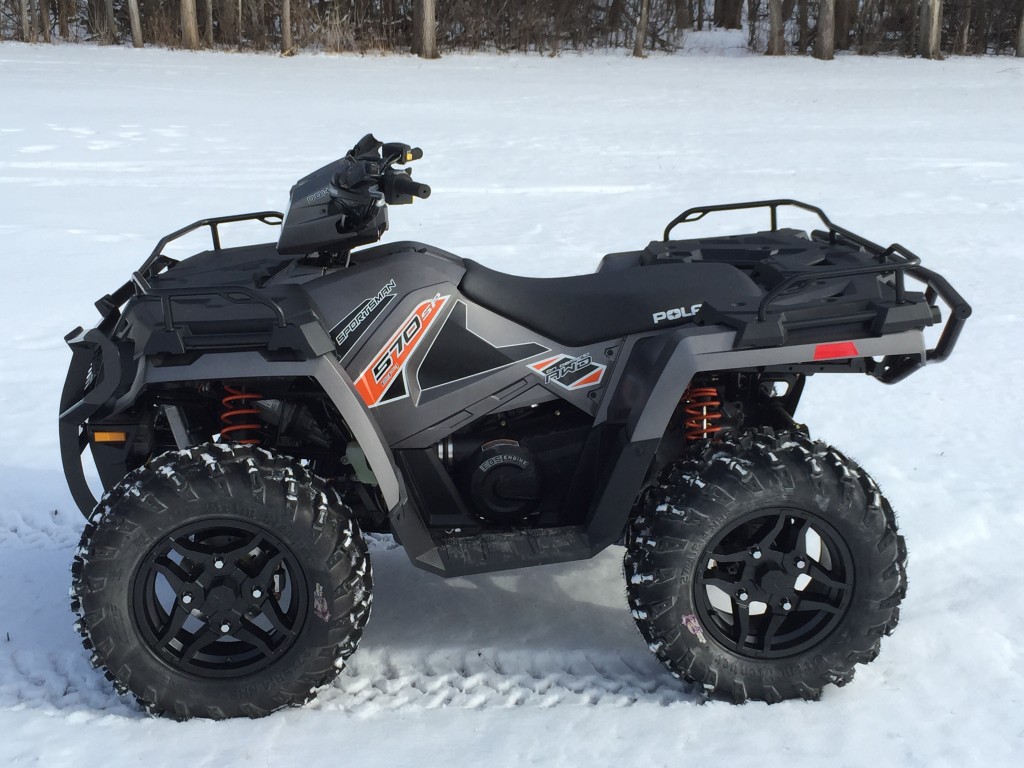 Read on for advice on properly storing your UTV or quad!
You should be cleaning your four-wheeler after every ride (check out our POLARIS guide to UTV/ATV cleaning right here), but make sure to give it a thorough wash and scrub, and apply a protective wax for good measure before putting it up for storage. Again, everything from dust and dirt to chunks of frozen mud or ice can damage the body or finish if left caked on your machine for an extended period.
Certainly, if you’re storing your four-wheeler or SxS outside but even if you’ve got a garage or shed space for it, cover the machine to keep off debris, buffer it from windblown or falling objects, shield it from degrading UV rays. While an old tarp is better than nothing, you can get more complete and secure protection from a specially designed ATV or SxS/UTV cover. Made of durable, weather-resistant materials such as nylon or polyethylene, these covers are generally equipped with some mechanism for cinching or tying down the cover to the off-road vehicle.
Leaving your ATV or SxS/UTV parked on the ground or on concrete all winter long can result in strain or damage to the tires. To prevent this—and to also give your machine a little more protection from water and snow—it’s best to elevate it for winter storage. Jack it up and secure it on jack stands, cinder blocks, or other adequate supports, throw that cover over it, and you’re all set!
Failing to properly winterize your off-road vehicle may lead to unnecessary wear on both its exterior and its inner workings. The simple steps outlined above can go a long way to protecting your ATV or UTV over those long winter months—and help it rev right back into action as soon as your riding season comes around.
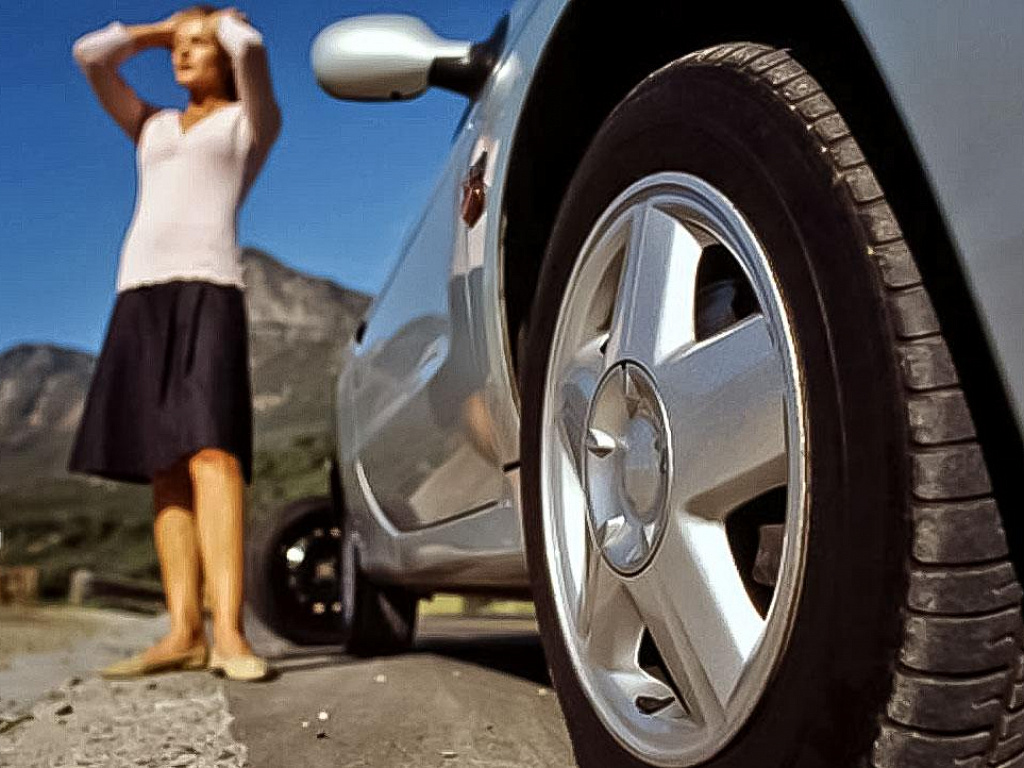
It happens all the time, water gets sucked into your engine or somehow makes its way into your gas tank. It makes sense with all the puddles, rivers, and streams you ride through out on the trail. Or maybe the gas tank was left open and it rained quite a bit.
However it happened, you need to remove the water from your fuel tank or engine before you try to start up the machine. It’s not a very hard process and if you follow the steps below, you will be able to start your engine without causing any damage.
They do make a Fuel System Water Remover found here on Amazon. But this is only really useful for small amounts of water and this will only remove water from your fuel system. To completely clean all water out of your machine, follow the steps below.
The most common results from running an ATV with water in the engine include, blown piston rings, blown valves, or a hole in the cylinder wall or head. You see the engine was made to compress an air/fuel mixture.
The air/fuel mixture will compress by the piston moving up, to the point where a spark will light it causing a small explosion which sends the piston back down. Water doesn’t compress. So if there is water in the combustion chamber when the piston is moving upwards trying to compress an air/fuel mixture. The pressure gets to be too much and the water will find its way out of the cylinder somehow.
Usually it will just blow a piston ring, but those aren’t fun to replace. In any matter, it’s best to remove the water from the engine and the fuel before trying to start the ATV. So lets get into the steps to do that.
If ever think you’re getting water in your ATV engine, like if you’re in really deep water or something. It’s best to shut the engine off immediately. As you can see in my picture in the sidebar, I’ve done this before. Thankfully I shut the engine off as I started to feel the ATV bog down and prevented any real damage from happening.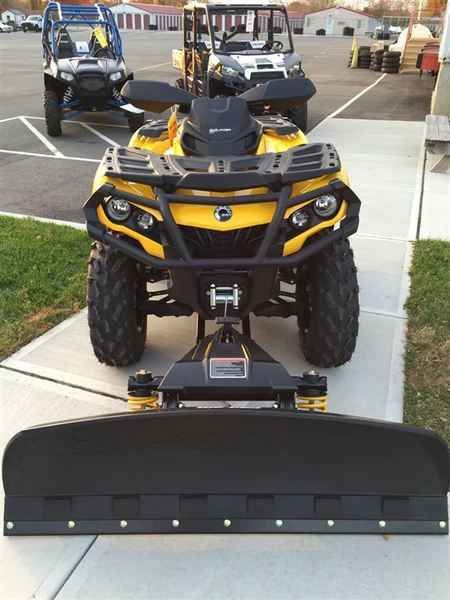
Luckily you shut the engine off before any real damage was done too, right. If so, follow these steps before trying to start your ATV again.
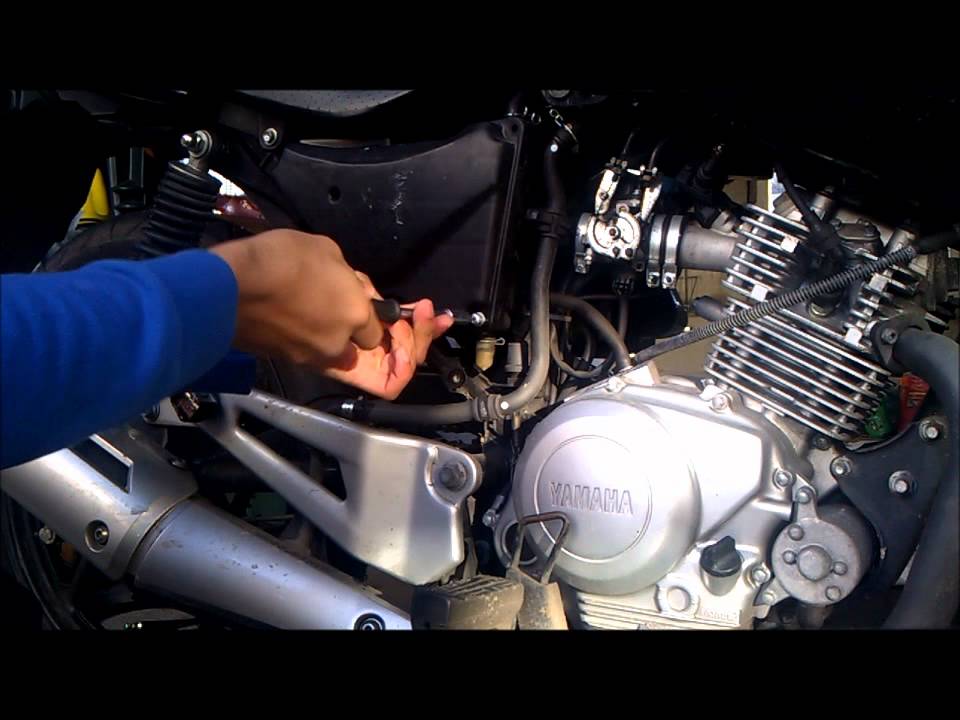
Check the air filter first, none of the other steps will do you any good if your air filter is wet when you go to try starting the machine up again. If the air filter is wet, take it out of the air box.
Wipe the air box out with paper towels or rags and let dry completely. If you can get your air filter to dry out, you might be able to use it again. Just make extra sure it’s completely dry inside and out.
Drain the fuel tank, fuel lines, and clean the carburetor if your engine has one. While you’re at it, drain the oil and remove the oil filter too. If any water got in your oil, it could cause some major problems for you later on.
I like to spray some carb cleaner in all the ins and outs of the carburetor just to make sure any water in there gets removed. It’s a good idea to let your gas tank air dry after you drained it as well.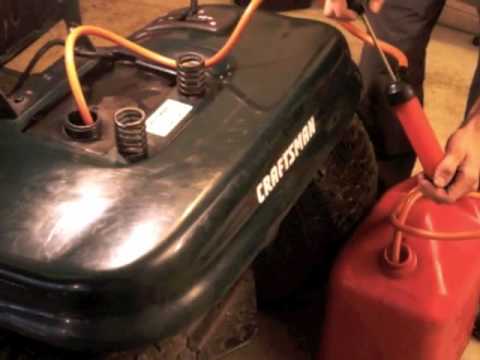
You’ve already drained the oil out of the engine and removed the oil filter, so now to force the water out of the cylinder, remove the spark plugs and turn the engine over a few times. Most of the water should have come out when you drained the oil, but this will help get any remaining water out.
Refill the engine with oil, put on a new oil filter, and turn the engine over again, with the spark plugs still taken out. You’re going to want to look at the oil after you’ve let it sit for a few minutes. You’re trying to see if there is any water mixed in with the new oil you just added. If there is water you will see white colored milky areas rising to the top of the oil.
If you see water in there still, drain the oil and do those steps again. You really want to make sure there is very little or no milky white stuff in the oil.
Put the spark plugs back in, put some fresh fuel in the tank, and see if it’ll start up. After you let it run for a few minutes, check the oil again for water. If you don’t see any milky white liquid in the oil, you should be good to go. If you do see some, change the oil and filter again until you don’t see any water in the oil.
If it does not start up, you may have done some damage. You will probably want to check the piston rings, piston, and cylinder for damage. I sank an old Polaris Scrambler when I was younger, and water got into the engine. The piston rings were shot and needed to be replaced.
If you want some tips on how to get an ATV to run again by doing a tune-up check out my, ATV Won’t Start: Common Problems And How To Fix article.
With some of the terrain you ride through, it may be impossible to avoid water. But do try to avoid going too deep. Try to keep your exhaust and air filter above water at all times. Your air filter may be in an air intake box, if so, keep that above water also.
You could also try adding a snorkel kit to your ATV. Snorkel kits allow you to go into deeper water with your ATV without the worry of doing damage to your engine. To learn more about snorkel kits and how to make one yourself, check out my How To Snorkel An ATV article.
Sharing is caring!
Sometimes motorists are forced to drain gasoline from a gas tank. For example, for a gasoline lawn mower or refuel another car. And if a gas tank leaks, then you have to drain all the fuel in order to carry out repairs, remove water or bad gasoline from the tank.
If on old cars (carbureted foreign cars and some VAZ models) the merging process is relatively easy, then on new models you will need to work hard. This is due to the fact that they have a long winding channel where it is difficult to push the hose, and a mesh installed at the filler neck, which also prevents draining.
The article describes how to quickly and safely drain the fuel from the tank with your own hands, depending on the type of gas tank and the methods of supplying fuel.
Methods for draining on tanks without a screen are shown. These are mainly the following cars: VAZ, Gazelle, Niva, Volga, i.e. predominantly Russian models. Also given is a way to do this job on modern machines with an injector.
Known to many drivers. You will need a canister and a hose for draining gasoline, which is inserted into the tank, then with the help of your mouth you need to draw air from the other end of the tube. You need to quickly draw air from the hose and wait 2-3 seconds. Because gasoline will not flow immediately. Keep the end of the hose as close to the ground as possible and do not pull up. When fuel flows, the hose is inserted into the canister.
This method is used as a last resort, because there is a danger of swallowing gasoline (dangerous to health), or spilling it on the ground if you do not have time to insert the tube into the canister in time. It's also not hygienic.
As an addition, a video on how to drain gasoline from a tank and not get drunk:
It is done like this:
Another way for injection machines is to use a return line. It is necessary to turn off the car engine and take the fuel hose, which is located behind the fuel pump. Disconnect better under the hood of the car. It runs from the tank to the engine's fuel rail. There it is more convenient to disconnect it.
The end is lowered into the canister, after which the ignition is turned on to the second position. At the same time, the engine is turned off (we do not start), but the fuel pump will begin to pump liquid in the usual mode. After pumping the required amount of fuel, the ignition is turned off, and the tube is installed in place.
Many foreign cars like Renault Logan or Chevrolet Niva and VAZs from the 10th family have a special fitting in the fuel rail, especially for draining gasoline. We unscrew it and calmly drain the gasoline from the tank.
If you drain all the fuel through the fuel pump, it may burn out. To protect yourself from breakage, it is advisable to turn on the ignition in several passes so that the pump pumps liquid in small portions. Airing of the system is also possible, which is treated by pumping the system at increased engine speeds.
In some old foreign cars and carbureted cars, the fuel pump is not located in the tank itself, but near the engine. So you can try to drain the fuel through the fuel line. You need to act according to this scheme:
If the car has a drain plug (see the owner's manual), you will have to use a flyover or drive the car to the inspection hole. The sequence of actions on how to drain gasoline from the tank:
If there is no such plug, then you need to use the fuel pump. This method is more difficult, because you have to disassemble the interior, sometimes cut a hole in the back of the floor, remove the fuel pump completely. This can be done when you need to completely drain all the gasoline from the tank and clean the system from dirt.
As an addition - a short video instruction on how to drain gasoline from a tank of a foreign car or VAZ with an injector.
Most often, motorists pour gasoline into the tank, but there are situations when it is necessary to perform the reverse process, i.e. drain gasoline from the tank. Most often this is done when cleaning or repairing the fuel tank is required, replacing the fuel pump, which cannot be reached or rescued by another motorist. Are there universal methods that are suitable for all car brands from Lada to Nissan? There is!
Consider 4 ways how to drain gasoline from the tank, they are suitable for any brand of car, be it a Lada or a foreign car, for example, Toyota, Ford, Chevrolet or Nissan. Using these methods, you can drain gasoline without any problems in just a couple of minutes. Let's analyze each of them in detail.
When draining, be aware of safety precautions. You need to do the actions away from open flames, do not smoke nearby, since one spark is enough for something irreparable to happen. This is due to the flammable feature of the product.
If you used the old-fashioned method - pumping out with a hose and swallowed fuel, rinse your mouth quickly with plain water and consult a doctor. The hose must not be pulled sharply; for its easy removal, slightly press the valve with a wooden block. After the procedure, the tank must be tightly screwed with a lid.
How to choose a tank. Experts advise to give preference to a metal container. The fact is that plastic tanks can provoke sparks due to the static stress of this material. It was this reason that created the rule for the supply of fuel from gas stations only in a metal tank.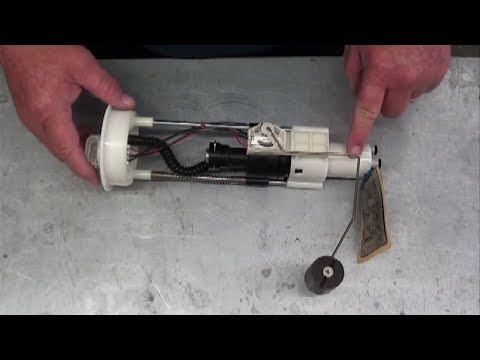
Important! Drain fuel only in open areas. This is necessary in order not to inhale gasoline vapors, which are toxic, which in turn is very harmful to human health.
Attachments to make work easier:
The last option shows the highest efficiency (device performance 10 ml per second).
Gas-resistant hosePear for fuel transferMechanical pumpElectric pump Most often, the mesh in the tank is missing in cars of the Russian assembly, for example: Lada, Gazelle, Volga, etc. To drain the fuel, you should use a special tube, this is the most primitive, most common, old-fashioned way, suitable for urgent fuel draining.
What we need:
Draining process: The first step is to open the gas tank by unscrewing the filler cap. Next, one end of the hose is inserted into the tank, and the other end is lowered into a container into which gasoline will later need to be drained. In order for gasoline to flow, you need to create pressure, and this is quite simple with the help of air. You just need to inhale some air into yourself through the tube. After that, you should lower the free end into the dishes and wait for the moment when gasoline flows.
The first method is only suitable for those cars that do not have a mesh on the gas tank. If there is a drain plug, and it is available on almost all modern Japanese cars, then you need to do it a little differently. This method is faster and safer than the first one, since the first option is more likely to inhale gasoline vapors, which can lead to vapor poisoning.
Important! Many modern vehicles have a fuel drain.
What we need:
Draining process: For the second option, you just need to open the cap located at the bottom of the gas tank. To do this is not so simple as it seems at first glance, because for this you will have to get into a rather inaccessible place - to the bottom of the fuel tank, and only after that you need to unscrew the cap. After these manipulations, you can start draining gasoline.
This method is suitable for fuel injected vehicles. The return line is usually located in the engine compartment behind the fuel line.
In order to drain the gasoline from the tank, you need to follow a few simple steps:
Draining process : There are a few simple steps to drain the petrol tank. 1) open the hood of the car; 2) with the engine off, disconnect the fuel hose (coming from the fuel pump) at the point of its connection with the fuel rail; 3) place the released end of the hose in a suitable container to drain gasoline from the tank; 4) turn on the ignition of the car, but do not start the engine!
Important information! Please note that some vehicles may have a fitting on the fuel rail. It is designed specifically for convenient fuel draining. That is, it is enough to unscrew it and begin the drain procedure. If you turn on the pump and try to completely drain the gasoline, it may burn out.
The last method is similar to the first, remember that it is important to follow all precautions.
What we need:
Draining process : Many vehicles have access to the tank through the passenger compartment, located under the rear passenger seats. Throw off the seats, unscrew the cover, access to the fuel pump and tank opens.
turn off the fuel pump
drain the fuel VAZ
are there instructions
alternative to hose
drain fuel from largus
drain fuel from ford transit
method for domestic car
remove fuel line
show all
9007 tank , for example, in order to help one of the motorists left on the highway without fuel.