Thanks to the folks over at FireCore, both jailbreaking and installing useful jailbreak apps on an Apple TV 2 is about as easy as it gets. FireCore’s jailbreak tool — Seas0npass — is incredibly simple, and it’s free.
Likewise, FireCore’s application package — aTV Flash (black) — is extremely simple as well, though there is a charge associated with using it. Pretty much everything that you can install using aTV flash (black) can be accomplished on your own with a bit of know how, but its simplicity makes the package worth the money.
Now Kevin Bradley, better known in hacking circles as nitoTV, has created his own easy to use installer, appropriately called, nito Installer. Unlike aTV flash (black), his version is free and runs directly on an iOS device like the iPhone or iPad.
Want to see how it works? Take a look inside as we take nito Installer for a spin…
For the record, let me just say that I’ve been corrected on the pronunciation of “nito”. It is pronounced “neat-o”, and I feel a bit dumb that I’ve been pronouncing it incorrectly all of this time. I apologize for that.
And that makes sense, because nito Installer is indeed neat. It works wonderfully well, and is something you should definitely consider using if you’re at all into the Apple TV jailbreak scene.
Upon launching nito Installer, you’ll first be prompted to select an AppleTV. The installer will pick up any AppleTVs residing on the same Wifi network, so you’ll obviously need to be connected to Wifi in order to use it.
Once you’ve selected a jailbroken Apple TV, then the fun begins. You’re given options to install nitoTV and/or XBMC. Literally, all you do is tap install nitoTV, and the installation process begins and finishes on its own.
Although you’re met with a progress wheel on the iPhone, the fact that anything is being loaded to your Apple TV isn’t very conspicuous. I wish that the installer would force some sort of notification to display on the Apple TV side of things so that we knew that the two devices were actually communicating. Eventually, though, your Apple TV will reboot, and you’ll be met with an icon for the respective package that you decided to install.
Another nice thing about nito Installer is that you can upgrade, transfer addons, and remove packages all from the convenience of the installer running on your iPhone or iPad. There are even advanced options included for changing your SSH password, or for relaunching or rebooting the Apple TV. Lastly, if your iPhone or iPad is feeling left out, you can install XBMC on it as well.
Nito Installer is a universal app, meaning that it features layouts appropriate for both the iPhone and the bigger screen on the iPad. Best of all, it’s a totally free download on Cydia’s BigBoss repo. Though it may not be as pretty, or pack quite as many features, if you’ve been looking for a free alternative to FireCore’s aTV flash black, then you’ve found what you’ve been looking for.
Have you tried nito Installer? What did you think about it?
The Apple TV is a great addition to any existing TV setup. With an Apple TV you can play video, music and movies from your iPhone, iPad via AirPlay or browse the myriad of apps and games available from the Apple TV’s dedicated App Store – well, at least with the fourth-generation Apple TV anyway. Older variants (Apple TV 1, 2 and 3) are somewhat less impressive, only offering media playback and not much else.
But a jailbroken Apple TV is a whole different ball game. Once you have jailbreak software running on an Apple TV you can install new apps, services and systems on the Apple TV that make it far more interesting than what Apple offers by default.
The question of whether to jailbreak an iPhone is rather controversial (there are upsides and downsides). There are considerably fewer downsides to jailbreaking an old Apple TV, and lots of upsides.
Here is some of the neat software you can install on a jailbroken Apple TV:
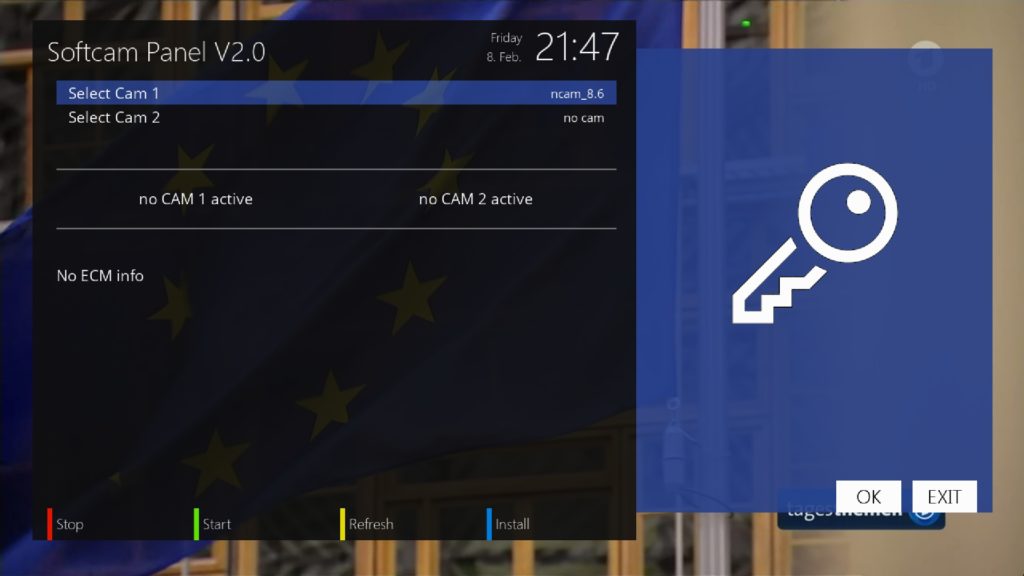
Kodi (formally known as XMBC) is an entertainment hub that enables you to play most music, videos and podcasts. It also enables PVR functionality so you can watch, and record, live television.
aTV Flash (black) | FireCore: is user-friendly software for older Apple TVs that enables you to play niche file types (such as .mkv), browse the internet and use unofficial apps such as Last.fm.
So it’s a great idea to jailbreak your old Apple TV. Especially if you have an Apple TV lying around that’s not being used.
Fortunately, it’s pretty easy to jailbreak an Apple TV – as long as you have the right model of Apple TV, anyway.
Apple has released five generations of Apple TV over the years it has been available. The Apple TV first-generation (the white and silver model) along with the Apple TV 2, Apple TV 3 and the Apple TV 4, which came with a redesigned OS and a number of new features, including Siri and an App Store, and was followed up by the Apple TV 4K.
The Apple TV 2, along with the Apple TV 4 and Apple TV 4K are pretty easy to jailbreak using the right software (more on this in a bit).
The first-gen Apple TV can be jailbroken using software called Rowmote, although the software is somewhat outdated and won’t provide a great experience compared to the more recent Apple TV.
If you have an Apple TV 3, you cannot jailbreak it at the moment, regardless of what you read on the web.
There are a number of scams that claim to be able to jailbreak the third-generation Apple TV, they will attempt to take your money, so avoid them.
Even if they might be legitimate you should still be cautious.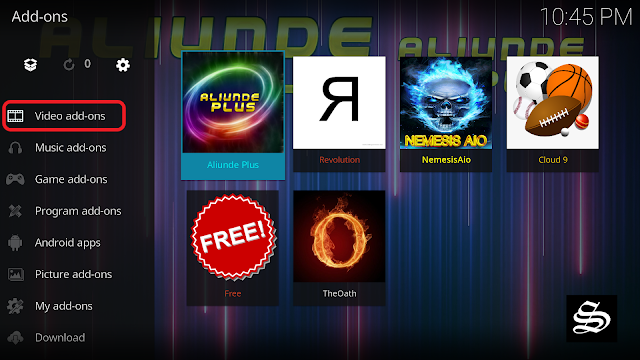 Take one tool for jailbreaking the Apple TV 3, Snow3rd. We’ve tried (and failed so far) to verify if it is a scam or not, but it will only work on an Apple TV that hasn’t been updated beyond iOS 5.0.2, and from what we can see it doesn’t always work.
Whatever you have read on the web, it appears that there is currently no way to jailbreak an Apple TV 3 that we can confidently confirm is not a scam.
Your best bet is to install Plexconnect and use the Plex Media Server, which doesn’t require a jailbroken device, but does allow you to play more content through your Apple TV. You can read more about installing and using Plex in this article about watching TV on the Apple TV.
The Apple TV 2 running iOS 5.3 software (released on 19 June 2013) can be jailbroken using software called Seas0nPass. This is available from the FireCore website. Follow these steps to jailbreak your Apple TV 2:
As the Apple TV boots you should see the FireCore logo. That’s it, your Apple TV is now running jailbroken software. You should be able to use it as normal, but from now on you’ll be able to install other apps and services. For more information on how to get the most out of your jailbroken Apple TV take a look at the FireCore website.
It’s a slightly different process to jailbreak the fourth- and fifth-generation TVs as tvOS operates differently to the traditional Apple TV software.
Oh, and like the Apple TV 2, the Apple TV 4/4K jailbreak will only work if you’re running tvOS 12 – 12.1.1. Those that have installed tvOS 12.2 or later are sadly out of luck, as the jailbreak technique was patched by Apple in later OS updates.
Anyway, follow these steps to jailbreak your Apple TV:

We have many more tutorials about the Apple TV, including how to set up and use an Apple TV, how to surf the web on an Apple TV and most importantly, how to get US Netflix in the UK on Apple TV.
login
Welcome! Log in to your account
Your username
Your password is
Have you forgotten your password?
create an account
Register
Welcome! Register to create an account
Your email address is
Your username
The password will be sent to you by e-mail.
password recovery
Retrieve your password
Your email address
We also looked at:1. How to install Kodi on iPhone/iPad without jailbreak2. How to install Kodi on Android and Android TV3. How to Install Kodi on Fire TV or Fire TV Stick4. How to install and set up Kodi on Xbox One5. Best Kodi Addons and How to Install Them6. Best Kodi VPN in 2018
It may be the most versatile media streaming player in the world, but where Kodi really shines is in all of its customizable features.
In addition, it is compatible with almost all operating systems, including tvOS, Mac, Android, Windows and Fire TV.
Formerly known as XBMC or Xbox Media Center, Kodi is an all-in-one media player that lets you stream movies, live streaming, music, and more.
Because it is open source, it is always updated and revised.
The Kodi application is easily available both on the official website and directly through the App Store.
Please note that you will need to use your Mac to set up Kodi on your Apple TV.
As an all-in-one media streamer, Kodi is 100% legal.
Unlike other operating systems, Kodi is more difficult to set up on Apple TV.
Please note that the process for downloading Kodi to Apple TV is different for each version, meaning that you will need to follow a different download guide depending on which device you are using.
So before you start digging through the installation process (and it can be doozy), you may want to make sure you have all the necessary tools.
When it comes to installing Kodi on Apple TV 4, you have two options, one involves using Xcode to manually sign the app, and the other involves downloading Cydia Impactor.
Note. Because Cydia Impactor is a third-party app, Apple is not officially recognized by Apple, so we strongly recommend that you follow the Kodi rules on Apple TV.
Before you start, you need to prepare a few things:
Now sign in to your Apple TV with your Apple ID (you can find it in the next steps here), wait for the installation to complete and you can use Kodi on your Apple TV.
Once you've checked the preliminary steps, the rest is pretty easy.
First, use a USB-C cable to connect your Apple TV to your Mac.
Then find the Kodi version of tvOS you just downloaded, find the Cydia Impactor icon, and simply drag and drop the tvOS file you downloaded into Cydia Impactor.
From there, open Cydia Impactor, scroll through the list of devices, and select Apple TV as your choice.
Yes, we missed Apple TV 3, but only because it is not compatible with Kodi.
Apple TV 2 is probably the easiest model to use with Kodi.
First, start by connecting your Mac to your Apple TV using a USB-C cable.
Then open a Mac terminal and enter the following code:
ssh [email protected]
Note that you will need to replace the last bit of the code ('192.168.3.4') with your Apple TV's IP address.
After entering the code correctly, you will be prompted to enter your device password.
From there, you will need to enter the following command lines in a row.
apt-get install wget
wget -0- http://apt.awkwardtv.org/awkwardtv.pub |
echo? deb http://apt.awkwardtv.org/ stable main? /etc/apt/sources.list.d/awkwardtv.list
echo? eb http://mirrors.kodi.tv/apt/atv2 ./? /etc/apt/sources.list.d/xbmc.list
Update apt-get
apt-get install org.xbmc.kodi-atv2
reboot
Once this happens, the Apple TV 2 will restart automatically, and you will be able to use Kodi.
First generation Apple TV models come with their own built-in hard drive, making it easy to store and store all your various files right on your Apple TV.
Again, this guide comes with a disclaimer: Because first generation Apple TV models require you to run Kodi, you will lose any existing features you have saved.
Start by updating your Apple TV OS to run version 3.0.2.
Then download the OSMC (Open Source Media Center) installer by selecting the title https://osmc.tv/download.
Once the installation is complete, open OSMC.
Connect a USB device to your computer, select Apple TV from the OSMC drop-down menu, and click the forward arrow.
Now select the most recent version of OSMC which includes "USB" at the end and press forward.
From there, select the USB-DISK location from the list, check the box next to the user agreement, and start downloading OSMC to your USB drive.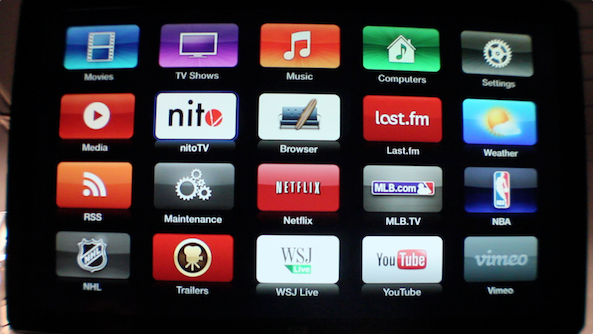
Once OSMC is installed on your USB drive, exit the installer, disconnect the USB drive from your computer, and plug it into your Apple TV.
Finally, with the USB stick connected, boot up the Apple TV.
Once this is done, you should be able to use Kodi on your Apple TV video and set HDMI output to RGB High.)
While Kodi allows users to stream live TV, movies, music and more, some content may be restricted due to geographic blocks.
With the ability to pick and choose where you want to appear online, VPNs open up a whole new world of possibilities when it comes to Kodi add-ons.
It's also important to look for a VPN that offers dedicated apps for Apple TV so you don't have to worry about having to set up yet another complicated service.
When it comes to pricing, we recommend ExpressVPN.
Plus ExpressVPN offers customizable DNS settings for Apple TV, which is definitely a nice bonus.
I want to tell you how I made a media player for myself based on the old Apple TV of the first generation. The device turned out to be completely suitable for my requirements.
Description of the standard configuration of the set-top box:
Processor: 1 GHz Intel "Crofton" Pentium M
Memory: 256MB 400MHz DDR2 SDRAM
Storage: 40 or 160 GB hard disk
Graphics: Nvidia GeForce Go 7300 with 64MB VRAM
Connectivity: Wi-Fi (802.11b/g and draft-n), 10/100 Ethernet
A modified build of OS X v10.4 with Front Row stretched over it was installed as an operating system.
This configuration was not enough to play small 720p videos, most video files even in this format were unwatchable. Ordinary films of size 1.4 - 3 Gb and a little more were played with a bang. For 2007 it was cool, but now it's not the case at all. The system is very weak.
Yes, and all that could be done with the set-top box itself was to buy / rent movies, watch trailers, later the function of viewing content from Youtube in low quality was added. It was possible to synchronize content with iTunes, the data was stored on the hard drive.
It was impossible to stream content from devices via AirPlay, if I'm not mistaken, to the first Apple TV. I don't remember exactly.
There is a cooler and a hard drive inside, so the set-top box made quite a noticeable noise, it was very well audible at night. Sometimes I had to turn off the console before going to bed.
The device itself is quite beautiful and ergonomic, convenient remote control, has all the necessary outputs - RCA (sound and video), HDMI, SPDIF, USB (only for service use, it was impossible to connect disks).
This is what the device looked like before intervention:
What was done:
1) The operating system has been replaced. Once upon a time, the brave guys made an atv-bootloader that allowed you to boot Linux on this set-top box, and then a young guy Sam Nazarko made a ready-made operating system based on Ubuntu with XBMC, which was easily installed on an Apple TV. This miracle is called Crystalbuntu. The project has a website and a large forum where problems and wishes are discussed. Here are the source files.
The same person builds Raspbmc for Raspberry.
The first version was on Ubuntu 8.04 and kernel 2.6 . About a year ago, test builds appeared on 12.04 and the kernel 3.2.27 , and then the full version Crystalbuntu 2 was released. Installation comes down to connecting a flash drive with an image and rebooting. You can install the system on the same flash drive without touching the internal hard drive, or you can install it on the internal hard drive. The second way is better, the system will work faster.
The installer itself partitions disks, configures the system, downloads the latest version of XBMC and the necessary libraries.
After installing Linux, the set-top box became much faster, 720p videos began to play better, but still, in most cases, the power was not enough to play more or less decent content. Now you can watch videos from network drives, connect external drives, watch videos from the Internet directly.
XBMC opened many new possibilities for the set-top box, a huge number of plug-ins are available, convenient to use, looks more beautiful.
2) Removed all noisy elements - cooler and hard drive, booting from a flash drive was used, the set-top box became inaudible, absolutely. There is no need to worry about cooling, the regular cooler did not do much. Nothing bad has happened over the years.
3) Added hardware video decoder . Broadcom has an amazing BCM970015 Crystal HD card. The decoder can easily handle the decoding of huge 1080p video files. This board has replaced BCM970012 and can handle H.264/AVC, MPEG-2, VC-1, WMV9, MPEG-4, DivX®, Xvid, AVS and also Flash video in hardware.
With it, you can watch videos of any quality, the set-top box plays 30-gigabyte movies without problems. It became possible to watch content directly online - there are a huge number of plug-ins for this in XBMC. YouTube videos are played in any quality.
The card is inserted instead of a Wi-Fi card (of the same manufacturer - Broadcom :) ) into the mini-PCI slot. This deprives us of wireless communication, if necessary, you can use an external card via usb.
4) SSD installed. From a USB flash drive, the set-top box works fine, but still not as fast as it could. After replacing with an SSD, the difference is very noticeable, it loads and works very quickly, all menu transitions are very smooth, there are no more delays associated with the file system.
The set-top box has only an IDE connector (44-pin), so it was more difficult to find a suitable drive. On eBay you can find a 2" 5 IDE SSD drive that would replace the old one, but the choice has become even better - a DOM drive. This is a board with soldered memory modules, which is inserted directly into the IDE connector. Such boards are used in all kinds of embedded solutions - cash registers, machine tools, etc.
We need about 2Gb of memory for the finished operating system, so the Kingspec 8Gb disk was enough. I still had to connect it through a cable, and not directly to the board, because the lock on the IDE connector turned out to be turned in the wrong direction for me and the board did not fit into the power supply. It was necessary to immediately check, but the connection through the loop suited me.
5) New remote control purchased. The first set-top boxes had an old plastic remote control. The new consoles are solid aluminum, very beautiful, outwardly more suitable for the console. Although, as it turned out over time, it is more convenient to use the old plastic ones.
This is what the device looks like after intervention:
(on the left - this is the SSD)
All my media content is stored on the NAS, which, like the set-top box, is connected to a gigabit switch via ethernet, the network speed is enough to write to the NAS and read HD movies from it with the set-top box, never there were problems. XBMC can read from any source - NFS, SMB, FTP, UPnP, you can take content from several sources.
It was very pleasant to be able to watch content directly from the Internet. We have sites ex.ua and fs.ua in Ukraine, for which there are XBMC plugins. I haven’t downloaded TV shows and many films for a long time, everything can be found there, the Internet speed is enough to watch movies in HD quality without downloading. Links to your favorite series are easily added to "Favorites" directly from the plugin, then easily selected before viewing from the XBMC menu.
More goodies:
Works AirPlay , there are a bunch of applications for controlling XBMC using a smartphone. There is also a very nice thing - a browser plugin that allows you to send a video from YouTube directly to the console. There are plugins for IPTV.
Seppius-xbmc-repo plugin repository for the Russian-speaking population has been added, it has a huge variety of plugins - online series (sites with thousands of series), online TV, radio, video jokes, sites for learning . ..
..
Yes, and in the standard XBMC list there are plugins for every taste - TED Talks, game channels, VimCasts (Vim lessons), Mosfilm archive ...
Installed MPD . The music ball is mounted to the Apple TV directly from the NAS and added to the MPD. Now all home computers can play music over the network. The sound system is connected to the set-top box, so now you do not need to bother with choosing the sound source on the speakers, all the music is collected in one place.
Regarding the overall system load. The processor frequency is automatically adjusted from 600 to 1000 MHz, when watching most movies, the frequency does not rise above 600 MHz , while the processor is only half loaded on average.
Here is the system load when viewing a 9Gb file, 720p, average CPU load ~45%
Here is when viewing a 15Gb file, 1080p, average CPU load ~ 70%. The processor frequency is still 600 MHz.
There is not much memory in the system, so just in case, 1Gb of memory is allocated with SSD for swap.