ATV Riders Forum > ATV Riders Mechanical Section > ATV Steering & Suspension > INSTALLING WB park brake block off
PDA
View Full Version : INSTALLING WB park brake block off
12-09-2001, 06:30 PM
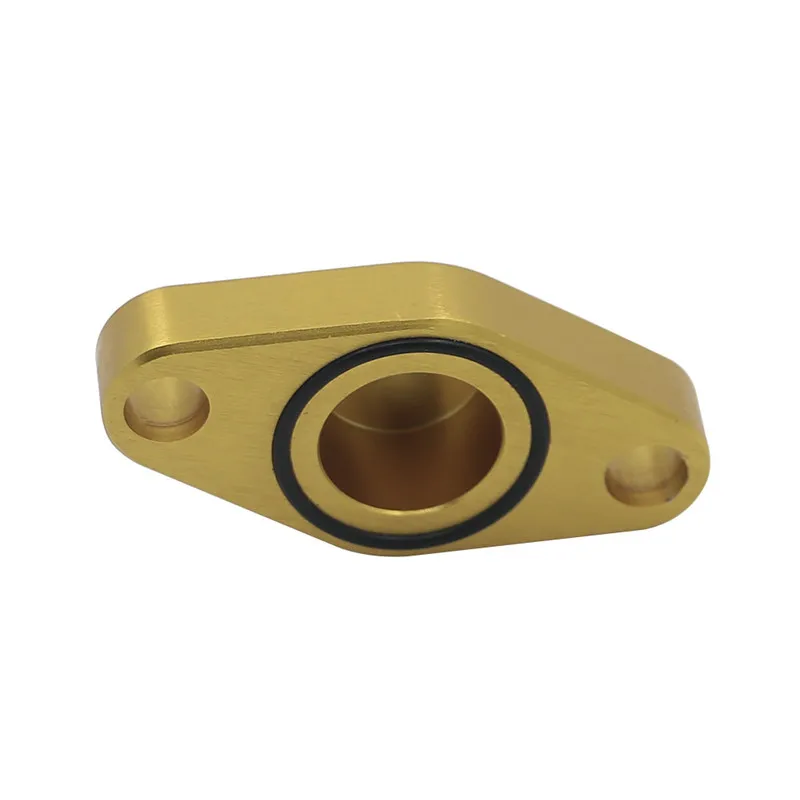
I bought a white brothers park brake block off kit today. Looks cool but I don't know where it goes? Can anyone explain how to install this brake block off. I know it goes on the left side of the rear caliper thats all I can see. Can anyone help? Thanks
Honda Rebel
:confused: :confused:
4punksdad
12-09-2001, 06:38 PM
I have never installed one, but I believe you have to remove all of the parking brake assembly & replace it with the flat cover. shouldn't be too tough to figure out.
12-09-2001, 06:43 PM
It looks more like a spacer, their is a plate that looks just like the one I bought already on the caliper. I am thinking you take out the 2 bolts then but the block off on top of the similar shaped plate that is already on the caliper then put the bolts back in. The only thing I don't get is you would need longer bolts. I have no clure really. I know I just want to get that darn park brake off I nevr use it is such a pain! Thanks
400MXer
12-09-2001, 06:56 PM
No NO No, You don't stack it on top. You take the parking brake assembly off completely. Then replace it with your WB block off plate.
Lil90man!!
12-09-2001, 06:59 PM
when i did it with mine on the back of the bike there is the cable that goes down it is on the left side of the brake assembly when looking at it from tha back, you take out the 2 bolts that holds on the little bolt and everything, take everything off, use the two bolts to put the plate back on and ;)
Tommy 17
12-09-2001, 08:08 PM
take out the 2 bolts i believe they are 12mm and the whole thing will fall right out. then u put the parking brake block off plate where that went and it goes right on wit the 2 bolts.....
12-10-2001, 10:55 PM
So after you remove the assembly and replace it with the plate and 2 bolts, what do you do with the cable? Do you remove the cable and everything? Just lose the whole thing all together? Sounds to simple!! just kidding. Thanks guys
Honda rebel :square
4punksdad
12-11-2001, 05:11 AM
yeah.......just remove the cable completely. then do what I do. hang them on the garage wall with all of the other "spare" parts until you get sick of looking at them. then try to sell them on e-bay before throwing them in the trash. :)
good luck with it.
RideRed400EX
12-11-2001, 11:09 AM
When you remove the parking brake and cable the lock (on the clutch assembly) will bobble around and make annoying noises. Do yourself a favor and get a new clutch and perch while your at it.
Powered by vBulletin® Version 4.2.1 Copyright © 2022 vBulletin Solutions, Inc. All rights reserved.
Fast Free U.S. Ground Shipping Easy Exchanges No Restocking Fees Lowest Price Guaranteed
Please sign in to review products.
You Always Get:
Was:
Guaranteed Lowest Price! Call Us Sale: $19. 95
95
ATV Block-off plates - RED
WARNING: This product may contain chemicals known to the State of California to cause cancer, birth defects or other reproductive harm.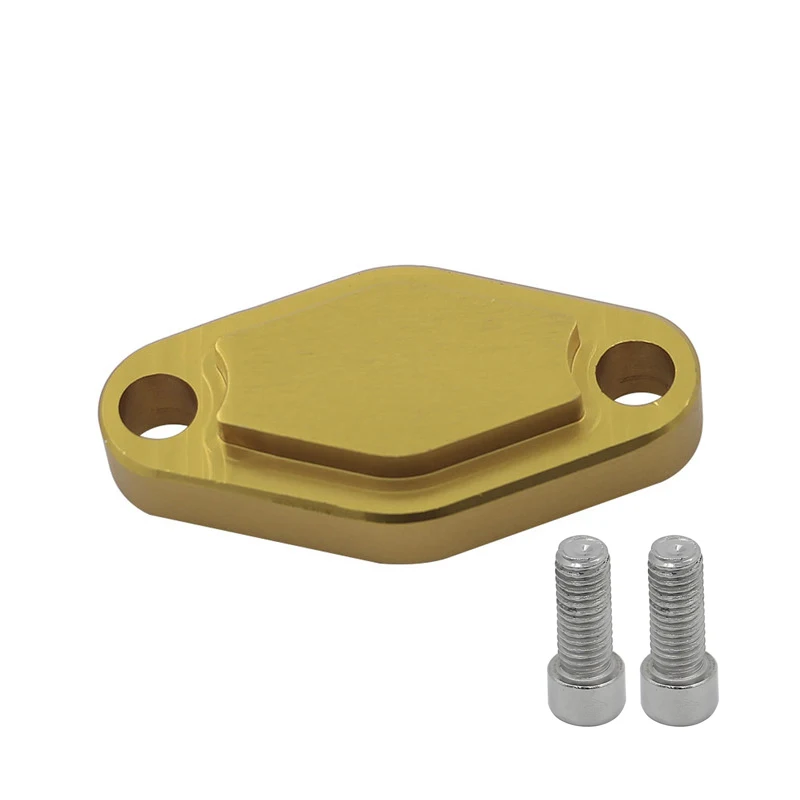
For more information go to P65Warnings.ca.gov
Lowest Price:
$31.95 See Details
Rebuild kits for the wheel cylinders of front hydraulic drum brakes Made by Nissin, the O.E. manufacturer in Japan Please Note: Image displayed is representative of the item, but may vary depending upon your specific model
Lowest Price:
$20.95 See Details
Placement: Front Each complete kit includes all necessary components to rebuild the brake master cylinders. For safety, the components are each made exactly to OEM specifications by Nissin, an O. E. manufacturer in Japan Please Note: Image displayed is representative of the item, but may vary depending upon your specific model
Lowest Price:
$19.95 See Details
High-quality cable manufactured for Parts Unlimited to meet or exceed OEM specifications Matches the original equipment exactly for a perfect fit Packaged with OEM number as well as Parts Unlimited's Part Number Fits the following Suzuki models: LT-F250 Quad Runner 1988-1990 LT-F300F King Quad 4x4 1999-2000 LT-F4WD Quad Runner 250 1987-1991 LT-F4WDX King Quad 280 1992-1998
Lowest Price:
$32.34 See Details
Asbestos-free shoes from DP Brakes - Excellent overall performance and lasting durability - Sold as a set for one disc or drum - Fits front only - Fits the following Kawasaki models: - KFX50 2003-2009 - KFX80 2003-2006 - Fits the following Suzuki models: - LT80 1987-2006 - QUADSPORT 50 2001-2009 - Please Note: The image displayed is representative of DP brake pads, but may vary in shape depending on your specific model. -
-
Lowest Price:
$23.84 See Details
Made using high-pressure die-cast aluminum platforms with bonded brake linings Radius-ground and edge trimmed Feature lead-out chamfers at lining ends and original-style brake shoe springs FS rated - a higher rating than OE shoes for better stopping power Measurement: 150.00 x 28.00mm Please note: Fits rear drum versions of Polaris models listed. Please note: Image displayed is representative of the item, but may vary depending upon your specific model.
Lowest Price:
$45.15 See Details
Made using high-pressure die-cast aluminum platforms with bonded brake linings Radius-ground and edge trimmed Feature lead-out chamfers at lining ends and original-style brake shoe springs Multiple-angle liner grooves designed to channel away dirt, dust, water and debris from the braking surface area to improve performance ane extend drum and shoe life FG rated Measurements: 160. 00 x 30.00mm Please note: Image displayed is representative of the item, but may vary depending upon your specific model.
When we’re not helping our customers, we’re building and racing some of the baddest bikes on the planet.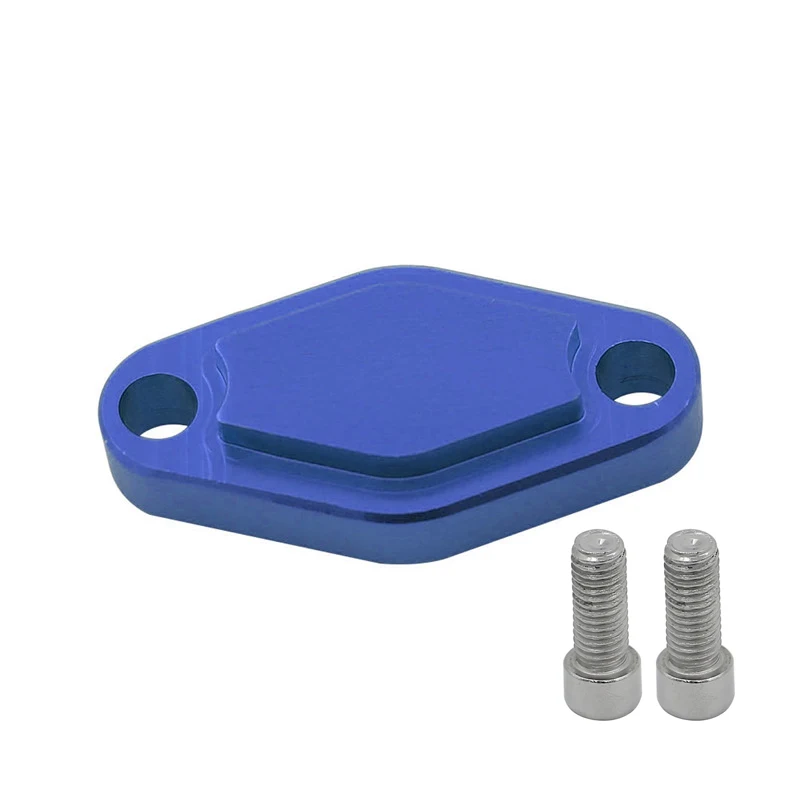
Meet Our Race Team
About Contact Our Blog
Copyright © 2004-2022 RidersDiscount.com - All Rights Reserved
Riders Discount, Inc. 4665 Broadmoor Ave SE, Suite 140, Grand Rapids, MI 49512 USA
CFMOTO ATVs use a reverse gear lock - applying reverse gear (and at the same time the parking brake, if we are talking about CF500) is impossible without depressing the brake pedal. What is it for? For safety - so that an inexperienced user does not turn on the rear one on a quadra rolling forward (and vice versa). I fully support this decision - for beginner quad bikers, the presence of various “fool protections” is only good. At the same time, it must be admitted that on the Tseef five hundred, protection against accidental engagement of reverse gear on the move is implemented quite reliably already at the first stage - in the wings.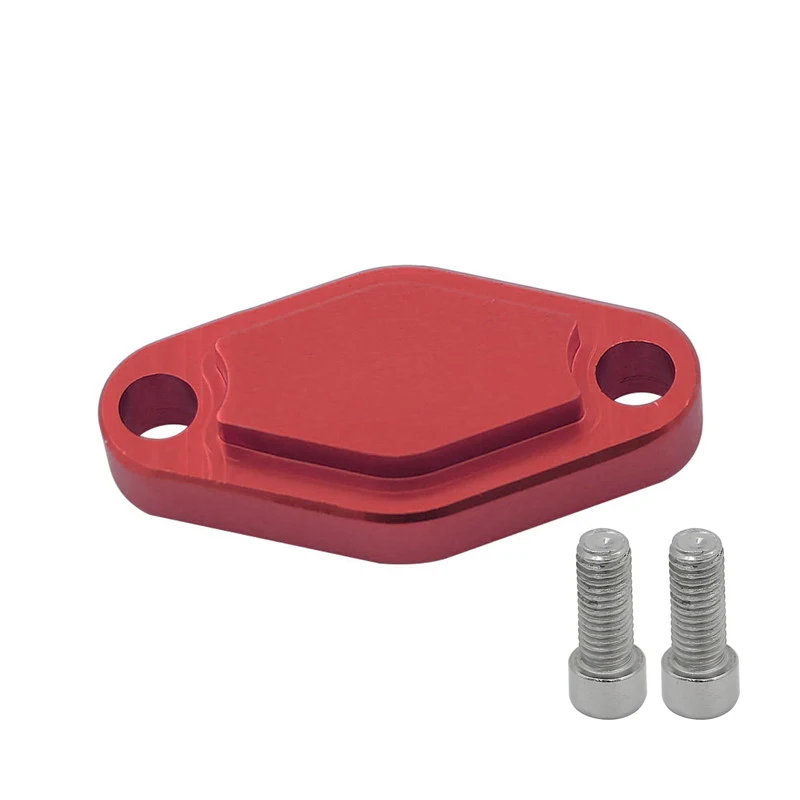 In the body of the "mixer" there is a special tide, which under no circumstances will allow you to accidentally turn on the back. To move the selector back and engage reverse gear, you need to move the lever to the left, and at a noticeably greater distance than when engaging gears designed to move forward. Thus, turning off the gear (“L” or “H”), it is simply impossible to slip through the neutral. In general, the need to press the brake pedal in this case is already reinsurance in its purest form, especially since most ATVs instinctively hold the brake when shifting gears.
I repeat, I have nothing against such a decision - the cost is cheap, changing the switching circuit is elementary. If someone is satisfied, then you can not change at all. And if you do change, then why? For convenience in the following situations.
1) Movement while standing on the left footboard (for example, along the edge of a pit, a cliff, on a right slope, etc.). If at the same time it becomes necessary to back out, you will have to stand on the right footrest, which in some situations can lead to the ATV tipping over.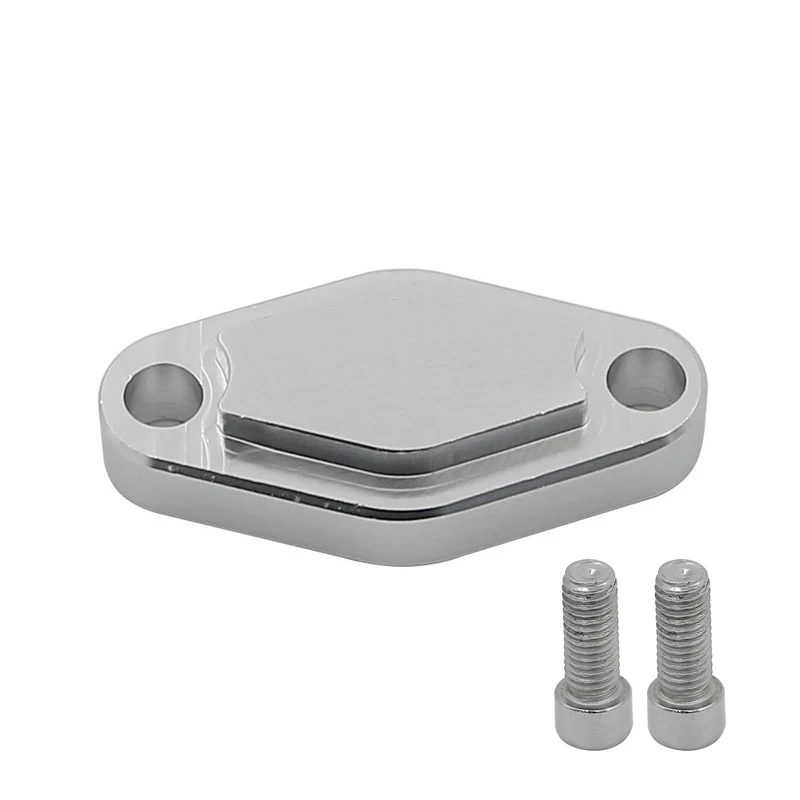 For beginners (to whom the blocking is addressed) this is not relevant, but the further you ride, the more you understand that this is where the most buzz is - overcoming on the verge. The same applies to pressing the left brake lever (acting on the pedal) - in a difficult situation it is not always convenient, or rather almost always uncomfortable.
2) Movement in the water. If it became necessary to use reverse while overcoming a water barrier, then to turn it on, you will have to lower your foot into the water. During high water, many ride in teletubs and this is not a problem, but it happens that the quadra gets into the water when shoes that are not suitable for deep water are used (warm, motor boots, etc.). At the same time, teletubbies can only be a rescue - if the quadra fell on its right side and was flooded up to the seat, then when you press the brake, the tomatoes will get wet even in swamps and even with growth above average. If in a deep puddle a branch gets under the pedal (sand gets washed, ice freezes, etc. ), then you will have to soak not only your legs - otherwise you simply won’t turn on the back one, even using the left brake handle.
3) Service. During the washing of squares, it becomes necessary to rearrange them from place to place. For a long time I could not understand why it is so pleasant to turn over the KingQuad, and why maneuvering on the "basic" is always annoying. But it could not help but annoy, since you can approach Susa from the left, turn on the rear and drive off, walking next to the quadra. In the case of the “basic”, you either need to stomp on the cleanly washed footboard (right) with a dirty boot, after which you have to ride standing on the quadra, since you still have to press the pedal again to turn off the reverse gear, or, standing still on the left, at the same time press the pedal and pull the gearshift lever.
* Returning to the possibility of using the left brake lever - it is far from always possible to press the pedal with it in such a way as to disable the reverse gear lock mechanism, and the mechanism needs to be set up quite carefully, so it’s easier to release the lock once (unless, of course, the ATV used at the box office, then you should tinker with the setting).
I think I'm far from the only one who experienced such inconveniences, but many people are prevented from removing the lock by ignorance of how to do it, and most importantly, it may seem that it is difficult, that you need to disassemble the backstage, and that you can do it sometime later. I hasten to inform - cases for a maximum of 20 minutes (and this is with careful examination and photographing of dismantled parts).
We remove the right side decorative lining, we see three springs on the brake pedal. The largest - returnable, thin - brake light switch drive (this, by the way, is easier than a hydrofrog, but more reliable than a conventional limit switch), the short one is ours. It is through it that the cable of the ZX locking mechanism is driven. Remove the spring from the pedal and unscrew the lower nut securing the cable sheath. The nut will have to be driven off completely, since the cable body is passed through a closed hole in the plate and otherwise the extra part cannot be removed.
For normal operation of the brake pedal, in principle, the return force of the remaining main spring is sufficient, but this is with accurate and timely adjustment of the assembly. For reliability “for all occasions”, I would advise to install an additional spring using the vacated holes (one on the pedals, the second on the cable attachment plate). I didn’t have a suitable one at hand, so I left it as it is - one full-time one. Since I never adjusted the pedal, then later, after 2000 km of run, the spring weakened a little and the pedal sagged, which led to spontaneous reduction of the rear brake pads and heating of the brake disc.
What do we get as a result? Nothing good, namely, a reverse gear permanently blocked from turning on (or blocked from turning off if ZX or parking was on), since there is another spring on the other end of the cable that squeezes the locking pin into the shift mechanism. Therefore, we sequentially remove the left lining, the “hood” and the tank lining, after which, having unscrewed the hexagonal shank of the cable from the backstage body, we dismantle the cable completely. That's all? Not quite - now an extra hole has appeared in the backstage case. You can seal it with sealant, but access there is not very convenient. So I twisted the long hex (the body in which the pin was installed), cleaned its inside of grease and filled it with sealant. We screw the hexagon into place, put the plastic and enjoy! Yes, it is not necessary to remove the cover from the backstage, I just wanted to shoot everything inside and out.
WARNING : On CF500-X5 and CF625-X6 EFI models, the shift lever travels in a straight slot, so although the shift mechanisms of these models have an additional lock using a button on the lever, the decision to remove the rear shift lock take these ATVs carefully, commensurate with your experience and the potential use of your ATV by inexperienced ATV riders!
BACK
Photo from open sources The car, say, can roll down a slope, which will provoke a severe accident, even with human casualties. The AvtoVzglyad portal tells why the handbrake suddenly fails.
Viktor Vasiliev
Parking brakes vary in design. If earlier they were only mechanical, today they use both electric and hydraulic drives. Unfortunately, they are all subject to wear and tear. Here are the most common reasons why the handbrake may fail.
The hydraulic handbrake is reliable, and in fact, duplicates the main braking system. But if during operation or due to damage, its circuit loses its tightness, this leads to the fact that the handbrake stops holding and the car can roll down a slope. In this case, you need to find the place of fluid leakage. And do not forget to change it periodically, because the "brake" is hygroscopic, that is, it absorbs moisture well, which means that its effectiveness decreases over time.
An electromechanical brake does not require regular maintenance, but there are even more problems with it than with “hydraulics” or even with ordinary “mechanics”. The fact is that for its normal operation it is necessary that the control unit, electric motor and drive mechanism are clean, and even dry. But on some models, the control unit is located in a dirty place and water constantly flies on it. Over time, even a sealed housing gives up and the assembly has to be changed.
On a mechanical parking brake, one of the most common causes of vehicle "incontinence" is a cable stretch that needs to be adjusted.
Photo: Drive2.ru
If the handbrake is not properly serviced, a situation may arise when its pads will rust and simply fall apart. Then the wheels will simply jam, say, when moving forward. But the car rolls back without any obstacles. All this will end very sadly.
Drivers themselves often make mistakes when breaking the handbrake, say, after a frosty night, when its pads froze to the discs. And if the driver likes to drive away and tightens the lever in order to cause the rear axle to skid, the cable may break or the block will fall apart, which, as we wrote above, will cause a wheel wedge.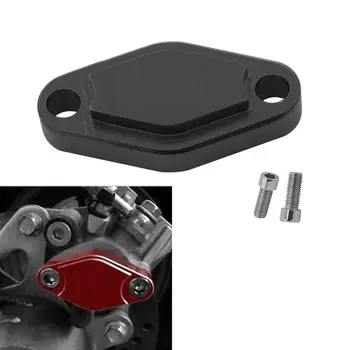 If the car has not yet come out of the skid, such a wedge is fraught with a coup of the car.
Manufacturer's photo.
Returning to the problem of the "wedge" of the rear brakes, it is worth noting another negative point associated with the mobility of the "handbrake" cable. In addition to the fact that this metal plume tends to stretch over time, it often turns sour inside its “static” shell or, even worse, simply sticks to it.
As noted above, this is often observed in situations where the cable has been exposed to water or saline solutions. After that, it begins to actively rust, further worsening its mobility. It is not difficult to deal with such a defect, provided that you have a penetrating anti-corrosion lubricant on hand. As a rule, such a tool is an aerosol composition, which, when sprayed, quickly (in a matter of minutes) “soaks” rusted parts.
As an example, we can take the rust remover with molybdenum disulfide MoS2-Rostloser from the German company Liqui Moly, which has proven itself in practice.