The grips on your ATV or Dirt Bike are not designed to last forever. In fact, depending on your riding style, your grips may not even last one season before they need to be replaced. And doing so isn’t easy! There are certain things you can do however to make this process simpler and ensure that the grips don’t spin of slide off. Below is a list of my 5 favorite methods for installing your new ATV or Dirt Bike grips. If you are still unsure about what type of grips you want, check out my post about the Best ATV Grips and Best Dirt Bike Grips.
1. Carb Cleaner
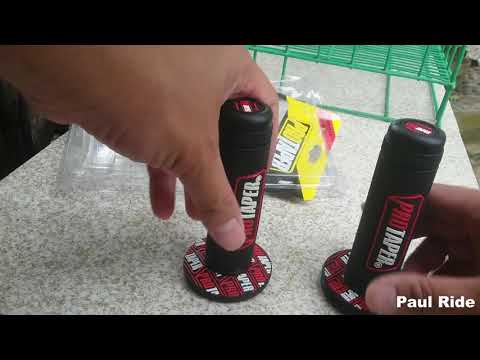
If you go the route of a rubber slide on grip, the toughest part of changing them out is sliding the new grips on. Because of the thin rubber, they want to fold when pushing them on and you can’t use a hammer to push when they get stuck. Using carb cleaner to lubricate the inside of the rubber grips will give you enough lubrication to slide the grip on, and then the carb cleaner will evaporate away.
It is critical however that you slide the grip on almost immediately after spraying the carb cleaner as it evaporates in a few seconds, making it tough to slide the grip on again.
2. Brake Cleaner
Very similar to the carb cleaner method, you can use brake cleaner to lubricate your grips before sliding them on. To use, simply spray the inside of the grips and the handle bar end with brake cleaner, then slide the new grip into place. The brake cleaner should evaporate in about 15 minutes, and then you can go ride around.
3. Aerosol Hairspray
Another simple method to lubricating your grip before sliding it on is to use hairspray. Simple as that. If you have ever used hairspray then you know that it is wet when you first spray it, but then becomes sticky within 15-30 seconds. This is perfect for installing your new grips as it will give you some more time to slide it on and then the hairspray will help hold it in place. Before riding heavy, I would let the quad sit for an hour or so to allow the hairspray to fully dry inside the grip. Also, I prefer to use Aerosol Hairspray as it has a more steady spray and will give you the time needed to install the grip.
4. Dish Soap and Water
The two methods above require a quick hand to install the grips before the lubrication wears off. If you want a method which allows a little more time to set the new grips in place, using dish soap and water is the way to go. Mix even parts water and dish soap and spread it/pour it into the new grip. Make sure it is spread around the inside of the grip covering all of the rubber. Now slide the new grip onto handle bar and line it up how you want. Let it sit for 24 hours before heavy use to allow the soap and water to dry out and the grips stay in place.
5. Grip Glue
If all else fails, some major ATV companies like Protaper make grip glue which you can use to slide your new grips on and will hold them in place. They allow for about 15-20 seconds of slide time and about 5 minutes to move and shape the grip as you want. Each tube can set about 12 sets of grips so your set for the life of your ATV (depending on how you drive. Check it out here.
When you purchase through links on our site, we may earn a commission at no additional cost to you. Learn More
When handlebar grips wear out or become loose, you might as well cut them off as they are not worth keeping. But from time to time, it can be necessary to remove the grips without destroying them.
This post will cover three methods that may help you take off the grips on one piece. Most of them require tools and supplies you would typically find in most homes.
By knowing how the grips stick to the handlebar, you’ll better understand how to remove them.
Removing handlebar grips without removing them is not always easy, and you may need to try several methods before you hopefully succeed.
The first method works great with dry-fitted grips, while you may need to use one of the latter methods if the old grips were installed using an adhesive of any kind.
To use this method, you will need an air compressor with a hose and air blower nozzle.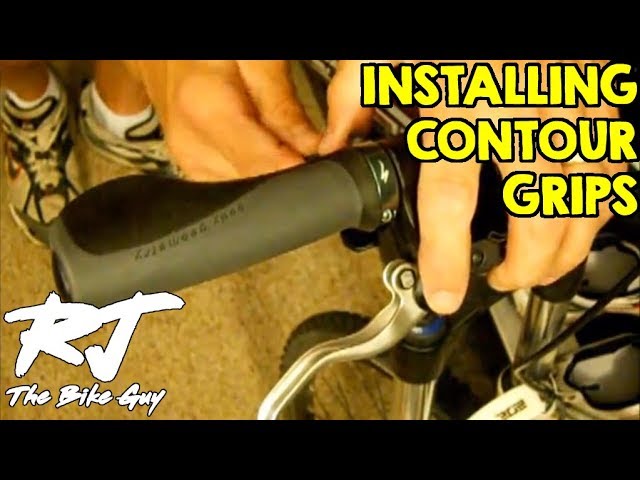 This is how you do it:
You need a small gap to get the nozzle of the air blower in between the handlebar and the grip.
You can also try poking a small hole at the end of each grip. Some grips come stock with holes for easy installation and removal.
 If the grip is not completely stuck, you should be able to wiggle it outwards quite easily until it comes loose.
 This method works with most grips, at least the ones that are not glued in place.
However, if you don’t have access to compressed air or are struggling with a stubborn adhesive keeping the grip in place, the next method may be just what you need.
When the grips are held in place with an adhesive like any glue, spray paint, or even hairspray, you need to break the bond before the grip moves.
Your best bet is using a solvent as this will not only dissolve the adhesive it also acts as a lubricant, making it easier to slide the grip off the handle.
Another benefit of using a solvent is that it will evaporate without leaving any residue, and when you are done, there is no need for cleaning.
If you don’t have access to a solvent, there are some less effective options you can try:
You will also need a flat object to pry between the handlebar and the grip. Here are a few options:
Lean the motorcycle against a wall, or park the ATV sideways on a slope. This will make it easier to pour solvent to flow along with the handlebar and inside the grip.
Wedge the screwdriver or whatever flat object you have at hand between the grip and handlebar to create a small gap. There is no need to push the screwdriver too far at this point. You need only a small gap to allow the solvent to start entering behind the grip.
Tip: Depending on what glue was used to glue the grips in place, try heating it using a hairdryer as this may make the glue less adhesive. Do this before you add a flammable solvent.
If you use an alcohol-based solvent or water, feel free to use as much fluid as you need as the leftovers will evaporate when you are done.
However, if you use WD-40 or vegetable oil, keep in mind that everything needs to be cleaned thoroughly before installing new grips.
Sometimes when the grips are glued solid to the handlebar, you may not be able to pour solvent in between the grip and the handlebar.
As a last resort, you can try using a basting syringe/marinade injector to inject the solvent.
These types of syringes are sold at any kitchen supply store. Similar syringes are used in golfing to remove rubber grips from golf clubs.
If neither blowing compressed air or using a solvent like a contact-cleaner won’t make the grip come loose, you may need to cut it. Use a razor blade or a box opener and gently along the grip’s entire length from top to bottom.
Make sure to not cut through the rubber as it may damage the plastic inner layer or heating elements if your bike has them.
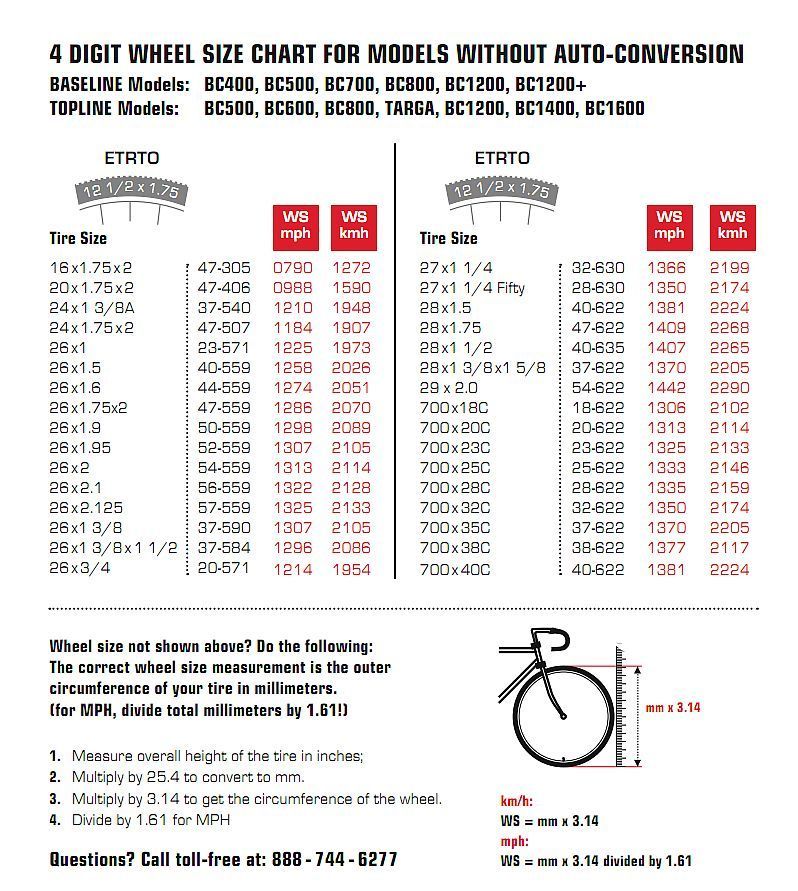
Most ATV grips are ⅞ inches in diameter on both sides. Unlike motorcycles, ATV grips are the same diameter on each since they use a thumb throttle instead of a wrist throttle.
Today, ATVs are very popular in the modern world. This is a small vehicle that looks a bit like a motorcycle, but the ATV has more than 2 wheels. Trunk - the luggage compartment of an ATV, it is designed to carry the necessary things. Panniers can be front and rear, rear panniers are more popular. Such wardrobe trunks cost a lot separately, so now I will tell you how to make such a wardrobe trunk with your own hands, while saving a lot of money.
In order to create a homemade wardrobe trunk you will need:
-Foamed plastic or hard foam, there is not much difference here, you can choose any one, the thickness of which will be at least 10 mm, 6 mm can be on the bottom
- Glue for plastic
- Self-tapping screws
- Metal ruler (approximately 1-1.5 meters)
- Bulgarian
- Tools for fastening and fixing
- Screwdriver
If you do not have special tools for cutting plastic, you can take a regular stationery knife or blade. ATTENTION! if you cut plastic with a blade, wear a glove on your working hand, there are many cases when people cause mini-injuries to themselves by cutting themselves on the edge of the plastic.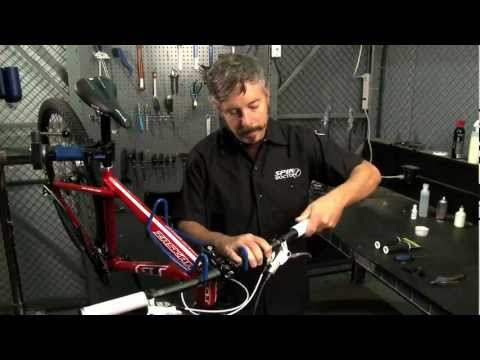
To make your own ATV case, follow these steps:
1. The first step is to cut out the bottom for your future case. To do this, you need to measure the area where you want the trunk to be located, then all measurements must be transferred to foam or plastic and cut the bottom according to measurements using a grinder. All precautions should be observed, first of all, protect eyes, hands, clothes during work.
2. Once we have finished making the bottom, we should make the side walls of the trunk. To do this, we measure again and, having received the necessary parameters, we transfer them to polystyrene or plastic and cut out the necessary pieces from polystyrene or plastic. Next, we fix them well to the bottom with screws and glue.
3. After gluing the side walls, it is already starting to look like a trunk, the next step is to process all the edges with a file so that we get smooth and even corners of the case.
4. Next, after processing the corners, we proceed to the lid of our trunk.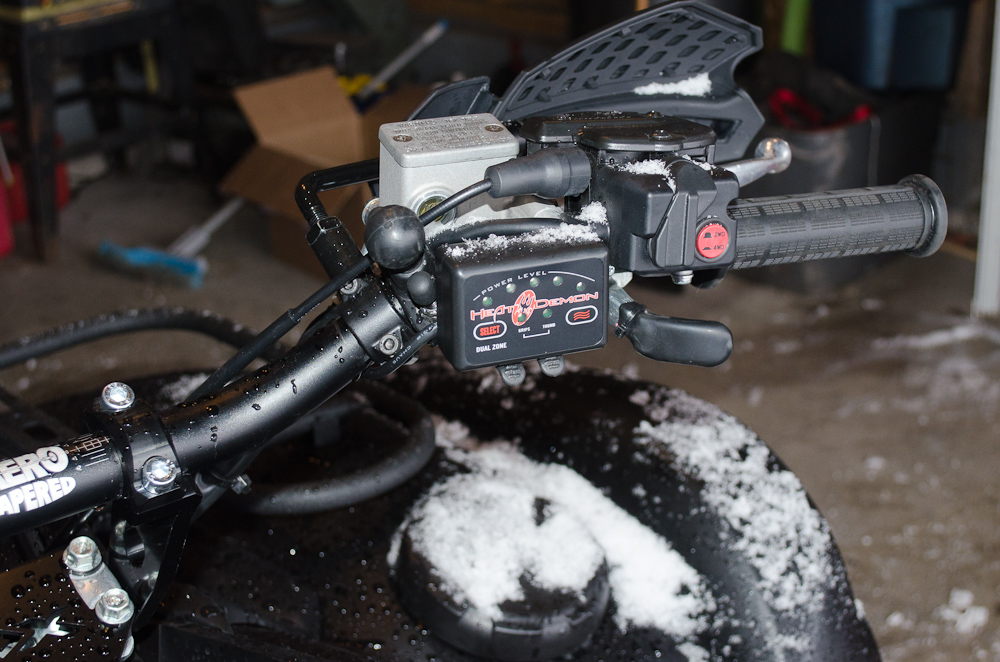 In order to make the trunk lid, we again go to foam or plastic, measure the almost completed wardrobe trunk and transfer the resulting dimensions of the lid, cut it out with a grinder, observing all precautions. After we have received the desired piece of foam or plastic, we attach it to the already made wardrobe trunk with the help of hinges that are used in door structures, you can also use other materials for fastening at this stage, because the hinges can take up an amount of space in your case.
5. Now you have attached the case cover, at this stage you have already got a full-fledged case, but for the beauty and attractiveness of the trunk, as well as to match the color of your ATV, you should give the trunk a beautiful look. There are many options here on how to do this. You can paint it in the color of your ATV, you can paste over it with a film and there are many such options, but the choice is yours!
In addition to using hinges to secure the lid, other fastening materials can be used to secure the lid.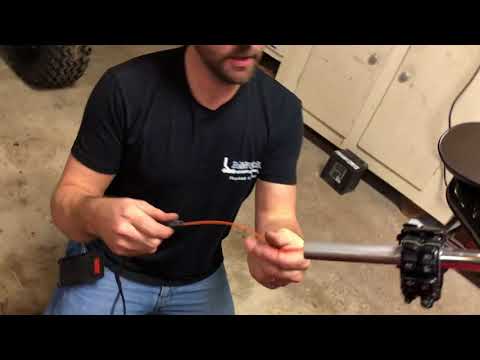
Also, for convenient storage and transportation of various substances and materials, the trunk can be divided into several parts, sections.
The most important thing in this business is not to be afraid to fantasize and experiment.
Do-it-yourself wardrobe trunk is suitable for unoccupied people at a certain point in time, because. for the manufacture of a high-quality trunk for an ATV, it is worth considering that a lot of time will be spent. But there is a plus in making a case with your own hands. The upside is that you will save a lot of money, which in the future can be used to develop your future or to fulfill your dreams. For manufacturing, you will need the ability to work with devices, patience and perseverance. But believe me, all this cannot be compared with the fact that in the future you will be proud of yourself, looking at him and saying to yourself "What a good fellow I am that I did it with my own hands!" And in the future it can become your paid hobby!
Good luck to everyone in this business, may you get the most luxurious trunks for your ATVs!!!
Marking, first/last posts and installation of handrail and ledger. To begin with, we visually evaluate the flight of stairs, tap the tile, checking it for voids and notify the Customer if any are found. they can burst when tightening the rack. After that, we take a square, a tape measure and measure the difference at the risers, figuring out which racks will need to be cut. We beat off a straight line at the right distance from the edge of the march, so as not to chip it and make sure that the planned structure will successfully become, does not narrow the width required by the standards. We mark the installation sites of the first and last racks, install the racks, fasten the handrail brackets and install the handrail on the outer racks, leaving a margin for turns and fractures. Under the successfully installed handrail, we install intermediate posts, if necessary, cut them, we can slightly move them forward / backward, or we cut the height of the outer posts so that the intermediate posts reach the required height. After installing the handrail, the horizontal filling of the crossbar (string) is mounted. Having thrown the lace and marking the attachment points, we drill holes and fasten the crossbar (string) holders to self-tapping screws, rivets, in our case with the barrel holder we use exhaust threaded rivets with a screw. We fasten the base, to it the barrel on the hexagon and insert the crossbar fixed with the hexagon. To fix the ring, we drill a through hole in the rack and fasten it with a screw that fixes our crossbar. We fix the tube by drilling a through hole in the pipe and one wall of the rack, fasten it with a self-tapping screw, push the tube. The main thing is not to drown the self-tapping screw deep so that the tube rests on it. The holder of the crossbar ball is attached in the same way as a tube, only the screw is covered with a decorative rondo with glue.
Having installed all the racks with brackets and a crossbar, we proceed to the next march, after two flights of stairs are ready, we close the handrail and the horizontal crossbar with turns and fractures.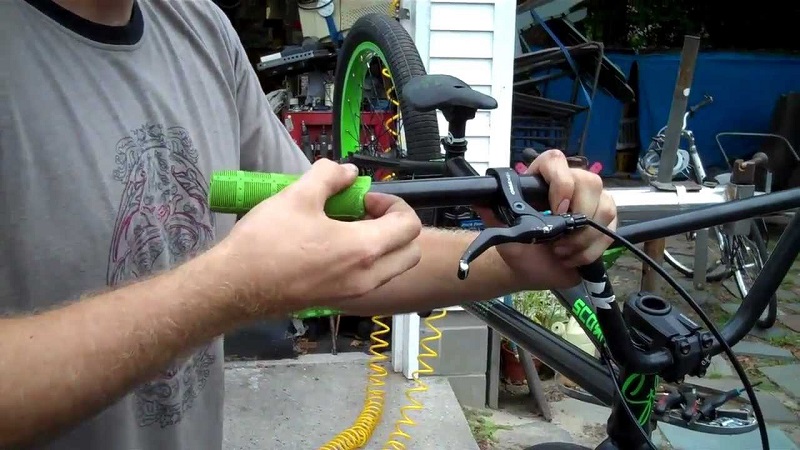 Installation of a vertical crossbar in a wooden handrail is carried out by drilling it from below to the desired diameter and into a step from above with the desired diameter. At home, after preparing the holes, we insert something springy and well pushing the crossbar up into the step, for example, a substrate for a laminate or thermal insulation of water pipes, in order to obtain a good springy upward effect. We put on a decorative cover and insert a vertical crossbar. In our case, we fixed to the handrail with a vertical corner bolt holder through a self-tapping screw and have the ability to fix the bolt in the holder with a hexagon. Here, a decorative insert F16 was fixed with a hexagon.
1. Mark and install the first and last racks. We mount the handrail, then the intermediate racks.
2. Then install the intermediate posts and cut them if necessary.
3. After installing two spans, we close the handrail and crossbars with turns and fractures.