Having spent the better part of a year installing tires at the Pep Boys in Fredericksburg, Va., I thought I knew a thing or two about how a tire is mounted to a rim. It was my first job after graduating from college, and knowing very little about working on cars, I was an eager pupil. As I soaked up knowledge from my well-meaning teachers, I felt confident that following their directions would give me the power to mount and balance tires perfectly.
But 16 years later, while re-learning how to use the tire mounting and balancing machines at Brooklyn Motor Works– where, in case you were unaware, we're rebuilding a 1988 Toyota Land Cruiser – I discovered that I also had to re-learn the whole tire installation process. But that's nothing new. As Carlos, Brooklyn Motor Works' proprietor has pointed out, we learn many things as hobby mechanics that must be un-learned when there are schedules to keep and customers to satisfy.
Anyway, here's the correct way to mount tires. Now that I know these simple tricks, I'm wondering if any of the 12 tires on the three dilapidated beater cars I drive around on a regular basis are actually mounted correctly. Chances are, they're not (I had 'em mounted at Pep Boys).
1. Remove the valve stem core to deflate the tire. Set the core aside for later use (if you're installing new tires, pull out the stem and install a new one, removing the core).
2. Use the tire machine to remove the tire from the rim
3. With the tire off, run your finger along the inside lip of the rim. Does it feel perfectly smooth? If not, it needs to be. Rust pitting can cause leaks, and will cause the bead of the tire to hang up when it's trying to seat on the rim (the beads are the really thick parts of the tire that come into direct contact with the inner and outer lips of the rim.
4. To remove rough patches, use several different grades of abrasive pads (I used coarse and medium Scotch Brite pads) to smooth out the inner lip of the rim, as well as the part of the rim the bead slides over as it seats on the lip.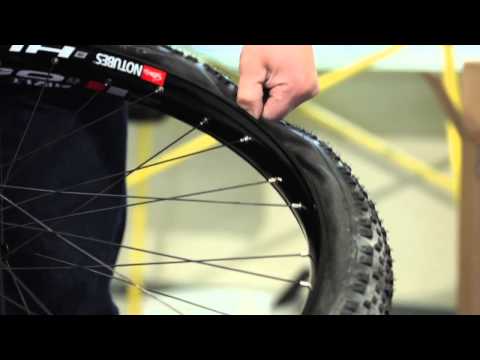 If there's too much damage, it may be necessary to get another wheel. You'll never be able to balance a wheel if the tire isn't properly seated upon it.
5. Before installing the new tire (or, if reusing the old one, the same tire, mounted the same way it was before), apply a generous amount of tire bead lubricant to the tire beads and the rim. Don't use soapy water (not enough slip) or grease (you'll never clean it all off and the bead could pop off the rim in hard cornering). Bead lubricant is slippery, but dries, allowing the bead to set.
6. Use the machine to install the tire. Then, remove the wheel from the machine mounts.
7. Spray more bead lubricant between the beads and the rim.
8. With the stem core still removed, inflate the tire to its maximum pressure (you'll see that number printed on the sidewall of the tire). The beads should pop onto the rim pretty quickly if the rim lips are smooth and you've used enough lubricant.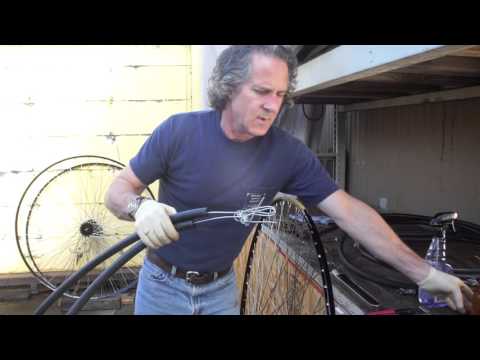 It'll go "POP.. POP!" as the beads seat.
9. Install the stem core and re-inflate the tire to its max pressure.
Assuming you followed all of these steps correctly, your wheel and tire are now ready for balancing. Then you'll adjust the tire pressure to the vehicle manufacturer's specifications when you mount the wheel and tire back on your car.
Now, I realize most people don't have access to a tire mounting machine, but being aware of what it takes to mount a tire will, at the very least, give you the tools to ask your tire installer if they're mounting your tires the right way. If the tire shop you're using is doing things the quick and dirty way (mounting tires dry on pitted rims), find a better shop! No one wants to feel a sickening shudder as the car passes 65 miles per hour on the highway.
Last modified by Ian Haynes
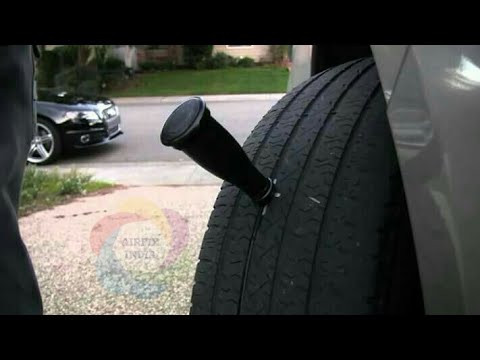
Tires don’t come cheap, and if not mounted in the right manner, you may be going in for a replacement much sooner than expected.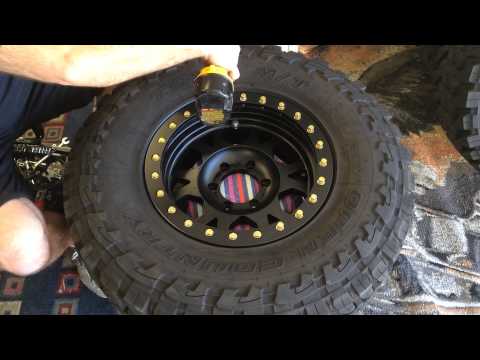
That said, whether you have a severed tire beyond repair or need to replace the tube within your tire, it needs to be removed from the rim – repaired or replaced – then mounted back.
Whether you want to cut costs or treat it as a DIY project, you will be happy to know that with the right tools, you can manage tire mounting.
So,are you up for the challenge and ready to put in some elbow grease?
Read on to know how to mount tires by hand!
Though professional mounting is much-recommended, it can burn a hole in your pocket. Depending on the rim-size and the car you drive, be ready to pay anywhere from$13 to $45 per tire.
Ifyou want said deed done on all four plus the spare, it may cost you around $65 to $225 – nowthat’s a hefty amount.
When you mount tires yourself, all you need to pay for are the tires (obviously) and possibly valve stems.
And the rest you pay in effort instead of hard-earned cash.
Before you begin, make sure that you got the right tire that matches the rim;for instance, a 15-inch would fit a tire sized at 15 inches.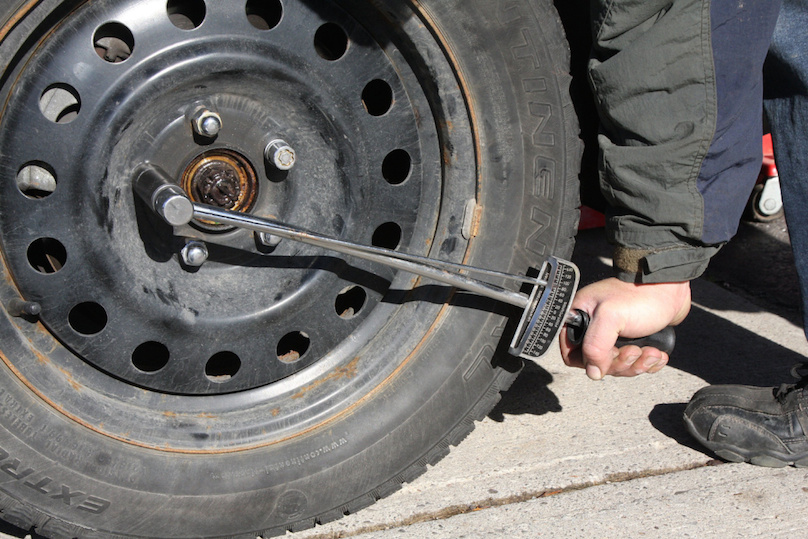 Also, make sure you have the following tools in arms reach:
Here we go:
If the rim in question has a functioning valve stem in place, skip to the next step; if not, take a valve stem, and lubricate it with some tire lubricant.
Now, insert it from the inside in the present hole; the tire will later cover this area. With the help of pliers, pull the valve stem till it seems to have a perfect fit.
For a seamless placement, it would be best to thoroughly lubricate the tire and the rim by hand or by using a spray. Therefore, apply a reasonable amount of lubricant on the outside edge of the rim and the inside bead of the tire.
Before you start, make sure that every inch of the tire bead is lubricated
Lay the wheel on a flat surface that has no bumps or cracks.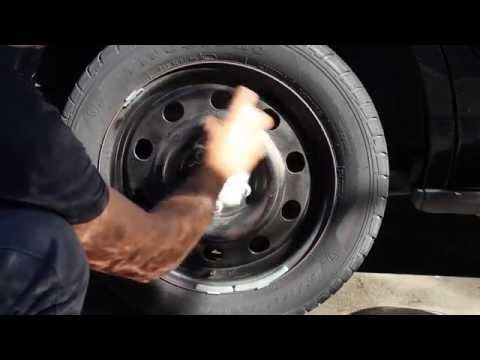 If the ground below seems rugged and may lead to potential scratches, put cardboard beneath the wheel.
Now, place the tire right on top of the wheel in a manner that the rim’s top lip connects to the tire’s bottom bead.
Step on the tire, and begin thumping your feet to connect the wheel’s top lip to the tire’s bottom. Ideally, you should apply force on one side, then use the other leg to apply pressure on the opposite side.
Some mild jumps will do wonders and quicken the insertion process. However, you should bring in a friend to help you with this — they can hold your hand to maintain balance while thumping and jumping.
With the lower half of the tire inserted, now is the time to get the upper one seated. Though not easy, but some lubrication may help you in easily sliding it in.
Therefore, add more lubricant on the top part of the rim as well as the tire.
Like we recommended pushing the tire on one side, you have to do the same here but for the upper end.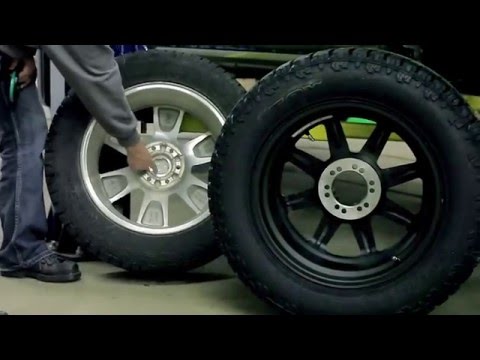
Press one end of the tire so that it goes below the edge of the rim. The chances are that, despite you putting a considerable amount of force, the tire does not make past the lip; if so, press on the bottom end.
The idea is to create a big enough wedge between the upper lip and the upper bead of the tire to accommodate a pry bar.
With the help of the inserted pry bar, stretch the tire over the rest of the rim. While prying the tire’s bead on the rim’s upper lip, press down on the tire with your hands.
This two-part process may require a reasonable amount of time, but in the time it takes you to do a complete rotation, the tire will land right in place.
To avoid scratching up your alloys, keep the pry bar pressed against the bottom portion of the wheel’s upper lip.
If done right, the tire’s beads will be covering the wheel’s lips.
If you have followed every step correctly, your tire is correctly placed and needs just to be inflated.
Remove the cap from the valve stem, and use an air compressor to fill up the now mounted tire. Remember to keep your hands, clothes, or other tiny belongings away from the tire bead.Once inflated, all items underneath cannot be removed without moving the car.
Refer to the vehicle manual or the instructions on thetire’s side to know how much the recommended tire pressure for a comfortable and safe drive is.
Here are some common mistakes people tend to make when mounting tires to rims, so you should always remember to:
All in all, having a correctly mounted tire keeps you and your ride safe and keeps the tire inflated at all times.
That said, for best results, we strongly recommend you to get the task handled by a professional.But, if you want to DIY, follow the steps mentioned earlier to the T — won’t take you that long!
The article provides information on the correct installation of tires and features of the tread direction.
A tire is a multi-layer shell of complex design that is attached to the wheel rim. The shock-absorbing part is rubber or polymer, with a printed pattern, which, as a rule, indicates the direction of rotation of the wheel. The pattern is applied to the protector. The tread is the working area that creates the grip of the car with the road.
Tires are classified according to the following criteria:
Understand! Universal in reliability while driving are inferior to specialized ones. The directional ones provide better grip on wet roads at high speeds. If you correctly determine the direction behind the rotation of the wheels, the effect of aquaplaning disappears, which guarantees good rubber grip in puddles.
Rubber design features are distinctive features that enhance the driving characteristics of the vehicle. It is important to understand them for the correct choice of replacement rubber.
Tubeless, long lasting elasticity in the event of a puncture. The rubber tightens around the stuck object. It does not overheat when driving, due to heat dissipation by the open (metal) part of the rim. Unlike the chamber one, there are increased requirements for rims, the need to apply additional sealant at the junction of the rim and rubber, and the complexity of installation. Tubeless are used more often, properly mounted - high wear resistance.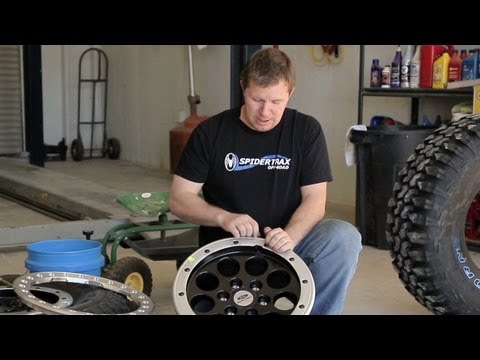
The difference between bias and radial tires can only be correctly identified by the markings. Radial - r. Diagonal - do not have a letter index. You can understand the marking of the diagonal ones by the presence of the designation TT - operation with a camera. Those who care about speed need to understand the differences.
Summer Drive Protection Sound Comfort
Rating:
4.5
Tires Goodyear Eagle F1 Asymmetric 3 SUV
Summer Drive Protection
Rating:
4.5
Tires Goodyear Eagle Sport TZ
Summer Drive Protection
Rating:
4. 5
5
Tires Goodyear EfficientGrip 2 SUV
Summer Drive Protection Run On Flat
Rating:
4.5
Tires Goodyear EfficientGrip Performance
Winter Drive protection
Tires Goodyear UltraGrip Arctic 2 SUV
Winter Drive Protection Sound Comfort
Rating:
4.5
Tires Goodyear UltraGrip Ice 2
Winter Drive Protection Sound Comfort
Rating:
4. 5
5
Tires Goodyear UltraGrip Ice SUV
Winter Drive protection
Tires Goodyear UltraGrip Performance+ SUV
All season Drive Protection
Rating:
5
Tires Goodyear Vector 4Seasons Gen-3 SUV
Summer Drive Protection Run On Flat
Rating:
4
Tires Goodyear Wrangler HP All Weather
All season Drive Protection
Rating:
4. 5
5
Tires Goodyear Vector 4Seasons
Summer
Rating:
4.5
Tires Goodyear Wrangler All-Terrain Adventure with Kevlar
Summer Drive Protection
Rating:
4.5
Tires Goodyear EfficientGrip SUV
Summer Drive Protection Run On Flat
Rating:
4
Tires Goodyear Eagle F1 Asymmetric SUV
Tire tread provides traction.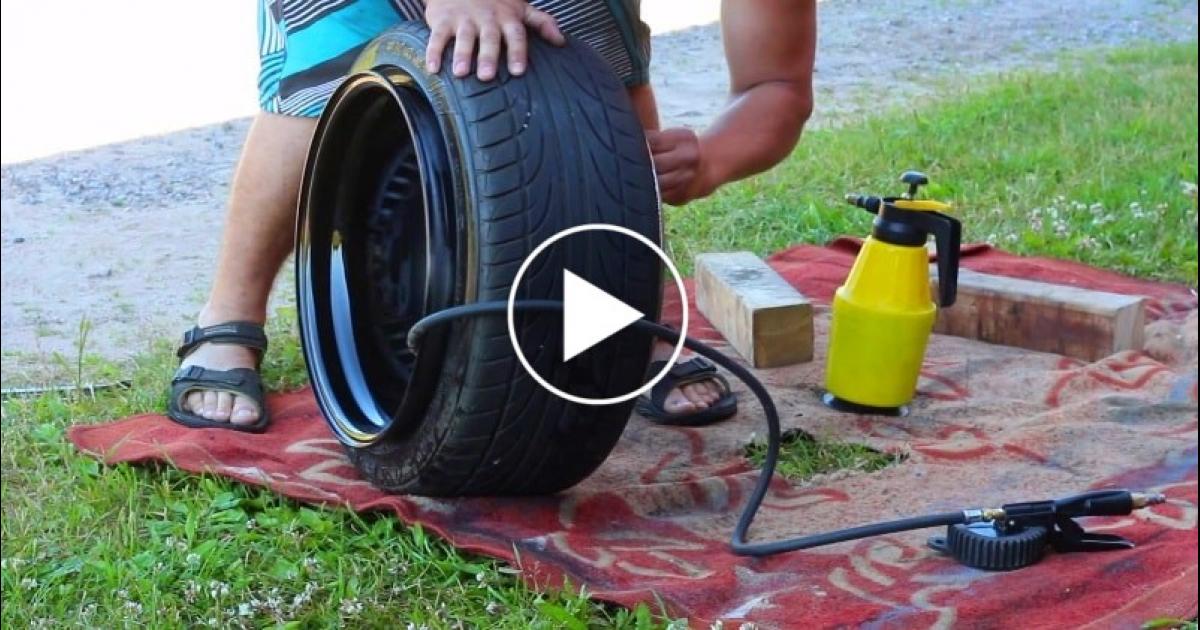 You can determine by the tread:
Asymmetrical tread pattern is larger on the outside. Do not purchase with even the slightest difference in the pattern - the tires rotate with a minimum lag - uneven grip with the roadway. Especially important for the highway, sharp descents.
Before determining the direction of a tire, it is important to know that Goodyear's tire direction marking for an asymmetric pattern is: LEFT; RIGHT - right; outside - outer side, inside - inner. install tires on the car according to the pattern on the tread or arrow.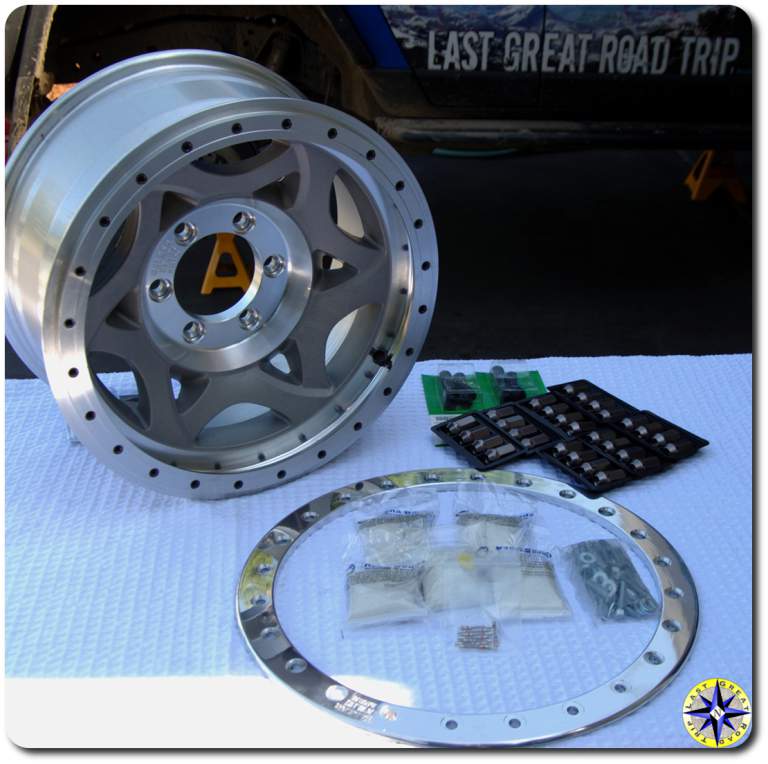 If symmetrical - navigate along a symmetrical pattern, its direction must coincide with the direction of movement of the wheel. If you need to install in the direction - the correct designation is ROTATION - rotation.
How to find out the direction if there is no marking - herringbone pattern? Rotate the tire in both directions - the top of the "herringbone" should be the first to touch the road. This is the correct way to install a wheel without a direction marking.
Recently, manufacturers have switched to symmetrical wheels, as it is impossible to know which one will fail. Correct replacement scheme:
It is also worth understanding that it is impossible to use anti-corrosion agents for processing fasteners on the road - imbalance. You can recognize the accuracy of balancing by the absence of knocking. In the same way, you can find out the correct installation.
Correct setting is impossible without rotation balancing on a special machine. Installing a tire without a tube is impossible without the appropriate equipment. It is important to understand that it is impossible to put rubber from different manufacturers on 1 vehicle - non-uniform depreciation is the result of suspension knock. You should not save on carrying capacity and elasticity, replacing the chassis will cost more.
Even at the dawn of the automotive industry, when car tires were made of natural rubber, which melted in the sun and hardened from frost, designers and manufacturers thought about something more perfect. After all, such tires are not far removed from the wheel on a horse-drawn cart.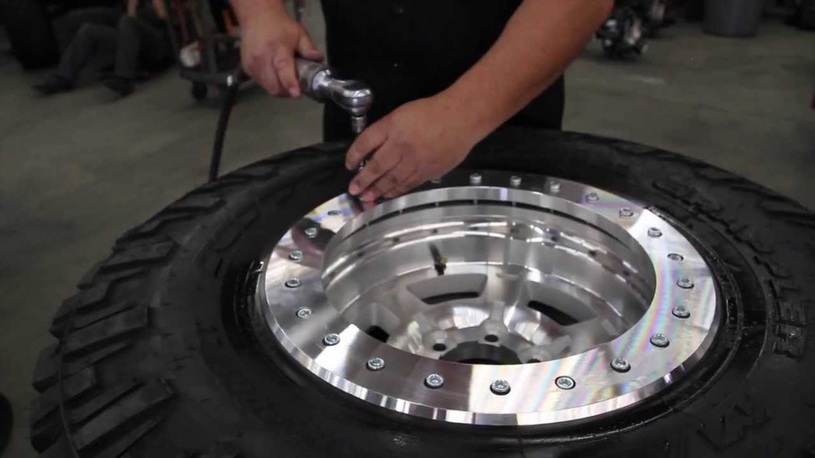 As a result, technologies have developed, oil processing methods have improved, times have changed.
In 1927, among other things, the Soviet scientist Sergei Vasilievich Lebedev, synthetic rubber was obtained, which became the progenitor of the material of modern tires. But such a material did not become a panacea, in addition to the rubber itself providing high performance properties for tires, the shape and profiles of the tire were also important. Subsequently, the tire treads became flat, in order to provide a large area with the road, which means stability on the road. In addition, they have a protector. At the same time, in some cases, the tire tread required a certain installation of tires, according to their rotation. It is about these very installation cases, as well as what will happen if the tires are installed incorrectly, that we will describe in our article.
If you pay attention to the tread of tires that drive around your city, then surely the most attentive will see that tires are different. In one case, the tread pattern is like a checkerboard, just squares, in the other there is a strict direction, relative to the transverse axis of the wheel, and symmetrical. And, in the end, the orientation relative to this axis is asymmetric. That is, we can say about the banal, very well-known fact that tire treads are: directional and non-directional. Moreover, the welded tire tread can be symmetrical or asymmetric.
(Classification of the type of tires based on the type of tread)
So why do manufacturers bother to make this pattern, what role does it play when using tires? After all, all this is clearly not only for the sake of beauty.
We'll start with the case where the tread is non-directional. In this case, there is no need to talk about the correct installation of the tire, regarding where it should rotate. One way or the other, it doesn't matter. Another thing is when the protector is directional.
For a car enthusiast - an average person who does not want to delve into the essence of the matter, everything is simple. Look at the marking on the rim "ROTATION", which translates from English as rotation, and put the tire on the car in accordance with the rotation of the wheel in the direction of the car moving forward.
...or "outside" marking...
In this case, the rim with this marking must "look" outwards. Marking for asymmetric tread pattern.
In fact, there are a lot of different markings on the tire. If you are interested in them in full, then you can learn about them from the article "Car Tire Marking".
For those who want to know why a tire should be stabbed this way and not otherwise, and what an incorrect tire installation can affect, we will tell the following.
The direction of the tread on the tire is designed to remove liquid, dirt, slush from under it, that is, everything that has a low viscosity. At the same time, this withdrawal is necessary in order to avoid the so-called hydroplaning effect.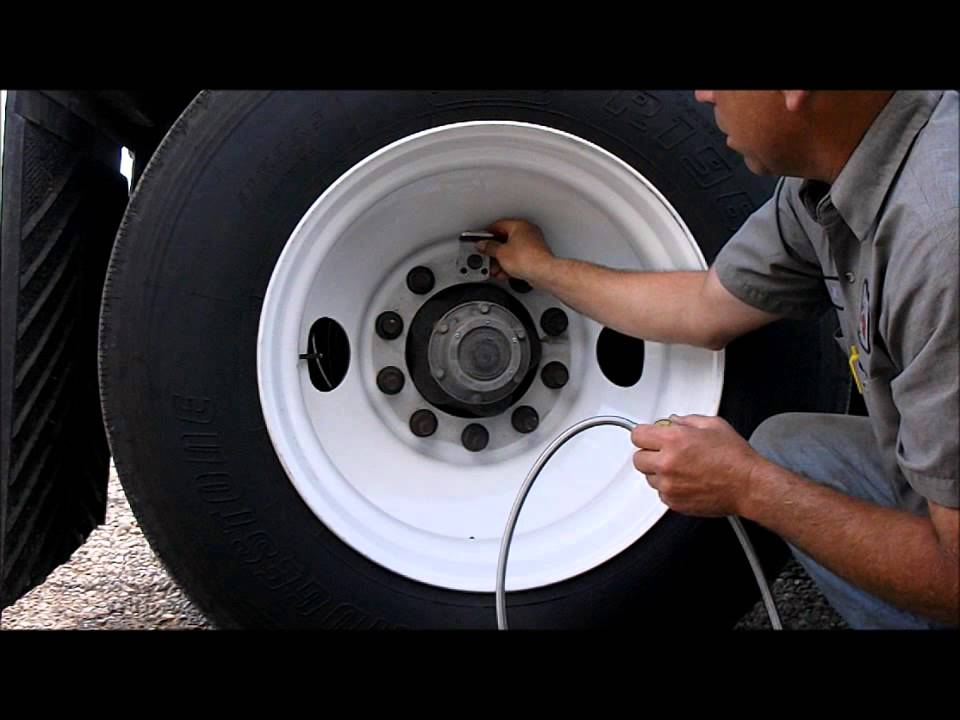 That is, to prevent the loss of contact between the road and the rubber. Why this very contact is needed, we will not explain. Let's talk about how the directional tread removes all this from under the contact patch of the tire with the road.
This is a long story and explanation. But it is better, as they say, to see once. We made a gif especially for you. Take a look.
Essentially the tread works like the vanes on a centrifugal pump when it pumps water, except that the driving force here is not centrifugal force, but the force from squeezing water into the grooves of the tread. The force is generated each time the tire hits the fluid it is supposed to expel. So water, dirt, wet snow is squeezed out into the groove and discharged outside. The wheel rotates further, and new water is again squeezed out into the groove in the direction of the car. Due to the removal of this "grease", the contact between the tire and the road is improved, which entails a safer ride.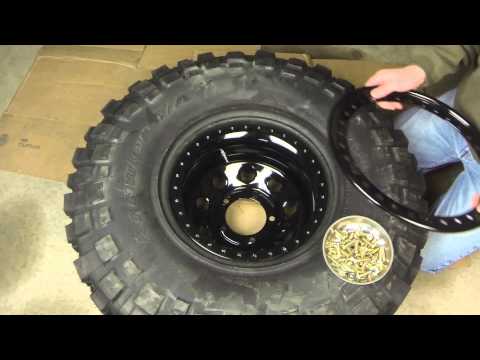 It's all so simple and logical. Here I want to talk about the direction of the drawing. As we have already said, you can pay attention to the ROTATION marking, or you can look at the picture.
(the tire is installed correctly)
So, the tread grooves should always move away from the contact patch of the tire with the road towards the rear of the car, when viewed from above on the wheels on the left. And the opposite situation for the wheels on the right. In this case, you can not look for the markings on the rim. I looked at the tread pattern and put a tire on the car according to the pattern.
Here everything is according to the logic of what is happening, but in reverse order. If everything under our wheels (dirt, sleet, water) is more difficult to squeeze out, since the grooves will be directed to the intake of all this environment, then in fact it will turn out that excess pressure will form in the center of the tire, in the contact patch.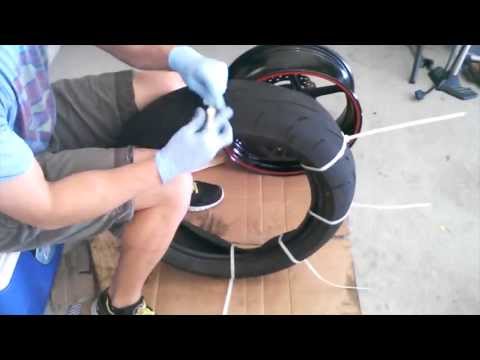 It will try to raise the tire, which contributes to the deterioration of rubber grip. By itself, this is not safe.
However, if we talk about a dry road, when there is no water on the street, or it is frosty and just snowing, then the presence of such grooves that drain water, slurry, in fact, does not oblige to anything. Also, such grooves will not affect the situation with limited speed, about 5-20 km/h.
So, the direction of the tread grooves on the tire was invented not just for beauty. If they are, then it is better to use them. The directional grooves of the tread contribute to the removal of the liquid medium from under the wheel and thereby improve the contact between the rubber and the road. Therefore, pay attention to the correct installation of the tire. When installing a tire, you need to pay attention to its tread. At the same time, such a statement applies not only to the one who puts an already collared wheel on the car, but also to mechanics who install the tire on the rim.