A belt made from the tread of a Surly Knard that rolled over 7,500 kilometers of African dirt…
compose Logan Watts
time Oct 13, 2014
comment 4
Nostalgia is a funny thing. Sometimes, it makes us hoard away concert ticket stubs or hold on to old T-shirts as if they were prized trophies. I’m not a packrat, but I am admittedly sentimental. I often save stupid little mementos that represent banner experiences of times past (that I eventually purge and throw away). Over the weekend, I swapped out the tires on my ECR and retired the Knards that carried me through Africa. They actually still had a bit of life left in them, but the lure of foreign soil calls for a fresh set of rubber. I just couldn’t bring myself to get rid of both of those tires. After all, there’s a long story etched in that rubber. So, I decided to give one of them a second life.
I coerced a sexy model to flaunt the final product.
See captions below thumbnails for instructions…
1. A close up of the fairly worn tread, complete with dirt residue. I trimmed the Knard at the center tread using a heavy-duty pair of shears; 2. Supplies: An old cloth belt yielded two rectangular rings to make the “buckle,” two small rivets (approx. 1/4 inch), a manual rivet set, and a small leather punch; 3. The final strip measured about 92 X 1 5/8 inches, enough for two belts for my 32/33 waist.
The rivets were placed about an inch from the fold to allow a little play in the rings. This allows the belt to slide through and lock when cinched.
So now I have a total hipster, kinda punk, Africa post-ride belt.
Prior to constructing the belt, I dropped by our local beer store for a little added inspiration. Turns out, its proprietor had paid a recent visit to my old home, over 200 miles away in Charlotte, North Carolina, and returned with a load of Hop Drop n’ Roll, the signature IPA from NoDa Brewing Company. The brewery is named after the hip urban area where it’s located, the same neighborhood where I developed friendships, lived, and worked for the 12 years leading up to the moment when Gin and I liquidated a chunk of our belongings, packed the rest in storage, and set off on a bike tour from Mexico to Panama.
I’ll make the beer review short and sweet. The Hop Drop is a remarkable and beautifully hopped IPA which deserves every bit of the gold medal it took home from the World Beer Cup in 2014 and the 96 rating it has on Beer Advocate. Evidently quite a few folks living in the small eastern North Carolina town I’m temporarily calling home agree. They had not only heard about the Hop Drop, but they had also been requesting it. And nearly as soon as Marcos, the owner of Brewmasters, had returned from Charlotte with the goods, it was gone.
So, beer in hand and a head full of memories, I cut, hammered, and slapped myself together a memento that I may wear a few times, then put in a box, then one day when the sentiment has lost its luster, I’ll probably give it to Goodwill. Or like the rest of the crap I happen to own when I take the big dirt nap, one of my nephews will have to deal with it. Ah, nostalgia!
Please keep the conversation civil, constructive, and inclusive, or your comment will be removed.
Etsy is no longer supporting older versions of your web browser in order to ensure that user data remains secure. Please update to the latest version.
Take full advantage of our site features by enabling JavaScript.
(283 relevant results)
How to make a DIY bicycle tire belt .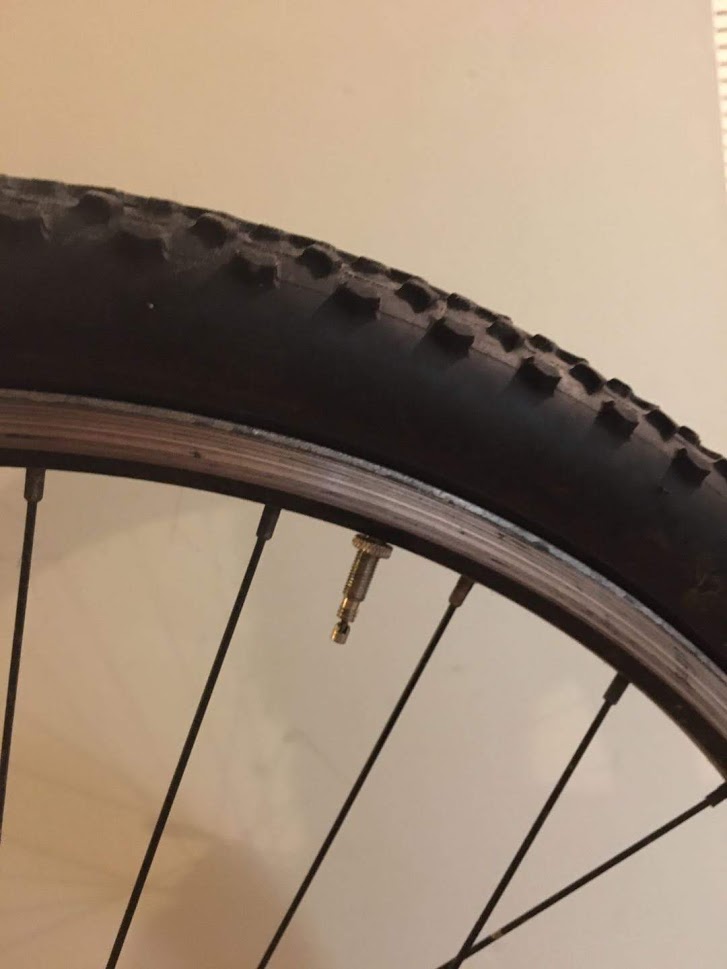 We make a homemade belt from unnecessary bicycle tires with our own hands.
Tires should never be thrown away. They can always be disposed of, or given a second life as a household item or wardrobe. And this applies not only to car tires, but also to others. So, for example, from bicycle tires you can get a simple, but stylish and durable belt. And making it yourself is very simple and not expensive.
To make a homemade belt you will need:
1) If you don't have the tire you need, you can find it in bicycle repair shops. Usually they are just thrown away, so you don't even have to spend money on this material. Just do not take completely worn out tires. Look for those that are stronger, with good tread. It shouldn't rub off too much. As soon as the necessary tire is found, wash it thoroughly so that there is no dirt and small stones left, and let it dry.
2) Take the buckle. It can be purchased at fabric stores, or can be removed from an old and torn belt that you no longer use. If you chose option 2, then carefully look so that the buckle is not rusty and dirty.
Otherwise, clean it thoroughly. In addition, the buckle should be of such a color, shape and size that it is suitable for the future belt. That is, it must be as wide as a bicycle tire.
3) We also need rivets. They are also called "Chicago screw" and they are used specifically for fastening the buckle. You will only need one of these rivets. And you can find it in any sewing accessories store.
4) Take scissors and a bicycle tire and cut it anywhere. But once. Now carefully cut off the folded edges of the tire so that you only have a long flat part of it with a tread (grooved surface).
5) If the corrugated part of the tire has a pattern that looks like an arrow, or the end of a triangle, that's good, it will be easier for you to cut. First of all, cut off a piece of the tread on one edge so that you get a pointed end.
The second edge can either be trimmed straight or as shown. In addition, so that the belt does not turn out to be too long, it is worth cutting off a little more of it than the tip. Then, take a hole puncher that makes holes with a diameter of 3 millimeters, and make a few holes in your new belt. They should be located 2-3 centimeters apart.
6) Make another oblong hole, as well as two round ones on the sides of it. Pass the moving and sharp part of the buckle into the oblong. Bend the belt so that the two round holes on the sides of the oblong one are opposite each other. Fasten them tightly with a rivet.
7) Well, that's it. homemade belt is ready. It can be worn just like that, or decorated with something, or dyed to look like leather.
If you are interested in the topic of making homemade belts from bicycle tires, please also see the article: Belts from bicycle tires
A convenient, functional and interesting do-it-yourself belt made from old bicycle parts. The original belt in these photos was made by a friend of mine and he deserves credit for the idea. He used strips of rubber tubing to connect part of the belt. Although after a year of intensive use, the worn parts had to be repaired.
Idea for your own belt
Step 1. Materials
You will need:
• Old Camera from a bicycle
• Clean bicycle chain and tool to analyze the chain
• • • • bicycle gear wheel
• 4 small bolts with nuts
• 180 cm of thin elastic cord
• scissors
• hole punch
• tape measure
Step 2. Dismantling the bike into parts
Take the camera as the basis of the belt and cut it 5-7 cm from the valve.
1. Cut the chamber 5-7 cm away from the valve.
You have a long strip with a flap close to one end. Measure the circumference of your waist, add 20-25 cm - this will be the length of the belt.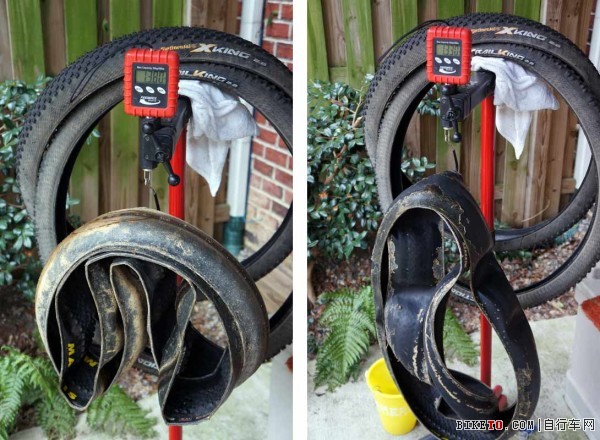
2. Measure your waist circumference, add 20-25 cm to the length and cut off.
Lay the belt blank on a flat surface, measure the length of the belt from the valve and cut. (Note: do not touch the 5-7 cm behind the flap, you will need them later)
Cut off 2.5 cm from the rest of the chamber. This will be the loop into which the belt is inserted after the buckle has passed.
3. Cut a 2.5 cm piece for the buttonhole. For the buckle, take a gear wheel with a diameter slightly smaller than the length of the valve.
Take an old, worn, greasy chain and clean it up or just buy a new one - less work. Using a tool, disassemble the chain into separate flat parts. You will sew them to the belt using elastic cord. Consider what model you want and how many parts you will need. My belt is decorated with two rows of pads, 22 pieces in each row, 44 pieces in total.
4. Take the bike chain apart. These flat pieces in the shape of a figure eight will decorate the belt.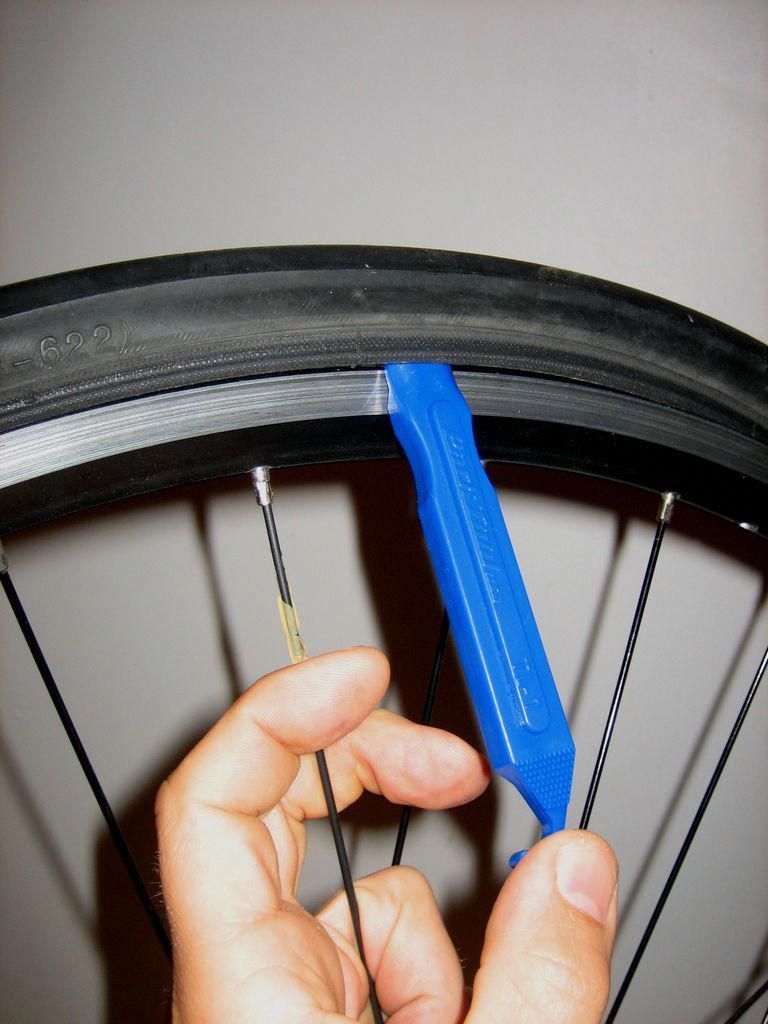 I had 2 rows of 22 pieces for a total of 44.
Step 3: Buckle
The buckle consists of a shaft and a star, as shown in the photo. The 25mm loop is attached next to the buckle using bolts.
First decide which side of the sprocket will be the face of the buckle. Then slide the end of the belt through the front side of the buckle, bend and place on the back side of the belt.
Mark four points for attaching the bent end of the belt with bolts. The first two points will be closer to the buckle, the next two - closer to the edge.
Using a hole punch, make four small holes (slightly smaller than the diameter of the bolts) at the marked points. Also, make a hole in the 25mm loop.
1. Punch four holes through the folded end of the chamber. I recommend installing the buckle before making holes.
Insert two bolts into the holes closest to the buckle, tighten the nuts (bolts can be replaced with rivets). Insert the second pair of bolts and tighten the nuts.
2. Belt buckle. Front view. The first two bolts hold the buckle. Please note that they are set close to two prongs in order to hold the buckle tighter. The loop for the tip of the belt is also attached with two bolts.
3. Buckle back. Small bolts. Back side of the loop.
4. Buckle side view.
Step 4: Punch More Holes
You now have an almost finished belt. Put the belt on your trousers, tighten it as you like, mark the point for the hole.
Punch a hole slightly larger than the pin on the buckle. Since the waist circumference can vary, make a few more holes on the belt, at a distance of 25 mm from each other.
Your belt is ready, try it out, make sure it fits.
1. Finishing stitches: On both sides of the holes on the belt, punch 2 more rows of holes. You can pass a cord through them: thin or wide.
2. Not perfectly even, but that's ok.
3. Make sure the belt is flattened evenly around the perimeter so that the holes line up.
4. Punch a few holes in the end of the strap to keep the strap from twisting. Pass the cord through the holes.
Step 5 More Perforation
Now you have a long belt with a series of holes on one end and a buckle on the other. The middle part, however, is empty. Boring. A double row of bicycle chain covers will keep the belt from twisting and add originality.
Mark two parallel lines along the entire length of the belt, considering the distance you want to place the pads from each other. My belt had 22 8-shaped pads in each row. The holes in the parts were 12 mm apart. Parts of the chain alternated: flat shiny and convex.
You can use my pattern, or lay the overlays vertically or diagonally, or sew with beads, etc. Get creative.
1. Dismantle the bike chain into parts, you will get an 8-shaped part for decorating the belt.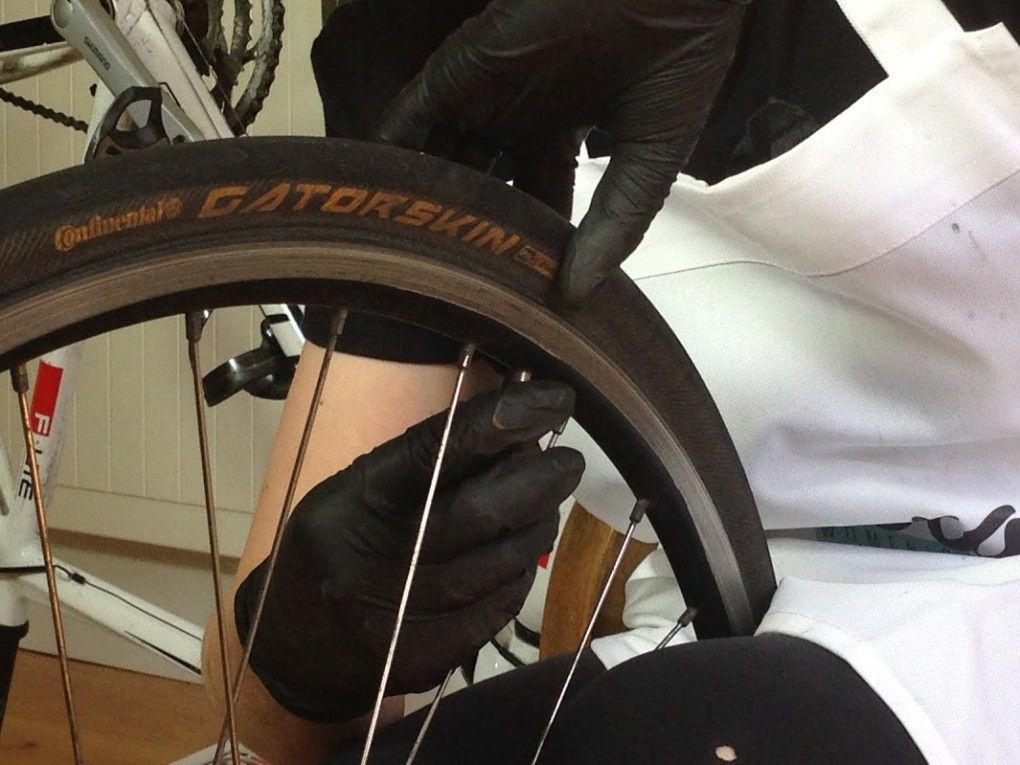 My belt had two rows of 22 pieces, for a total of 44.
2. The distance between the holes in the parts is 12 mm. The round elastic cord is a little bulky, however, it will last longer than flat rubber bands.
3. The remnants of the camera used to stitch the lining broke after about a year.
Step 6. Seams on the overlays
This belt was made using rubber quilting strips. Cut 90 cm strips, 3 mm wide from a bicycle inner tube. But remember that they wear out quickly.
When repairing, I removed the worn parts and replaced them with bright blue elastic cord. Before sewing, tie a knot at one end of the cord and pull it through the first hole on the belt so that the knot stays on the back. Then pass the cord through the first hole in the metal patch, through the second hole, and through the next hole on the strap. Repeat this step for all overlays in the row.
1. Long piece of elastic cord. I used about 90 cm for each row.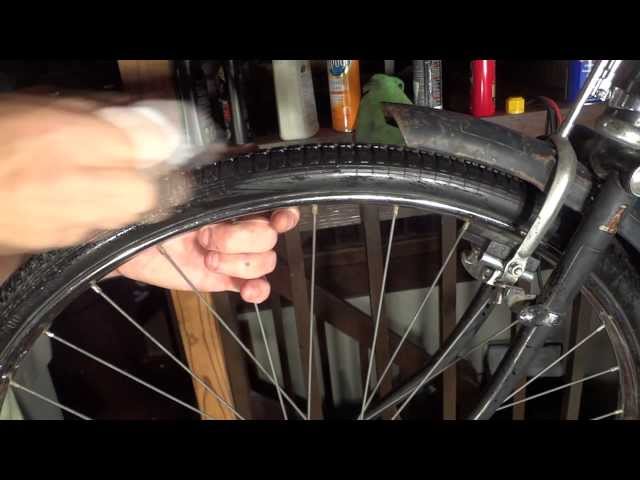
2. Pass the cord through the first hole in the first pad, then through the hole on the belt. Tie the first knot so that it stays on the back of the belt.
3. Then through the next hole. Repeat for the entire row.
4. The end of my cord was a little frayed, it became difficult to sew, and I made a makeshift needle from twisted wire.
5. Here I just changed the seams, I pulled out the rubber strips and sewed with elastic cord.
I sewed a row without tension on the cord, loosely. After finishing work, making sure that the cord lay flat, I tightened it. Then he tied the ends of the cords together.
6. Leave the stitches loose. Then you come back and, making sure that the seam lies flat, tighten it more tightly.
7. Loose stitch. You want the seams to be flat, not twisted.
8. The top row is sewn. Here I am doing the last stitches on the bottom row.