The Quad (or ATV—all terrain vehicle) was created as a more stable 4 wheel version of the original ATC (All-terrain cycle) or trike three-wheeler. It is a bike-type off-road machine that has been used primarily in off-road dirt-type racing. It has also been used in oval dirt and in paved track racing and fits, despite its handle bar controls and saddle seat, the definition a small race car.
Quads are characterized today by a tube frame chassis, mid-engine and rear or four wheel drive. They utilize treaded, knobby, and even slick type tires mounted to an independent front and swingarm solid-axle rear suspension (usually). For off-road racing, the suspension is long-travel to enables the vehicle to travel over very rough terrain and jumps. For oval or pavement type racing the suspension has less travel and the chassis is lowered.
Racing events are held on desert, wooded, and other natural terrain as well as dirt ovals and paved tracks. Racing is held in many parts of the world.
Quad/ATV Contents
Numerous models of Quad are built by the manufacturers Honda, Kawasaki, Suzuki, Yamaha, Arctic Cat among others.
Building a quad can be approached in two ways: Customizing an existing model of Quad or building a brand new design from scratch.
If you opt to customize an existing quad through aftermarket components, it is recommended you have a good working knowledge of handling, chassis, suspension, and powertrain. Being able to understand the effects of modifications will enable you to choose the areas and components that provide the results you are looking for.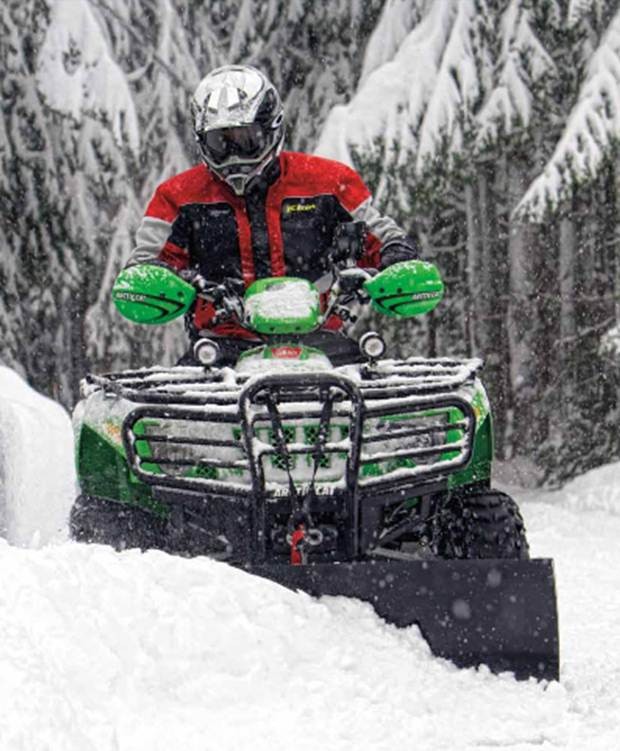
If you want to build a new quad design, then scratch-building will be the approach to take. You should be knowledgeable in handling, chassis, suspension, powertrain, and aerodynamic design. These five major areas of the quad design work as an integrated unit and the designer must have an understanding of how changes to one area affect the others. Design work is iterative, meaning re-designing areas based on new changes to another area. After the iterations are completed, the design will be complete and optimized.
Because of the varied environments where Quads can operate, knowledge of the terrain is important to ensure the vehicle will handle the demands of the surface and speed.
Suspension: Maximizing the contact patch of the tires with good suspension geometry is of key importance. Because of the long suspension travel there can be significant camber change. Some camber may be of benefit in cornering, but excessive camber will likely mean less traction.
Suspension, wheel and tire weights (Unsprung weight) affect the compliance of the suspension, which in turn affects handling, so keeping all these components as light as possible is an advantage. Springs and dampers (shock absorber) must be matched to the forces you expect the suspension to handle.
The suspension pickup point locations impact the chassis design.
Chassis: Providing openings to make internal components accessible for maintenance is important. If scratch-building the engine fit and mounts should be considered after determining the suspension/handling goals. Iterations may be required to match handling goals and engine positioning.
Powertrain: Weight distribution is heavily impacted by engine position. Intake, Cooling and exhaust need to be considered in relation to chassis design, bodywork and aerodynamics.
Aerodynamic: Unless raced at speeds above 60 mph, the aerodynamic effects will likely be secondary to handling and driving.
Safety: Consideration should be given to scenarios the Quad may encounter (ie. Roll-over, collision, etc) and protection added where the risk is sufficient.
If you intend to race under a sanctioning body, always read and understand the regulations of your chosen racing class before designing or building any race vehicle.
Learn the basics about race cars and race car design from our free online knowledge series
Download our free race car design aids to assist you designing your race vehicle.
In-depth books and learning resources we recommend for Quad/ATV design.
Join our forum to ask and find answers to your Quad/ATV design/construction questions.
If you are customizing an existing quad, the project will primarily involve replacement of stock parts.
If you are building from scratch, then ensuring the chassis is dimensionally accurate and straight is important as flaws in the structure will create handling issues via misaligned suspension. The use of a solid, flat and level build space is important. Jigs are often used in this case to ensure that structural tubing stays in alignment during welding/brazing.
The builder should have solid joining and metal working knowledge and skills when fabricating the chassis/rollcage/suspension. While mild steel (1018/1020) is very forgiving, some metals are best welded using a specific method (mig/tig) and some require heat treatments before and following welding to restore their toughness and strength.
Having sufficient space for the chassis and body panel construction is important, as a cramped workshop can be difficult to work in. However, in the case of a quad, a small garage will likely suffice.
The tools to fabricate the chassis and bodywork can add considerably to the cost of your project if you don't already have a workshop, but borrowing or renting items is also an option.
Many components for customizing a stock Quad/ATV can be sourced from existing Quad/ATV manufacturers or the aftermarket.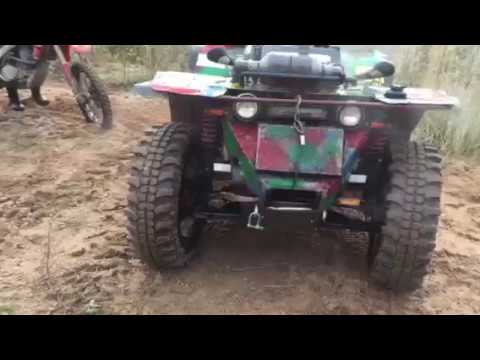 Depending on how many modifications are made, the costs can reach the equivalent of the original Quad price or higher.
If you are constructing from scratch, the variety of available options becomes huge. You can pick and choose the ideal suspension and engine components from any manufacturer. Your job is then to integrate these components into a cohesive package.
If the Quad/ATV is to be used in racing, there will likely be a high standard of quality required. The costs may be significantly more than for someone who wants to zip around their back yard. Costs for a race quality machine usually include higher quality suspension, engine and safety components.
If you are customizing from a base quad, the effort will be around stock component upgrades. The time and effort depends on the complexity of the changes, but many upgrades can be weekend projects.
If you are scratch-building there will be significant effort in design and construction.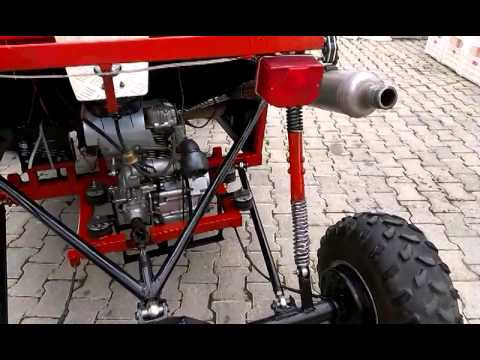 There is however, an equally great satisfaction and sense of accomplishment at being one of the few people in the world who have built their own quad from the ground up!
Consumable costs depend on the seriousness of the racing—Tires probably form the single largest consumable expense along with engine rebuilds and suspension part replacements. A dirty or gritty working environment will usually translate into parts wearing out sooner.
Trailering required.
In Alaska, ATVs are critical tools for many hunters. They’re also important in the daily lives of just about everyone who lives outside the cities. This is rugged country, and most of our adventures (and chores) take us off blacktop roads and into the woods. ATVs play a year-round role for many Alaskans.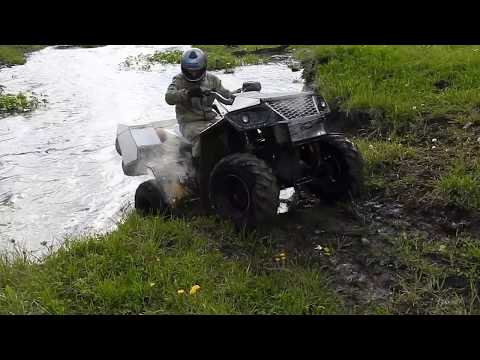 But a stock machine has plenty of room for improvement, and you can’t safely hit the backcountry without a few upgrades. Regardless of where you live, if you’re an outdoorsman or woman investing in an ATV, you want to maximize its potential for your intended purpose. This will cost a little extra money, but there are several simple after-market modifications you can make to get the most out of your new 4×4. Some of these will be more or less helpful depending on where you live and what you’re using an ATV for, so customize accordingly.
Here are the upgrades I think are most important in relation to the places I hunt. If you spend much time in the woods, these basic builds will make life in the backcountry much easier.
A hunting ATV needs a winch. You can forget going off-road without one. Now, obviously there are some places that might be exceptions, like small farms. A winch can make a lot of problems go away, the most obvious of which is being stuck in the mud.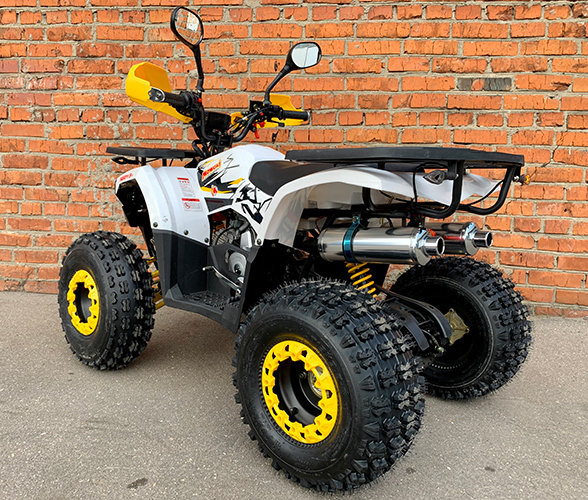 They are also very handy at helping you safely navigate some otherwise suicidal obstacles, primarily steep climbs and descents. On extremely steep terrain, if you can anchor your winch straight uphill, your machine cannot flip over backwards—the main risk when navigating this kind of country. You can also start at the top and lower your machine backwards over small cut-banks and other declines. You can right a flipped machine if you’ve got a tree to help you out, and move or lift a dead deer, elk, bear, or even moose with the right hardware.
You can buy off-brand winches pretty darn cheap, and this may be the best option if you’re rarely going to use it. But if you’re planning to rely on this critical tool so often, it’s advisable to buy a reputable brand winch like Warn. You’re going to depend on your winch working, so buy the best you can afford—don’t cheap out. Mounting a winch can take a little time, and you’ll usually need a bracket specific to your ATV, but it’s not all that difficult.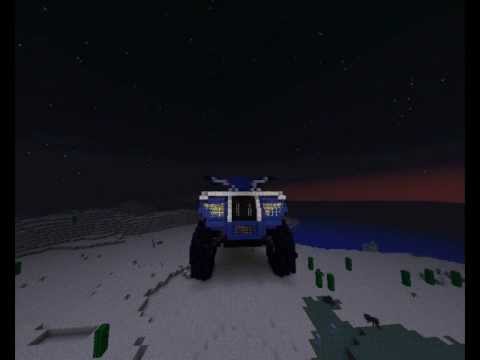 You will also need a winch if you want to use a snow plow, which is nice to have during our extensive Alaskan winters.
Your average ATV winch typically comes wound with a 3/8-inch steel cable. These cables work and have pulled uncountable numbers of ATVs out of compromised positions, but there is a better option. If you’re buying a winch new, order a model that already comes with a synthetic rope. There are a few issues that steel cables have that make rope a better, easier, and more dependable option. First is that as soon as you unwind that steel cable, it will never be the same again. It will never stack back on the spool as neatly, and will become harder and harder to pull out the more you use it. This, combined with the fact that you’re yanking on random stuff, causes kinks in the cable, which make it even less friendly to wind. After some use, the cable will begin to fray in spots, producing slivers of steel that will run well into your hands as you handle it. The cable will eventually wear out and break, and you better hope you have enough left to extract the ATV after you re-attach your hook to what’s left.
Synthetic rope is lighter and as strong (or stronger) than steel cables, and it won’t kink or make your hands bleed. Plus, it winds and unwinds much more cleanly than steel. If the winch you have has a steel cable already on it, you can buy an aftermarket winch rope and easily replace it. Just pay attention to your guides and rollers to make sure that the steel cable hasn’t caused any nicks or rough spots, as this can fray your new rope when winding it in under tension.
If you’re really planning on squeezing the most out of your ATV, brush bumpers are a good idea. They add a great layer of protection to your machine, and you don’t have to worry as much about driving over brush, small trees, and alders.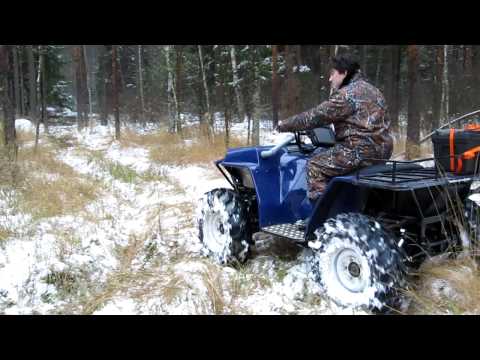 Here in Alaska, many moose hunters frequent old burned timber stands, and these are littered with dead small trees and debris that can damage an ATV pretty easily if you’re not careful. Bumpers won’t make your ATV bulletproof, but it will certainly give you some forgiveness and added protection to many of the more vulnerable parts while you’re crashing through the brush.
Bumpers will generally be specific to make and model, and if you’re buying new, you can often get them added as part of a package, like the Rugged Package you can get on the Suzuki King Quad 750axi that I’ve been using this year. For a little extra cash up front, it significantly increases the protection for your machine. If you’re looking to upgrade your existing machine, you can usually find options that are easy to install yourself.
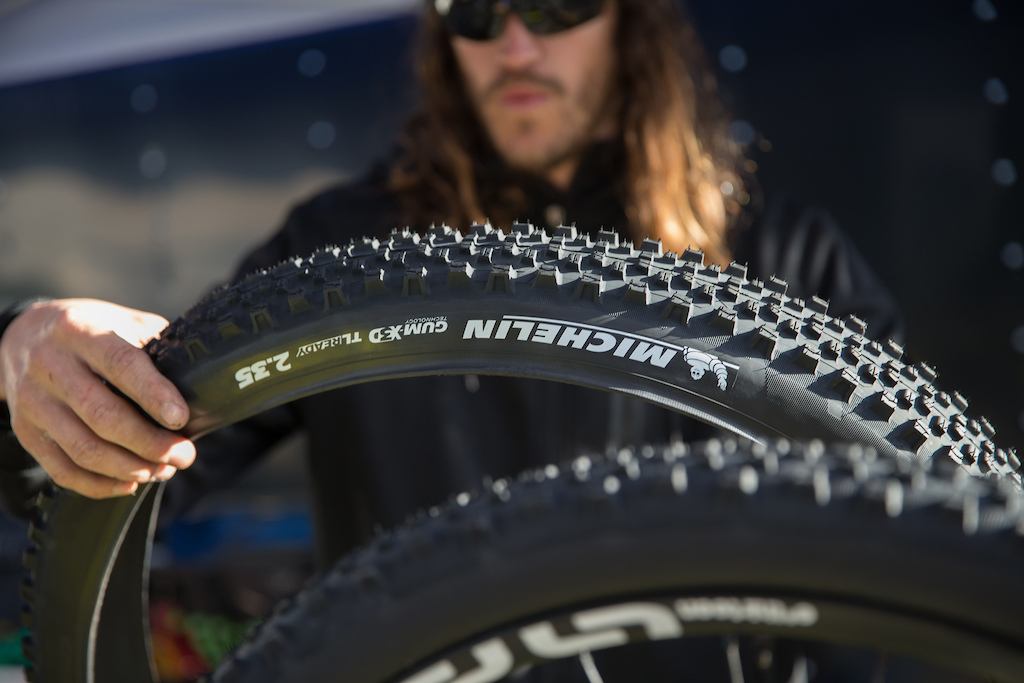
Stock tires are probably the single biggest power-robbing items on your new ATV.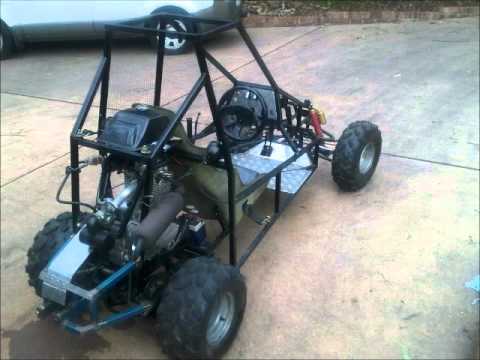 Now, for most general purposes, stock tires will work fine, especially if you have a winch. But you do want to have appropriate tires for the terrain where you’ll be using your ATV in the most. If you’re using it in arid regions, or mostly on smooth trails, you might not get your money’s worth out of a good set of aftermarket tires. But you sure will in the backcountry. Your tires won’t roll you anywhere if they’re spinning in the mud, and factory tires are generally pretty anemic. Even though they will often get the job done, you’re still leaving a lot of power and performance on the table.
An ATV’s power goes to zero as soon as the wheels lose traction, so naturally, you want more grip. There are lots of great aftermarket tires available. I’ve been using the Mud Lite II’s from ITP for several years now. Putting a set of those on a 400cc Polaris Sportsman made an incredible difference in performance, and made it almost impossible to get stuck unless I was high centered. On heavier, more powerful machines, good tires are even more important, as they let you access more of the ATV’s power.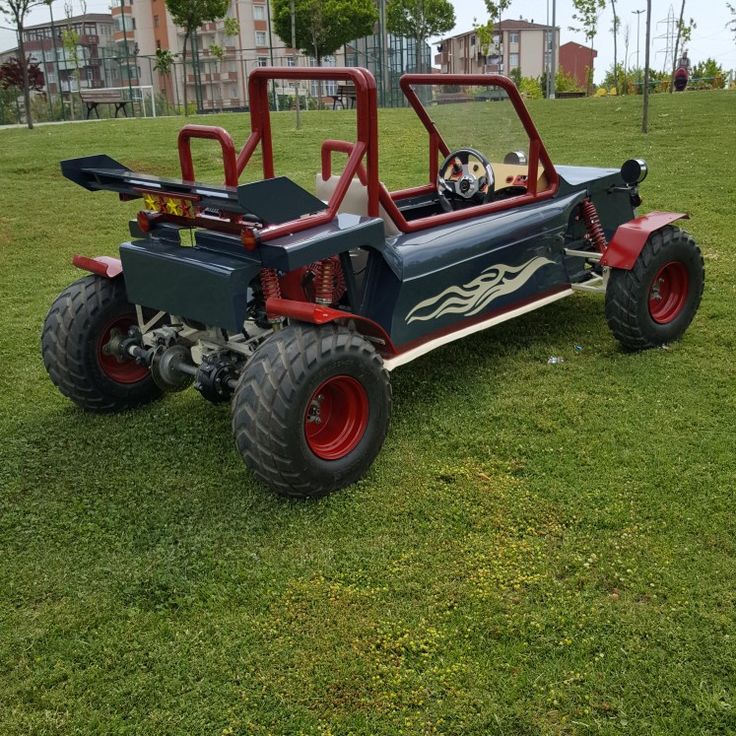
If you’re in muddy country, look for tires with deep, aggressive lugs, and ideally with some lugs or texture on the sides that will provide traction in ruts and other nasty mud holes. I like to up-size the tires slightly, but not too much. I also like a slightly wider tire over the stock rubber, but I usually only get an inch larger diameter tire. Larger tires provide more ground clearance, but also can make the machine more susceptible to tipping and can require a clutch kit to work properly. Check with your dealer for appropriate sizing.
Read Next: A Gear Test of the 6 Best Hunting ATVs
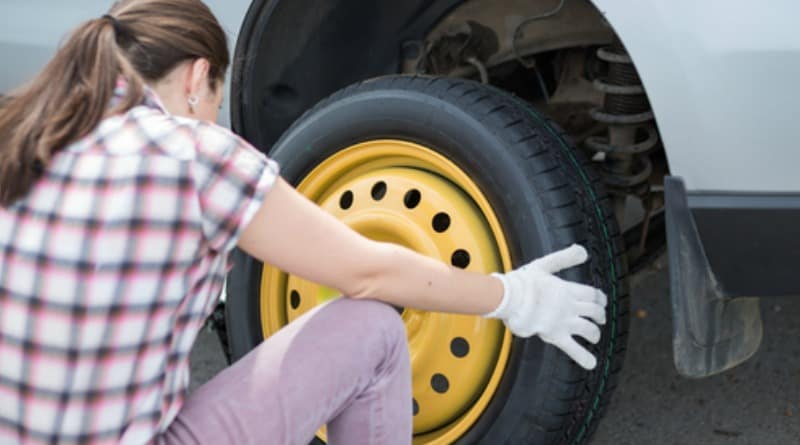
Wheel spacers are less common, but they’re still a useful and affordable accessory that can make your ATV more stable and less susceptible to getting stuck. They are essentially solid aluminum discs that bolt onto each of your hubs. The actual wheels then bolt onto these spacers, effectively spreading the tires wider. With some machines, wider aftermarket tires will require ¾- or 1-inch spacers to maintain clearance, but even when not required, that wider stance will add stability to your machine, especially on side-hill trails.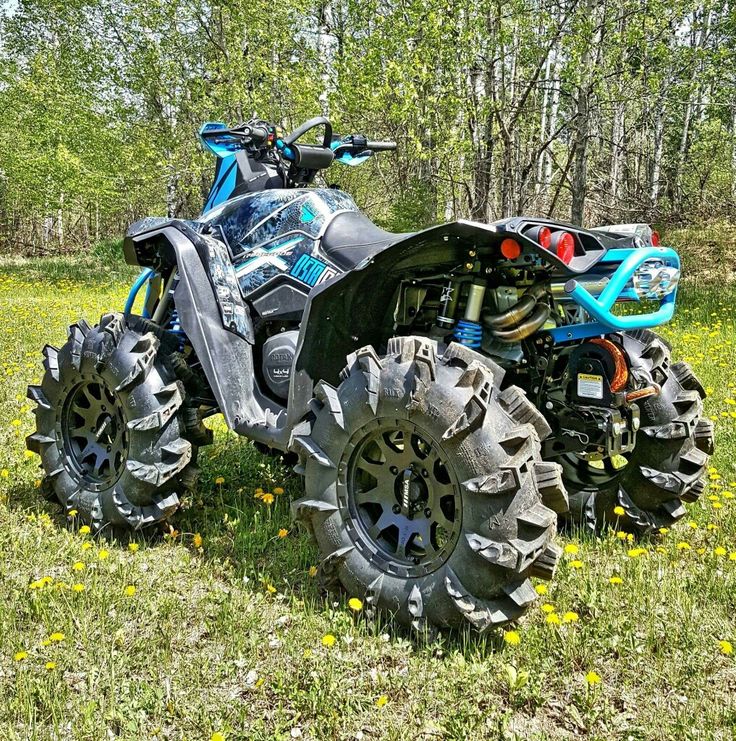 This stability is invaluable, as traveling rough side-hills is an easy way to flip your machine. If you travel lots of rutted up trails, this wider profile will often help keep your wheels from slipping fully into ruts, and keep you from getting stuck as easily. Simple to install, wheel spacers are a smart DIY upgrade.
We’re drifting into luxury territory here, but heated grips are a wonderful thing to have on an ATV in the north country. They come standard on most snow machines, and are an easy upgrade for your ATV. If you’re riding in cold, rainy conditions or the frosty mornings of moose season, you will appreciate having them. Even when dressed appropriately, icy handlebars can suck the heat right out of your body; these grips eliminate that issue instantly. Depending on your make and model, and the grips you get, you may have to do a little wire-running, but they are generally pretty simple to install and an affordable item that will help keep you comfortable in the field.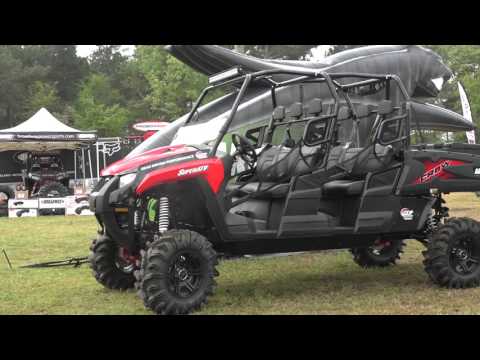
ATV from the store is a pleasure not available to everyone. Therefore, many craftsmen make quadrics with their own hands. And in this article we will talk about the most interesting of them.
In the manufacture of an ATV, everything that is in the garage and nearby can be useful. Each do-it-yourself vehicle is unique and individual, so it is difficult to talk about drawings and diagrams.
Few people describe in detail the process of building their offspring, which makes it extremely difficult to find specific information. But there are exceptions.
in 2012, the talented designer S. Pletnev shared the drawings and nuances of building his offspring.
What was used in the design of the vehicle:
| Weight | 430kg |
| Length | 2300 mm |
| Width | 1250 mm |
| Handlebar / seat height | 1250 / 900 mm |
| ground clearance, | 300 mm |
| Wheel base | 1430 mm |
| Track | 1045 mm |
| Maximum speed | 65 km/h |
Transmission made from AvtoVAZ units with some modifications.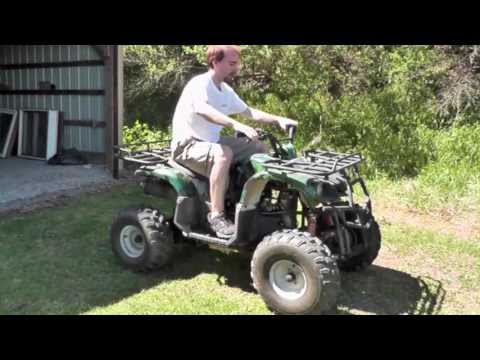 For example, to reduce speed and increase torque, a chain drive was used instead of the main pair.
Cross-wheel gearboxes are borrowed from the classics, axle shafts are removed and replaced by CV joints from the front-wheel drive vase. Equal velocity joints are also used in other transmission units.
Independent suspension on triangular wishbones. Shock absorbers from Oka.
Homemade muffler of 2 sections, insulated with asbestos.
Body kit made of fiberglass. The creation of such plastic took 10 kg of epoxy resin, 1 kg of plasticizer and the same amount of hardener. 15 meters of fiberglass and 5 meters of glass mat.
ATV body kit - fiberglass. I pasted it for the first time, and therefore first studied the recommendations for the implementation of the relevant work. But as it turned out, this process is painstaking, although the result is worth it.
Bumpers and bullbars are welded from 20mm round tubes.
Photo of the finished ATV:
Material based on the article: http://modelist-konstruktor. com/razrabotki/853
This quad is made on the basis of a Ural motorcycle.
All the details in the video.
ATV with motor IZH Jupiter. Razdatka from the motorcycle Ant.
Photo:
Generator, forced cooling, lowering, electric starter from ten, engine from a Ural motorcycle.
Video of the homemade ATV in action:
Articles
20 Feb
At first glance, it may seem that assembling a homemade ATV is not an easy task. In fact, everything is much simpler than it seems, with the necessary parts and tools. An all-terrain vehicle of this type is usually constructed from parts that can be found on any unused motorcycle that is in decent working order.
To assemble the machine yourself, you may need the following tools:
• Welding machine.
• Bulgarian.
• Good set of ring and socket wrenches.
• Other small tools such as pliers and screwdrivers.
To assemble the ATV, you will need a small room with good lighting and heating. If you assemble in the summer, you can sit under a canopy.
As a power unit for a homemade all-terrain vehicle, engines from Soviet-made motorcycles such as the Ural or Dnepr are suitable. For lighter and more maneuverable equipment, you can use units from motorcycles such as "Java" or "IZH", which were equipped with single-cylinder two-stroke engines.
To simplify the design of the future ATV, together with the engine it is better to use the same transmission and drive with which they were originally equipped.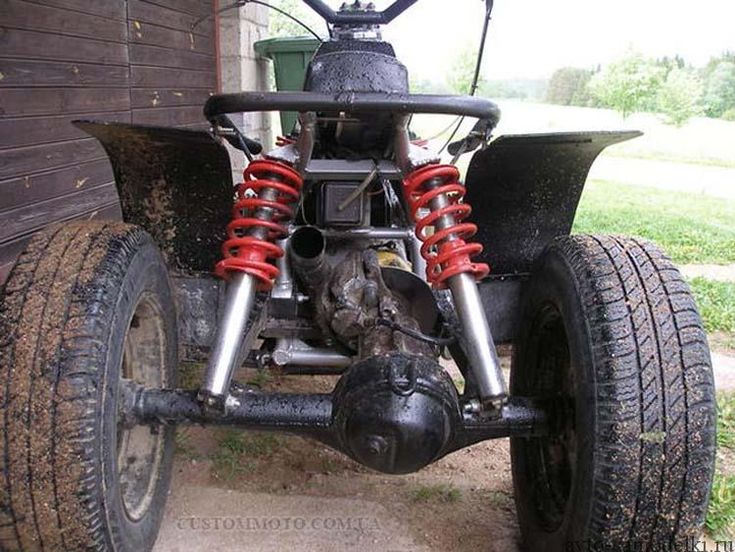 To design a machine with all-wheel drive, you will need to install an additional gearbox. This is extremely rarely used in home-made devices, since it will be difficult to implement an additional node without a sharp increase in weight at home.
The frame for a homemade machine is usually made by yourself from scratch. As a material for the frame, you can use blanks from an old motorcycle. The pipes from which they are made are light in weight and have the necessary strength and flexibility. In extreme cases, you can choose the material yourself. Here the main parameter will be weight. Excessively thick pipes or profiles will make the ATV very heavy and unbearable for fast and maneuverable riding.
Shock absorbers with springs from the same motorcycles can be used as suspension. The suspension itself is made in the form of the letter "A", and is movably fixed on the frame. Shock absorbers and springs should be selected in such a way that they can withstand the weight of the future car, and provide a smooth ride with good handling on bumps and pits.