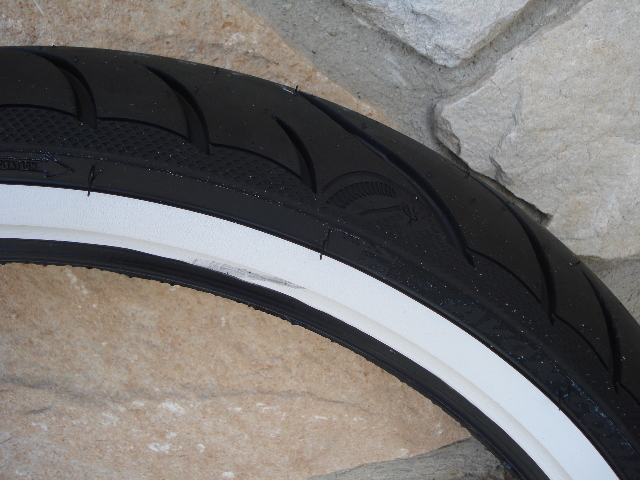
There's something about whitewall tyres that instantly invoke a feeling of nostalgia, taking you back to the 1950s when rock and roll was exciting and new. Fast forward to today, and the signature circles of white paint around the sidewall still go well with vintage cars and motorcycles, but they also look right at home on modern-day rides, instantly giving them classic, old-timey vibes.
You can only get these tyres through customization, which can set you back by several hundreds of dollars. But the good news is that you can follow our whitewall tyre hack, which only takes a few hours!
But first, learn how this eye-catching tyre design came to be, how it caught on, and why it slowly faded from the market.
A Brief Timeline of Whitewall Tyres
But even if whitewall tyres are no longer in mass production, we still see them from time to time. Why? Some tyre makers sell them to a niche market, while others offer whitewall customization. Vintage lovers now have a choice between the classic thick white stripes of yesteryears or the thinner white circles that give cars an old-fashioned touch.
If you want whitewall tyres, you can also try doing them yourself! Read our step-by-step DIY that's as fun as it is fulfilling.
How to Do Your Whitewall Tyres
To start doing your whitewall tyres, prepare this checklist:
Ready with all the things you need? Follow these 7 steps to do your whitewall tyres:
1. Clean your tyres.Clean tyres make the paint and primer stick better on the rubber. Do this in a shaded area to keep you and the tyres cool. After thoroughly hosing the tyres down, preferably with a high-pressure washer, apply a cleaning solution. Use a bristle brush or scrubbing pad to remove dirt and grime. Rinse thoroughly, then dry them out with a clean microfiber cloth. Want more cleaning tips? Read our step-by-step guide to cleaning your tyres safely and efficiently.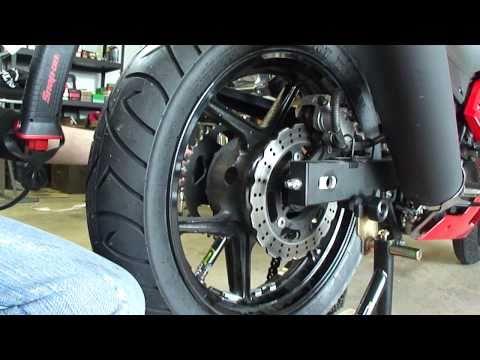
💡Pro-tip: To make your tyre cleanser, mix a capful of dishwashing liquid in a bucket of water. Cleaning your tyres promotes longer tread life and ensures their grip.
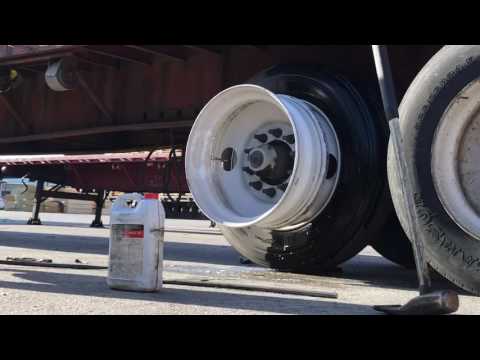
2. Remove the tyres.
After taking off the hubcap, loosen the nuts with your lug wrench. Put the jack under your car to raise its bottom. To stabilise the jack, put a jack stand or a piece of wood beneath it. Now, you can remove the lug nuts with your hand and remove the tyre.
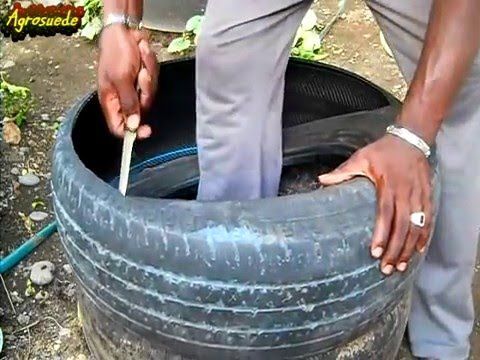
3. Place masking tape.Lay the tyre on a flat surface covered with cloth or cardboard. Using masking tape, cover the edge of the tread. To shield the wheel from paint, tape cardboard over it. Keep the masking tape smooth and tight on the protected areas so that paint won't seep under it.
4. Start with a primer.To ensure that the paint stays on the tyre, spray all-purpose and water-resistant primer on the rubber.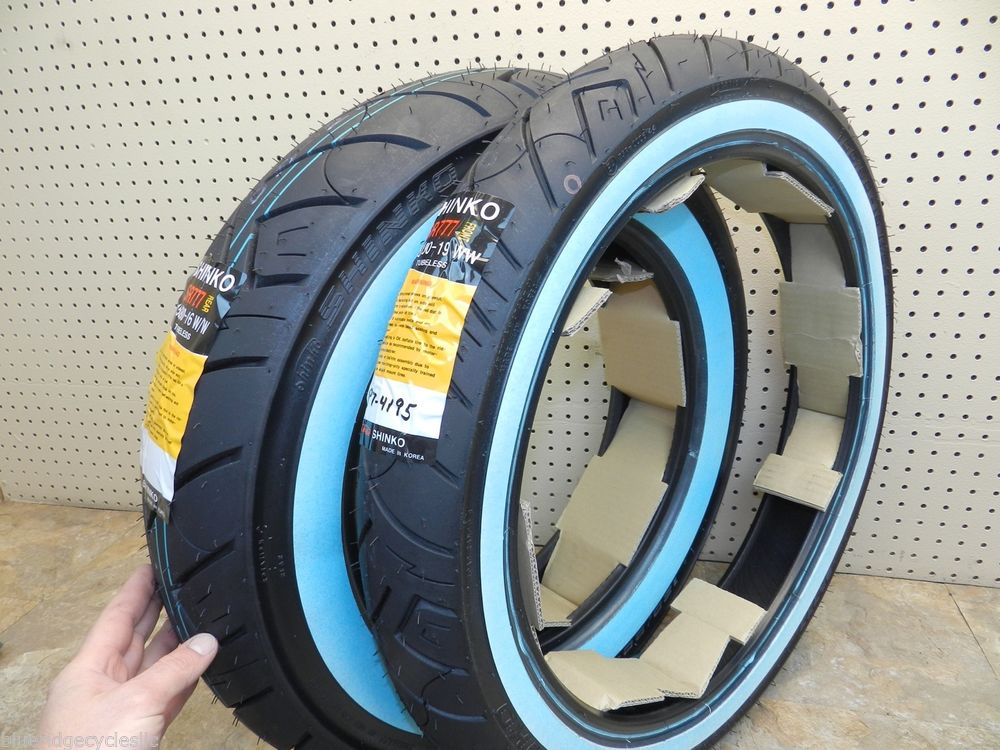 Start from the top, working your way to the bottom. After covering the tyre, allow the primer to dry for about an hour before applying a second coat.
💡Pro-tip: It's best to apply three coats of primer to protect your tyres from discolouring.
5. Time to paint!
You can purchase whitewall paint online or in auto supplies stores. You can also use acrylic paint or spray-on white paint that sticks on smooth surfaces like plastic. Apply white paint on the exposed rubber and let it dry completely. While waiting, clean your paint brush by dipping it into turpentine. Once the first coat is dry, apply a second or third layer to keep the paint nice and even.
6. Apply a clear coat of paint.When the paint is completely dry, you can apply clear paint for added protection because sunlight can turn the white colour to yellow. When the coating is dry, remove the masking tape and bask in the glory of your new DIY whitewall tyres!
7. Maintain your whitewall tyres.
Nothing lasts forever, including your DIY project. To maintain your whitewall tyres, clean them regularly. You can also put baking soda on a damp cloth, gently wiping it on your tyres before rinsing. Repeat the process until the white on your tyres pops. If some paint flakes off, use a white paint marker for a quick touch-up.
There you have it! No need to break the bank to get your vintage-inspired white wall tyres. Enjoy your cool ride, and share this article with anyone who wants to go down this fun DIY path.
Get Your New Tyres at the Lowest Prices!
With whitewall tyres, you enjoy the feel of classic cars minus the drawbacks and dangers of using old tyres. Ensure your tyres have sufficient tread to protect you from accidents and legal issues! Shop at Tyroola today for our wide range of tyre brands and sizes, plus wheels to keep your ride stylish and safe.
Shop at Tyroola today for the best prices and deals!
If you’re looking for a classic way to up the ante with your car’s design, look no further than Redline or Whitewall tires. The Redline is the vibrant streak of color made famous by muscle cars of the fifties and sixties. The Whitewall goes back even farther – 1904 to be exact – and offers a more refined and timeless look with a wider berth.
 
The problem is most tire manufacturers aren’t making these classic designs and the ones that are aren’t factory installed. That’s why Tire Stickers is here.
 
Redline and Whitewall Tire Sticker Kits
 
You can get both styles from THE SHOP. Each design comes with 4 strips – one for each tire – and fleXement Adhesive if you spring for the permanent decals. Whether you go Peel-And- Stick or Permanent, you can customize the width, length, and color of your Redline and Whitewalls to suit your car, truck, ATV, motorcycle, bicycle, tricycle or whatever you’re riding.
 
How Do You Install Them, Though?
 
 
Step 1: Get Squeaky Clean. Use Acetone to remove every speck of dirt and oil from the
surface of your tire’s sidewall. While you’re at it, pick off any rubber hangnails that may get in the way. The cleaner the better.
 
Step 2: Apply Adhesive. Permanent orders include fleXement Adhesive, so put a moderate
amount on the first few inches of the Redline or Whitewall strip.
 
Step 3: Stick It. Using an existing line on your tire as a guide, carefully place the beginning of the Tire Sticker. Apply light pressure.
 
Step 4: Repeat Steps 2 & 3. For the rest of the decal, continue applying adhesive - in small sections - and carefully sticking it to the tire. Round and round you go.
 
Step 5: Trim. When you reach the end, trim the decal to perfectly line it up with the beginning.
 
Step 6: Finalize. From here just remove the clear plastic coating from the decal and touch up
any spots that may need more adhesive. Let it all dry at least 1-2 hours.
 
Not sure you can get them just right? Did you know we offer professional installation too? Just tick the box when you order.
 
Now head over to the shop and get started.
 
Step 7: Get Social. Now that your Tire Stickers are installed, take a picture and head over to
our Facebook or Instagram to join the community.
 
BAM! That easy. Now you’ve got a sweeter ride and everyone knows about it.
comments
Copyright © 2023 TIRE STICKERS .COM . All Rights Reserved.
Powered by WordPress | Theme: Catch Box

+7(903) 969-64-46
Moscow, Kashirskoye shosse, 3, building 1
Avangard Business Center
Cart is empty
Article:
Search in name:
Width:
5 K83 K902 K81METZELER MARATHON 888 ROADTEC 01 SE TOURANCE NEXT ROADTEC SCOOTER ROADTEC Z8 INTERACT KAROO EXTREME TOURANCE NEXT 2 Cruisetec KAROO STREET ROADTEC 01 LASERTEC SPORTEC M7 RR FEELFREE SPORTEC M9 RR TOURANCE KAROO 3 ME 22 ROADTEC Z6 SPORTEC STREET SPORTEC M5 INTERACTMICHELIN STARCROSS 6 MEDIUM SOFT SCORCHER S1 CITY GRIP 2 ANAKEE ADVENTURE COMMANDER III CRUISER ANAKEE WILD PILOT ROAD 3 POWER PURE SC ANAKEE 3 CITY PRO PILOT ROAD 4 S83 PILOT ROAD 5 TRACKER STARCROSS 5 MINI PILOT STREET STARCROSS 5 SOFT COMMANDER II COMMANDER III TOURING STARCROSS 6 MEDIUM HARDPIRELLI MT60RS DIABLO ROSSO SCOOTER Angel Scooter ROUTE MT66 ANGEL GT SPORT DEMON SCORPION RALLY STR Angel GT 2 MT902 K81METZELER MARATHON 888 ROADTEC 01 SE TOURANCE NEXT ROADTEC SCOOTER ROADTEC Z8 INTERACT KAROO EXTREME TOURANCE NEXT 2 Cruisetec KAROO STREET ROADTEC 01 LASERTEC SPORTEC M7 RR FEELFREE SPORTEC M9 RR TOURANCE KAROO 3 ME 22 ROADTEC Z6 SPORTEC STREET SPORTEC M5 INTERACTMICHELIN STARCROSS 6 MEDIUM SOFT SCORCHER S1 CITY GRIP 2 ANAKEE ADVENTURE COMMANDER III CRUISER ANAKEE WILD PILOT ROAD 3 POWER PURE SC ANAKEE 3 CITY PRO PILOT ROAD 4 S83 PILOT ROAD 5 TRACKER STARCROSS 5 MINI PILOT STREET STARCROSS 5 SOFT COMMANDER II COMMANDER III TOURING STARCROSS 6 MEDIUM HARDPIRELLI MT60RS DIABLO ROSSO SCOOTER Angel Scooter ROUTE MT66 ANGEL GT SPORT DEMON SCORPION RALLY STR Angel GT 2 MT
Fresh number
RG-needle
Rodina
thematic applications
Union
Fresh number
Category:
Cars
06. 09.2020 13: 31
Boris Zakharov
If you have ever bought a new car tire, you probably noticed that there are various colored marks on the tread and sidewalls of tires. What does this mysterious scripture mean? On the Internet, you can come across a myriad of speculations. Someone claims that these are purely technological designations and even the marking of a defective product. How are things really?
iStock
Multi-coloured tread lines
Tire tread stripes are applied at the harvesting site during the production of the still-wet tread band. The electronics rely on markers with unique colors, widths and positions to center the tape on the tire. Then, after the completion of the production process, logistics services begin to focus on such lines.
The multi-colored pattern becomes a kind of passport by which you can identify the size and model of tires stacked in racks or pyramids in the warehouse. In addition, multi-colored lines serve as an indicator by which you can determine whether the rubber has been run-in.
But what benefit can a buyer get from all this color charter? It turns out the most direct. When purchasing a set of tires in a store, it will not be out of place for him to make sure that the pattern on all four or five wheels matches. If so, it means tires from the same batch with similar characteristics and the same production time. However, to be sure, you should also pay attention to the sidewalls of the tires, where the production date is applied.
Yellow dots or triangles
These markers on the sidewall of the tire represent the lightest point on the tire as determined by the static balancing method.
When mounting the rubber on the rim, make sure that the yellow marker is on the opposite side of the lightest part of the rim, which is usually denoted by the Latin letter L.
so that the yellow mark is next to the wheel inflation valve (nipple). This will make it much easier to balance the tire and allow you to use less weight to compensate for the balance.
Red dots or triangles
In addition to the yellow mark on the sidewall of the tire, you can also find circles or triangles in orange or red. This, on the contrary, is the heaviest sector of the tire.
When fitting a tire, the fitter should install the tire so that the red dot is opposite the light zone of the rim, indicated by the letter L. If the letter L is not on the rim, the tire with the orange or red mark must be installed in the opposite direction from the tire inflation valve.
White dots or triangles
Typically, a white dot on a tire indicates the most flexible part of the tire. In this case, when mounting the tire on the rim, it is necessary to mount the rubber so that the white mark is 180 degrees from the lightest point on the rim (marker L).
Meanwhile, a white circle with a number (also on the sidewall of the tire) informs about the passed quality check, and confirms the characteristics declared by the manufacturer. For the consumer, such information may be needed only if a marriage is detected.