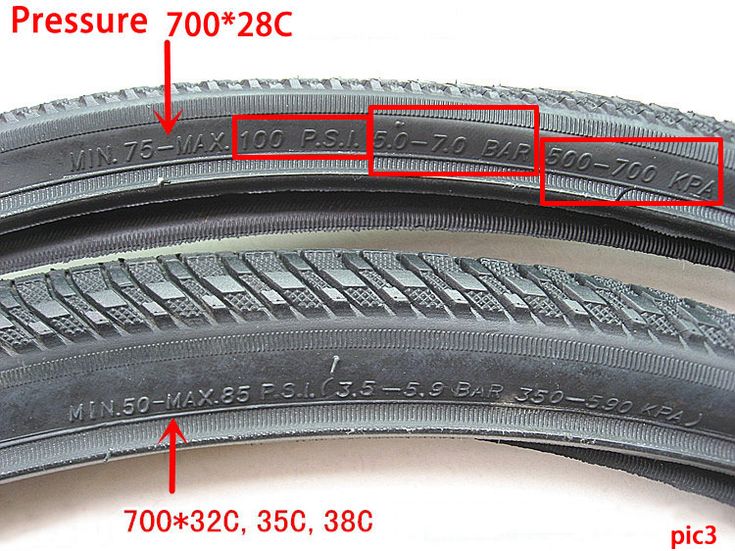
Tire rotation is important to encourage even wear. But you might want to mark your tires before having them rotated to ensure proper rotation. But how can you mark your tires for rotation? We researched this concern for your convenience and here’s what we found.
Marking tires for rotation generally fall under personal preference. For example, you can mark your tires with the letters 'A,' 'B,' 'C,' and 'D.' Another example is to write words on them, such as 'front tire' and 'rear tire.'
Although the marking part of the process isn't restrictive, the tire rotation operation generally demands careful tire handling. Continue reading as we tackle the proper way to rotate your tires using DIY methods. We’ll also discuss marking your tires for rotation in greater detail.
Before you continue reading, let us say we hope you find the links here useful. If you purchase something through a link on this page, we may get a commission, so thank you!
The way you mark your tires to ensure they have correct rotation often falls under preference. You can put an arrow, an ‘X,’ or even alphanumeric symbols on your tires. Other options may include writing whole words or phrases on the edges of the wheels to verify if the tires achieved proper rotation.
But it can be easy to forget which side you placed the marking. So it’s ideal to take before-and-after pictures of the tire rotation process.
Car tire rotation operations are relatively DIY-friendly jobs, as long as you have the right tools for the job. Also, ensure that you have the confidence to continue with this task. Otherwise, there’s no shame in requesting help from professional automotive care services.
If you wish to continue rotating your car’s tires at home, follow these steps:
Mark your tire or wheel. Then, take a picture of your tire with your smartphone’s camera. That way, you can verify the results of this task after its completion.
Check your owner’s manual if you have a directional or non-directional tire. Otherwise, check for markings on your tires to identify their types. Take note that the rotation method may depend based on the type of tire on your vehicle.
If your vehicle has directional tires, you can only rotate them in one direction. On the other hand, non-directional tires might provide more flexible rotation operations than their directional counterparts.
Park the car under a shaded area. Also, ensure that it’s on level ground, particularly on a flat concrete surface. Engage the emergency, hand, or parking brake afterward.
Use the lug wrench to loosen the lug nuts on the wheels. However, don’t remove these fasteners yet.
Then, raise the vehicle with the car jack. Make sure you don’t make the mistake of lifting your car with the jack from a random position. You should be able to find a place on the car’s chassis that indicates the correct placement for the jack.
Stop raising the car until the front tires are slightly off the ground. Secure this setup by placing the jack stands under the car.
Remove the front and rear tires on one side of the vehicle. Swap their positions afterward. The results you’re looking for from this step is that the tire that was previously at the front will now be at the vehicle’s rear.
Ensure that you push the tires into place so that they’re secure. Then, use your fingers to tighten the lug nuts.
Lower the vehicle using the jack and remove the jack stands. Once your car is on the ground, use the lug wrench again to secure the lug nuts. Repeat steps 4 and 5 for the other side of the car.
Check out these jack stands on Amazon.
Watch the video below to see a visual representation of this procedure:
Remember, you can’t change the direction of the rotation of directional tires, unlike what you can do with non-directional models. Uneven wear can occur if you change the direction of directional tires.
Also, you’ll be at risk of getting into accidents and injuries if you rotate your tires incorrectly. Take note that incorrect rotations on directional tires can also cause misalignments. Driving over potholes and rough terrain can knock off the tires easily, leading to those unfortunate events.
Although it’s not a requirement to balance your car’s tires upon rotating them, it’s a good practice to service your tires with these two tasks instead of only applying one. Keep in mind that balancing your tires can promote different benefits, such as:
Unbalanced tires typically don’t provide a smooth ride. Driving a car without balancing your tires might make you and your passengers experience bumpy rides even when passing through relatively flat roads.
Generally, tires last 36,000 to 45,000 miles or 3 to 5 years before you need to replace them. But by being a careful car owner, you can extend the life of your vehicle’s tires by balancing them. Doing so may reduce unnecessary strain on the tires, which should help increase their life expectancy.
Another drawback of driving with unbalanced tires is the additional stress they give to the suspension. The extra vibrations caused by the imbalance can bring harm to the suspension. Failure to correct this concern may also lead to the car’s suspension system breaking down, which can be quite expensive to repair.
You might experience that you’re spending more money on gas than usual. If so, it might be because your tires need balancing. Balanced tires may help in providing your car with enhanced gas mileage by ensuring proper weight distribution across its frame.
You can find out more about the importance of tires needing balancing after being rotated in our post highlighting this topic.
If you don’t rotate your tires, they might not last more than 7,500 miles or 6 months. Without following a strict tire-rotation schedule, your vehicle can be at risk of certain hazards like:
Vehicles often become subject to friction while they’re being driven. If tires lack or have an absence of rotation, the car may garner additional heat from the increased friction. These instances can lead to events like blowouts, flat tires, and tread separations.
Aside from increased friction, non-rotated tires can also lead to poor traction, particularly when driving on ice and snow. The irregularity that causes the uneven wear can misshape the treads, causing driving experiences in the winter to be more hazardous than expected.
Also called aquaplaning, hydroplaning occurs when the tires can’t maintain a firm grip on wet roads.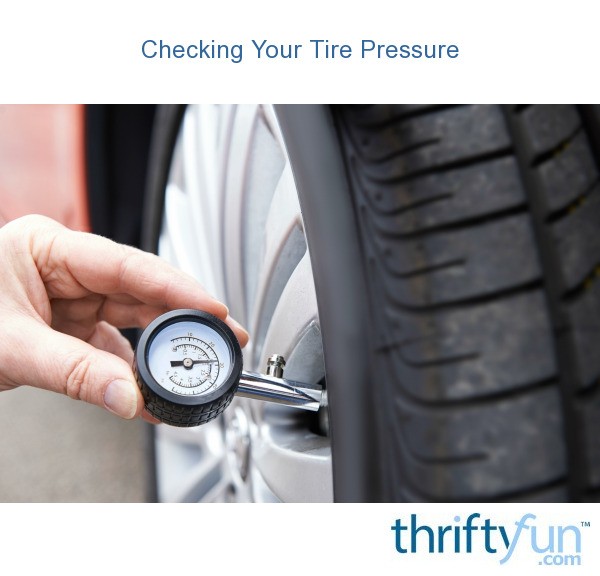 Failure to rotate your car’s tires may cause this dangerous event to happen, which can cause you to lose control of your vehicle while driving on damp terrain.
Expect to spend money around $24 to $50 to rotate your tires. However, the expenses may reach up to about $120 if your tires need additional services. Some of these extra care practices may include tire balancing and tire tread inspections.
Directional tires often have arrows pointing to the front of the vehicle. It’s important to mount the tires based on the direction of the arrow to avoid issues like reduced hydroplaning resistance.
Perhaps the simplest way to find out if a tire is directional or not is to look at its sidewall. Directional tires often have a rotation indicator in this location, which typically looks like an arrow or a similar symbol.
Aside from searching for that mark, another way to check if your tire is directional is to look at its tread design. Directional tires generally use flow-like tread patterns that point to the front of the vehicle.
Find out more if car tires are directional or non-directional by reading our post on that particular subject matter.
Check out these directional tires for ATVs on Amazon.
You can mark your tires that are due for rotation in relatively any way you want. One example is to place letters on them. Otherwise, you can put arrows, numbers, or entire sentences on your tires so you can keep track of their rotations.
Using The Chalk Method for Determining PSI - NOTE. This article is posted for reference only. You should always consult with your local tire installation professional(s) when you have questions about your tires.
The “Chalk” method is a no-tech life hack that is commonly used by those who run larger off-road tires to determine PSI for pavement pounding (Highway Speed Driving).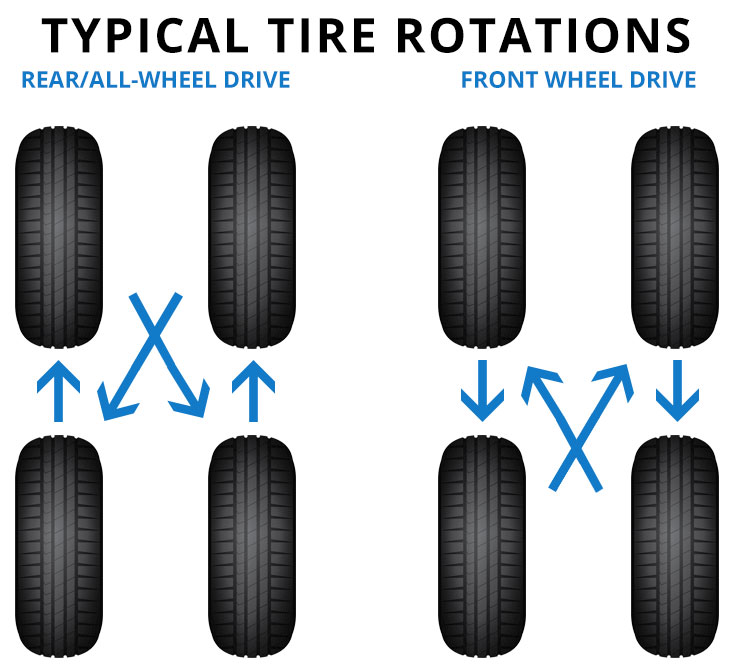 The “Chalk” method easily indicates if your tire’s tread has too much of an arc (convex shape of the tread) from too much pressure, or if it is slightly concave from a lack of pressure.
Here are the simple tools you’ll need to use the chalk method to figure out a satisfactory PSI for your tires:
With all of your materials and tools collected, Drive to a flat area. This can be your driveway or the street in front of your house. Just make sure there aren't a lot of cracks, bumps or pot holes in the ground. If you opt to do it in the road, please be careful and watch out for traffic. An empty parking lot is probably a more desirable location.
Air your tires up to maximum inflation. This should be marked on the side of your tires.
Next, draw a thick, straight line across the width of the tire.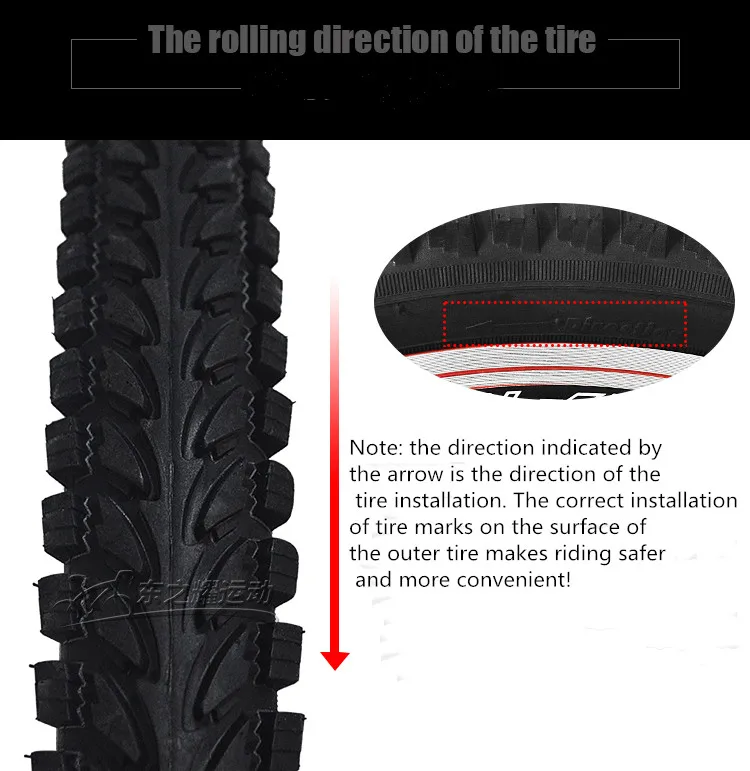 You’ll want to “chalk” the tread blocks all the way across (in a straight line) including the outer lugs. You may need to chalk two rows to get a good covering.
Now drive your vehicle in a straight line forward for about one complete car length.
Get out and inspect the chalk mark left on the ground and on the tire. A tire with the proper air pressure should press the chalk line evenly across the ground. This means you'll see the entire chalk line imprinted on the ground. An over-inflated tire will bulge (or crown) and only the center of the line will touch and be left on the ground. In this case you will only see a small portion of line left on the ground. Since you are aired to Max inflation, then this is what you should see.
Let out about 3lbs of air, and repeat this process.
As you test your tire this way you will start to see a more complete line of chalk on the ground. You will have to keep letting air out until you see a complete line of chalk on the ground.
If you're tire is underinflated, you'll see only the sides of the lines since the middle of the tire is not making contact with the ground.
You will need to keep adjusting your tire's air pressure according to the chalk test results until you find the pressure that is satisfactory to you. Keep in mind that you will need to do this test on both the front and rear tires to find the proper inflation for both which may or may not be the same. Record this information and keep it in your vehicle for future reference. As your tires wear you may need to perform this test again to confirm proper PSI. Also
A Word of Caution: The proper air pressure for the original equipment tires has been determined by the vehicles manufacturer, but when larger tires are installed the air pressure recommended by the factor for the original equipment tires may not apply to a larger size tire. Two things come into play concerning the load carrying capacity of tires. These two things are; the volume of air and air pressure. The larger tire has the greater volume of air. When attempting to determine an air pressure number by using the “chalk” method you may find that the tread foot print is nice and flat at a very low pressure. When this is the case the air pressure you come up with may very well be too low for highway service. Even though the “chalk” test gave you a full tread contact patch, at a low pressure the tire may not be stable at highway speeds. The large volume of air can support the load, but the low pressure causes the tire to become unstable. If air pressure is too low for highway service the tire will run hot from over flexing and will cause fast tread wear due to the “squirming”. This overheating can also cause a tire to fail.
Another Chalk Method for Determining Proper PSI
Air your tires up to maximum inflation. This should be marked on the side of your tires.
Draw a thick, straight line across the width of the tire. You’ll want to “chalk” the tread blocks all the way across (in a straight line) including the outer lugs. You may need to chalk two rows to get a good covering.
Now drive your vehicle in a straight line forward for about 50 to 100 feet. Stop. Then back up in the same straight line back to your starting point. Get out and inspect the chalk mark on your tire. Since your tire is at max inflation only the center part of the chalk should be erased. An over-inflated tire will bulge (or crown) and only the center of the line will touch the ground thus erasing the chalk.
Let out about 3lbs of air, and repeat this process.
As you test your tire this way you will start to see a more of chalk removed across the line you chalked on your tire. Keep adjusting your tire's air pressure by letting out 3lbs of air at a time according to the chalk test results.
If you let too much air out you will see that there is more chalk in the center of the tire and it is erasing from the edges. This is because the weight of the vehicle is pressing more on the outside of the tire, and the middle section is not making contact with the ground. If this happens add back air and retest.
You will need to keep adjusting your tire's air pressure according to the chalk test results until you find the pressure that is satisfactory to you. Keep in mind that you will need to do this test on both the front and rear tires to find the proper inflation for both which may or may not be the same. Record this information and keep it in your vehicle for future reference. As your tires wear you may need to perform this test again to confirm proper PSI. Also
A Word of Caution: The proper air pressure for the original equipment tires has been determined by the vehicles manufacturer, but when larger tires are installed the air pressure recommended by the factor for the original equipment tires may not apply to a larger size tire. Two things come into play concerning the load carrying capacity of tires. These two things are; the volume of air and air pressure. The larger tire has the greater volume of air. When attempting to determine an air pressure number by using the “chalk” method you may find that the tread foot print is nice and flat at a very low pressure. When this is the case the air pressure you come up with may very well be too low for highway service. Even though the “chalk” test gave you a full tread contact patch, at a low pressure the tire may not be stable at highway speeds. The large volume of air can support the load, but the low pressure causes the tire to become unstable. If air pressure is too low for highway service the tire will run hot from over flexing and will cause fast tread wear due to the “squirming”. This overheating can also cause a tire to fail.
As a rule, any car owner has at least two sets of tires - winter and summer. Accordingly, the question arises of storing an unused set of tires. Some car owners do not wonder how to properly store tires. As a result, tires become unusable and you have to bear additional costs for the purchase of new rubber. Moreover, you can spoil the summer kit literally in a season.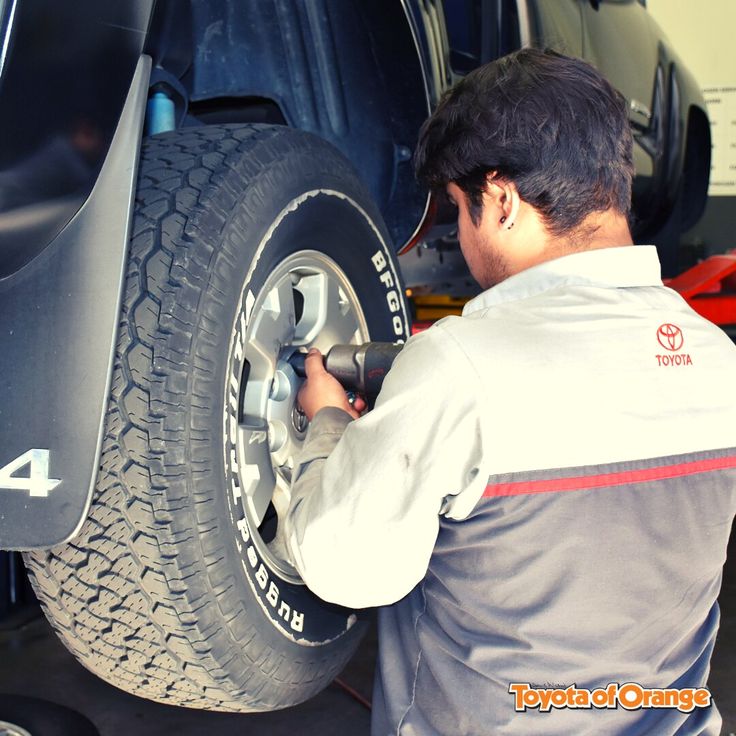 As a result, in the spring, instead of taking off winter tires and putting on summer tires, you will have to purchase a new set of tires. And all the problems are only due to improper storage of tires in your garage. By the way, you can store tires not only in the garage. There are special organizations that accept car tires for storage, providing proper conditions and care.
When asked how to store rubber, you can not ask friends or acquaintances for advice, do not look at specialized forums and websites (although this is a useful and necessary thing). It is enough to study the legislation in the field of state standards. In particular, GOST R 54266-2010 provides the necessary information on the storage conditions of automotive rubber. It's called Pneumatic Tires. Packing, transportation and storage. Despite the fact that the standard was developed in the Russian Federation, it complies with European standards and rules for storing tires. Briefly describe the main conditions specified in the standard:

Everyone understands that in a garage or in a country house, and even more so in an apartment, it is not always possible to achieve literal compliance with the requirements of GOST for tire storage. For example, if the tires are on the balcony, the requirement to keep the tires outdoors for a long time will not be met. On the other hand, frost up to minus 35 degrees is not terrible for tires, so you can not be afraid to damage a summer tire. The main thing is to protect the tire from precipitation and sunlight, because ultraviolet is very harmful, it changes the structure of rubber, reduces elasticity. As a conclusion, tires can be stored on the balcony, covered with waterproof material.
It is important to ensure that the tires do not deform. In this case, it would be correct not to use cramped places, not to press down the rubber set with other objects, and to keep it on a flat surface. It is impossible to keep the tires standing up all the time, they can undergo irreparable deformation and only partially recover.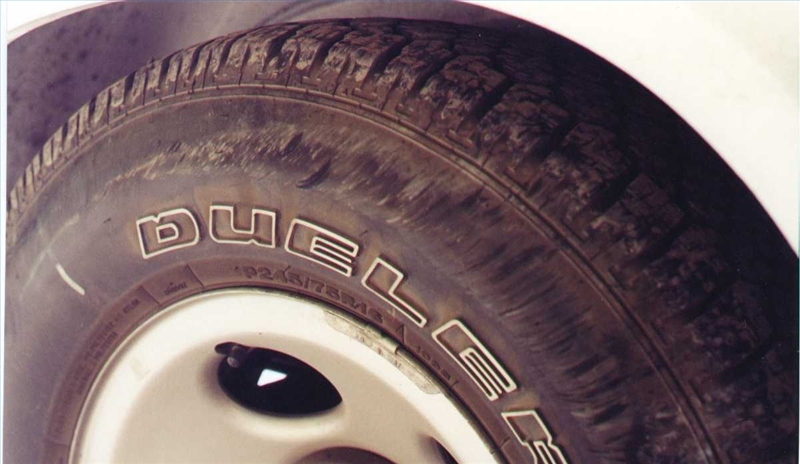 Tires can stand in one position for no more than a month, after which they must be turned over.
Suspended tire storage excluded. Although this option of staying rubber is found in some garages. On the other hand, the wheel assembly can hang safely without much harm. Moreover, this method is the most successful for the wheels in the kit, the only thing is to reduce the pressure in the tires.
Proper storage of tires means keeping them away from heating devices, including radiators and heaters. This is a very important note that must be strictly followed. Otherwise, under the influence of high temperatures over 30 degrees, the rubber may receive irreparable damage and deform.
Car owners often ask how long it is possible to store different types of car tires in the lying position. There is a GOST rule that regulates this option for finding rubber in a warehouse or garage. However, it is not always necessary to follow it strictly. It will be correct to find the tires in the supine position. It is also allowed that the tire will stand upright, especially since many garages store tires standing up. Moreover, standing position is also acceptable for the wheel assembly. The main thing is to control how much the kit already costs and change the position in a timely manner.
As for the storage service for winter or summer sets of tires, it is provided by many service stations that carry out tire fitting, as well as large centers selling car tires. Moreover, the wheels can also be stored together with the disks. As a rule, such a service provides for the location of tires or wheels in a covered hangar without heating. The main thing is that the basic rule of storage is observed - the temperature regime is maintained.
As a general rule, car tires should not be near solvents or other chemical elements that can have a negative effect on rubber. It is also unacceptable to find nearby sources of ozone - transformers, electric motors and other equipment.
After the end of winter for all car owners, there comes a period when it is necessary to change the winter set of tires to summer. At the same time, the fact of replacement causes a problem, and the need for proper storage of tires during the entire summer period of operation.
The rules are simple:

Summer Drive Protection Sound Comfort
Rating:
4.5
Tires Goodyear Eagle F1 Asymmetric 3 SUV
Summer Drive Protection
Rating:
4.5
Tires Goodyear Eagle Sport TZ
Summer Drive Protection
Rating:
4.5
Tires Goodyear EfficientGrip 2 SUV
Summer Drive Protection Run On Flat
Rating:
4.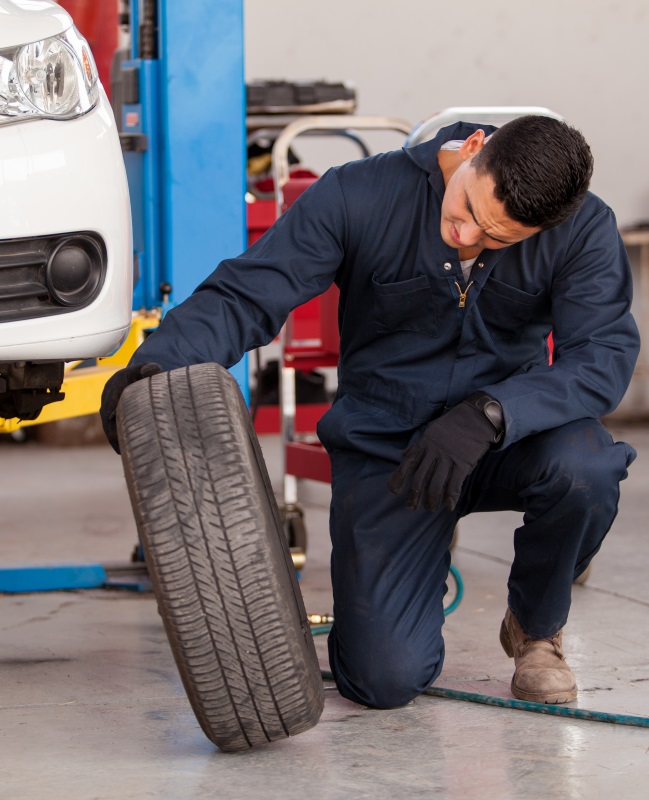 5
5
Tires Goodyear EfficientGrip Performance
Winter Drive protection
Tires Goodyear UltraGrip Arctic 2 SUV
Winter Drive Protection Sound Comfort
Rating:
4.5
Tires Goodyear UltraGrip Ice 2
Winter Drive Protection Sound Comfort
Rating:
4.5
Tires Goodyear UltraGrip Ice SUV
Winter Drive protection
Tires Goodyear UltraGrip Performance+ SUV
All season Drive Protection
Rating:
5
Tires Goodyear Vector 4Seasons Gen-3 SUV
Summer Drive Protection Run On Flat
Rating:
4
Tires Goodyear Wrangler HP All Weather
All season Drive Protection
Rating:
4. 5
5
Tires Goodyear Vector 4Seasons
Summer
Rating:
4.5
Tires Goodyear Wrangler All-Terrain Adventure with Kevlar
Summer Drive Protection
Rating:
4.5
Tires Goodyear EfficientGrip SUV
Summer Drive Protection Run On Flat
Rating:
4
Tires Goodyear Eagle F1 Asymmetric SUV
The procedure and rules for storing summer tires in winter is practically no different from a similar procedure for winter tires. First of all, the tires must be marked and thoroughly cleaned of dirt and small stones, and be sure to rinse and dry. Car tires wear out very much in summer, so it is worth swapping them when installing after winter to ensure balance.
Car tires may be stored vertically or horizontally in summer. At the same time, if the tire is complete with a disk, then it should not stand. The wheel assembly will properly hang on cables or ropes. Also, the correct position for a tire with a disc is lying horizontally. Wheels can lie in a stack of several pieces, no more than 4-5. If there is no other option for storing the wheels in the kit, except for standing, then you need to keep track of how long they are in one position and periodically turn them to change the place of pressure. It will be correct to change the position every 2-3 weeks.
Wheels without rims must not be hung correctly, they can be deformed by prolonged lateral loads. It is allowed to store tires without rims in a stack, but not more than a month and in a stack no more than 5-6 pieces high. Although this is not the correct position for summer tires in a garage or hangar.
The most correct option is to place tires vertically:
The main condition is a flat surface, without sharp edges and protrusions, so as not to damage the surface of the wheel. It will also be correct to rotate the tires once every 2-3 weeks.
In winter, temperatures can drop to very low levels. The main thing to remember is that the car rubber should not be allowed to stay at a temperature below 35 degrees, in which case its deformation is possible. It is best to store in the winter in a garage in compliance with the requirements indicated above.
If you have two sets of wheels, for example, winter and summer, then you will be interested in how the tires should be properly stored in the garage or elsewhere. In this case, it will be correct if the wheels do not lie at all. In this case, they will not undergo deformation under the influence of gravity.
The best storage with discs is hanging. To do this, the wheels must be thoroughly washed and cleaned of dirt, and also dried. It will be correct to treat the rubber with a special care compound. The pressure in the wheels is lowered to the level of 1-1.5 atmospheres.
It is advisable to mark the wheels in order to understand where they were and change them after storage. In this case, you can correctly distribute the balance and prevent uneven rubber wear.
It is also allowed to store wheels on rims in the garage horizontally stacked on top of each other. How much can be stored depends on the size of the wheel and its weight, but no more than 2 meters in height. Properly store on a flat surface, without corners and irregularities - on the garage floor or shelving.
The rules for storing wheels without rims are no different from other options. It is correct to carefully prepare car tires for seasonal storage - this is cleaning from dust and small debris, washing, drying.
The main difference in storing wheels without rims is the correct way to keep them upright. In this case, they stand on a flat surface, the main thing is to rotate them periodically by 20 degrees to prevent rubber deformation. The garage is an ideal place to store a seasonal set of wheels without rims. If, of course, the place allows and the basic requirements for temperature and humidity are maintained. They can stand on a special rack or floor, the main thing is the absence of bumps and sharp corners, otherwise you can easily damage the surface of the tires.
If the garage does not allow keeping extra property in it, there are not enough normal conditions for a car, then you can keep tires on the balcony or in the pantry. The main thing is to withstand the temperature regime, properly store in direct sunlight (cover), avoid staying in conditions of high humidity or vice versa, excessively dry air.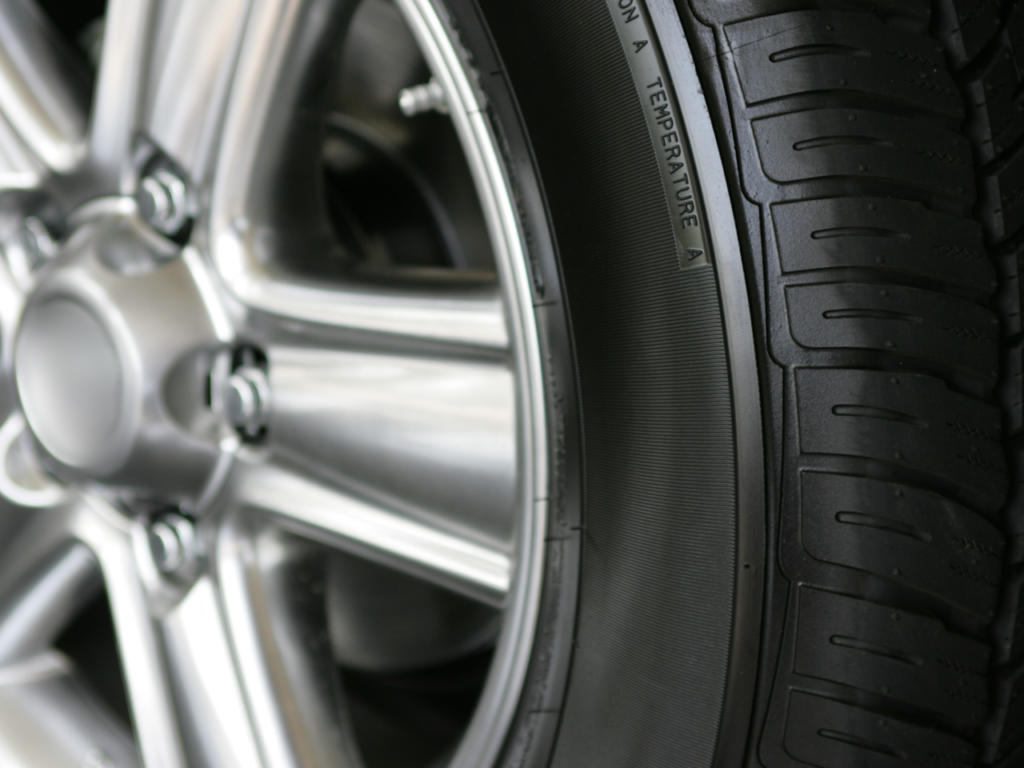
Do not hang tires without rims, you can allow them to lie in a stack or stand upright. At the same time, they should not lie for too long, correctly no more than a month, after all, this is not the main way to store them.
Compliance with the above rules will allow you to use tires for a long time, without losing their useful properties and qualities.
Twice a year, motorists are faced with the issue of replacing tires, and with it the issue of storage. What is the best way to prepare rubber for a well-deserved rest so that it does not lose its properties, and you lose money? Are there any peculiarities in the conditions and place of "preservation" of tires without rims? Read the answers in our article.
How to store tires without rims
Properly selected tires, corresponding to the parameters of the car and the season, provide a reliable and safe ride.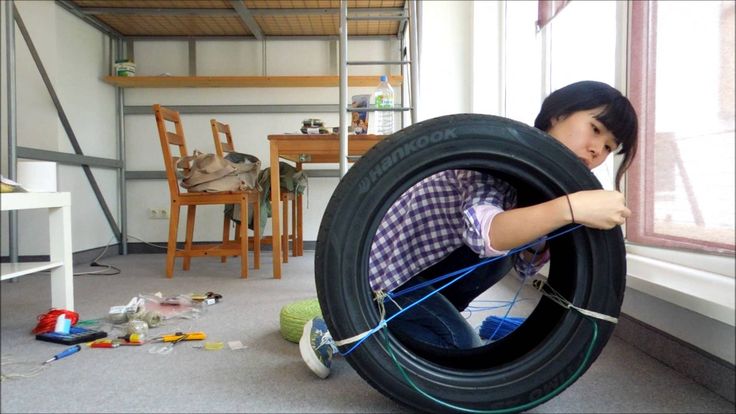 So that an unused set of tires does not lose its properties, you need to know where and how to store it correctly and what exactly cannot be done.
Tire deformation from improper storage
Often, car owners make the same mistakes. Let's break them down:
The first three points lead to deformation of the tires, the fourth - to drying out (and then to cracks), the fifth - to the appearance of rust, the sixth - to the loss of their properties. As a result, the following problems arise with the bus:

About where you leave tires without disks for storage, you should worry in advance. Car owners can be very resourceful with ideas, so let's look at good places for “preserving” tires and not so much. So, where exactly is it better not to leave tires:
First, about the permissible conditions. It is good if it is a ventilated room where constant humidity (this is about 60%) and temperature (permissible limit +10 - +25 degrees) are maintained. And, as we wrote above, the rubber should be hidden from UV exposure. So, you can consider the following options:
Tire storage in a specialized tire center
The advantages of the first three options are obvious - they do not require financial investments. But there is also a fat minus - you will have to create and regularly monitor the necessary storage conditions yourself. In addition, rubber needs a lot of space, and sometimes you want to take it with other things.
Having given the tires to the tire center, you can not worry about anything: the conditions for the "vacation" will be observed as required by the manufacturer's regulations. You can also clarify about the possibility of transferring the rubber for maintenance to the service center where you service the car. Most often, large technical centers provide this service for free.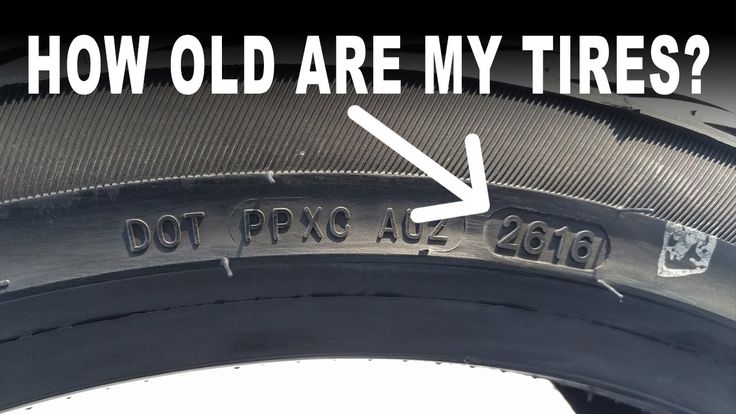
To begin with, it is worth saying that the conditions for keeping a winter kit without disks will differ significantly from the conditions for a summer one. The state of the former will have to be given more time and treated more responsibly. The first thing to worry about is the temperature and the amount of humidity in the room, as well as the position of the tires and protecting them from overheating.
Each type of tire must be stored in conditions close to operational conditions, that is, winter tires should be kept cool, and summer tires should be kept warm.
And many auto experts recommend storing a winter set of tires only on rims and thoroughly cleaning the tread from dirt before the “vacation” (they have it deeper). Such footwear must be protected from ultraviolet radiation and overheating, because driving on ice and snow requires elasticity from the rubber, and when heated, it “dubs”. Such tires are not able to provide good grip on the road.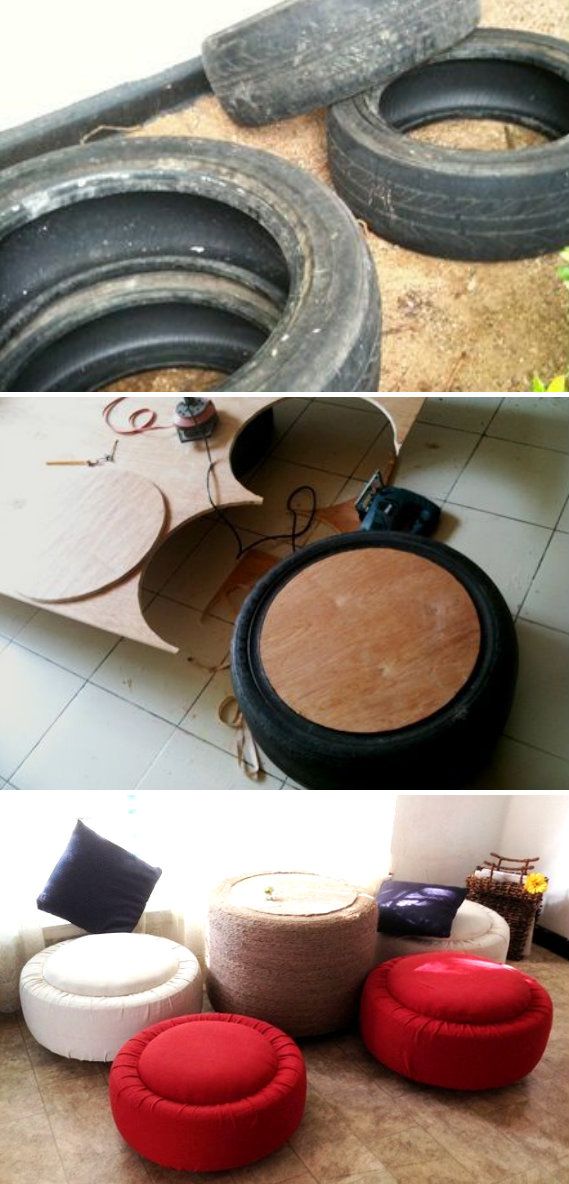 This means they are dangerous to use.
During storage, heat and ultraviolet is contraindicated for rubber
The differences between seasonal rubber from each other are manifested not only in operational data, but also in the composition that is used to manufacture the product. Summer shoes can withstand high temperatures, but despite this, you need to remember that it should be stored in a dry and dark place, at a temperature not lower than zero. And of course, remove diesel fuel and other chemical products to another room. This rule is also true for winter tires.
There are also differences in the "preservation" of tires on disks and without them. Let's consider the last option in more detail. But first, about preparation.
Before sending the shoe to a well-deserved rest, it is necessary to clean it of dirt / reagents / stones and mark which wheel it is from: in two capital letters, the right front - PP, the left front - LP, etc.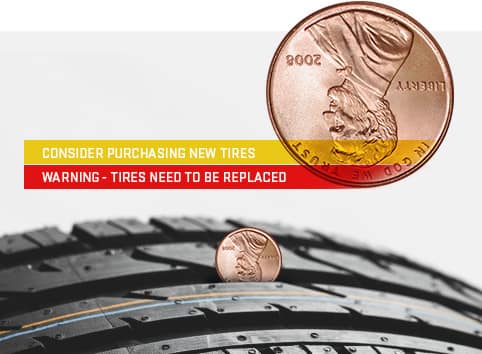 It would not be superfluous to carefully inspect the tires for serious damage, cuts, so that before the new season you can be sure of the possibility of further operation or prepare for possible financial expenses to replace the kit.
Finally, treat the rubber with a preservative (silicone) to protect it from aging. The choice of means should also be taken responsibly. Sometimes it can be confused with a rubber blackening spray. They include a solvent, and, as we already wrote, it is contraindicated for tires.
Tire treatment with silicone
If you decide to leave tires without discs for the “vacation”, then it is better to place them vertically. Then you can avoid losing the shape of tires and spending on buying new ones. If there is a semicircular surface - great, so you can leave it for the entire period of "rest". If not, they will have to be turned regularly (1 per month).
Forget about hooks and loops - tires without rims cannot be hung from them. Storage in this way will change the geometry of the tires in six months. Also, do not place them on ropes / corners - tires can be deformed. And the last thing - do not stack the tires in a pile, the lower ones can be deformed and you most likely will not be able to install them on the wheels again.
How to properly store tires without rims
Many car owners keep rubber in regular trash bags. Whether this should be done in general depends on the conditions in which the tires will be kept. If under optimal conditions (we wrote about this above), then the packages are not needed. If you plan to leave the tires, for example, on an unglazed balcony (under the sun), then bags can help. However, having placed a set of tires in a bag, it should not be “tightly” sealed in order to avoid the formation of moisture, and, consequently, corrosion. True, you can buy special bags made from breathable materials. They are designed specifically for tires, but they are much more expensive than conventional polyethylene.