Select Brand:Select . . .Toro Snow Blower PartsToro Lawn Mower PartsHonda Snow Blower PartsHonda Lawn Mower PartsToro Lawn Tractor PartsJohn Deere Lawn Tractor PartsSelect Model:Select . . .Select Size:Select . . .
‹‹ New Search
by Mr. Weingartz
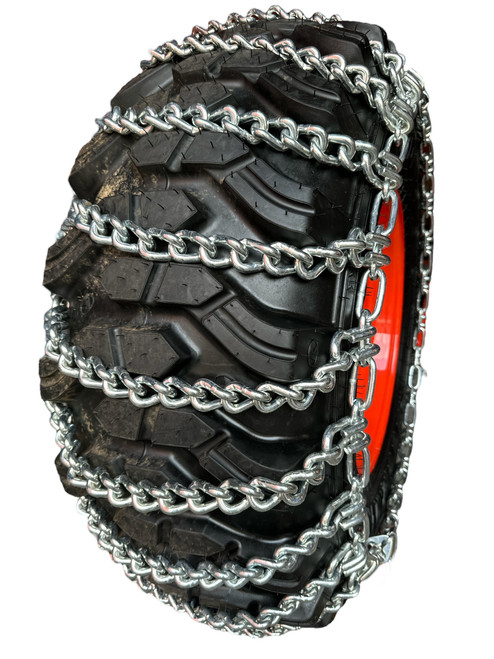
When using your lawn tractor in the snow season, you may find that the tractor tires don’t quite have the stability and traction needed to throw or plow when the pavement is covered by hard-packed snow or is icy. Under these conditions, you can increase the traction by using lawn tractor tire chains.
Most of the lawn tractor tire chains we sell are used on lawn tractors’ rear drive tires. Since manufacturers have been making snow blowers more and more powerful, they can also provide added grip to 2-stage snow blower tires that would otherwise tend to slide around when under full power.
Not only do tire chains add extra traction to your rear wheel drive, but they also help brake up ice on your drive and walkways. Tire chains are highly suited for driveways that are inclined.
Because they are made of hardened steel, combined with the weight of the tractor, there is risk of damage if tire chains are used and operated on brick pavers. If you store the tractor in the garage, it could possibly damage weak floor surfaces.
2- and 4-link refers to the spacing between skipped side links. For 2-link spacing, cross chains occur between every two side link chains. For 4-link spacing, cross chains occur between every four link chains.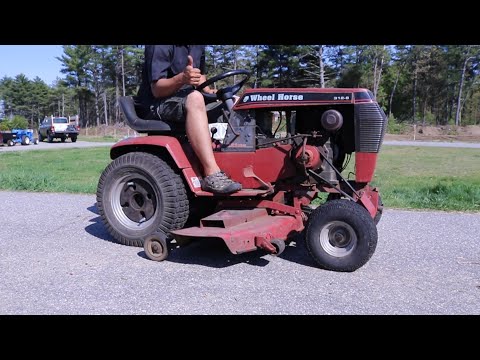
It will depend on which chain spacing suits your needs. 2-link spacing tire chains will give more traction because there are more cross links and the tractor’s ride will be more steady (less bumpy). 4-link spacing chains are generally less expensive, and still provide a little extra traction.
The chain size is the same dimension that is formed into the side of the tire wall. Tire chains are available in every size used for lawn and garden tractor wheels. Some chain sets are meant for more than one tire size, and links may have to be removed with bolt cutters or by bending the connecting links with pliers.
How To Install Lawn Tractor Tire Chains?You Will Need:
Here’s What To Do:
 Using pliers to pry the cross chain connecting link open and unhook (the connecting links are not made of hardened steel) or use bolt cutters
NOTE: It is important to check that you have enough clearance in both rear wheel wells for tire chains. There should be, at minimum, three inches of clearance between the tire and the inside wall and any drive components.
If you find that you still need more traction, some tractors have wheel weight kits that mount on the outside of the rim, or “suitcase” styled weights to add to a rear weight bar bracket, if available as an accessory. Contact our sales team with model information for price and availability.
We carry lawn tractor tire chains for a variety of tire sizes. There are no universal tire chains; they are specific to and sold by tire size. Contact our parts team with your tire size, or part number, for pricing and availability.
You May Also Enjoy These Articles:
Fall Lawn Care Tips
Engine Oil Maintenance
Tips For Choosing The Best Riding Mower For Your Lawn
Buyer’s Guide to Chippers, Shredders, and Vacs
Spark Plug Maintenance
How To Winterize Your Lawn Mower
Why Weingartz?
Weingartz, family owned and operated, began in 1945 as a farm supply store for local Michigan families.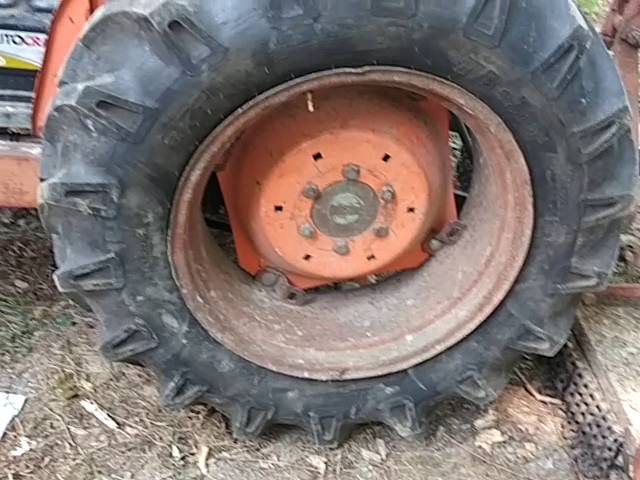 In the 1970s, we began to focus exclusively on outdoor power equipment. Over time, we morphed into the “power equipment superstore” that now defines all of our locations. The staff and experts at Weingartz work diligently to provide the best service possible and give honest and helpful advice to each and every customer.
Weingartz also sells parts for all outdoor power equipment at https://weingartz.com/parts-lookup.
Weingartz
39050 Grand River Ave.
Farmington Hills, MI 48335
(248) 471-3050
[email protected]
Connect With Us!
https://plus.google.com
https://www.facebook.com/WeingartzLawnToSnow
https://twitter.com/Weingartz
http://pinterest.com/MrWeingartz
Learn More About Brand Specific Lawn Tractors
Sign up for our electronic monthly newsletter for discounts and money-saving tips.
« Buyer’s Guide to Chipper Shredder VacsHow to Prune and Care for Trees »
Just because it's winter, doesn't mean you won't be using your riding lawn mower. Whether hauling wood or clearing the drive with the snow thrower attachment, your machine can be a vital asset to winter home maintenance. But with snow and ice on the ground, it becomes more difficult to use your riding lawn mower. Cub Cadet tire chains can provide stability and traction for your equipment, allowing you to use your riding lawn mower all year long.
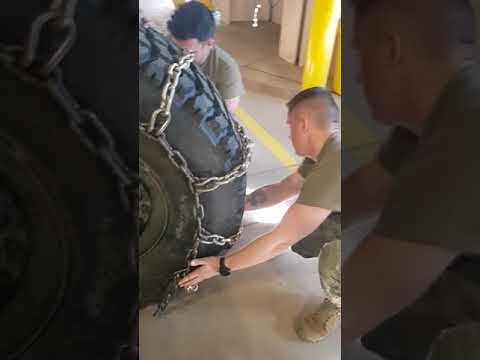
The experts at Cub Cadet have put together a video to show you how to assemble riding lawn mower tire chains on your machine. Before you begin, check your operator's manual for instructions. The instructions may vary slightly depending on your riding lawn mower model.
Step 1: Prepare your riding mower for maintenance. Place your mower on a flat, level surface. Turn the mower off and make sure the engine is cool. Remove the ignition key, disconnect the spark plug ignition wire, and engage the parking brake. This helps ensure the machine doesn't start accidentally and cause you or those around you harm.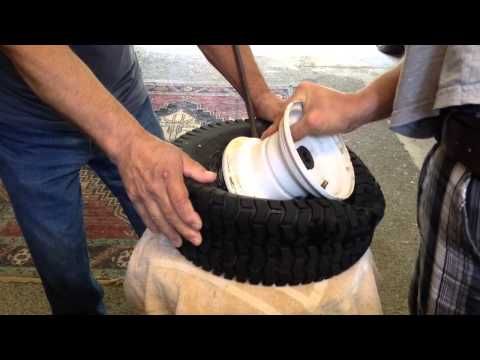
Step 2: Note, the instructions reference side chains, cross chains, a C-hook and locking link. Before you begin, get familiar with your Cub Cadet tire chains.
Step 3: Lay the Cub Cadet tire chain flat on the ground. The open sides of the cross chain hooks should be facing up. Make sure the C-hook is on the inside edge of the tire, and that there are no twists in the chain.
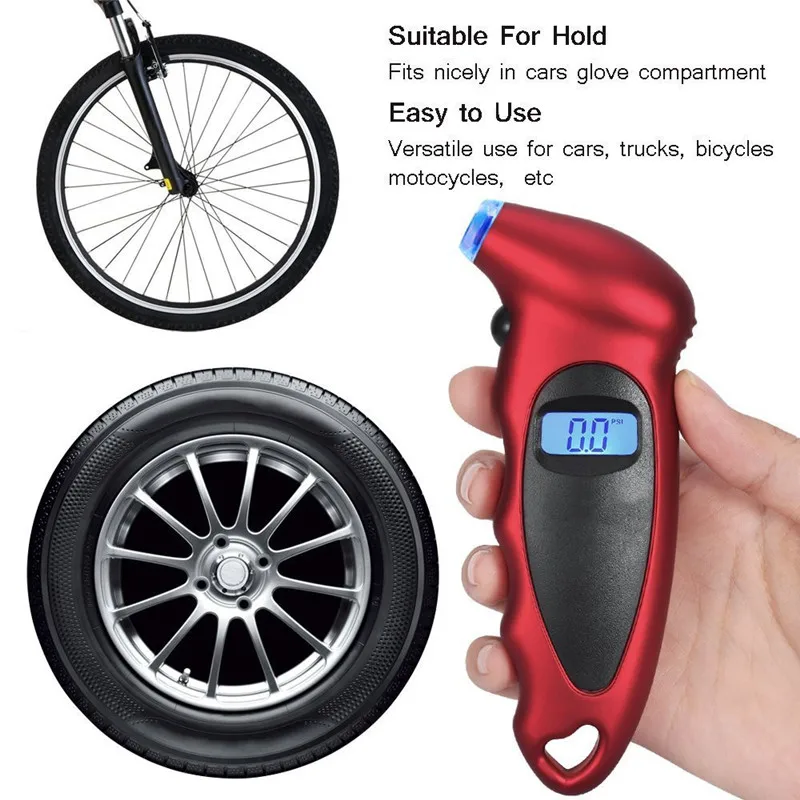
Step 4: To ensure a snug fit deflate the tires 3 to 4 PSI.
Step 5: Position the chain over the top of the tire, making sure it is centered.
Step 6: Verify the cross hooks are facing up.
Step 7: Push the riding mower forward over the chain.
Step 8: Connect the C-hook and locking link.
Step 9: Adjust the inside and outside links equally until the tire chain is snug.
Step 10: Use cable tie to secure any loose links.
Step 11: Re-inflate the riding mower tires to the proper PSI.
Cub Cadet Genuine Parts
Always use genuine OEM replacement parts when servicing your equipment. Use our parts finder to locate and order any replacement parts you may need for maintenance. Refer to your owner's manual for additional maintenance information.
Share This Article
If you experience any problems accessing this website, please call us at 1-877-428-2349 for assistance.
Engine Disclaimer: The engine horsepower information is provided by the engine manufacturer to be used for comparison purposes only. See your local Cub Cadet Dealer for warranty details.Pricing Disclaimer: Posted price is in USD Dollars and is manufacturer's suggested sale price. Models and pricing may vary by location. Taxes, freight, set-up and delivery not included. Optional equipment, accessories and attachments sold separately. See your retailer for details. Image Disclaimer: Products may vary from depicted model image in design, required attachments, safety features and non-functional appearance, and may not reflect dealer inventory or unit specifications. Specifications Disclaimer: Specifications subject to change without notice. Images may not reflect retailer inventory and/or unit specifications. Operator's Manual Disclaimer: The operator's manual posted is for general information and use. To ensure the download of the operator's manual specific to your unit, we require a model and serial number. Speed Disclaimer: Actual vehicle speed varies based on load, use and environmental conditions. Battery Disclaimer: Battery and battery powered product performance varies with load, use and environmental conditions. Software Disclaimer: Software available on Company websites is provided on an "as is" basis without any warranty of any kind, either express or implied. The download and use of any software is done at the user's own risk. Professional Products: Cub Cadet commercial products are intended for professional use. UTV: Cub Cadet Utility Vehicles (UTV) are intended for off-road use by adults only.
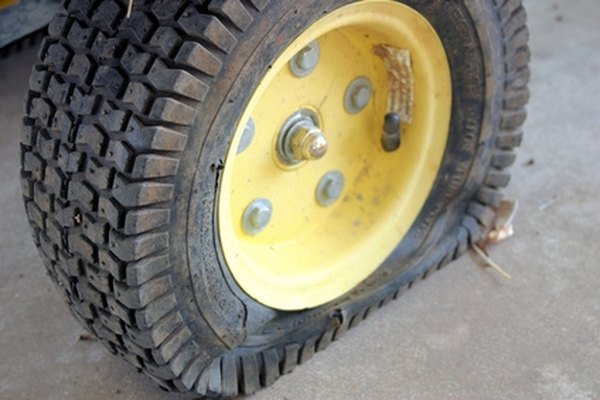 Please see the operator’s manual and the warning labels posted on the vehicle itself for more details. Email disclaimer: Sign up to receive communication on services, products and special offers. You may unsubscribe at any time. Please refer to our .
Snow chains are a valuable addition to your forklift. Snow chains are a device to be used in an emergency situation and, therefore, when using them, it is necessary to observe the precautions and the attached rules of use in order to obtain the expected results, as well as to avoid possible problems arising from incorrect use of the chains.
Anti-skid chains are designed to prevent wheel slippage and increase the passability of the loader when driving on difficult road sections - ice, rolled snow, virgin snow.
Before using snow chains, it is necessary to determine the possibility of their installation on the vehicle. Recommended minimum clearances between the wheel and various parts of the loader required for installation:

Anti-skid chains are mounted on the drive wheels of the loader. Installation of anti-skid chains must be carried out before entering a difficult road section.
For different manufacturers of wheels for loaders with the same wheel marking, the actual dimensions can vary significantly.
To take into account the difference in wheel sizes, an additional jumper (pos. 7) is provided in the anti-skid chains. It is attached with staples to the end links of the tail chain (pos.6).
The need for an additional jumper is determined during the first installation.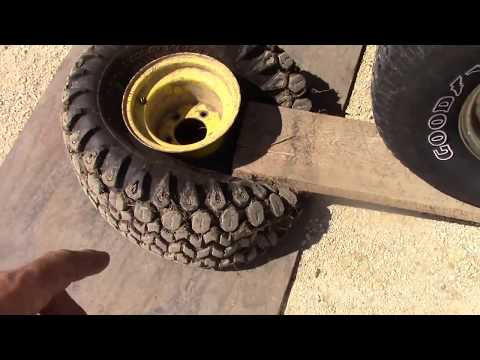 If the anti-skid chain hangs freely on the wheel during tension, warps on its side and further tension does not give the chain a snug fit to the wheel, then the additional jumper should be disconnected.
1. Carefully straighten the snow chain (chain links must not be twisted). Lay snow chains on the road surface and run the drive wheels over them. The locking hook (pos.2) with the locking ring (pos.3) must be located on the outside of the loader. Secure the loader in a position that prevents spontaneous movement on the road.
2. Throw the free part of the chain on the wheel. Spread the transverse branches of the chain (pos.4) evenly around the circumference of the wheel.
3. On the inner side of the wheel, hook the locking hook (pos.1) to one of the links of the tail branch (pos.6). Hook hook only on odd tail chain links 1, 3, 5, etc. (for loaders with a small distance between the wheel and other parts).
4. From the outer side of the wheel, thread the locking hook (pos.2) into one of the end links of the tail branch (pos.6) and turn the locking hook towards the locking ring (pos.3).
5. Insert the locking ring into the groove of the locking hook. If necessary, make an additional tension of the chain (reattach the locking hook and the hook for the following tail links). Longitudinal and transverse branches should grip the tire tightly.
6. After passing a small area, make an additional tension of the chain by hooking the hook (pos.2) on one of the following links of the tail chain.
After the first installation, the extra tail links (not used) must be cut off or tied so that they do not touch the body or other parts of the loader during movement.

Removing the tool from the wheel is carried out in the reverse order.
Anti-skid chains are mounted on the drive wheels of the loader. It is advisable to install snow chains before entering a difficult road section.
For different manufacturers of wheels for loaders with the same wheel marking, the actual dimensions can vary significantly.
To take into account the difference in wheel sizes, an additional jumper (pos. 5) is provided in the anti-skid chains.
It is attached with staples to the end links of the tail chain (pos. 4). The need for an additional jumper is determined during the first installation. If the anti-skid chain hangs freely on the wheel during tension, warps on its side and further tension does not give the chain a snug fit to the wheel, then the additional jumper should be disconnected.
1. Secure the vehicle in a position that prevents spontaneous movement on the road. Put the snow chain on the wheel in such a way that the tensioning rings (pos.6) are on the outer side of the wheel, and the locking hooks (pos.1) and tail links (pos.4) are in the lower part of the wheel. Spread the transverse branches (pos.2) evenly around the circumference of the wheel.
2. Hook the locking hook (pos.1) on the inner side of the wheel for one of the links of the tail branch (pos.4), or for the ring, i.e. as close as possible to the other half of the snow chain.
3. Hook the locking hook (pos.1) on the outer part of the side of the wheel for one of the links of the tail branch (pos.4), or for the ring, i.e. as close as possible to the other half of the snow chain.
4. Pass the tensioning chain (pos.7) through all the rings (pos.6), including the ring to which the tensioning chain is attached.
5. Attach the lanyard (pos. 8) to one of the tension chain links (pos. 7). Hook the lanyard hook (pos.8) to the tension ring (pos.6) from the opposite side. Make a stretch. The tension should be carried out until the snow chains fit snugly against the wheel. If necessary (with a weak chain tension), hook the lanyard over the next link of the chain for tension and re-tension. It is also possible to fasten the lanyard to the side ring for tensioning, and with the hook of the lanyard, alternately hook it to the chain links for tensioning.
6. After passing a small area, make an additional tension on the chain.
Removing the tool from the wheel is carried out in the reverse order.
Return to list
Snow chains are not used daily and often get in the way in the trunk of a car, but there are situations when further movement without chains on the wheels is simply impossible and then they become for the driver, the same necessity as a can or a first aid kit. Often, the tread of standard wheels, all-wheel drive and low gear are enough to overcome puddles and mud on country roads.
But sometimes it is necessary to overcome those last few kilometers to the destination (dacha, mushroom meadow or treasured fishing place) along a country road covered with snow or muddy from rains and broken by timber trucks. In such cases, snow chains come to the rescue.
Anti-skid chains ("faces" or "purses" as they are also called by the people) increase the cross-country ability of any car from OKI to URALs, Kamaz and GAZ-66. Of course, you can increase the car's cross-country ability by buying off-road tires like Goodrich, but for a car that is used more in urban areas with constant driving on paved roads, this is impractical and expensive. And snow chains for increased flotation, of course, win in price and durability compared to off-road tires.
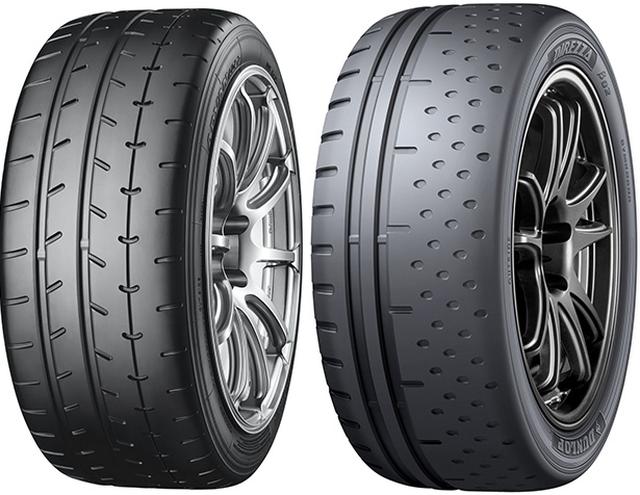
Chains for cars and SUVs are of 2 types: "Ladder" and "Honeycomb".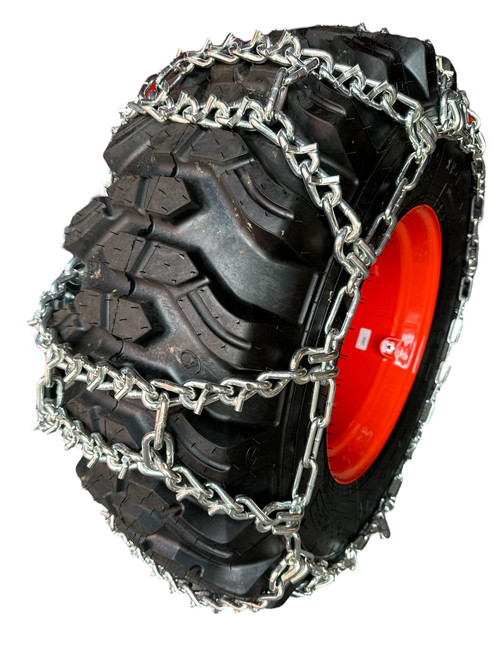 Chain link thickness 5mm or 6mm. Chain locks are strong, reliable and easy to fasten.
The most common chains with a "Ladder" pattern. Their main advantages are low price, ease of mounting on wheels, better traction, they are lighter and easier to operate, require less time to install on wheels.
"Honeycomb" chains - allow you to move more confidently on viscous soils, no jerks when moving, the likelihood of digging is reduced, but at the same time a higher price, the complexity of mounting on wheels and more time for installation.
Niva 21213 on snow chains
There are two ways to put chains on the wheels:
- with jacking up the SUV wheel and then mounting the chains on the wheels.
- with chain spreading and subsequent collision with a car wheel.
For Niva and UAZ, thanks to large wheel arches, the method of spreading chains in front of the front or rear wheels of the car is more suitable. The chains must be laid out on the ground along the axis of movement of the car with the locks outward. Having driven 20 or 30 cm with the front or rear wheels on the chain, we throw most of the chain on the wheel. We pull the chain onto the wheel, pulling the ends together, and with a hook on the inside of the wheel we fasten both parts of the chain. Having straightened the transverse branches of the chain (lugs) on the wheel, we fix the outer lock to the farthest link on the outside of the wheel. After you put both chains on the wheels on one axle of the SUV, you need to drive a few meters to evenly distribute the chain over the surface of the wheel. Then, from the outside, you can tighten the chain a few more links and secure it with a locking hook (lock).
January. Kirov region. Car VAZ 21213, tires K-182. Chains "Ladder" with a link thickness of 5 mm on the front wheels. Installation of chains took about 15 minutes. Packed snow, crust, snow cover height 40-50cm. When driving, there is a slight drift of the car, to reduce jerks when driving, you have to move in a lower gear in order to have a traction reserve. Having overcome several kilometers through snow-covered fields, I felt like an all-terrain vehicle driver. Permeability has increased exponentially! Slips have been reduced to a minimum, Niva just goes and that's it!
Only the thought of plows and harrows forgotten in the fields by collective farmers, which can catch and break the chain, was alarming, but everything worked out. The car moved confidently, did not skid. When driving uphill, I had to accelerate a little. When overcoming icy slopes, a slight slip of the front wheels is felt, due to gaps of 200-250 mm between the transverse jumpers.
In the winter of the same year, when turning, the rear wheel jumped into an icy track and got stuck. Having jacked up the rear wheel, put the straightened chain under the slipping wheel in the direction of travel and calmly left without outside help. The chains also helped in overcoming a small-looking stream in the spring, which gave us a lot of trouble. Deciding to skip the stream without chains, he landed the car just in the middle of the channel and at the slightest attempt to turn back, the Niva dug deeper and deeper into the clay.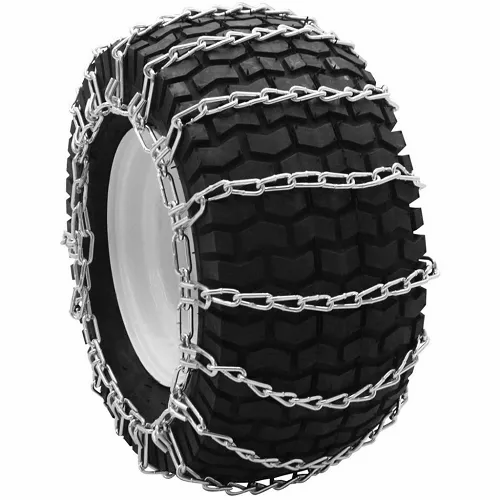 The wheel tread instantly clogged with semi-liquid clay and became smooth. The whole family had to dig out the front wheels, jack them up and put on chains up to the elbow in clay and mud. With the chains on, he turned the wheels all the way and reversed. The car jumped out of the rut and drove effortlessly back onto dry land. After that, taking a little to the right, so as not to fall into its own rut, with acceleration effortlessly, my SUV overcame the ill-fated obstacle. After that, I was once again convinced of the need to put on chains before overcoming an obstacle, and not to suffer then to pull them in cold water and elbow-deep in mud. Previously, without chains, when I sat down, I could no longer get out without outside help. Now with the chains I came to the conclusion - before the mud, immediately put them on, you need to move on them evenly, do not skid once again in the mud.
Experience in using chains on 2111
At the beginning of winter we drove to the dacha on the VAZ-2111.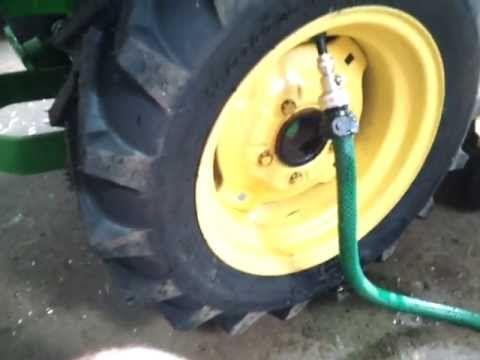 In summer, the road there is normal, covered with gravel, and in winter it is not cleaned for several kilometers and, accordingly, snow fell knee-deep there. The temperature for several days was +2 degrees, so the snow was wet and loose. A VAZ-2111 car on winter tires Amtel NordMaster K-239 175/65 R14, faced with wet, heavy snow, stalled after a few meters and refused to go forward. Having passed a few meters back, on a less snowy road surface, I decided to try out snow chains. The snow chains were galvanized, Lasenka type, made specifically for the size of my wheel. Since the vases of the 10th family are characterized by small arches, the transverse branches (lugs) of the chain were made from a long link chain. I tried to put on chains without jacking up, as on a NIVA or UAZ, alas, it did not work out. The distance between the arch and the wheel is too small so that you can stick your hand into it and put the chains on the wheel. Therefore, I had to get the jack and jack up the front wheels in turn.