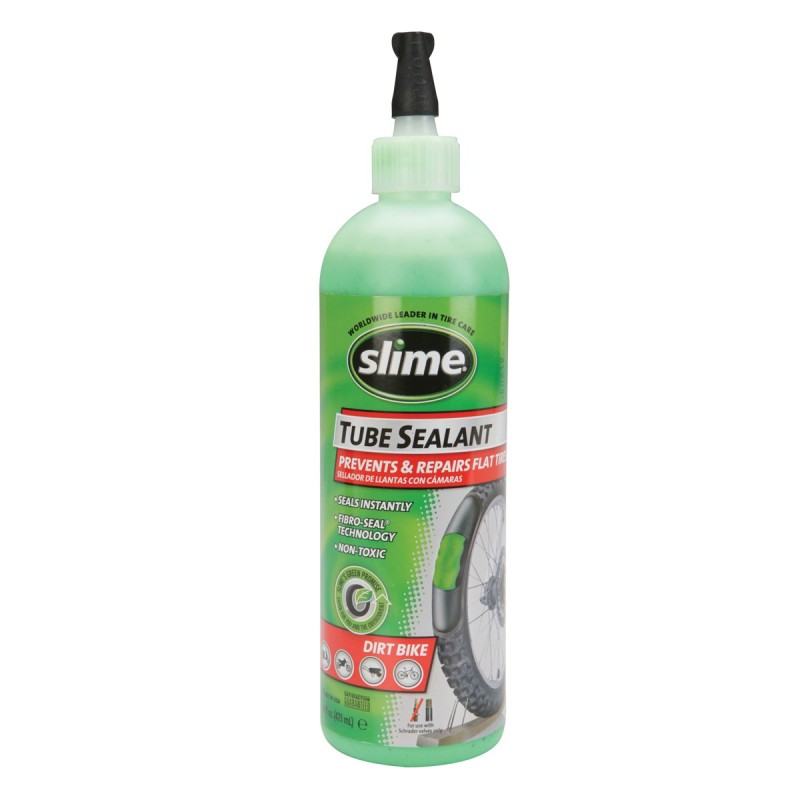
There are many, many ways that a bicycle tire can go flat. Thorns, goat heads, glass, nails … bicycle rides are literally littered with hazards for your thin bike tires. Fortunately, Slime Tube Sealant can prevent and repair flat bicycle tires instantly for up to two years.
Installing Slime Tube Sealant into your bicycle tires is simple and fast. Watch this short installation video below, or scroll down for step-by-step photo instructions. No more flats!
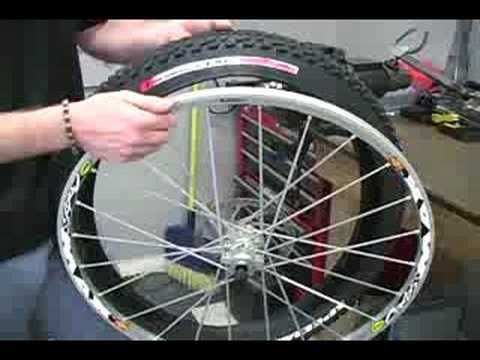
Step 1: Position the tire Slime can be inserted with the valve stem located in any position, but it works best if you position the valve stem so it sits in the upper half of the tire.
The black cap on your bottle of Slime is a valve core removal tool. Twist it off the bottle and use the knobby tool in the center to engage the valve core.
If you have Schrader valves: Take the valve cap off your valve stem. When you look inside the top of the tire valve stem, you will see a metal cylinder in the very center. This is the valve core and it needs to be removed in order to install Slime. Slowly twist the tool counter-clockwise to remove your valve core.
If you have Presta valves: Using your fingers, gently twist the knobby ball near the top of your valve core to remove it. CAUTION: Not all tubes have removable valve cores. If your valve cores are fixed (they won’t twist off), then you will not be able to install Slime (we recommend our pre-filled, self-sealing Slime tubes instead).
You will know you are successfully removing the valve core when air starts hissing out of your tire.
Step 3: Deflate Your TireYour tire must be as flat as possible to inject the Slime. Allow the air to slowly escape from the tire and set aside the valve core (you will need this piece again later).
Locate the thorn, nail or other offending object that caused your tire to go flat. If possible, remove it from the tire.
Unscrew the white cap from the top of the bottle, peel off the white seal and then re-attach the white cap.
Remove the clear tube from side of the bottle and attach one side to the top of the white bottle cap. Attach the other side to the valve stem on your tire. The white tube fits perfectly over Schrader valves. If you have Presta valves, we recommend you attach a Presta valve adapter to the white tube for a tighter fit.
Squeeze in the appropriate amount of Slime. You can use the chart on the back of your bottle to determine how much Slime you need, or you can use our Slime calculator. In general, bike tires need 4 oz. of sealant each. If you are using the gallon product of Slime, then one pump equals approximately 1 oz of Slime.
When it comes to bicycles, you can inject the sealant directly into the tube before inserting the tube into the wheel, or you can inject the sealant into a tube that is already pre-installed into the wheel.
Remember that little valve core you removed in Step 2? Time to put it back in! Using the same black tool from the cap of the bottle (or your fingers if you have Presta valves), screw the valve core back into the valve stem by turning clockwise until tight. If any Slime has oozed out while installing the valve core, simply wipe away with a cloth.
Using your favorite tire inflator, air up the tire to the recommended air pressure. You can find this measurement range listed on the sidewall of your bicycle tire.
To properly spread the sealant around the inside of your tire, spin the tire quickly a few times.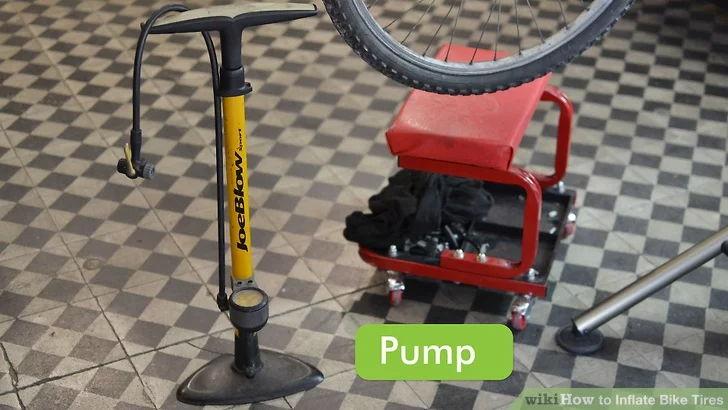
Congratulations! You have successfully installed Slime and repaired your flat tire!
Not interested in installing Slime sealant yourself? Or stuck with fixed Presta valve cores? Don’t worry, you can still prevent flats for two years! Simply install Slime pre-filled tubes (extra-strong because there is Slime inside!).
You’ve reached for the bottle to fix or prevent flat tires – smart choice! Whether this is an emergency repair (yellow label bottle), or you are preventing flats for up to 2 years (red, blue or black label bottle), the Slime installation process is the same.
Slime tire sealant is easy to install, cleans up with water and will get you back on the road quickly. All you need is the bottle and a tire inflator. Let’s get started:
Step 1: Position the TireSlime can be inserted with the valve stem located in any position, but it works best if you position the valve stem so it sits in the upper half of the tire.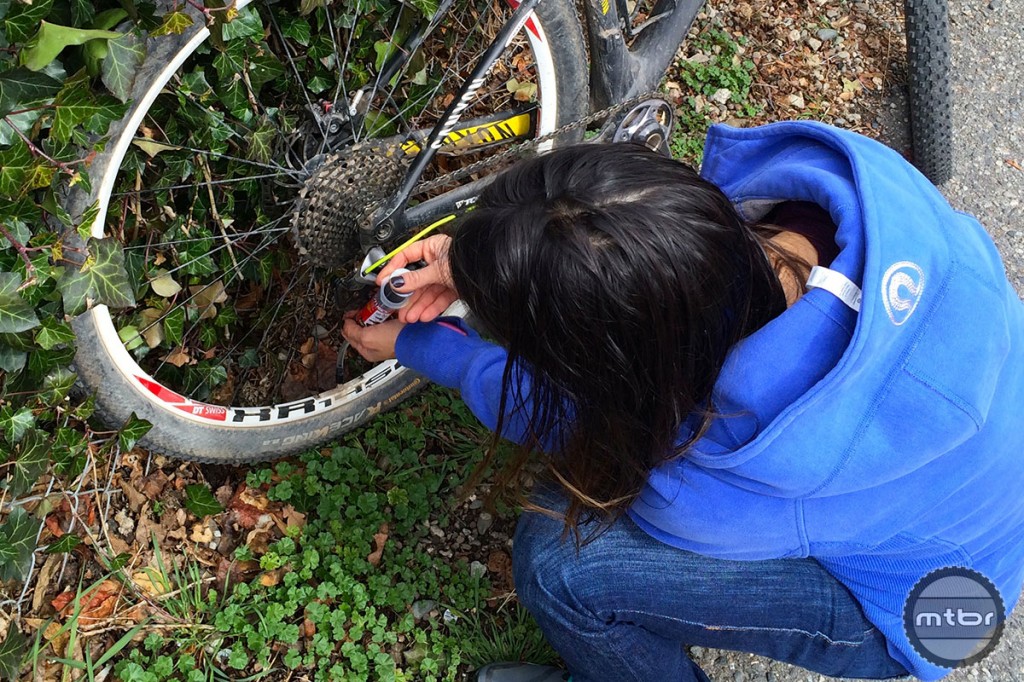
Step 2: Remove the Valve Core
Take the valve cap off your valve stem. When you look inside the top of the tire valve stem, you will see a metal cylinder in the very center. This is the valve core and it needs to be removed in order to install Slime.
The black cap on your bottle of Slime is a valve core removal tool. Twist it off the bottle and use the knobby tool in the center to engage the valve core. Slowly twist the tool counter-clockwise to remove your valve core. You will know you are successfully removing the valve core when air starts hissing out of your tire.
Your tire must be as flat as possible to inject the Slime. Allow the air to slowly escape from the tire and set aside the valve core (you will need this piece again later).
Step 4: Remove the Puncturing ObjectLocate the screw, nail or other offending object that caused your tire to go flat. If possible, remove it from the tire.
Unscrew the white cap from the top of the bottle, peel off the white seal and then re-attach the white cap. Remove the clear tube from side of the bottle and attach one side to the top of the white bottle cap. Attach the other side to the valve stem on your tire.
Squeeze in the appropriate amount of Slime. You can use the chart on the back of your bottle to determine how much Slime you need, or you can use our Slime calculator. If you are using the gallon product of Slime, then one pump equals approximately 1 oz of Slime.
If your tire has tubes (like on a bicycle or dirt bike), you can inject the sealant directly into the tube before inserting the tube into the wheel, or you can inject the sealant into a tube that is already pre-installed into the wheel.
Remember that little valve core you removed in Step 2? Time to put it back in! Using the same black tool from the cap of the bottle, screw the valve core back into the valve stem by turning clockwise until tight. If any Slime has oozed out while installing the valve core, simply wipe away with a cloth.
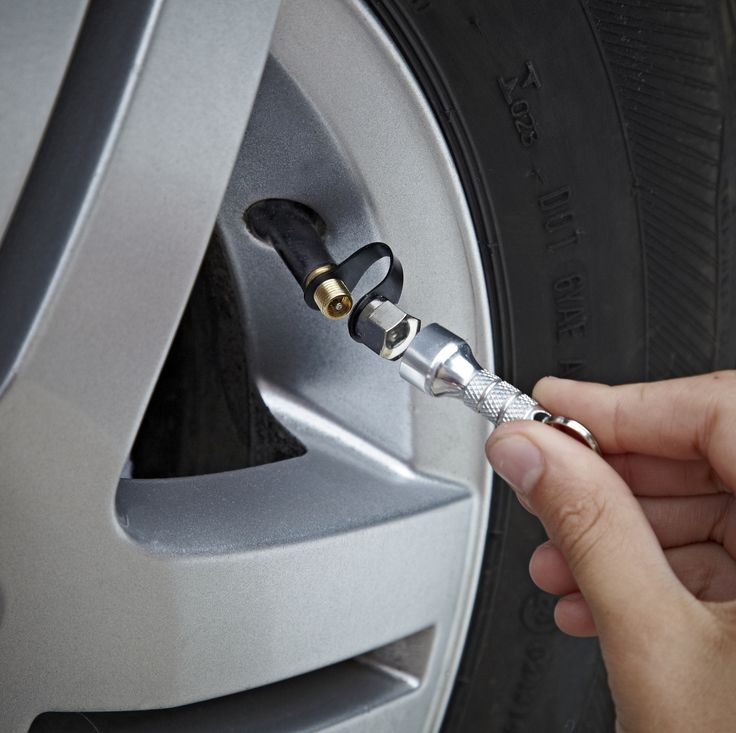
Using your favorite tire inflator, air up the tire to the manufacturer’s recommended air pressure. You can find this measurement on a label typically located on the inside door jamb of the driver or passenger seat.
Step 8: Rotate the TireTo properly spread the sealant around the inside of your tire, drive approximately 0.2 miles, then stop and verify that the sealant plugged your puncture and that the tire is holding air pressure. If you are installing Slime in a bicycle, simply spin the tire to evenly distribute the sealant.
Congratulations! You have successfully installed Slime and repaired your flat tire.
If you installed the yellow label Emergency Tire Sealant formula, then please seek a professional repair within 3 days or 100 miles.
Dry foliage, thorns, branches - that just can not be found on the track in the fall. To protect your bike tube from puncture, be sure to get anti-puncture tape or anti-puncture fluid.
Benefits of anti-puncture fluid (sealant):
The anti-puncture liquid works as follows: the microfiber of the sealant forms a plug at the puncture site, which blocks the exit of air. The sealant tightens this plug more and more with each revolution of the wheel. A barely noticeable trace remains at the puncture site. If you need to subsequently remove the liquid for any reason, then this can be done with plain water. A distinctive feature of the sealant from anti-puncture tires is that the liquid will add no more than 300 grams to the weight of the bike, unlike an anti-puncture tire, which is quite heavy. Also an important advantage of the sealant is its relatively low price compared to other puncture tools. The only thing that the sealant cannot do is to close the puncture more than 3 mm.
Proper injection of the gel ensures that the chamber can withstand up to a hundred punctures. In each case, the volume of the injected product is determined based on the characteristics of the vehicle: for wheels up to two centimeters wide, 60-70 millimeters are required, in other cases up to 120-130 milliliters. Gel-like products effectively withstand any temperature. At the same time, the highest level of travel safety is expected. Correctly carried out procedure with obligatory pumping out of air guarantees an opportunity for successful elimination of practically any defect of a wheel.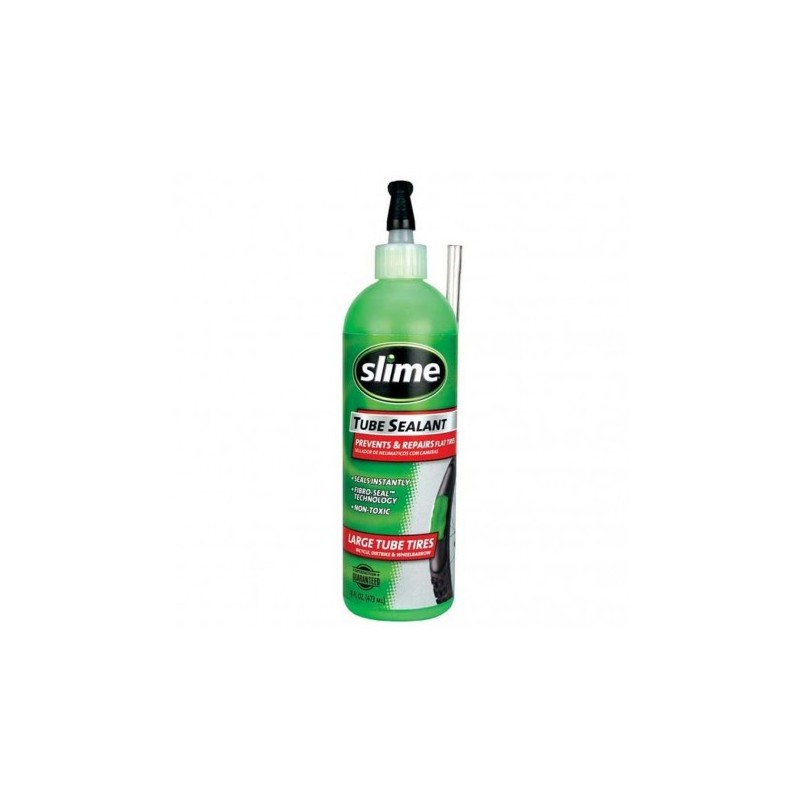
A universal option for emergency repair of bicycle wheels is Hi-Gear anti-puncture. The substance is ideal for any wheels, so defects cease to be dangerous. Any kind of wheel system and various sizes in inches is not an obstacle in order to use high-quality anti-puncture, which will certainly please you with maximum effect.
The tool includes fibrous and polymeric substances, the strength of which can be compared with steel. Moreover, such substances managed to prove themselves even in the production of armored vests.
The most basic task is the correct distribution of Hi-Gear. Otherwise, it is impractical to count on a decent result, because it is required to process the entire wheel at a qualitative level. In most cases, the substance is poured into the bicycle wheel as it rotates. If it is required to close the hole that has appeared, it is advisable to pour the contents into it in compliance with the optimal pressure. After the poured substance hardens, a special plug will be formed. Properly distributed anti-puncture guarantees the preservation of the physical characteristics of the bicycle wheels used during precipitation. Guaranteed successful use of products at any time of the year. An additional possibility is the accumulation of a special agent at the bottom of the wheels when parking. What's more, it is expected to increase the life of the wheels used by approximately 25%, resulting in optimal comfort for the rider on any ride.
An additional remedy for punctures is a universal anti-puncture tape, which is also easy to use. The universal anti-puncture tape is suitable for any bike, regardless of its type of riding, but only for tube tires. Manufacturers guarantee high durability and quality of this innovative product and reliable additional protection of tires. It is made from more durable raw materials than the tube itself, and is installed between the tire and the tube. The material from which this anti-puncture product is made is very light, usually it is:

Anti-puncture tape works very simply. An object that punctures a bicycle wheel rests against the protection, and the puncture does not occur. The special shape of the tape fits the tire from the inside. The range includes both wide and narrow products from different manufacturers. The product variant with wide approaches to the side surface of the bicycle tire, gives an excellent possibility of protection against punctures and cuts on the side, especially on rough terrain, in parks. Depending on the modification (bike wheel diameter 26, 28, 29inches) and tire width, the anti-puncture tape can be of different colors, for example green for 50mm width. It is also important to say that each wheel diameter has its own type of anti-puncture tape. For a larger diameter, the length of the tape is longer and, accordingly, the price.
The advantages of anti-puncture tape are as follows:

This product also has its downsides. For example, high cost than a sealant. Also, the anti-puncture tape protects only the tracks of the tire, and the sides remain unprotected. If you buy protection with smaller dimensions, then the width of the chamber will not be sufficiently closed from possible punctures and damage on the roads.
HOW TO CHOOSE THE RIGHT PUNCH TAPE
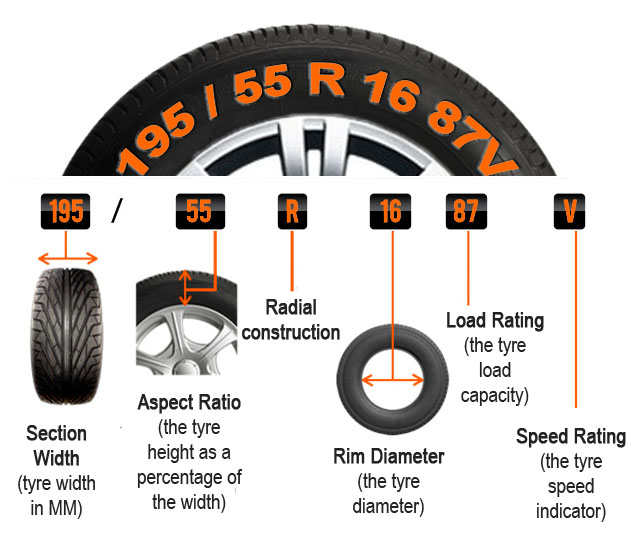
To choose the right protection for your bike, you need to know that the tires on the wheels of the bike are exactly chambered, as well as the tire width and the diameter of the bicycle wheels.
Preference should be given to a tape that has the following important qualities:
The high protective properties of the product material, simplicity and ease of installation have made this type of bicycle protection one of the most popular and in demand. Only a branded original anti-puncture tape made of latex or extruded plastic, made using special technologies, is capable of performing all the protective functions to the maximum with a small weight.
Each material has its own pros and cons, as well as conditions of use, you can choose them according to your riding style, roads, bike tire quality, etc.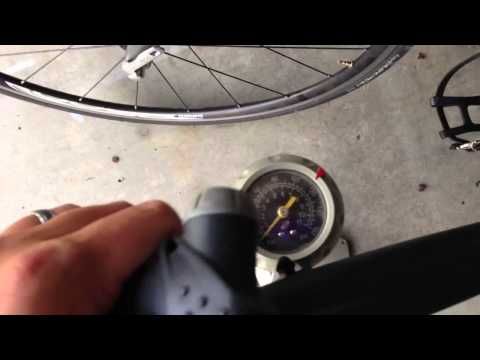 In the end, the choice is yours. What do you think is more profitable and effective.
A range of anti-puncture agents for your bike is presented here.
Back to the list
I would like to note from the very beginning that there is no one hundred percent protection against punctures and the fact that the wheel bleeds, but the likelihood of this event and the damage from it can always be reduced to minimum.
In this article, we will look at some of the main causes of punctures (punctures or cuts) in bicycle tires.
Hitting any sharp object is dangerous to the bike tire. If there are glass fragments or sharp objects ahead, then, naturally, it is better to go around them. It is much worse if you ride through a forest or a park, and run into a branch with thorns of plants such as wild rose, acacia or rose, and actually immediately break through the wheel, without even seeing the danger.
One can especially distinguish grass with thorny fruits during such trips - creeping tribulus. Most of all, this applies to the southern regions of the country. The grass itself is very useful from the point of view of medicine, but for cyclists it is a real punishment. Often, after a trip to the park, you can hook more than one such thorn on your wheels.
By the way, if you are sure that the chamber has already been pierced by such a thorn, do not rush to pull it out of the tire. Having broken through the chamber, it is at the same time already a “plug” in it, and if the thorn is removed, the air will descend faster.
Another point from the experience of cyclists. Sometimes, when you hit a broken glass, a small piece of glass enters the tire, which you will not immediately notice. It enters the wheel from the outside, and, having pierced the inside of the tire, remains unnoticed during external examination. This fragment during the trip pierces the camera, which begins to slowly descend. Similarly, with metal shavings, small pieces of sharp wire, or even small nails. You can detect such a fragment only by carefully examining the inside of the tire from different angles, hoping that the glass will sparkle under a beam of light, or by gently running your hand without a glove along the inside of the tire.
A similar situation occurs with a thorn, the tip of which can break off in the tire and stick out from the inside, permanently damaging the chamber.
The next cause of chamber breakdown is the snake bite test. Its main reason is the pinching of the camera between the tire and the rim when hitting bumps in the road surface.
One of the most effective methods of combating this phenomenon is to increase the pressure in the bike tire - the more the tire is inflated, the more difficult it is to puncture it. However, high pressure is not always needed in a real trip over rough terrain, snow crust or sand - wheels with low pressure have better grip.
For protection in such cases, you can use Elimenator rims with a special profile.
They have a wide protrusion in the central part, with a higher height than the edges. In this case, when hitting an obstacle, the camera is pressed not to the narrow edge of the rim, but to the wide, protruding above the edges, central part. At the same time, the contact area becomes larger, which means that the probability of a breakdown of the chamber decreases sharply.
But, to be honest, I have not seen such rims for sale. There is no real experience of riding on such wheels, therefore, when riding, I advise you to just carefully look at the road you are driving on, keep the normal pressure in the bicycle tires and buy high-quality tires and tubes.
There are several basic approaches:
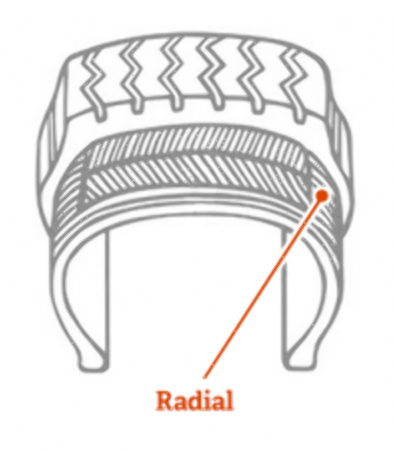
The first and probably the most important thing is to buy high-quality tires with an anti-puncture layer inside. In my opinion, this is one of the most basic and best wheel protection tools.
Such tires are made by well-known manufacturers such as: Schwalbe (Schwable), Kenda (Kenda), etc., and Chinese factories.
The thickness and quality of such a layer is different for each manufacturer and you need to look at them when choosing a specific tire.
The degree of security also depends on such a parameter as TPI. It shows how many cords per 1 inch of tire carcass (carcass weave density). The more TPI - the denser the cord threads lie in the tire carcass and the more difficult it is to damage it. True, at the same time, the price of tires also increases.
At Schwalbe, for example, tires are assigned from the 2nd to the 7th level of protection.
At the second, lowest level of protection, thin rubber on the carcass with TPI 50, ie. 50 threads per inch. These are the lightest, but also the most poorly protected tires from damage.
Class 6 tires are protected both by the 5 mm tread and the sidewalls.
Schwalbe Class 7 Smart Guard tires offer the highest wear resistance and protection against cuts and punctures. In it, the basis of protection is a 5 mm layer of rubber.
There are a lot of articles about Schwalbe tires on the Internet, so we won't dwell on this in detail.
This advice is given by many sellers and authors of other articles on the Internet.
In my opinion, this method is controversial.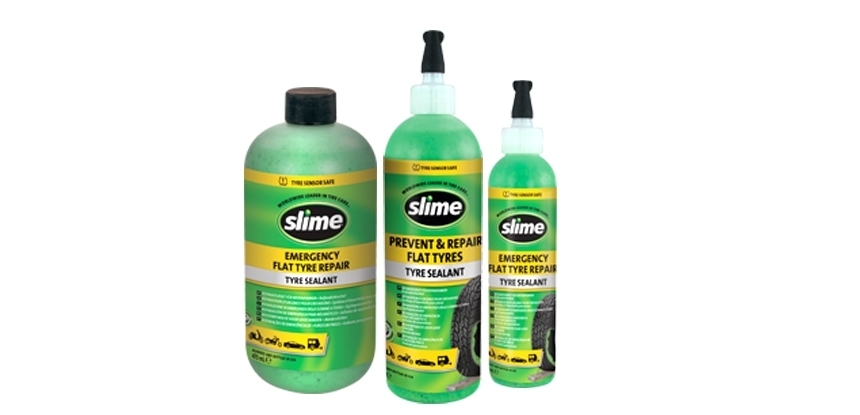 Of course, thick rubber is more difficult to puncture than thin rubber. However, I would pay much more attention not to the wall thickness, but to the quality of the rubber itself. In addition, in reality, the wall thickness of “thick” and “thin” bike chambers differs by tenths of a millimeter, well, half a millimeter in the best case. And that when you run into a thorn, these 2-3 tenths of a millimeter will save the camera from a puncture?
Here you need to either take branded cameras from good manufacturers from high-quality material, but they are much more expensive than Chinese options, or pay no attention to it at all. In addition, thick-walled cameras are heavier than thin ones, and it is better to compensate for this weight with more serious anti-puncture agents.
Protect your camera with either a quality tire, as discussed above, or anti-puncture gel, which we'll discuss next.
These gels are formulated with various types of polymers, plasticizers and tiny rubber granules or fibers.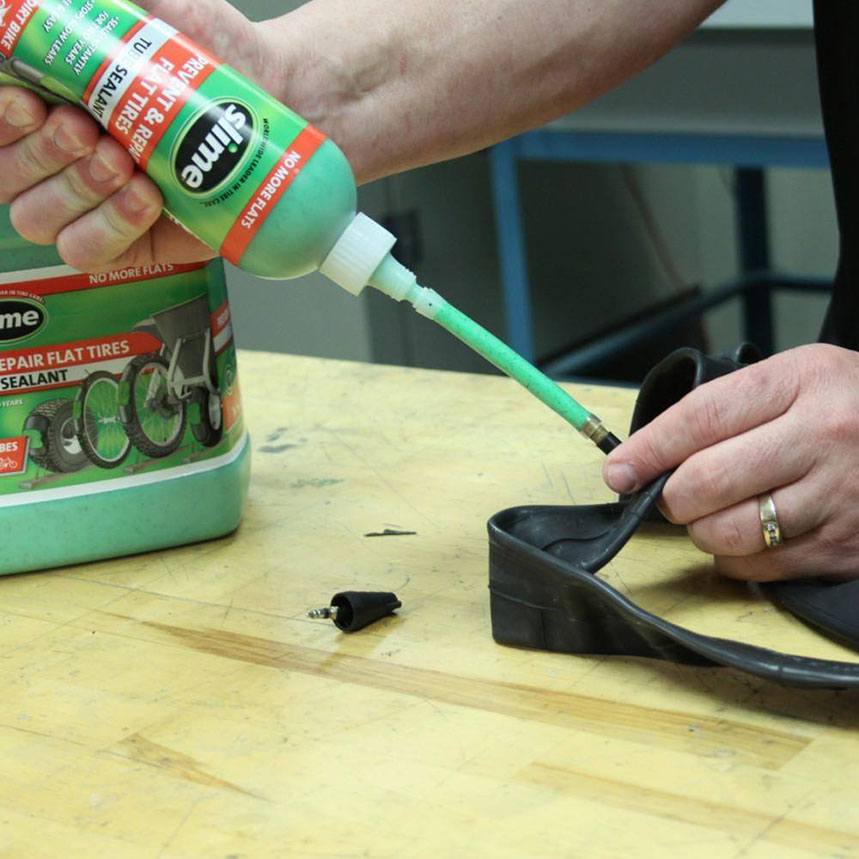
The principle of its operation is simple. The liquid poured into the bicycle chamber or tubeless tire during the rotation of the wheel under the action of centrifugal force is evenly distributed over the surface of the entire wheel.
In the event of a puncture, due to the large pressure difference inside and outside the chamber, the gel, together with the air leaving the chamber, rushes out and solidifies, getting into the puncture, thereby closing it. The fibrous structures present in it are attached to the chamber and to each other, preventing the liquid polymer from seeping out and flowing out of the hole formed. In other types of gels, small rubber granules are used for the same purpose, which actually "seal" the hole in the tube or tubeless tire. In life, this whole process takes less than a second, so the cyclist does not even have time to notice that the wheel has been punctured. In this case, the pressure in the tire practically does not drop.
Most gels seal punctures up to 3 mm in diameter.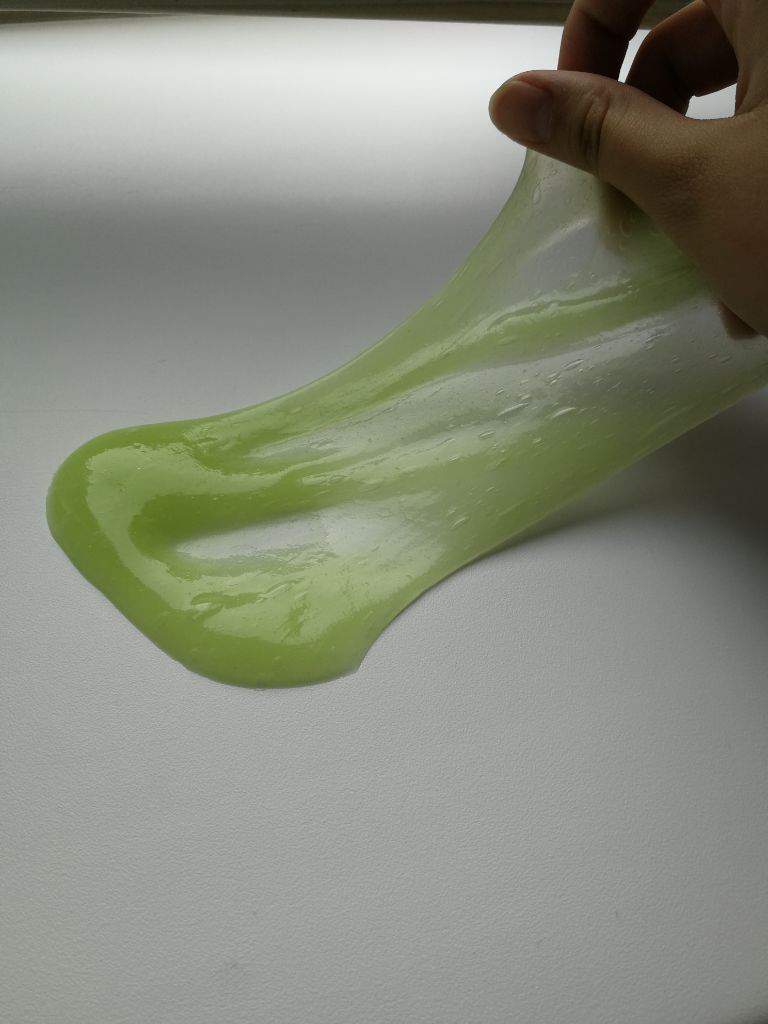 You need to understand that this is a very large hole and wheels do not break through to such sizes very often. Ordinary punctures from thorns, glass and nails are not even visible to the eye - their location can only be determined by checking in the water.
Anti-puncture sealant is used not only with tubes, but also with tubeless tires.
Progress does not stand still, and chemists continue to invent and test new formulations of anti-puncture gels that allow you to "close up" damage of various sizes at any temperature.
When pouring sealant, many manufacturers recommend shaking it thoroughly before pouring. Do not neglect this recommendation. The fact is that when shaking, the fibers that directly “clog” the holes and the liquid component of the gel are mixed. Therefore, if there are few fibers in the chamber, and there is a lot of liquid, the gel will not work.
The volume of sealant to be poured into a tube or tubeless tire is written on the packaging and depends on the diameter and width of the wheels.
It is now possible to buy ready-made bicycle inner tubes already filled with anti-puncture.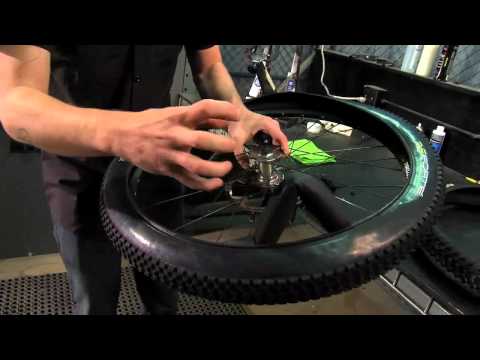 In our opinion, if you need to buy a new chamber, it is much more convenient and practical to buy a ready-made one with anti-puncture than to buy gel separately and then pour it into a new chamber.
If there is a foreign object sticking out of the tire after a ride, remove it and turn the wheel with the puncture down so that the gel can tighten it. You can knock the wheel on the ground a little. If there are a lot of thorns sticking out in the wheel, you need to get them out one at a time, also turning the wheel with the thorn down first.
This is a special plastic tape that is inserted between the inside of the tire and the inner tube.
The meaning of her work is that a thorn or a nail, punching through the tire, abuts against the anti-puncture tape and does not reach the camera.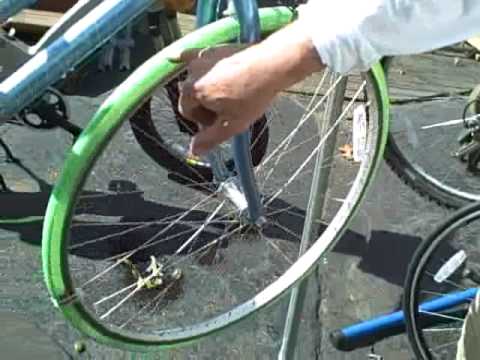
In some video review of such a tape, I observed an "iron" argument - that "it's all bullshit." The author of the video put the tape on the board, took a knife and pierced it through with a blow. To be honest, the argument is so-so ... A bulletproof vest can protect against a knife strike, but not a bicycle anti-puncture tape designed to protect against thorns and small sharp objects.
Such tapes are narrow - only for protection along the tread or wide - protecting, in addition to the tread part, also the sides of the camera. In my opinion, a wide band is better, since, in addition to more complete protection against cuts and punctures on the side, it also keeps better in the tire - it shifts less.
 This will simplify installation and, most importantly, minimize the likelihood of rubbing against its edges of the camera inside the tire while riding.
 And one more thing. Do not confuse anti-puncture and rim tape.
These are different tapes, and they protect the camera from two opposite sides. Anti-puncture - from the tire side, and rim tape, it is also called flipper, from the sharp edges of the spokes and spoke holes from the rim side.
This is a tubular insert for tubeless and regular tires.
It is inserted into the tire, along the entire circumference of the wheel.
After inserting the Air-liner into the wheel, it is pumped up with air and in this state is installed on the bicycle. If the wheel breaks, the Air-liner will keep its shape and allow you to get to the place of repair normally.
This insert weighs, depending on the wheel diameter, from 160 to 220 grams.
American startup Nexo North America offers another option for "indestructible" wheels: Ever Tires and Nexo Tires. The idea is that there is no air inside these tires.
The Japanese company Bridgestone has been working on airless wheels for cars since 2011, with the expectation that the same technology will also suit cyclists.
I don't know how practical this is, I haven't tried it. There is a suspicion that such wheels are unlikely to appear in our country in the near future, and even automotive corporations have not yet found an alternative to air in the wheels.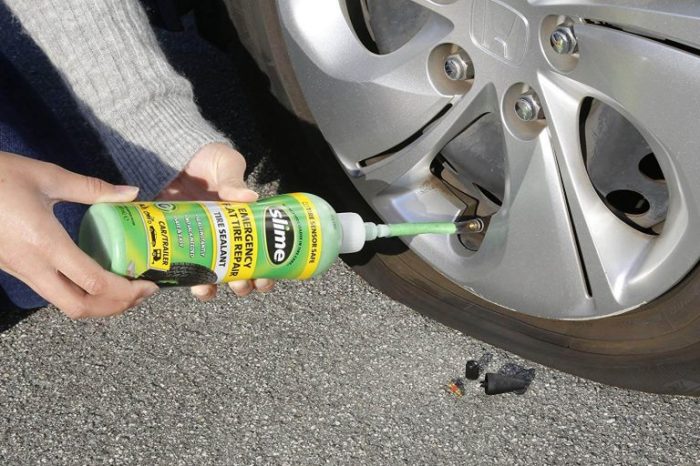
Continuing the topic with airless wheels, it is interesting to bring another engineering idea of the last century with impenetrable wheels. This is the so-called "spring wheel". They tried to use it not only for bicycles, but also for cars during the First World War.
Of course, there are many ways to protect against a puncture, but two options can be recommended for everyday trips of an ordinary cyclist:
Even better is a combination of both. Then you can safely drive along our roads, parks and forests. But, with all this, do not forget to carefully look under the wheels!