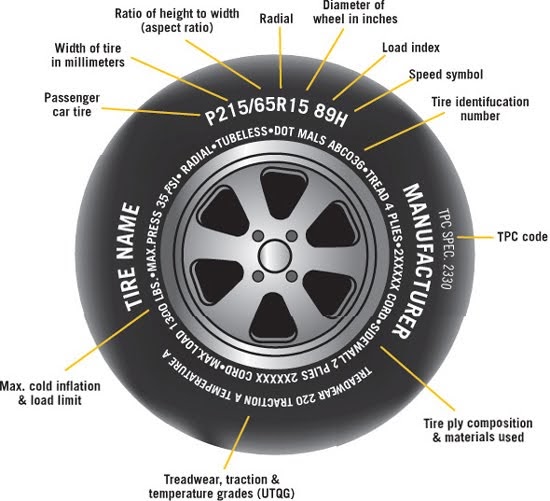
Self-mounting tires can be cost-effective, particularly if you have access to tire mounting equipment. With nothing more than a pry bar and a lot of work, you can install your own tires at home. After mounting your wheels and tires, it is strongly advised that you get them balanced at an auto repair shop.
Before you begin, make certain that you have the correct tire and rim size; for example, an 18-inch wheel will accommodate a tire that measures 18 inches. In order to avoid having to change your tires on a regular basis, it is advisable to invest in tire-changing equipment. Make sure you have the following items within easy reach at all times. Basically, all you need is two 4-foot pry bars, preferably with flat ends for tire removal, and a pair of pliers. A tool for separating the tire bead, a rubber hammer, and a tool for extracting the core from the valve stem.
Using A Tire Mounting MachineBefore anything else, remember to be aware of essential safety measures when removing and mounting tires on rims. Tires may explode if specific elements are missed. Always use tires that are the correct size and structure for the wheel. Verify that the wheel diameter matches the tire sidewall. Never seat tire beads at 40 PSI. Never overinflate a tire once the beads are placed.
Apply much tire bead lubricant to the tire beads and the rim. Tire lubrication is available at your local car parts store. To make it simpler to seat the tire on the rim to be inflated, spray the tire lubricant generously onto the inner lip of the tire (referred to as the bead) as well as the outside edge of the rim.
If your lubricant comes in a jar rather than a spray bottle, use a cloth or wooden dowel to apply it to the same edges. Don’t use soapy water or automotive grease for lubrication. Dish soap does not provide adequate lubrication, and grease can be exceedingly difficult to remove from the wheel. Bead lubricant is slippy, yet it dries and allows the bead to set.
If there isn’t already a valve stem connected to the wheel, you’ll need to attach one in order to inflate the tire after it’s been attached to the wheel. There will be one hole on the inside of the rim that will run all the way through to the outside. From within the rim, insert a valve stem that has been cut to fit through a hole on the exterior. Next, using pliers, pull the stem through until it is firmly in place.
A little amount of tire oil added to the valve stem will also aid in the passage of the valve stem. The shape of the valve stem prevents it from going all the way through or popping out in any direction other than backward, so all you have to do is make sure it’s pulled into the hole and seated properly before continuing.
Step 3: Mount the tire to the rimInstall the tire with the help of the machine. Then, remove the wheel from the machine mounting. Attach the rim to the tire machine using the provided tools. For processing the rim, the tire machine is set up such that it receives it with the rim facing up. Place the rim on the machine and, by pressing the proper pedal, activate the hydraulic press that holds the rim in place from underneath the machine.
The majority of tire machines are equipped with two pedals: one for activating the press and another for rotating the rim. If you’re not sure which pedal controls which function (or if your machine doesn’t have one), see the tire machine owner’s manual or the manufacturer’s website for further information.
Step 4: Placing the tire over the rim at a 45-degree anglePlace the bottom edge of the tire beneath the top edge of the rim on one side, with the tire resting at a 45-degree angle to the rim. The tire should be able to sit on its own without falling loose from the rim at this point. Preparing the mounting arm to glide into the angle gap by starting with one bead beneath its edge and allowing adequate space for it to glide into the angle gap is essential.
Position the mounting arm so that it makes contact with the rim’s outer edge in the same place as the tire has previously been positioned to pass through the opening in the mounting arm. If you are unable to get the mounting arm in at this stage, you should re-adjust the tire to provide yourself with adequate space. Due to the fact that the mounting arm works like a pry bar, pushing the remainder of the tire over the rim’s lip, it must begin at the point where the tire has already crossed the lip.
Step 6: Directly point the bottom bead of the tire towards the mounting armMake sure that the bottom bead of the tire is pointed directly towards the mounting arm. It may be necessary to gently adjust the tire after the mounting arm has been secured in place so that it makes contact with the arm while the wheel and tire are spinning. In the majority of cases, no modifications are needed at this point but double-check to ensure that the correct angle is being used.
Configure the tire such that the arm pushes the lip down and over the rim’s edge when the tire is rotated. A common occurrence is that the angle at which the tire rests on the rim to allow for the mounting arm is already at the proper angle. If the tire begins to slide off the rim, it indicates that the tire is not properly aligned.
Step 7: Rotate the rim and tireBy pressing the pedal, you may rotate the rim and tire. As the two rotate, the mounting arm will push the tire’s bottom bead over the top edge of the rim, causing the tire to deflate. Repeat the process until the two have completed one complete round and the bottom bead of the tire has extended fully beyond the top lip of the rim.
The tire will seem to be half-installed after you’re done, with the bulk of the tire resting on the rim of the wheel. The top bead of the tire will be the only thing that stops the tire from completely settling onto the wheel while driving.
Step 8: Adjust the mounting armReposition the mounting arm such that the top lip of the tire is guided onto the wheel rim. As previously said, push one side of the tire down with your hands until it dips below the top lip of the rim, then lower the mounting arm into the gap you’ve created with your hands by pressing the tire down. It is possible that you may need to use a pry to push the tire’s top bead onto the rim’s lip at that point. As soon as the mounting arm is fully lowered into place, the tire will begin to sit at an angle once again.
To rotate the tire and rim, press the pedal a second time. In this position, the mounting arm will push the tire’s upper bead against the rim’s lip as the wheel and tire rotate. After completing one complete circle, both the upper and lower beads of the tire will have gone over the rim’s upper lip. The tire is now firmly connected to the rim and just needs to be inflated to complete the installation.
Step 10: Inflate the TireInflate the tire with the use of an air compressor. Make sure your hands and clothes are far away from the tire before connecting the air compressor line to the end of the valve stem you previously installed.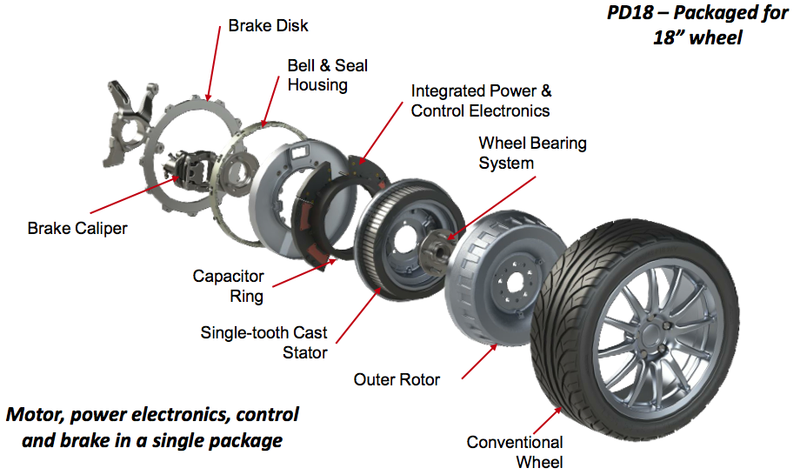 As soon as the airflow is initiated, the tire will quickly inflate.
You have to be careful though as any portion of your body or clothing that becomes caught between the tire bead and the rim’s edge will get compressed when the tire expands during inflation. Once the tire has been inflated to the proper air pressure, it is ready to be mounted.
Mount Tires To Rim By HandWhether you want to save money or do it like a do-it-yourself job, you will be relieved to hear that tire installation can be accomplished with your own hands and the proper equipment. Here’s what you’ll need to bring with you: lubrication for tires, a pair of pliers, a pry bar or a screwdriver, a clean piece of cloth, cardboard, and an air compressor.
Step 1: Insertion of the Valve StemIf there isn’t a valve stem already in place, insert one. Prepare the valve stem by lubricating it with a little amount of tire lubricant and pressing it into the hole on the inner part of the rim that will later be covered by the tire.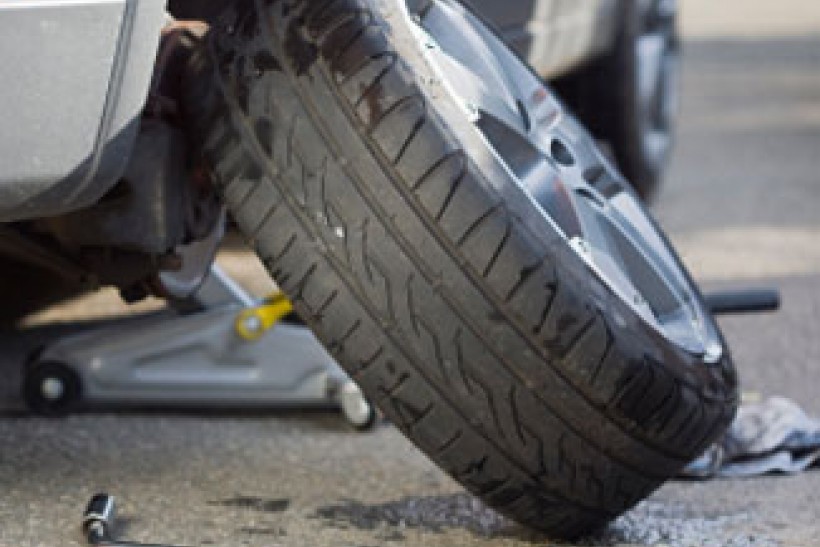 Pulling the valve stem outward from the hole with a pair of pliers will be your next step. Note that it is important to pull the stem until it is firmly lodged in the hole in the rim of the jar.
Ensure that the tire bead and rim are lubricated. Even while tire lubricant is essential when mounting tires with a machine, it is very important when mounting tires by hand. Lots of lubricants should be applied to the inner bead of the tire as well as the outside edge of the rim. Apply the lubricant using a spray bottle or by hand. Inspect and reapply lubricant to the top and bottom beads of the tire as well as the whole edge of the rim to ensure that they are both properly greased.
Step 3: PositioningPlace the rim flat on the ground and the tire on top of it to complete the installation. In order to prevent scratching the surface of the blacktop or concrete you’re working on, put a piece of cardboard underneath the wheel. Make certain that the surface on which you are working is level, even, and sturdy.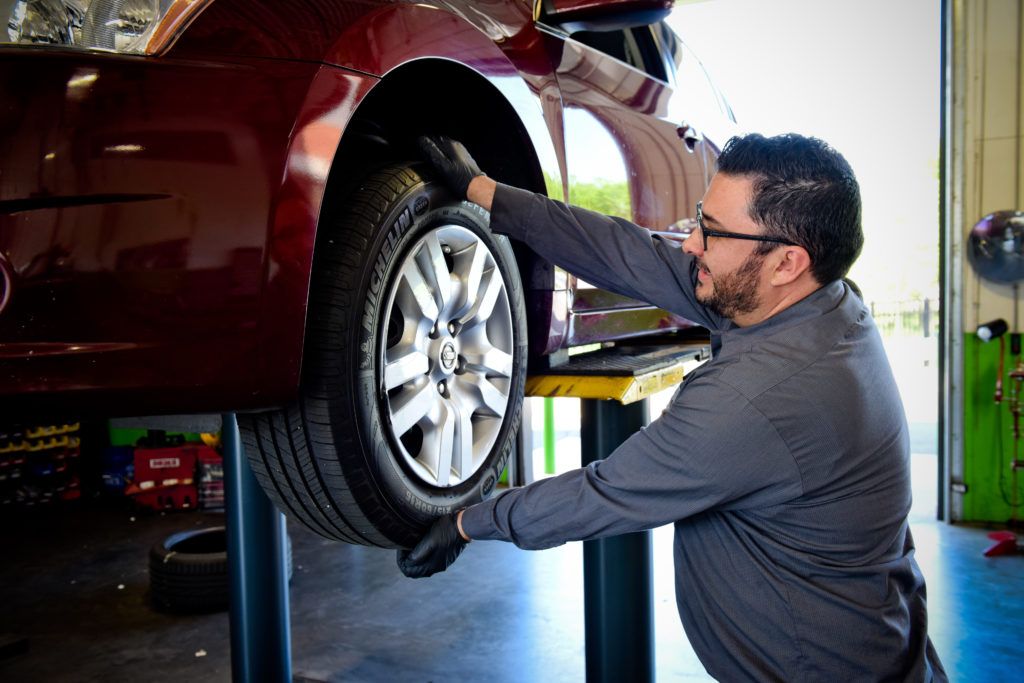
Step on the tire with both feet in order to push the bottom lip of the tire on the rim of the vehicle. As you step up onto the tire on one side, ask the assistance of a buddy to keep you balanced. Then, using your other foot, push down on the opposite side of the tire to drive the bottom bead of the tire down over the top lip of the rim and into the wheel well.
It may be necessary to jump a little in order to provide sufficient downward power to drive the tire bead over the lip. You should not do this without a buddy to assist you with balance, otherwise, you may fall.
Step 5: Adding a Little More LubricationIncrease the amount of lubricant applied to the top bead of the tire and the rim. Once the bottom bead has been placed, the true difficulty will be in getting the top bead to do the same. More lubrication should be used to assist in forcing the rubber down over the metal to make it a little simpler. The bottom bead will not need any more lubrication.
On one side of the tire, press the top lip of the tire down onto the rim. The tire should be angled downward such that one section of the top bead is down below the rim’s edge. If the tire doesn’t quite make it over the lip on its own, you may press down on the bottom part of the tire.
A pry bar will need to be able to slip into the gap between the tire’s top bead and the upper lip of the rim so you’ll need to create adequate room between the two. It is possible that you may need to use the pry bar to make the opening. If this is the case, be sure to leave it in place after you’re finished.
Step 7: CompletionUsing a pry bar, push the tire’s lip over the remainder of the rim until it is secure. Move around the wheel, pushing down on the tire with your hands and prying the bead of the tire over the top lip of the rim with your other hands as you go. This will require a significant amount of effort, but it should be completed by the time you have completed one complete round of the wheel.
Press the pry bar into the bottom side of the top lip of the rim, making sure it does not damage any exposed metal on the rim’s surface. When you’ve finished going around the wheel, both the top and bottom beads of the tire should be fully beyond the rim’s lip, as seen in the picture.
Step 8: Filling The New Tire with AirWith the help of an air compressor, inflate the tire. The tire may be inflated by attaching an air compressor to the valve stem once both beads of the tire have passed the rim’s lip. Be careful not to get your fingers or clothes caught in the tire bead while the tire is inflating. After the tire has been properly inflated, you may proceed to the next one.
ConclusionWhether using tire mounting equipment or doing it manually, the process of putting the tire back on the rim will require some elbow grease. However, the process will get easier on the proceeding tires you’ll figure out what workaround works best.
Just always be cautious in inserting the bead breaker, or you risk damaging both the sidewall and the rim of the tire. Lastly, make use of the proper quantity of lubricant; neither too little nor too much is recommended.
It sounds like a tough job. How do you remove and replace a car tire on a rim? But, if you own a bicycle, you may be familiar with the process because its just about exactly the same.
The main difference between changing car tires and bike tires that are on rims is how easy the bike tire is to work with. While you can more or less twist the bike tire on and off with minimal tools and effort, removing the tire of a car, in the same way, might seem impossible.
That seeming impossibility disappears quickly when you arm yourself with the right removal tools for the job. And when you do, you can save money by swapping your winter tires for summers, and vice versa. Here are the steps to follow to change an automobile tire on a rim.
 If you plan to regularly change your tires, it is worth investing in tire changing tools which you can find at Canadian Tire, Walmart and even on Amazon.
  You must break the bead on both sides of the tire.
 The idea is to get the entire section of the tire between the pry bars over the outside edge of the rim. When you do, it should be easy to pry the remainder of the first edge of the tire over the edge of the rim.Turn the tire and wheel over. The edge of the rim should be outside the edge of the tire. Lift the rim until its bottom edge hits the top edge of the tire. Similar to how what you did on the first edge, get one pry bar into place between tire and rim and use the other to work around the tire.
You may still need to get the wheels balanced at an auto body shop, tire shop or service centre. But at least you won’t be paying for the entire job.
If you enjoyed this post, check out our recent article about how to boost a car.
This entry was posted in DIY, News, Tips. Bookmark the permalink.Category: Operation and maintenance
Article reading time: 4 minutes
Save to bookmarks
The article provides information on the correct installation of tires and the features of the direction of the tread.
A tire is a multi-layer shell of complex design that is attached to the wheel rim. The shock-absorbing part is rubber or polymer, with a printed pattern, which, as a rule, indicates the direction of rotation of the wheel. The pattern is applied to the protector.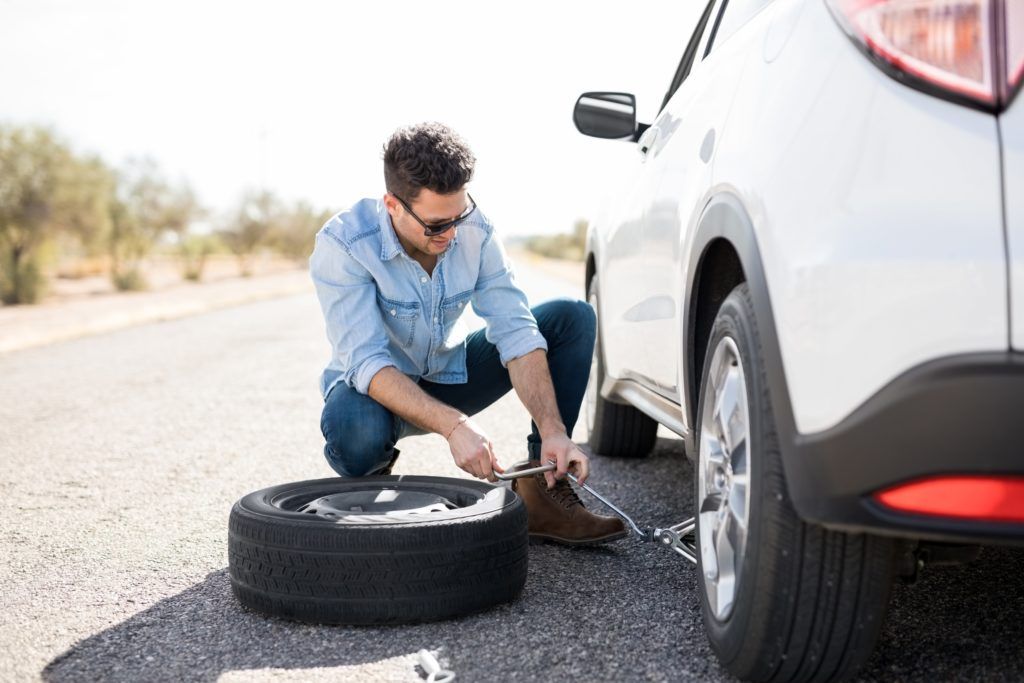 The tread is the working area that creates the grip of the car with the road. nine0003
Tires are classified according to the following criteria:

Understand! Universal in reliability while driving are inferior to specialized ones. The directional ones provide better grip on wet roads at high speeds. If you correctly determine the direction behind the rotation of the wheels, the effect of aquaplaning disappears, which guarantees good rubber grip in puddles. nine0003
Rubber design features are distinctive features that improve the driving characteristics of the vehicle. It is important to understand them for the correct choice of replacement rubber.
Tubeless, long lasting elasticity in case of puncture. The rubber tightens around the stuck object. It does not overheat during movement, due to heat removal by the open (metal) part of the rim. In contrast to the chamber one, there are increased requirements for rims, the need to apply additional sealant at the junction of the rim and rubber, and the complexity of installation. Tubeless are used more often, properly mounted - high wear resistance. nine0003
The difference between bias and radial tires can only be correctly identified by the markings. Radial - r. Diagonal - do not have a letter index. You can understand the marking of the diagonal ones by the presence of the designation TT - operation with a camera. Those who care about speed need to understand the differences.
Winter Drive protection
Tires Goodyear UltraGrip Arctic 2 SUV
Winter Drive Protection Sound Comfort
Rating:
4.5
Tires Goodyear UltraGrip Ice 2
Tires Goodyear UltraGrip Performance+ SUV
Tires Goodyear UltraGrip Arctic 2
Winter Drive Protection Run On Flat Sound Comfort
Tires Goodyear UltraGrip Performance+
Tire tread provides traction. You can determine by the tread:
Asymmetrical tread pattern is larger on the outside. Do not purchase with even the slightest difference in the pattern - the tires rotate with a minimum lag - uneven grip with the roadway. Especially important for the highway, sharp descents. nine0003
Before determining the direction of a tire, it is important to know that Goodyear's tire direction marking for an asymmetric pattern is: LEFT; RIGHT - right; outside - outer side, inside - inner. install tires on the car according to the pattern on the tread or arrow. If symmetrical - navigate along a symmetrical pattern, its direction must coincide with the direction of movement of the wheel. If you need to install in the direction - the correct designation is ROTATION - rotation. nine0003
How to find out the direction if there is no marking - herringbone pattern? Rotate the tire in both directions - the top of the "herringbone" should be the first to touch the road. This is the correct way to install a wheel without marking the direction of rotation.
Recently, manufacturers have switched to symmetrical wheels, as it is impossible to know which one will fail. Correct replacement scheme:
It is also worth understanding that it is impossible to use anti-corrosion agents for processing fasteners on the road - imbalance. You can recognize the accuracy of balancing by the absence of knocking. In the same way, you can find out the correct installation. nine0003
Correct setting is not possible without rotation balancing on a special machine. Installing a tire without a tube is impossible without the appropriate equipment. It is important to understand that it is impossible to put rubber from different manufacturers on 1 vehicle - non-uniform depreciation is the result of suspension knock. You should not save on carrying capacity and elasticity, replacing the chassis will cost more.
Article author: The Goodyear team
Related articles
nine0002 Tire speed and load index, interpretation
(
Updated:
05/12/2022
)
Tire tread pattern, types, which one to choose
(
Updated:
05/12/2022
)
Rating of summer tires for crossovers 2019
( nine0003
Updated:
05/12/2022
)
What tire pressure should be
(
Updated:
05/12/2022
) nine0003
Tire side cut: can it be repaired
(
Updated:
05/12/2022
)
Goodyear 9 wear resistant summer tires0003
(
Updated:
05/12/2022
)
Even at the dawn of the automotive industry, when car tires were made of natural rubber, which melted in the sun and tanned from frost, designers and manufacturers thought about something more perfect.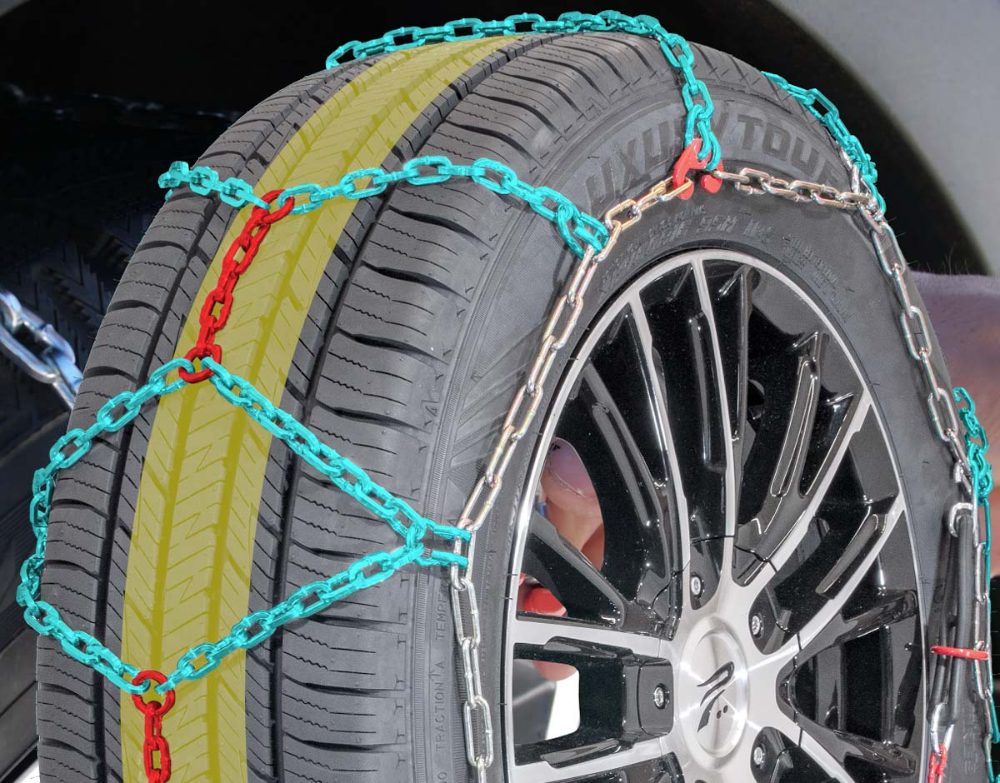 After all, such tires are not far removed from the wheel on a horse-drawn cart. As a result, technologies have developed, oil processing methods have improved, times have changed. nine0281 In 1927, among other things, the Soviet scientist Sergei Vasilievich Lebedev, synthetic rubber was obtained, which became the progenitor of the material of modern tires. But such a material did not become a panacea, in addition to the rubber itself providing high performance properties for tires, the shape and profiles of the tire were also important. Subsequently, the tire treads became flat, in order to provide a large area with the road, which means stability on the road. In addition, they have a protector. At the same time, in some cases, the tire tread required a certain installation of tires, according to their rotation. It is about these very installation cases, as well as what will happen if the tires are installed incorrectly, that we will describe in our article. nine0003
If you pay attention to the tread of tires that drive around your city, then most attentive people will surely see that tires are different. In one case, the tread pattern is like a checkerboard, just squares, in the other there is a strict direction, relative to the transverse axis of the wheel, and symmetrical. And, in the end, the orientation relative to this axis is asymmetric. That is, we can say about the banal, very well-known fact that tire treads are: directional and non-directional. Moreover, the welded tire tread can be symmetrical or asymmetric. nine0003
(Classification of the type of tires based on the type of tread)
So why do manufacturers bother to make this pattern, what role does it play when using tires? After all, all this is clearly not only for the sake of beauty.
We'll start with the case where the tread is non-directional. In this case, there is no need to talk about the correct installation of the tire, regarding where it should rotate. One way or the other, it doesn't matter. Another thing is when the protector is directional. nine0281 For a car enthusiast - an average person who does not want to delve into the essence of the matter, everything is simple. Look at the marking on the rim "ROTATION", which translates from English as rotation, and put the tire on the car in accordance with the rotation of the wheel in the direction of the car moving forward.
...or "outside" marking...
In this case, the rim with this marking must "look" outwards. Marking for asymmetric tread pattern.
In fact, there are a lot of different markings on the tire. If you are interested in them in full, then you can learn about them from the article "Car Tire Marking". nine0003
For those who want to know why a tire should be stabbed this way and not otherwise, and what an incorrect tire installation can affect, we will tell the following.
The direction of the tread on the tire is designed to remove liquid, dirt, slush from under it, that is, everything that has a low viscosity. At the same time, this withdrawal is necessary in order to avoid the so-called hydroplaning effect. That is, to prevent the loss of contact between the road and the rubber. Why this very contact is needed, we will not explain. Let's talk about how the directional tread removes all this from under the contact patch of the tire with the road. nine0003
This is a long story and explanation. But it is better, as they say, to see once. We made a gif especially for you. Take a look.
Essentially the tread works like the vanes on a centrifugal pump when it pumps water, except that the driving force here is not centrifugal force, but the force from squeezing water into the grooves of the tread. The force is generated each time the tire hits the fluid it is supposed to expel. So water, dirt, wet snow is squeezed out into the groove and discharged outside. The wheel rotates further, and new water is again squeezed out into the groove in the direction of the car. Due to the removal of this "grease", the contact between the tire and the road is improved, which entails a safer ride. It's all so simple and logical. Here I want to talk about the direction of the drawing. As we have already said, you can pay attention to the ROTATION marking, or you can look at the picture. nine0003
(the tire is installed correctly)
So, the tread grooves should always move away from the contact patch of the tire with the road towards the rear of the car, when viewed from above on the wheels on the left. And the opposite situation for the wheels on the right. In this case, you can not look for the markings on the rim. I looked at the tread pattern and put a tire on the car according to the pattern.
Here everything is according to the logic of what is happening, but in reverse order. If everything under our wheels (dirt, sleet, water) is more difficult to squeeze out, since the grooves will be directed to the intake of all this environment, then in fact it will turn out that excess pressure will form in the center of the tire, in the contact patch. It will try to raise the tire, which contributes to the deterioration of rubber grip. By itself, this is not safe. nine0003
However, if we talk about a dry road, when there is no water on the street, or it is frosty and just snowing, then the presence of such grooves that drain water, slurry, in fact, does not oblige to anything. Also, such grooves will not affect the situation with limited speed, about 5-20 km/h.
So, the direction of the tread grooves on the tire was invented not just for beauty. If they are, then it is better to use them. The directional grooves of the tread contribute to the removal of fluid from under the wheel and thereby improve the contact between the rubber and the road. Therefore, pay attention to the correct installation of the tire. When installing a tire, you need to pay attention to its tread. At the same time, such a statement applies not only to the one who puts an already collared wheel on the car, but also to mechanics who install the tire on the rim.