How to Mount ATV Tires
Mounting ATV Tires at Home
If you’ve been thinking about changing ATV tires or UTV tires at home, know that while it can be tricky the first few times because these tires tend to have stronger beads than on-road tires, it’s a pretty straight-forward process as long as you have the proper tools, and follow this step-by-step tutorial from the tire experts at Treadworld. Also keep in mind that air under pressure is potentially dangerous so take any necessary precautions. Balancing your ATV tires can be difficult and is likely not necessary unless you’re racing or engaging in high-speed ATV and UTV activities.
The Tools You Will Need to Change ATV Tires
Remove the wheel from the ATV
When mounting ATV tires at home, it’s best to start with your ATV on a hard floor like a garage. Loosen the lug nuts a little to make them easier to get off, then jack up your four-wheeler so you can remove the wheel.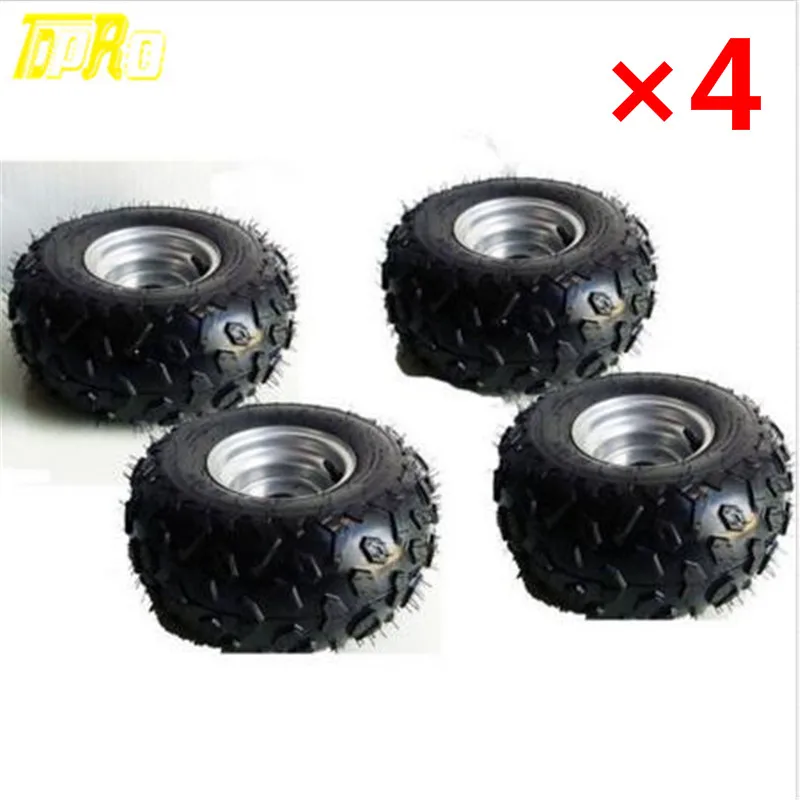 Consider getting the bolts off using a hand tool rather than an impact wrench, which can on occasion be powerful enough to snap a bolt.
Deflate the ATV tire
Remove the cap from the valve stem and release all the air in the tire using either a valve stem core removal tool which will remove the stem and is the quickest method, or a tire pressure gauge that has a notch on the side used to push in on the valve stem or a screwdriver, which will take longer.
Break the bead on both sides of the ATV tire
This is likely the toughest part of changing an ATV or UTV tire because the bead is set to the rim a lot more firmly with off-road tires, than with on-road tires. That’s because off-road tires are asked to do things on-road tires don’t, like ride steep slopes, travel rocky terrain and land jumps. First, here are a few details. The bead retainer is a small ridge that goes all the way around on both edges of the wheel rim. It is intended to keep the tire in place so that aggressive riding won’t result in it sliding and losing the air seal. The tire bead is on the edge of each tire. Essentially, it’s a strong steel reinforced loop around both edges of the tire. Many times, a bead sealer is used on the bead to further keep it from popping off. In a nutshell, with this step, you’re getting the bead off the rim so you can remove the tire.
3 options for breaking the bead on ATV tires at home
There are essentially three ways to break the bead on an ATV tire. Likely the easiest method is with a BeadBuster, a tool designed for the job that clamps onto the rim and forces a wedge between the rim and the tire. BeadBusters are quick, simple and offer less chance for damaging the tire than other methods. A quick look shows they currently sell for around $100 at online shops. A cheaper alternative is using another of the several available portable tire-changing tools, generally available at any hardware store or auto supply shop. Most models need to be bolted to the floor, or some other heavy object. If you go with this alternative, you’ll want to leave 3-5 PSI air in the tire to facilitate success.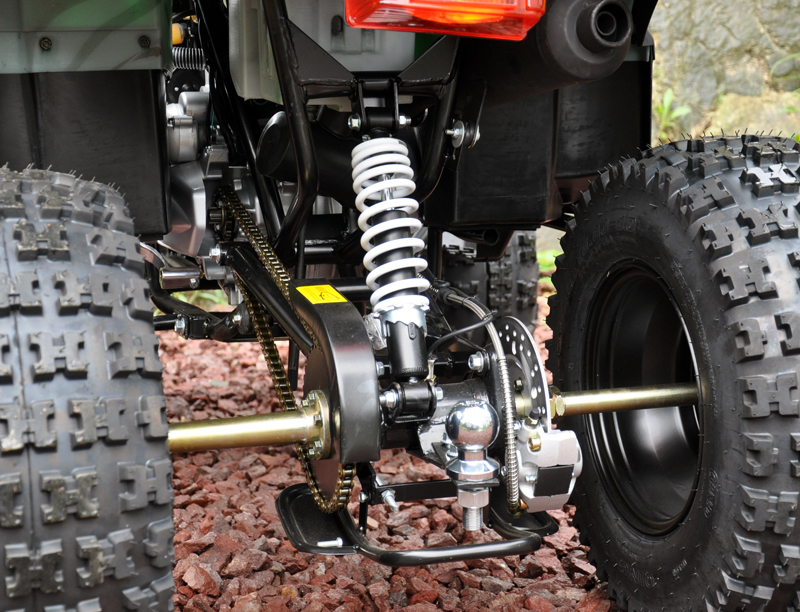 Finally, there is the DIY method, which involves your inventiveness. Start by putting soapy water on the bead to help it slide. Devise the best way to get the tire in position so you’ll be able to force the tire to break free of the bead. You may want to use a 2×4 set as close to the rim as possible to push the tire edge away from the bead. Then flip the tire and do the other side. Again, it may help to have 3-5 PSI of air left in the tire with this method.
Peeling the ATV tire off the rim
You’ll want to use tire spoons or large screwdrivers for this step. Place one of the irons between the tire and the rim, and lift a section of the tire over the rim. Using one tool, hold that section away from the rim, and use the other tool to edge the rest of the tire over the side of the rim. Continue with this process until the full tire is from the rim, then remove the tire from the wheel rim completely.
Clean the lip rim on both sides and consider a sealer
The better you clean the lip rim on both sides, the better your new tire will fit. Wash off any dirt and debris. Use a stiff brush if necessary. Remove any rust. To get a good airtight seal, you need the surface to be smooth. If your rim shows any signs of pitting, nicks or other damage, you’ll likely want to apply a bead sealer, which is a rubber product designed to aid in bead seating. You may want to skip the bead sealer if you don’t need it in order to make changing the tire in the future easier.
Clean and lube the tire bead on the new ATV or UTV tire
So that the rubber will slide easier, put commercial tire lube or some soapy water on the bead retainer on both sides of the wheel rim. You can also use a light coating of baby powder, but stay away from WD40 as it can deteriorate rubber.
Check to see if your ATV tire is directional
Tires can be directional or multi-directional. Directional ATV tires should be mounted in a certain way for best traction and optimal performance and safety, while multi-directional tires work in either direction.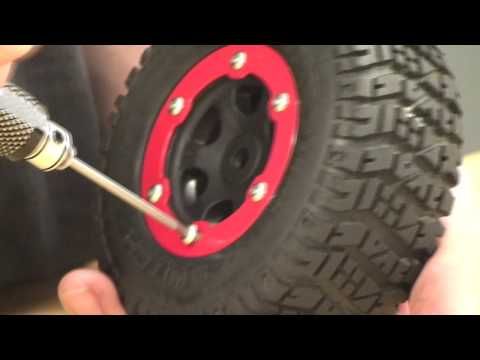 Some types of four wheeler tires are directional depending on usage, like ATV mud tires for example. Look on the tire sidewall for an arrow, which indicates the tire is directional and should be mounted with the arrow facing the direction of the forward rotation. Another way to tell is by looking at the tread. A tire with an aggressive V-tread is likely a directional tire and should be mounted so the tip of the V hits the ground first. Directional tires can be mounted on either side.
Pop the new tire on the rim and get it seated correctly
The next step is to get the tire seated and the bead lined up correctly. Start by putting soapy water or lube onto the wheel rim. With stiffer walled tires, place the tire on the garage floor then push the wheel into position. With tires that have a less-stiff wall, placing the wheel on the floor and positioning the tire may be easier. Push straight down with both hands to slip the bead of the tire over the lip of the wheel.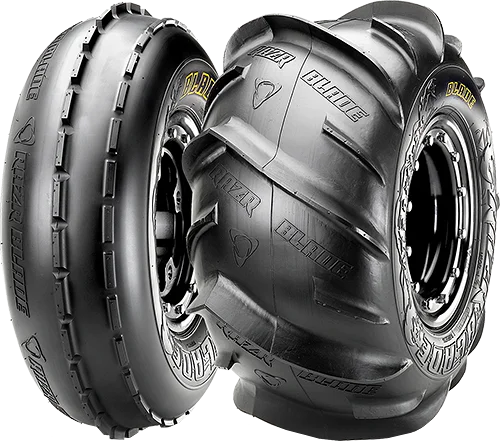 To get the second bead pried over the lip of the wheel, you’ll need to use your tire spoons, working your way around the tire until you have the entire bead pried over the wheel. To hold air, the tire needs to be firmly seated on the bead. At this point, be sure the tire is lubed up and begin using your higher-powered air compressor to put air in the tire. Don’t over inflate. The maximum inflation pressure should be stamped on the sidewall of the tire. The expectation is that as the tire inflates, both beads will seat themselves, as indicated by a loud “pop”, which should happen at a fairly low air pressure, 7-8 PSI. Once that occurs, let the air out of the tire. The beads will remain seated.
You may have difficulty getting the air into the tire fast enough to get the beads seated. That’s due to the gap that still exists between tire and rim. A good way to solve that issue is to tighten a ratchet strap around the middle of the tire, pushing the tire walls out towards the lip of the wheel on each side. Stop tightening as soon as the tire touches the tip of the rim. Then the tire should hold air because the gap has been closed.
Reinstall the valve stem and inflate the tire
Use your valve stem tool to reinstall the valve stem, then inflate the tire before capping the valve stem to keep it free of debris. Now you’re ready to reinstall the tire on your ATV, having solved the problem of how to mount ATV tires at home.
Find Master ATV Tires here. Big selection, fast shipping and guaranteed quality.
Here at Treadworld, we have the ATV tires you need for wherever your adventures take you. Our wide selection of Master ATV Tires and Master UTV Tires are the high performance tires you want, made from top quality rubber compounds, triple-tested for quality before being X-rayed to be sure they’re perfect, and covered by our Ultimate Advantage Warranty. Don’t hesitate to contact our tire experts via live chat or email with any questions you may have, and to get the ideal Master ATV tires for you.
There isn't a one-size-fits-all tire pressure that will cover various ATVs, terrain, and altitudes, so you need to know how to determine and maintain the tire pressure that works best for your ATV in different situations. Thankfully, it's not as difficult as it may sound.
You should check your tire pressure before and after each ride. Sometimes you should check it while you're out with your ATV too.
Tire pressure impacts the handling of your ATV and your personal safety, causing problems such as loss of control, lack of traction, increased likelihood to crash, susceptibility to punctures, and exploding tires!
Correct tire pressure also extends the life of your tires and other components of your ATV.
The most common tire pressure is 5-6 psi. That suits the average rider, on an average ATV, on average terrain.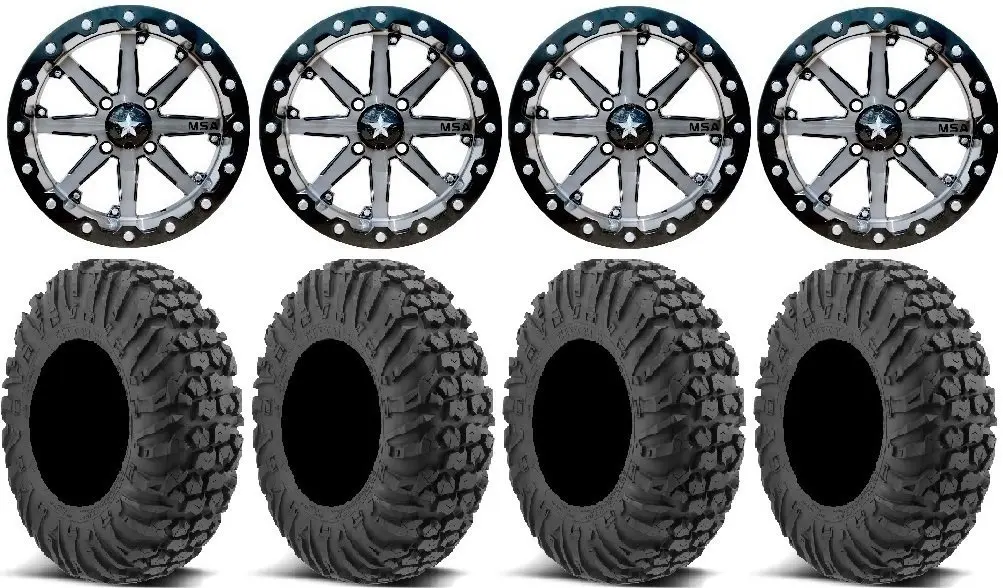 As low as 3 psi and up to 12 psi are common in different scenarios.
There should be a recommended tire pressure range written on the side wall of your tires. No matter what, do not exceed the highest number. You can and will probably need to vary your tire pressure depending on your needs, but don't fill them beyond that point. The tire could burst which would both ruin your tire and be very dangerous to you.
ATV are waterproof & breathable riding gear
Find out the items that suit your needs
Always make sure the tire pressure is the same per axle. You can have different tire pressures in the front and the back. Some people feel the need to have slightly less tire pressure in the back to optimize handling and, when racing, to compensate for increased tire pressure due to heating.
No matter what, both back tires and both front tires must always be the same to make sure the ATV handles correctly.
To complicate matters, tire pressure fluctuates with both changes in altitude and temperature. This means what works for you at one time of year or in one location might not work in another. It also means your tire pressure can be different on the trail than it is at home.
Be prepared. Your tires will likely tend to overinflate in the summer and tend to be underinflated in the winter.
The age of the tire also impacts its pressure. Older tires lose air faster, so be prepared for more frequent refills. If they don't seem to be able to hold air for more than a ride or two, they're not just old, they have a leak.
The right tire pressure is a range. Sometimes you need to be on a higher end of that range. 7-8 is a good average number.
You might want to increase your tire pressure when you're:
You might want to lessen your tire pressure, maybe even going as low as 3-4 psi.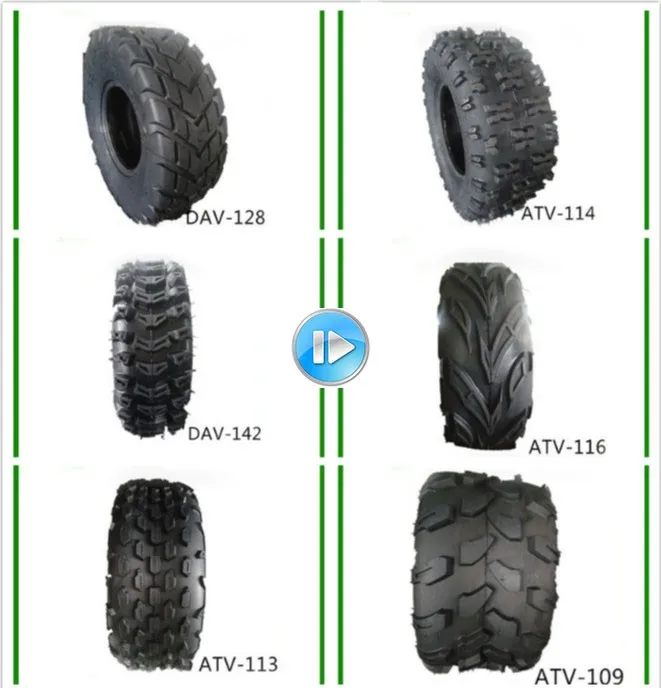
A lower tire pressure is helpful when you're:
You may be able to tell your tires are under or overinflated before you take the pressure gauge to them for a test.
Your tires are probably underinflated if your:
Your tires are probably overinflated if your tires spin excessively and struggle to grip on loose terrain.
Image from www.gameandfishmag.com
You need a tire pressure gauge made for an ATV that can accurately read changes as minute as one psi. You can technically use any tire pressure gauge, but the results won't be very accurate, so you'll have less control and more headache.
You also need a way to put air in the tires. A bike pump will work, but it's a pain. Most people recommend a portable air compressor.
Both the gauge and compressor need to be in your on-machine toolkit.
ENDURO Camogrey
the most durable
279 EUR
AQUAMASTER Red
reliability & comfort
677 EUR
ALL SEASON Black
62 EUR
SPEEDMASTER NEW Graphite
209 EUR
Explore all
The ATV community has grown significantly over the past few years. Accordingly, a lot of novice riders have appeared who are just “getting acquainted” with the technique. But buying an inexpensive ATV is only half the battle. It is important to understand the features of its operation. Therefore, let's look at one of the most common questions: what should be the pressure in the tires of an ATV?
According to statistics, 70% of beginner riders are injured due to non-compliance with safety rules and incorrect tire pressure.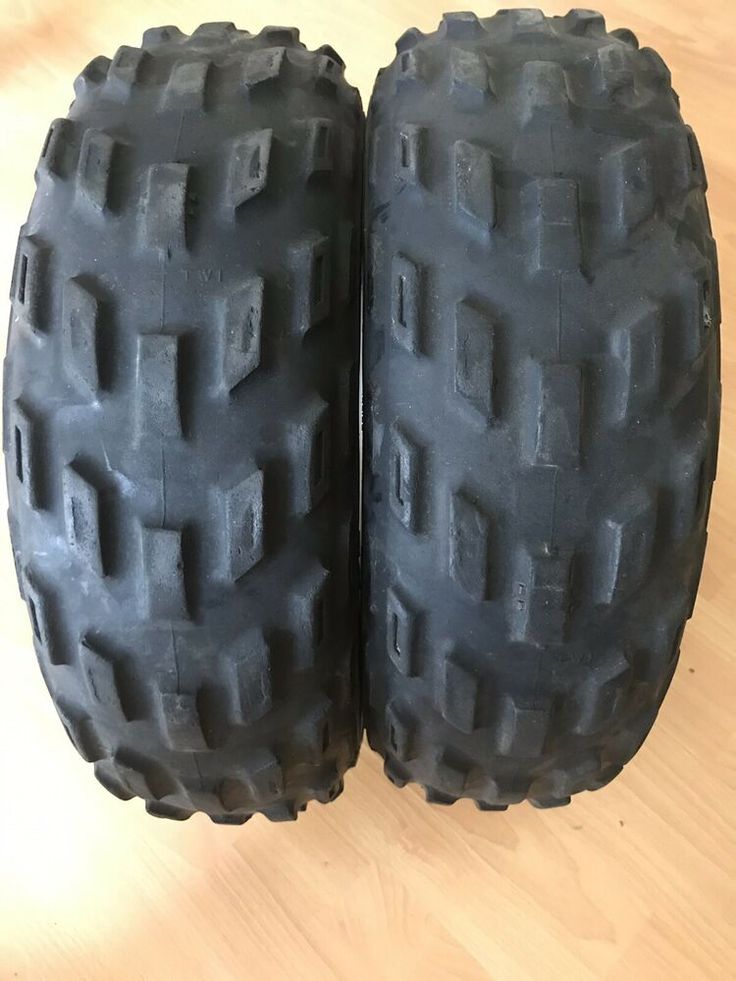 And this is not surprising, because you need to inflate tires based on the type of surface on which the ATV will be used.
How much pressure in the ATV tires depends on:
On your way you can meet a variety of surfaces: snow, sand, mud, concrete, asphalt, difficult terrain with bumps, etc. And the ride comfort depends on how inflated the wheels are.
To get started, look at the documentation of your device and study the manufacturer's recommendations. In most cases, companies advise keeping the pressure between 0.35 and 0.83 bar off-road and 1.1 to 1.5 for flat trails (asphalt or concrete). However, these are average figures and do not always correspond to reality. So what should be the pressure in the tires of an ATV?
Before leaving the garage, plan your route in advance. Thus, you will be able to choose to adjust the indicators. Experienced riders recommend maintaining:
Important: Never pump the wheels of the machine. If the readings exceed 1.5 bar, the stability and control of the ATV will decrease.
When servicing wheels, use one useful "life hack" that almost all experienced motorists know about.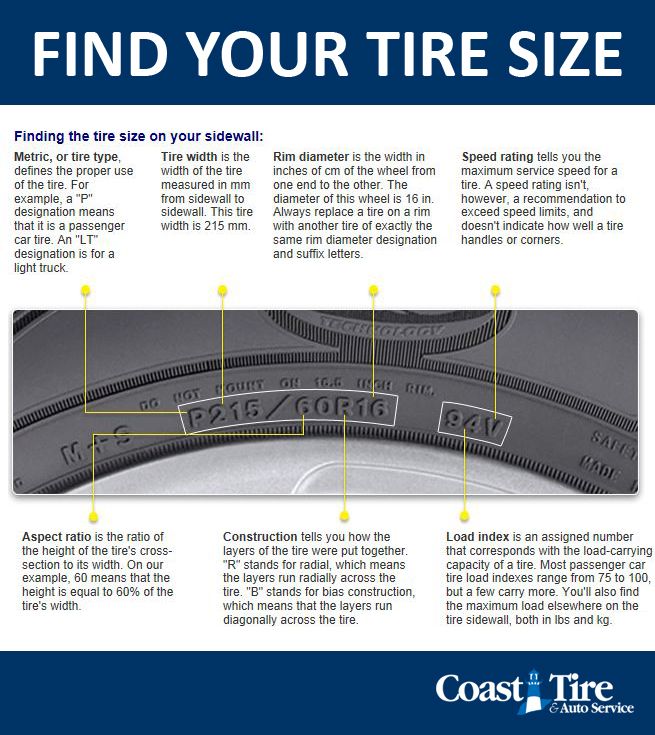 Inflate the rear wheels slightly more than the front ones. Due to this, you will improve the maneuverability of the device and make the ride more comfortable.
The amount of pressure in the tires of an ATV determines the duration of the "life" of its rubber. For example, when driving with lowered wheels, the “contact patch” increases, which is why tires wear out faster.
Overinflated wheels are also bad. If the "contact patch" is small, the sidewalls of the tire lose their flexibility, depreciation and grip deteriorate.
Finding the right tires is a difficult task as there are a number of parameters that a rider has to consider. Pay attention to the tread pattern, driving style, operating conditions, etc.
It is also desirable to understand the markings. For example, if the rubber has the letter “E”, then it is made in accordance with European standards. The numbers on the tire inform the rider about the country of manufacture. But if there is no country code, then it is a fake and the quality marking is not valid.
To choose tires for ATV you need to pay attention to:
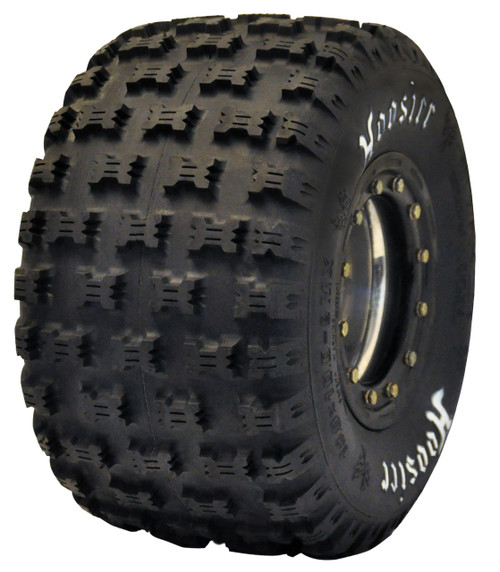
If you can't decide which tire to put on your ATV, look at the brand. Each manufacturer has its own characteristics. For tough off-road use, Maxxis tires are the best choice, while fans of flat roads should opt for the High Lifter. There are also inexpensive Chinese tire manufacturers, but such rubber will have to be changed 2 times more often than high-quality branded tires.
06/11/2020 9003
Tire pressure affects the flotation, stability, handling and smoothness of the ATV. Therefore, it is important to adhere to the optimal parameters, which depend on the type of coating and load. What pressure is recommended for CFMOTO ATVs - we will tell in the article.
CFMOTO indicates the recommended pressure in kilopascals (kPa). 1 kPa equals 0.0098 atmospheres (atm) or 0.145 pounds-force per square inch (psi). It is important not to confuse these units of measurement when inflating tires.
The recommended tire pressure for CFMOTO ATV is indicated in the instruction manual and on the machine itself in the area of the left rear fender.
Tires are marked with the maximum pressure they can withstand.
Low tire pressure improves off-road capability, allowing the ATV to sink less in mud, swamp, snow or sand. This is due to the fact that the contact patch of the tire with the surface increases, and the specific pressure on the ground decreases. In addition, poorly inflated tires are less “blurred” with dirt, more easily leave the rut and roll over obstacles such as trees, stumps or large stones lying on the road.
Most CFMOTO ATVs are equipped with ANCLA tires, the normal pressure of which, according to the manufacturer, is 45 kPa. This is sufficient for off-road routes. A reasonable lower limit is up to 35 kPa. It is possible to bleed even more air only if there are beadlocks - devices that securely press the tire to the side of the disk.
All-terrain vehicle tires with a car seat must have a higher pressure - from 70 kPa, the exact parameters depend on the model.
If the pressure is too low:
It is best to inflate your tires before long trips on asphalt or other hard surfaces. This will increase stability and control in corners and on a straight line - due to less deformation of the rubber. In addition, the tread will not wear out as much.
The pressure should also be increased when transporting a heavy load and a passenger.