When you purchase through links on our site, we may earn a commission at no additional cost to you. Learn More
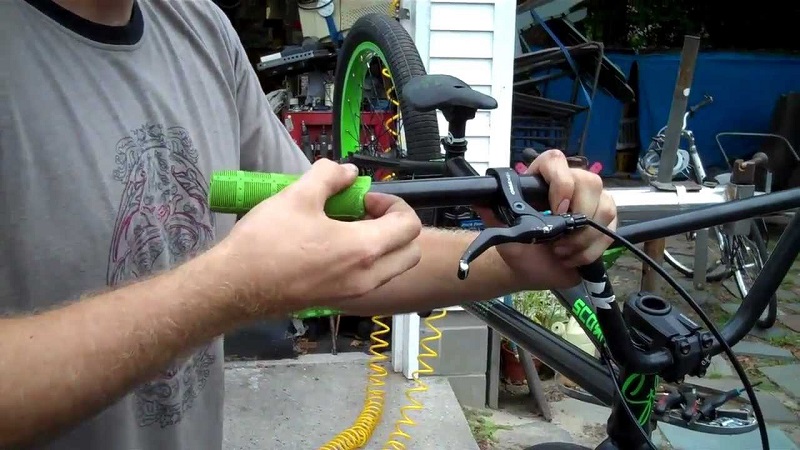
When handlebar grips wear out or become loose, you might as well cut them off as they are not worth keeping. But from time to time, it can be necessary to remove the grips without destroying them.
This post will cover three methods that may help you take off the grips on one piece. Most of them require tools and supplies you would typically find in most homes.
By knowing how the grips stick to the handlebar, you’ll better understand how to remove them.
Removing handlebar grips without removing them is not always easy, and you may need to try several methods before you hopefully succeed.
The first method works great with dry-fitted grips, while you may need to use one of the latter methods if the old grips were installed using an adhesive of any kind.
To use this method, you will need an air compressor with a hose and air blower nozzle. This is how you do it:
You need a small gap to get the nozzle of the air blower in between the handlebar and the grip.
You can also try poking a small hole at the end of each grip. Some grips come stock with holes for easy installation and removal.
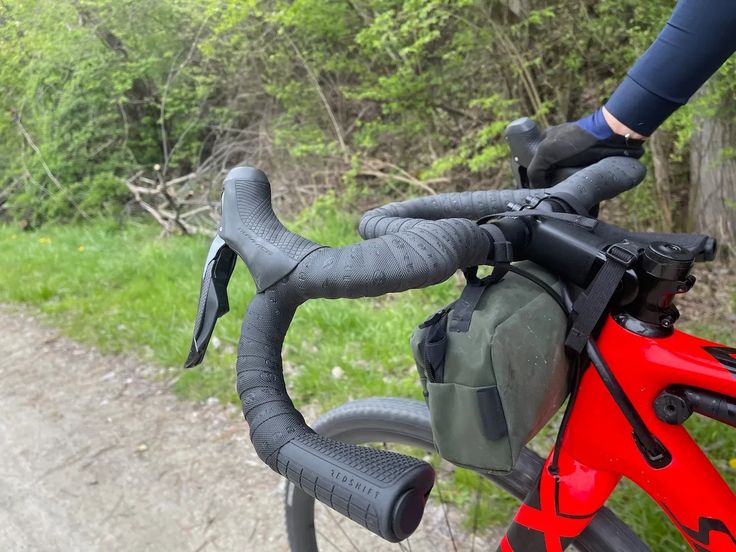
This method works with most grips, at least the ones that are not glued in place.
However, if you don’t have access to compressed air or are struggling with a stubborn adhesive keeping the grip in place, the next method may be just what you need.
When the grips are held in place with an adhesive like any glue, spray paint, or even hairspray, you need to break the bond before the grip moves.
Your best bet is using a solvent as this will not only dissolve the adhesive it also acts as a lubricant, making it easier to slide the grip off the handle.
Another benefit of using a solvent is that it will evaporate without leaving any residue, and when you are done, there is no need for cleaning.
If you don’t have access to a solvent, there are some less effective options you can try:

You will also need a flat object to pry between the handlebar and the grip. Here are a few options:
Lean the motorcycle against a wall, or park the ATV sideways on a slope. This will make it easier to pour solvent to flow along with the handlebar and inside the grip.
Wedge the screwdriver or whatever flat object you have at hand between the grip and handlebar to create a small gap. There is no need to push the screwdriver too far at this point. You need only a small gap to allow the solvent to start entering behind the grip.
Tip: Depending on what glue was used to glue the grips in place, try heating it using a hairdryer as this may make the glue less adhesive. Do this before you add a flammable solvent.
If you use an alcohol-based solvent or water, feel free to use as much fluid as you need as the leftovers will evaporate when you are done.
However, if you use WD-40 or vegetable oil, keep in mind that everything needs to be cleaned thoroughly before installing new grips.
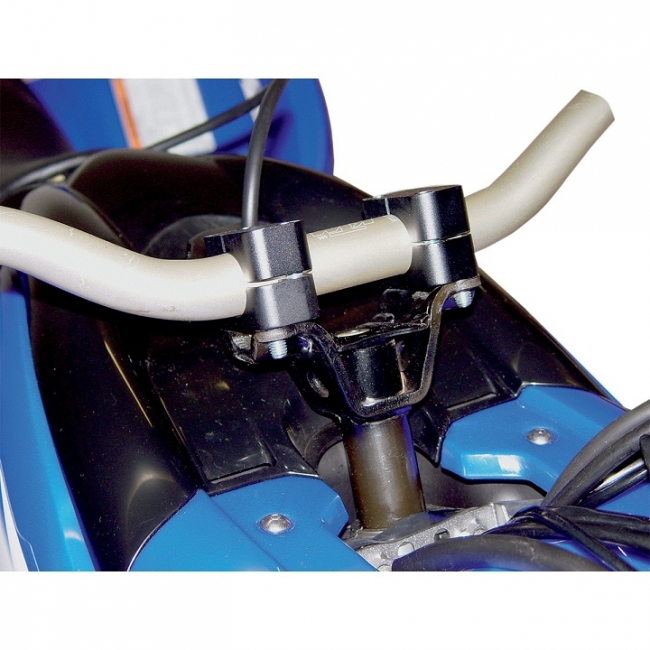 Eventually, the grip will come undone, and you’re able to slide it off.
Sometimes when the grips are glued solid to the handlebar, you may not be able to pour solvent in between the grip and the handlebar.
As a last resort, you can try using a basting syringe/marinade injector to inject the solvent.
These types of syringes are sold at any kitchen supply store. Similar syringes are used in golfing to remove rubber grips from golf clubs.
If neither blowing compressed air or using a solvent like a contact-cleaner won’t make the grip come loose, you may need to cut it. Use a razor blade or a box opener and gently along the grip’s entire length from top to bottom.
Make sure to not cut through the rubber as it may damage the plastic inner layer or heating elements if your bike has them.
Most ATV grips are ⅞ inches in diameter on both sides. Unlike motorcycles, ATV grips are the same diameter on each since they use a thumb throttle instead of a wrist throttle.
The grips on your ATV or Dirt Bike are not designed to last forever. In fact, depending on your riding style, your grips may not even last one season before they need to be replaced. And doing so isn’t easy! There are certain things you can do however to make this process simpler and ensure that the grips don’t spin of slide off. Below is a list of my 5 favorite methods for installing your new ATV or Dirt Bike grips. If you are still unsure about what type of grips you want, check out my post about the Best ATV Grips and Best Dirt Bike Grips.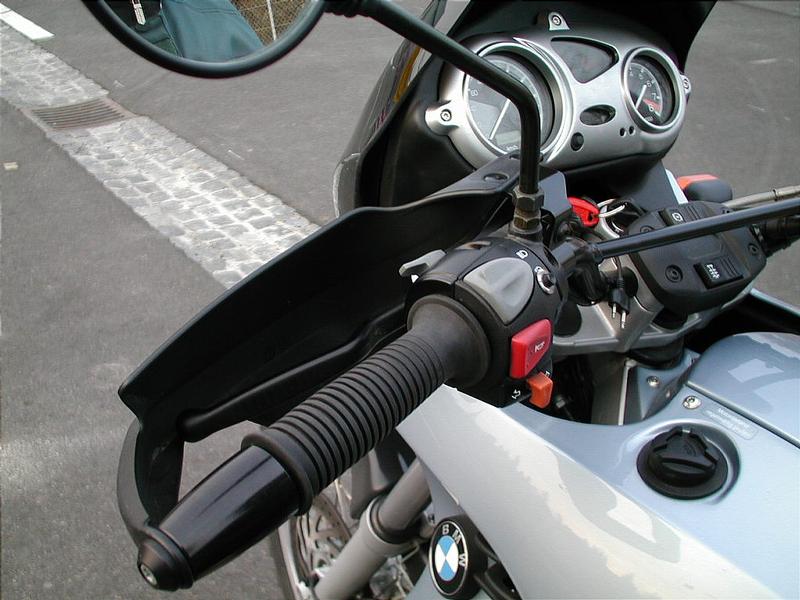
1. Carb Cleaner
If you go the route of a rubber slide on grip, the toughest part of changing them out is sliding the new grips on. Because of the thin rubber, they want to fold when pushing them on and you can’t use a hammer to push when they get stuck. Using carb cleaner to lubricate the inside of the rubber grips will give you enough lubrication to slide the grip on, and then the carb cleaner will evaporate away. It is critical however that you slide the grip on almost immediately after spraying the carb cleaner as it evaporates in a few seconds, making it tough to slide the grip on again.
2. Brake Cleaner
Very similar to the carb cleaner method, you can use brake cleaner to lubricate your grips before sliding them on. To use, simply spray the inside of the grips and the handle bar end with brake cleaner, then slide the new grip into place. The brake cleaner should evaporate in about 15 minutes, and then you can go ride around.
3. Aerosol Hairspray
Another simple method to lubricating your grip before sliding it on is to use hairspray. Simple as that. If you have ever used hairspray then you know that it is wet when you first spray it, but then becomes sticky within 15-30 seconds. This is perfect for installing your new grips as it will give you some more time to slide it on and then the hairspray will help hold it in place. Before riding heavy, I would let the quad sit for an hour or so to allow the hairspray to fully dry inside the grip. Also, I prefer to use Aerosol Hairspray as it has a more steady spray and will give you the time needed to install the grip.
4. Dish Soap and Water
The two methods above require a quick hand to install the grips before the lubrication wears off. If you want a method which allows a little more time to set the new grips in place, using dish soap and water is the way to go. Mix even parts water and dish soap and spread it/pour it into the new grip. Make sure it is spread around the inside of the grip covering all of the rubber. Now slide the new grip onto handle bar and line it up how you want. Let it sit for 24 hours before heavy use to allow the soap and water to dry out and the grips stay in place.
5. Grip Glue
If all else fails, some major ATV companies like Protaper make grip glue which you can use to slide your new grips on and will hold them in place. They allow for about 15-20 seconds of slide time and about 5 minutes to move and shape the grip as you want. Each tube can set about 12 sets of grips so your set for the life of your ATV (depending on how you drive. Check it out here.
ATV has long been an all-weather means of transportation for many, and its happy owners strive to make riding it more convenient and enjoyable. The heated grips of the ATV can provide comfort and warmth for the hands of the ATV, which, accordingly, will allow you to get the most vivid impressions of the walks. In combination with ATV hand guards, heating gives the best results. The forums very often discuss the necessity and uselessness of this device, but we will not go into philosophical searches and will simply introduce you to the hand warmer device, how to install it, and also talk about how to make heated steering wheel handles with your own hands with a minimum investment .
Actually, the hand warmer is nothing complicated, the heating elements are placed in grips (rubber handles), connected by wires to the heating regulator (allows you to choose the degree of heating of the handles) and supplied with wiring in order to power the whole circuit.
We figured out the heating device, let's move on to installation.
If the ATV has hand guards, they must be removed first.
Next, you need to get rid of the old handles, but here sometimes there are small difficulties: as a rule, the old handles are very difficult to remove, and on many models they are tightly glued to the steering wheel. Therefore, it is more expedient to immediately cut the old handle with a knife and not waste time on this stage.
After the handle has been removed, it is necessary to clean the handlebar from adhesive and rubber residues.
In order for the heated grips to be put on the steering wheel without any problems, it is necessary to shed the inner surface of the grips with VD-40 grease, wait a couple of minutes, and the grips will go on the steering wheel without much effort.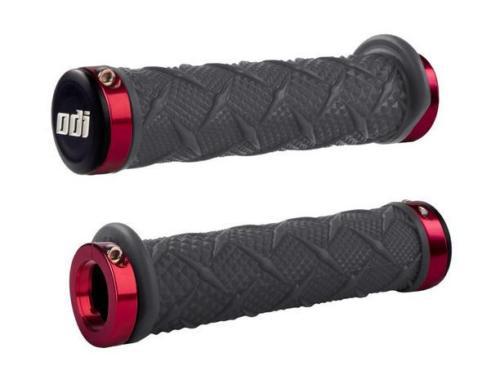
After 15-20 minutes, you can check if the handles turn (turning handles are very dangerous and can create an emergency at the most inopportune moment).
Most often, the handles are tight, but if you notice that they are not well fixed, you should remove them, wipe off the remains of the "VD-40" and put them on the "Poxipol".
Do not use "Super Glue": over time it will dry out and the handles will turn.
Very often hand warmer comes with trigger heating, to install it you need to attach the heating element to the accelerator trigger with double-sided tape, put on heat shrink tubing and crimp it with a building hair dryer.
We install the heating controller on the steering wheel in any convenient place.
For reliability, all wiring can be wrapped in corrugation and lead to the power point, reinforced with plastic ties.
It is necessary to connect the heating with a positive wire to the positive that appears after the ignition switch is turned on (with this connection, if you forget to turn off the heating, the battery will not be discharged). As a rule, there is always a free connector under the hood, if you did not find a connector, you can connect to the cigarette lighter power supply, and connect the negative wire to ground.
Next, you should check the performance of the heating by testing it in different modes.
This completes the installation of the heated handles and the dismantled parts can be reassembled.
Manufacturers provide a huge selection of different heaters, and you can easily choose the option that suits you in terms of quality and budget, but if the thirst for experiment and hands that have grown from the right place do not give you rest, you can make ATV handle heating yourself.
Do-it-yourself heated handlebars.
For the manufacture you will need MGTF wire in PTFE insulation with a cross section of 0.12mm and a length of 14 meters (7 meters for each handle).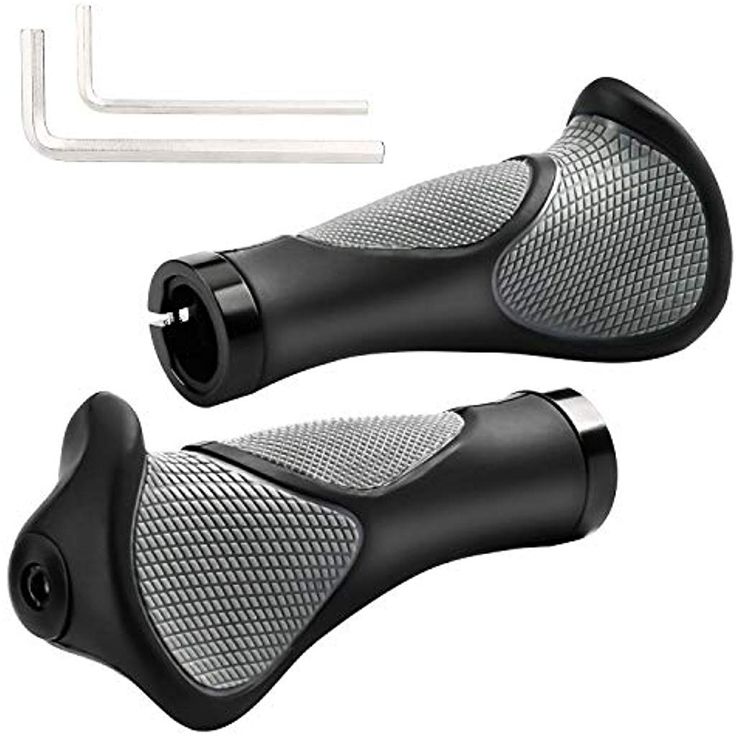
Next, with a regular wire, solder to the end of the MGTF wire loop (for powering), insulate the connection with heat shrink.
We wind the MGTF wire over the handle of your ATV, avoiding twists and folds of the wire.
For the trigger from the MGTF wire, you can make just such a blank. The coils are fixed with "Super Glue"
The trigger heating is applied as described above, and is fixed on the trigger with heat shrink, heat shrink should also be put on the handlebars.
The heating controller can also be made independently according to the diagram below (firmware file is also attached),
You can also use the incandescent lamp controller (sold in electrical goods) as a heating controller, while taking care of moisture resistance.
The two-channel thermostat shown in the photo above (responsible for adjusting the temperature of the handles and seat), you can use one channel or come up with your own solution.
Temperature controller circuit for heated handlebars:
And firmware file:
Fuses are standard.
:020000020000FC
:100000004FC018951895189518952CC018951895E7
:0200100031C0FD
:100020000DE901BF09B7026009BF05E003BF02E2A5
:1000300007B90FEC06B9B99A0FEF0DBD0FE30EBD6E
:100040000FE600BF0FE001BDA895C298BA9AC0980C
:10005000B89A0027112722276627552733274427D8
:100060007727089501E0300F00E0401F363309F490
:100070007160189507B10770023041F014B115B1E5
:10008000107F02E207B90FEC06B909C024B125B10F
:100007F2295269503E207B90FEC06B9189543
:1000A000BFDF7894A895203021F4103011F4C29865
:1000B0000CC070FD07C032FDC29832FFC29A50E0FA
:1000C00060E003C0C29A522F612FF894503021F0A3
:1000D000032F0770501710F4C09801C0C09A78948D
:1000E000F894603011F06EBD02C000E00EBD78944F
:0200F000D9CF66
:00000001FF
Whether you choose the factory option for heating or make it yourself is up to you, and we hope that we have covered the topic of heating as fully as possible, and now you can comfortably ride an ATV even in the most severe frosts.
Good luck to you, dear readers, and implement your ideas as soon as possible!
Author of the photo: Smith3007
Author of the heating idea: Kazanova
Before the onset of winter, most motorcycle owners “mothball” their vehicles until warmer weather arrives. This also applies to owners of ATVs. Nevertheless, for many lovers of extreme sports and outdoor activities, the ATV has become an all-weather vehicle. They proved that it is possible and necessary to ride an ATV in winter and enjoy it. True, for such pokatushek some improvements will be needed.
One of them is heated grips. Such an accessory is quite common among owners of motor vehicles, and on the market you can find applications for every taste and color.
Everything is quite simple here. Surely you have seen an electric stove or even used it.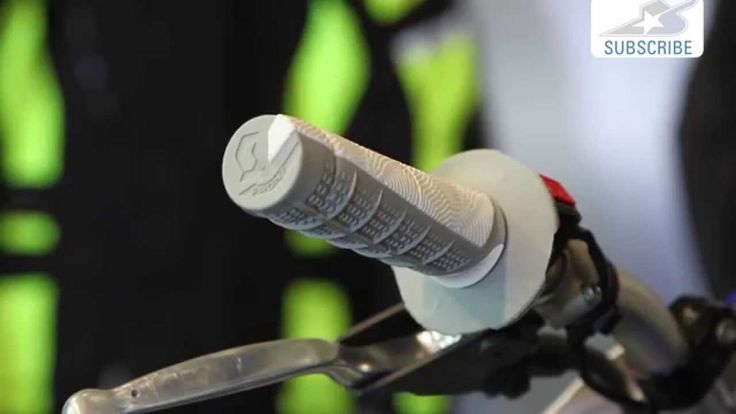 So the same principle is used in heated handles. A heating element (wire with high resistivity) in the form of a spiral is placed in rubber grips (grips) and connected to a heating controller, through which you control the temperature of the heating element. All this simple design is connected to the ATV wiring.
As you can see, everything is very simple.
In order to install new handles, the old ones must be removed. Everything is logical. Let's start with the fact that if hand protection is installed, then first we remove it and only then proceed to dismantle the standard grips.
The handlebars that are fitted to the ATV from the factory are often glued on tightly and are very difficult to remove. So it is advisable to simply cut the handles, and then clean the steering wheel from the remnants of glue and rubber.
Dismantling completed. Now it's the turn of the heated grips.
Before putting them on, the inside of the handles can be smeared with WD-40 grease and wait a few minutes. After that, heated grips will put on without problems.
20 minutes after installation, check that the knobs do not turn. If they are not fixed, then it is necessary to remove them, remove the remaining lubricant and put the handles again, but already on Poxipol.
Never use "super glue" to fix the handles. Over time, it will dry out, and the handles will begin to turn.
Heated grips and trigger are often included. To install the trigger heating, it is necessary to put the heating element on double-sided tape, glue the second side of the tape on the accelerator trigger. We put on a special heat-shrink tube for this whole structure, which, in turn, is crimped with a hairdryer.
Next in line is the heating controller. We fasten it to the steering wheel in any convenient place.
Well, the last step is wiring. It is necessary to connect the heating with a positive wire to the positive that appears after the ignition switch is turned on (with this connection, if you forget to turn off the heating, the battery will not be discharged).