Maybe you’re not aware but here in Wisconsin, the lakes freeze over during winter supplying us with a large open area for us to create our own race track. Most of us started with using normal snow tires, but as we fell in love with this sport, we got more serious. We started building studded tires with our old, worn out, race tires from summer. Every year that goes by, we find new ways to improve upon our current studded tires. Longer studs, more studs, new tires, sharpening studs, the list goes on….
Here is the making of my latest studded tire.
First, let’s take a look at my old studs from about 4 years ago:
These old studs used 1 inch long, 1/4 diameter grade 8 bolts and had about 160 bolts per tire.
Now, out with the old, in with the new.
I purchase 4 new Fuzion UHP All Season Tires to start with. Having some tread is better for the times when you get a little snow over the ice. Some have used snow tires, but 2 things kept me from going that route. 1, the price, and 2, snow tires generally have a soft sidewall. Soft sidewalls are good if traction is low, but I think we all know these will have a bit more traction than what snow tires were designed for.
Start the drilling. Using a 1/4in size drill bit, I started drilling 260 holes in each tire. After the holes were made (in a specific pattern), we push the bolts through (not as easy as it sounds, get ready for your palm to hurt) using a drill/impact. This time instead of using the smaller bolts like the old studs, we’re using 5/16in bolts by 1.5in long. The bigger diameter gives the bolts more sheer strength as the smaller bolts were snapping off at only 1.25in lengths. We also use 2 washers on the inside (a small then a big) to give the stud more support and to keep it from folding over. To help keep the bolts from leaking air, we smother the bolt with Butyl windshield adhesive. This stuff does a really nice job as it doesn’t cure to a solid and stays nice and pliable.
Making an assembly line and having a few very nice friends will really speeds up this process.
Then using another washer, we put on the nylon lock nuts and tighten it down until the tread gets a bit deformed. This is important, if not tightened down enough, the tires will leak.
Now that we’ve spent a few late nights in the garage and all tires have bolts in them, we start the sharpening process. Using a snowmobile stud sharpener, we go over every single bolt (yes 260 X 4) and put a nice point to it. Sharpening is extremely important, unsharpened bolts will (what we call) Stud-plain, and not bite into the ice at all.
And now for the next 2 weeks, you will cry every time you see a drill. But its sooo worth it. The grip these tires offer is outstanding. Several logs of the Traqmate show a sustained 1.2g lateral load. Some courses can be driven 100% flat out, the studs have so much grip they will actually bring down the rev’s even at 100% throttle.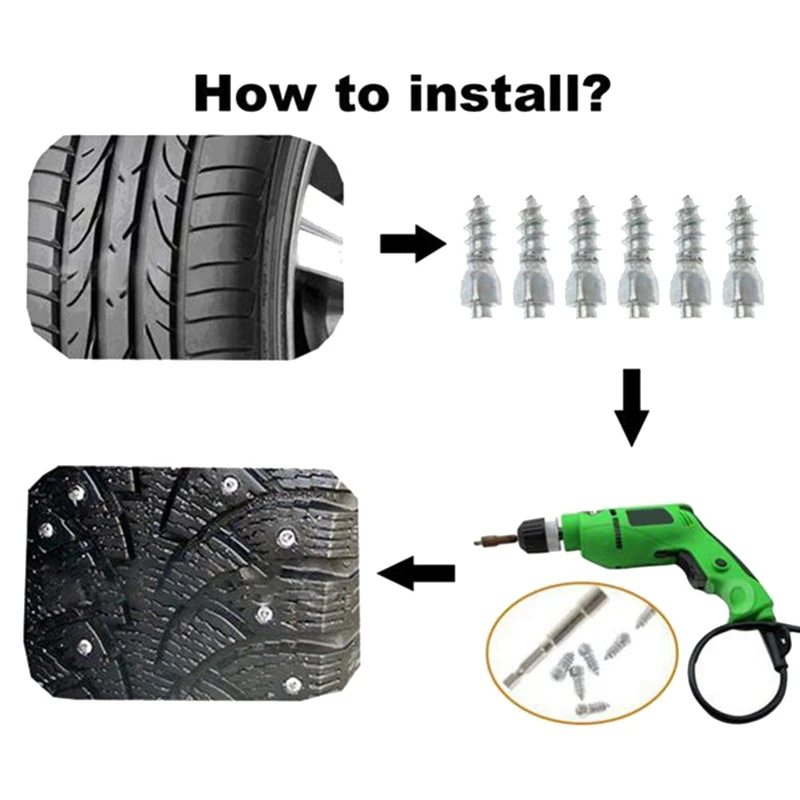
Update from 2015 season-
Tires are still holding up great. They’ve started to leak a bit more, so we went over each bolt and snugged them up. This helped a LOT! Went from losing 1 psi every 15 minutes to 1 psi every 4 hours. We also wanted to increase rear grip. It was a struggle to keep up with the AWD cars on the tighter/slower courses.
Left side is the original 260 studs (front wheels), right is the additional 54 studs (rear wheels).
Some pictures having fun with them-
How much ice these can shred in one quick little donut:
For info on Ice-RallyX events, go to www.cwscc.com.
Enjoy this Ice-RallyX Video from BoostedFilms:
2/15/2016
Comments
In today’s post I’m going to get into the details related to tire studding with the help of an industry expert. To help bring you the best information I can on studding ice tires, I’ve enlisted Jarrett King of Two Wheel Endeavors to help with this article. For those of you that don’t know, Two Wheel Endeavours is heavily involved in supporting Canadian ice racing efforts and offers studded tires, ice racing accessories, and custom ice solutions. Jarrett was involved in the development of the Mitas Ice King tires, knows his craft, and brings a lot of knowledge to the table.
Many people are under the impression that there isn’t much to studding a pair of tires, just screw some screws in and you’re done right? There is actually a hefty amount of skill involved with studding tires. These skills come down to knowledge of screw angle, head position, and screw length. Of course there are many parameters which all affect how well the tire will perform, but today we are going to talk mostly about studding. This attention to detail is a huge reason that guys who have perfected the art of tire studding can make a living at it.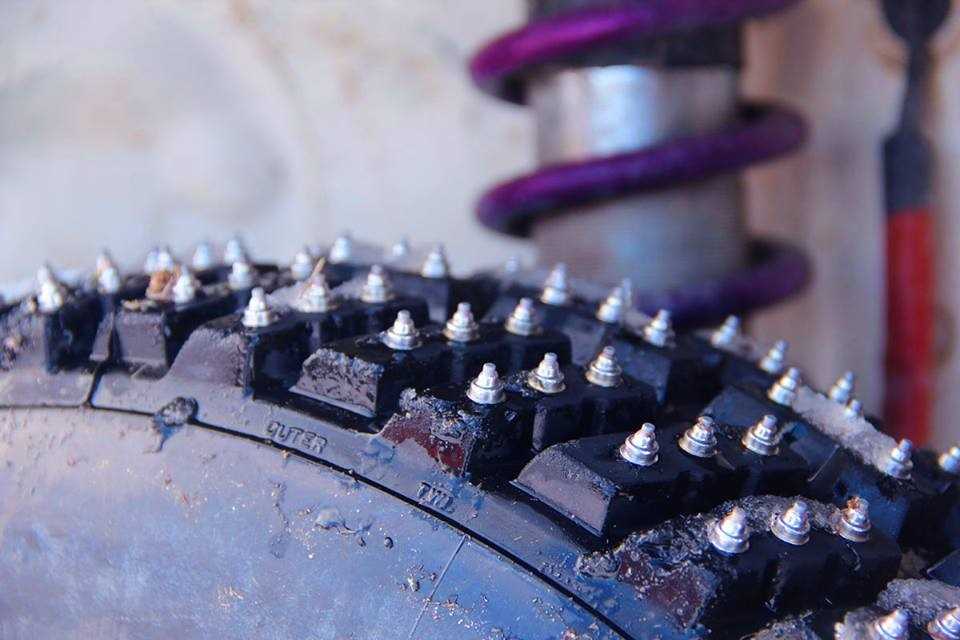 I’m not saying this to scare you off from trying to stud your own tires, just that if you’re going to go for it, it will take some practice and advice from an expert.
Now I’m going to turn it over to Jarrett who will go into detail on the aspects of tire studding.
Key Factors Affecting Tire Performance by Jarrett King
Tire Choice: Selecting the right tires to stud is critical in terms of traction and tire life. Lug height, tread pattern, carcass thickness, and rubber composition all have a huge influence on how well a tire will work. Unfortunately, there is not a lot of data supplied by tire manufacturers available to help guide a person in the right direction, but there is plenty of empirical data floating around amongst the ranks of ice riding enthusiasts. To help get you started I put together a list of the most common ice tire choices.
Front Tires
Mitas Ice King - (Top Left)
Bridgestone ED11 - (Bottom Right)
Rear Tires
Mitas Ice King - (Top Right)
Kenda K335 - (Bottom Left)
Motoz X-Circuit - (Not Shown)
Tire Liners: Depending on the tire chosen, a liner can be used that will provide protection for the tube and allows for the use of longer screws.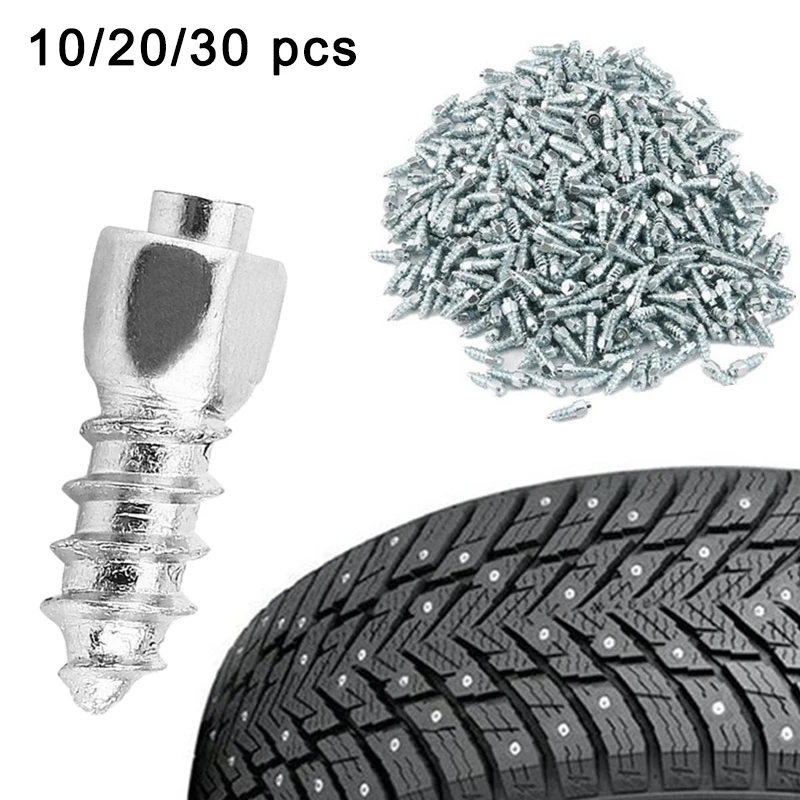 The liner is usually a cut up street tire which fits inside the chosen tire.
Pattern: The pattern in which the screws are laid out on the tire has a huge influence on the traction and grip characteristics of the tire. Specific patterns may be tailored to provide more grip or slip depending on the rider and how the tire is used.
Consistency: Care must be taken to ensure the screw pattern is consistent from one lug to the next. Any deviation in screw location and angle can cause the tire to wander as it moves over the ice.
Rim Trueness: The trueness of the rim can have a big effect on how the tire performs. A wonky rim can cause inconsistency in screw alignment. This can lead to similar handling problems because the screw pattern is not aligned accurately.
Screw Type: AMA or Canadian style screws are the primary options for competitive ice racing.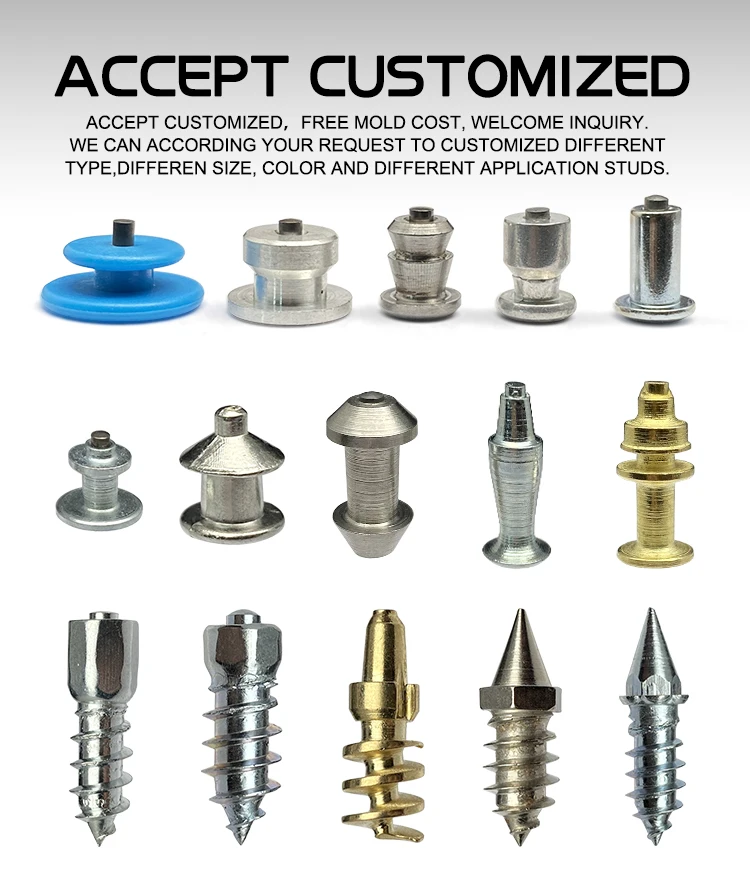 The two screw types are defined below:
AMA screws - 3/16” head height, sizes #8 or #10, and range in length from ⅜” to 1 ½”
Canadian screws - ¼” head height, size #12, and range in length from 1” to 1 ½”
Along with the screw requirements for the different racing classes, keep in mind purpose made ice screws go through a different hardening process than normal hardware store screws, allowing them to stay sharp longer. If you’re going to stud a pair of tires and want longevity, be sure to use a good quality screw.
Screw Threads: Fine thread screws are preferred because they do less damage to the rubber during installation. They are also easier to set to the correct height when fine tuning the screws.
Screw Angle: The angle the screw is driven into the tire dictates how the screw contacts the ice. The screw angle can be broken down into two parts, the fore/aft angle, and the side angle.
 Ideally only the leading edge of the screw should make contact with the ice. This can be achieved by angling the screw anywhere from 10 to 30 degrees upon installation
Head Alignment: The alignment of the slot in the screw head can be tuned to provide better grip in a given direction. For screws used for braking (front) and drive (rear) the screw slot is aligned perpendicular to the direction of travel. For cornering grip the slots of screws on the side of the tire are aligned parallel to the direction of travel.
Paul: Now that Jarrett has provided a great framework of what goes into studding a tire, we’re going to get into the specifics. It was mentioned previously that ice screws have three primary functions: braking, accelerating, and cornering. Next, Jarrett will get into the details of what makes each of these three types of screws functional for their specific purpose.
Braking Screws
Braking screws are at the rear of the lug on top, but when they are on the ground they are on the leading edge (biting edge) when under braking, thus the name “braking screw”. Sweep is used to prevent the screws from chattering on the ice under braking because of the fact that the crown would strike the ice at two points if installed flat. The magic sweep angle is the shallowest possible angle without the “rear” part of the screw crown biting in. With Canadian screws, this angle is much more straight up and down but still usually has 10 degrees or so. If you leaned them too far forward it will damage the knobs because the screw isn’t sunk into the liner enough, if you went straight in they will function but it makes the tire feel a bit strange under heavy braking.
Acceleration Screws
Again, there are differences between AMA and Canadian screws. The Canadian screws can go virtually straight in, AMAs need that biting edge so they don’t deflect or lose traction because of two different contact points. Picture a skate blade. The more sharp and precise the edge, the more ground pressure is focused on that area. Same with screw tips, if two parts of it hit the ice it will start to “float”. Optimal angle is shallowest possible (as close to straight up and down as possible) before the back edge of the screw starts touching the ice surface.
Side Grip Screws:
Cornering screws are typically run in at one angle, there is no sweep to them. Some builders have tried adding some sweep, however, never with too much angle. If you run an ice tire over a piece of cardboard under lean you will see that the top edge of the screw is contacting the ice at an angle that prevents the front tire from low-siding. In essence these screws do the exact reverse thing that the rear tire does under acceleration.
Paul: The last thing Jarrett is going to talk about is the screw pattern and some of the compromises that are made when studding.
Jarrett: When it comes to general screw pattern and arrangement, there are a couple things to consider. First, is that on the rear tire the inverse “V” pattern is there for a reason… what it does is each screw passes the load onto the next screw while under lean (picture them passing sandbags to each other). To prove this, reverse a V-pattern tire, it will be all kinds of squirrely under acceleration and then the rear will try to jump out from under the bike when you hit the brakes, it’s truly scary.
My second point, ideal screw pattern is a balance between a few different factors. Knob spacing, contact pressure and knob count/pattern. On a tire like a Kenda, so many screws are striking the ice at once that the tire is floating on the surface of the ice. Traction is being gained by getting the maximum number of screw heads to hit the ice at the same time. This is great until the moment that there is a hint of snow on the lake and the tire begins to act like a crazy carpet under the bike.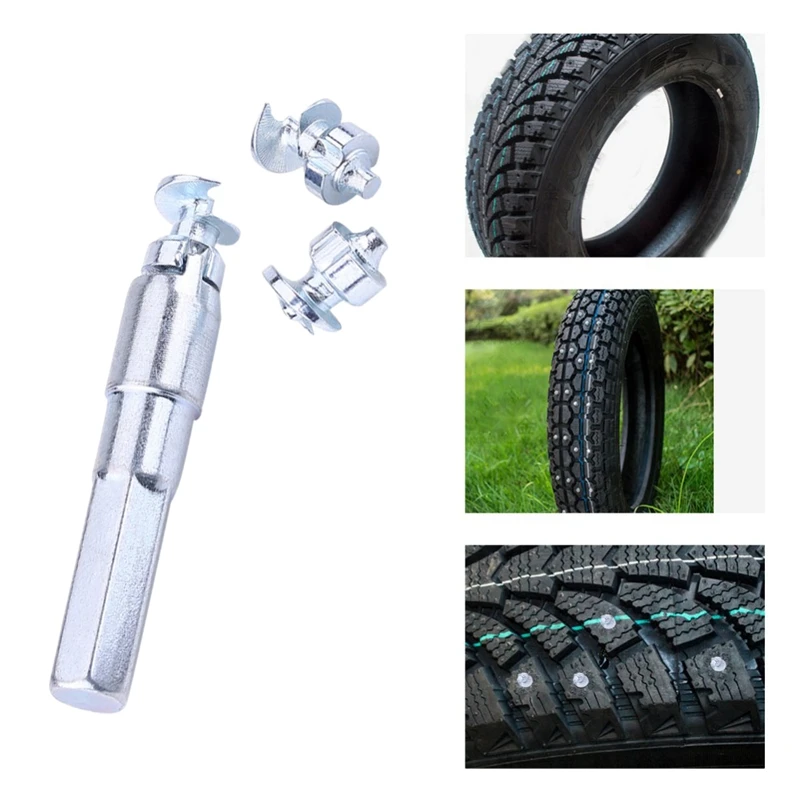 It floats because it can’t maintain ground pressure.
The old Pirelli Lagunacross tire became amazing the moment that Marcel Fournier came out with the modern Canadian Ice screw. The knob pattern was ideal (V shaped paddle) for the application and the knob spacing was super wide, which meant great ground pressure on each screw. Unfortunately that also meant a much larger radial load on the screws and knobs which often lead to premature knob or screw failure. The Mitas Ice King does not generate the same ground pressure as the Pirelli because the knobs are quite a bit closer but the tire’s compound and knob pattern allow for a much better balance of ground pressure (traction) to durability ratio. Using AMA screws, a Mitas Ice King does not benefit from additional screw rows the way that a Kenda will because it will float much quicker, but without as many screws contacting the ice.
Ice tire building is a compromise. The perfect ice tire doesn’t exist in the same way that there is no perfect Intermediate MX tire… but there are some that are MUCH more effective than others.
My third and final point, ice tires have been built in north America since the early 30s. The angle of screws is something that has been tried in multiple arrangements hundreds of times over. For someone getting into the sport their enthusiasm may make them believe that changing things will create a magic setup, but the reality is that a true set of wheels (no dings dents, warps), with consistent screw angles and heights, proper air pressures, and properly balanced is the most effective way to kick ass out on the ice racing track. Oh and don’t forget to duct-tape that face (frostbite sucks!).
Paul: I hope you all found Jarrett’s info on ice tires beneficial. In Part Two, we’ll get into the details of mounting ice tires. If you have any comments or want to share some info please leave a comment below.
Comments
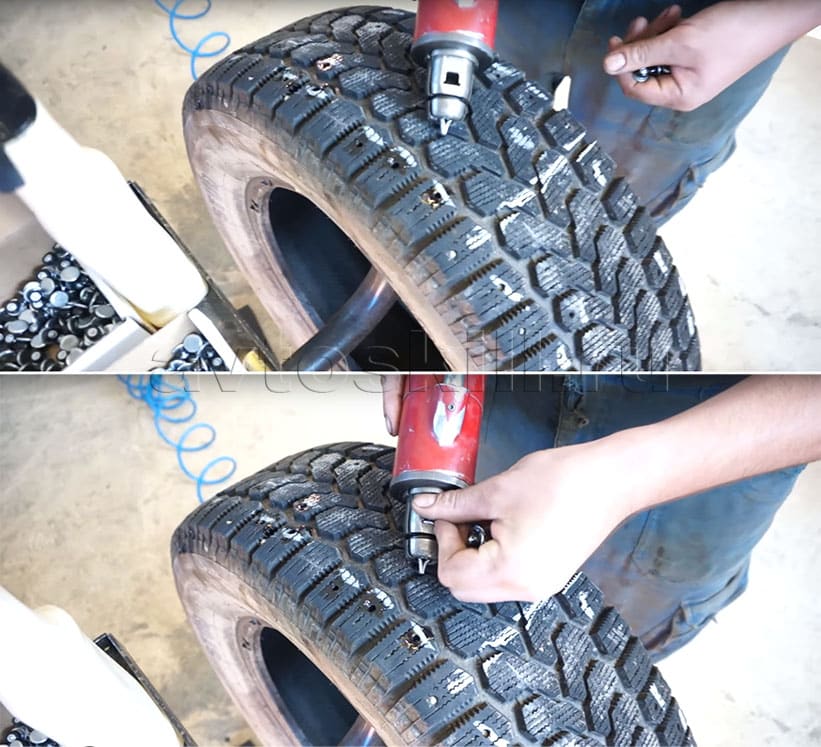
It is the glue that professional athletes most often ask and use to ensure that the protrusion of the body over the tire tread remains unchanged from the start to the long-awaited crossing of the finish line, which is strictly controlled by a special commission.
Most of the complexities and problems covered in this article apply equally to gluing studs into any type of tire, regardless of purpose, type of race and dimensions of competitive vehicles: i.e. these nuances are typical for winter karting, as well as for jeep and car races on ice, on lakes and snow-covered tracks.
As a rule, for competitive karting, the tire model is 4.5x11-5 WKT-ICE for 140 Tecom studs of type 9-13-2 with a body diameter of 6.5 mm, but how to put the studs on glue - here, as a rule, sportsmen , there are two ways:
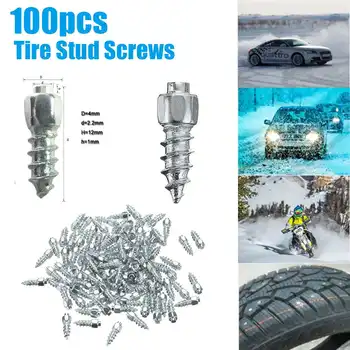
Both of the above methods, alas, are not ideal.
On the one hand, glue (for example, the popular studding glue - Loctite 480 / Loctite) certainly makes it possible to more reliably keep the stud from protruding from the tread after extreme use in strenuous races.
On the other hand, the methods of factory studding and "garage" studding may differ not in favor of the latter:
After the stud 13mm high has been removed from the protector with wire cutters or a screwdriver, it is more difficult to install it back with the same quality, and here's why: the machine automatically adds a soapy solution to each hole before the stud is inserted, providing lubrication that prevents microdamage to the hole walls.
A freshly installed spike is pulled out by the operator using the same "grease", if, for example, it was installed with a mismatch. A spike without such a “lubrication” (and the shampoo dries out in a few hours) enters and exits with difficulty - and even a hole evenly cut by a machine will not save from the appearance of micro-tears that are invisible to the eye. What can we say about the fact that the “dry” removed spike by itself is insignificant, but it expands the hole - count: initially, to install the spike from 9-13-2 with a 9mm flange, a hole with a diameter of 3.2mm is drilled.
Of course, some athletes even manually and with glue hiss their kart so high quality that one can envy. However, you must admit that it is one thing to slowly and thoroughly stud one set for yourself and another one for a friend, and another thing is to repeat the same thing on hundreds and thousands of tires.
Unfortunately, studding quickly and cheaply using glue is hindered by two factors:

Tire stud production, in collaboration with Tecom's R&D facilities, is in a relentless search for a kart stud model that can withstand even the toughest and wildest races without any adhesive, yet is affordable and can mass-produced and studded, available. At the same time, it was installed in compliance with the studding technology, did not lead to the risk of tearing off the tread blocks or tire puncture, without home-made and drills. And, of course, he categorically ruled out rigging, when the spike is independently leveled either higher or lower.
Before the next cold season, many drivers again have to make a choice - between winter studded and non-studded tires for their car.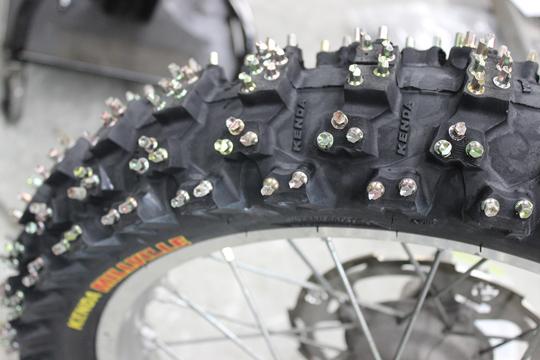 In the article, we recall in which cases studded tires are better suited, and when it is better to put friction tires. In the material, we will pay attention to some features of driving cars with different types of drives - front, rear, all-wheel drive - and discuss which tires are preferable for each of them.
The first specialized winter tires were studded tires. They were developed by Nokian Tires.
Non-studded (friction) winter wheels appeared as an alternative to "studded" tires in response to the ban on the use of studded tires in several European countries. Modern technologies in the tire industry allow friction tires to achieve good results on winter surfaces, and in some conditions, even better than studded ones.
Thanks to anti-slip elements - spikes - the wheels have excellent grip on ice and provide effective braking on it.
But studded tires don't have as many small sipes on their tread as non-studded tires, and studs are inferior to Velcro in handling on wet surfaces.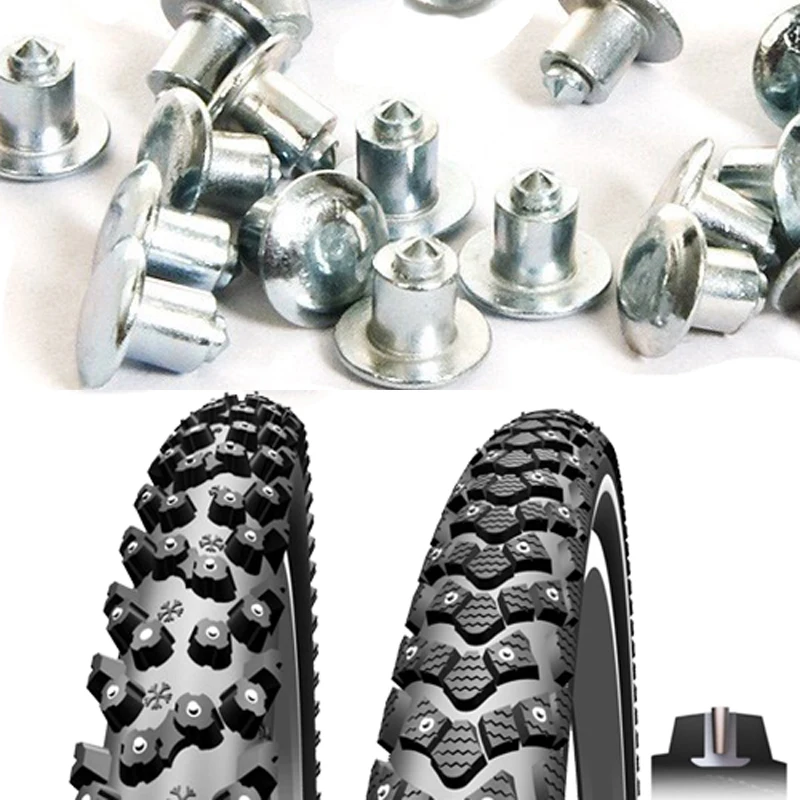 In addition, the tread space around each of the studs is generally sipe-free. Including because of this, grip on wet roads is somewhat worse than that of friction wheels.
Characteristics of studded tires:
Studded wheels provide a short braking distance on ice, feel more confident in icy ruts than friction wheels.
Decently managed on asphalt.
They have an average level of handling on wet roads.
They can be noisier than friction ones due to spikes.
Sometimes they lose their spikes.
At extremely low temperatures, the properties of studded tires deteriorate.
They are stiffer than non-studded ones, which affects driving comfort.
Square spikes or star spikes cling to the surface better than round ones.
Suitable for:
residents of the middle lane and more northern regions, small towns where roads are irregularly cleared, and the temperature in winter is most often below zero,
drivers who have an aggressive driving style,
motorists who often travel out of town,
car owners who often have to drive on icy surfaces in winter,
owners of cars with light weight - for greater stability on winter roads,
owners of cars that do not have ABS, ESP and other active safety systems installed.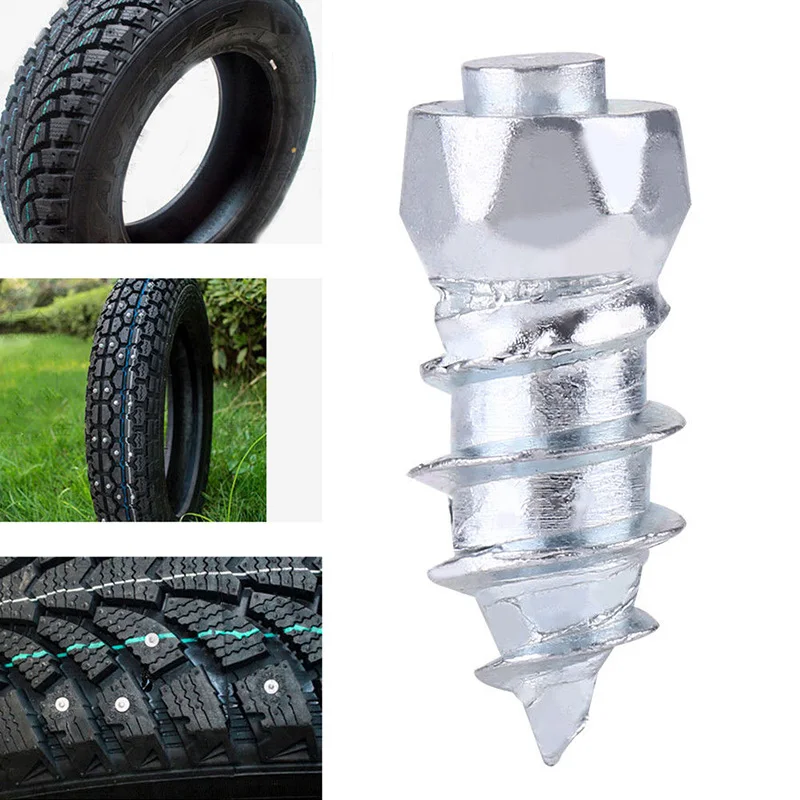
The second type of winter tires - friction - is popularly called "Velcro". They provide grip on winter roads, as if sticking to the surface with the help of friction.
How it works on an icy surface:
The tire, moving on the ice surface, melts it a little, a water microfilm is formed, which is dangerous for the car - it can skid.
The structure of the top layer of non-studded tires is rough and there are many small slots on the tread - sipes. In addition, the rubber of some tires absorbs moisture by itself. With the help of these features, the tires are able to absorb part of the water microfilm, and remove part of it and thus adhere to the coating.
During the movement of the car, the tread blocks of the friction tires rotate at different angles for maximum fluid drainage.
Yes, you can also drive on icy surfaces on friction tires, only you need to seriously slow down the speed so that the rubber and tread pattern have time to work out their properties.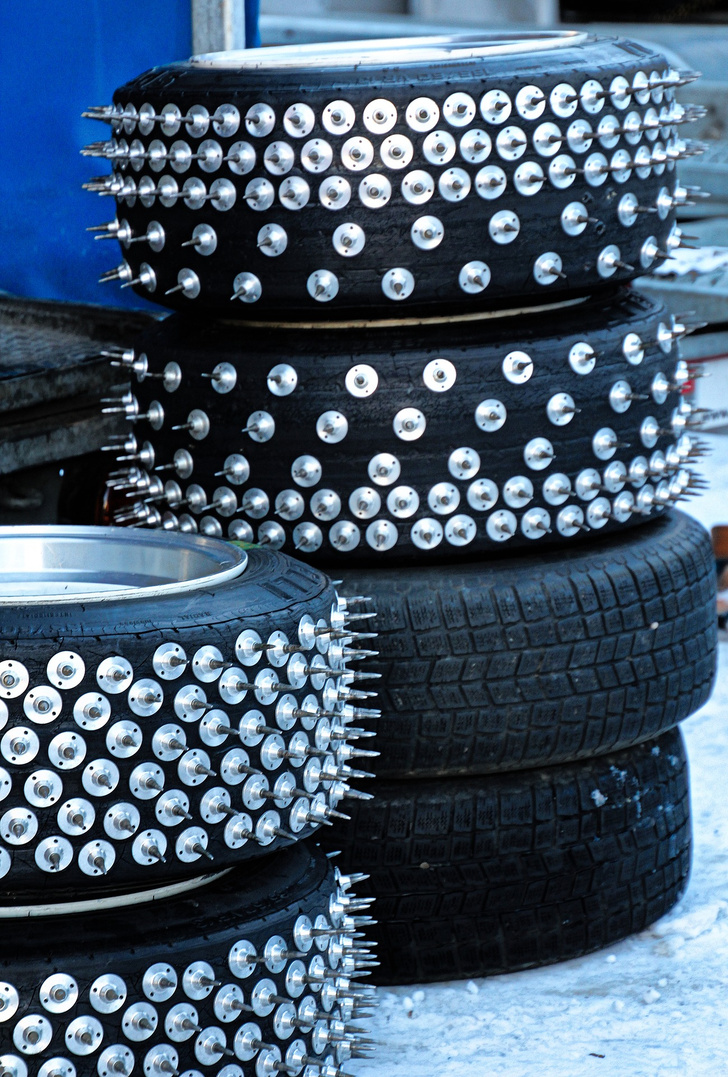
Non-studded tire features:
They feel great on wet surfaces and slush.
Remain flexible at low temperatures in winter.
Requires special care for use on ice.
The braking distance on ice is longer than with studded models.
Have a reduced noise level.
With the help of electronic assistants in cars, friction tires become safer on winter surfaces.
Suitable for:
residents of large cities where roads are regularly cleared in winter and reagents are used,
drivers who drive on dry asphalt or slush more often in winter than on ice,
for motorists who especially value acoustic comfort,
car owners who have ABS, ESP and other electronic assistants installed in their cars to help avoid skidding,
those who adhere to a relaxed driving style in winter.
When choosing winter tires, the first thing to do is to evaluate the weather and road conditions in which you have to drive and take into account your own preferences.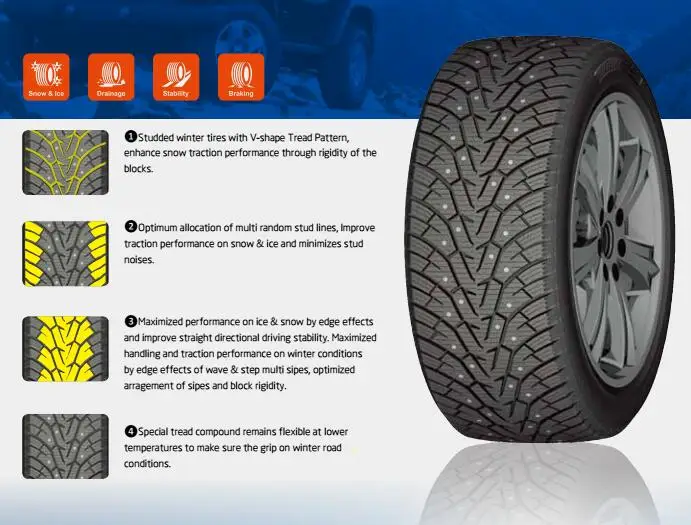 In addition to the main criteria when selecting tires, there is an additional factor - the type of drive your car has. Cars with different types of drives have their own control features, especially in the case of drifts. Let us briefly analyze the nuances of driving a car with different drives and give recommendations on winter tires for each type.
Briefly about the principle of operation of the front-wheel drive: due to the engine, the front wheels spin, and the rear wheels rotate freely. The main weight falls on the front of the car.
Front-wheel drive can be installed in both budget car brands and premium cars. For example, with front-wheel drive are produced: Mazda 6, Citroen C4, KIA K5, Toyota Camry, Skoda Octavia.
Some nuances of the behavior of a car with front-wheel drive and control of such a machine:
When pulling off abruptly, the front wheels may spin.
When cornering at high speed, it can demolish the front axle.
For stability on icy surfaces, it is important not to suddenly add gas and not to drop the gas pedal.
When demolishing the rear axle, the owner of a front-wheel drive car is most often advised to turn the steering wheel in the direction of skidding and add gas. This can be difficult to do, because in emergency cases, the motorist is more likely to automatically release the gas and press the brakes. In rare cases, when the front axle has lost traction, it is advised to turn the steering wheel in the direction of the skid and use the handbrake.
For front-wheel drive vehicles, it is safer to use studded tires in winter to reduce the risk of skidding when cornering on icy surfaces. If electronic assistants are installed in the car, and the driver prefers a quiet driving, non-studded tires can also be considered as an option.
Briefly about the principle of rear-wheel drive: the rear wheels rotate due to the engine and are leading. The main weight falls on the front of the car.
Rear-wheel drive cars are the same, and budget and expensive brands. Many Mercedes and BMW models, most Zhiguli, Volga, Mazda MX-5, Nissan Skyline cars are equipped with rear-wheel drive.
The nuances of the behavior of a rear-wheel drive car and the management of such a machine:
In most cases, the car accelerates more efficiently than a car with front-wheel drive.
The car is considered less stable on ice and snow than front-wheel drive.
If you sharply add gas, then there is a possibility of skidding the rear axle.
There is a tendency to skid the rear axle in turn.
At the moment of skidding, the first thing that is recommended to the driver is to turn the wheels in the direction of skidding. In such situations, it is most often advised to release the gas pedal, but in rare cases, the gas must, on the contrary, be added.
Given the nuances of driving a rear-wheel drive car, it is safest to put studded tires on it in the winter. Even better, when the car has electronic active safety systems, like ESP and others. By the way, we wrote more about electronic assistants in cars here.
Briefly about the principle of operation of all-wheel drive: both axles of the car are leading, the torque is transmitted by the engine to all four wheels.
Power between the axles and wheels is distributed using differentials. Examples of cars with all-wheel drive: Niva 4x4, Land Rover Defender, Toyota Land Cruiser Prado.
Some nuances of the behavior of all-wheel drive cars and the management of such machines:
An all-wheel drive car is more difficult to manage in critical situations than front- and rear-wheel drive. The management of such a machine includes the features of driving a car with both front and rear-wheel drive.
Such cars show themselves better during straight-line acceleration, braking and driving over bumps than cars with other types of drives.
Drivers with little driving experience driving a four-wheel drive car are advised to slow down significantly before deliberately risky maneuvers.
It is difficult to give unambiguous advice on skidding, it all depends on the situation. But in general, when skidding a car with all-wheel drive, it is recommended to act as in cases of skidding front- and rear-wheel drive cars.
For 4x4 vehicles, both studded and friction tires are suitable, depending on the conditions of use. Thanks to the evenly distributed weight, well-thought-out mechanisms and a wide variety of electronic assistants in four-wheel drive vehicles, the level of stability and safety on winter roads is usually sufficient. Of course, if the driver observes the speed limit and adheres to a reasonable driving style in winter.