Learning how to remove a Presta valve core without a tool can be very useful especially when you need to replace the tubeless sealant, or seat an old tyre onto an old rim.
Riding bikes can require quite a few specialized tools, however, and it is quite easy to get caught out. There are a number of shortcuts and tricks of the trade that can be used in order to get around these situations.
So how do you remove a Presta valve core without the correct tool and how easy is it to do?
Table Of Contents
Most people have a pair of pliers kicking around their home somewhere. This solution is not ideal as it can damage the head of the valve, but if you have nothing else it will do the job. Simply hold the head of the valve with the pliers and twist anti-clockwise to loosen and clockwise to tighten.
Most people that ride bikes should own a chain tool, and if you don’t it might be worth considering one. Simply slot the head of the Presta valve core into the end of the chain tool, and twist anti-clockwise to loosen and clockwise to tighten.
What Is A Presta Valve?The Presta valve is a commonly used valve found on bike inner tubes. The valve is the system by which air is pumped into the tire.
The valve is made up of an inner body and an outer stem.
The Presta valve was invented by the Frenchman Etienne Sclaverand and is also known as the Sclaverand valve or the French valve. The name Presta comes from the Latin word for fast or hurry.
The outer valve of the Presta is narrower in diameter than the other most common valve used on tires – the Schrader valve.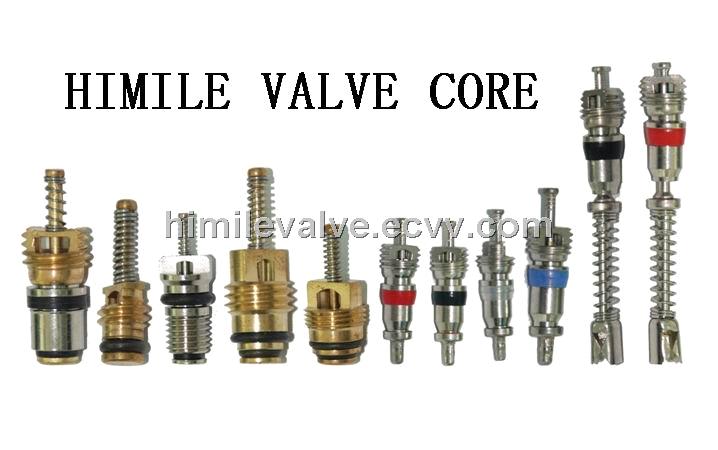 It is 6mm compared with the Schrader valve’s 8mm. The length is variable depending on what they are being used for.
The narrower diameter means that they need smaller holes on the bike rim. This means that they work better with narrow wheels without sacrificing strength. However, the narrower size also means that inner tubes equipped with Presta and Schrader valves are not interchangeable.
Are All Presta Valve Cores Removable?All Schrader valves are removable, but not all Presta valve cores are removable. However most Presta valve cores are removable.
How To Tell If Your Presta Valve Core Is RemovableHave a look at the valve stem. If you see that the valve is made up of two parts then that means it is removable. If the core is removable, that means that it can be used for a tubeless setup. Sealant can be added through the valve.
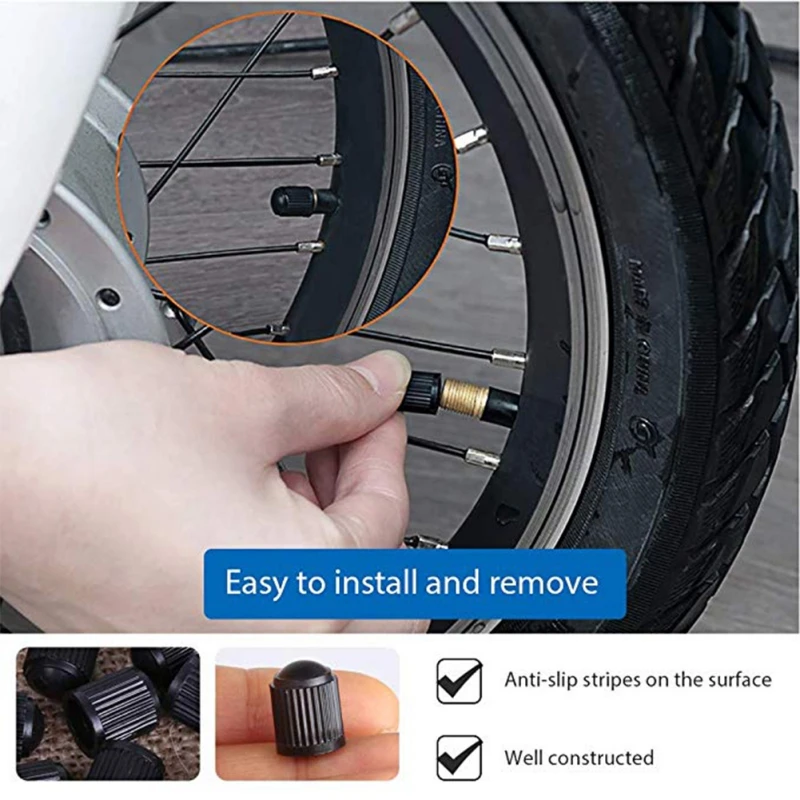
What Is A Presta Valve Tool?A number of different companies make cheap valve tools that work with both Presta and Schrader valves.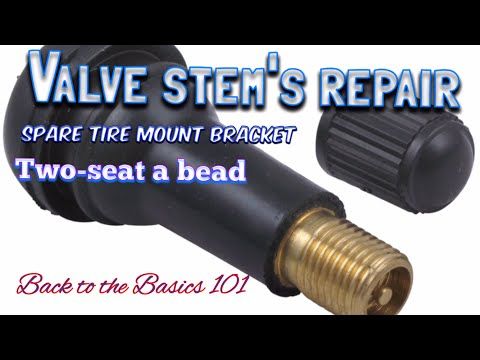 They attach to the valve and allow you to remove the core.
These tools cost about £10. They are easily available and small enough to take with you anywhere.
What Is A Presta Valve Tool?Is Presta Better Than Schrader?There really is no answer about which one of them is better or worse. Both of them have their own advantages and disadvantages. Some people have particular preferences, while other people are more prone to simply use whatever is available.
Schrader valves are more common, and sturdier and their core is much easier to remove.
Presta valves do not have a valve spring, which makes them easier to pump. They are also much better on thinner rims due to their smaller size, which makes them well suited for road bikes.
Presta valves are also lighter, although the benefit of the lower weight is fairly negligible, and they can handle pressure better. They are also better at staying unclogged, which makes them well suited for mountain biking.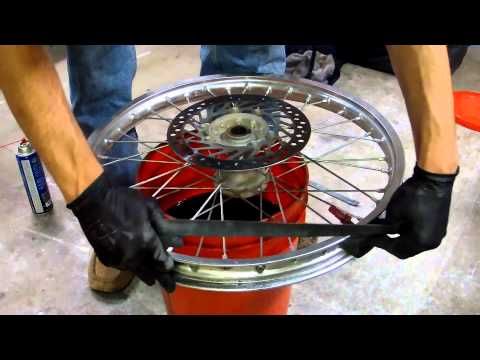
Presta valves are fairly robust. As with all things, they can break, but they are not known for being excessively brittle. In fact, if anything, they have a reputation for sturdiness. Just ensure you don’t bend the valve when removing the Presta valve core or it will break!
Can You Put Air Into A Tire That Has A Broken Valve Stem?No, however, It is fairly easy and inexpensive to replace the valve core. Simply remove the broken valve core and screw in a new core, being careful not to strip the thread or damage the rim tape.
Can Presta Valves Be Lengthened?Presta valves can be lengthened if needed using extenders. This might be necessary with deeper rims, such as those on aerodynamic race bikes.
If you are looking to get extenders for your valve, it is worth noting that there are different extenders for valves with removable cores and those without, so make sure that you check which one you need and buy the correct one.
If you find that you need to remove a Presta valve core and you do not have the correct tool to hand then there is no need to worry.
A number of tools that you are likely to have lying around can be used to remove the core.
Pliers, such as needle-nosed pliers, can be used to perform the job. Vice grips will also work. However, the best solution to remove a Presta valve core without the tool is a chain tool or a number 11 spoke key.
If you do not have these to hand, then a little bit of ingenuity with whatever you have to hand can work wonders.
How to Remove a Presta Valve Core and Replace Tubeless Sealant?To start you will need to remove the Presta valve core and then remove the tire. You can see our full tutorial here: How To Fit Tubeless Mountain Bike Tyres | 9 Simple Steps
See our other tutorials here:
Tire valve stems are valves located on the wheel of a vehicle, from which the tires are inflated. They contain a spring-loaded valve core, which is sealed by the air pressure inside the tire. Over time, valve stems can age, break, become brittle, or start to leak, causing severe tire problems and impairing the driving/ riding experience.
When the valve stems start to leak, the tire will no longer retain air. Depending on how severe the leak is, the tire may be slowly losing air, or completely deflated.
In most cases, the quickest way to replace a valve stem is to take it to a bike store, remove the tire, and replace the valve type. However, in cases where this is not an option, it is possible to remove a tire and replace the valve stem manually.
Today’s article will show you how to manually remove the valve stem core in both mountain bikes and larger motor vehicles such as automobiles.
Your first step is to remove the valve cover. Because the cover is small and easily removable, put it in your pocket or another safe place so as not to misplace it.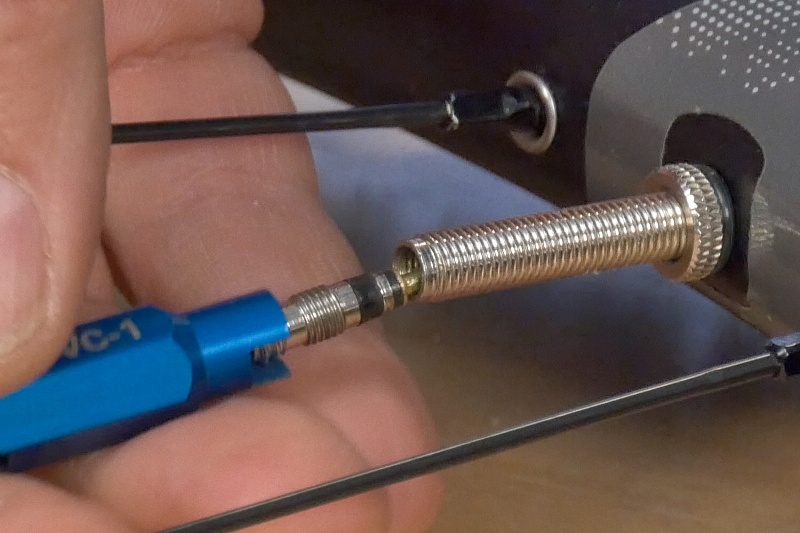
Using the valve stem removal tool or a grooved metal valve cover, turn the valve stem counterclockwise, turning it several times until it comes out of the valve. You will feel a gust of air if the tire is under pressure. As with the valve cover, place the valve stem in a safe place as it is small and easy to lose.
After depressurizing the tire, remove the valve stem. Start with your fingers, rotating the stem clockwise, and end with the valve stem removal tool or the grooved metal valve cover. If you are replacing a damaged tire and your valve stem is not at issue, hold on to this stem. You will need it when re-pressurizing the tire, and again, it might be easily lost.
Materials needed: Tube air pump, bike repair stand and valve stem removal tool. If replacing the valve stem on an automobile, you would also need a nut wrench, fine point pliers, tire iron, and jack stand.
 Immediately once the beads clear the lip of the wheel, run through the wheel until the tire is completely installed.
In most cases, the easiest way to replace a valve stem is to take it to a bike repair shop, remove the tire, and replace the valve.
However, in cases where this is not an option, or you’re looking for a task in the garage, it is indeed possible to manually remove and replace a valve stem and tire with the appropriate tools and procedures.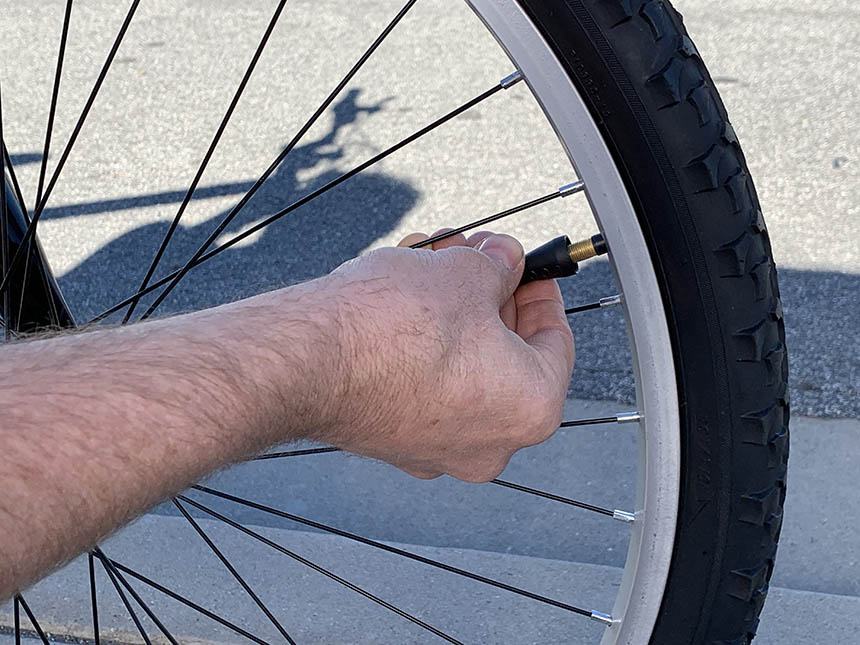 If you think there is a leak or damage to the tire and not just the valve stem, you should replace it altogether.
CONTENT OF THE ARTICLE:
No special effort is required to properly inflate bicycle tires. The only thing you need is the right tools. Using these techniques, you can easily find your valve type and choose the pump that is exactly right for your bike model, respectively, and learn how to properly inflate your tires. nine0003
Related: How to choose a bicycle pump?
1. Schrader valve, sometimes you can see the name American valve or automobile valve. The stem in this type of valve is surrounded by threads, you just need to press down on the stem with your thumbnail or other object, such as a pen cap.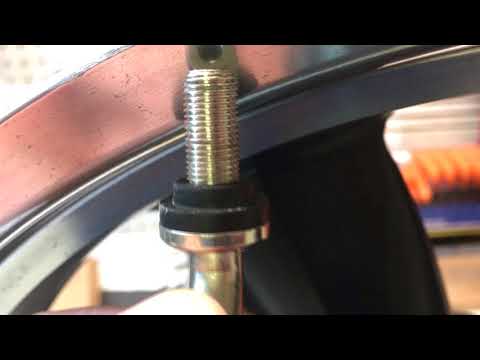 If we compare Schrader valves with other types, then it is short and wide in diameter. Most often they can be found on cars, inexpensive or mountain bikes. To open this type of valve, you just need to unscrew the rubber plug. nine0003
2. Determine the recommended tire pressure for your bike. Often this indicator is located on the sidewall of the tire. Be vigilant and watch the pressure when you inflate your tires. It is recommended not to bring the readings to the lower line, as well as to the highest.
3. Position the pump. If you don't have your own yet, use the pump at the gas station, or borrow one from a friend.
4. Pump up the chamber. To do this, unscrew the rubber cap on the top of the valve and hide somewhere so as not to lose it. nine0003
 Be careful when you inflate tires.
5. To deflate a tire with a Schrader valve, simply press the springy valve stem with your fingernail or other small object until all air is expelled. nine0021
1. French valve (Presta) or else you may see the name Sclaverand is commonly found on high performance road bikes. Compared to a Schrader valve, this one is longer and narrower in diameter, and has an outer stem that is capped instead of being surrounded by a core.
2. Valve opening. Unscrew the dust cap to open the Presta valve. Then you need to loosen the brass cap on the valve stem a little, it will not be able to come out completely, and you will have to lift it up a little. If you want to check if the cap is loose, you just need to press on the valve stem, and if you hear that the air comes out in sharp gusts, then this is a sign that you can stop. nine0003
3. Calculate the recommended tire pressure for the bike. This is usually a relief mark that is located on the sidewall of the tire. Most often, these readings are written in bars or PSI. Do not let the pressure go to the bottom line, and also to the highest, which exceeds the maximum.
4. Pump installation. You can use the pumps of any gas station stations or take them from friends. And as an option - buy in the store "everything for bicycles".
5. Inflate tires. Open the Presta valve by unscrewing the dust cap and loosening the smaller brass cap.
 nine0007
6. To deflate a tire with a Presta valve, open the brass cap and press the springy valve stem until all air is expelled.
The third type of valve is the English Woods valve, or the name Dunlo is also found. These valves are most commonly used in Asia and Europe. Woods valves are larger than Schrader valves, but the mechanism and operation are the same as those of Presta valves. nine0003
My new bike has thin tires with a valve that I have never used before. I searched the internet and found that it's called Presta valve and it's quite common and popular. I find it annoying and painstaking, and I don't know how to use it properly. I have a floor pump and I know the valves and pumps are fine because the guy at the store had no problem using the same one. But after reading online and watching YouTube videos, I still can't figure out how to do it right! nine0003
Here's what I'm trying to do:
Turn the wheel so that the pump can comfortably reach the valve (the online guides say the valve should be in the 12 o'clock position, but I can't do that because the hose on the pump is not long enough)
Remove the valve cover, unscrew the fitting in the valve, and tap it a little - a jet of air shoots out. Okay.
Press the pump onto the valve. This is where I get into trouble...
I can't seem to get the valve cap in the right direction. I push it with my elbow lever down and then pull the lever up as you can see in the photos to secure the attachment to the valve.
Now, either it floats around freely and leaks air from the sides (when I push it gently) or sometimes it goes further but then the tire doesn't seem to inflate any, the pump just gets stiff very quickly, as if a valve was blocked - then i remove the nozzle and it goes pffft like all the pressure was just back up in the hose and not really going into the tire.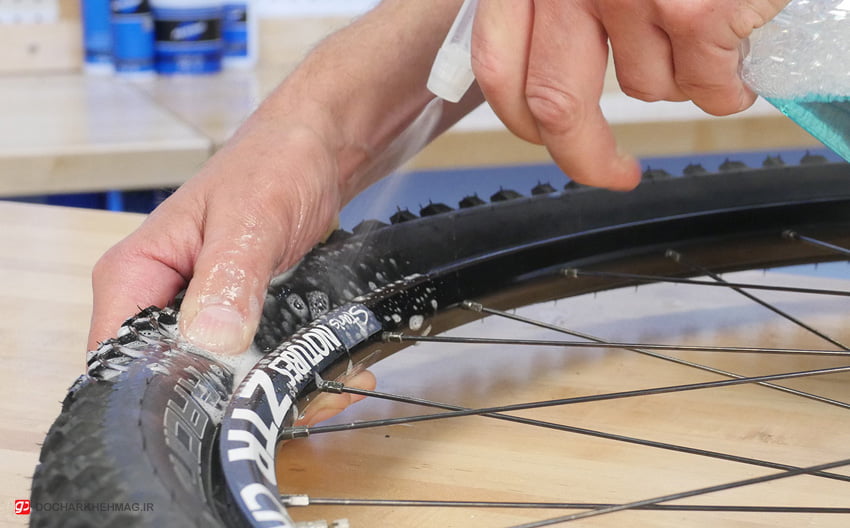 nine0003
I was able to inflate the tire in the end, but it took me about an hour of stuffing around and my "project manager" got mad because I should have been in the kitchen making her a salad instead of hanging out in the garage.
The time I got it right I had to deflate the tire completely and even then it was difficult because with the tire completely deflated the valve stem had just been pushed into the rim. Are you sure it's not normal? What's the trick to attaching the damn thing?
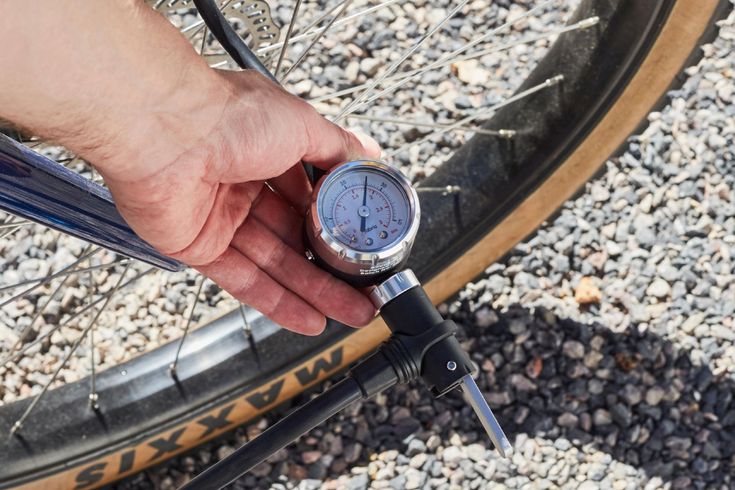
Also, how can I just check the pressure? When I attach this thing, I expect the giant to jump up and show me how much pressure it has, but it remains at 0. The tires say that the side needs to be inflated to 110 psi (7.5 atm), but my pump only rises to 100.
&004
wim
2012-12-04 01:29:01 +0000
These valve stems are too short for the deep rims you have there.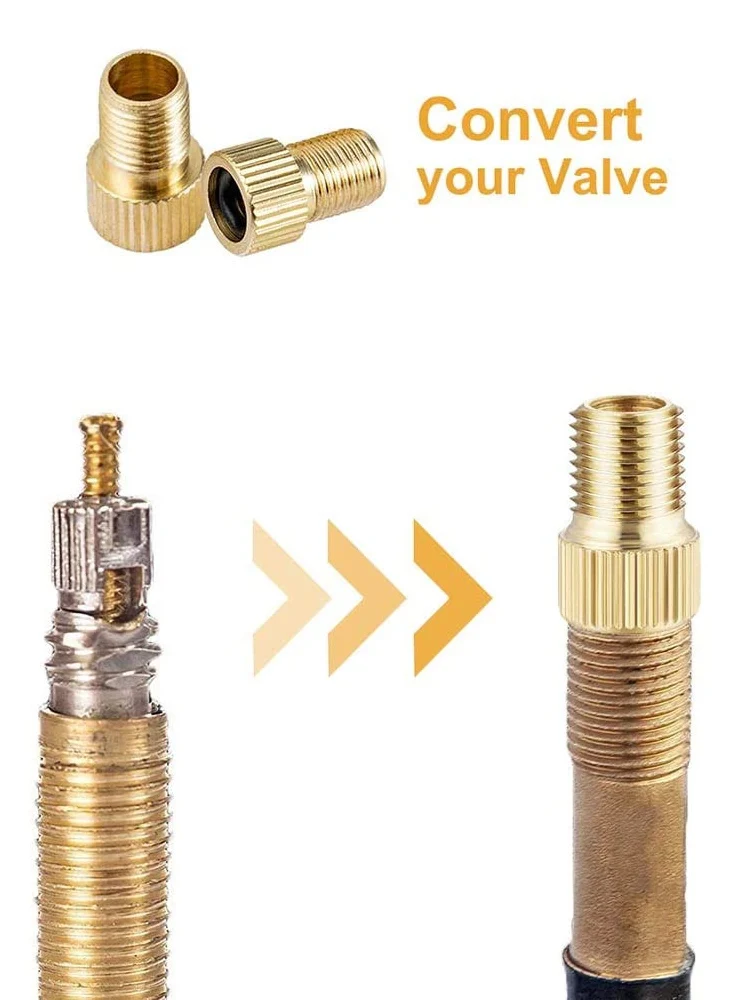 It's only from the pictures that the valve stem doesn't stick out far enough from the rim for the pump to fit all the way on it. Consequently, it does not make enough contact with the valve to inflate the tires. nine0003 A source
Scott Hillson
2015-08-18 06:02:38 +0000
For shorter presta stem valves on deep rims, the trick to inflate is to first deflate the tire to about 50%, then push down on the barrel of the pump head with one hand and push the stem through the tire side of the rim with the other hand. Then use the lever to get a good seal. nine0003
When you pump it up, the increase in pressure in the pump head will push the presta valve on its own. As Daniel Hicks said in a comment on this thread:
It is not necessary to press the stem in the Presta valve as the air pressure will open the valve when the pressure in the pump rises more than inside the tire.
nine0174 A sourceAll that is needed is to tap the stem briefly before inserting the chuck to make sure the rubber seal is not stuck.
Sanjiv
2012-12-03 13:24:51 +0000
"Remove the valve cover, unscrew the fitting in the valve and lightly tap on it - a jet of air will shoot out. Good."
You understood correctly. If you have the right pump and the chuck is working properly, then just press the chuck and flip the lever.
Normally, when you push the chuck far enough, the little button in the middle of the chuck will push the "thing" down to release the air and let you read the pressure. nine0003
Maybe your cartridge is poorly designed (or not quite "barrel agnostic") and you're better off with a screw-on adapter. (And some cartridge designs require internal parts to be replaced for the Presta valves to work.)
(It's actually not that hard or fussy with the right pump and the right technique).
A source![]()
Daniel R Hicks
2012-12-04 08:16:37 +0000 nine0003
Inside the head of the Presta pump is a pin behind a rubber washer that depresses a valve on the stem that engages when you move the lever to the raised position. At the same time, typically, a set of clamping jaws is clamped onto the stem body, holding it in place. It's very likely that your pump is not able to activate the valve enough to break the seal, and so when you pump, the air, instead of inflating the tire, is pressed against the rubber washer. nine0003
As mentioned above, this may be an artifact of the exposed shank not being long enough, and you should pay attention to: use either a cartridge that does not require that much shank; replace the inner chamber with a longer one; or use a valve extension (which leaves the existing core intact), or if the chamber has a replacement core to screw in the valve extension (like those available from Continental).
Sometimes I find it useful, when pumps are not working as I would expect them to, to use an internal chamber with a known working valve without installing it in the tyre. This will eliminate the chance that insufficient stem will be the limiting factor and will allow the pump to be used to ensure proper operation. nine0003 A source
jdv
2012-12-03 13:09:59 +0000
The pump appears to have a valve that should automatically switch between Presta and Schrader as needed. In my experience, these valves don't always work. I have a similar pump where the valve is stuck and I can only use it to inflate schrader valves now.
If this is at the root of your problem, and among many alternatives, you can either 1) buy a new pump, or 2) get a Presta-->Schroeder Adapter. nine0003
I think that if you are running a bicycle tire pump, the air should come out of the shredder side of the valve.
A sourceThis will show you what mode the valve is in.
Zippy The Pinhead
2013-08-06 01:57:34 +0000
You need a dedicated Presta valve to fit your tire pump or an adapter to temporarily convert a bicycle tire valve to a Schrader tire valve so you can use a standard tire pump. After refueling, remove the adapter until the next time. nine0003 A source
user7696
2014-07-21 19:41:44 +0000
One of the tricks I used in the pinch when my stem was too short for the depth of the rim (as shown in your picture) is to place your thumb on the tire at the point of the stem and gently press it down until until the stem is pulled out of the rim. This can give the leverage needed to attach the pump head to a short length of rim.
While the extension stem solution is good, your discs are not super deep discs that require a stem that is so long that is not readily available. Find a good long stem tube and your particular problem should be solved. Also, I had issues with unread presta stems that caused the pump head to slip off before the tire was fully inflated. I bought a new pump head and it is now difficult to remove the pump head on threaded stems, but the pump stays attached to the stem up to 120+ pounds on non-tread stems. nine0003 A source
dabberdog
2018-03-10 22:45:40 +0000
I can't decide on valve stem length, but I was lucky my bike shop had a pair of presta to schrider adapters when I bought the bike. The bike shop showed me how to use the adapters and told me to leave them on the valve stems so I always have the adapters with me if I need them. This has saved me several times from not wanting to use a CO2 tank and could instead use a pneumatic machine at a gas station.
nine0003 A source
alain smithee
2016-06-11 19:50:46 +0000
The same problem arose - the trick is that the threaded sleeve at the very tip of the valve must be loose and floating in order for the valve to work under the pressure of the incoming pumped air. So the operation order is:
- valve cover remove
- make sure that the valve stem collar fits snugly against the surface of the wheel
- turn the miniature threaded bushing counterclockwise to open the airflow to the valve body itself (missing step that puzzled me)
- Attach the pump head to the Presta valve (and if you have a Joe Blow adapter pump like I do), close the yellow adapter selector valve lever backwards open (dark grey) Presta valve adapter
- inflate to desired pressure
- disconnect the yellow valve selector lever - the pump itself will quickly release air pressure.