Cracks and scratches on your ATV plastics are bound to happen sooner or later. You could maintain and clean your ATV after every use, and still, you’ll end up with faded or scratched up plastic eventually.
To some people, scuffed up plastic on their quad is not a big deal. I mean, it’s not like it affects performance, handling, or anything important anyways. But there’s just something about the way it makes the machine look that I don’t like. So I went ahead and found the best ways to fix some of the most common ATV plastic damage you’ll encounter.
It’s a good idea to know why plastic fades to help you understand why the methods here work for restoring faded plastic. Basically, plastic starts to look faded because the oils in the plastic evaporate over time. The evaporation of oils in the plastic is sped up when the plastic sits in the sun for long periods of time.
Plastic is made from refined oil, and as the oil in the top layer of the plastic evaporates, the plastic is weakened and looks faded. Your plastics become more prone to cracks too the more you let it fade and weaken.
You could simply sand down the top layer of plastic, until you get to the part where the oil hasn’t evaporated yet. Then buff it out until it looks nice and new. But with this approach, you’re still weakening the plastic because you are actually removing layers of the plastic each time you do this.
Another method I’ve tried, is using a heat gun to help bring the oil in the plastic to the surface. This does work pretty good and makes the plastic look nice. But again, you’re not actually restoring oil to the plastic so over time, the plastic is getting weaker and weaker.
My preferred method, and what I recommend you try first. Is to get this Premium Plastic Restorer From Car Guys found here on Amazon. This way you’re not removing plastic, oil, or anything else from your ATV parts. In fact, this stuff is actually adding additives to the plastic to help get them to the condition they were in when they were brand new.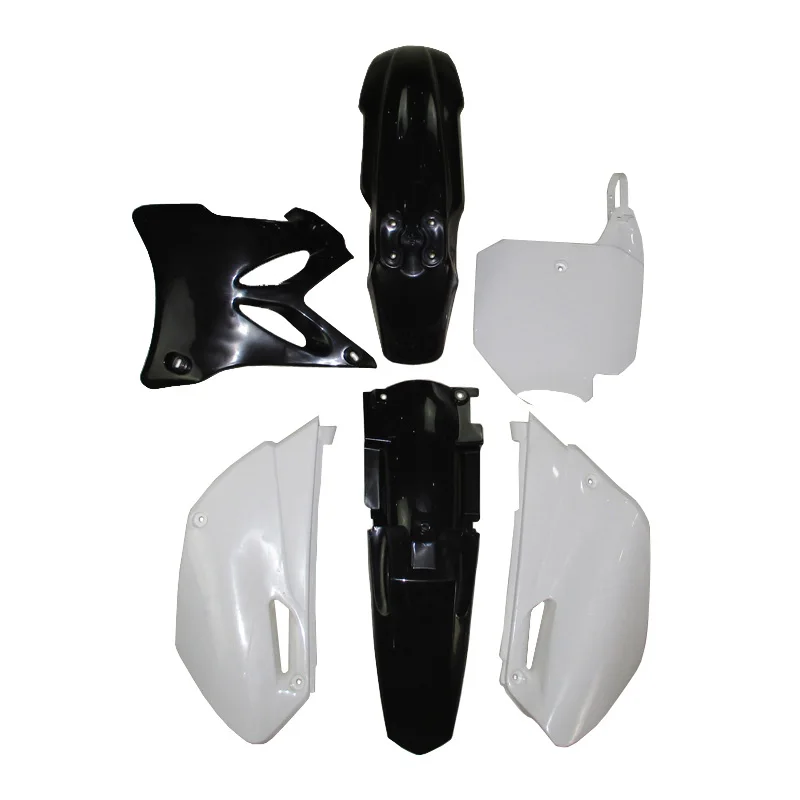 This particular plastic restorer also has some nice UV protection to help keep the plastic from drying out and fading in the future.
Keep in mind, this is not to repair scratches or anything like that. It is specifically to restore dry faded plastic. There are some other brands out there that will do the same thing, I’ve just had the most luck with this one. To be honest, this is way easier than sanding or using a heat gun anyway, and I don’t have to worry about the structural integrity of the plastic being compromised.
There are two types of scratches you’ll encounter most often, light scratches or deep scratches. Light scratches are the ones caused by branches or bushes hitting the plastics and leaving little visible marks. A lot of people don’t even bother with these types of scratches, and just chalk it up to wear and tear. But for someone spending a lot of money on a quad or ATV, I can understand wanting to remove even the littlest of scratches.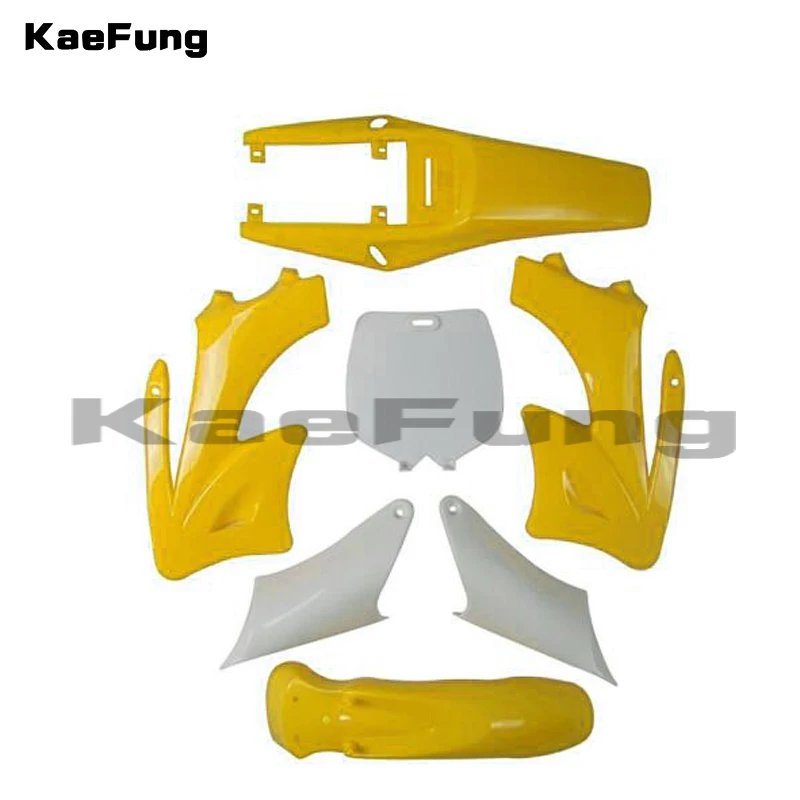
The best way I’ve found for removing light scratches is to go with some 1500 Grit Wet Sandpaper. Just use the sand paper over the areas with scratches and buff it out when you’re done. You could finish up with a coat of the plastic restorer I talked about above to make it look brand new.
Using wet sand paper could even work for medium to deep scratches, but I don’t like removing that much plastic from my ATV parts. For the deeper scratches you end up having to start with 400 grit or worse, and work your way up to 1500 grit to get a smooth surface. For me, it’s not worth all the time and energy sanding to just end up compromising the integrity of the plastics. Don’t forget, the more plastic you sand away, the easier they will crack.
So for deeper scratches I’ll use a plastic bonder/filler. My go-to is this JB Weld Plastic Bonder Gap Filler found here
on Amazon. I’ll use this to actually just fill the scratches. It’s pretty easy to use, you push out some of the goop from each tube.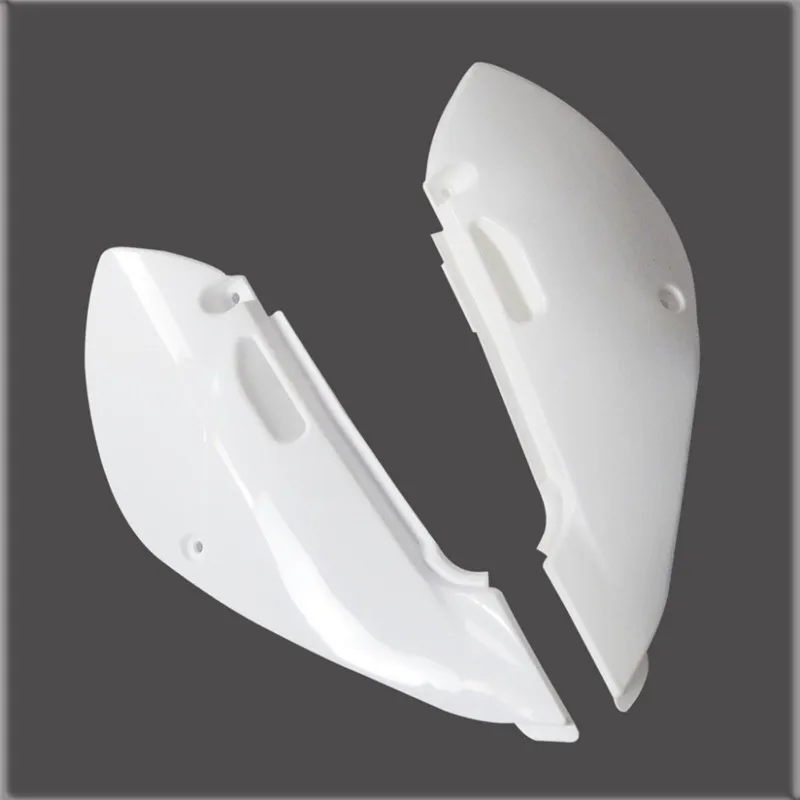 It’s a 1 to 1 ratio and comes out at the same time. Mix it together and fill the deep scratches with it. The stuff sets in about 15 – 20 mins and you can sand it down after a half hour.
If you use a putty knife to clean off the excess after filling the scratch, it makes the sanding after much easier. This does set in a black color, so if you don’t want to have to paint afterwards, don’t use this method. I don’t paint after, and I don’t mind having the black filler here and there on the plastics. It’s better than having deep gouges in your plastics just asking to be cracked.
If you haven’t taken care of your ATV plastics, they could dry out over time and eventually crack and break. Or the more likely option, you hit something didn’t you? That’s ok, cracked plastics can usually be fixed without too much trouble. If you don’t want to spend the money buying new plastic parts, you’ll need to do it yourself.
For small little cracks you could try using the JB Weld I talked about above, but that only really works for cracks less than a few inches.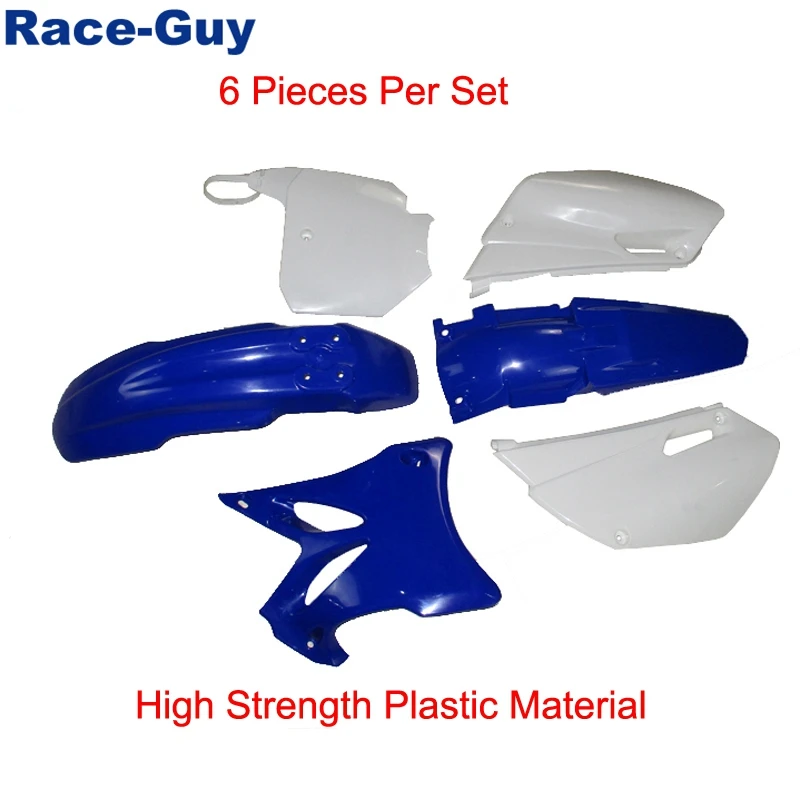 But, you probably really messed your toy up bad, and for that, you’re gonna need something better.
I recommend using what’s called a hot staple gun. Like this Astro 7600 Hot Staple Gun Kit found here on Amazon. This thing is amazing and I’ve used it on more than just my ATV. It works by heating up these specially designed staples it comes with. The staples get set into the plastic making a nice strong bond, but still allowing the plastic to be flexible.
You just line up the pieces you want joined, and use the staple gun to staple them together. The staple is heated to it can sink into the plastic a bit, making a super strong bond. I always do the stapling on the underside of the plastic, that way you don’t see the staples. If you use this method, you will still see the crack on the upper side of the plastics. You can then use the JB Weld to fill in the crack, and then sand away any excess making a nice smooth surface.
Sometimes a piece of plastic from an ATV gets bent but doesn’t crack.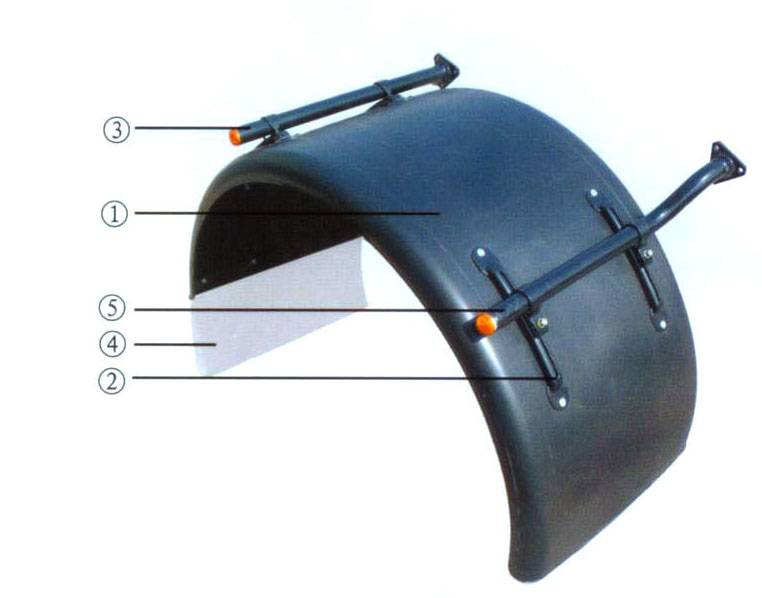 That’s good, you don’t have to repair any cracked plastics now. But it can leave a discolored looking area on the plastic that doesn’t look right.
For fixes like this, I like to use a heat gun. It’s really kinda cool how well it works, you can watch the plastic change color as you hold the heat gun to it. Be careful though, too much heat can melt the plastics and there’s no coming back from that. Hold the heat gun a few inches away from the plastic and keep it moving side to side the whole time.
Any old heat gun will work for something like this. Heck, I’ve seen people use a propane torch with success. If you’re unsure what type of heat gun to use, check this Heat Gun from Amazon for starters.
That’s all there is to it. If you want to paint your ATV plastics a new color, check out this article: How To Prep And Paint ATV Plastics.
Sharing is caring!
One of the most annoying things about owning an ATV or Dirt Bike is dealing with fading or cracked plastics. No matter how great it runs, if the plastics look bad it will be the only thing you notice. In this article we cover a few easy ways to refinish your plastics without breaking the bank.
Want to jump to the repair techniques? Choose your problem below:
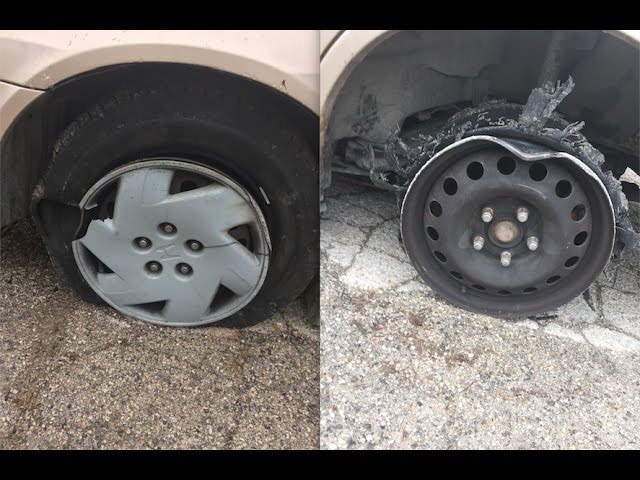
It’s pretty obvious what causes a crack, but what causes your ATV and Dirt Bike plastic to fade is a bit more difficult to explain.
Plastic is made primarily from refined crude oil. When it sits in the sun for extended periods, the surface level oils can evaporate and cause the plastic to dry out. Dried plastic loses its sheen and fades. Extremely dried plastics can even crack, making it very difficult to fix.
Plastic fade can appear differently depending on the color. Darker colors will develop a white layer on top of the plastic. It can be scraped off with a razor blade but leaves behind a dull color underneath. Lighter colors can yellow from sun exposure as the plastic dries out.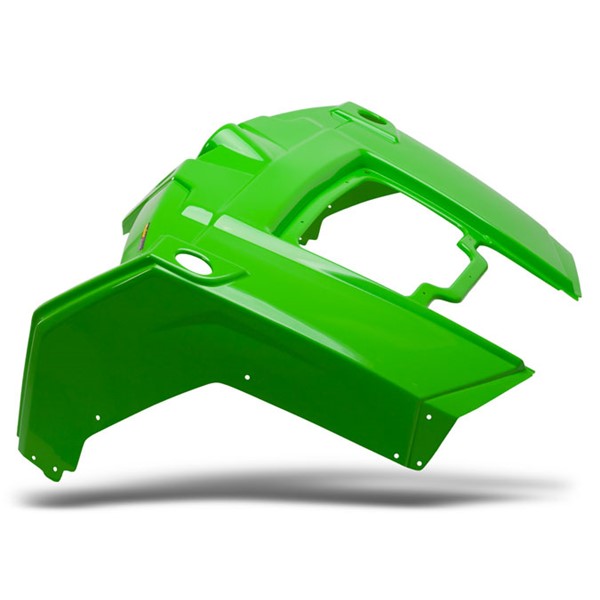
To refinish plastic fade, you have the unique challenge of adding back oils into the surface of your ATV or Dirt Bike. As difficult as it sounds, it actually is much easier using any of the four techniques we discuss below.
There are a litany of products online that claim to refinish plastics, but what ones actually work? Here are the three we’ve tried and their results.
CarGuys Plastic Restorer
This was the third plastic restorer we tried to bring back the original green color on our Yamaha Bruin 350. The first three did the job, but the CarGuys Plastic Restorer did it the best, and with the longest shine. It is easy to apply with the foam pad applicator included with the bottle. And if you don’t like how it looks, CarGuys offers a zero risk purchase. You can return the bottle for a refund, no questions asked. Something you don’t see that often these days.
TriNova Plastic Restorer
This was the first plastic restorer we tried, and really liked the shine it produced. It took a bit longer to dry but left a long term shine on the plastics. You need to keep it clear while drying because it will trap dirt and bugs in the finish. I would also suggest letting it sit in the sun for 12+ hours after application and wiping off the excess multiple times to reduce any streaking when it gets wet.
The easiest of the refinishing techniques uses focused heat to bring the oils inside the plastic to the surface. It is most commonly performed with a heat gun to ensure there is no direct contact between flame and the plastic. It also works best when applied in smaller areas, as it can be tough to get a uniform sheen with this method.
1. Test this method on the under side of a fender or somewhere with low visibility. It takes technique to know when to stop applying heat.
2. If you heat gun has multiple settings, start with the lowest heat first. Apply heat at a longer distance of 1 foot to gently warm the area.
3. Slowly move in toward the plastics with the heat gun, focusing on an area about the size of the heat gun. Let the plastic heat until you see it start to become shiny and smooth (almost looks like the plastic is melting.
4. Quickly remove heat and allow that area to cool. Check back to ensure the shine remains in that spot. If it becomes dull, it may 1 or 2 more applications to become more permanent.
5. Don’t try to over heat the plastics. It won’t expedite the process. You will likely melt the plastic and no matter how much heat you apply, you can’t fix that.
This is a method that has been floating around the forums forever and we can attest that it does work. Using a simple mixture of these two items, you can renew the shine of your plastics.
1. Pre-mix in a container or spray bottle 3 parts boiled linseed oil to 2 parts paint thinner.
2. Pour some of the mixture onto your plastics or on a rag, and wipe along the surface. It will be a bit runny so make sure you keep the rag moving. The secret here is to apply a thin layer to the entire surface area.
3. Let the mixture sit for about 20-30 minutes in the sun. The heat will open up the pores of the plastic, letting more of the mixture set in.
4. Wipe the plastics with a clean rag, removing the excess mixture. Let it sit in the sun for another 30 minutes to dry to the touch.
In our experience it is not permanent, but when applied a few times each year you can really make your plastics look new. The only downside to this method is i can be tacky after application, so dirt or grim can stick if you don’t wash down the vehicle first.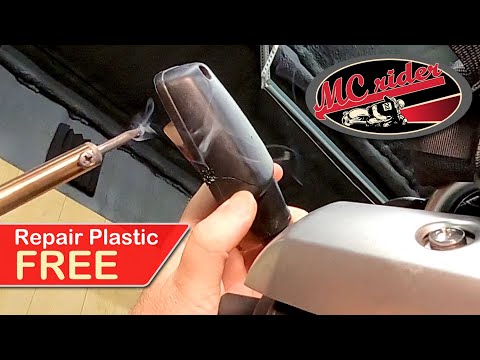
The most permanent but also the most time intensive option for refinishing your plastics is to sand and buff them. Sanding the plastics removes the dry faded area, exposing the underlying oils. Buffing then ensures a smooth finish, like it came from the factory floor.
1. Depending on the how bad the plastics are faded will determine which starting sand paper you want to use. Typically you will want to start with a 400 grit however if you are having trouble getting through the haze you can move down to a 220 grit. Anything lower and you will remove too much plastic, potentially sanding through the part all together.
2. All sanding should be done with wet sand paper, as well as continuous water on the plastics. This will ensure that the sand paper doesn’t gum up, and will create a smoother finish. I keep a bucket of water on hand and dip the sand paper in every 20 seconds or so. In this phase you want to remove the majority of the hazing.
3. After the area has been thoroughly sanded. Switch to 800 grit sand paper and repeat the process. This will remove the remaining haze.
4. Next finish with a 1200 grit sand paper to smooth out any minor scratches in the plastic.
5. Lastly you want to buff the area with a buffing compound to remove all scratches and create a mirror like shine in the plastics.
You should also consider how to remove any existing stickers on the vehicle. If the stickers have any clear sections, the faded plastic behind will show through unless you remove the sticker and sand behind it.
In the event that you crack a plastic or worse, break it, the first thing that crosses your mind is the cost of replacing the whole panel. That can set you back $100 to $500 if you find a used set.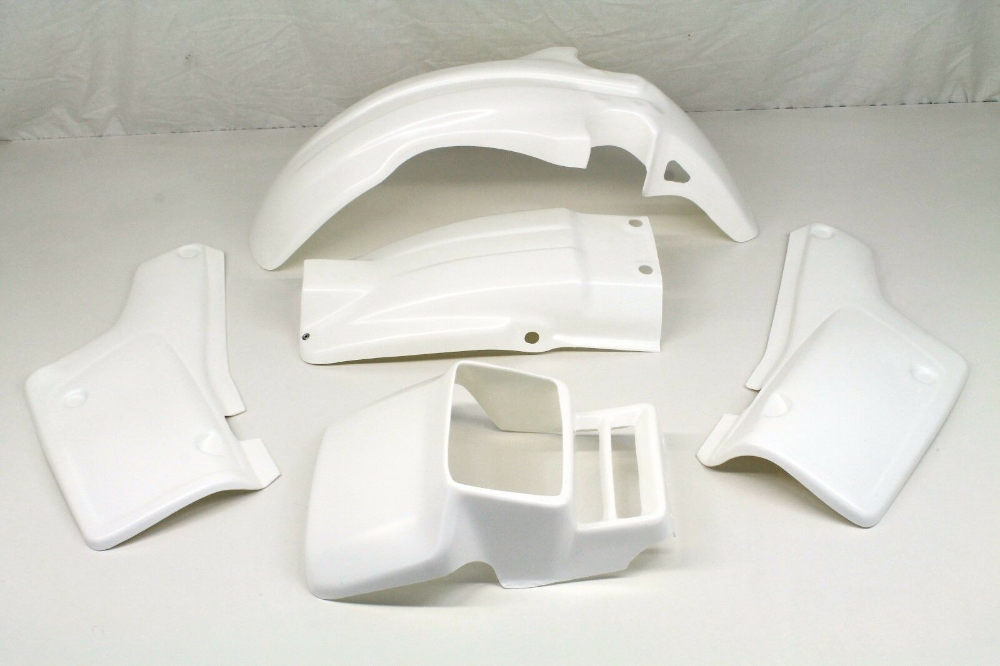 New plastics can be twice that much.
Welding plastic isn’t a perfect fix. It will close up any gaps, add rigidity and make the parts look good from a far. But when you get close, you will see the seam.
I set these expectations because some people will get upset when the plastic repair is done, and it doesn’t look brand new. If you need a good quality fix and don’t want to spend the money on a new part, then keep reading.
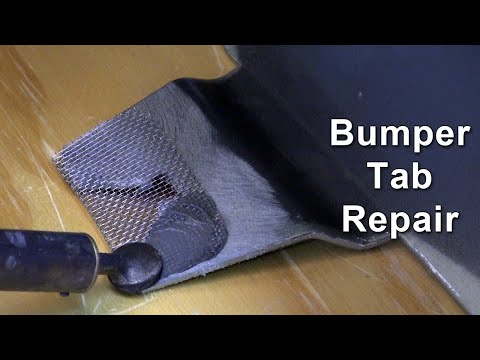
Plastic welding uses direct heat to melt the two ends of plastic so they can be pressed together and dried. Often the weld is not strong enough by itself to hold up against moderate use, so a metal mesh is introduced to the weld to strengthen the bond.
In this video the speaker is using a heat gun instead of a plastic welder. As you can see, it works just as effectively but may require some additional time to get the plastic to melt.
1. Clean and sand each edge of the plastic you are bonding to create a good bonding surface.
2. Prepare your tools by plugging in the welder, and having the mesh on hand for easy use.
3. Slowly heat up the inside edges of both pieces, favoring the side of the plastic which is less visible normally. You don’t want to over melt any area as it will create bumps when pressed together, or worse it will create gaps.
4. Push the two pieces of plastic back together to create a bond that we can go back and strengthen. If you are not using mesh, use the welder to melt the plastic on the bottom side of the plastic, creating more surface area for the parts to bond.
5. Place a small piece of mesh over the entire length of the seam, overlapping about a half inch to an inch on each side. Use the plastic welder to push down on the mesh and melt it into the plastic. You don’t need to over do it, just enough that it holds firmly.
6. Complete this process across the entire mesh to strengthen the weld.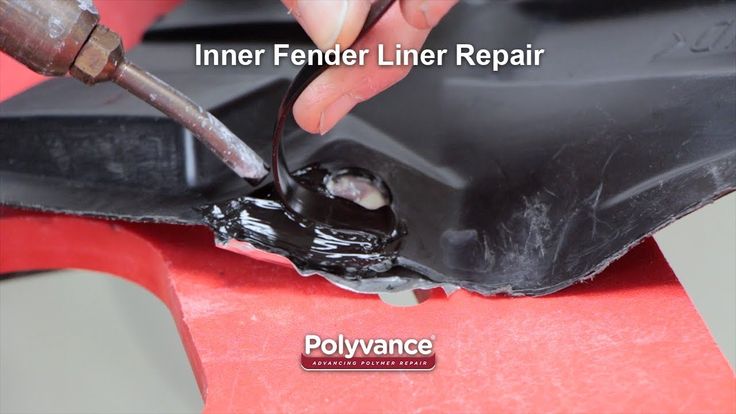 If you are repainting the plastic you can use some bondo or high build primer to hide the weld on either side.
Kazuma ATVs, like any transport, need good care and respond to it with excellent performance. However, you need to monitor not only the internal state of the ATV, for many drivers the appearance of the device is no less important than for a woman, for example, an excellent manicure. Therefore, today our story is about how to give the appearance of your ATV a little shine and gloss.
Every ATV has a lot of plastic parts on its body. Most of the body of the ATV is made of plastic to keep the machine light. But plastic, no matter how strong and hardened it may be, in a collision with an aggressive external environment tends to scratch and break, leaving battle scars and marks on the case. And although the scars adorn the man, the ATV looks much prettier without them.
Before I talk about how to get rid of scratches, I want to remind you that even with scratches, different plastics can look different.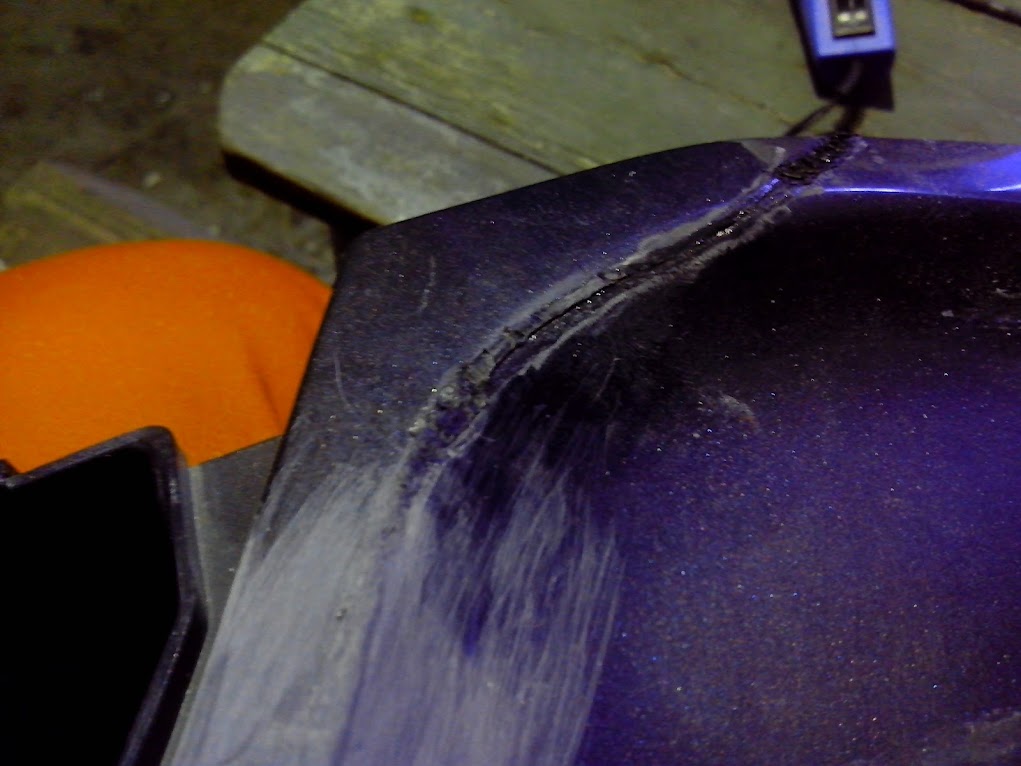 On some surfaces, scratches stand out brightly, while on others they are almost invisible. I remember how at the same time my friend and I had two ATVs, both were brand new and shiny, sparkling in the sun with absolutely smooth plastic. But very soon the blue plastic began to look worn and old. At the same time, scratches on black were not at all noticeable, although when checking them, they turned out to be no less. Some plastics somehow perceive scratches more strongly and age just before our eyes. If you want to know what your ATV will look like after a short use, take a look at the car market and look at the used models that are sold there.
When I found out how much new plastic costs, the desire to change it completely disappeared, so I decided to start restoring its former beauty. But before wasting time and effort, you should carefully examine the condition of the plastic - small, shallow scratches can be easily smoothed out using fine sandpaper and then polishing pastes.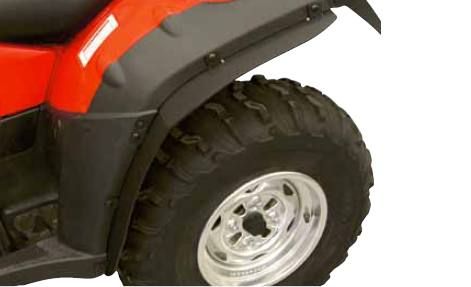 After careful processing from scratches, there is practically no trace left. Deep scratches will be more difficult to deal with, but they can be smoothed out and the ATV will look a little better.
But the color of plastic, burnt out in the sun, cannot be restored by polishing, under the sun's rays and from time to time the pigments in the plastic gradually disintegrate and only painting will help restore the brightness of the details. Painting will help hide some of the scratches. If the plastic has oxidized, it starts to look like it has been powdered, however this does not affect its qualities in the least, and if you are not very worried about the appearance, you can ride such a burnt ATV for a very long time.
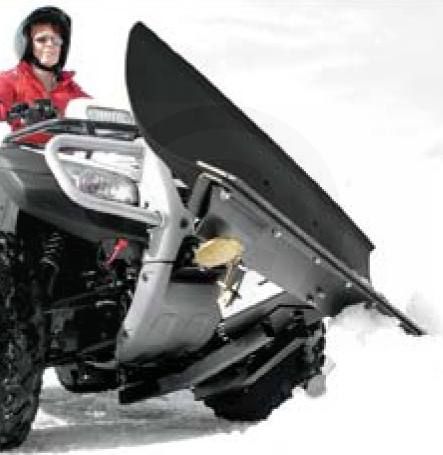
Large fenders are not always needed on an ATV and many owners cut them off to give the ATV more aggressive appearance. This does not affect the aerodynamic characteristics of the device too much, however.
To do this yourself, properly prepare the ATV. You can mark the cut line by sticking electrical tape or colored tape on the wing. Just mark the cut line with it to make it easier for you to guide the tool later. The duct tape comes off easily, so you can try on the cut line before proceeding with the operation.
In principle, the preparation is now complete and you can start cutting. An angle grinder, popularly called a grinder, is best suited for cutting, put a disc for precise cutting and you can start. However, you can take any other tool with which it will be convenient for you to cut plastic. Do not forget about protection, the fragments can fly quite far, so protect your eyes with goggles.
Now you need to finish the edges - wrap the sanding sheet around the bar to make it easier to hold and sand the edges until then. Until you like their condition. You can also gently melt the edges, making them perfectly smooth and even. Just do not overdo it - the edges should not bubble under a blowtorch or a building hair dryer, but just become soft and neat.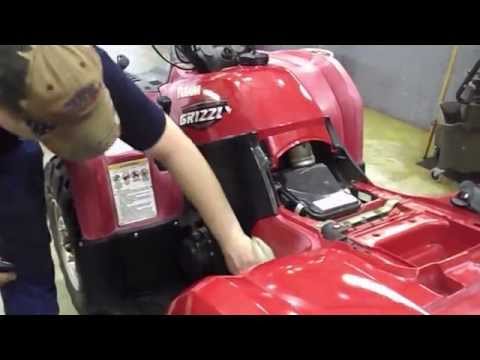 If you do it right, no one will ever guess that you cut the fenders yourself, and did not receive such an ATV from the factory.
However, if you are afraid of damaging the plastic with high temperatures and have enough time and effort, you can achieve a similar effect using a grinding wheel on a power tool. This completes the processing of the wings and you can go on your first trip on the updated ATV.
Of course, the main tuning of any ATV is primarily to increase its speed characteristics. Here are some tips on how to make your quad bike faster.
Contents
ATV
Set of socket tools
Electric hand buffer
Plastic spray paint
plastic filler
Floor wax
gauze
ATVs, also known as ATVs, are prone to scratches. These scratches reduce the value of the car and can make it difficult to sell at a reasonable price. The solution is to either replace the plastic fenders or repair the scratches yourself. Scratch repairs are cheaper and the results look like new.
Remove the scratched plastic from the ATV using a socket set.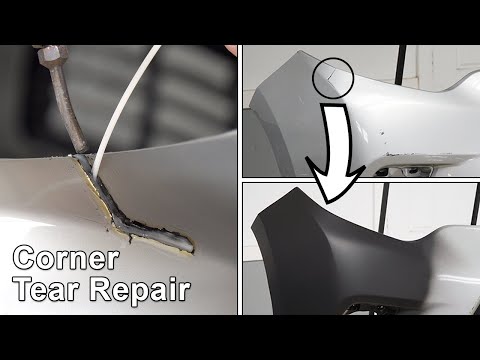 Some vehicles require screwdrivers. The bolts will be located along the edges of the plastic. Find a socket that fits snugly on the bolt. Place the socket on the wrench and turn the bolt counterclockwise until it is removed. Repeat until all bolts are removed.
Place the removed plastic on a work bench and wash off any dirt with warm water and dish soap. Dry it completely.
Fill in scratches with plastic filler. Use a gloved finger to flatten the filler so that it is even with the rest of the plastic. Once all scratches are filled in, leave the fender to dry overnight. The filler must be completely solid before proceeding.
Use an electrical buffer to smooth out any bumps or rivets on the dried plastic filler. The filler must be completely flat with the plastic. If necessary, repeat the filling process until the scratch is gone.
Paint the fender with a spray paint designed for plastic. Stand 4 feet away from the plastic and spray it evenly using wide strokes.